
1985 Bronco Build Thread
#46
 08-08-2014, 05:25 PM


#47
08-08-2014, 05:29 PM
The next day I went to start it, and go up to the gas station. I turned the key, and nothing happened. I popped the hood, and found this:
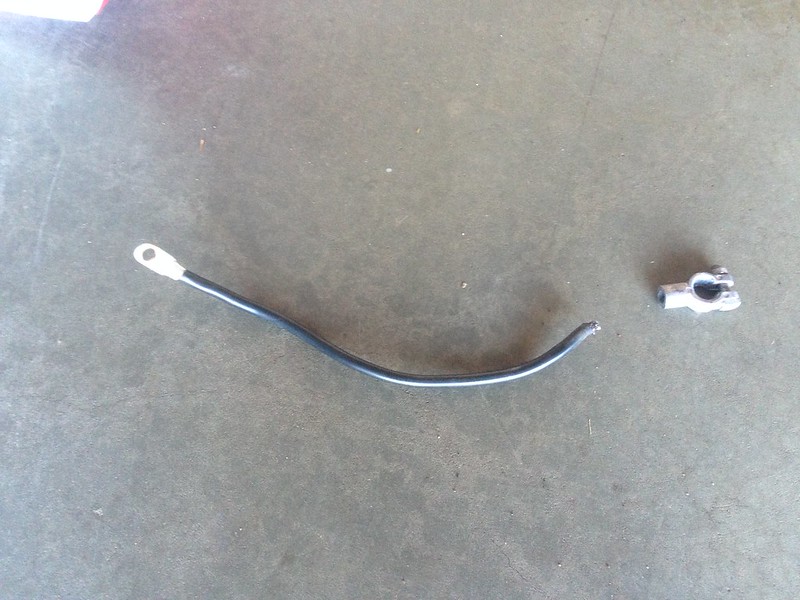
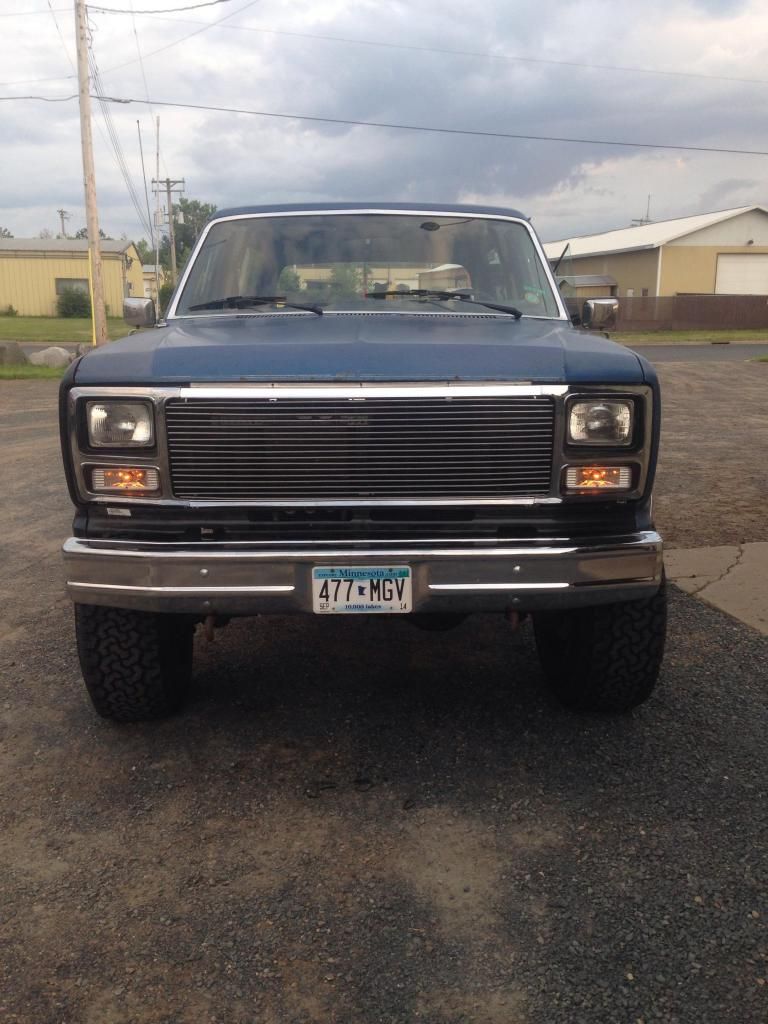
One new (and correct red color) cable later, and it started right up! I went to the gas station, and saw this, and had to get a picture with the bronco.
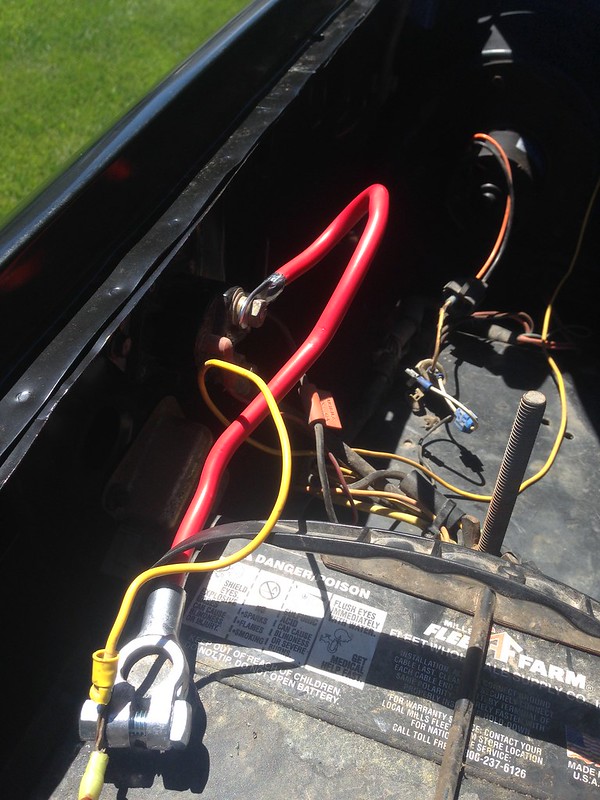
Don't see those everyday!
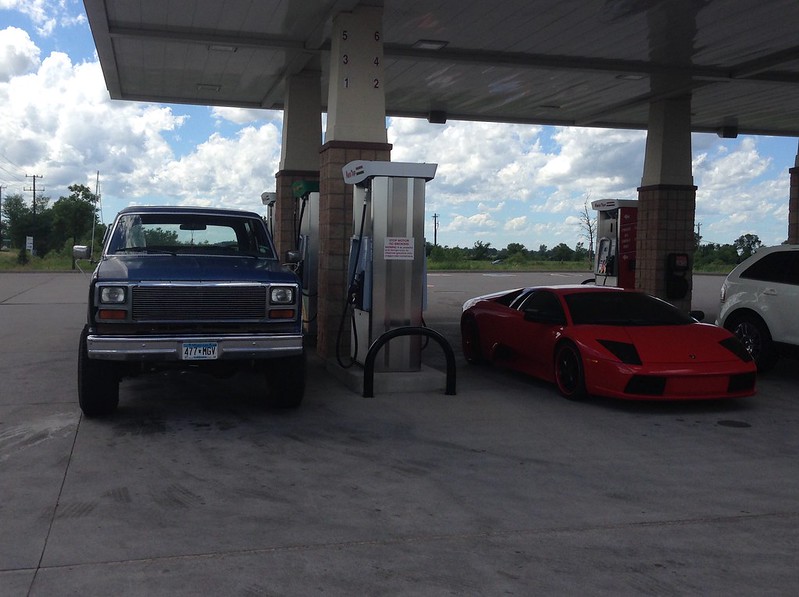
I drove it like that for a new weeks, until last week...
One new (and correct red color) cable later, and it started right up! I went to the gas station, and saw this, and had to get a picture with the bronco.
Don't see those everyday!
I drove it like that for a new weeks, until last week...
#48
08-08-2014, 05:39 PM
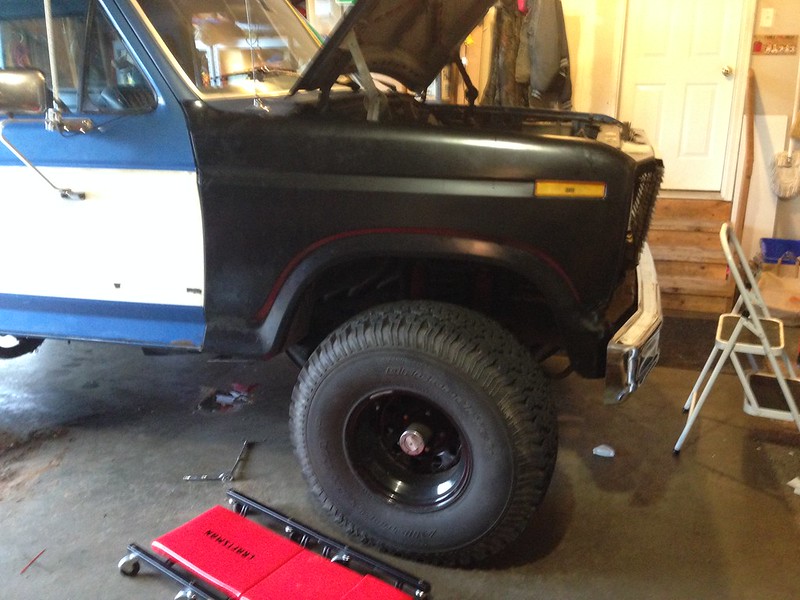
...When I replaced the turn signals, bezels, trim, rock guard, and welded in a patch panel!

I decided to get the custom turn signals from LMC, I also thought about smoked ones, which I tested on a extra set with broken mounts.
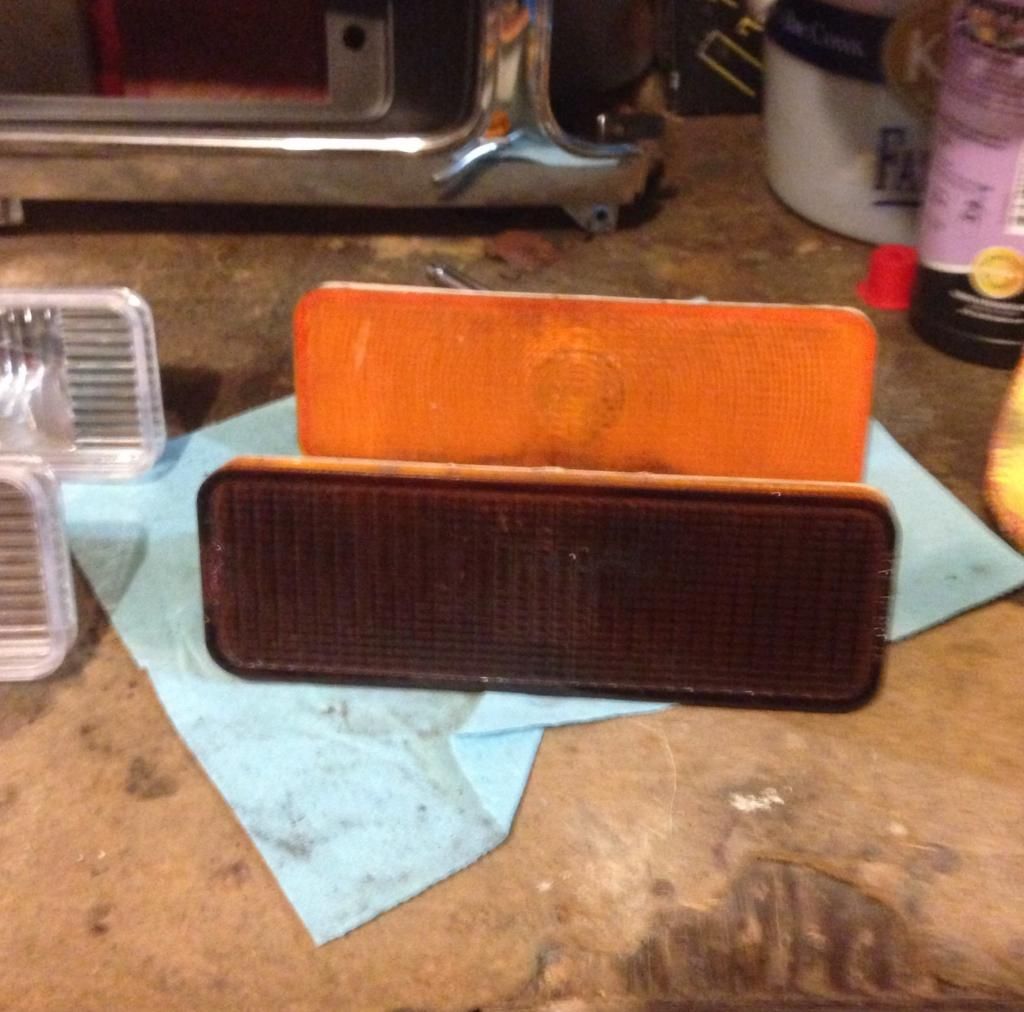
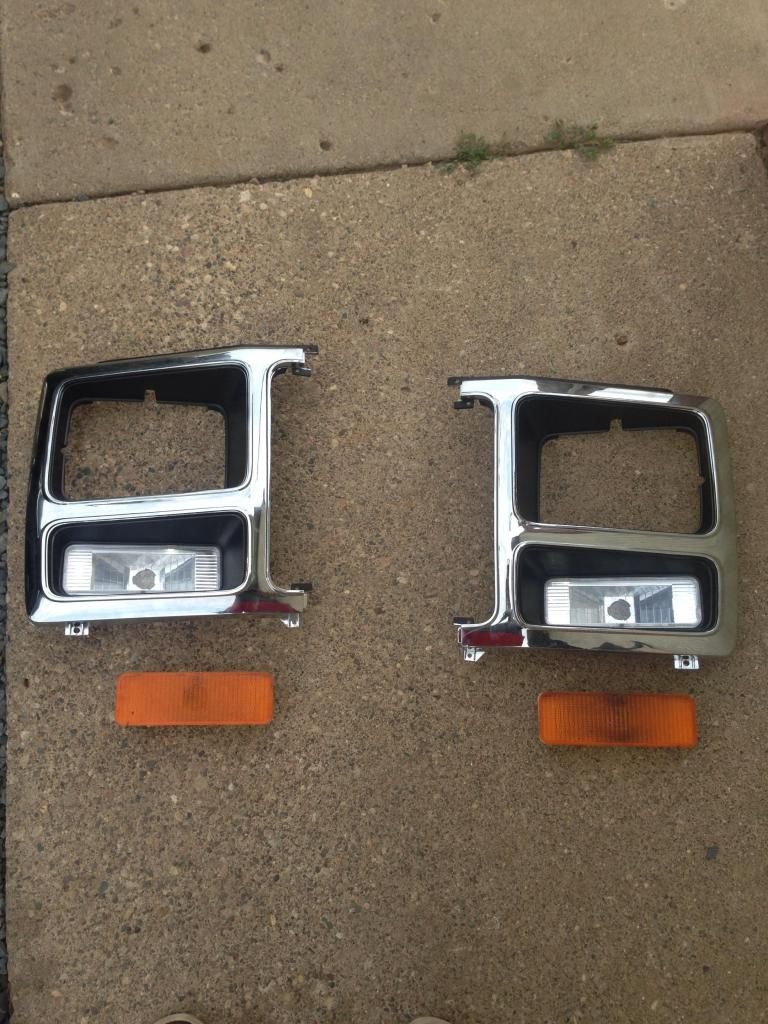
Comparison

Before
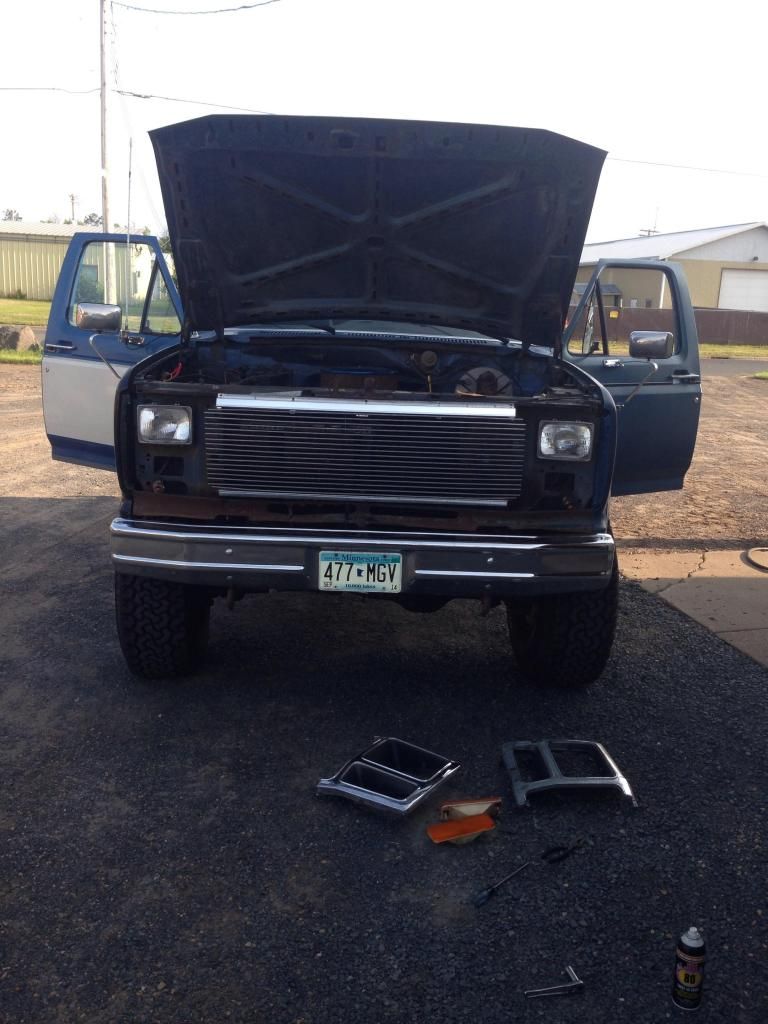

I had already replaced the upper trim when I got it, and decided to replace the lower piece now
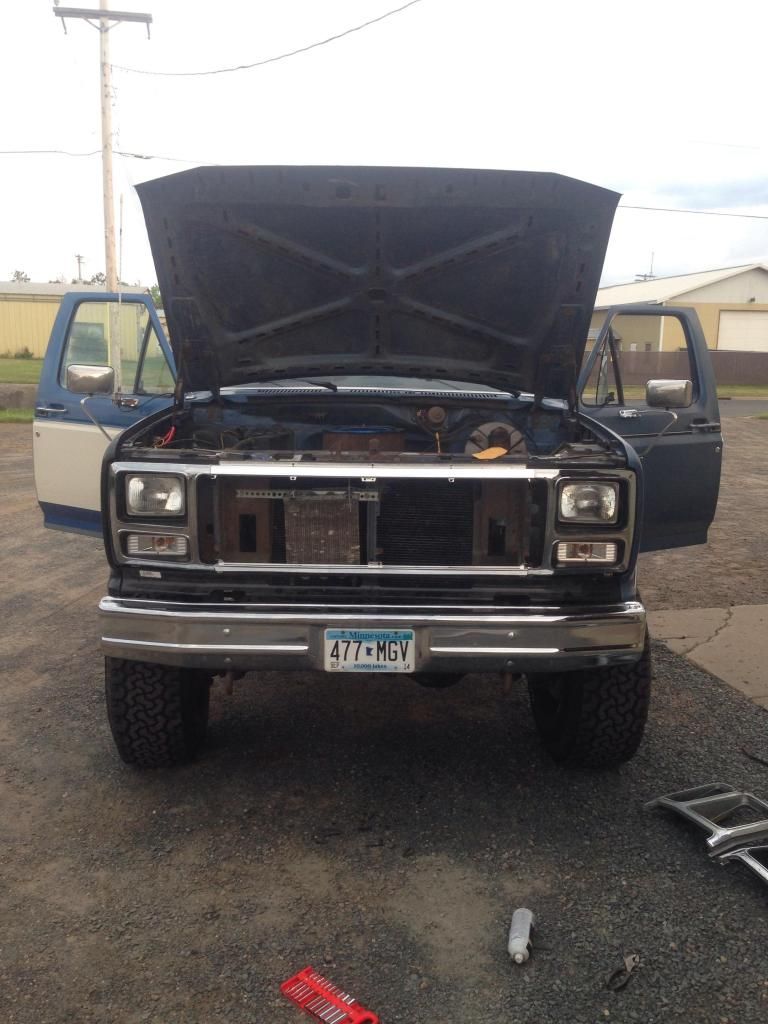
Mounted
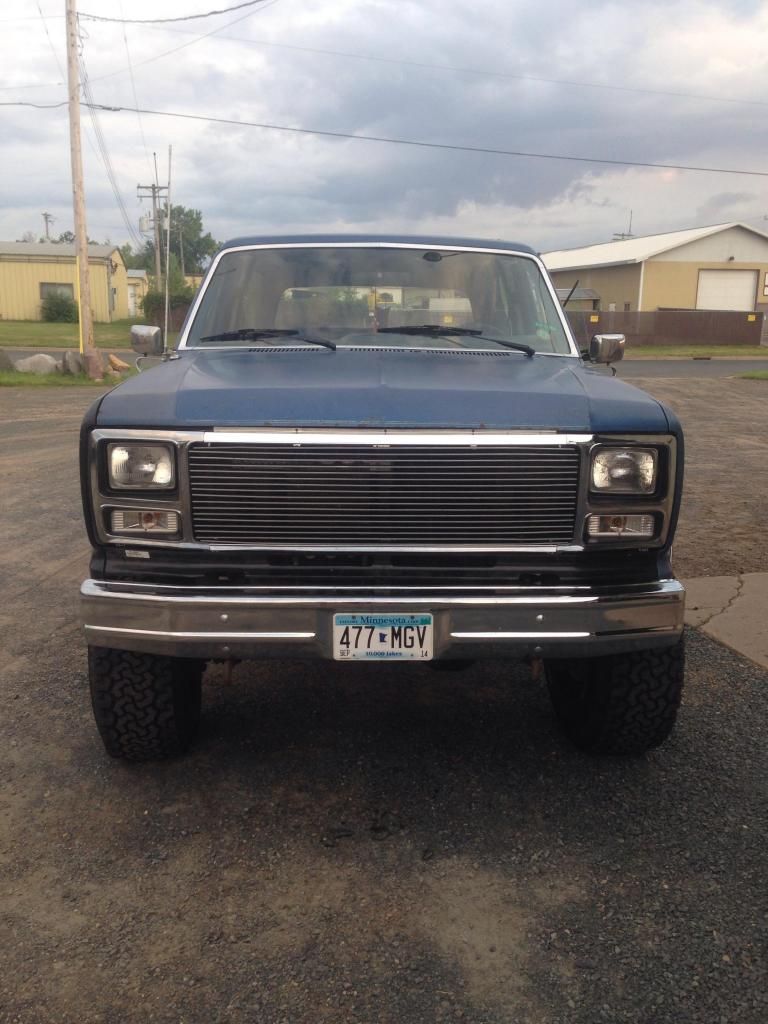
Lights on.

I decided to get the custom turn signals from LMC, I also thought about smoked ones, which I tested on a extra set with broken mounts.


Comparison

Before


I had already replaced the upper trim when I got it, and decided to replace the lower piece now


Mounted

Lights on.
#49
08-08-2014, 05:50 PM
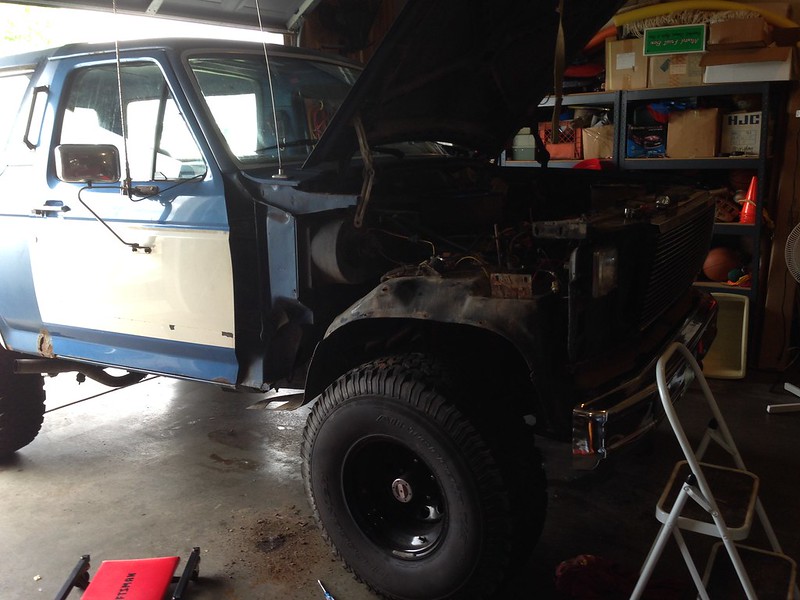
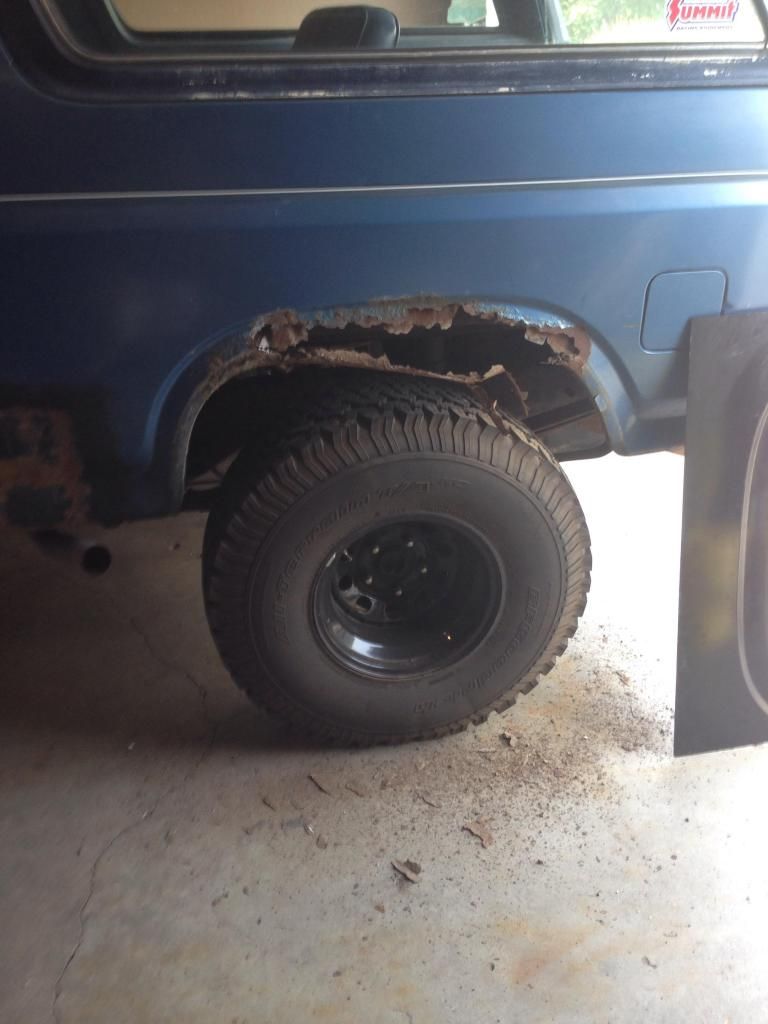
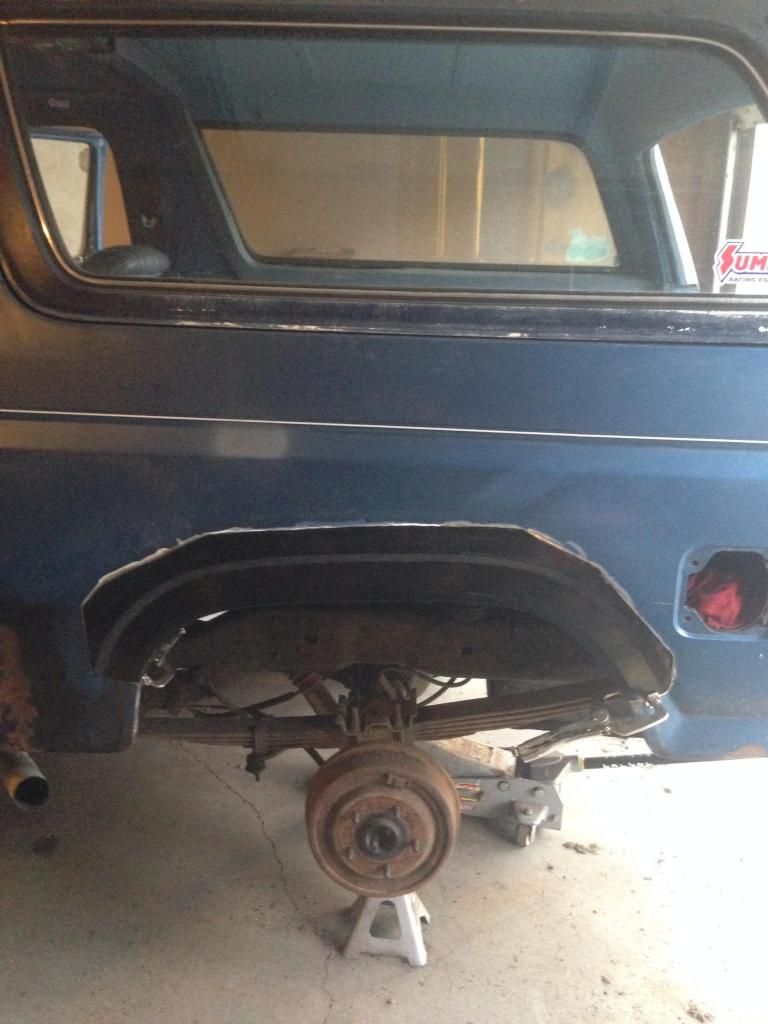
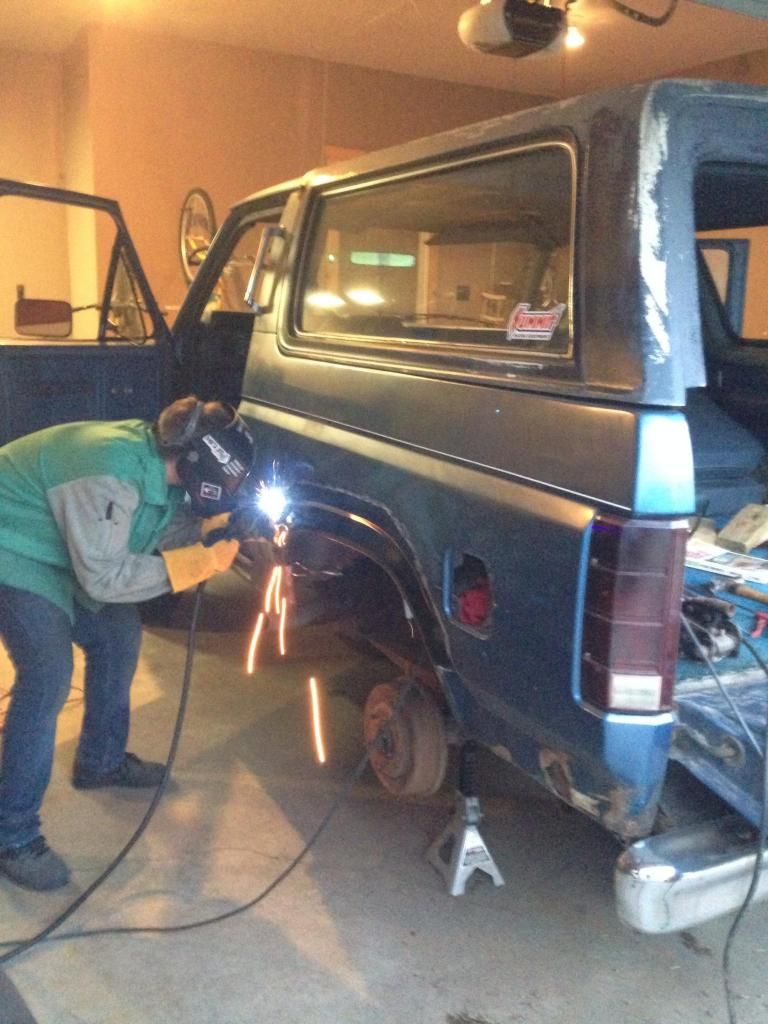
The next day I started on the patch panel. I had a friend who went to school as a welder weld it in. Neither of us had ever done this, so it was a bit of a learning experience. I got the patch for $10 on craigslist, which was the only reason I decided to do this. I will be getting a full quarter for the passenger side.
Trim removed
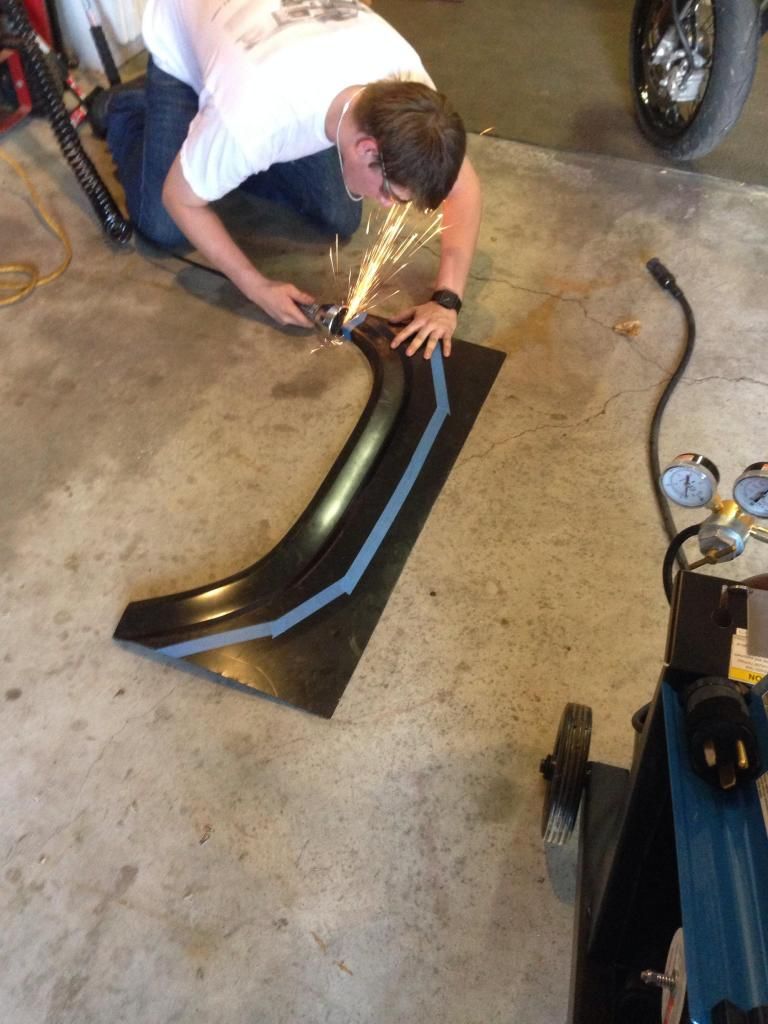
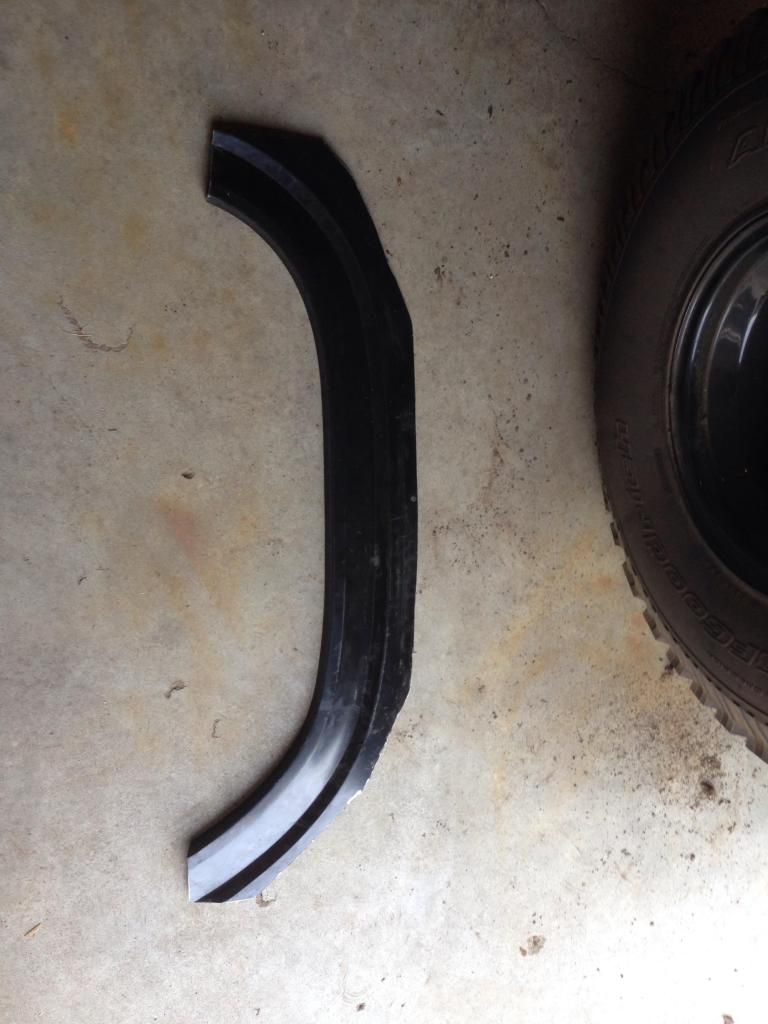
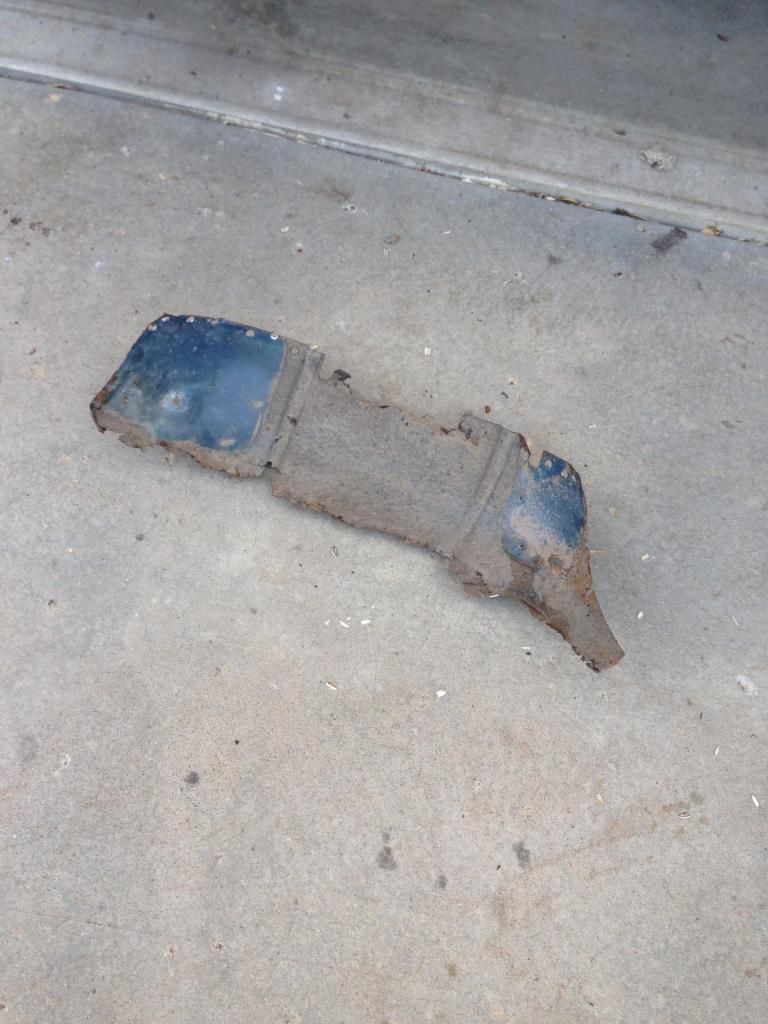
Cut down.
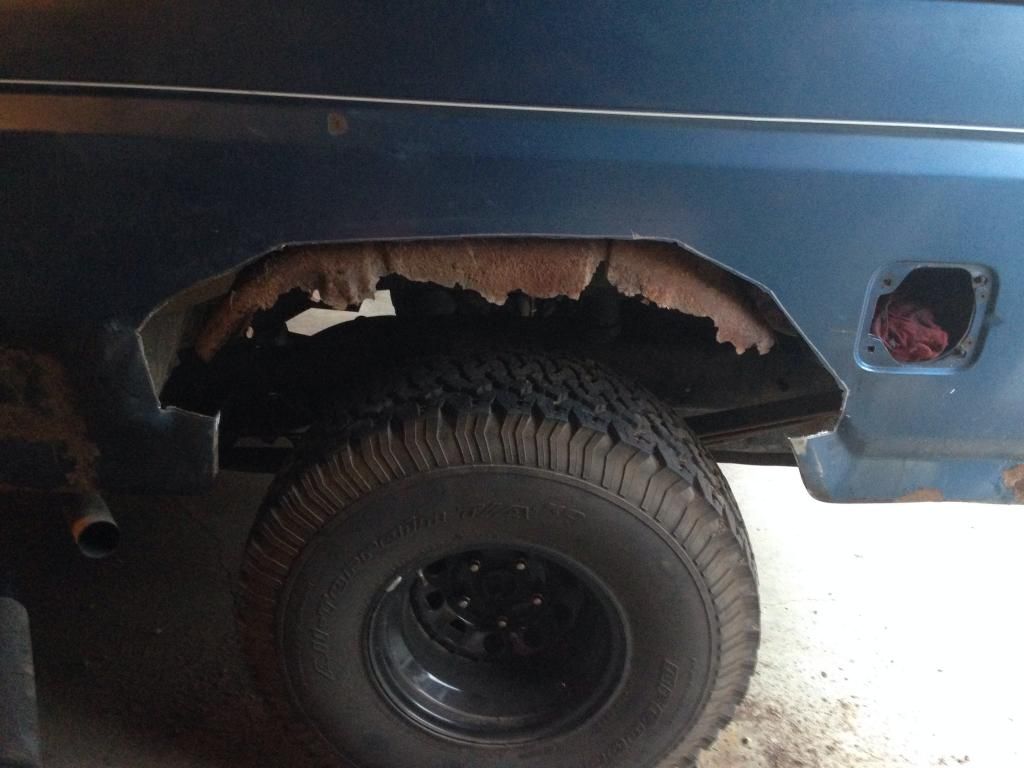
Cut out
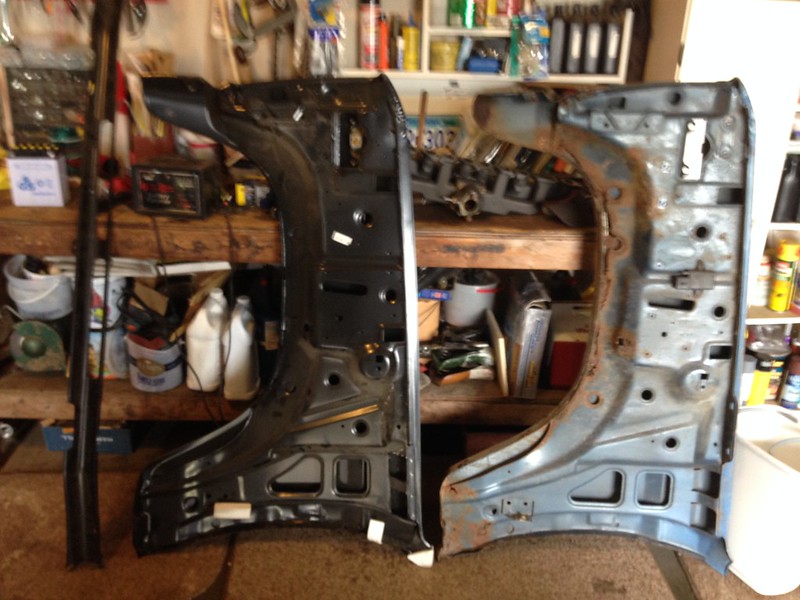
Drilled out the spot welds holding the inner fender on.
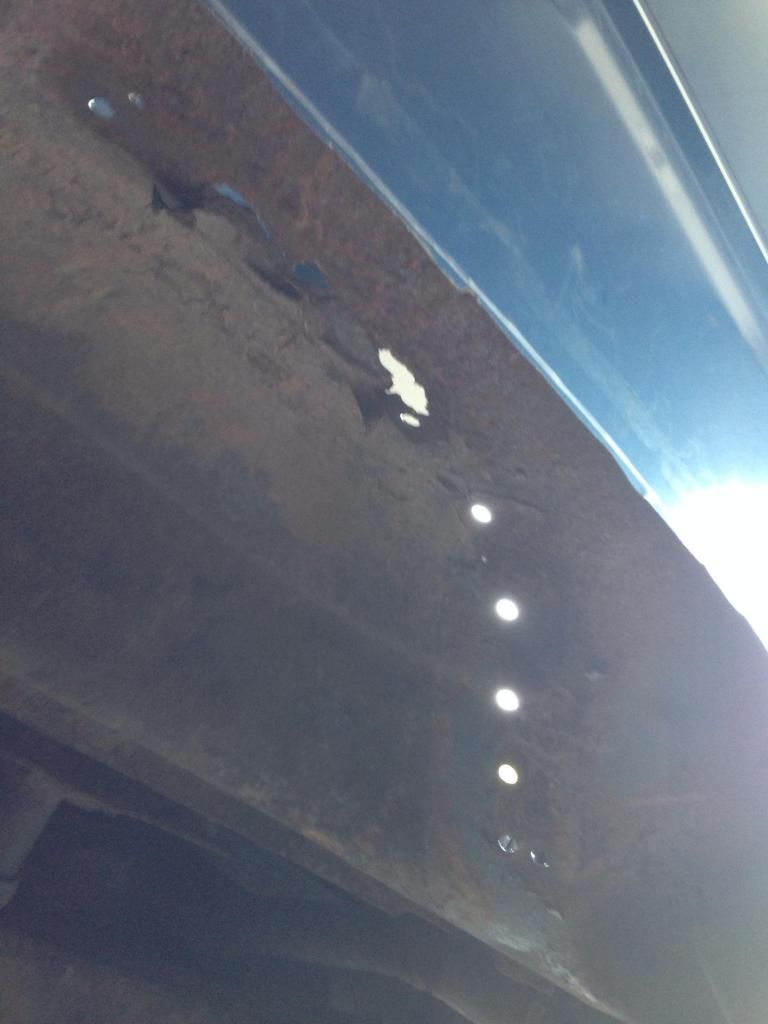
You can see one of the rust holes, that we fixed later.
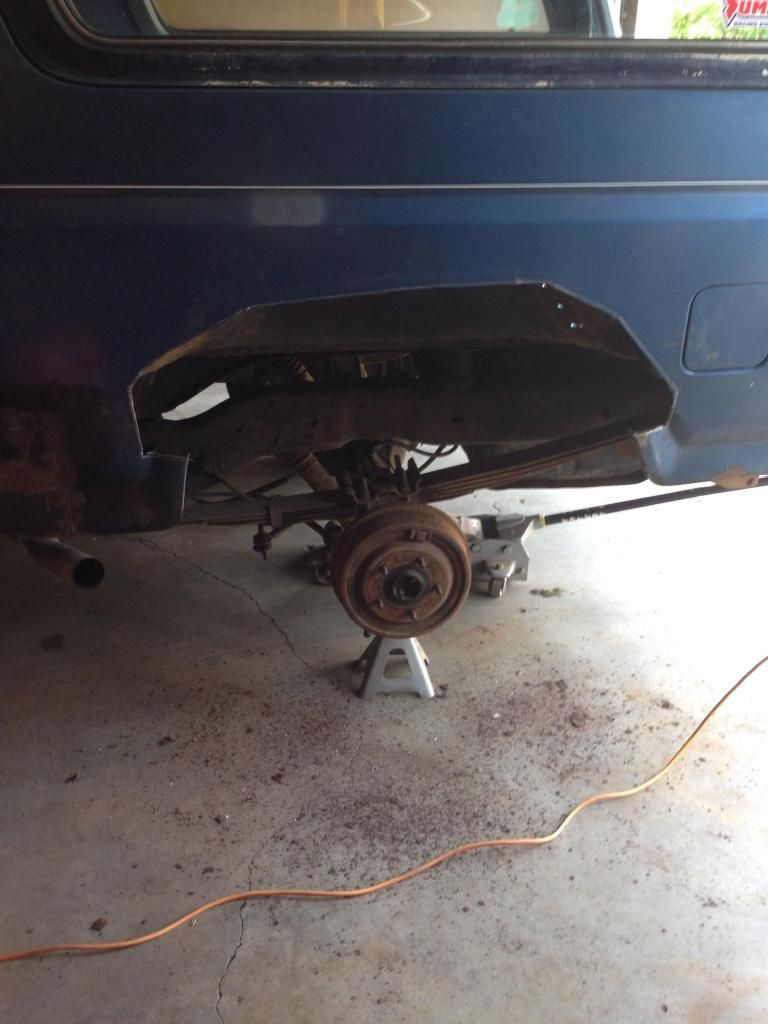
Clamped.
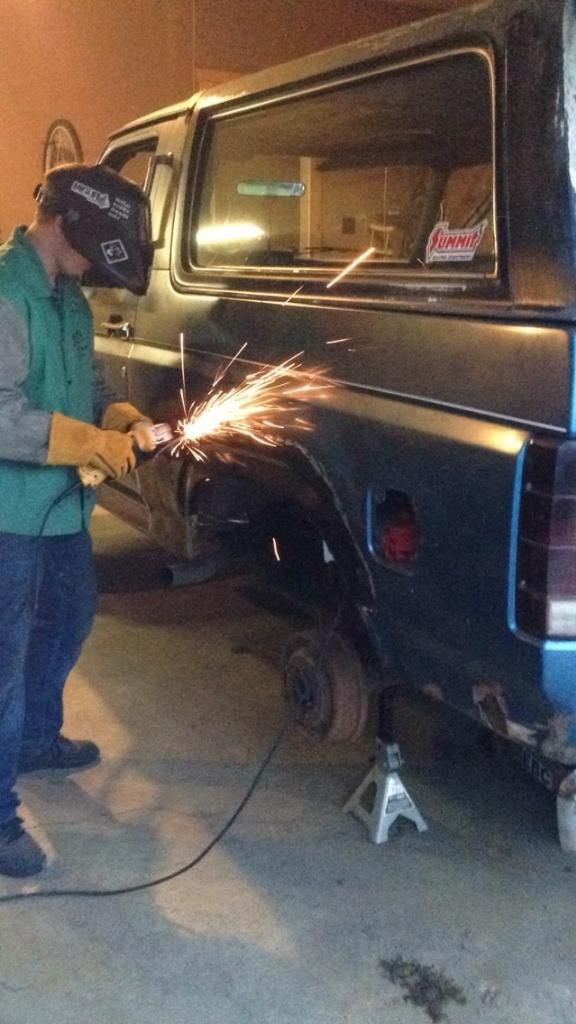
Finished at 11:30 PM, and sprayed primer on the welds. The next day I sandblasted an earlier patch, and primered everything.
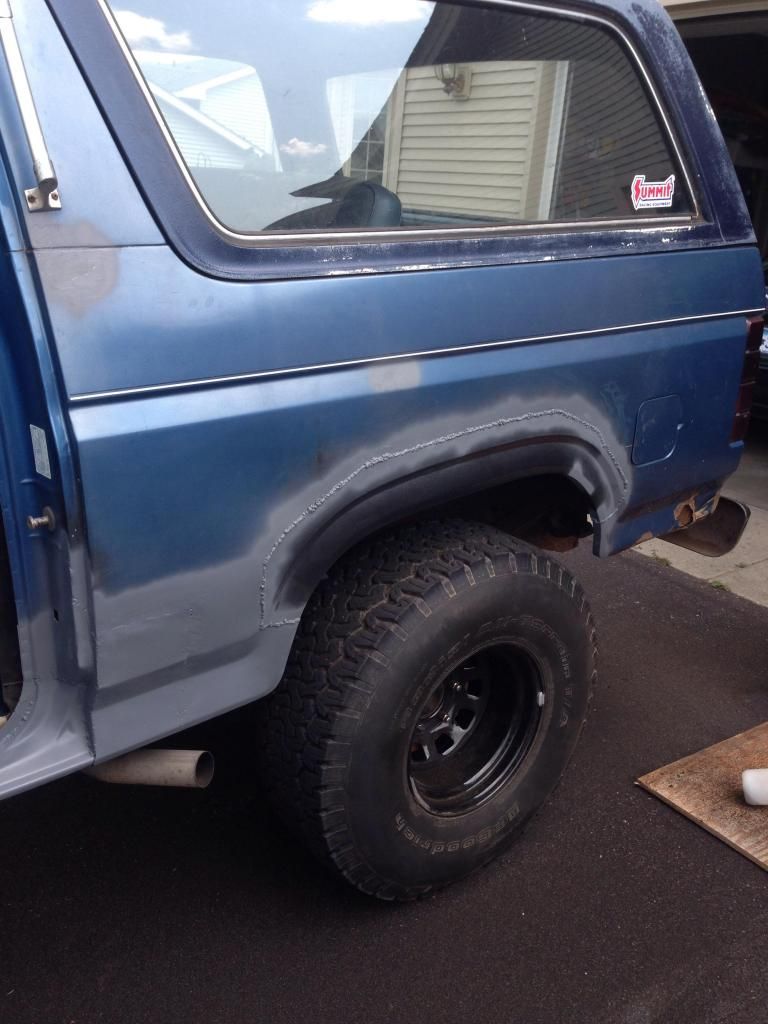
I also bought the patch for below the taillight from LMC for $30.

Trim removed


Cut down.

Cut out

Drilled out the spot welds holding the inner fender on.

You can see one of the rust holes, that we fixed later.


Clamped.


Finished at 11:30 PM, and sprayed primer on the welds. The next day I sandblasted an earlier patch, and primered everything.

I also bought the patch for below the taillight from LMC for $30.
#50
08-08-2014, 05:56 PM


#51
08-08-2014, 06:01 PM


#53
08-08-2014, 06:53 PM
#54
09-10-2014, 05:20 PM

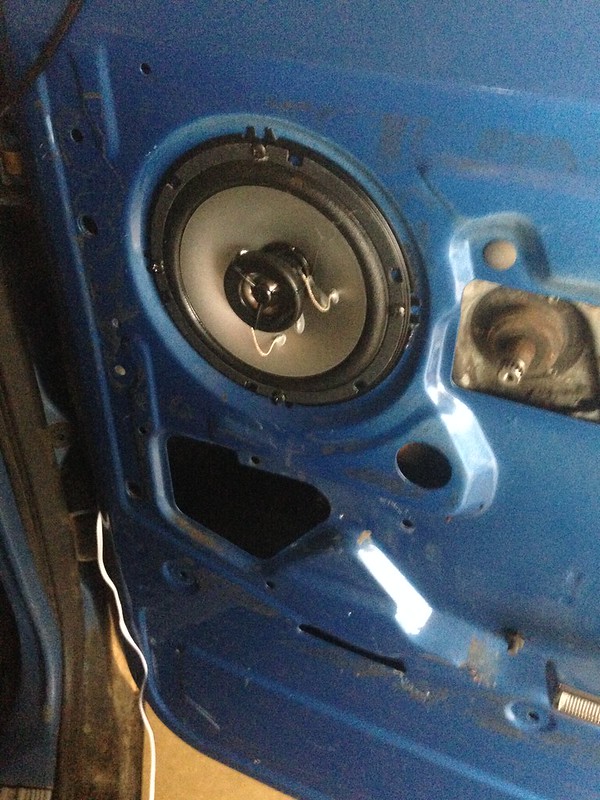
Not much of an update, ground down half the welds and primered the whole thing. It didn't turn out as nice as I hoped, and I may buy a full quarter, or a whole tub if I can get the money because there is still a lot of rust. I also blew out the right rear brake, and had a frustrating experience with the drivers door. First, the latch quit working, so I pulled the panel off, lubed everything and got it working. Put the panel back on, and then opened the door from the inside, and snapped the interior handle off! Drove to the junkyard, and paid way too much for the last handle they had, then went home. As I was mounting the new handle, I then broke my ratchet! I just bought a 1995 crown vic police interceptor to drive to college, so the bronco is sitting at home right now. My dad is going to fix the brake so I can drive it to a show before we put it in storage for the winter with my 49 ford.
#55
10-26-2014, 05:43 PM
If you do the next ones try flange plyers.
Cut out the same if you want or leave the panel as is.
Cut the rusted panel out about 1/4" smaller than the replacement panel. Use the plyers to put the "step" into the replacement panel.
Then fit the replacement panel into place behind the body, tak weld into place.
I have done this next step by doing factory type welding by using the spot weld method. That way the metal doesnt get to hot welding the entire piece up and warping the metal.
drill holes into the body just enough to see the front side of the replacement panel then weld into place. you can do as many spot welds as you want but its really persnal preference on how many and how big
After you grind all the welds flat use BondoGlass its just like Bondo/filler but has fiber glass in it and is a lot more stronger. Use this to fill in big gaps between the body and panel.
Then use bondo to smooth out, remember less bondo the better. More bondo you use the more chances of cracks.
Hopes this helps, ill be doing my Bronco sometime in the summer or this next year.
#56
10-26-2014, 11:16 PM


#57
10-29-2014, 08:32 AM


#58
01-22-2015, 08:29 PM
Senior User
Join Date: Jul 2009
Location: Twin Cities
Posts: 396
Likes: 0
Received 0 Likes
on
0 Posts
Thought I'd bounce over here and check out your project Bronco. Looks like you've put a lot of work into it! You've picked up some good scores on parts along the way as well.
Let me know if you come across another set of XLT back panels. I just have the plain fiber board ones in my '86.
Any parts besides the tub you are looking for still? I'll keep my eyes peeled if I find anything in my travels.
Let me know if you come across another set of XLT back panels. I just have the plain fiber board ones in my '86.
Any parts besides the tub you are looking for still? I'll keep my eyes peeled if I find anything in my travels.
#59
01-23-2015, 02:36 AM
Thank you! I've decided to try to replace the quarters, because that will look better than all the patches. So, I need quarters, a tailgate, a non AC dash and grey mesh bezels, A-pillar trim for trucks with a metal headliner, and looking for a rare underhood toolbox. Let me know if you need parts for yours, I still have a lot of extras. I might be buying an uncracked dash pad for it tomorrow!
#60
01-23-2015, 09:43 AM
Senior User
Join Date: Jul 2009
Location: Twin Cities
Posts: 396
Likes: 0
Received 0 Likes
on
0 Posts
I'll keep an eye out for those for you in case I run across something.
I'm pretty good on mine honestly. Mainly I'm looking for those XLT back panels, a rust free tailgate access panel (the one you take off from the inside), and a good front passenger seat frame. My passenger seat back adjustment is broken and it will dump, but not tilt.
Have you done the 3G alternator upgrade on yours that everyone talks about? I've been trying to find one of those 130 amp Taurus alternators with the correct mounting pattern for a while now to swap in. Never had luck finding one.