When you click on links to various merchants on this site and make a purchase, this can result in this site earning a commission. Affiliate programs and affiliations include, but are not limited to, the eBay Partner Network.
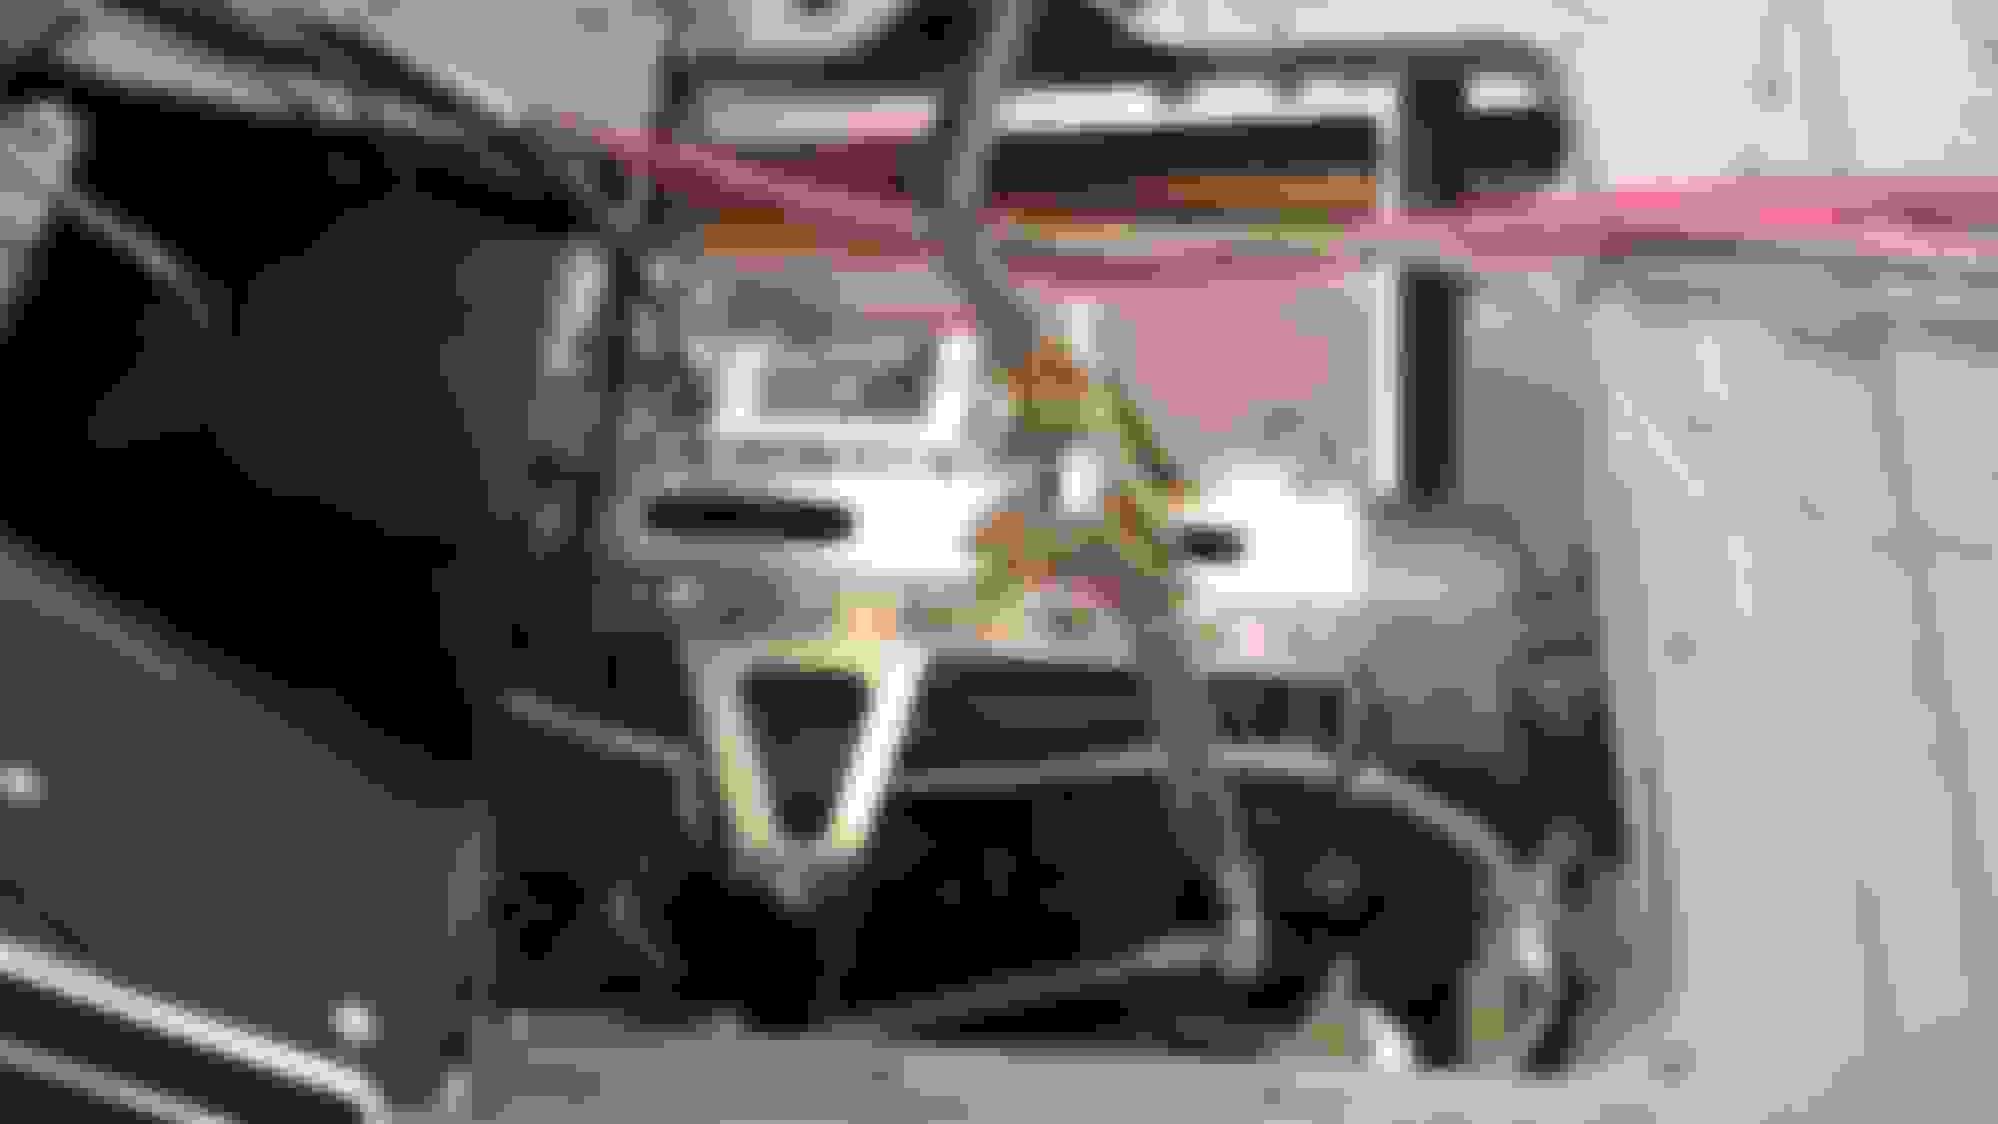
Yeah the C notch got a little deep. I added quarter inch plate steel to the sides and top to reinforce. The C notch itself is schedule 40 pipe as well. I jacked the truck up by the back of the frame and checked for any deflection but it didn't budge. I still may add another brace to the top now that the bed floor is being raised.
I managed to get my exhaust mocked up and tacked together. I'll pull it off tomorrow and take it for finish welding. What a PITA doing by yourself.
Did the new hood fix your problem? Mine also bows in the middle on the cab side. Sticks up about 1/4". Everything else looks good
Originally Posted by bct222
Installed the hood tilt kit this past weekend. Functions well but I am having a problem with the the repo Blue Oval hood. No matter what I adjust I can not get the hood and fenders to mount flush. The arc of the hood appears to be off by as much as 1/4 inch. I can get the rear corner of the hood and front corners lined up properly but the edge of the hood is high in the middle. There are no adjustment rods with a tilt kit so I am at a loss. I also checked fender alignment with a stock hood and it is good.
Anyone ever have a similar problem and how did you correct it?
On my panel I have the re-popped fenders and an original hood. The right fender lines up perfect with the hood but the left fender does exactly what you describe, both front and rear line up but �" low in the center..
In this pic you can see the gap is pretty consistant . I would say it is no more than an 1/8 inch diffeferwnce hood to fender befire we body worked it.
Bad A$$ build there brother. Got some cool ideas for my build especially the door handles. I was leaning towards the poppers to give it that "clean" look but after seeing your install on them I believe you convinced me to go that route.
Keep up the great job on your build and hope to see it through...Al
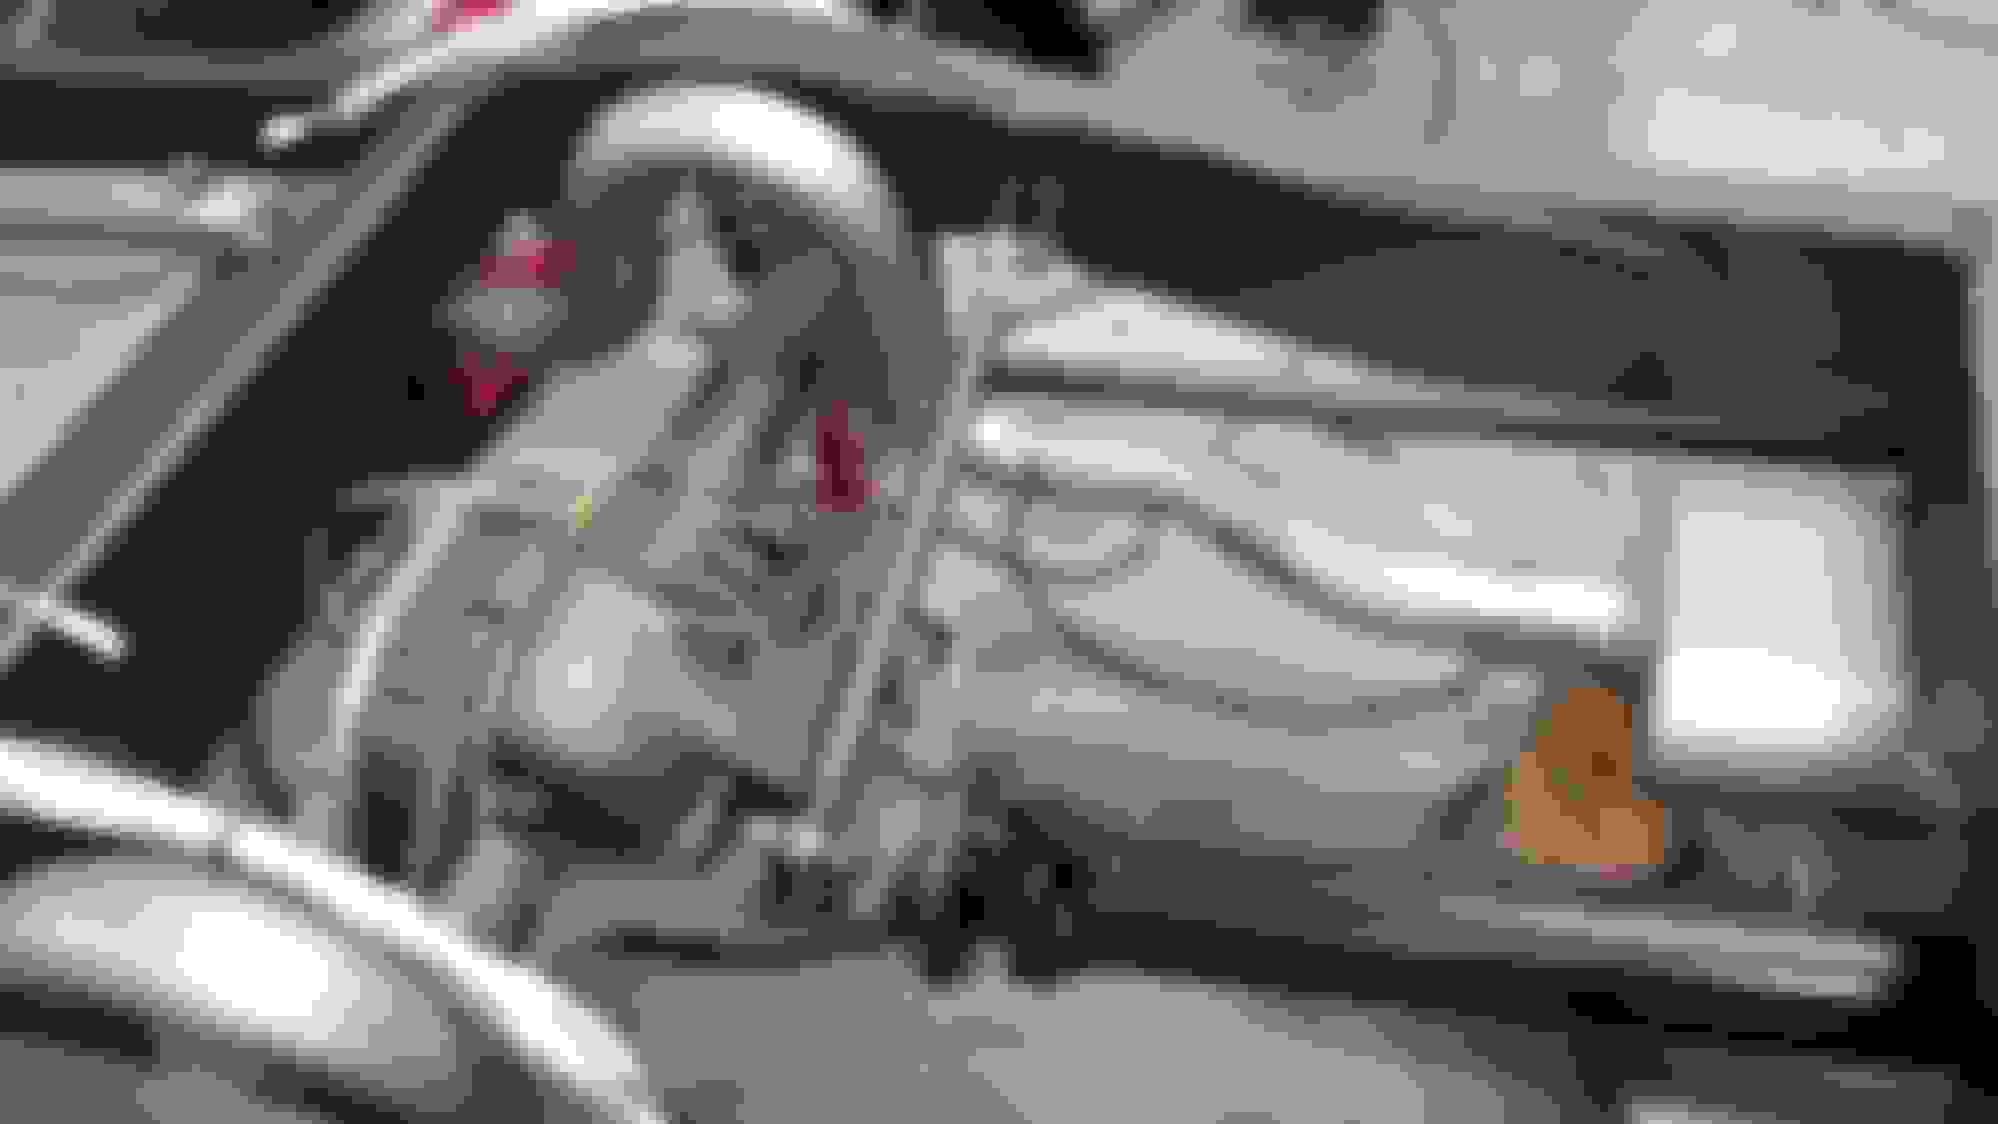
I was noticing the shots you posted on your Wilwood's. They looked black but it could be the angle of the shot taken with the lighting. Can you clarify for me? Thanks...Al
I was noticing the shots you posted on your Wilwood's. They looked black but it could be the angle of the shot taken with the lighting. Can you clarify for me? Thanks...Al
The rotors are electocoated black. The surface area under the brake pads will wear off during break in and will be raw metal like normal rotors.
I have been working a lot but got the frame re-enforced, exhaust installed, brake pedal installed and tires mounted. Here's another teaser photo until I get the bed back from paint and get it installed.
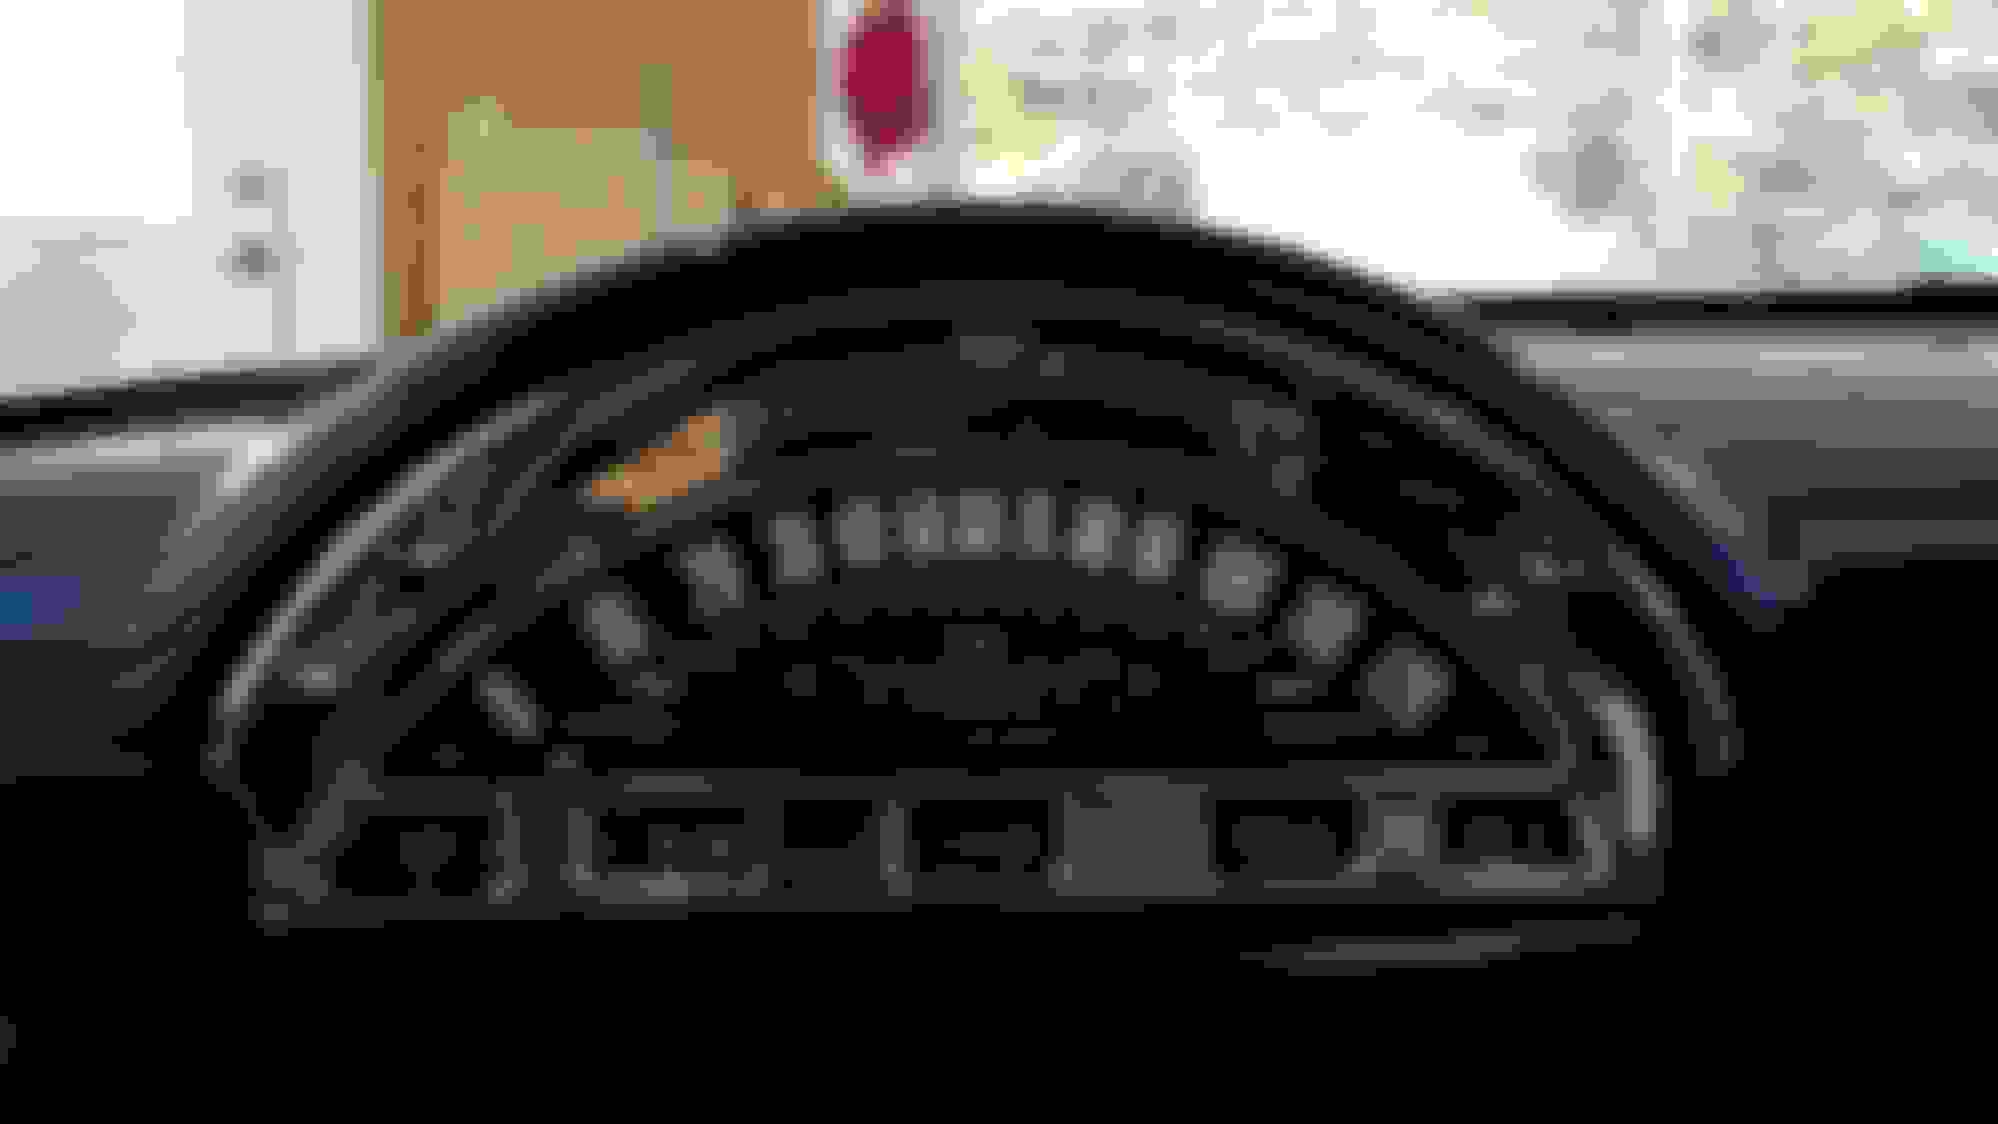
It's been a while since I have posted. I have been working a ton but have managed to get a bunch done. I reinforced the C notch, redisgned the brake pedal and had it poweder coated, installed the gauges, installed the shifter and kick down able and modified the tranny cover.
The truck is ready to start but I am going out of town for a week. I'll post a video when I fire it up.
Classic Instruments gauge cluster. Stock looking but all modetn electronics. Plus it has a tach.
Lokar shifter and kick down cable.
Tranny tunnel cover cut to fit shifter. Next comes the sound insulation.
 07-31-2016, 05:53 PM