When you click on links to various merchants on this site and make a purchase, this can result in this site earning a commission. Affiliate programs and affiliations include, but are not limited to, the eBay Partner Network.
Been working on all the little stuff while I wait on parts and my bed and fenders from the painter. I managed to get the fuel cell re-painted and mounted for the last time. I been painting all the stuff you will not see like the battery cover and transmission tunnel cover.,etc.
Tomorrow I will fabricate the battery cables and install a cut off switch.
My bed has minintubs in it and the holes for the cross member are missing on the bed sided because of the tubs. I will move them an inch or so from the stock location once I make the bed frame. Since I am raising the bed floor I am not certain exactly where I will place them.
I have not been posting as I really haven't done anything picture worthy. I reconditioned my head light buckets and park light assemblies. Should have the grill back next week from paint.
I ordered a Lokar Elimintor gas pedal and installed it and a Lokar throttle cable.
I also made up battery cables and grounded the truck. I started wiring the fuel pump and sending unit as well.
[I]I sanded the buckets to clean them up and sprayed them with Eastwood rust inhibaton.
I cleaned up the park light frames and will spray them with rust inhibator after I pick up another can. I'll give the fronts a coat of silver paint.
I removed the single element bulb sockets and replaced with dual element sockets.
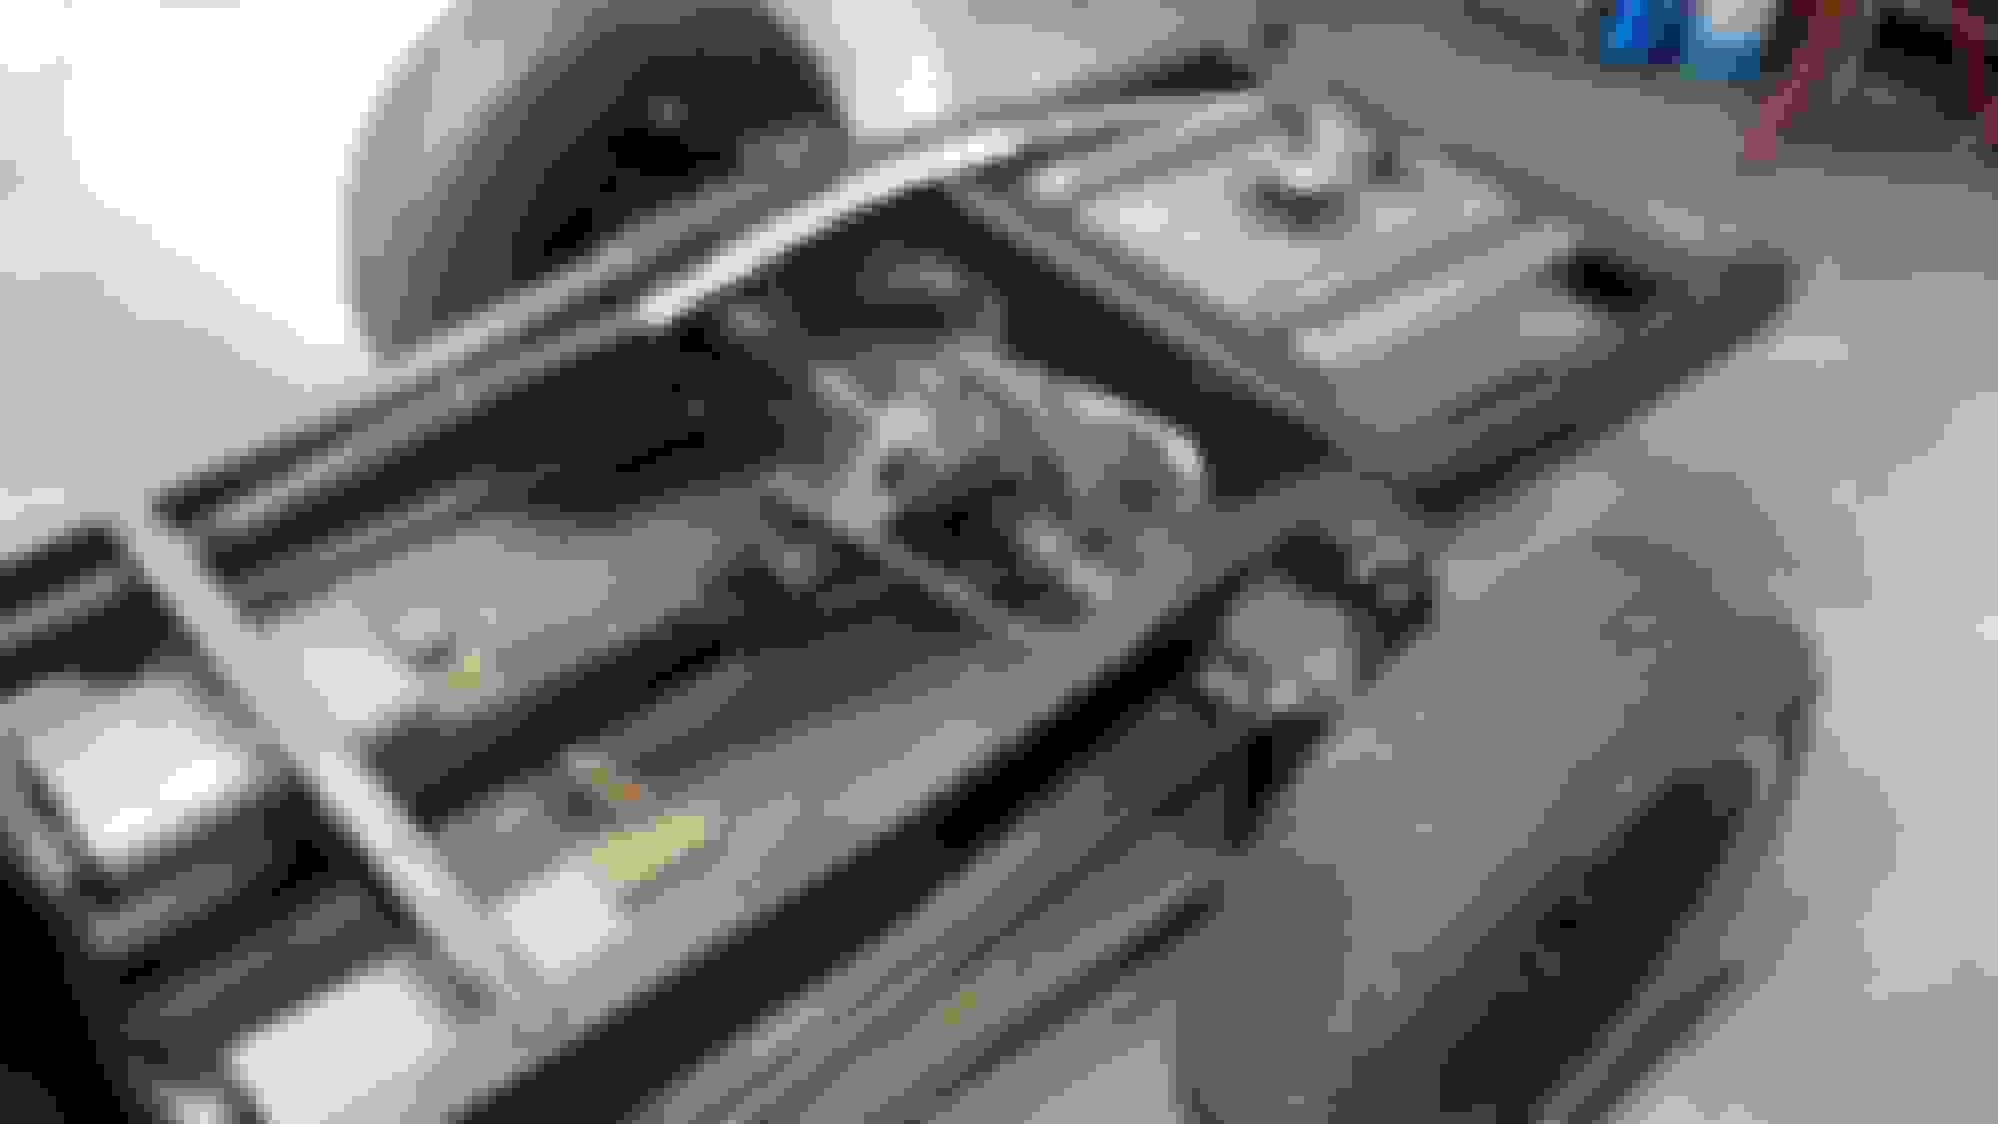
Lokar eliminator pedal. The pedal linkage is on the fire wall eliminating everything inside.
The linkage looking up at it from the ground. Pretty slick, it even has stops to set to prevent stretching or pulling loose the throttle cable.
I have not been posting as I really haven't done anything picture worthy. I reconditioned my head light buckets and park light assemblies. Should have the grill back next week from paint.
I ordered a Lokar Elimintor gas pedal and installed it and a Lokar throttle cable.
I also made up battery cables and grounded the truck. I started wiring the fuel pump and sending unit as well.
[I]I sanded the buckets to clean them up and sprayed them with Eastwood rust inhibaton.
I cleaned up the park light frames and will spray them with rust inhibator after I pick up another can. I'll give the fronts a coat of silver paint.
I removed the single element bulb sockets and replaced with dual element sockets.
Lokar eliminator pedal. The pedal linkage is on the fire wall eliminating everything inside.
The linkage looking up at it from the ground. Pretty slick, it even has stops to set to prevent stretching or pulling loose the throttle cable.
Looking good. I have the eliminator, but still haven't mounted it because I'm waiting to decide on a seat so I can get it in a close to comfortable position. I like seeing them mounted for ideas. Thanks!
27 days to go and it is not looking like I'll make it.
I was at the body shop today and everything is done except the bed. Unfortunately we had a hail storm two weeks ago and they are swamped with insurance work. Not sure if I will get it back in time to install it and still button everything up.
At this point I am getting so close to getting it done I do not want to rush it and screw something up. It's been nearly three years since I got the truck so what's a few more weeks.
Anyway on with the build. Today I finished painting and assembling my head light buckets and turn signal basses. I also installed the new fuel pump relay and wiring I got from FAST.
I have been really busy at work but have managed to get a bunch of stuff done . Finished some wiring, torqued everything, plumbed the brake lines. Nothing really picture worthy.
I found out I probably won't get my seats in time. Lesson learned., if you need it it in two months, order it four months ahead of time.
I did get a few parts from paint. Here's a teaser shot until I get it all bolted together for the last time.
Very cool build, but that C notch would scare me enough not to drive the truck. With all the suspension load behind it one good whoop de do in the road could fold up that frame. If it were mine I would add steel over top as was mentioned earlier.


 06-25-2016, 05:13 PM