1948 - 1956 F1, F100 & Larger F-Series Trucks Discuss the Fat Fendered and Classic Ford Trucks

New member, another build.

Thread Tools
 
Search this Thread
 
  #91  
Old 12-31-2015, 12:25 PM
Aloha-boy's Avatar
Aloha-boy
Aloha-boy is offline
Senior User
Join Date: Dec 2003
Location: LV, NV
Posts: 143
Received 3 Likes on 2 Posts
Beautiful!
 
  #92  
Old 12-31-2015, 02:51 PM
c91x's Avatar
c91x
c91x is offline
Senior User
Join Date: Feb 2015
Location: Arizona
Posts: 387
Likes: 0
Received 1 Like on 1 Post
Looks really good.
 
  #93  
Old 01-02-2016, 10:23 PM
bct222's Avatar
bct222
bct222 is offline
Senior User
Thread Starter
Join Date: May 2014
Location: Carlisle, Pa
Posts: 194
Likes: 0
Received 0 Likes on 0 Posts
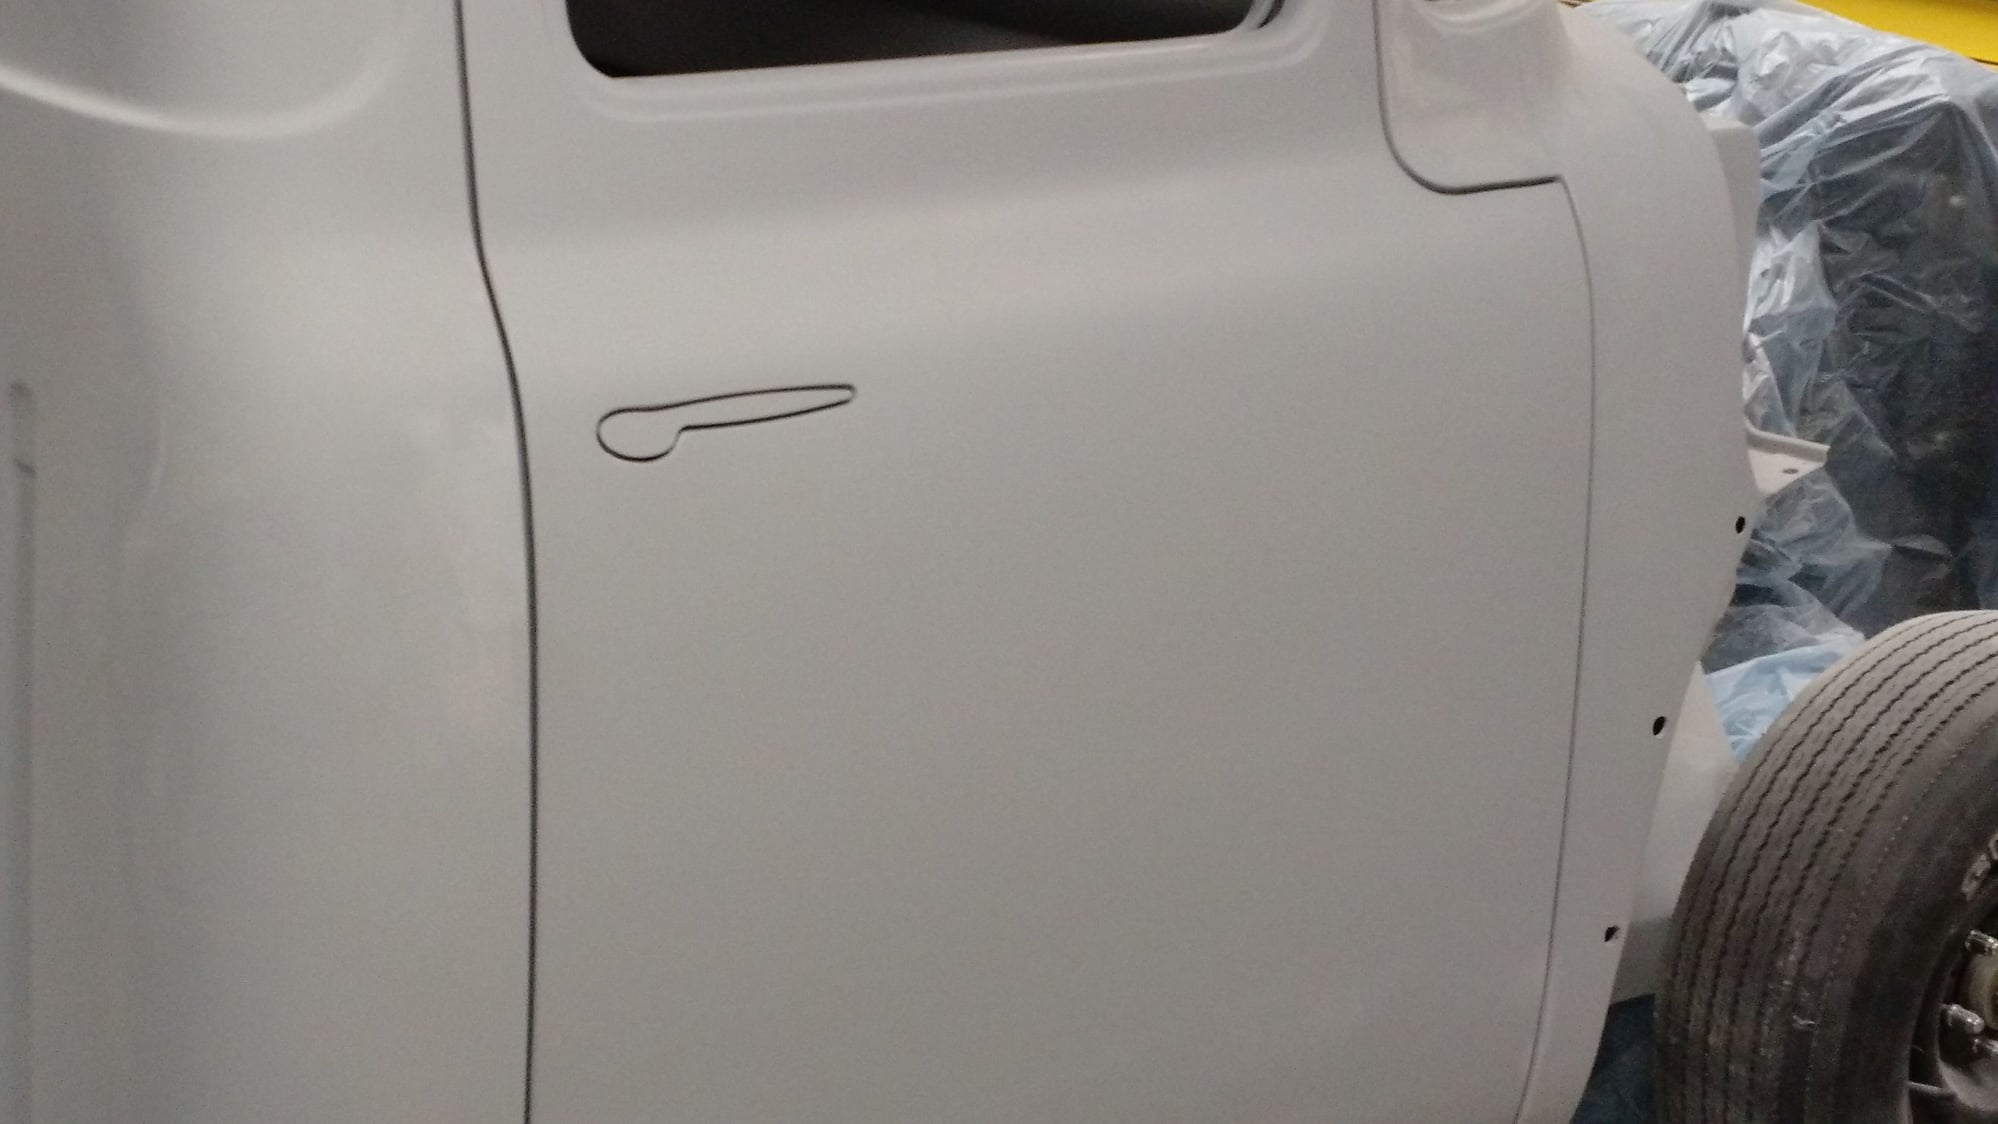
Thanks , it was well worth the effort. Finished with the doors today and we got the handles primered and reinstalled. Once painted they will almost disappear.


  #94  
Old 01-09-2016, 08:04 PM
bct222's Avatar
bct222
bct222 is offline
Senior User
Thread Starter
Join Date: May 2014
Location: Carlisle, Pa
Posts: 194
Likes: 0
Received 0 Likes on 0 Posts
The hood always flexes during sanding so we fabricated some braces to attach to the hood tilt mechanism. . The braces will also keep the the hood from flexing going down the road.


  #95  
Old 01-16-2016, 09:19 PM
bct222's Avatar
bct222
bct222 is offline
Senior User
Thread Starter
Join Date: May 2014
Location: Carlisle, Pa
Posts: 194
Likes: 0
Received 0 Likes on 0 Posts
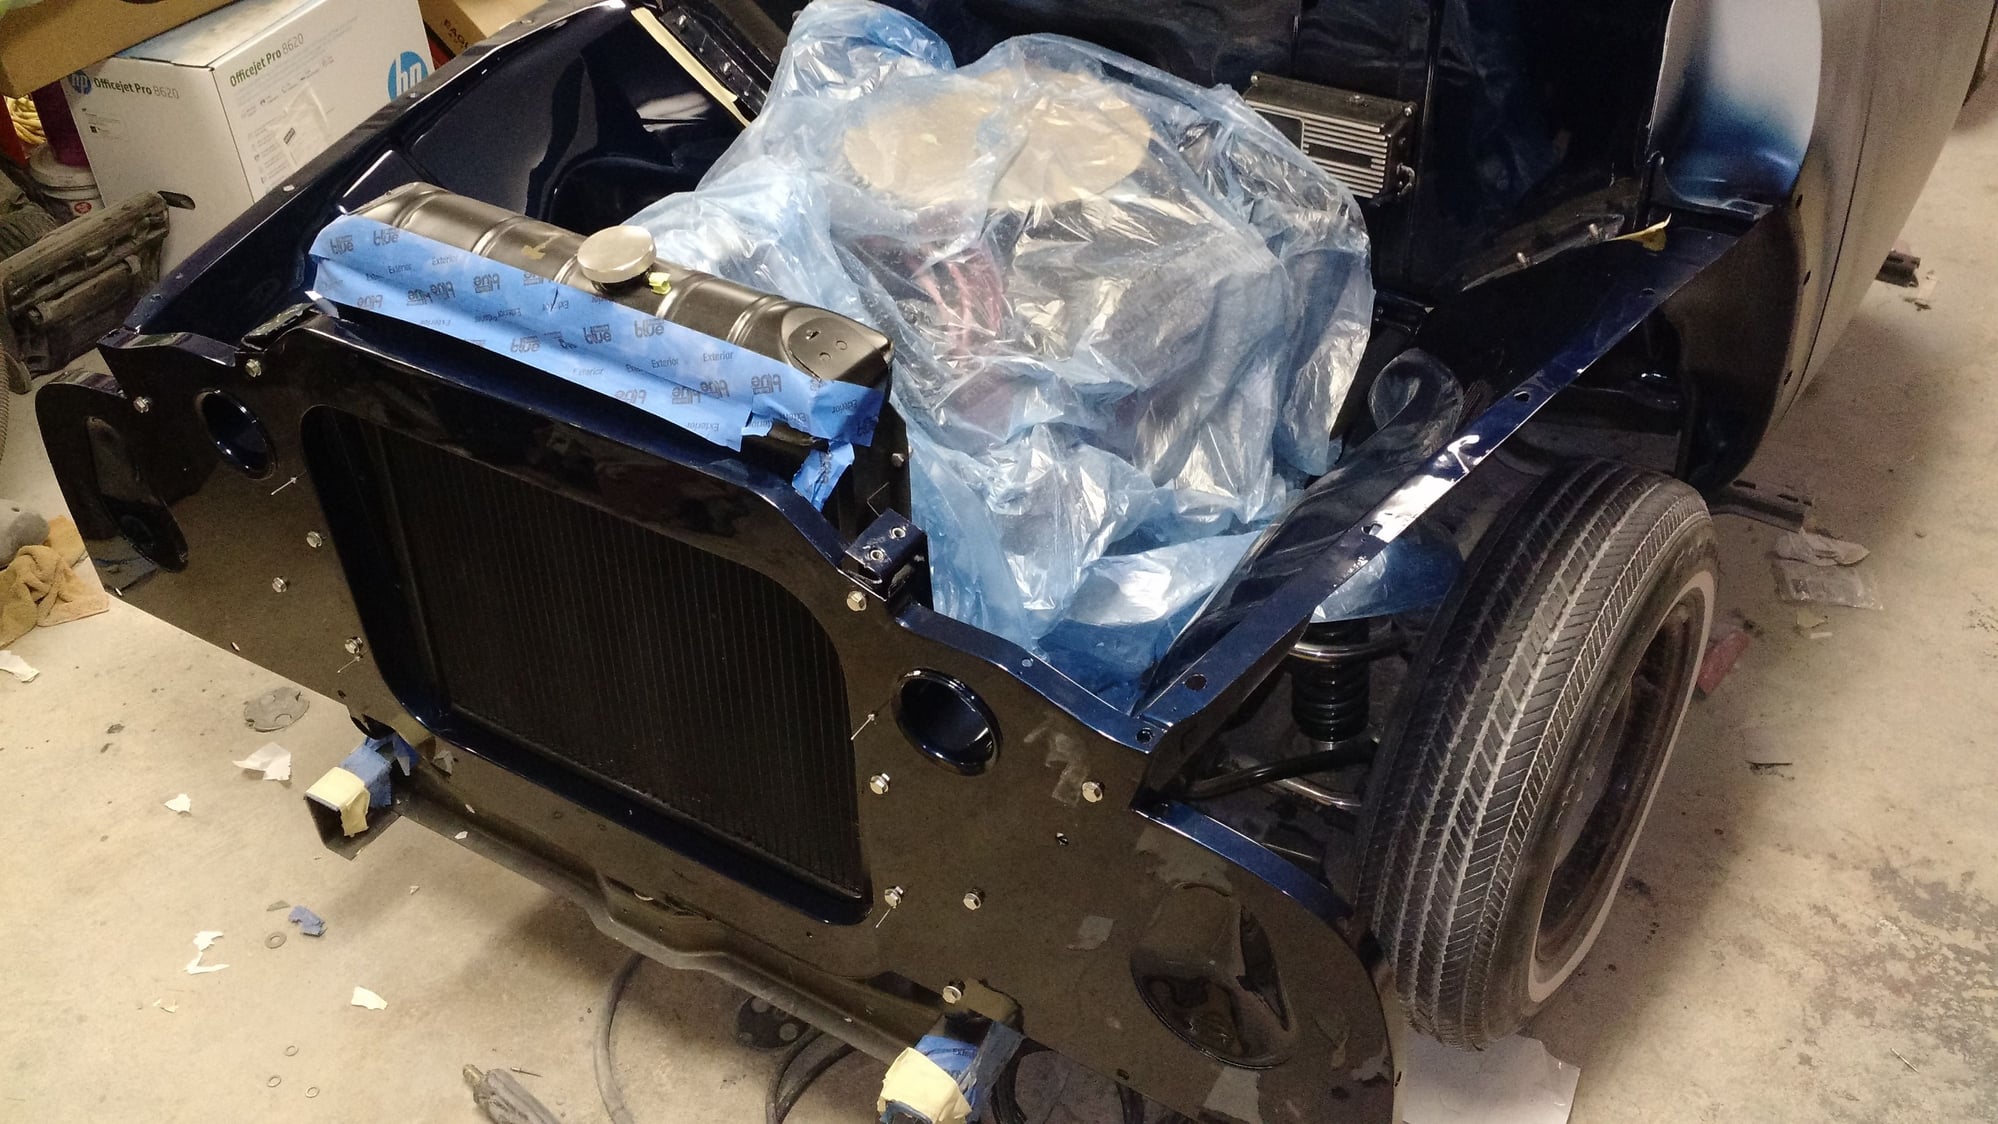
Finally started throwing some color today. We stared with all the underhood panels. It's hard to see but the pearl really pops when the light hits it.


  #96  
Old 01-21-2016, 01:13 PM
bct222's Avatar
bct222
bct222 is offline
Senior User
Thread Starter
Join Date: May 2014
Location: Carlisle, Pa
Posts: 194
Likes: 0
Received 0 Likes on 0 Posts
Inner panels all done. Once the fenders are re installed it will make it's way to the paint booth. Finally !


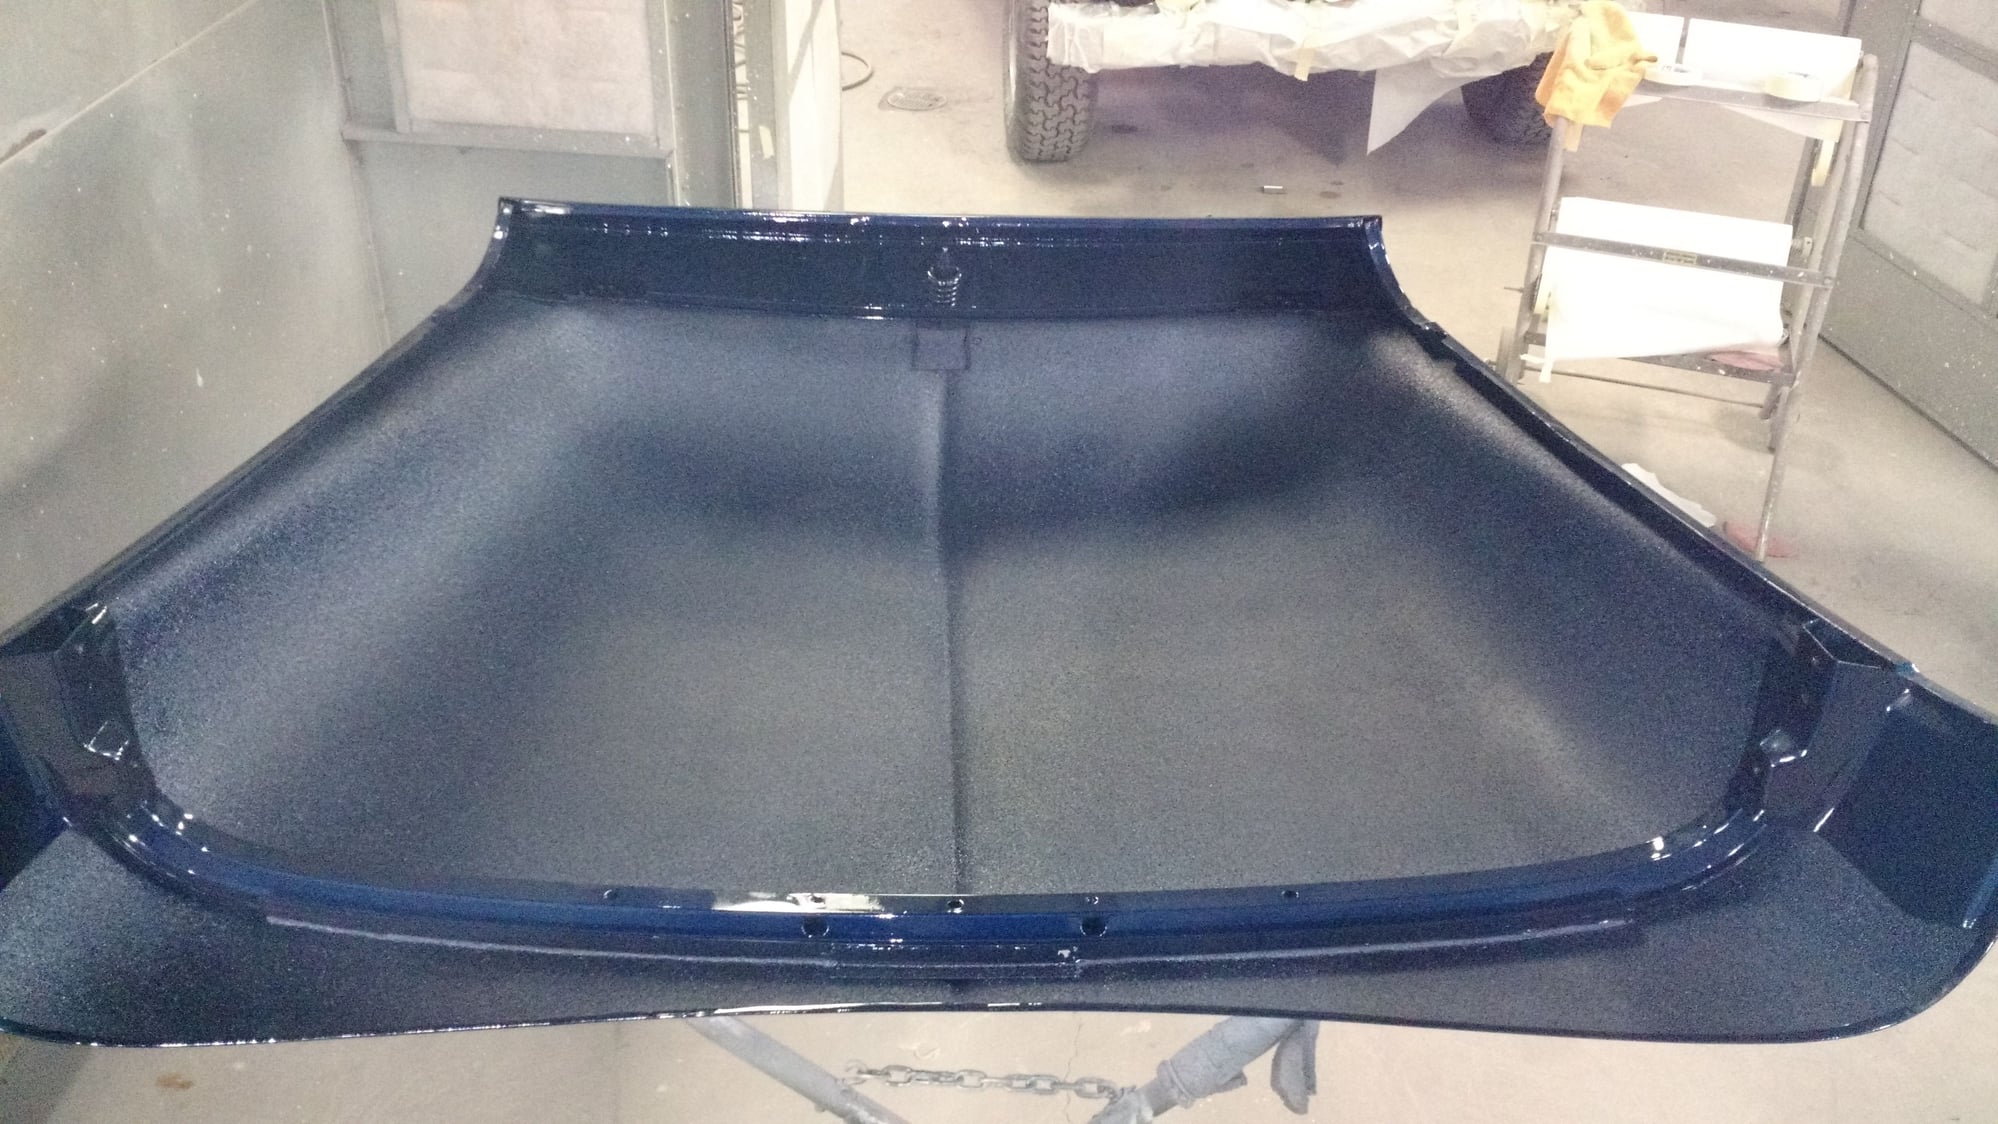
The underside of the hood was a little wavy from dent repairs so we painted it with truck bed liner tinted with the paint.


  #97  
Old 01-21-2016, 02:01 PM
topmoo's Avatar
topmoo
topmoo is offline
Postmaster
Join Date: Aug 2003
Location: Houston
Posts: 3,222
Likes: 0
Received 3 Likes on 3 Posts
Very nice, I like the inside of the hood with tinted bed liner. Your painting skills look great.
 
  #98  
Old 01-21-2016, 02:18 PM
OldGrayMare's Avatar
OldGrayMare
OldGrayMare is offline
Senior User
Join Date: Apr 2010
Location: Ga.
Posts: 381
Likes: 0
Received 0 Likes on 0 Posts
Originally Posted by bct222
Thanks , it was well worth the effort. Finished with the doors today and we got the handles primered and reinstalled. Once painted they will almost disappear.


I'm just curious, why did you choose these door handles instead of going with door poppers that are totally hidden. Great fab work by the way.
 
  #99  
Old 01-21-2016, 06:46 PM
bct222's Avatar
bct222
bct222 is offline
Senior User
Thread Starter
Join Date: May 2014
Location: Carlisle, Pa
Posts: 194
Likes: 0
Received 0 Likes on 0 Posts
topmoo:

Wish I could say I did the paint work but I just help with the fabrication and prep work.
Rich Clark of Clark's Auto Body will be doing all the spraying.

Oldgraymare:

I decided to use the door handles because they are a nice compromise between normal handles and poppers. They will blend in but still be functional and be a unique feature. I like for people to have to study a build to see the customization.
 
  #100  
Old 02-03-2016, 08:36 PM
bct222's Avatar
bct222
bct222 is offline
Senior User
Thread Starter
Join Date: May 2014
Location: Carlisle, Pa
Posts: 194
Likes: 0
Received 0 Likes on 0 Posts
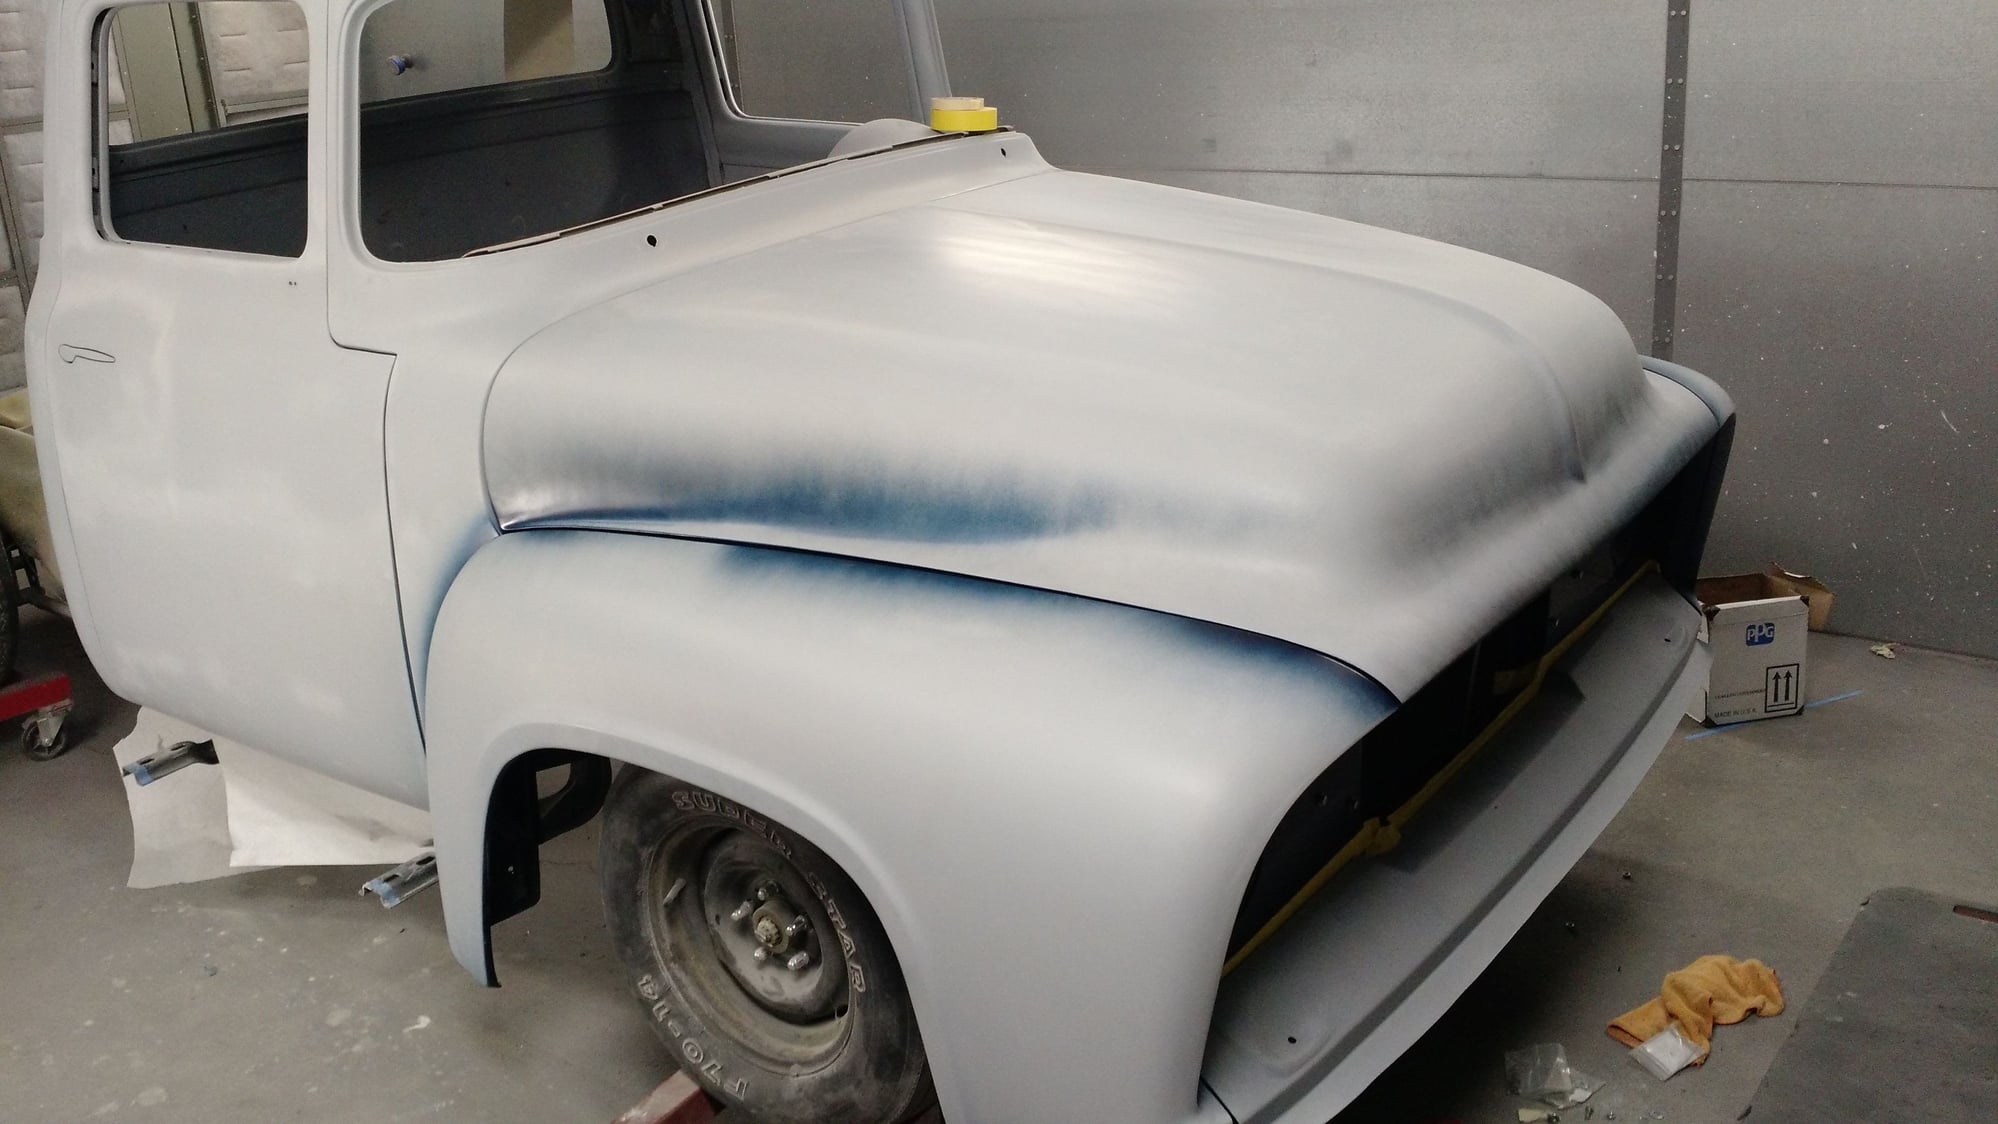
Front end bolted back together and into the spray booth , finally !!


  #101  
Old 02-06-2016, 05:20 PM
bct222's Avatar
bct222
bct222 is offline
Senior User
Thread Starter
Join Date: May 2014
Location: Carlisle, Pa
Posts: 194
Likes: 0
Received 0 Likes on 0 Posts
  #102  
Old 02-07-2016, 01:25 PM
56panelford's Avatar
56panelford
56panelford is offline
FTE Legend
Join Date: Oct 2005
Location: northwestern Ontario
Posts: 262,903
Received 4,120 Likes on 2,649 Posts
Looking good...
 
  #103  
Old 02-10-2016, 09:41 PM
bct222's Avatar
bct222
bct222 is offline
Senior User
Thread Starter
Join Date: May 2014
Location: Carlisle, Pa
Posts: 194
Likes: 0
Received 0 Likes on 0 Posts
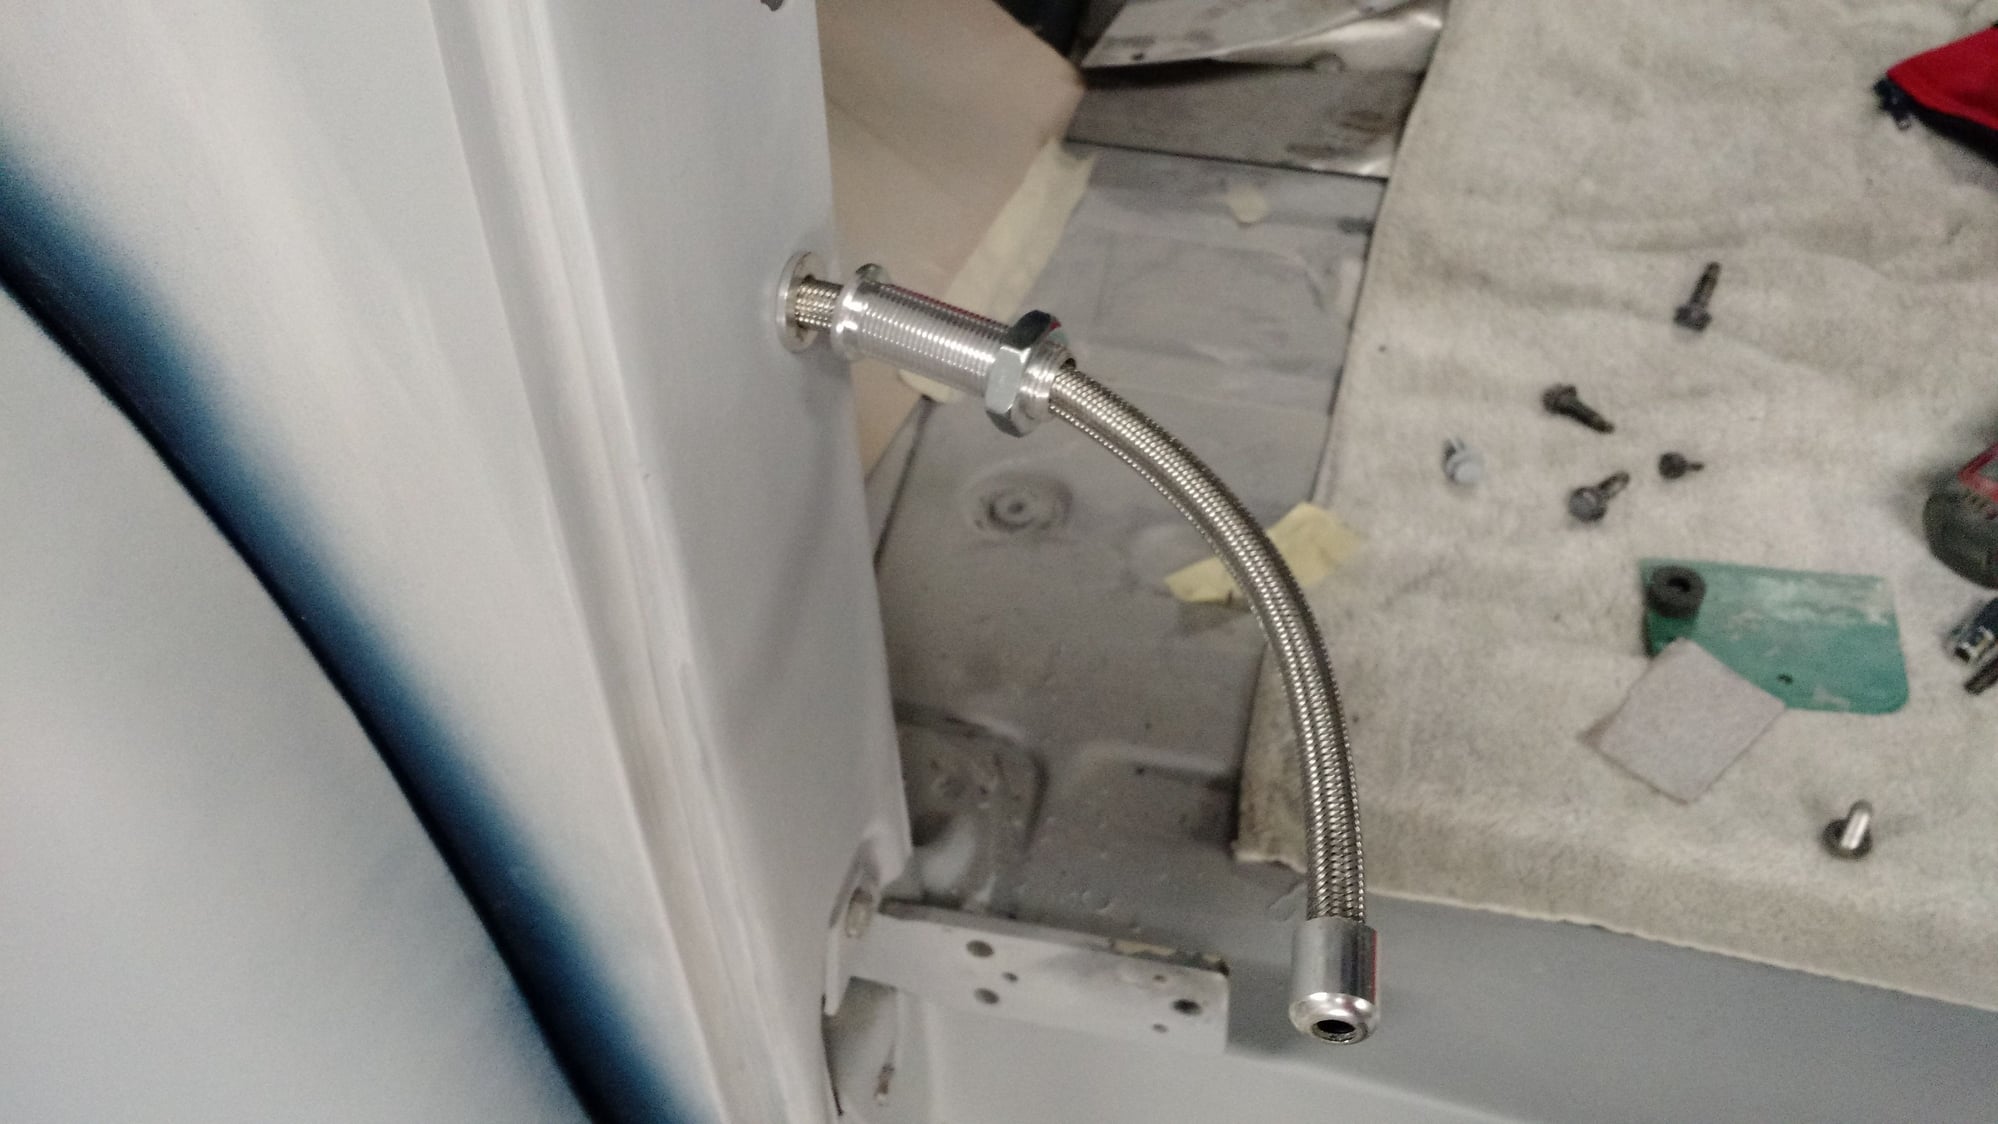
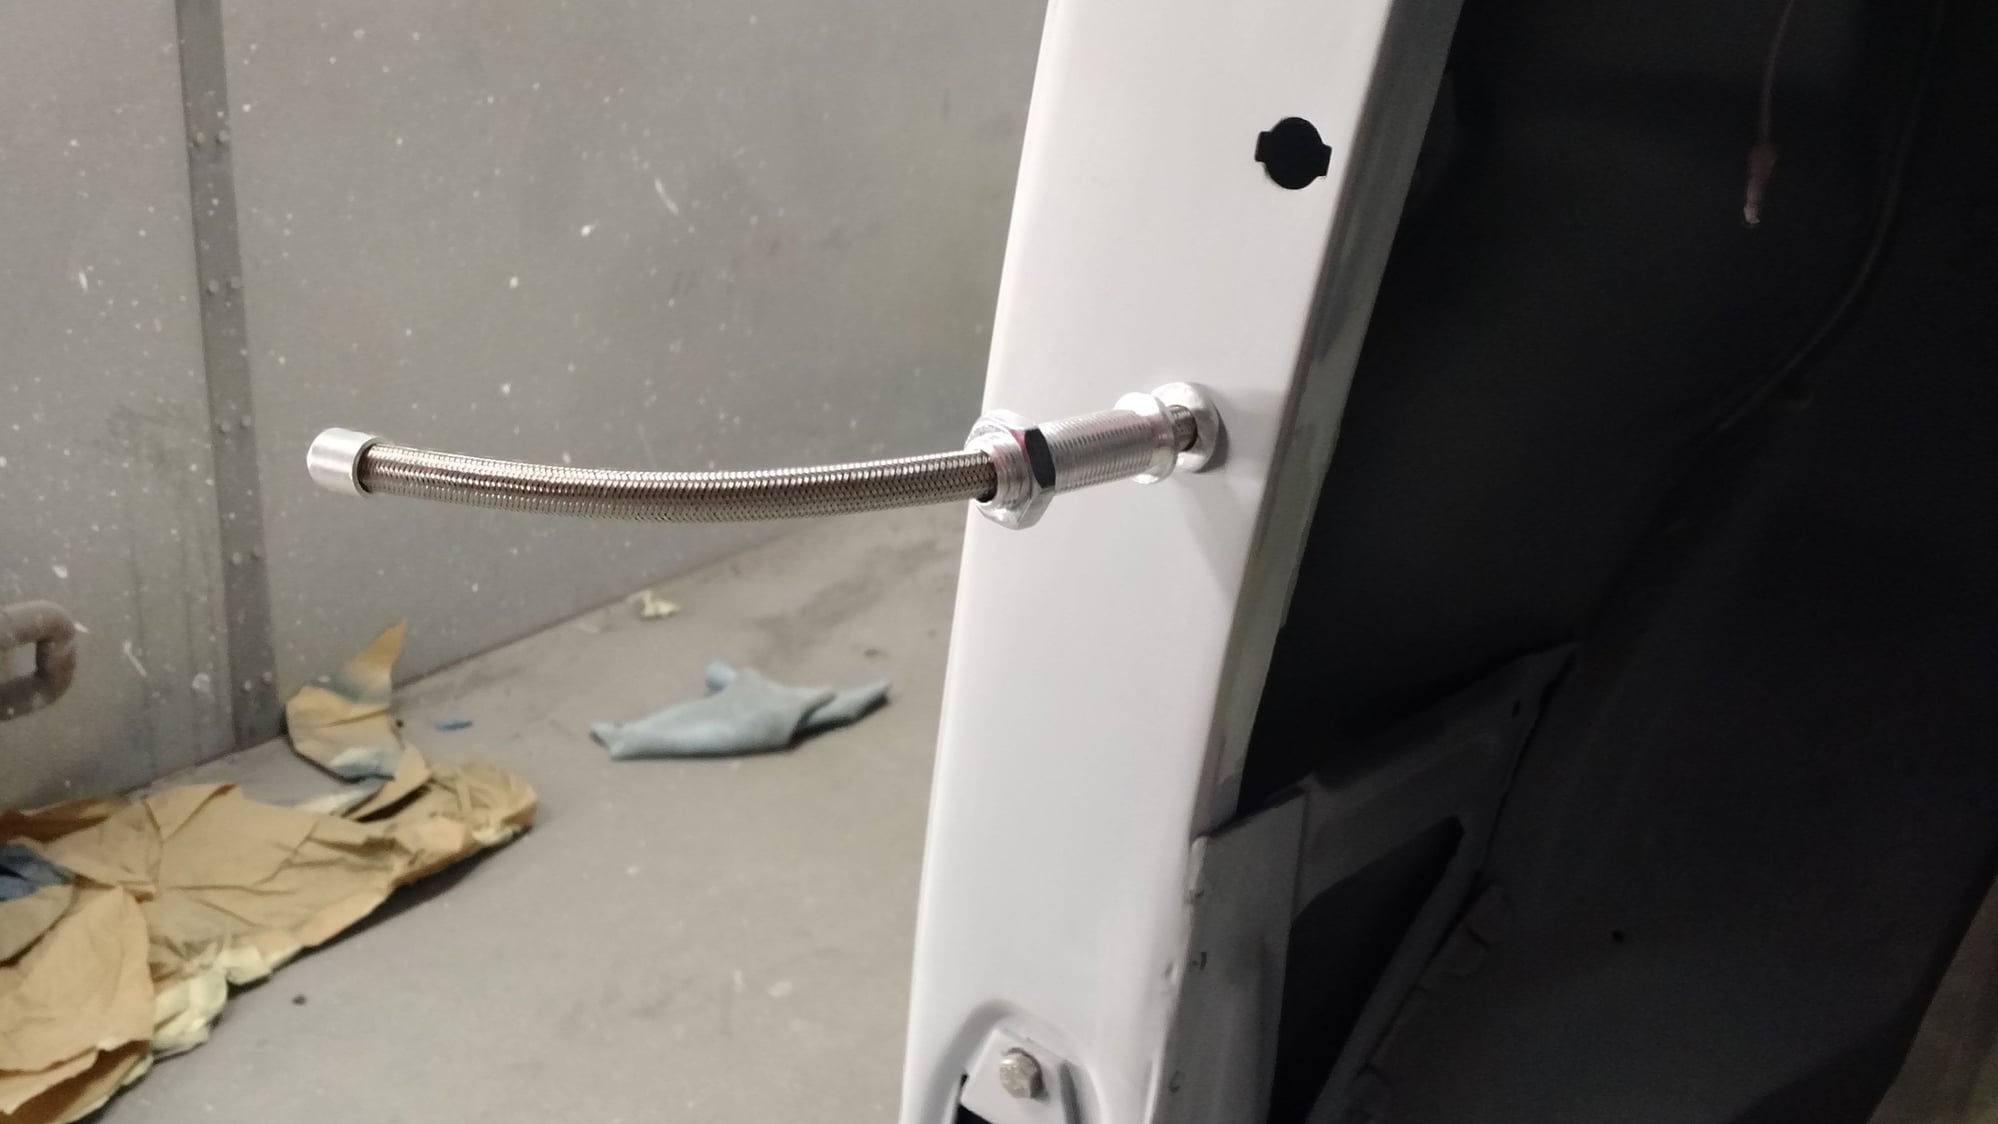
A few last minute details before paint. Fitted stainless wire looms from Mid Fifty.


  #104  
Old 02-11-2016, 08:21 AM
schoo's Avatar
schoo
schoo is offline
Logistics Pro
Join Date: Mar 2012
Location: placer county usa?
Posts: 4,332
Received 13 Likes on 12 Posts
Originally Posted by bct222
The hood always flexes during sanding so we fabricated some braces to attach to the hood tilt mechanism. . The braces will also keep the the hood from flexing going down the road.


I have been thinking about some thing along this for my hood could you show a close up of the contact points and some info on how it helps control the flexing did you weld it to the hood or ?no not welded I see some bolts in the field are there bumpers
 
  #105  
Old 02-11-2016, 08:55 AM
MattK1's Avatar
MattK1
MattK1 is offline
Junior User
Join Date: Feb 2016
Posts: 62
Likes: 0
Received 1 Like on 1 Post
The build looks fantastic! Please keep the updates coming.


Quick Reply: New member, another build.


All times are GMT -5. The time now is 06:16 AM.