When you click on links to various merchants on this site and make a purchase, this can result in this site earning a commission. Affiliate programs and affiliations include, but are not limited to, the eBay Partner Network.
Thanks for the replies. Now that the body shop is going to have it I need to make a decision on a few last minute changes. I have been looking at these flush mount door handles from Kendigit designs. What do you guys think?
SVT , the real fun will start when it gets back from paint !
I also like the Master cylinder set up. I've been thinking of doing this on my build, but how would you go about checking brake fluid when the truck is finished? Access panel on the firewall?
I also like the Master cylinder set up. I've been thinking of doing this on my build, but how would you go about checking brake fluid when the truck is finished? Access panel on the firewall?
I will have an access panel built into the center console. I will use a mechanics inspection mirror to check the level. The kit came with a filler bottle with an angled nossle to fill from the side or underneath.
Got the bed back from sand blasting and had it primered. It will have to sit in storage until they are done with the cab. Good thing I'm a patient person because this taking forever.
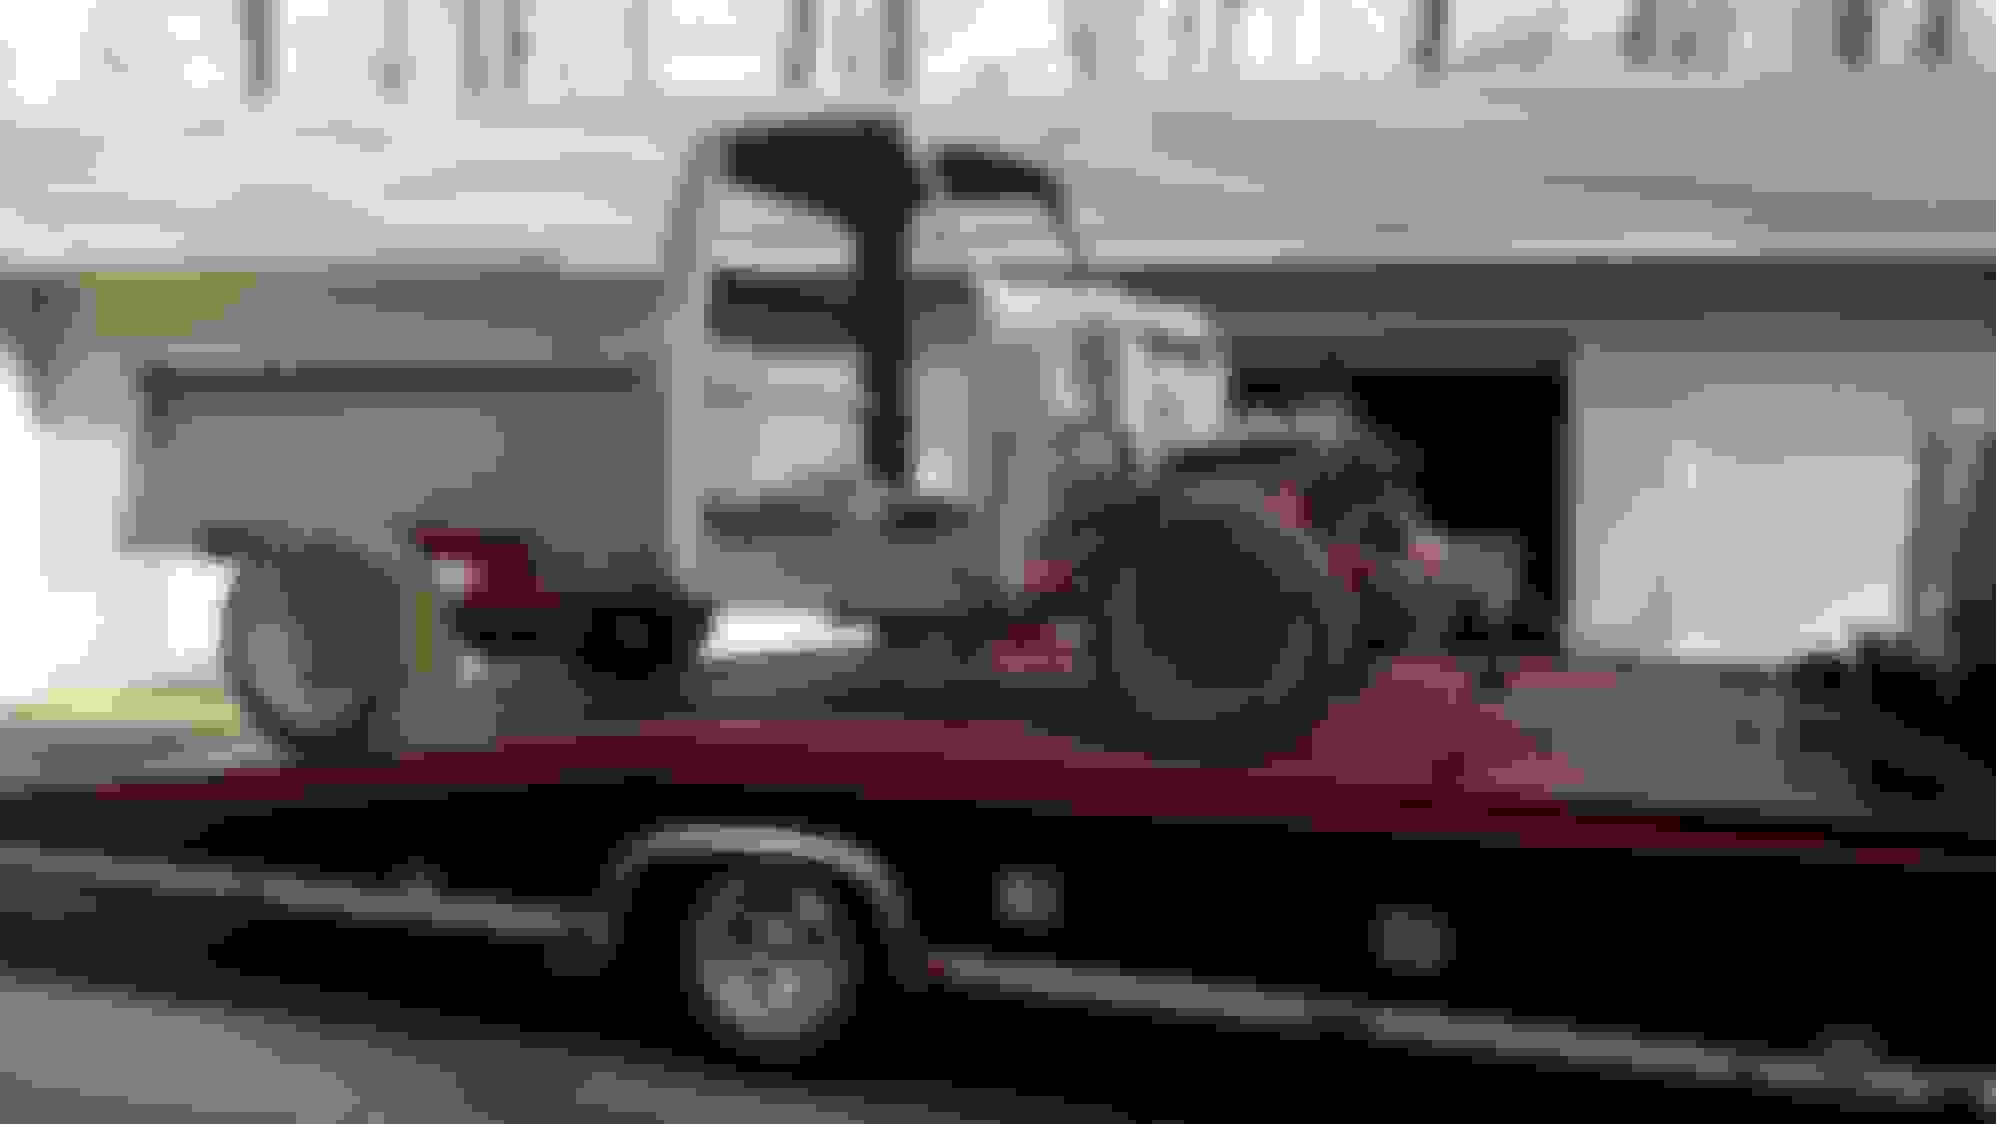
So what is a man to do while waiting for his truck to get painted ? Build another of course. If you have been following this build you will have discovered I originally bought a 1953 Effie as a project. I later discovered my body shop had a 1956. I purchased the 56 and used the cab on my 53 chassis . This left me with another almost complete truck.
I was originally going to build a shop truck , rustomod but the cost to build the 56 keeps climbing ( funny how that works ). I decided to sell the 53 so I'll start another build thread in this build thread
When it's complete I'll list it in the for sale section.
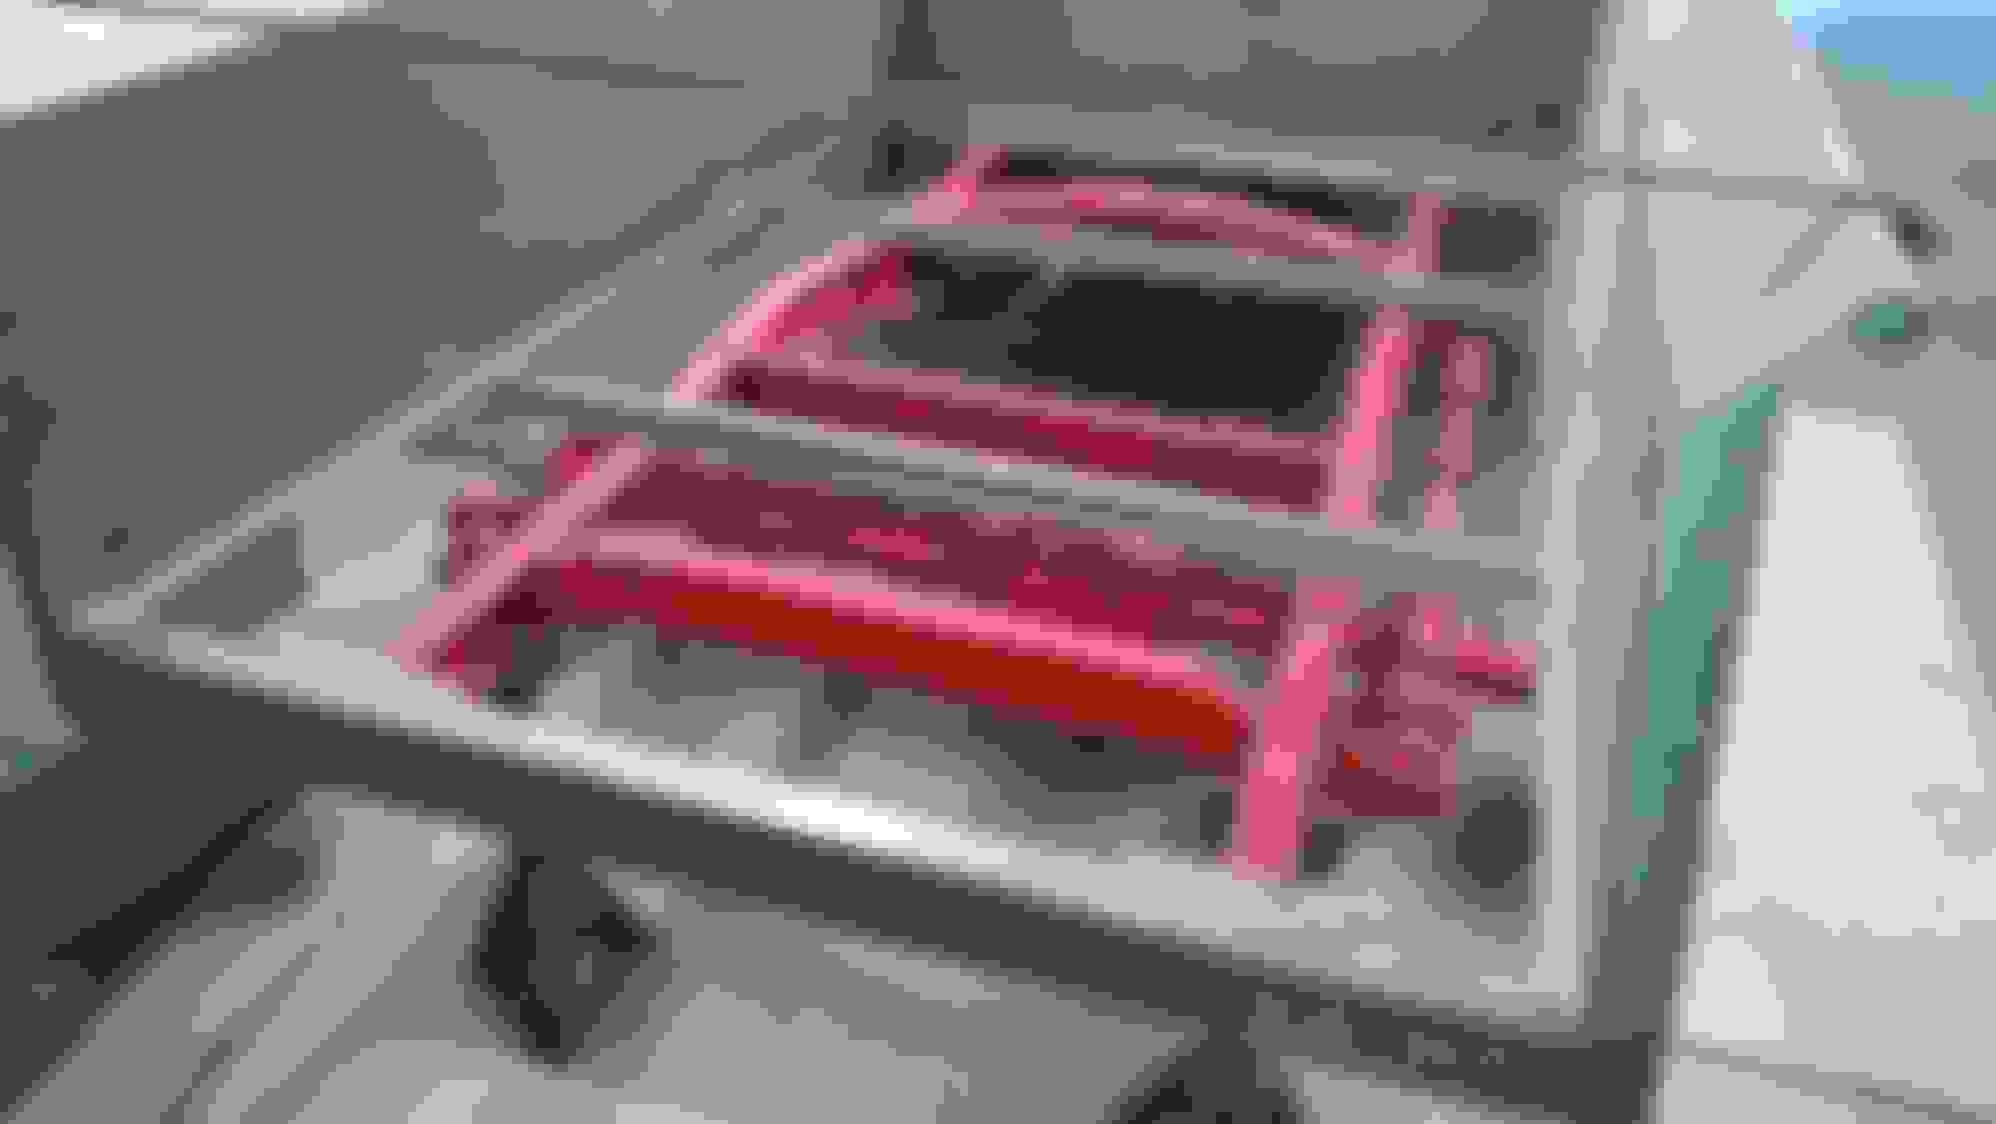
A few quick details:
Stock frame with Camaro front clip
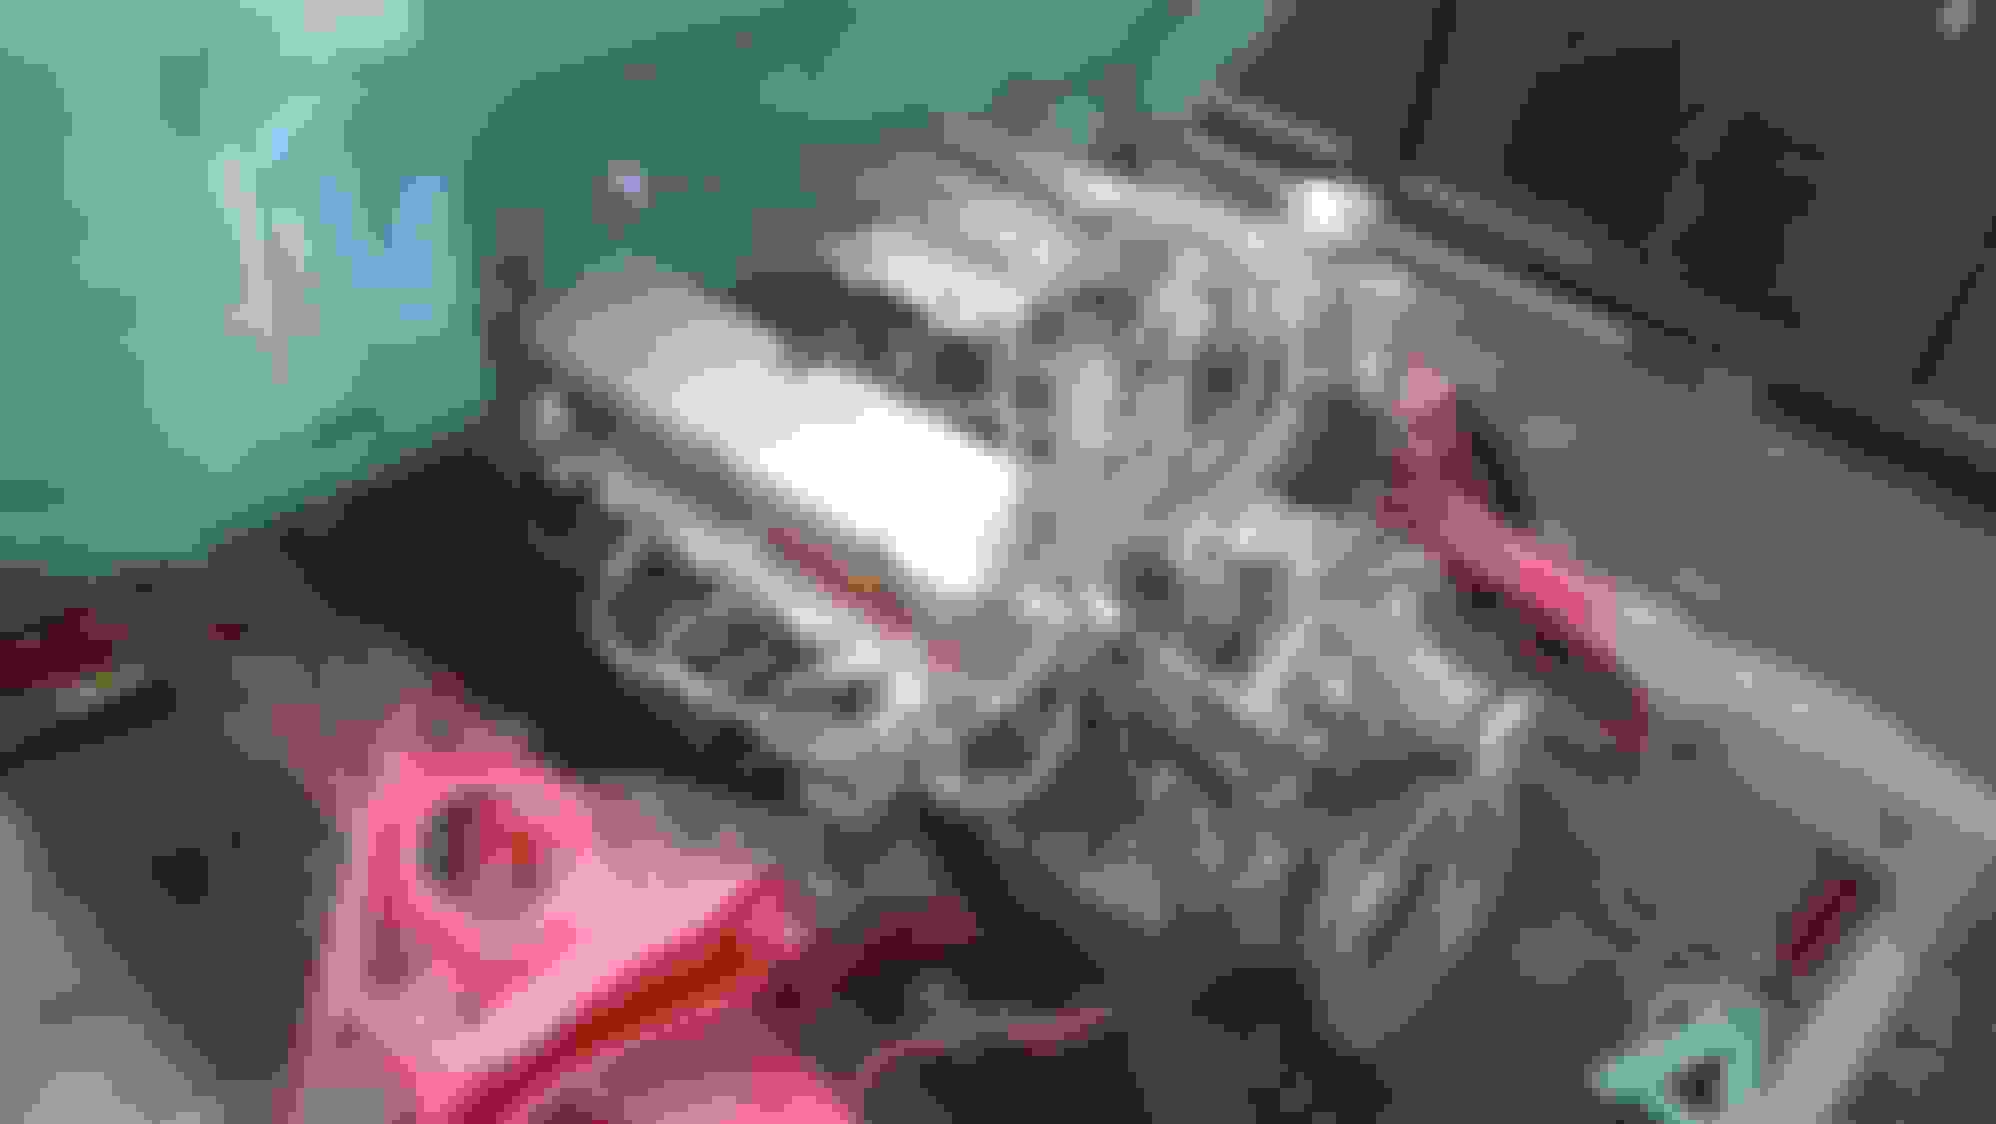
351 c.i with C4 automatic
Ford 9" rear
New aftermarket hood
Stock front fenders
Stock 53 cab with smoothed firewall
Stock doors
Aftermarket bed and rear fenders
Stock tailgate
Been waiting on paint work all this time and it is starting to slowly show up. We shot a rear fender with Lexus Indigo pearl but I was not happy with the color. It had too much metal flake and was not quite dark enough.
Switched to Chevy Indigo pearl and played with the pearl amounts.
The paint body shop has been taking forever but they do excellent work and are friends of the family. Even so, I have been slowly loosing my enthusiasm. Fortunately I ran into this guy at Corvettes at Carlisle. We talked shop for a few minutes and he drew this on a poster and handed it to me. A very cool guy and very down to earth.
I started bugging the gys at the body shop so much they have let me help work on the truck.
Here are a few updated pictures.
Front end is almost done.Gaps are looking good.
Countored my narrowed running boards to the fenders.
I may need to think about raising the front end an inch or so.
Going to re hang the doors later this week after a few more block sandings.
I like everything you've done so far, The filler strip however visually emphasizes that the face and rear edge of the bumper are not parallel, I'd like to suggest trimming the rear edge of the bumper to parallel or maybe with a slight taper to the ends so the space between the bumper and pan is equal all along. would have similar visual effect to evening the body panel gaps, subtle but it's the details that count.
If he cut the bumpers back edge to match the contour of the facia then the bumper would have a horrible taper to it. I think the filler piece will mask that the contours are different since I'm sure it will be painted the body color
I have struggled with this for a while. I definitely need to contour it some more but I cannot go too far because the bumper gets too thin, especially at the license plate indent. I will not paint the filler the same color as body and the bumper . It would look to bulky.
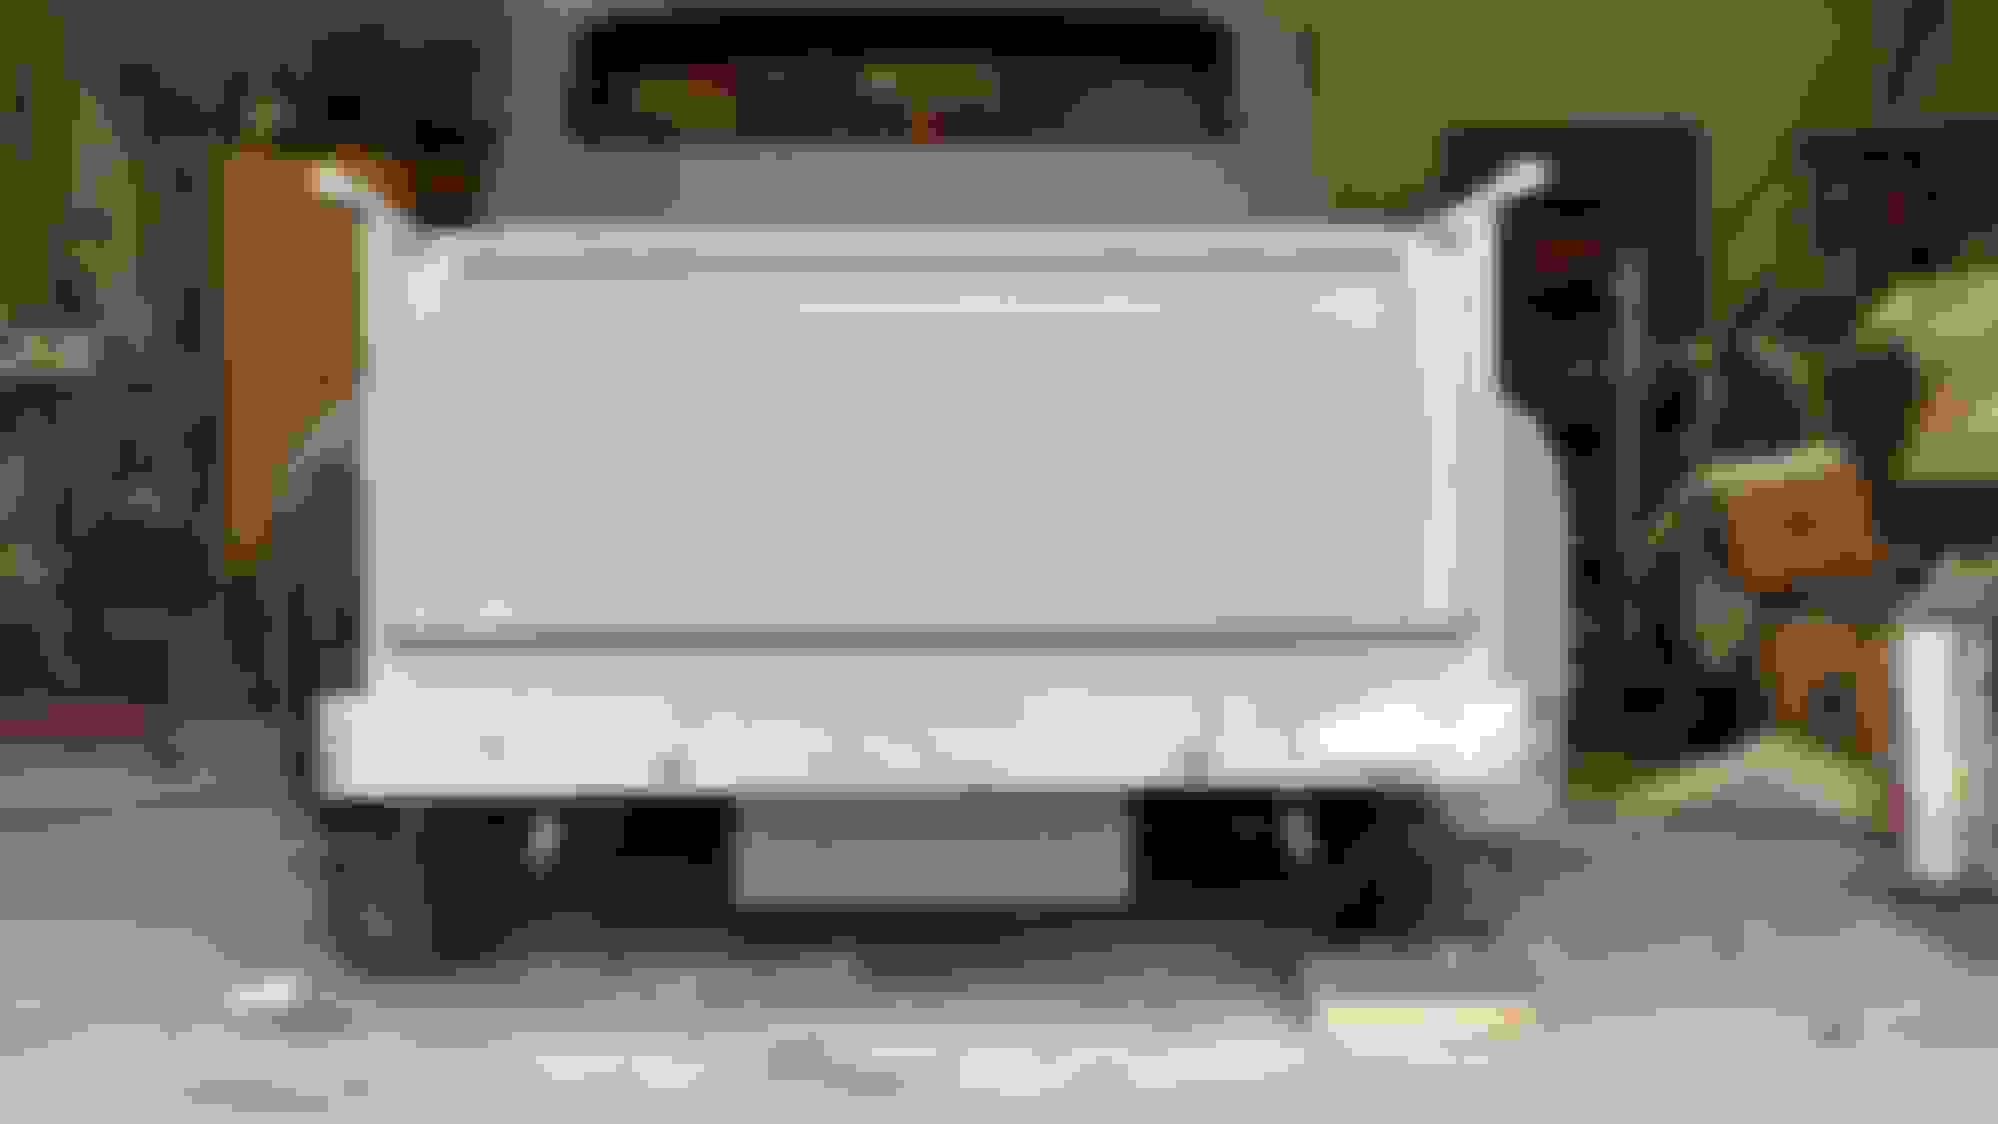
I started working on the rear bumper also. I took 4" out of it and tucked it up to the bed. I am not running stock lights and do not like the back side of the bumper being exposed. I took a damaged bumper and cut the ends of right where the radius ends. I then tacked them in place and made a pattern to make a small filler for a better contour.
Once the finish welding is done I will reshape the ends a little. I then stepped back behind the truck and the bumper looks too thick top to bottom so I am going to take out 3/4 of an inch. After that I will make a set back license plate indent.
 10-27-2014, 04:54 PM