
Installed: A-Pillar Single Gauge Pod
#1
 05-10-2014, 12:01 PM

Installed: A-Pillar Single Gauge Pod
Moving the  scan gauge from the ROUSH dash vent gauge pod ...
 To an A-pillar guage pod ...
 Parts Inventory:
Acknowledgement to NGA PLZ for paving-the-way for this mod' ...------------------------------

-click- the pic'
Goth 150
< This space intentionally -blank- >
scan gauge from the ROUSH dash vent gauge pod ...- A-pillar 2-1/16" single gauge pod from
 - part # 15212 (intended for 2002-2009 Dodge Ram) *Currently there is no offering for the 2009+ F-150s.
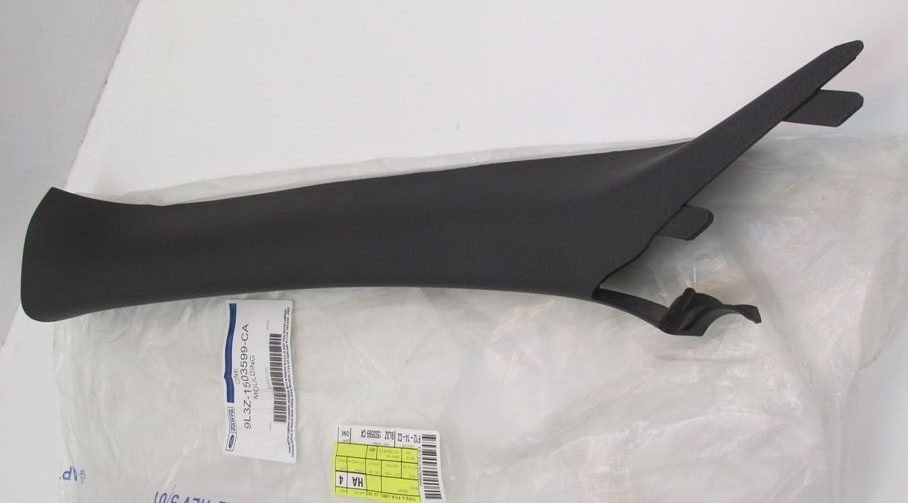
- (optional) LH windshield moulding (A-pillar trim) from FoMoCo - part # 9L3Z-1503599-CA (Charcoal Black) *Could modify existing trim.
- 3M� Automotive Acrylic Plus Attachment Tape - part # 06383 (7/8")
. - SEM CLASSIC COAT FLEXIBLE COATING Midnight Black - part # 17013
- with the A-pillar trim as a fitment gauge, use a heat gun to carefully contort the sides of the gauge pod to conform to the outer contours of the A-pillar trim.
. - drill a hole in A-pillar trim to allow any wiring, hoses, etc. to pass thru to the pod and eventually the installed guage. *Insure that the hole will be within the length of the position of the pod on the trim.
. - clean (with soap and water) and degrease (with isopropyl alcohol) the A-pillar trim, the exterior of the gauge pod, AND the interior sides of the gauge pod.
. - apply the attachment tape to either the pod's mounting position on the outer edge of the A-pillar trim -OR- the inside bottom edges of the pod's sides.
. - attach the pod to the A-pillar trim and use small clamps along each edge to allow the tape to seat/seal.
. - clean (with soap and water) and degrease (with isopropyl alcohol) the trim/pod assembly.
. - when thoroughly dry, apply the flexible coating paint and let dry.
. - run any necessary wiring, hoses, etc. to and then thru the trim/pod assembly.
. - (re)install A-pillar trim (with gauge pod).
. - connect any necessary wiring, hoses, etc. to the gauge.
. - install the gauge.
Acknowledgement to NGA PLZ for paving-the-way for this mod' ...
-click- the pic'
Goth 150
< This space intentionally -blank- >
#2
05-10-2014, 12:53 PM
Cargo Master


#5
05-12-2014, 12:40 PM
For those concerned about explosive bolts, jettisoned objects, and front, side air-curtain deployment ...
When the A-pillar air-curtain deploys it kicks-out the trim at the top and pushes past it leaving the trim/moulding still attached to the A-pillar.
There are 2 clips of different construct that retain the trim/moulding ...
REMEMBER ... The RH A-pillar trim/moulding (with hand grip) is bolted to the A-pillar.
References:
When the A-pillar air-curtain deploys it kicks-out the trim at the top and pushes past it leaving the trim/moulding still attached to the A-pillar.
There are 2 clips of different construct that retain the trim/moulding ...
- [*]
- it's expansion pushes past the top of the trim/moulding though may(?) cause it to be slightly out and away from the A-pillar.
- the air-curtain extends rearward along the side glass until fully deployed and then deflates.
- the lower portion of the trim/moulding remains attached (somewhat) to the A-pillar, however, may be askew at the top
REMEMBER ... The RH A-pillar trim/moulding (with hand grip) is bolted to the A-pillar.
References:
- discussions with FoMoCo dealership bodyshop tech's.
. - questioned a first-hand, real-life experiencer ... Tested My Air Bag Effectiveness Today

- Excerpted from dealer brochures ...


#6
05-12-2014, 01:07 PM

Senior User

Thread
Thread Starter
Forum
Replies
Last Post
99offroadrngr
Ford Truck Parts for Sale
1
04-13-2013 09:39 PM