When you click on links to various merchants on this site and make a purchase, this can result in this site earning a commission. Affiliate programs and affiliations include, but are not limited to, the eBay Partner Network.
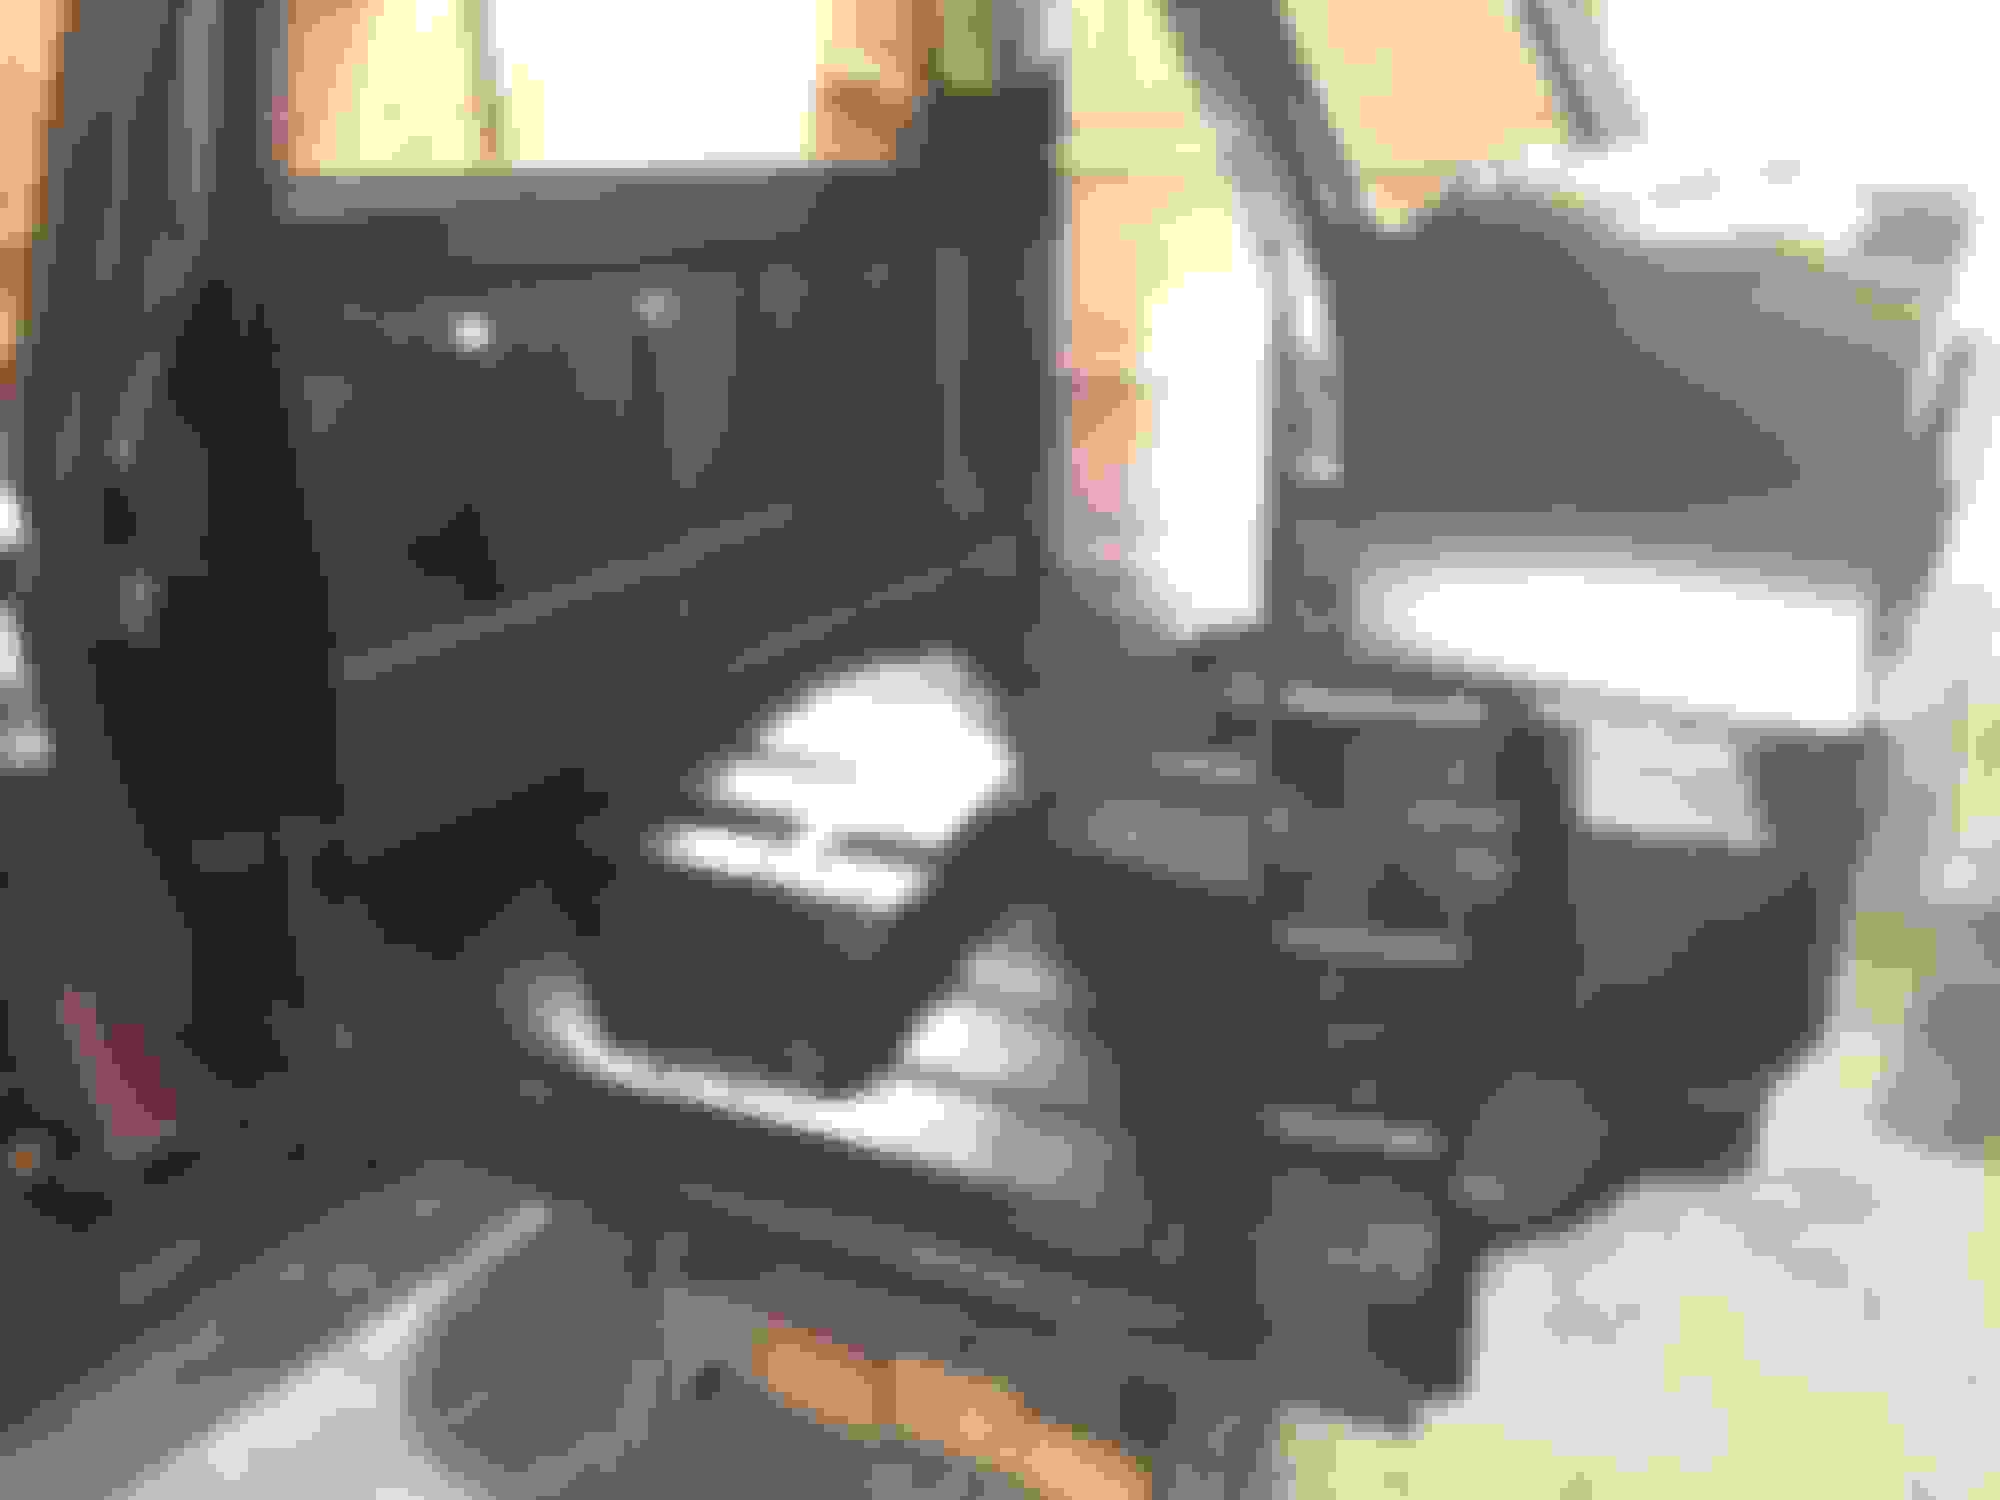
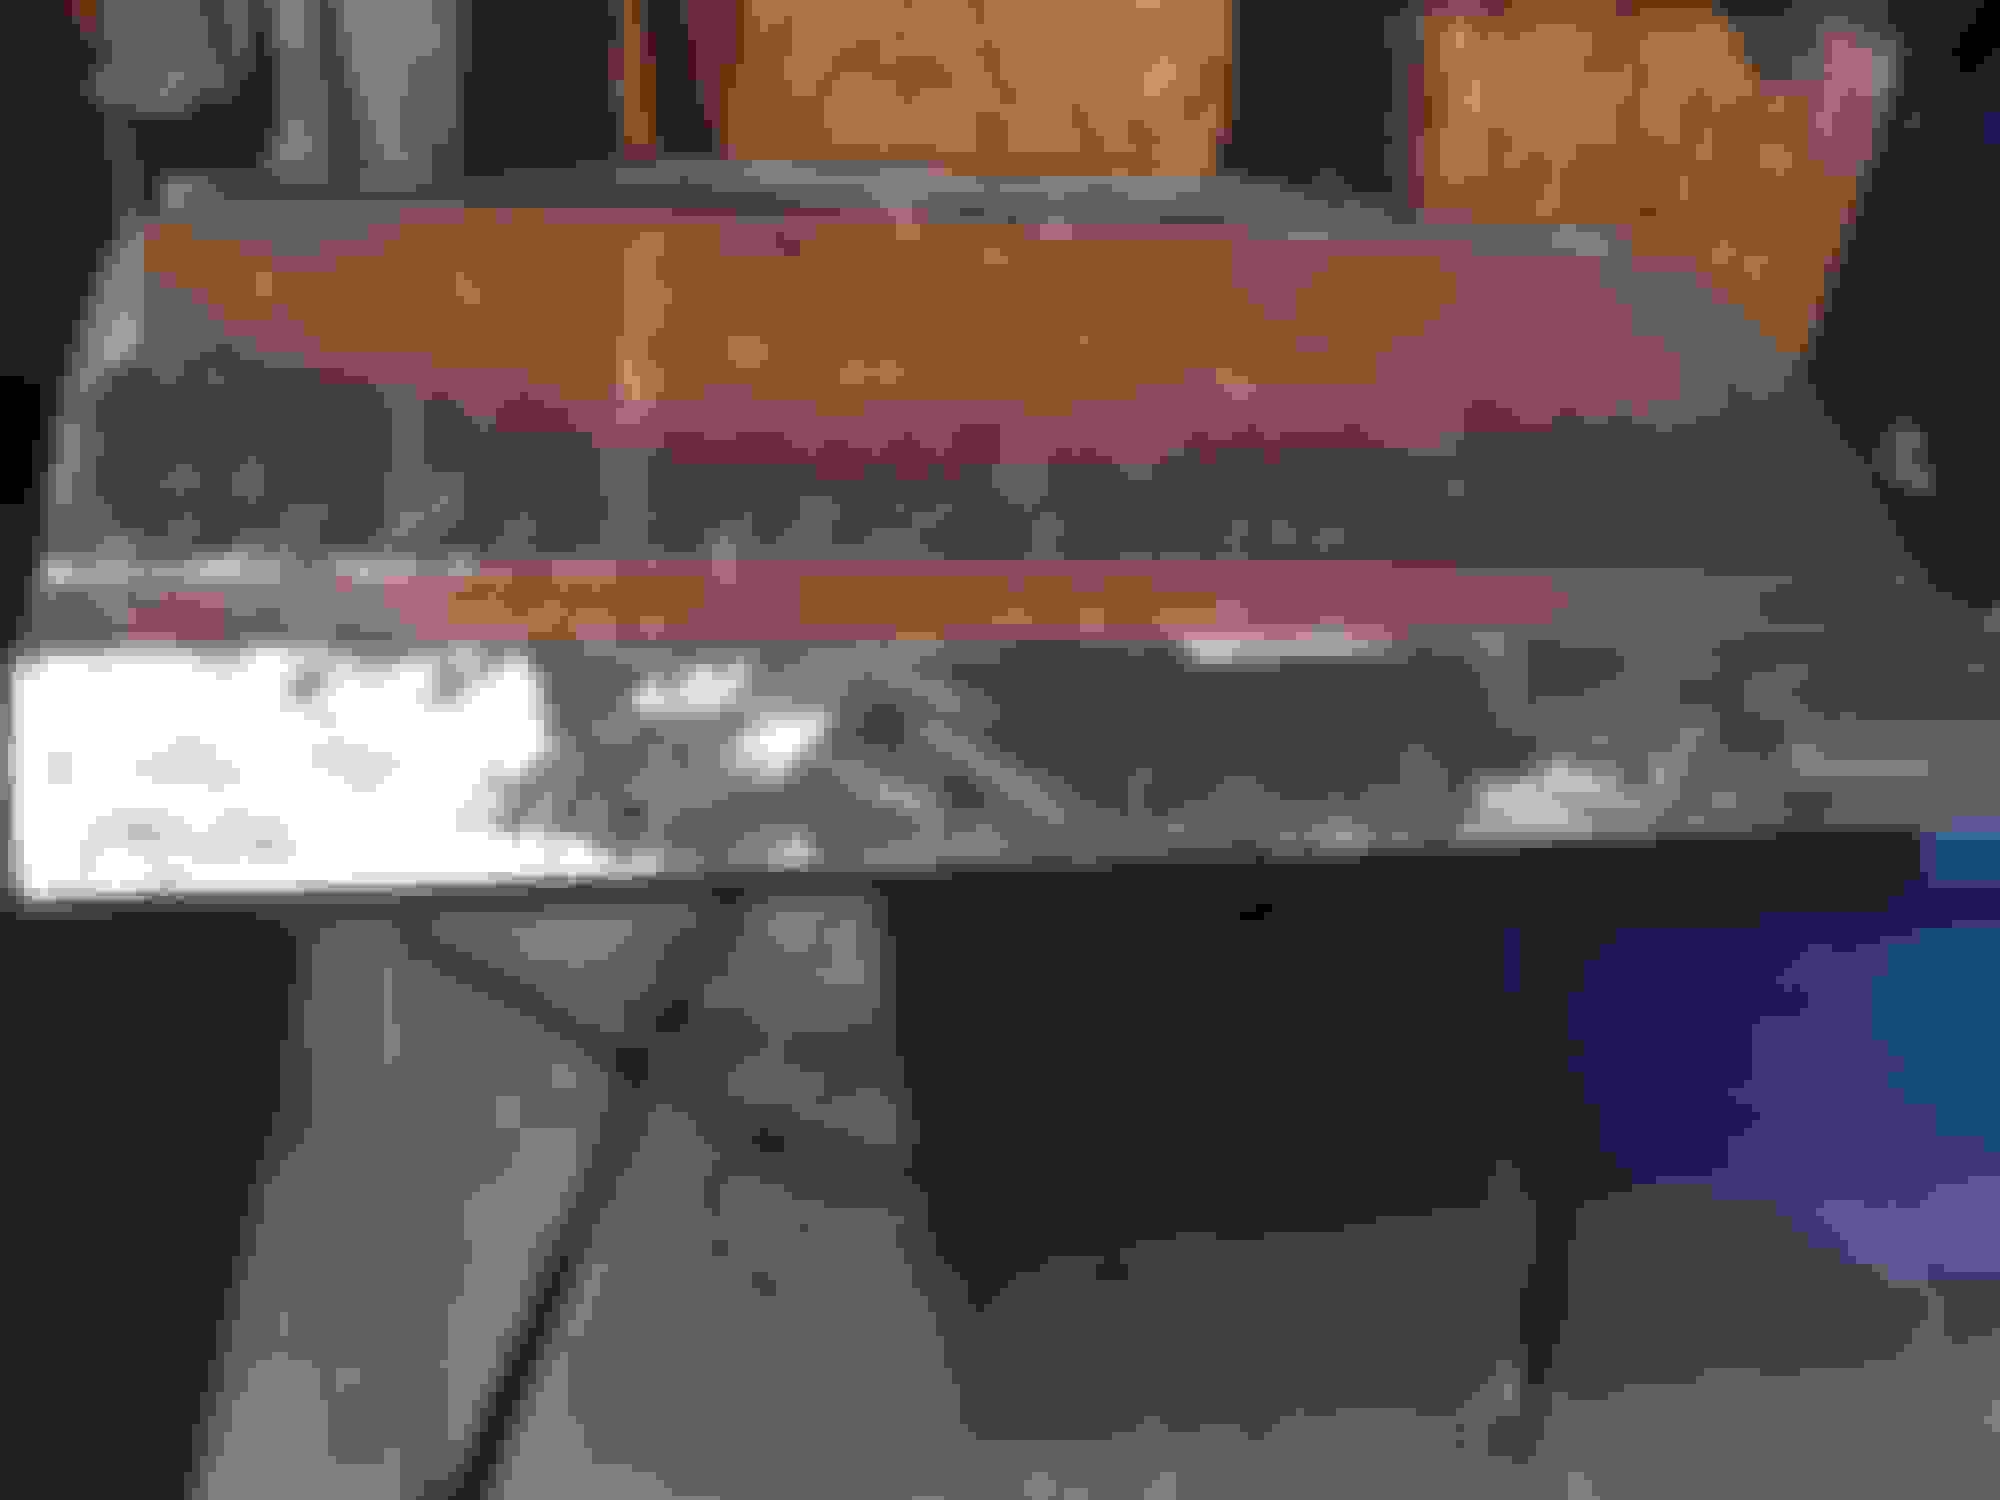
Here is a good shot of the roof seam gone as well as shaved drip rails. It's tough to notice but I also closed up the lap of the metal parts inside the door jamb. Pretty clean in there now. I always thought there was too much going on up there so I had to clean it up.
man, that looks AWESOME !! I've never seen the top of the jam smoothed like that, combined with the shaved drip rail it really makes a huge difference.
Thanks Emerald! It was a weekend plus to get them right. I didn't like how they looked but didn't plan on messing with them until I found some rust. Next thing you know I'm welding up all the seams lol.
Interesting, I've had good results with Upol in the past, but I didn't keep the vehicles long term. I will look into this other stuff thanks for the info!
I cant say for sure if it was the U-pol since I didnt have their primer underneath the Raptor liner.
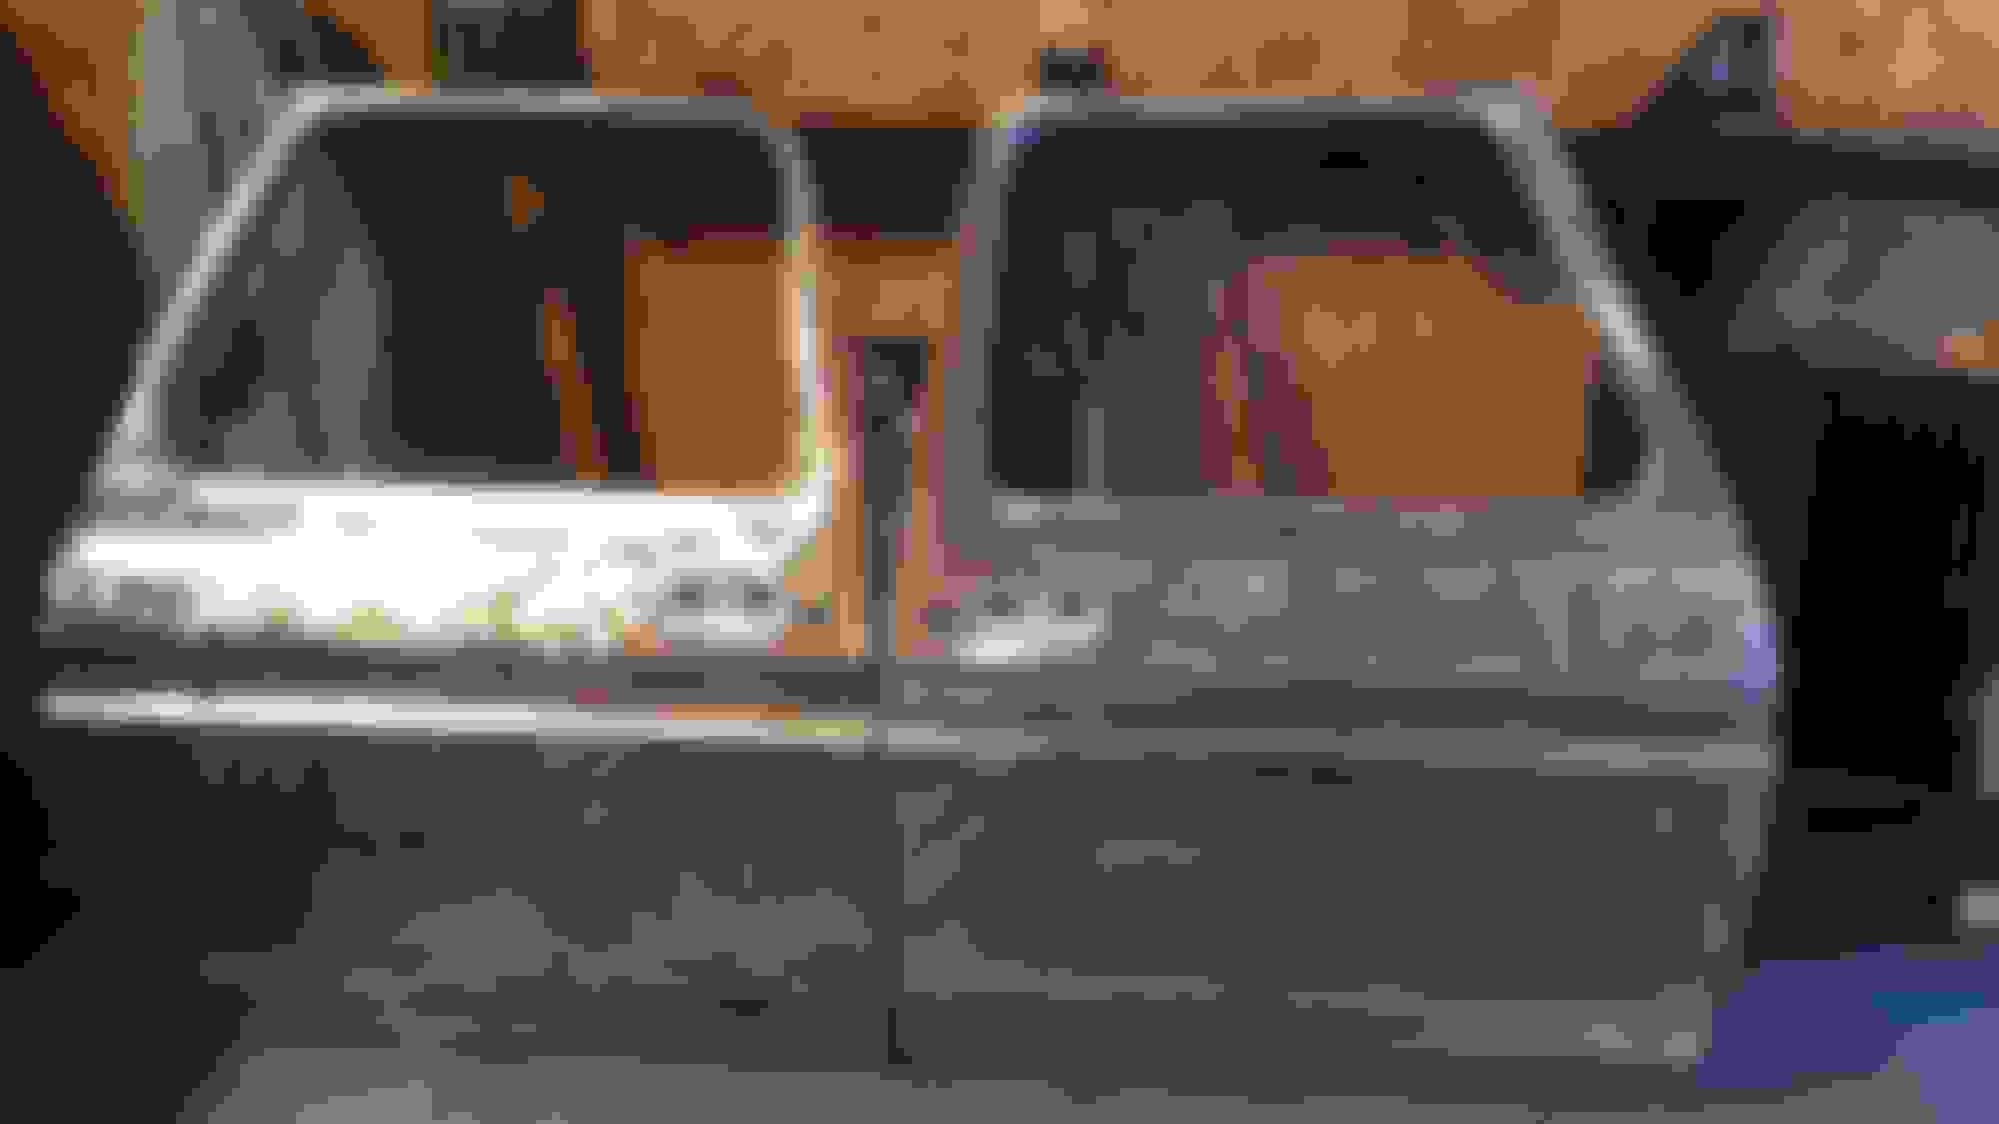
Also, I couldnt get any pictures of the door. I forgot the other day I stripped the doors down to start working on them and pulled the hinges off. I will grab the hinges in the next few days and when I have the door stripped down I will mount it back up. I did rough fit the door and used some shop rags to set it where it should be. there is about a 1/4 inch or less of gap where I shaved the drip rails.
Anyways, I took a few photos I could get of the bedliner. It was windy out so I couldnt pull the truck out of the garage.
Here is how I wrapped the bedliner into the cab. It is even the the rear of the cab bedliner lines as well but wanted to take it up so I could cover the entire area under the outside area.
a little closer
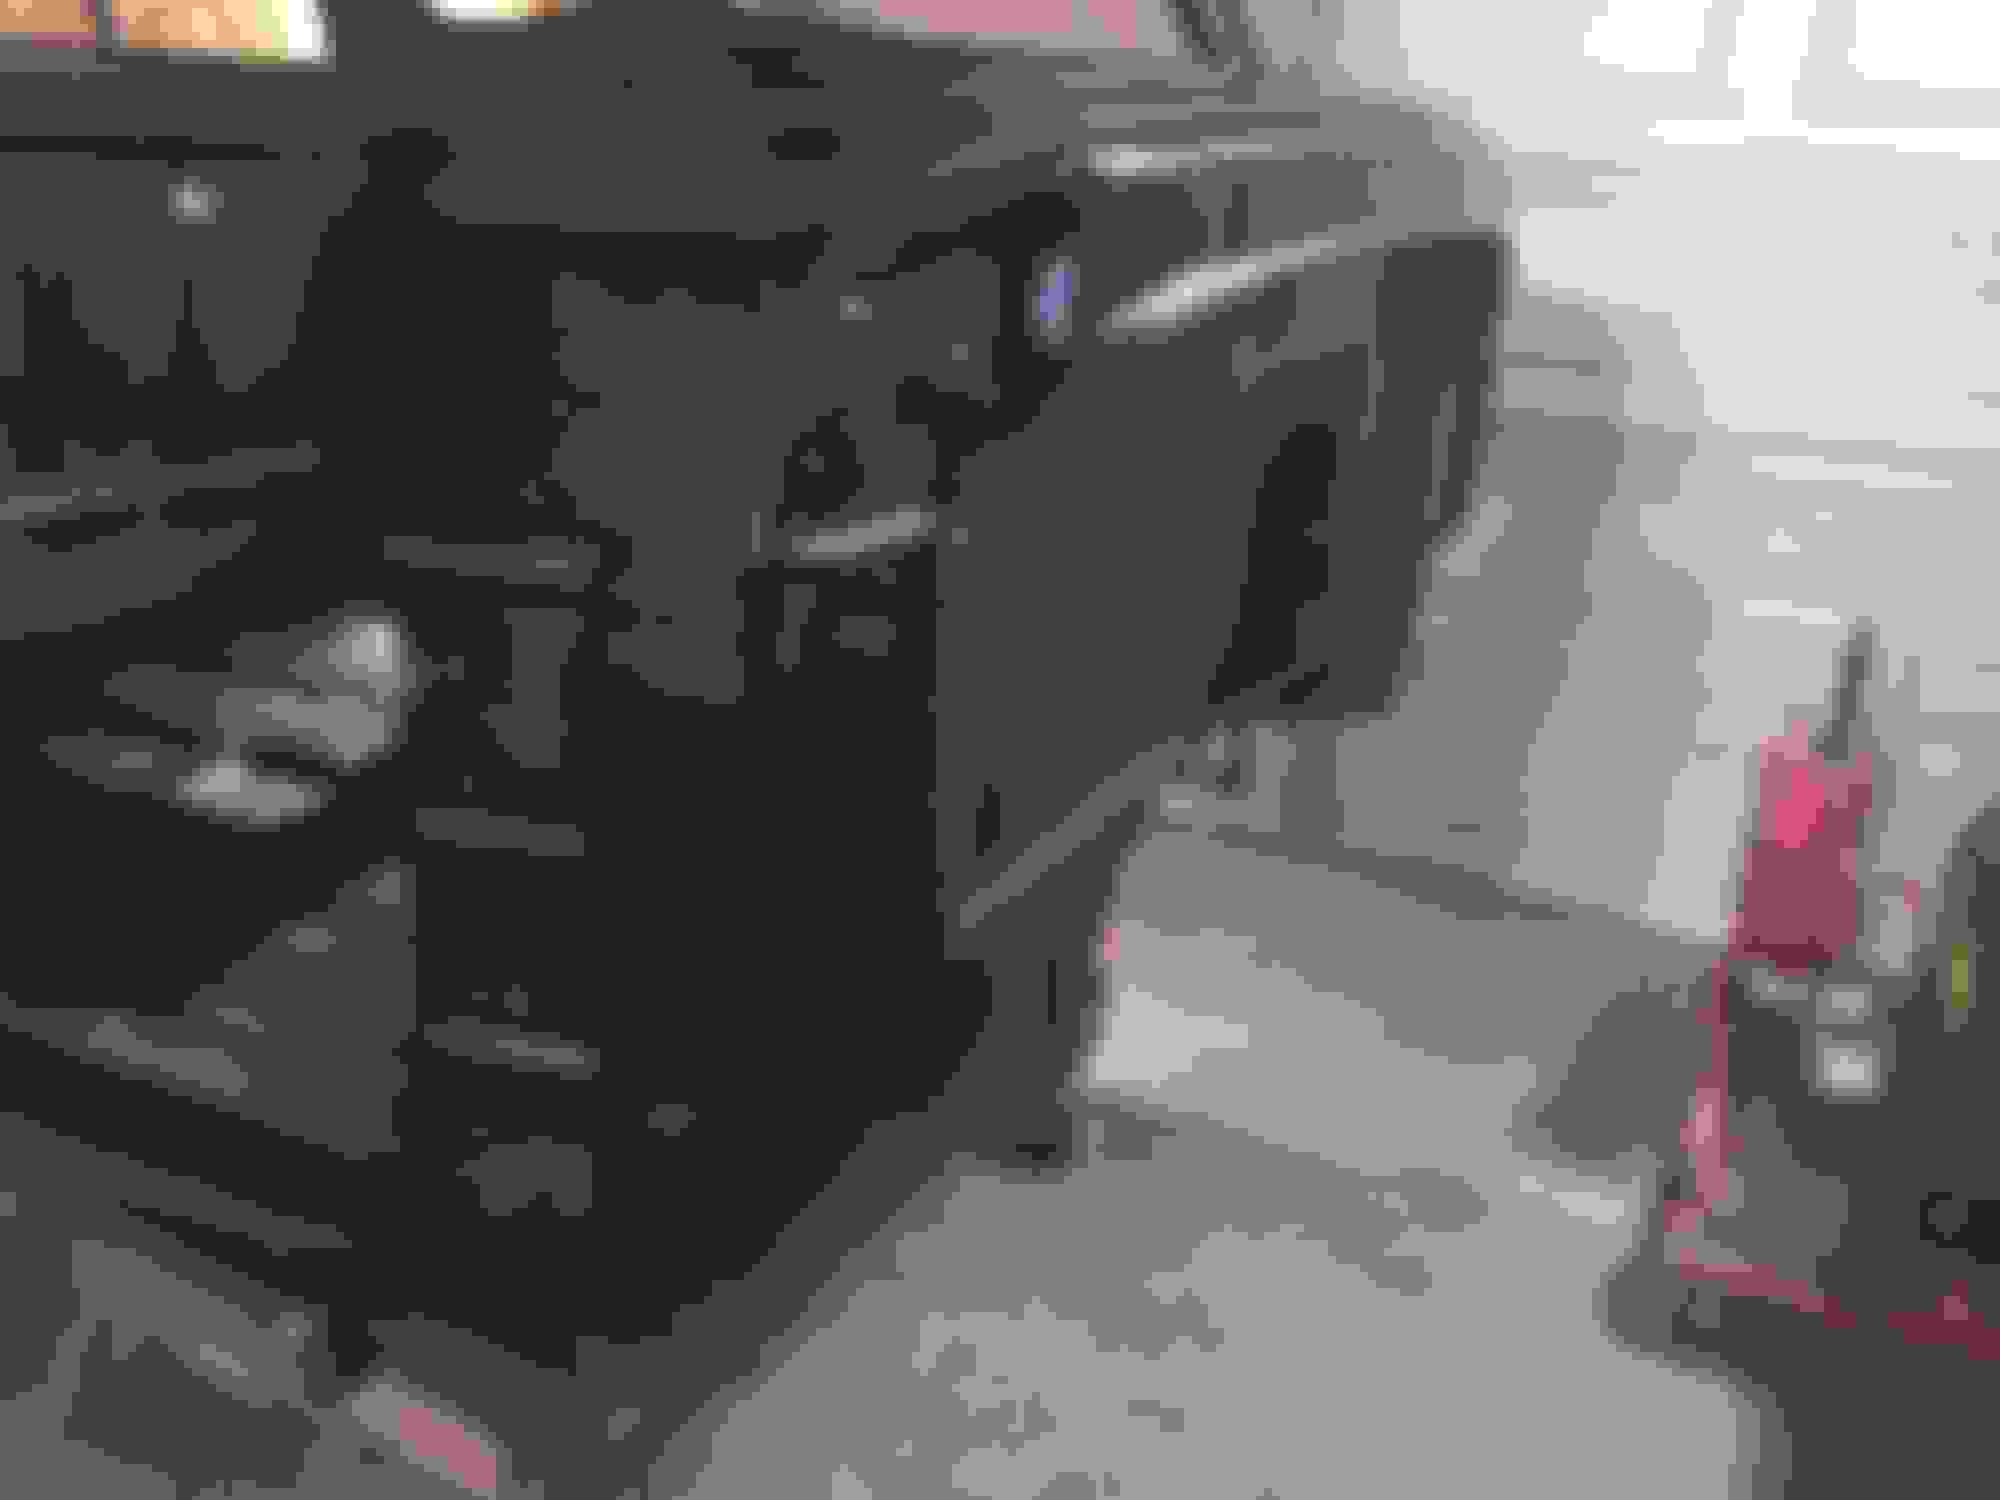
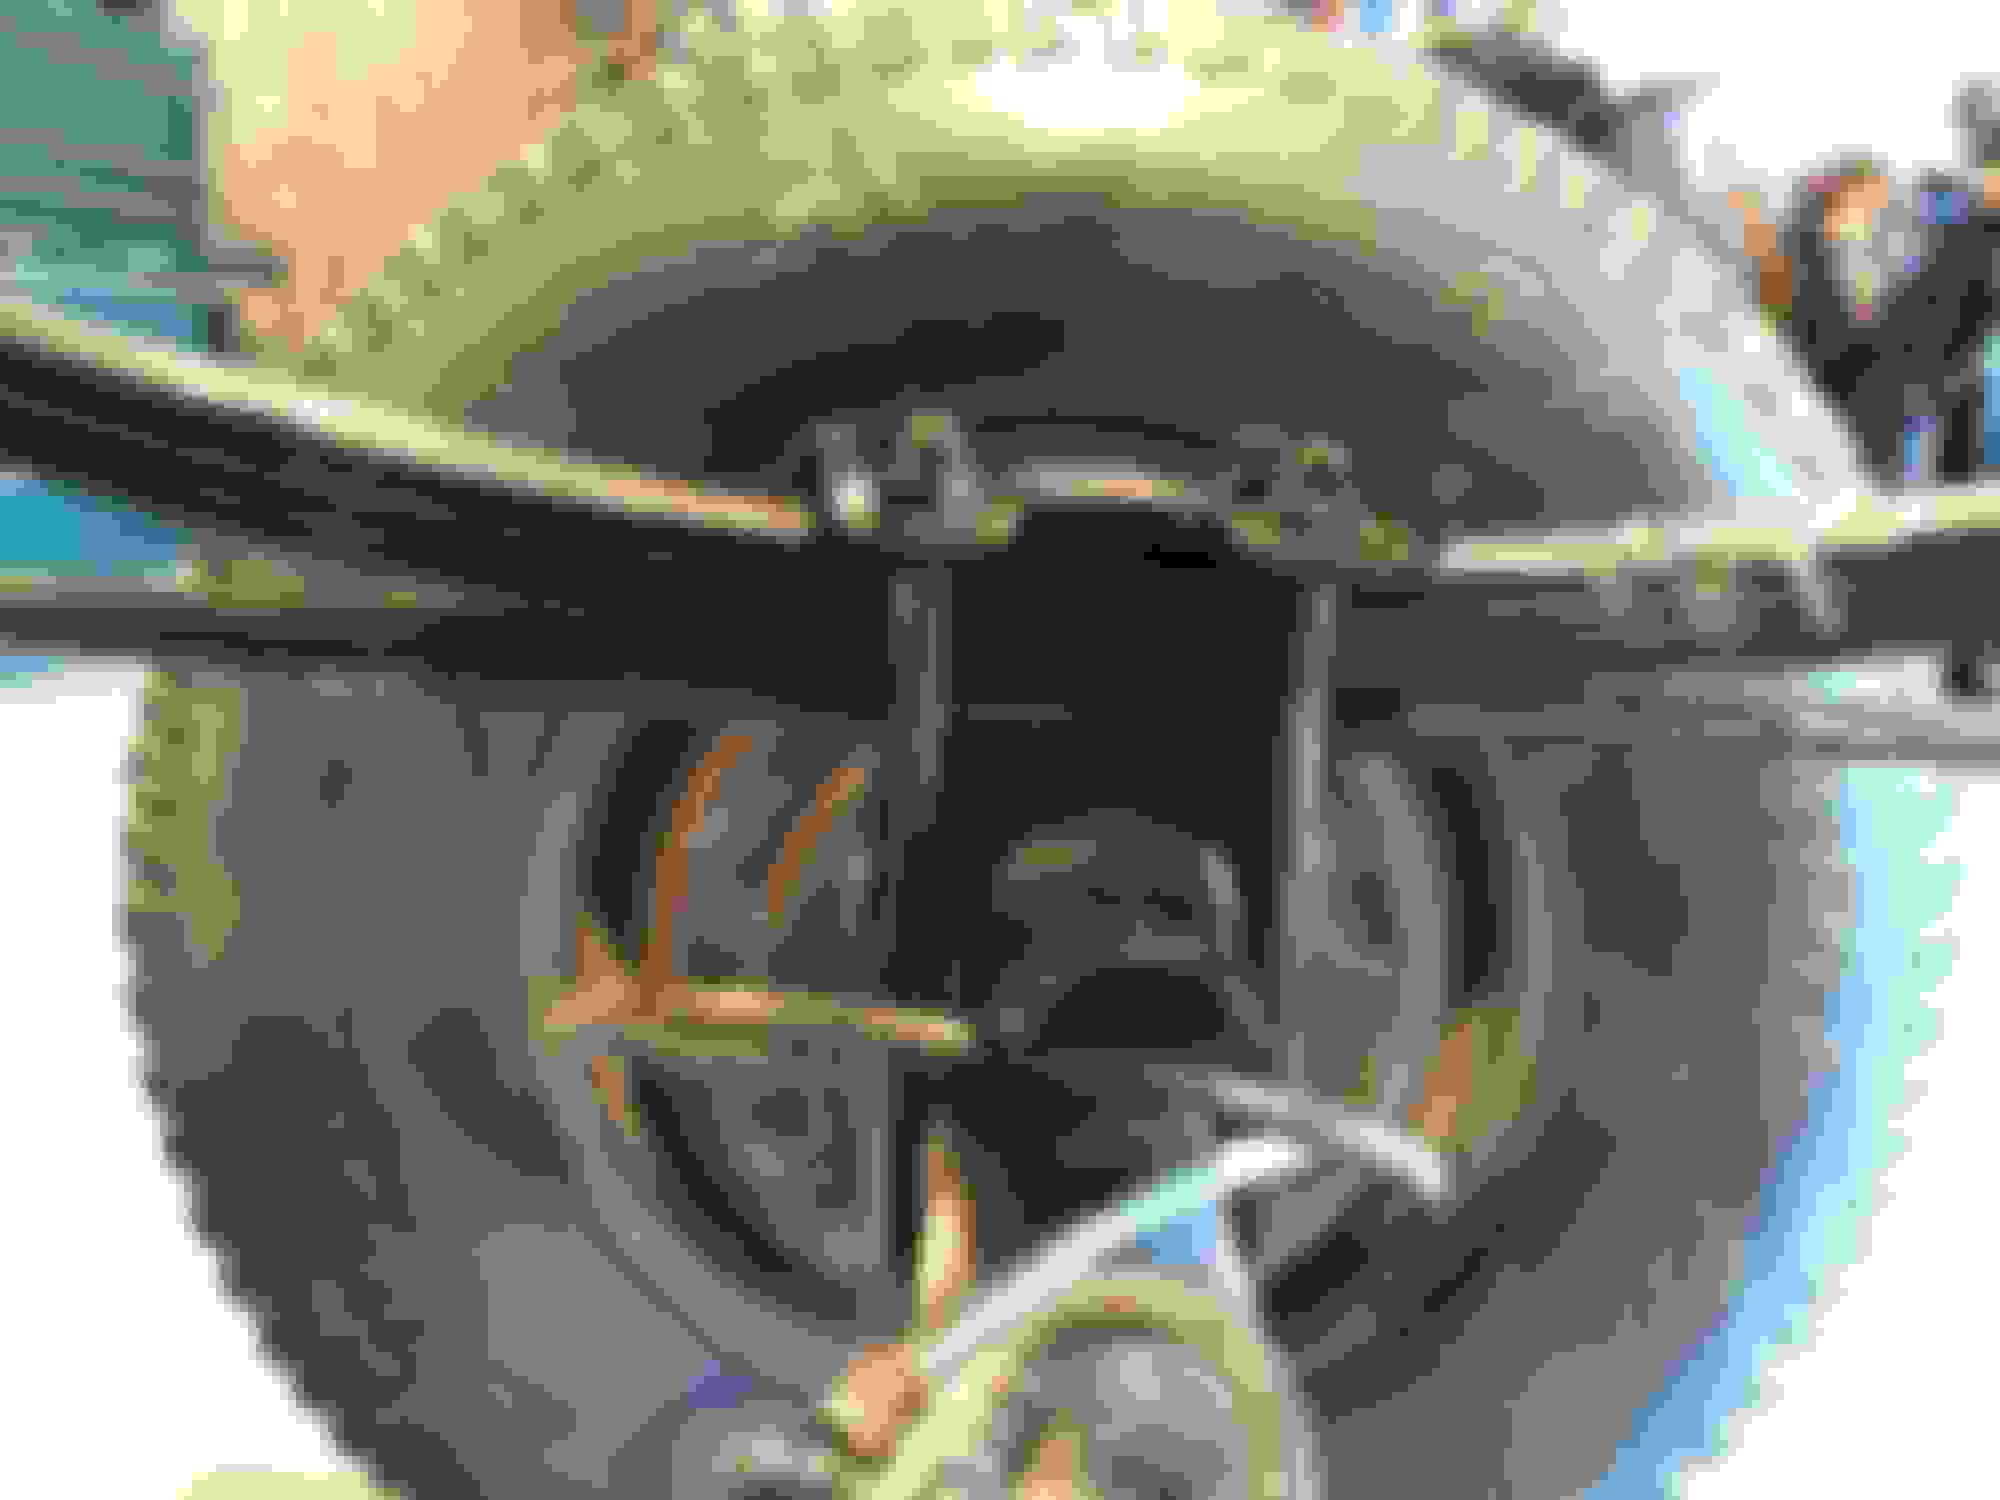
Here you can see how much more clean the firewall is from cutting off the metal lip from where are the panels were welded together on the firewall.
took the bedliner up to a seam and then ran the liner up the inside about 18.5 inches.
Stripped all of the paint off the outside of the doors and prepped them to weld up all the holes in them. I feel like these things are Swiss cheese with all the holes. Luckily none of them are from rust and the inside and out of the doors are pretty rust free.
Light surface rust where I grinder some spot down about a year ago.
I guess someone couldn't decide which mirrors they wanted
what grit sand paper are you using to get to bare metal? i just started strpping paint today and not sure what grit to use once i get close to bare metal. thanks
what grit sand paper are you using to get to bare metal? i just started strpping paint today and not sure what grit to use once i get close to bare metal. thanks
I don't use sand paper to strip paint. It takes a while and you can dig into the metal pretty easy. I typically only use sand paper to prep for paint which at that time is around 150 -400 grit. To strip paint I will use a stripping disc for smooth surfaces or a wire wheel on my grinder for seams, creases, or other tough to reach places. the stripping disc will break apart if you try getting into tight or rough spaces. If you have a die grinder, corded 4-5" grinder (dewalt, makita, bosch...), and a corded drill I would suggest getting a few for each one. the small 2-3" discs on your die grinder are great for curves door jamb areas etc and the others are great for nice large areas like door skins.
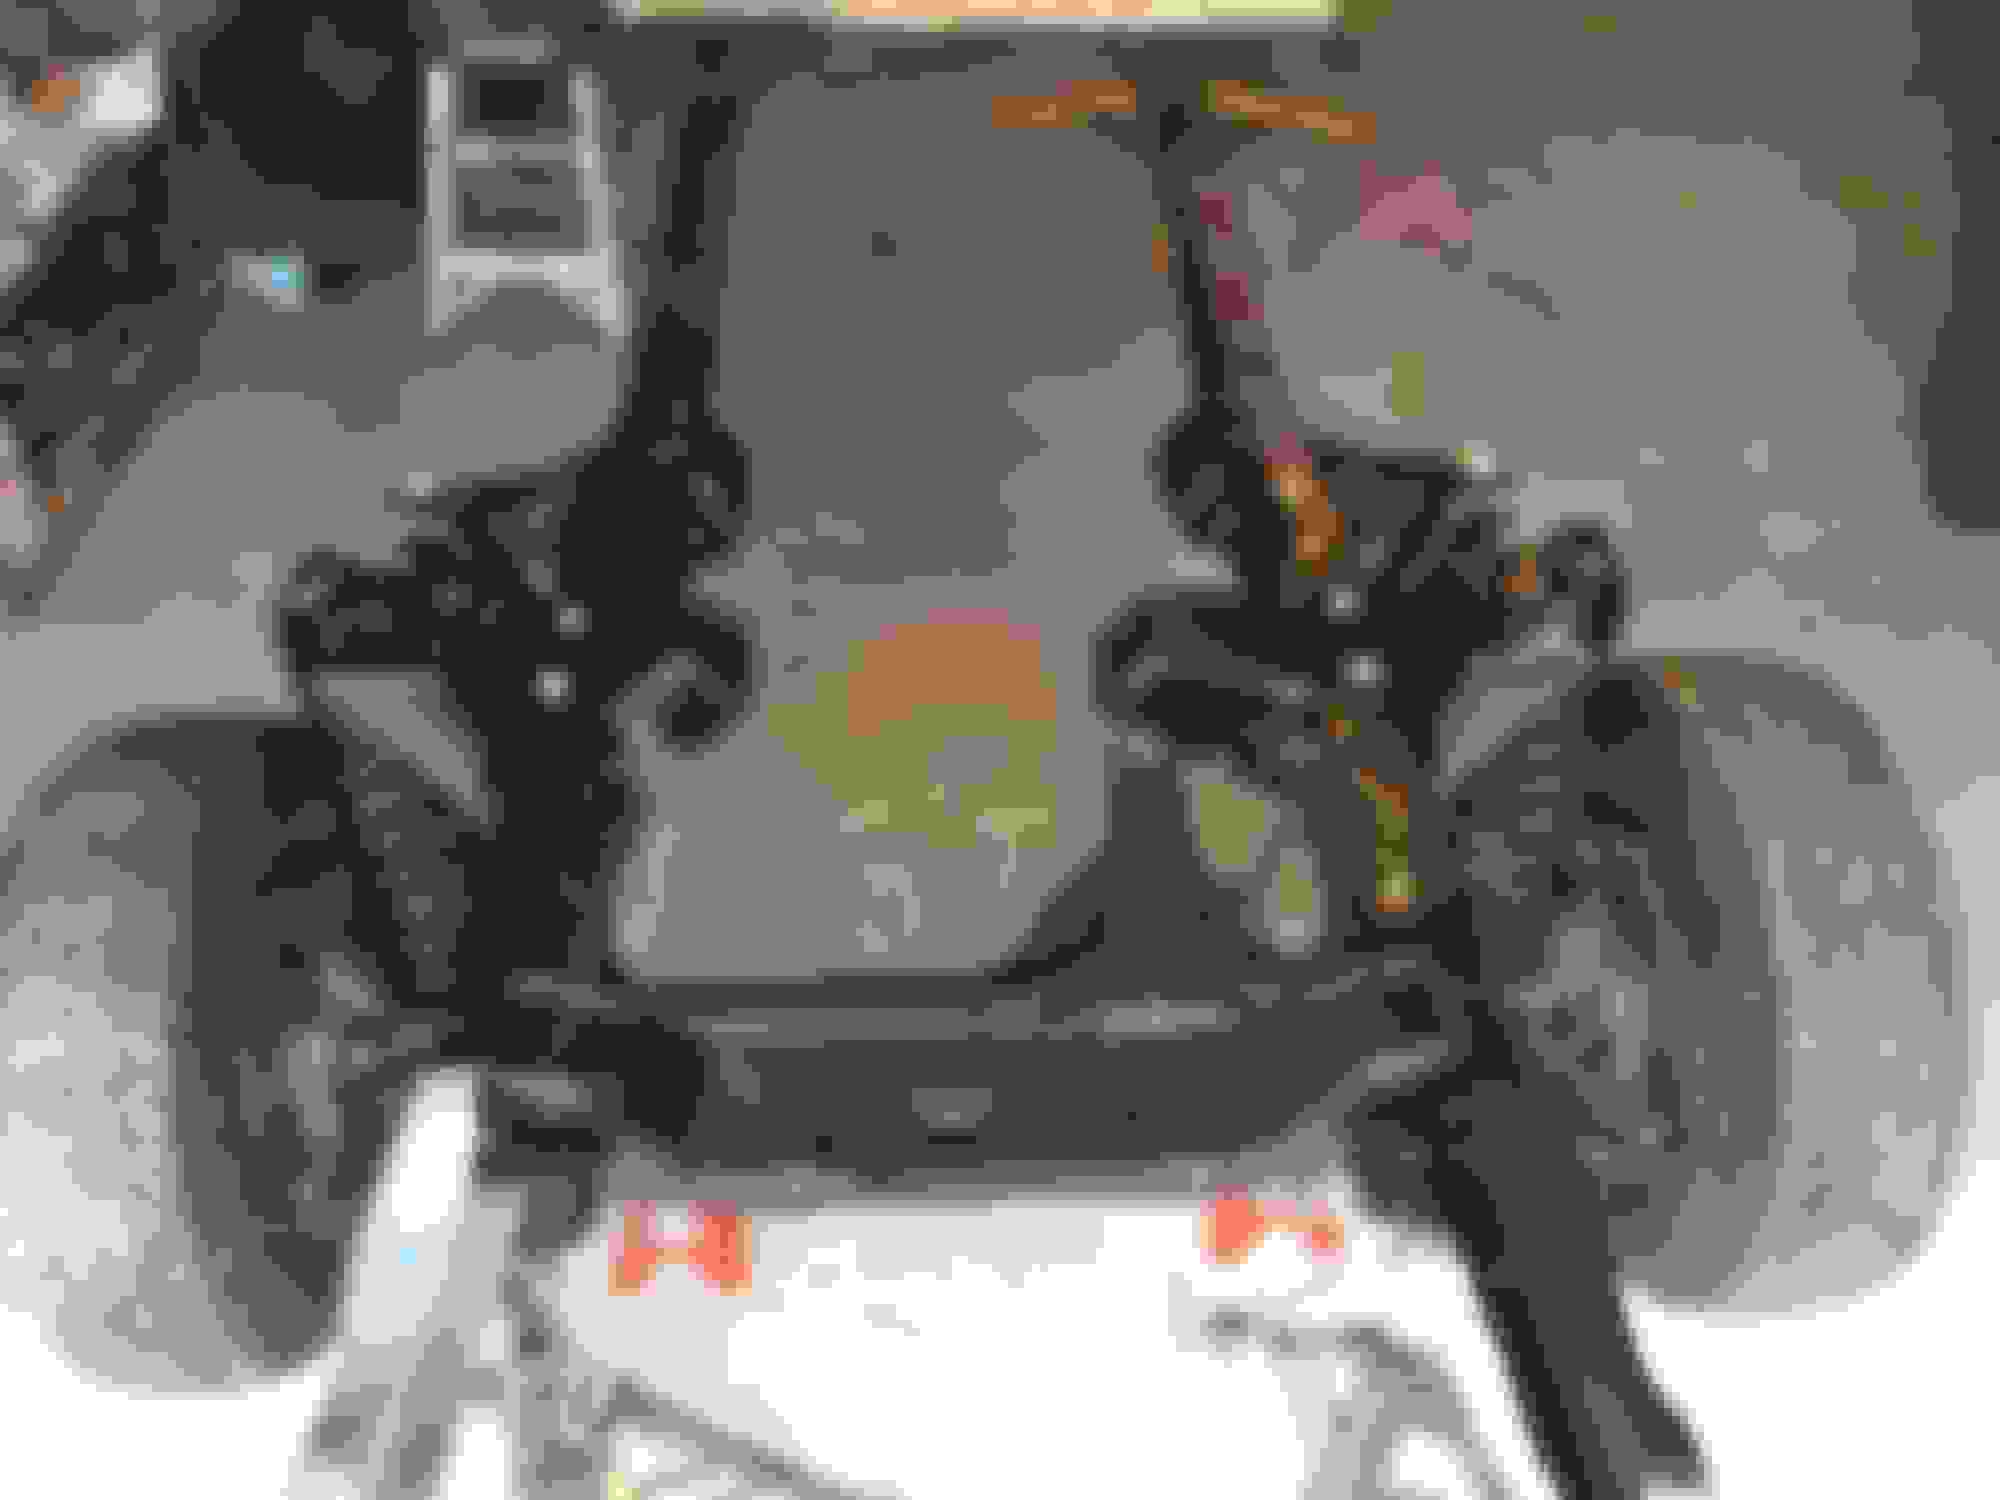
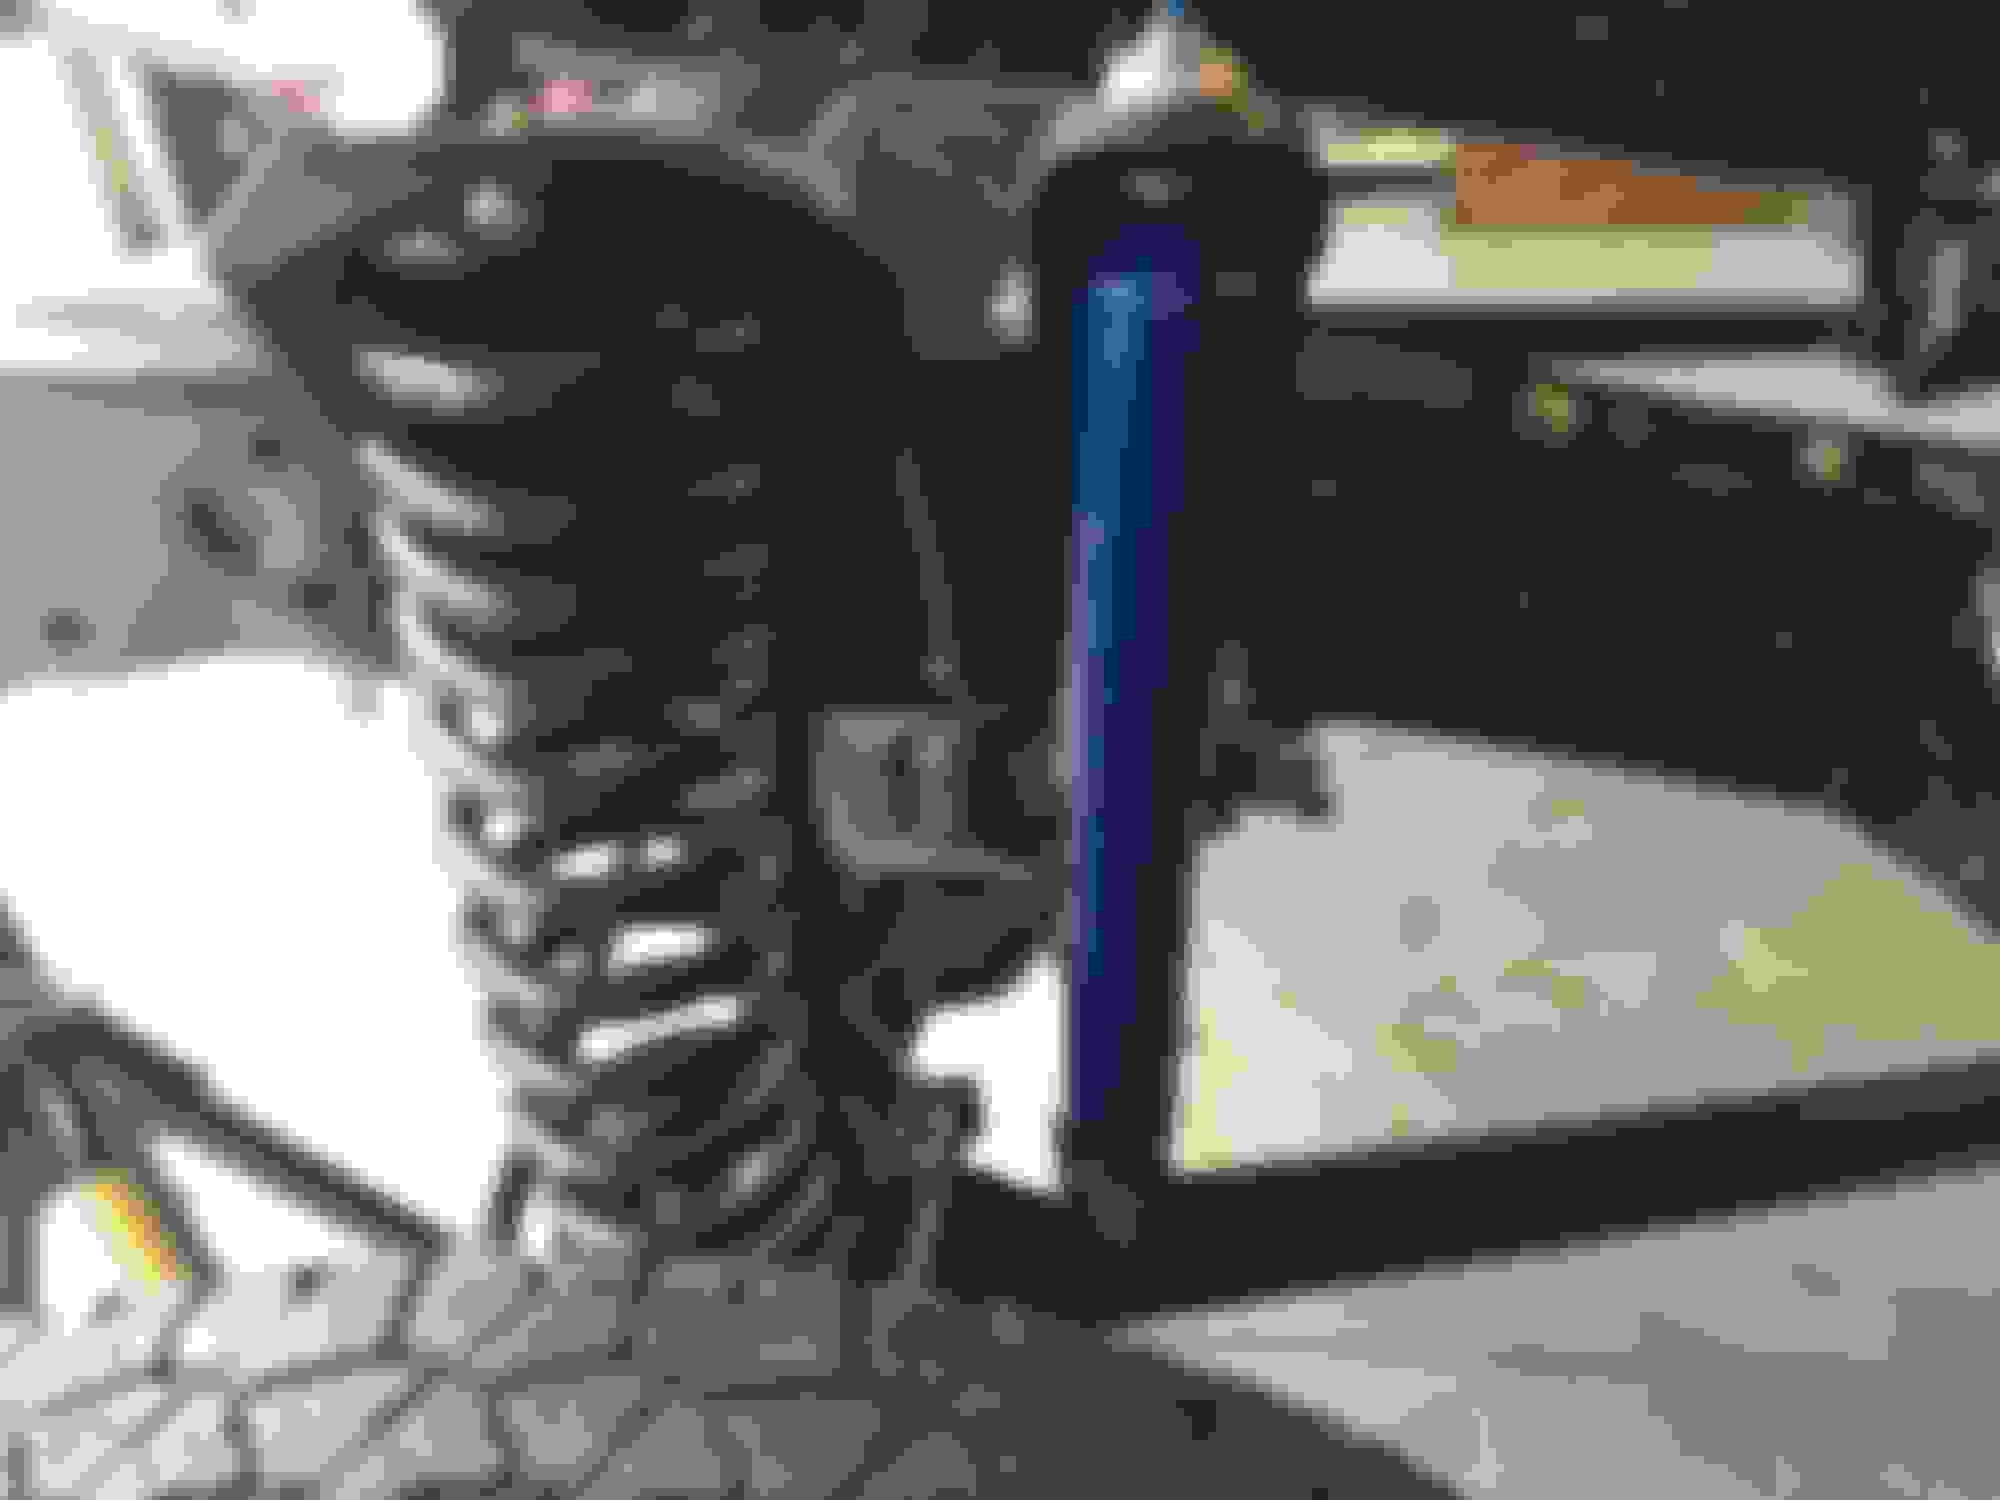
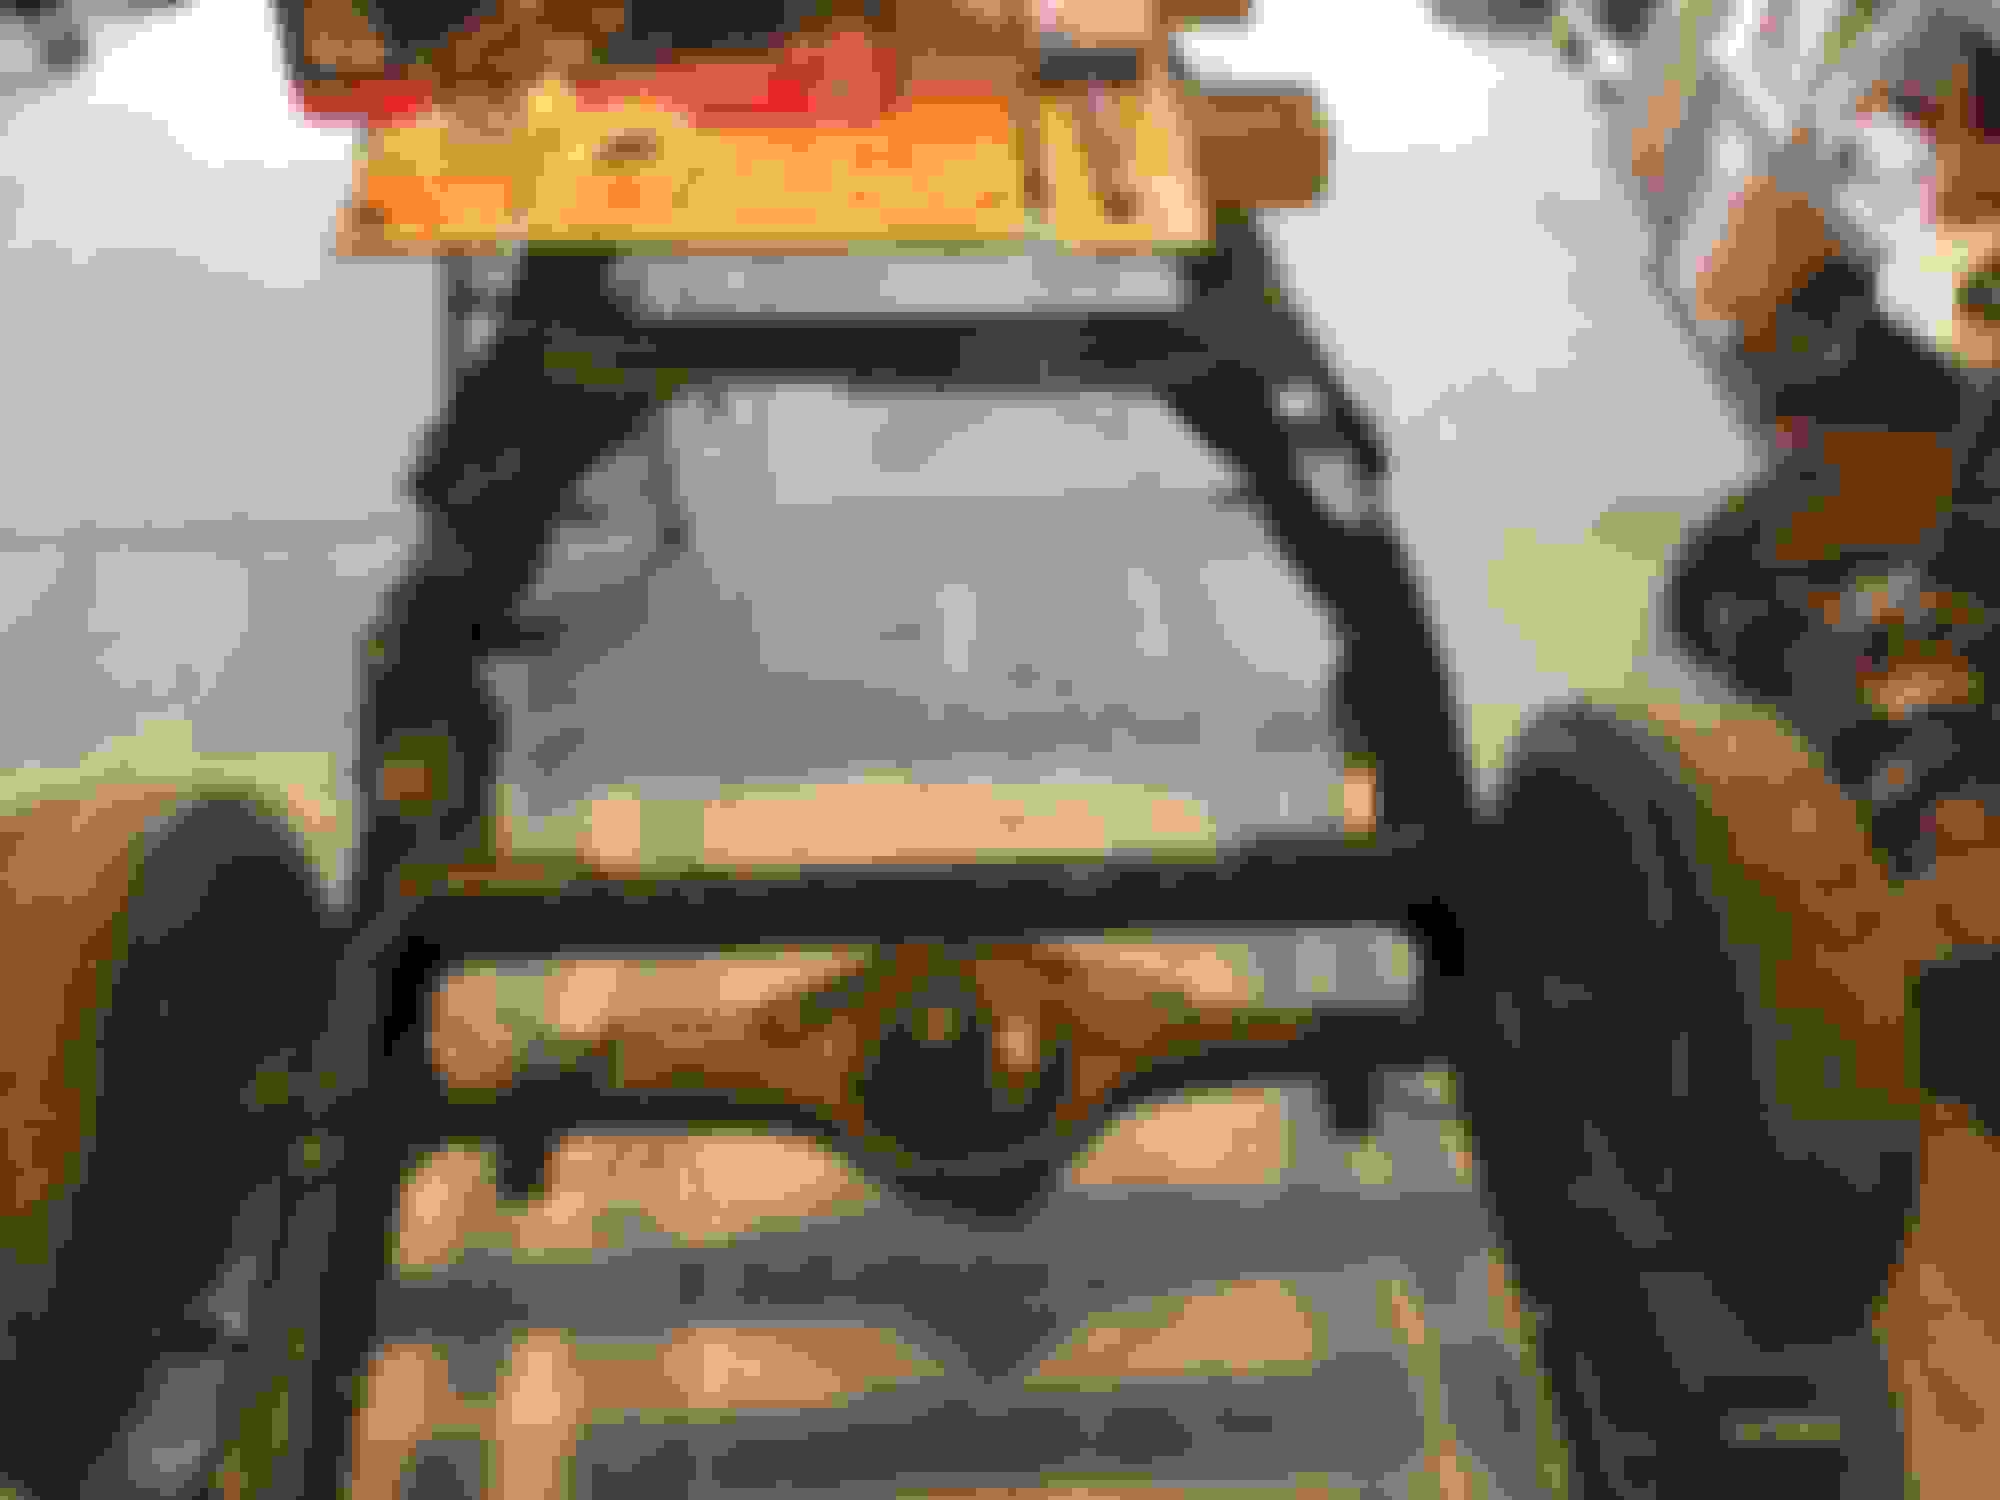
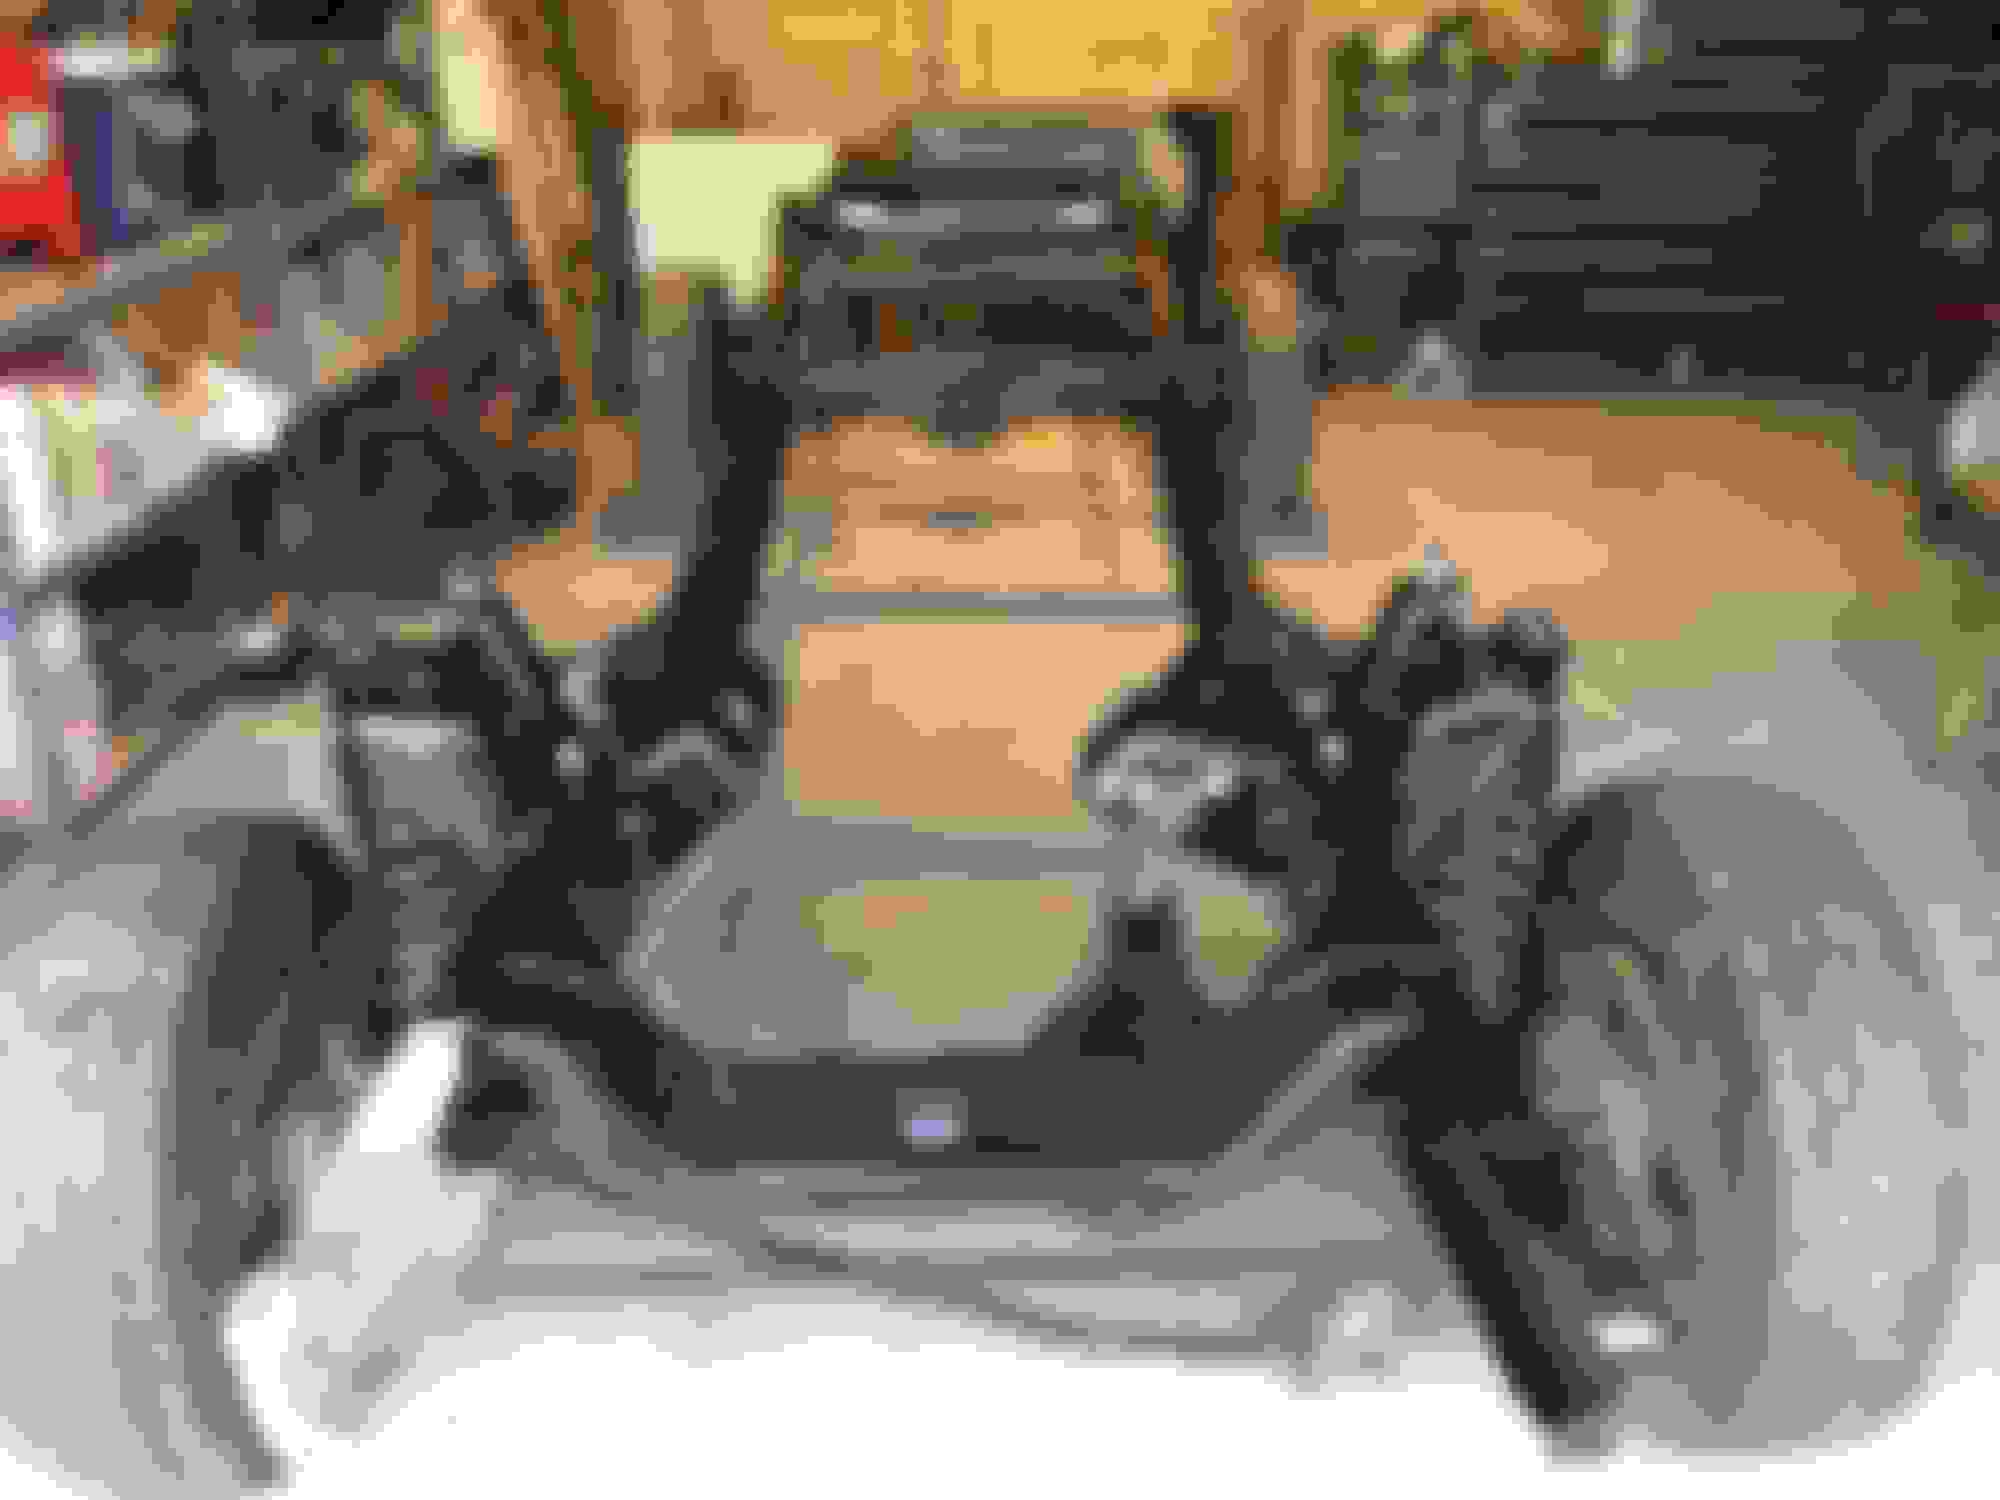
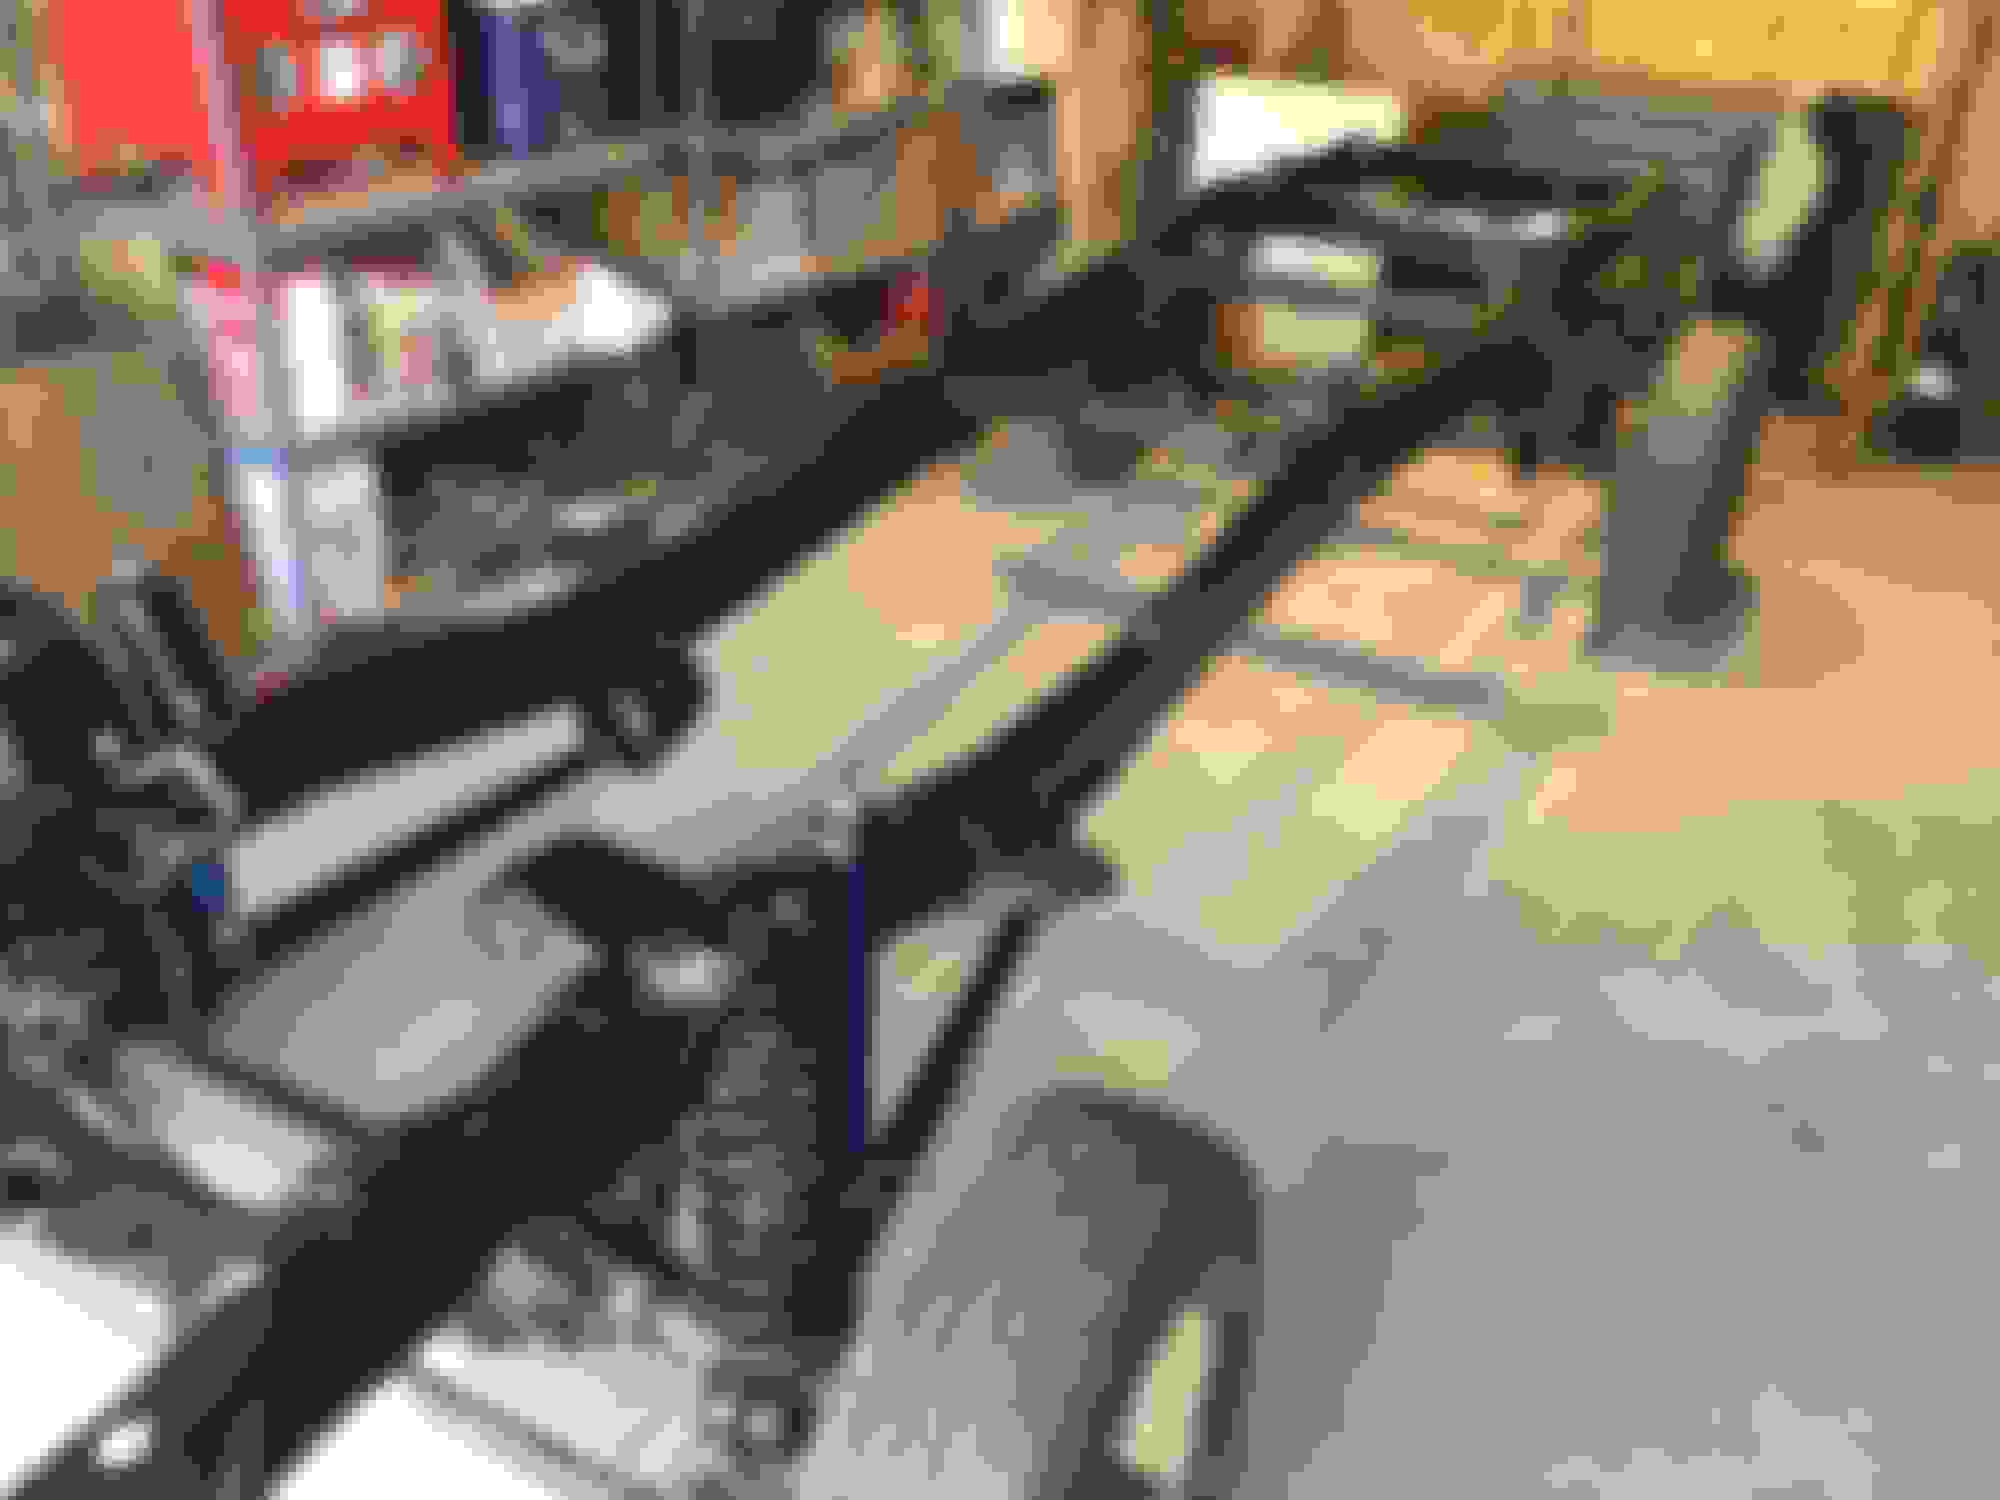
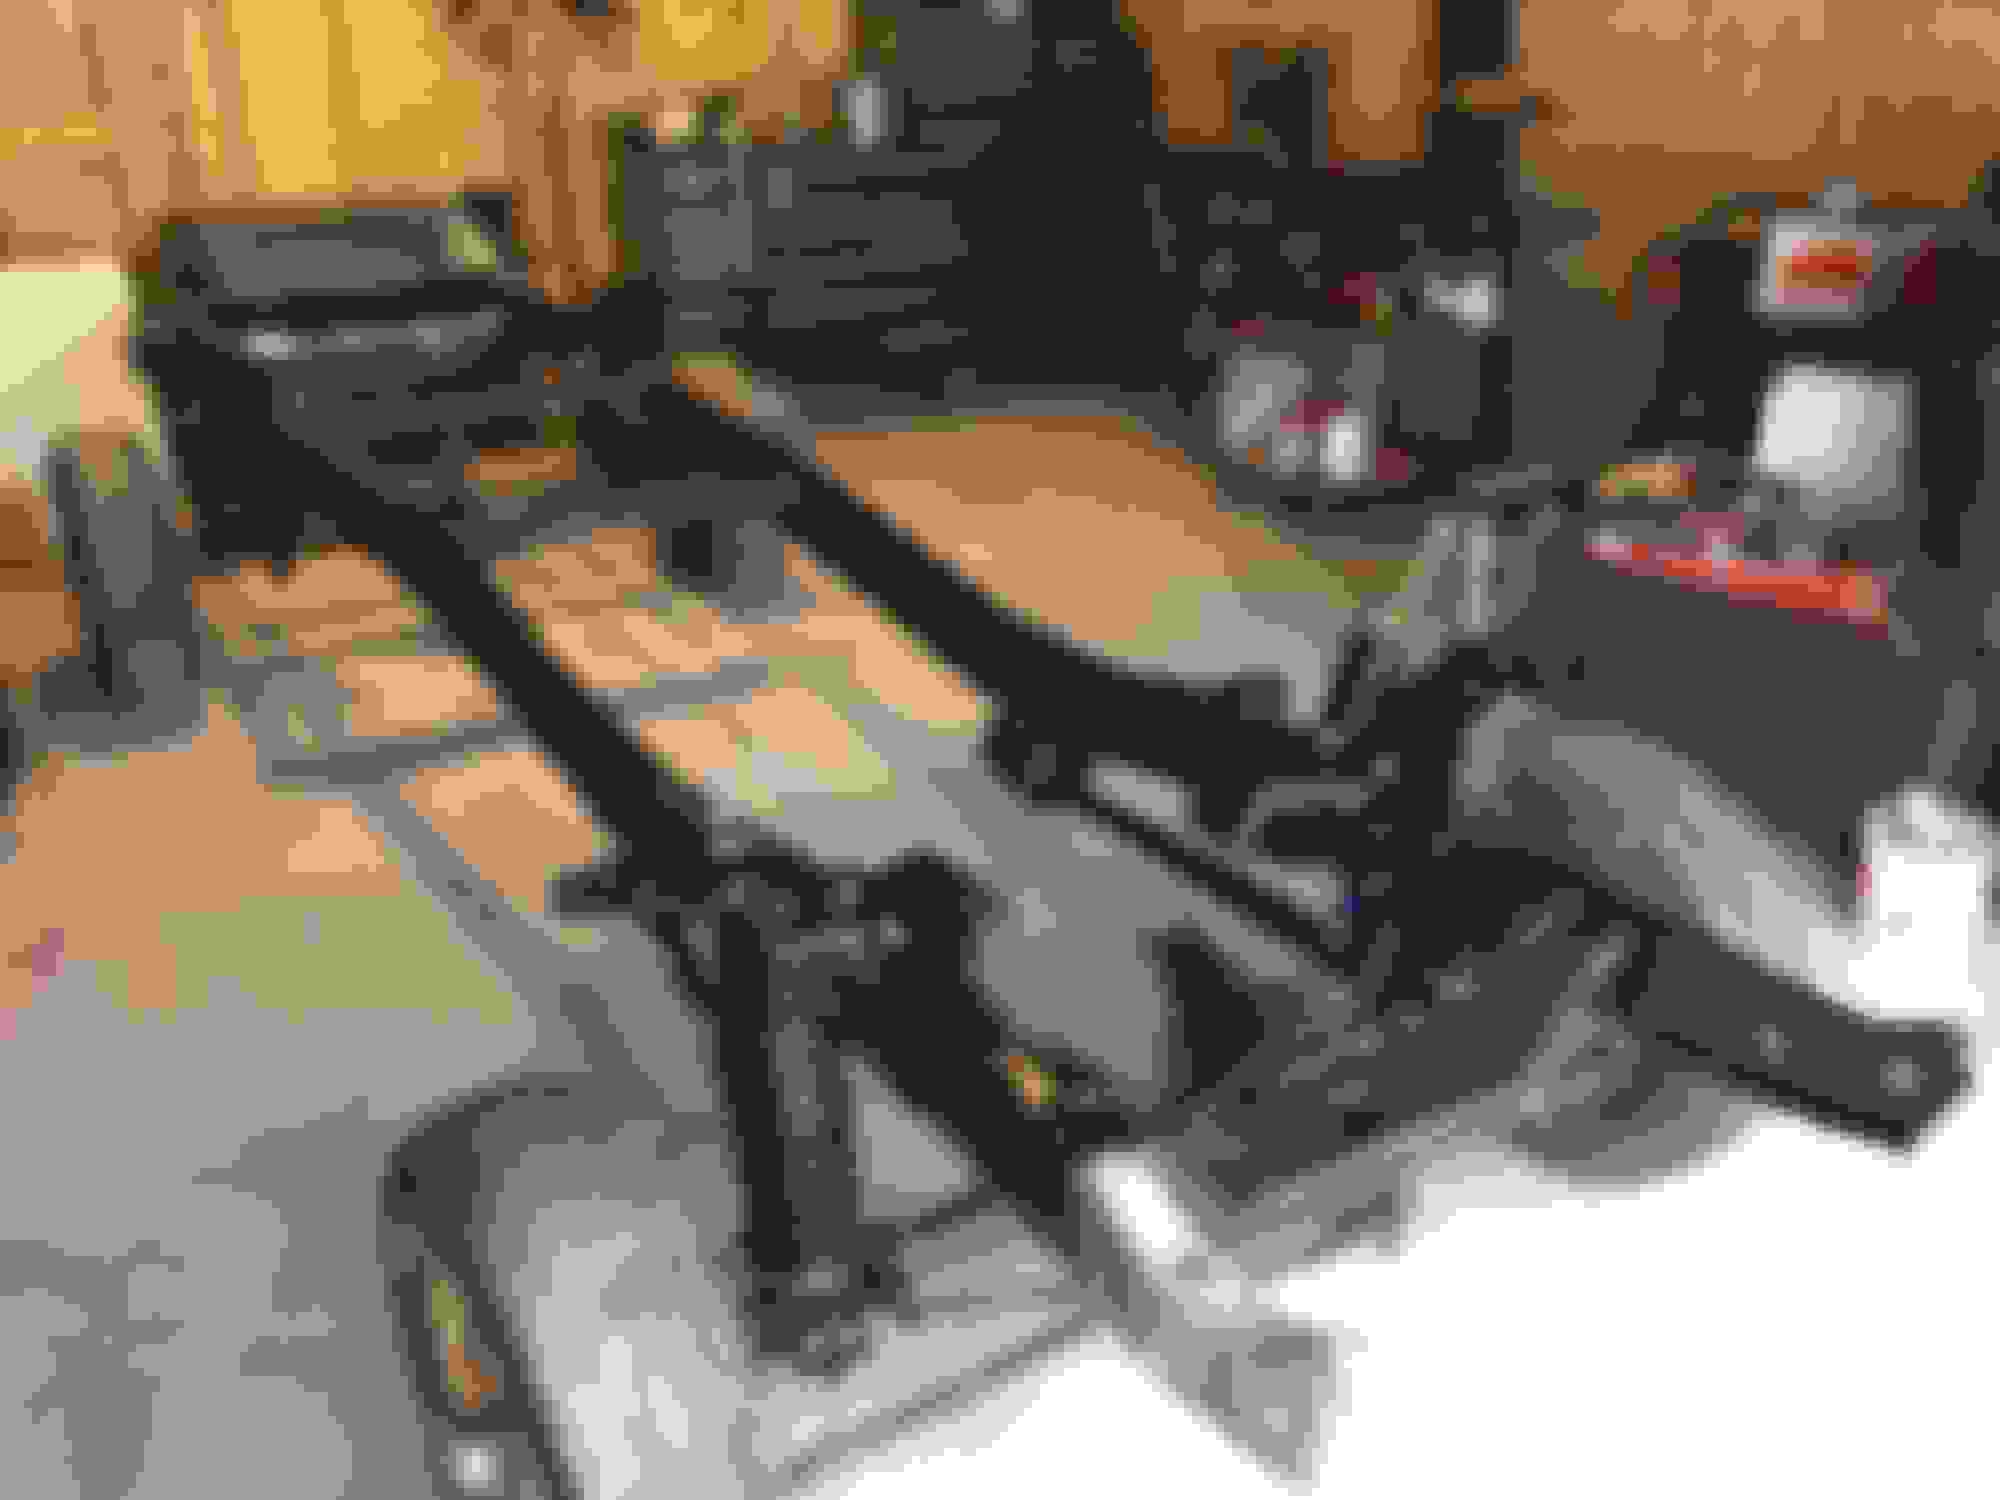
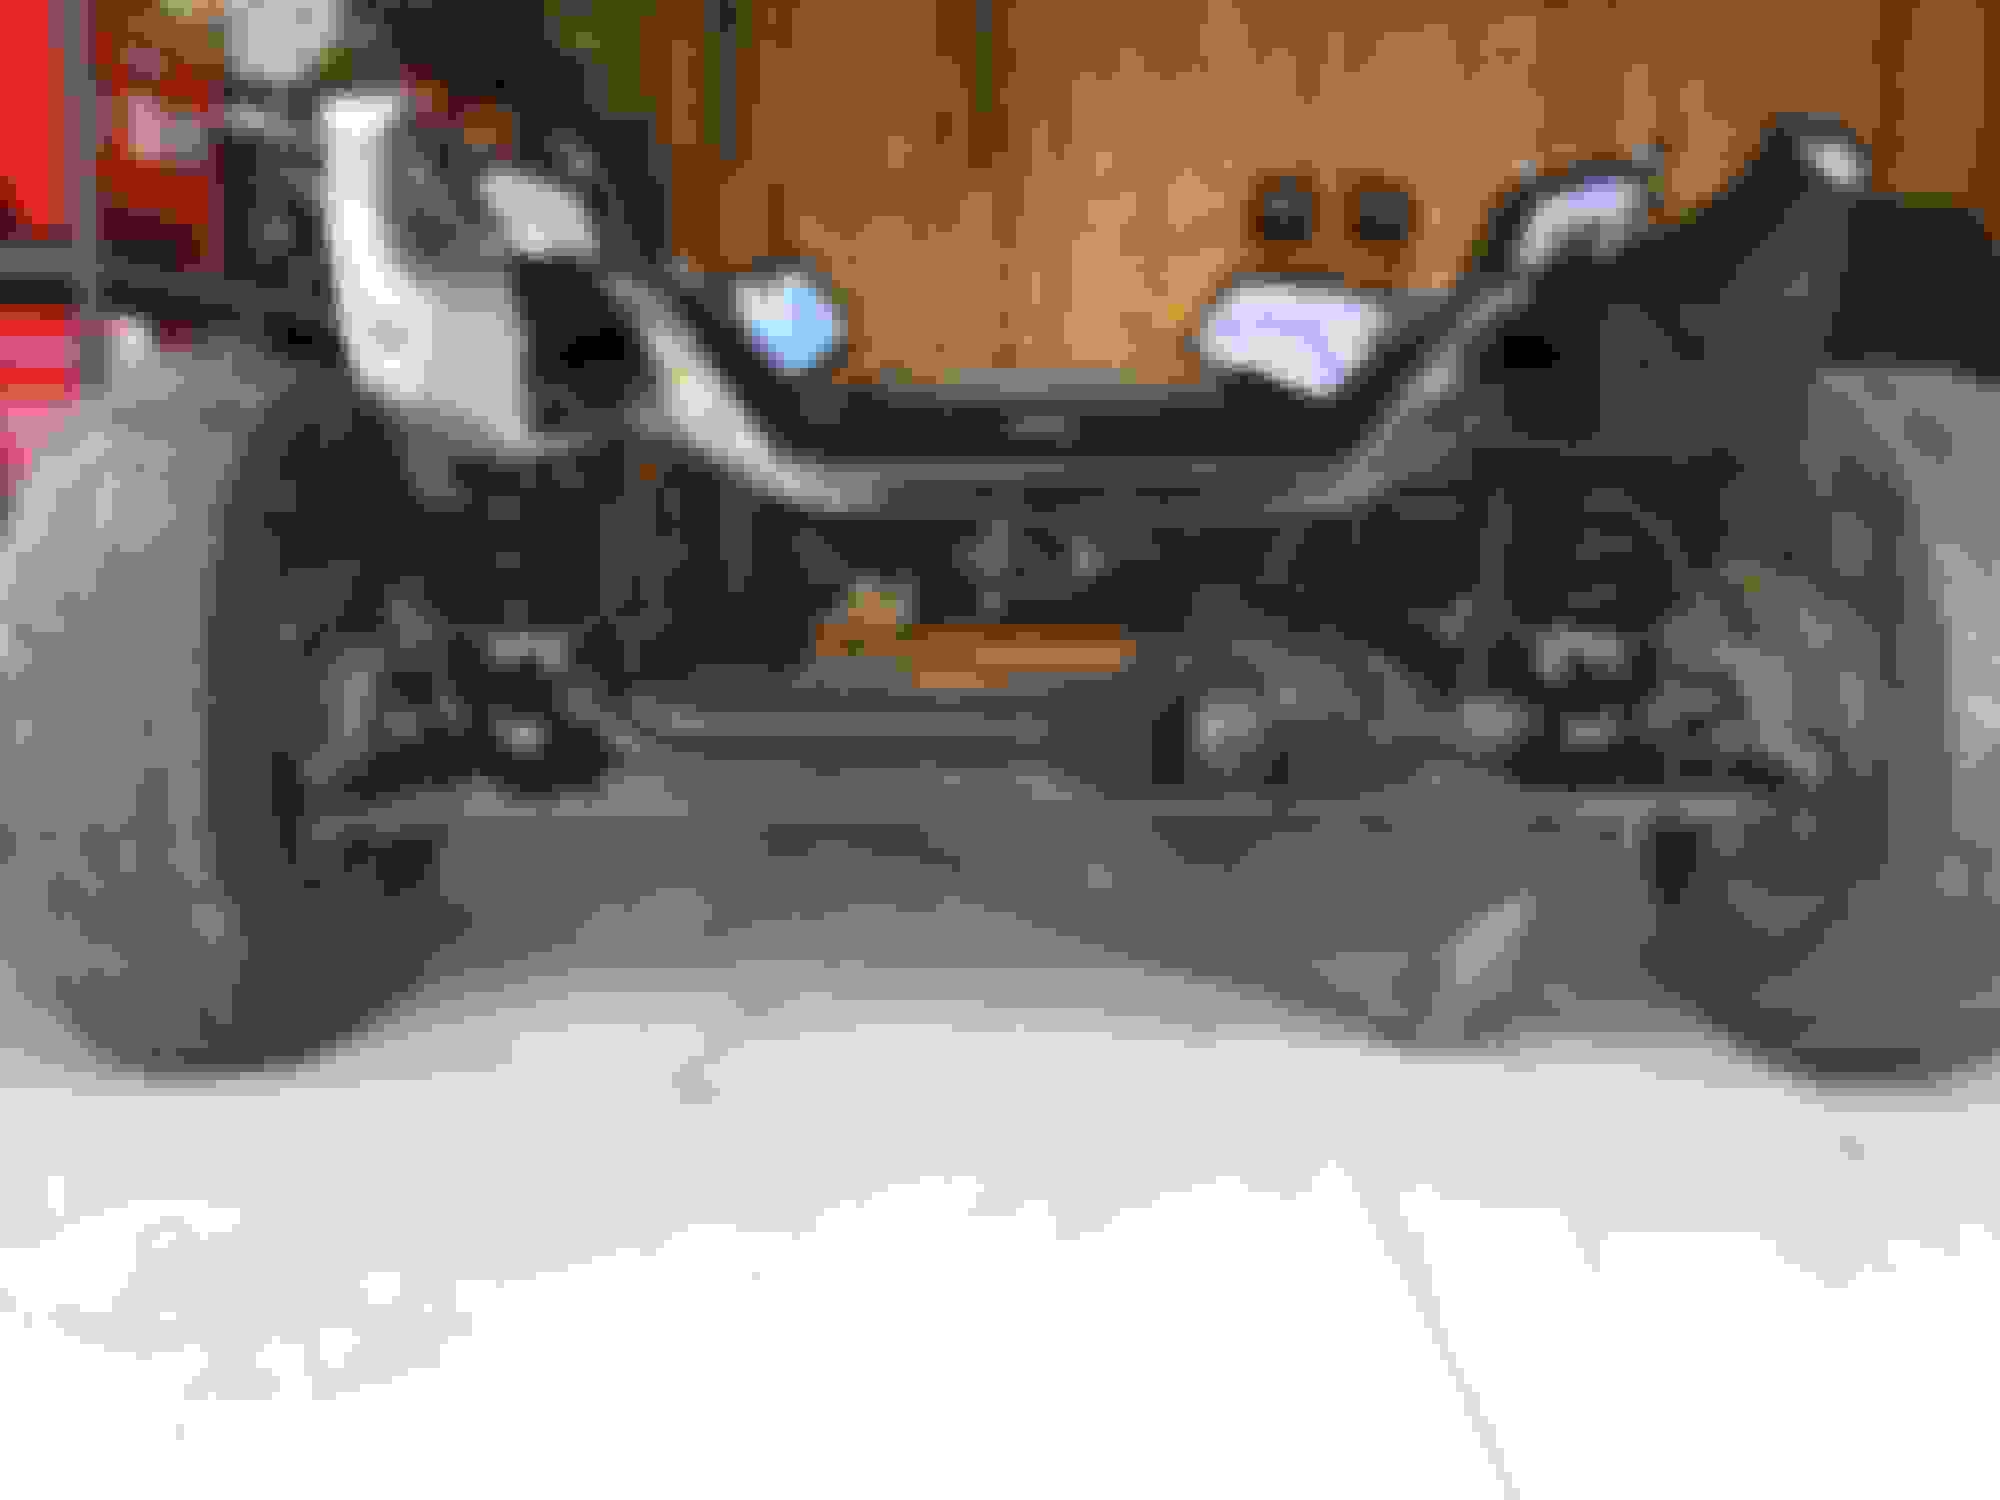
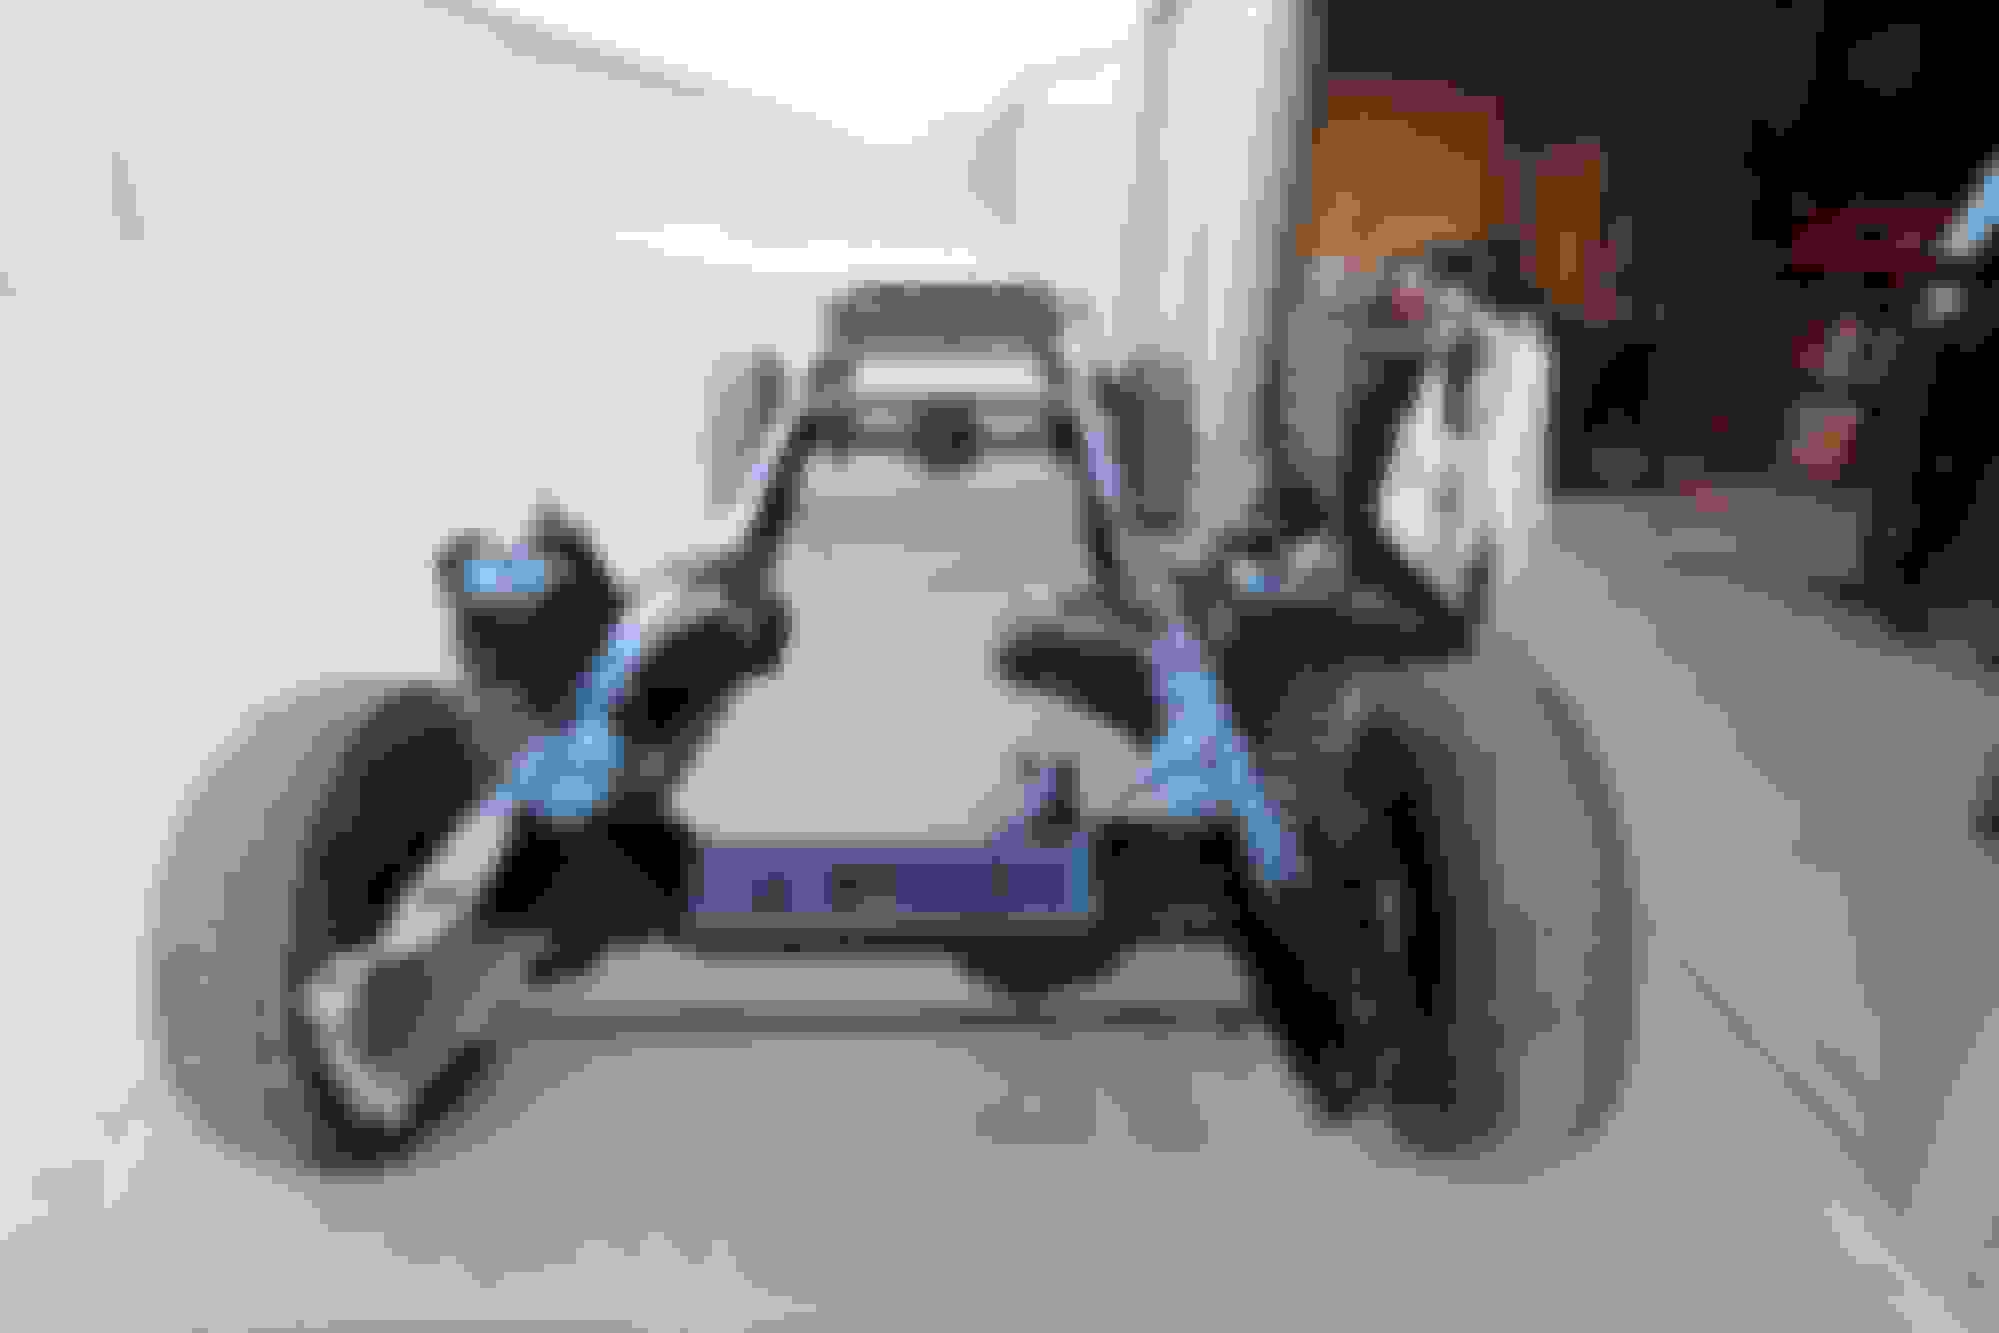
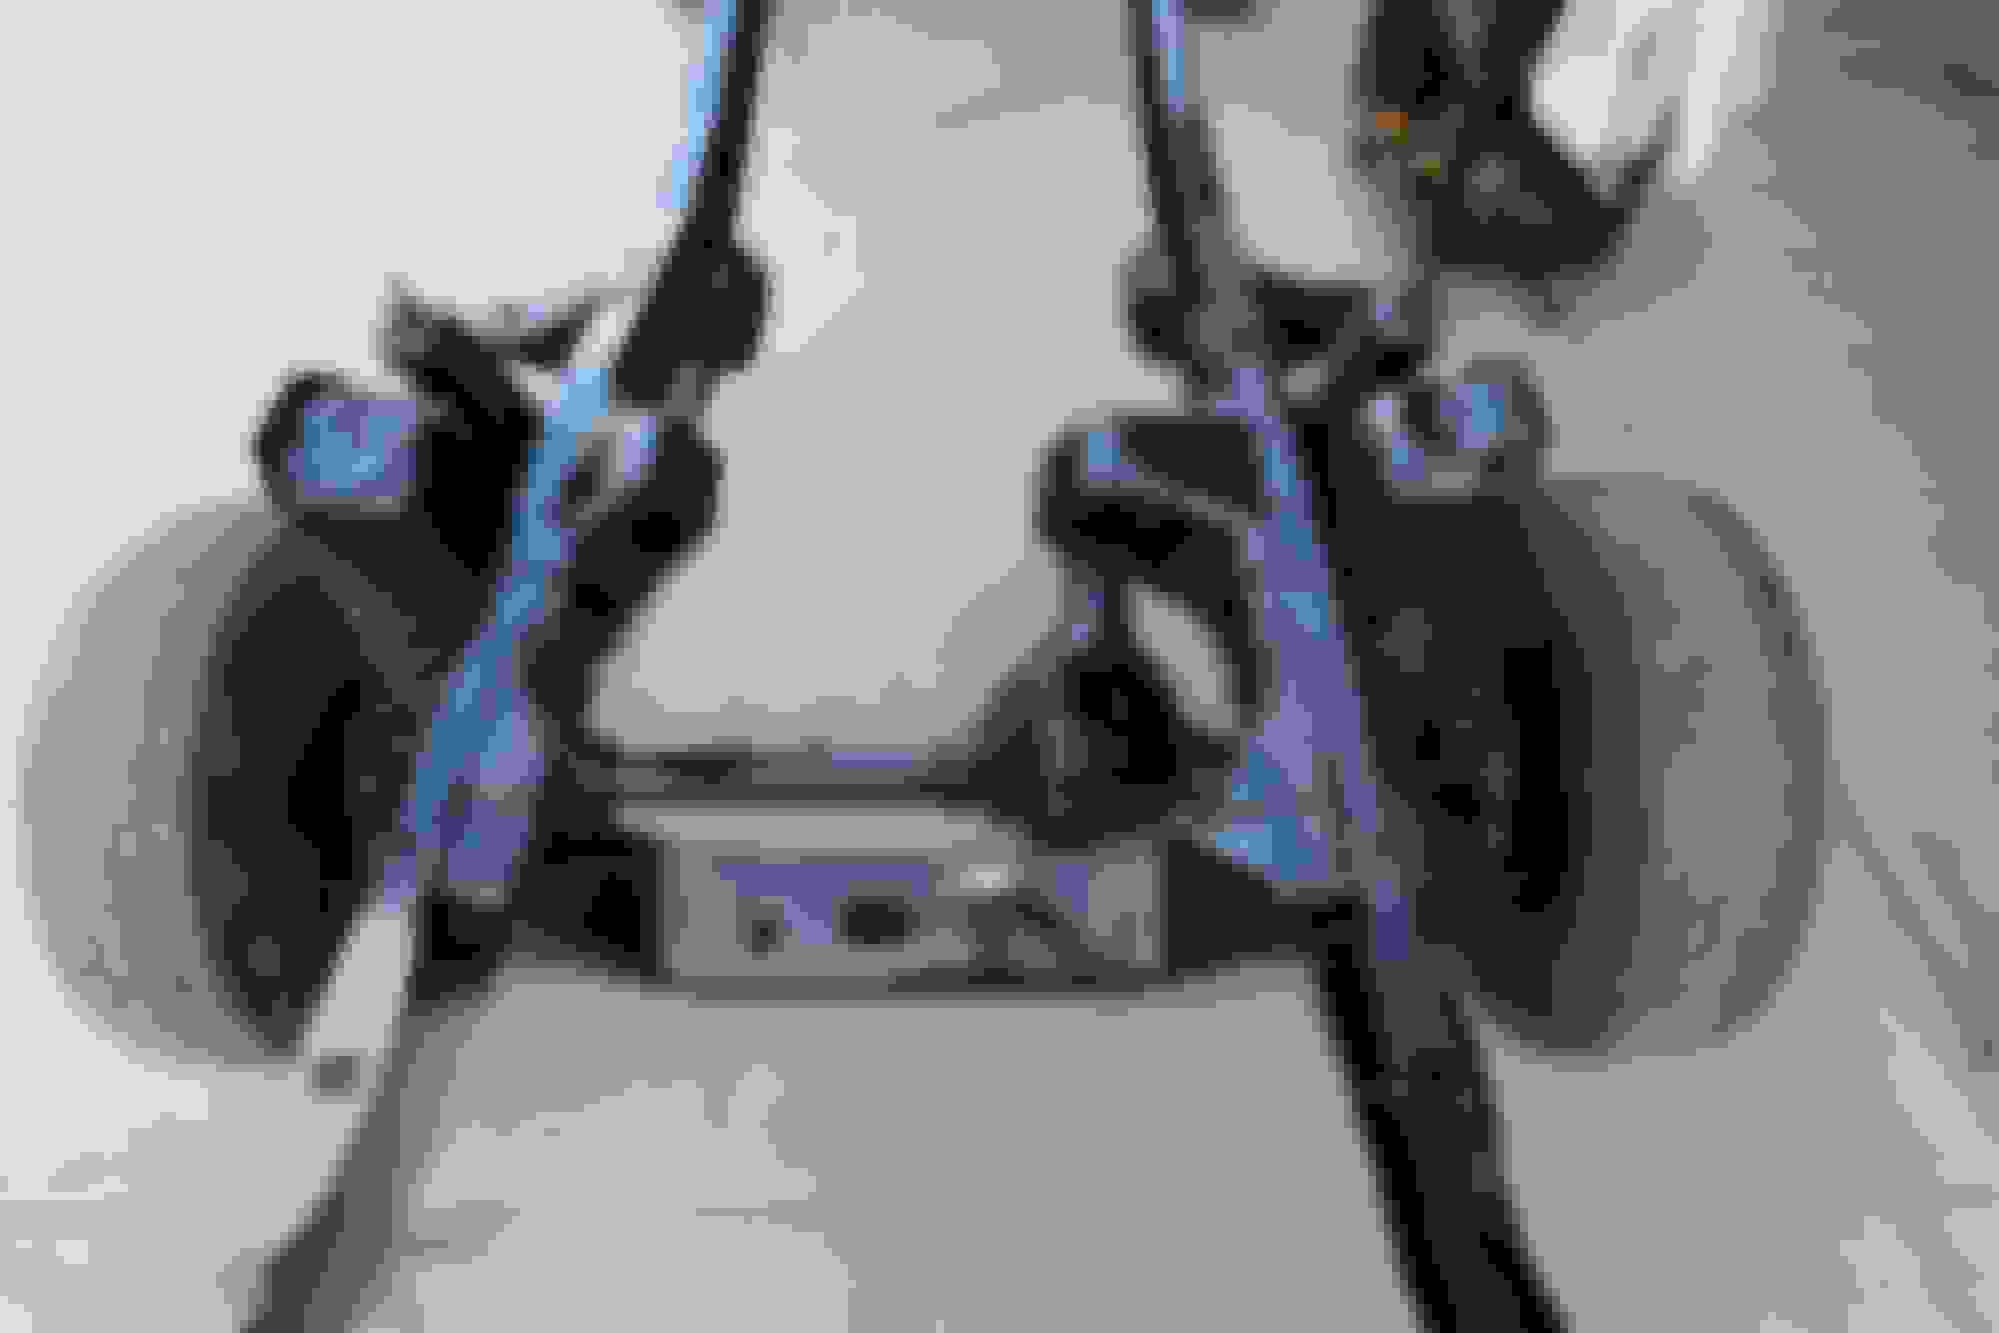
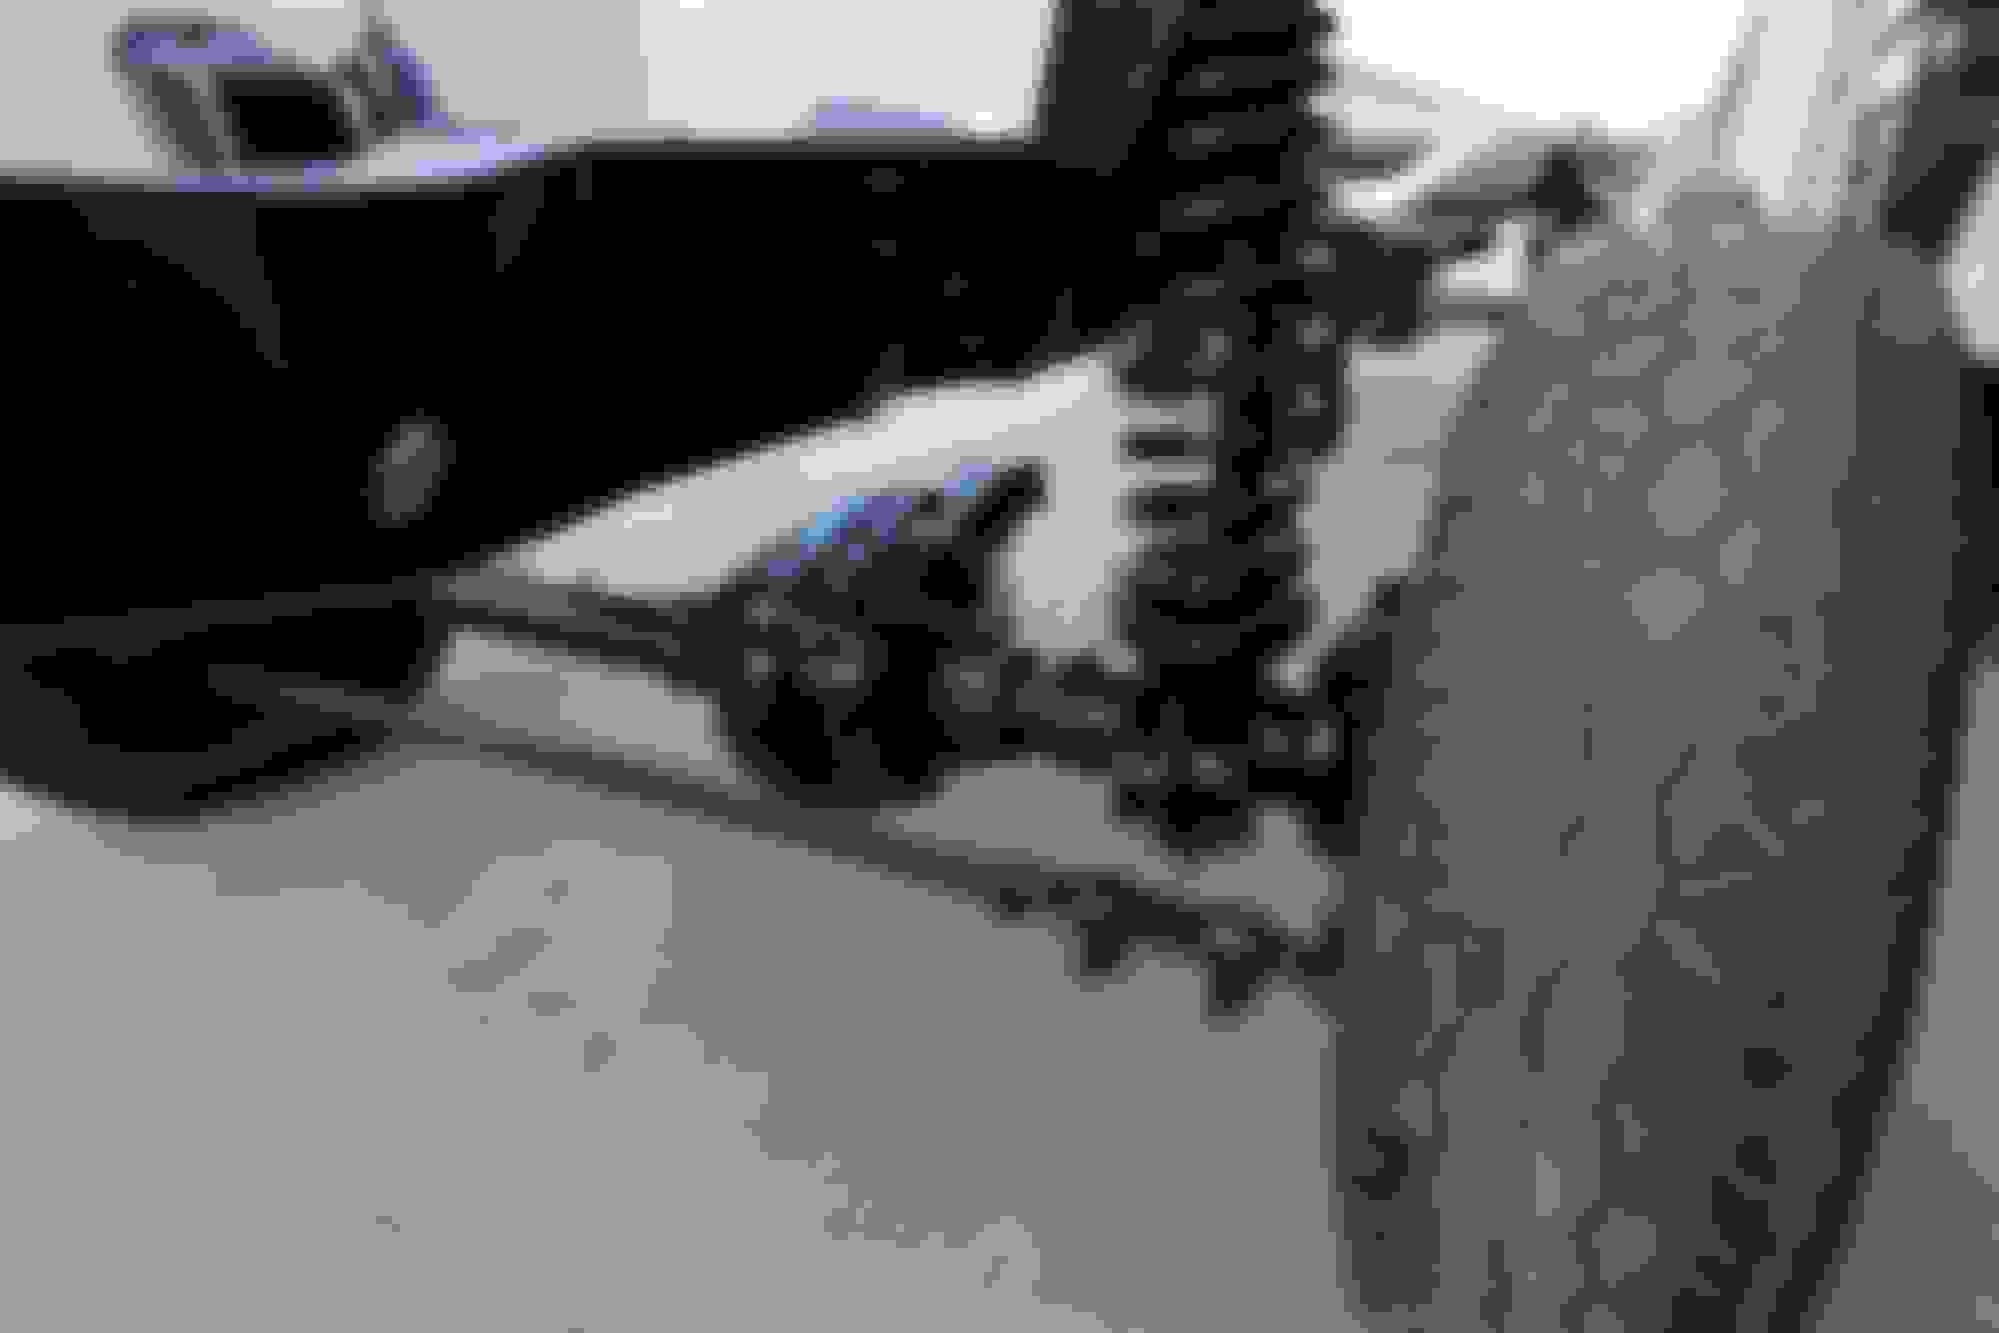
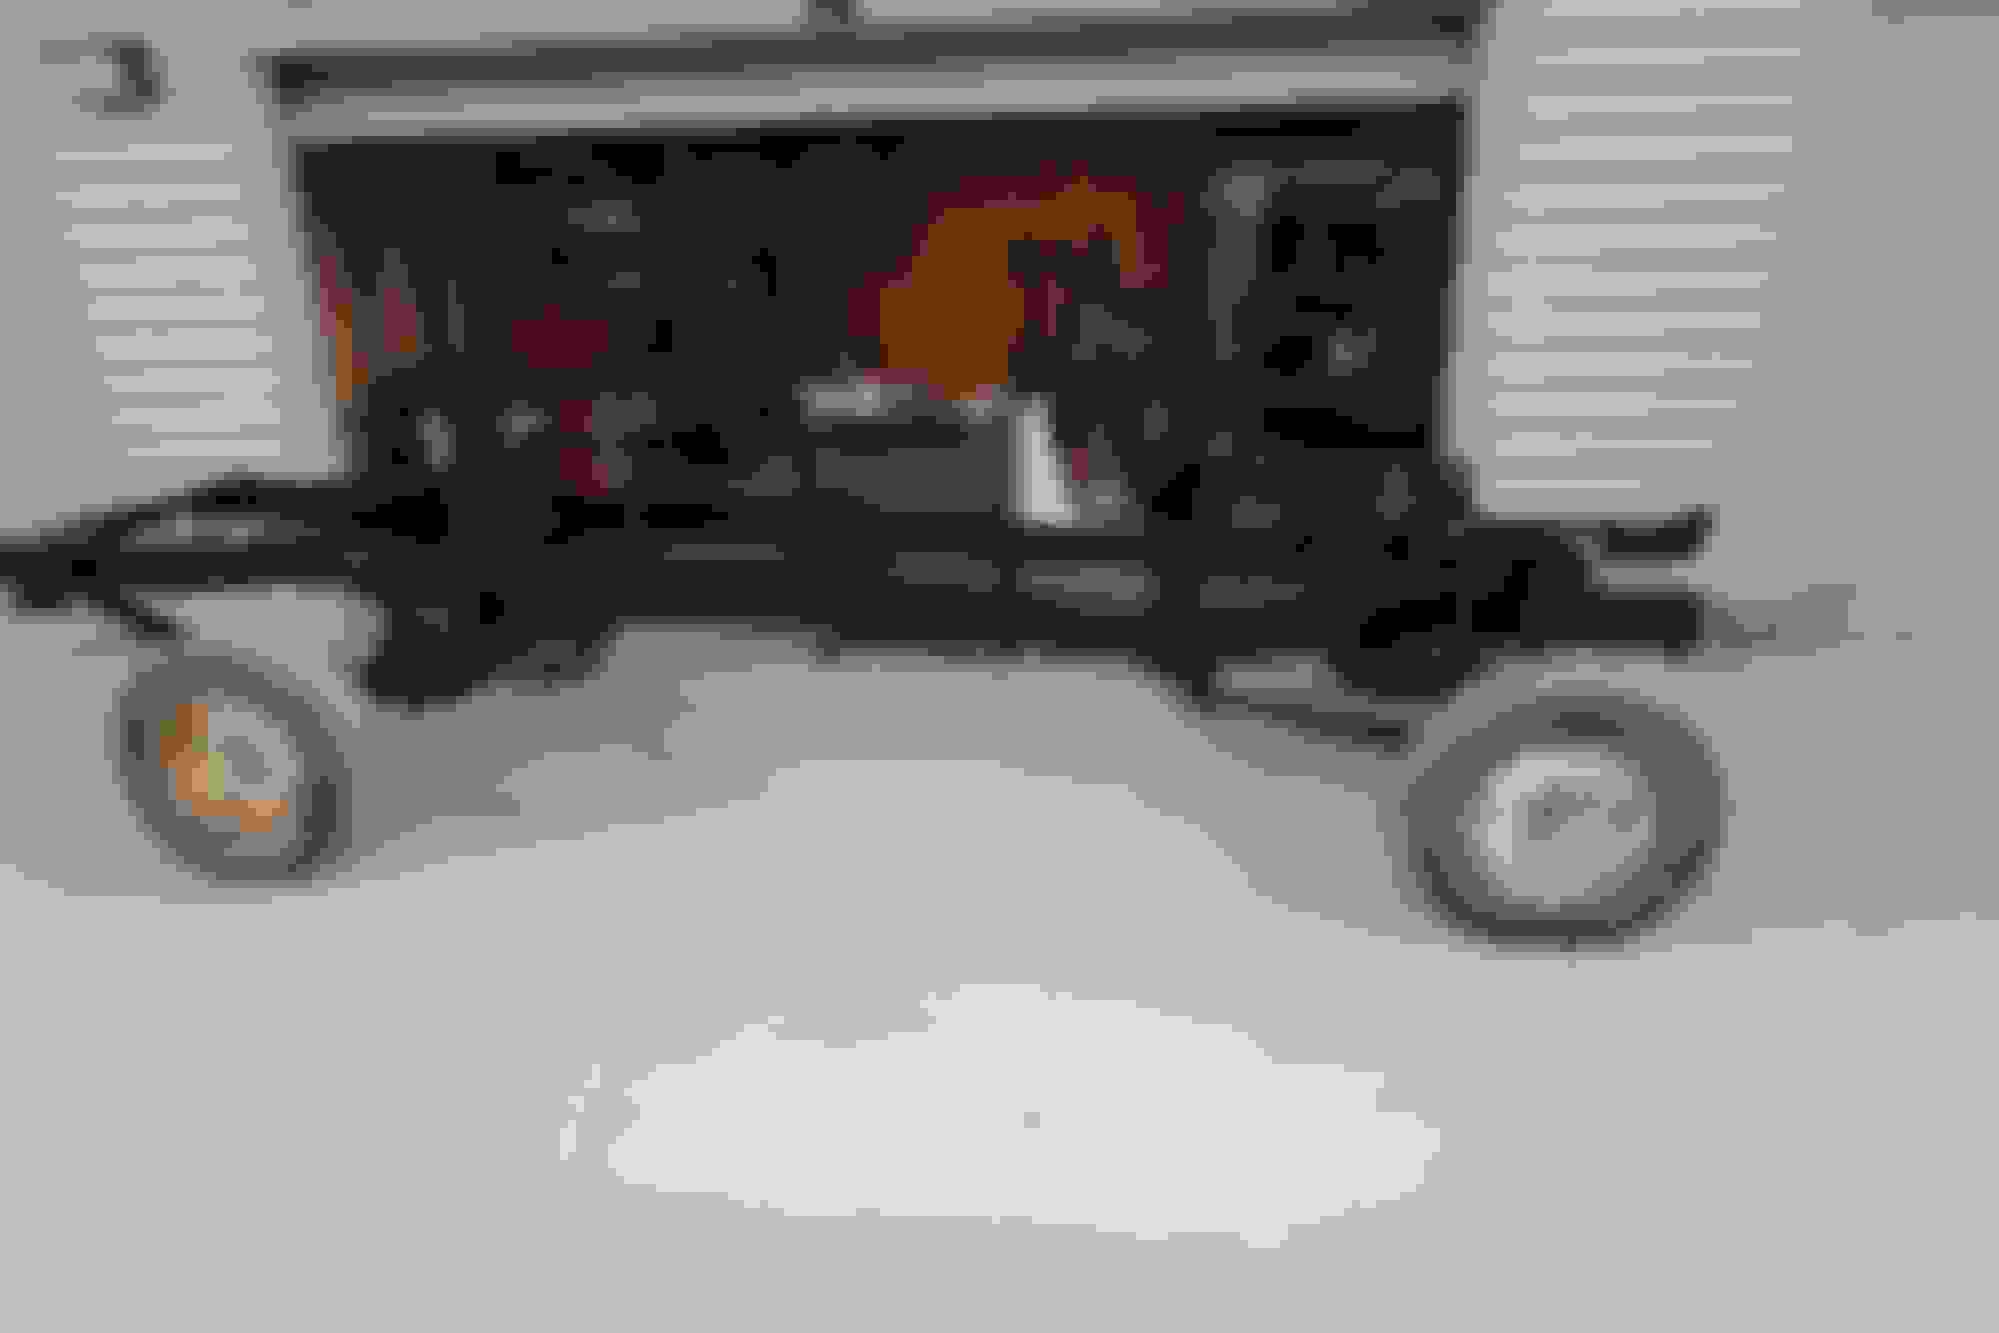
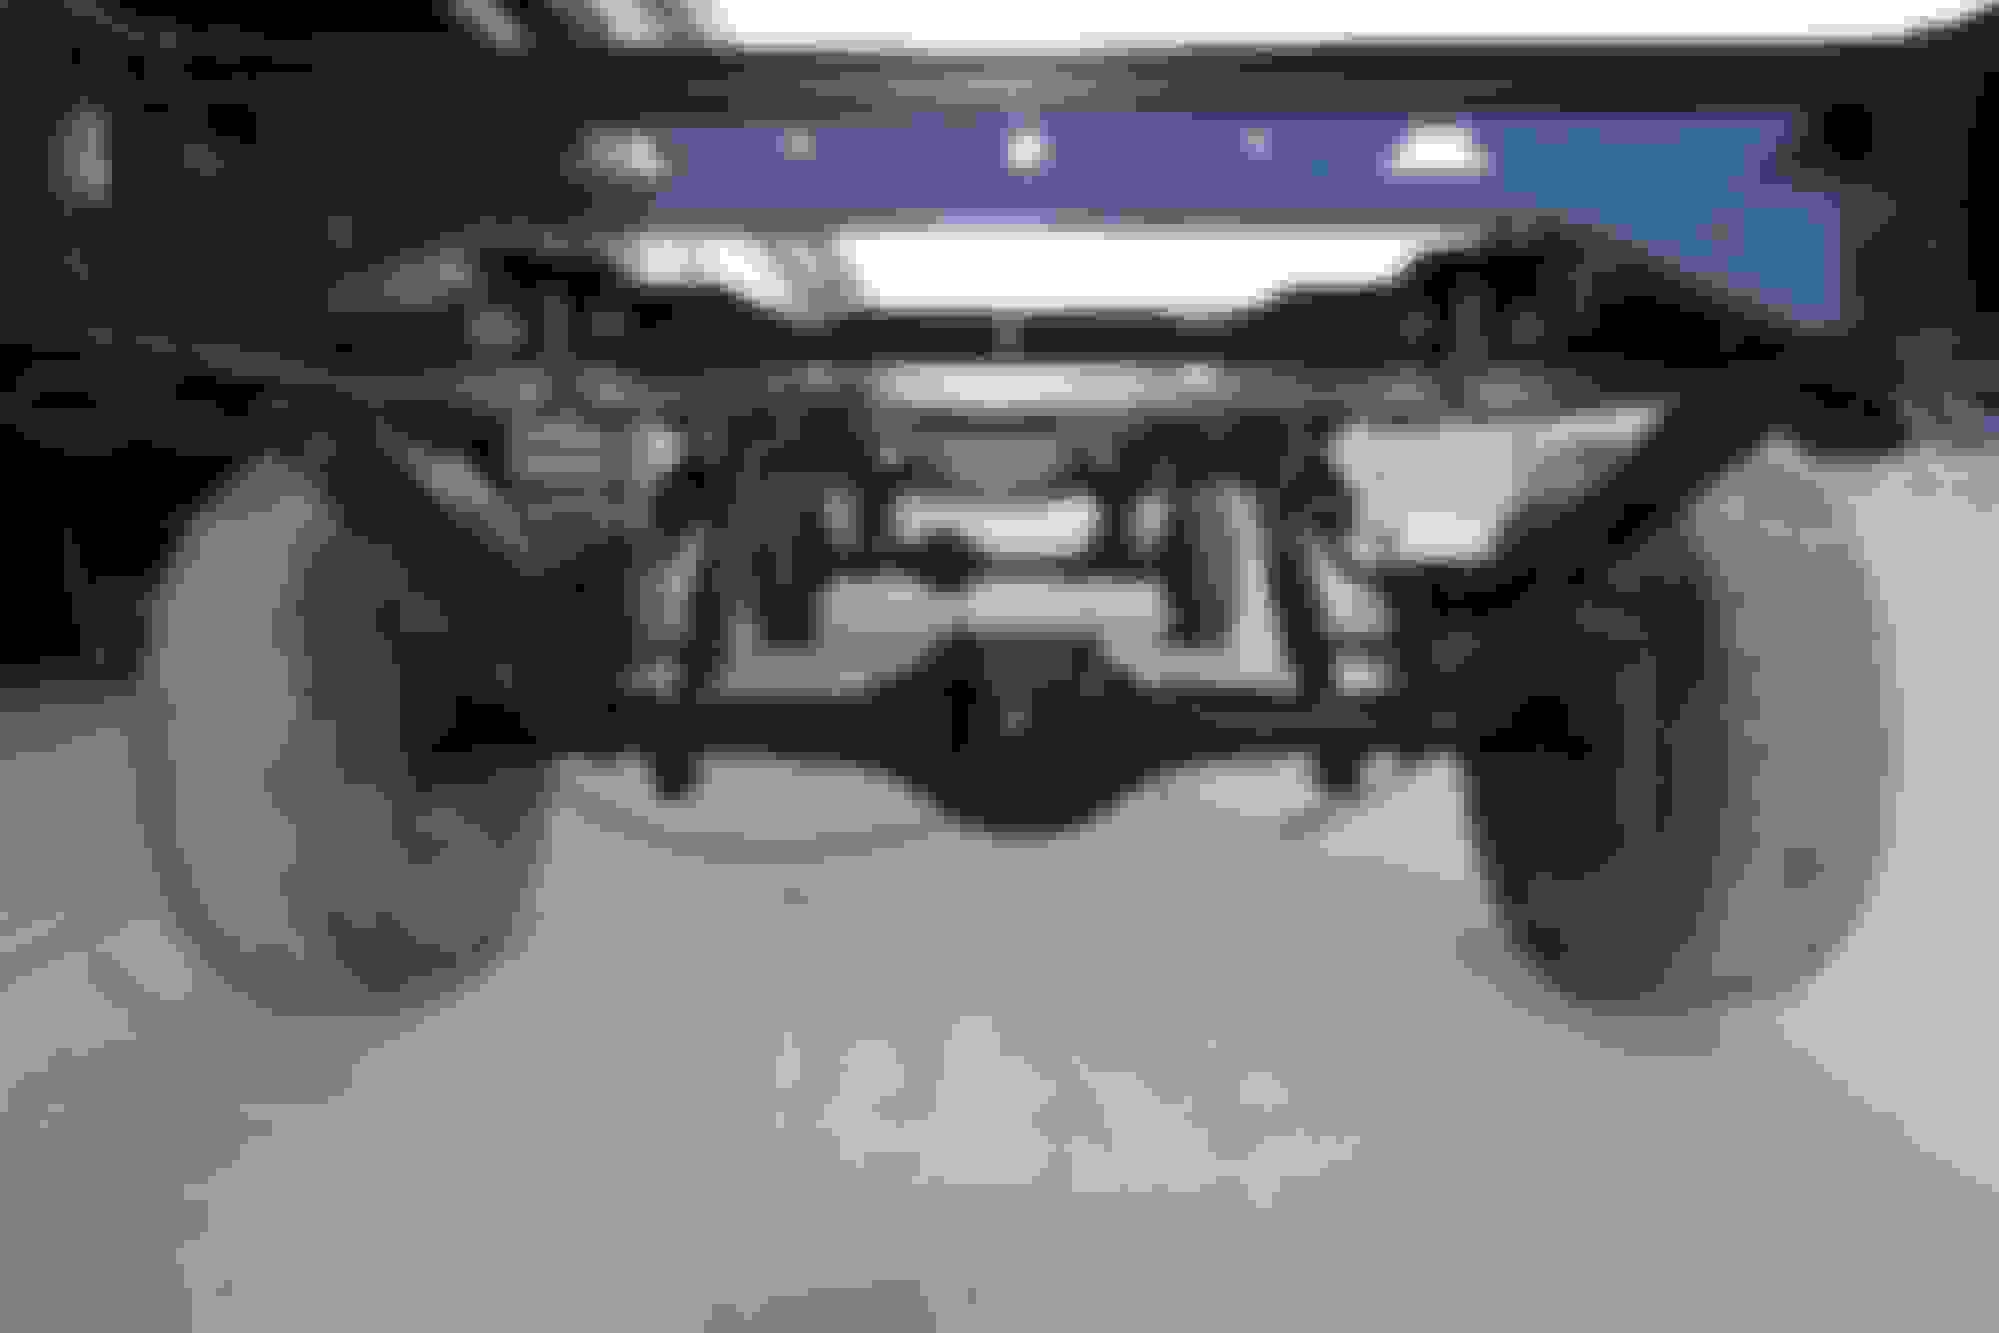
It fianlly Warmed up here in NoDak so i got a few days to work on my truck. Since my last post I have moved into a two car garage so life is good on that front. I have fully assembled the front and rear suspension and now have a rolling frame.
My broncograveyard.com leafs came with a nut that was too large to fit into the block so I had to drill out the block.
Wow! Glad to see youre back at it, looks amazing. Looks like you and I are at similar points. Im hoping to get the motor and trans back in this weekend. Keep the pictures coming.
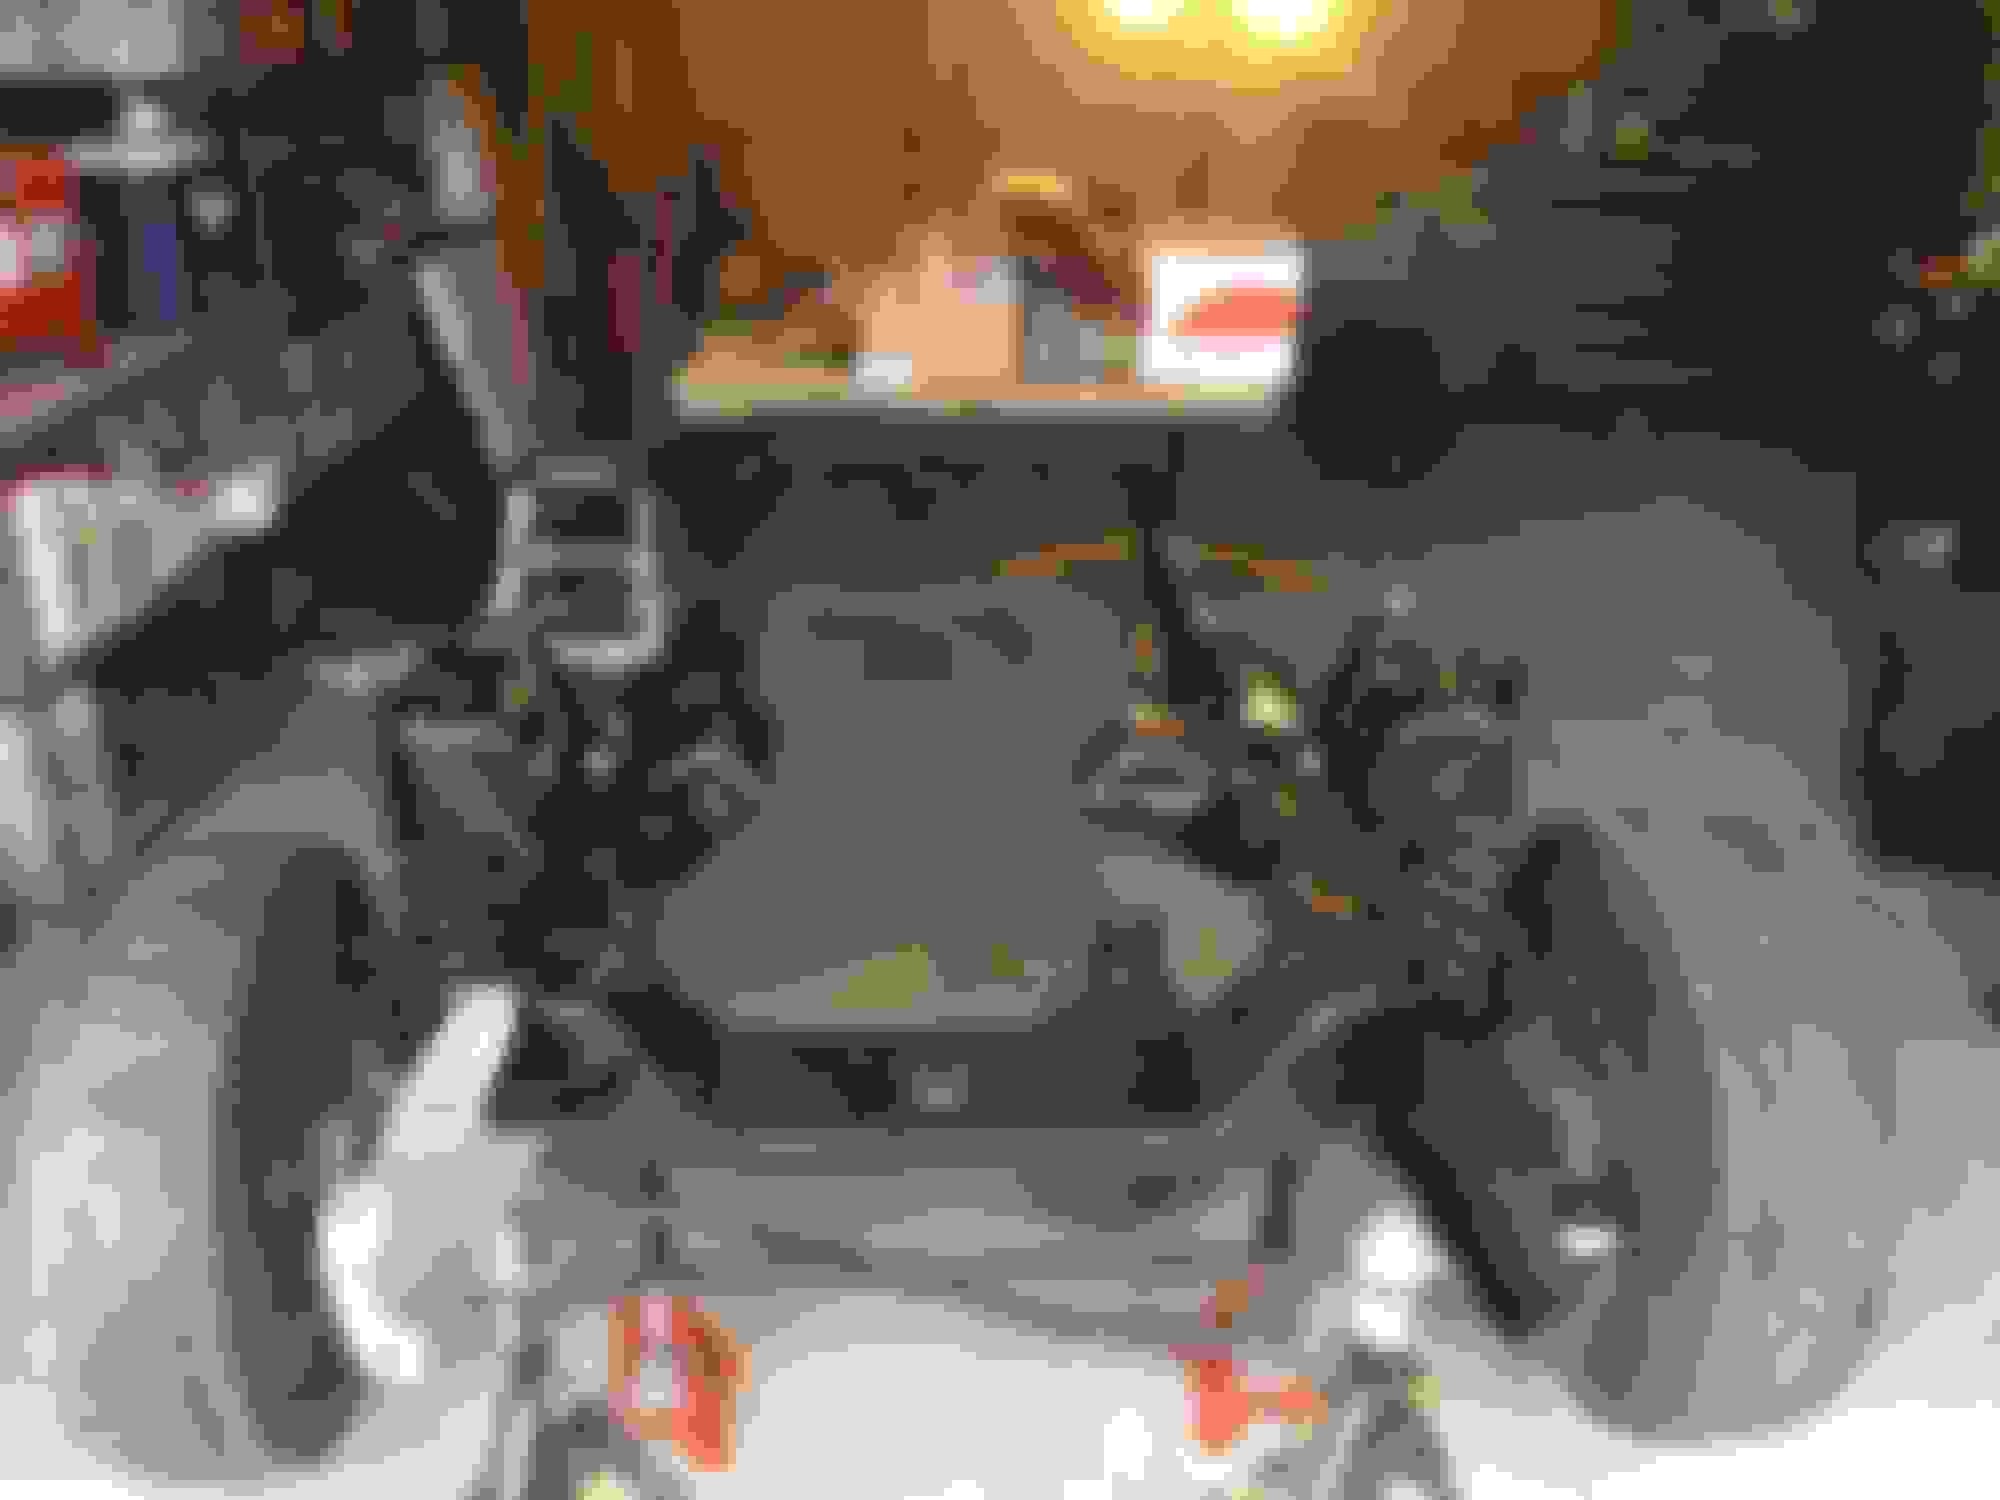
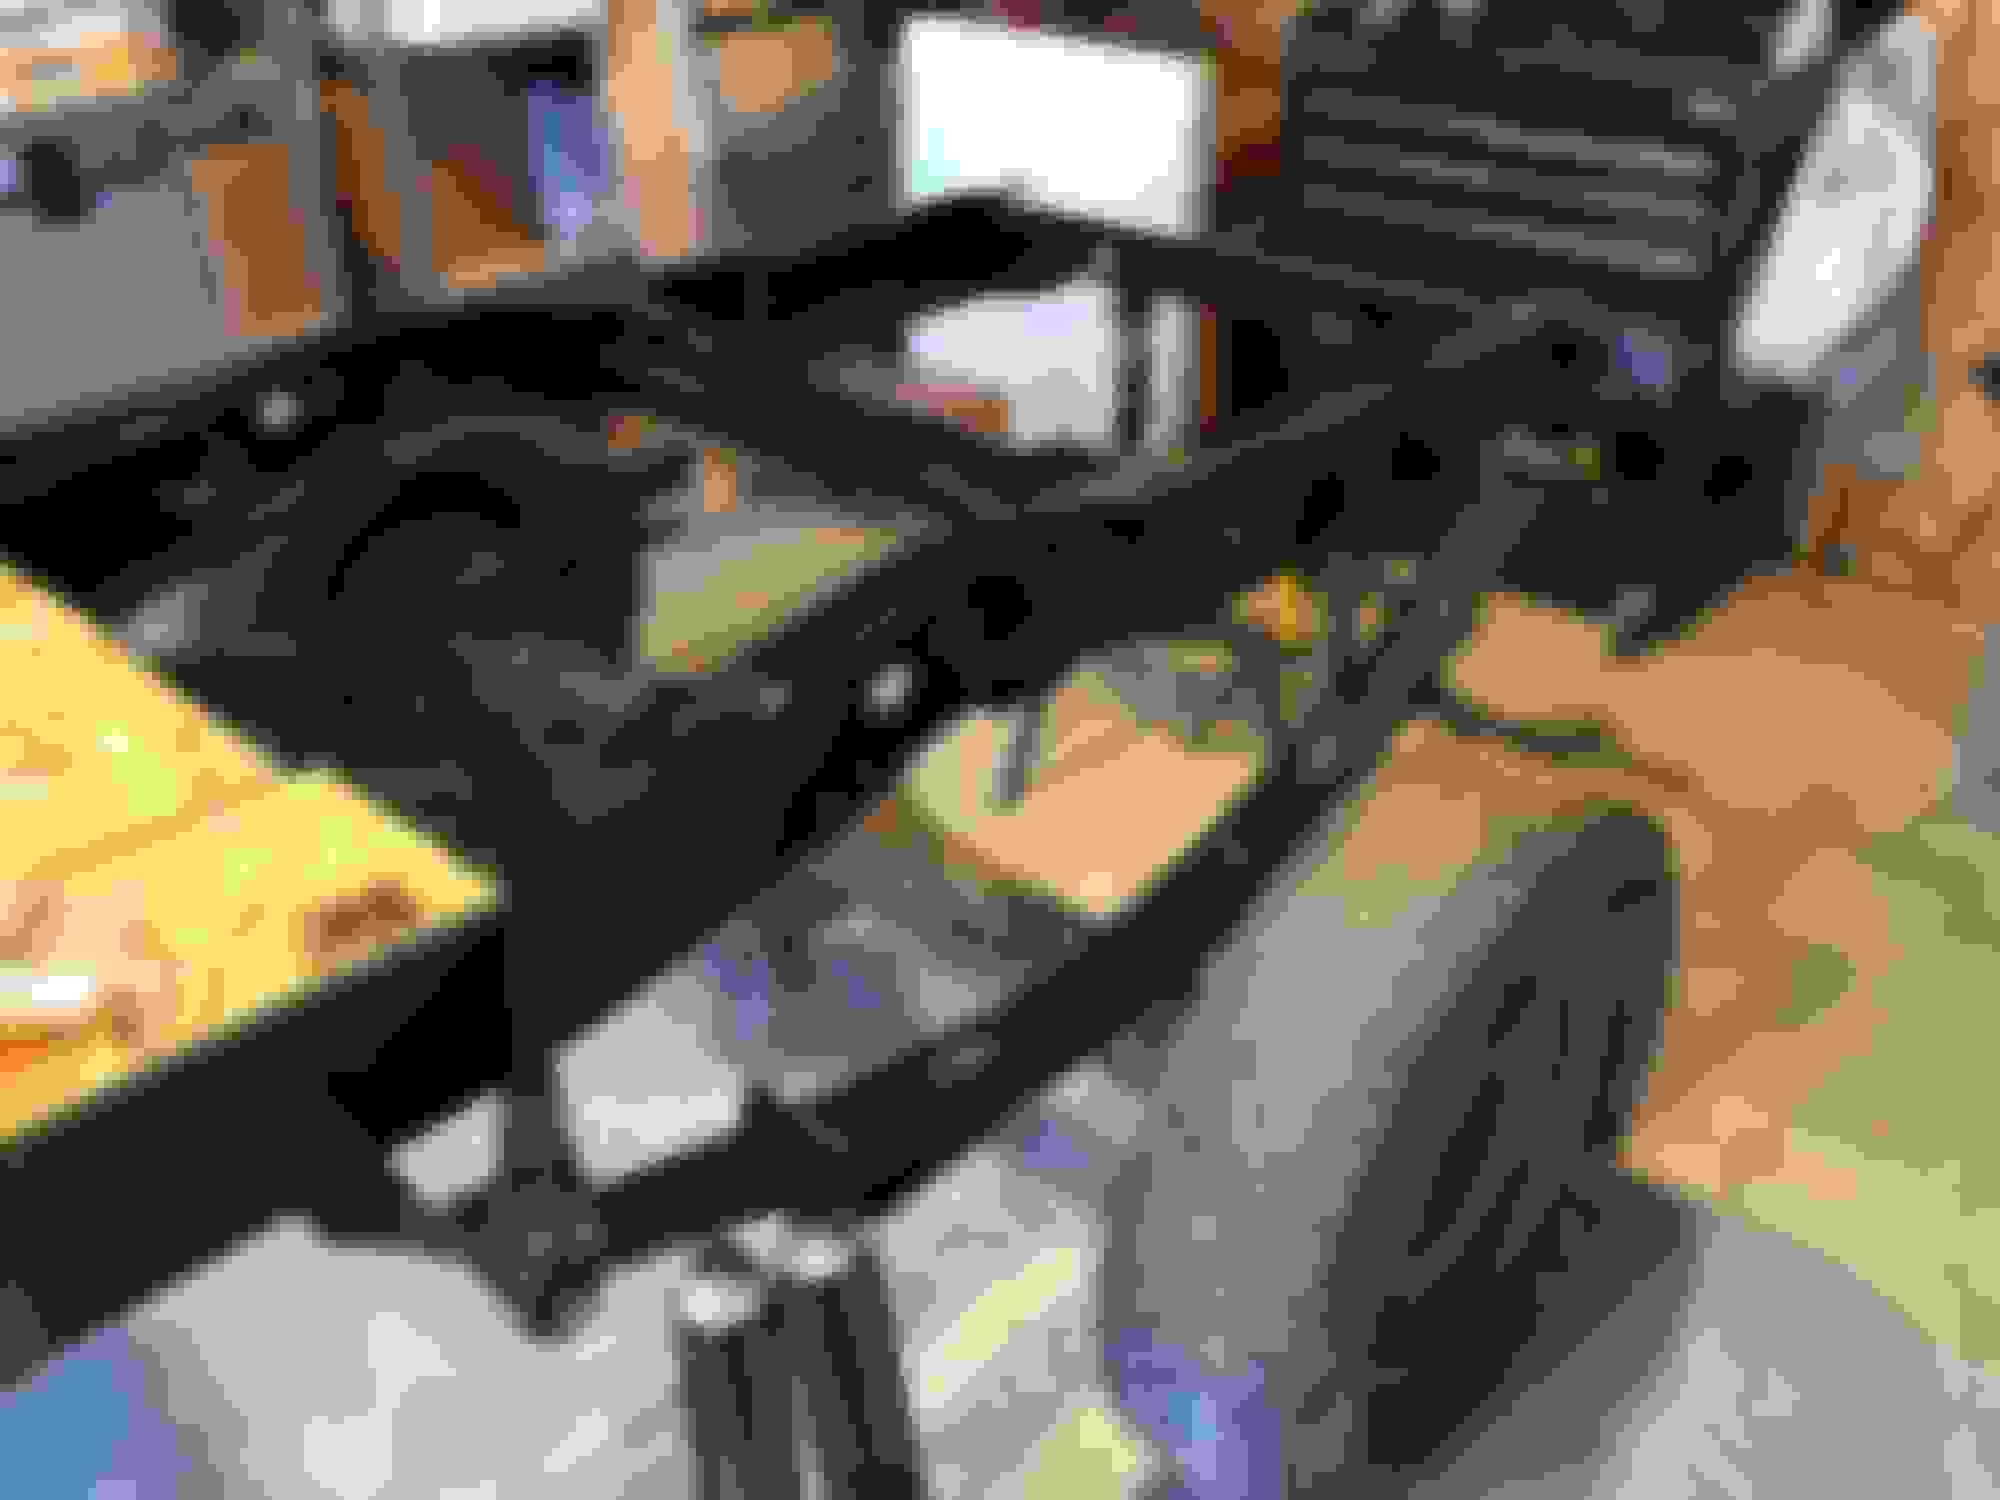
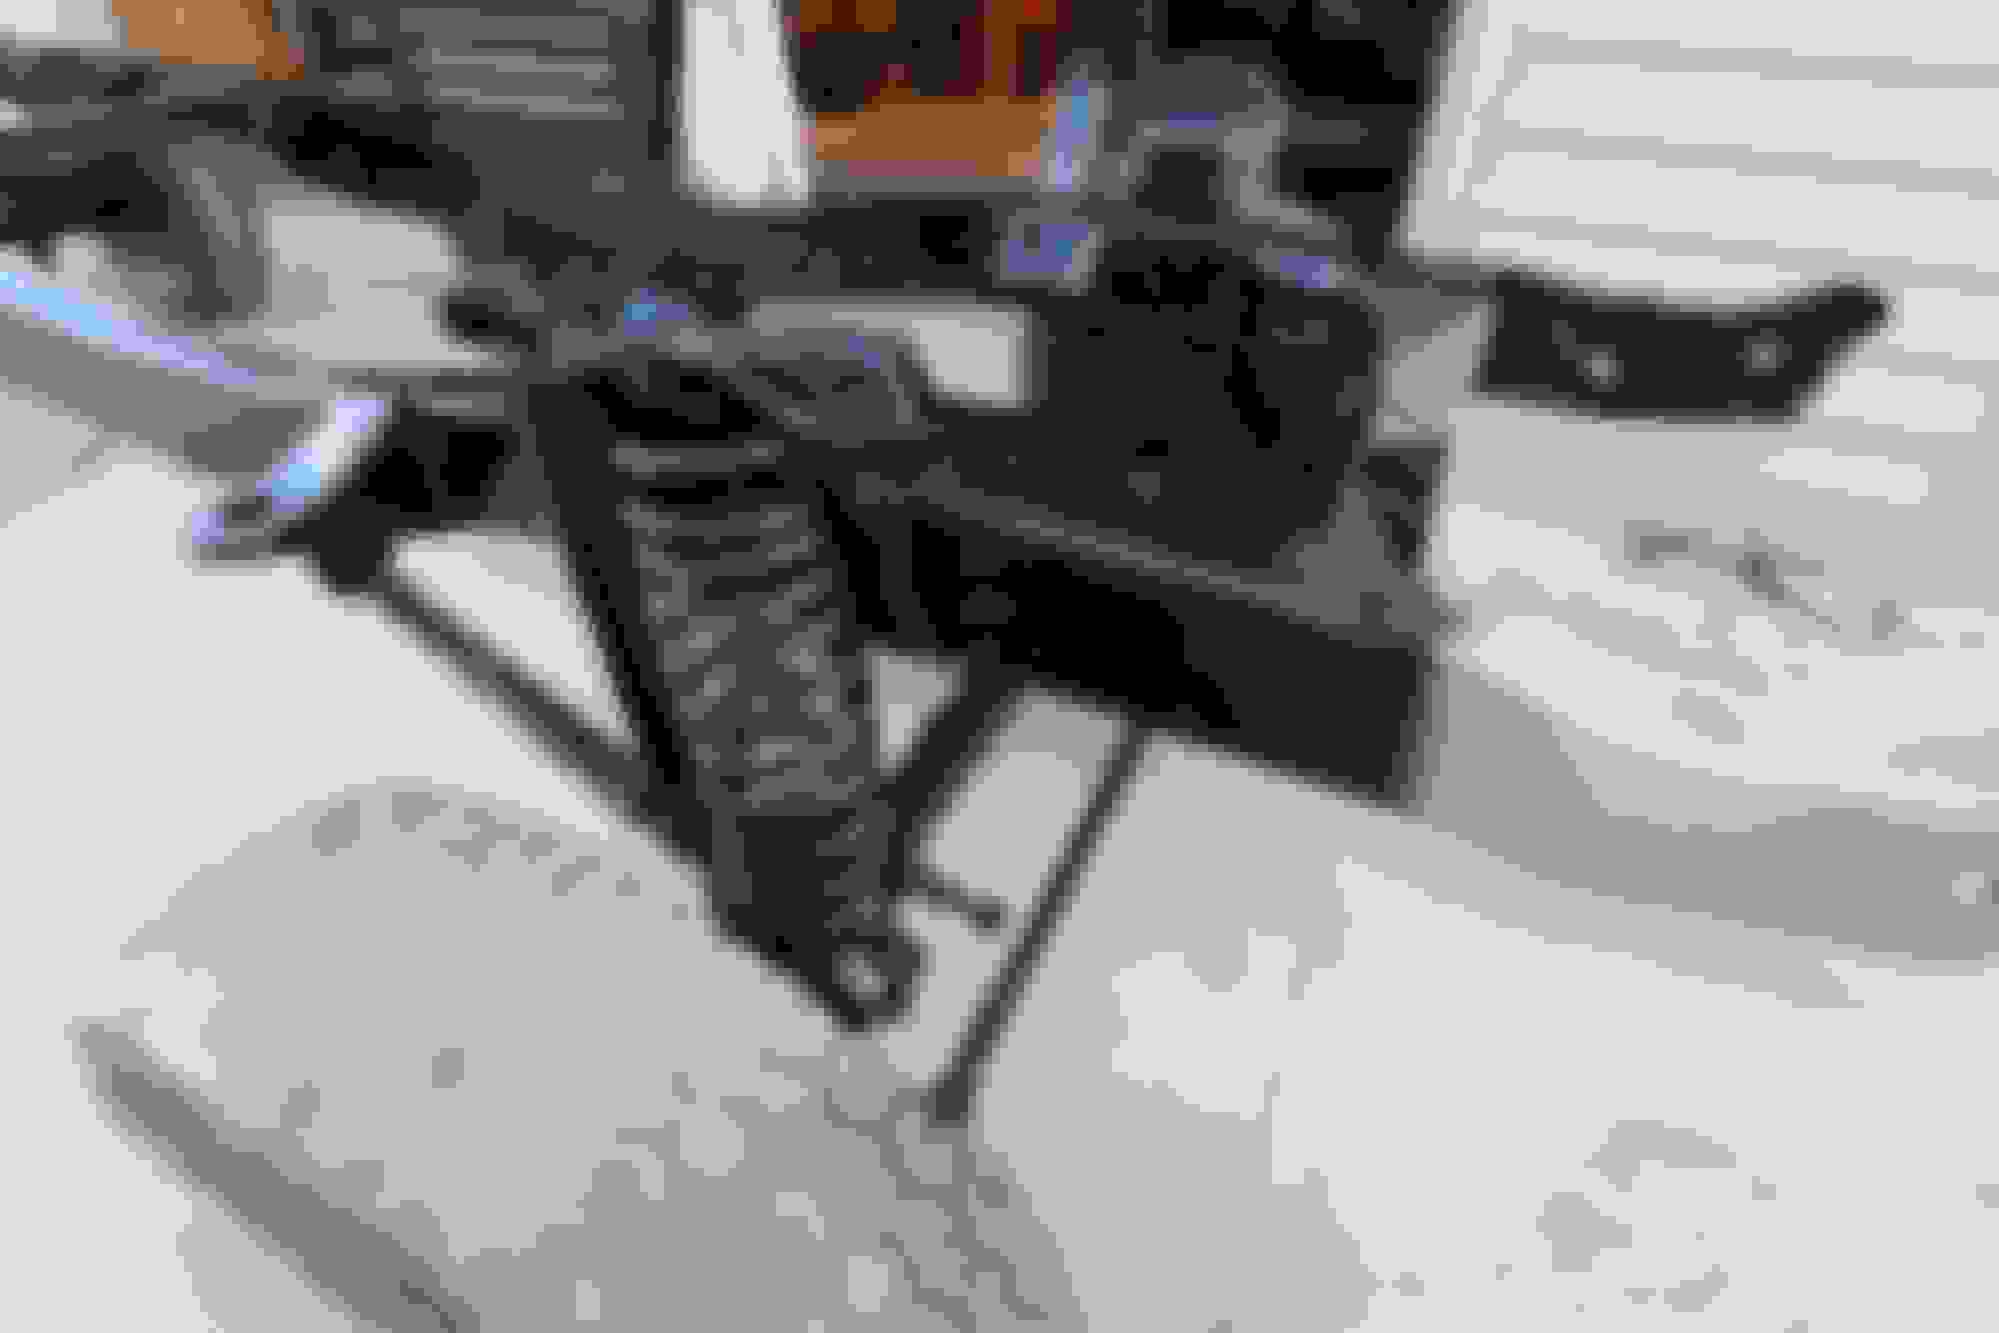
today I took the brake lines off of the axles, cleaned them up, and painted them along with sanding the Por-15 down on the frame and painting it as well. I am going with a gloss black on the frame and axles. I learned that the satin or flat black is a real pain in the butt to keep looking good. If youve looked at my previous posts on this thread youll see that my cab is satin / flat black. Well it bumped the plywood walls in my garage and got a scuff today... and low and behold you cant fix it. I cant buff it, I cant sand it, all I can do is look at it and shake my head. So now I am thinking I am going to repaint the cab a nice glossy black sometime in the future. Anyways below are some pictures of the new paint from today.
The reason for the front passenger side of the frame not being painted is because I have to reform the metal there at some point since it was in a wreck and pretty knotted up.
I use magnets or clamps to hold the metal in place. I like to butt the metal up as tight as possible and it seems to work well for me. I have about 10-12 magnets that I took off of tool trays that magnetize to your box and also hold screws and other items. I do not use weld through primer either. Once I'm finished I primer over it. I grind or sand all of my welds so I would end up just sanding the primer back off.
Gijazbo,
Here are the pictures you asked me about. I tried to message them but it wouldn't let me insert a photo from my phone. These were taken on the passenger side. If you need more or better ones let me know. I can pull out my dslr camera and tripod so the angle will be straight down. It was tough to hold a tape measure and take a picture with my phone.
Has anyone ever heard of Diften? I found door shells on amazon.com made by them and I am wondering how the quality is. I have a $400 gift card on there and was hoping to spend it on truck parts one way or another lol.

 10-23-2015, 10:35 AM