When you click on links to various merchants on this site and make a purchase, this can result in this site earning a commission. Affiliate programs and affiliations include, but are not limited to, the eBay Partner Network.
Wow!!! That looks great, how do you like the product and have you used it before?
Thanks! That was the first time using Raptor Liner and I have no complaints. It is very easy to set up and measure. It comes with the 4 bottles of liner, 1 bottle of hardener, and the spray gun. I'm not sure how to change the appearance of liner to make it more smooth or rough but I'm sure I could've looked on Google or youtube. I plan to use it on the inside cab floor, frame, and inside and underside of the box.
I'll be spraying the inside of the can this weekend.
Started working on the cab roof a little bit. I didnt want to have bare metal getting rusted so I primed it.
Freshly sand blasted. Tons of bondo slapped on the cab roof, I think someone was dancing up there from all the dents lol.
Before body filler I used a hammer and dolly to get some of the dents out. Others I could not get to. I sprayed SPI epoxy primer on before filler was applied
another angle
post filler applied. I still have some work to do on it before 2nd coat of primer but I was over sanding.
Well, I think in the beginning I should have named this thread "polishing a turd" ! Not really, but I did find some rust in the back lower part of the cab where it was originally caulked. The sand blaster cant really get through the caulk so I took a scraper and hammer and knocked it out. And of course up under it was piles and piles of rust. In the pictures you can see where the rest was built up and had pushed the metal out. Once I saw it, I knew the joy of replacing the panel was upon me. Tonight my journey started.
Here I have already sanded down the metal that was pushed out to get a view of the rust build up.
Drilling out tack welds is always my favorite...
Another angle of tack drilling
took that scraper and hammered from the inside to knock loose any welds still holding on. Also, the back sheet of metal wraps around the bottom of the cab metal so I had to hit the scraper the entire way down to get it loose.
striking a clean line to cut.
Line is done... ok lets go home.
A view of the rust build up. I would suggest anyone doing a resto of any sort check here for rust.
Distant view
all sand blasted. Thursday I will start fabrication of the new piece. Should be fun!
I have cut 2-24 inch and 1- 6.5 long by 4.5 inch tall strips of metal to fab in. The only metal sheets I can get around town that are thin enough come in 24x24 inch sheets. <br/> This picture is the first to be fitted. I measured them and cut them with a small dewalt grinder, nothing fancy.
here is another view. As you can see I have a piece wood behind the metal. If you plan to cut the area out like I did, Be aware that the metal on the back of the cab will bow inward. If I would have know I would have tacked in some bracing. Instead a 4x6 chuck of wood pushed it back into place.
a front view of the first sheet. I will be tacking it in tonight.
Subscribed, awesome build man. Would like to hear more about your engine mods. And nice work on the underside of the cab that is killer. One of the manufacturers I represent uses a liner on their sheet metal and did a cool video of the stuff mythbusters style:
All three pieces are tacked in and looking good. Just as a heads up if you are doing this. Learn from my mistake: Before you well all the way across, make sure you have the bottom of the metal clamped to the metal it will be welded to later on. I did not do this and the metal ended up sticking out about 2 inches instead of sitting flush against the cab floor.
all tacked up
I clamped it down but it was too late... Hammer and dolly time.
welds ground down for a smooth-ish finish
still have to spot weld the bottom of the back to the floor of the cab.
caliranger, Where you do purchase it at? I went to the website but there is no link to buy???? the stuff looks pretty tough and I wouldnt mind giving it a try. I have an suv that I am working on as well and plan on bed lining the entire thing.
sorry for the confusion and didn't mean to hijack your build thread; they sell commercial air conditioning equipment not liner material. that's just their tweak on the rhinoliner brand. It should be pretty similar to what you're using though and I just thought it would be fun anecdotal video to reaffirm your choice!
I started to repair the bottom of the cab corner that was pretty rusted out. It was a major in in the butt to cut out and weld back in. It worked out pretty good though.
sorry for the confusion and didn't mean to hijack your build thread; they sell commercial air conditioning equipment not liner material. that's just their tweak on the rhinoliner brand. It should be pretty similar to what you're using though and I just thought it would be fun anecdotal video to reaffirm your choice!
How about those engine mod specs?
Oh gotcha, That stuff is pretty serious. It is a totally built engine that Tim Meyer in MN built for me. Ill shoot him an email and see if he can give me the brands of the parts he used. I do know that it is has trick flow aluminum heads, lunati hyd roller cam, fast 2.0 FE. I cant remember the specifics on the rest since it has been a while since we have discussed it. I sent it off to him, gave him a dollar amount, told him I wanted it bullet proof, and he built it.
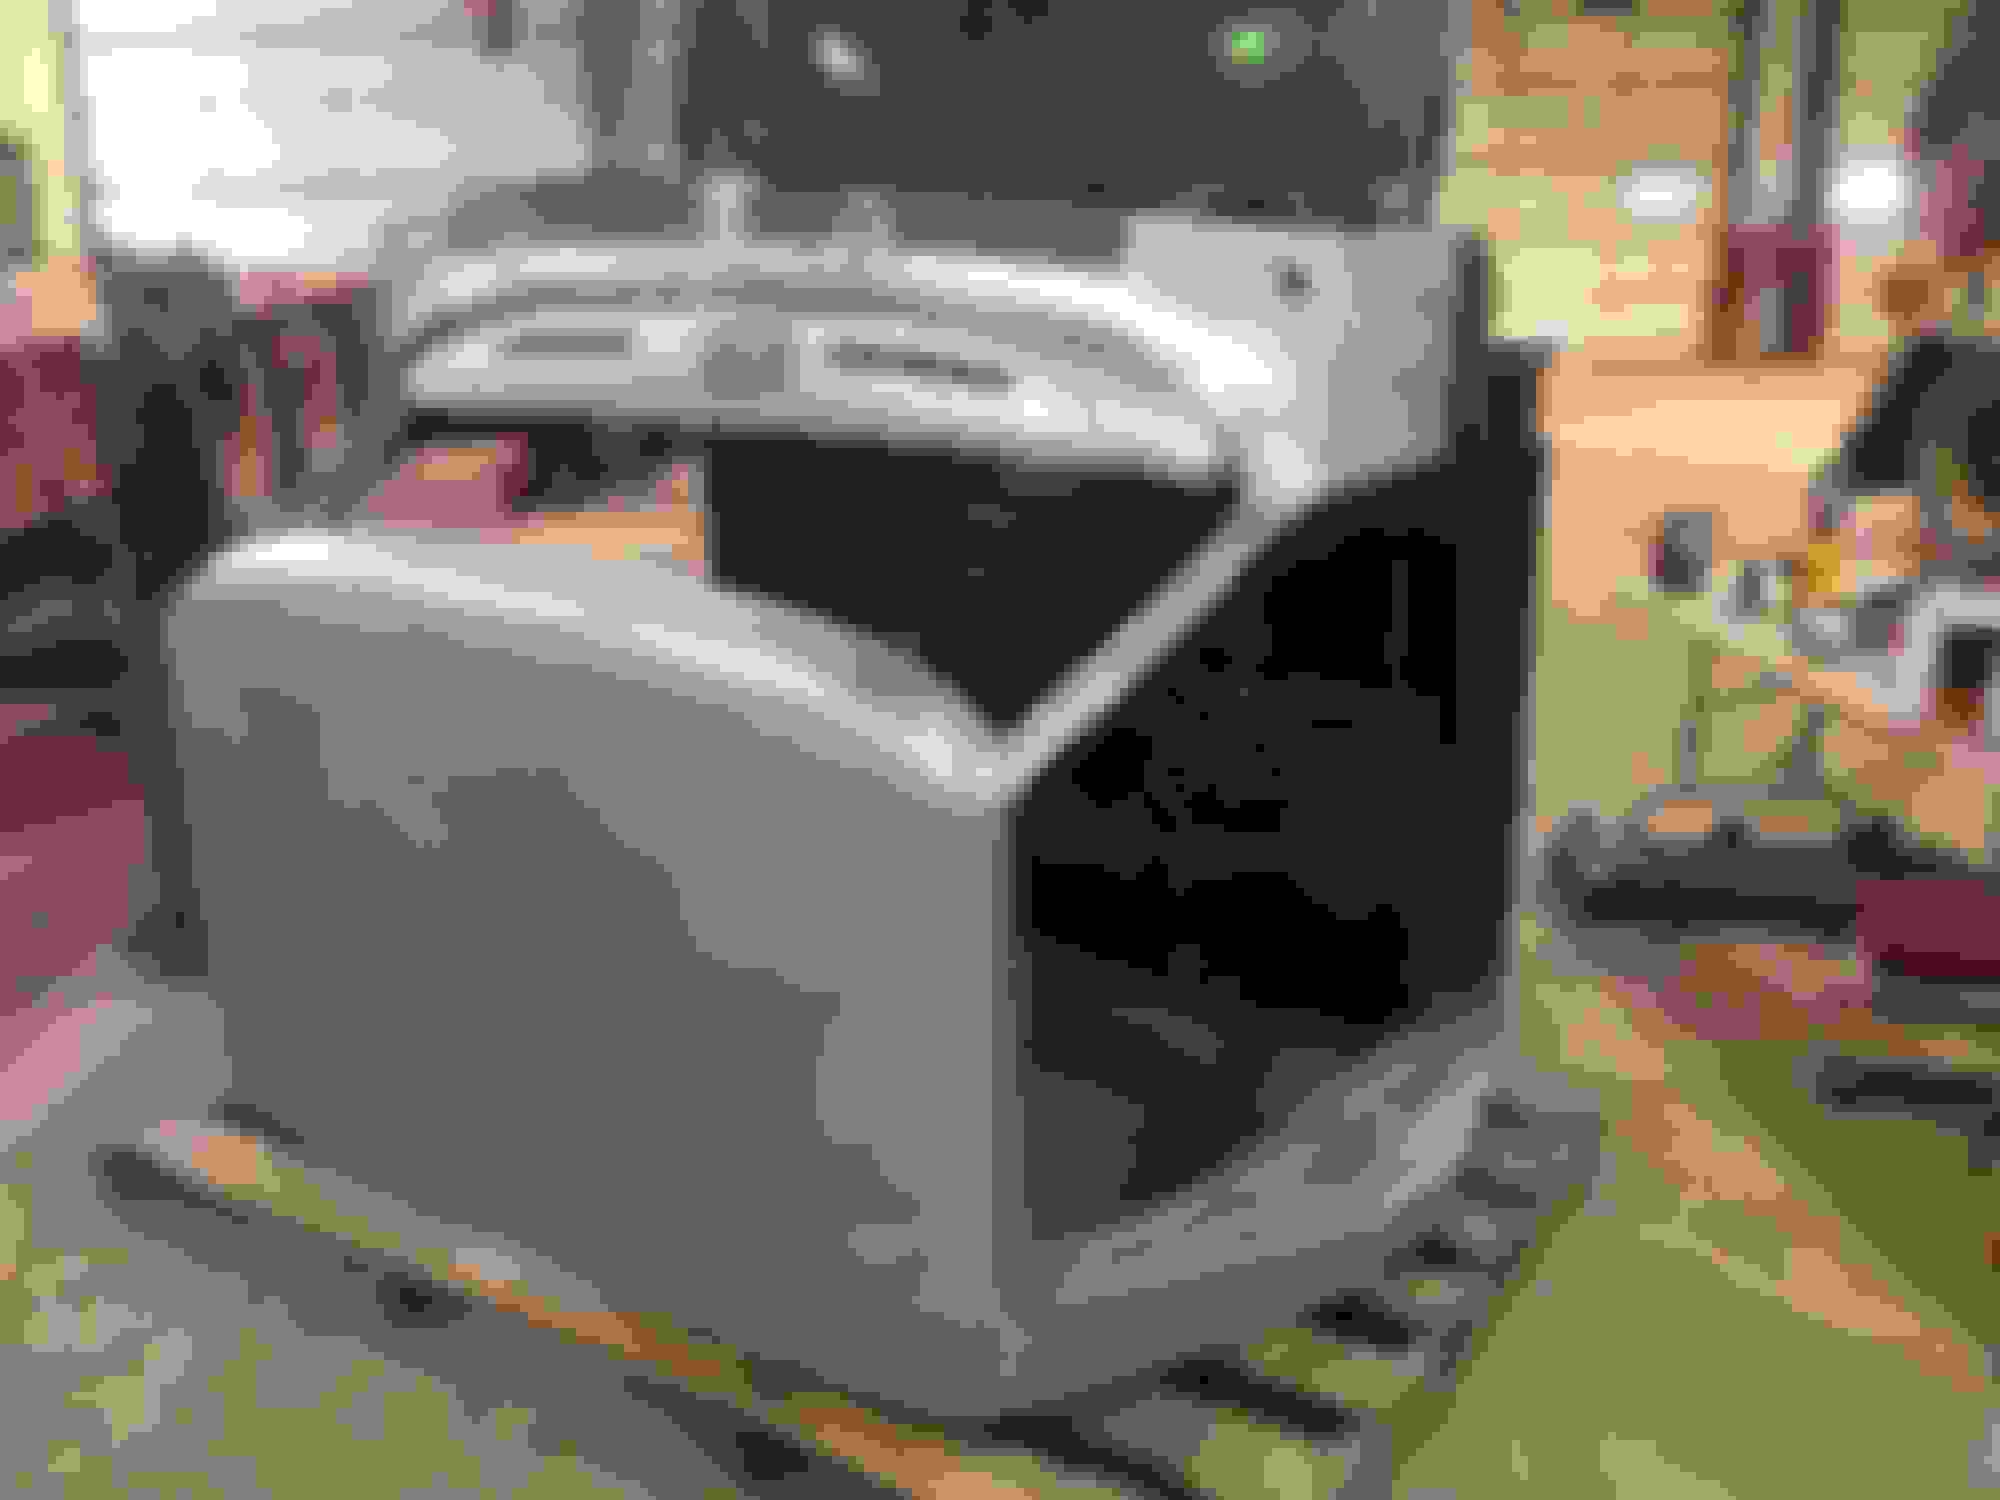
Well I decided to make my truck a convertible... for the time being. I couldnt handle having rust in the door jambs so I took the roof off and am doing away with the completely rusted drip rails.
Anyways, this week I will be cutting the top off of another truck so I can have a donor roof. Ill take more pictures as it progresses
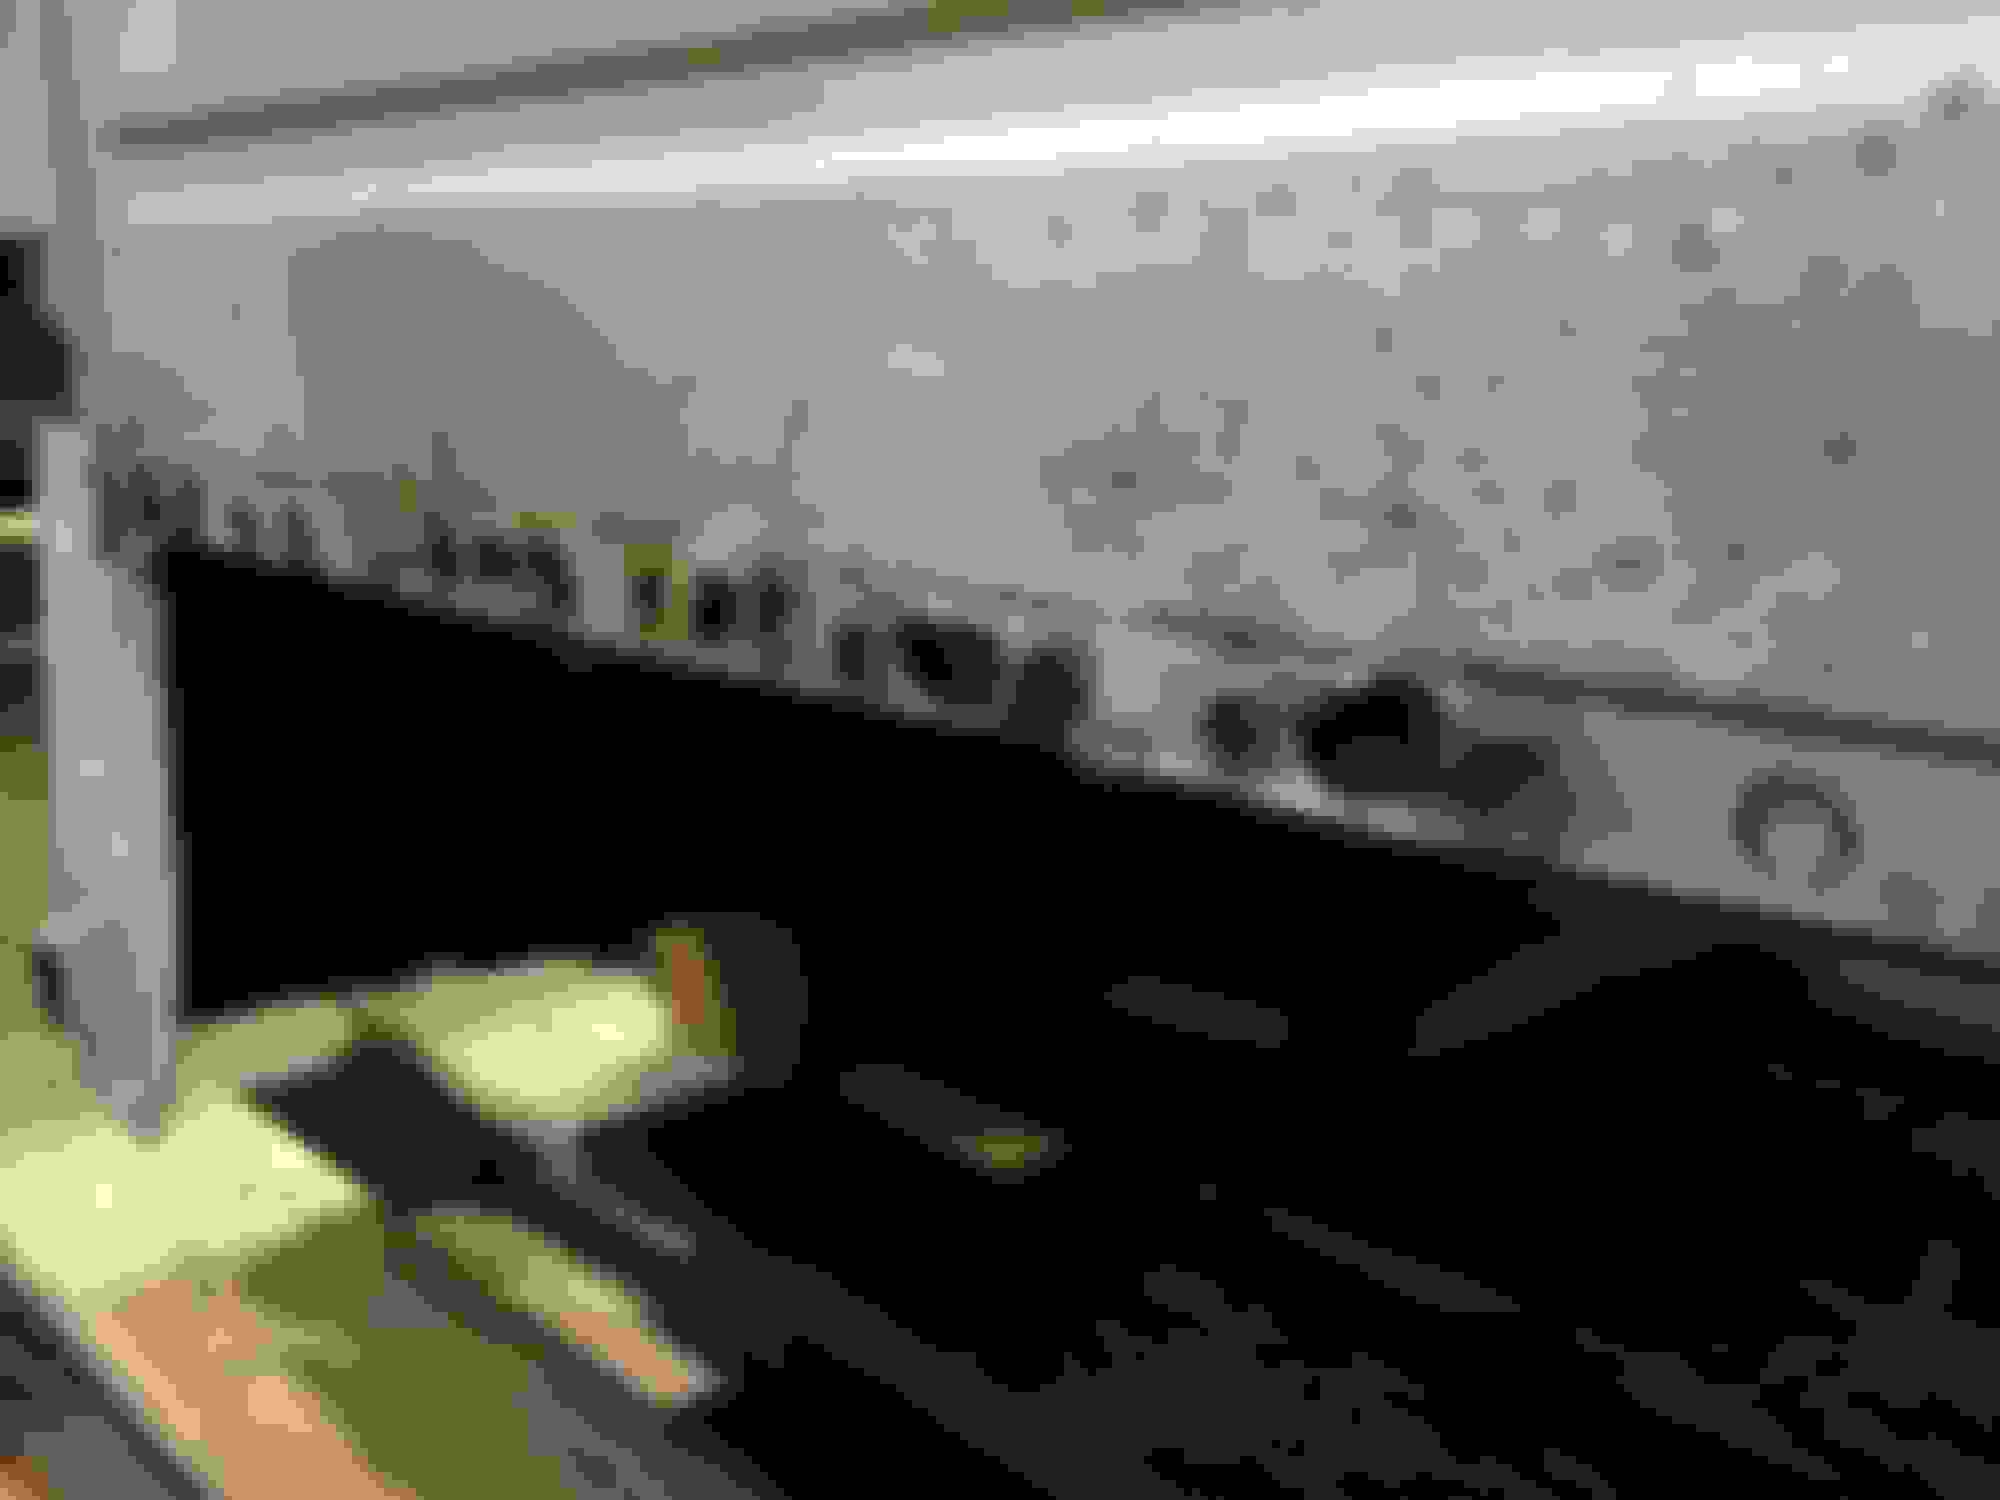
the is the driver side where the roof meets the pillar. It is tack welded in there so if you plan to do this be gentle so you do not bend the pillar.
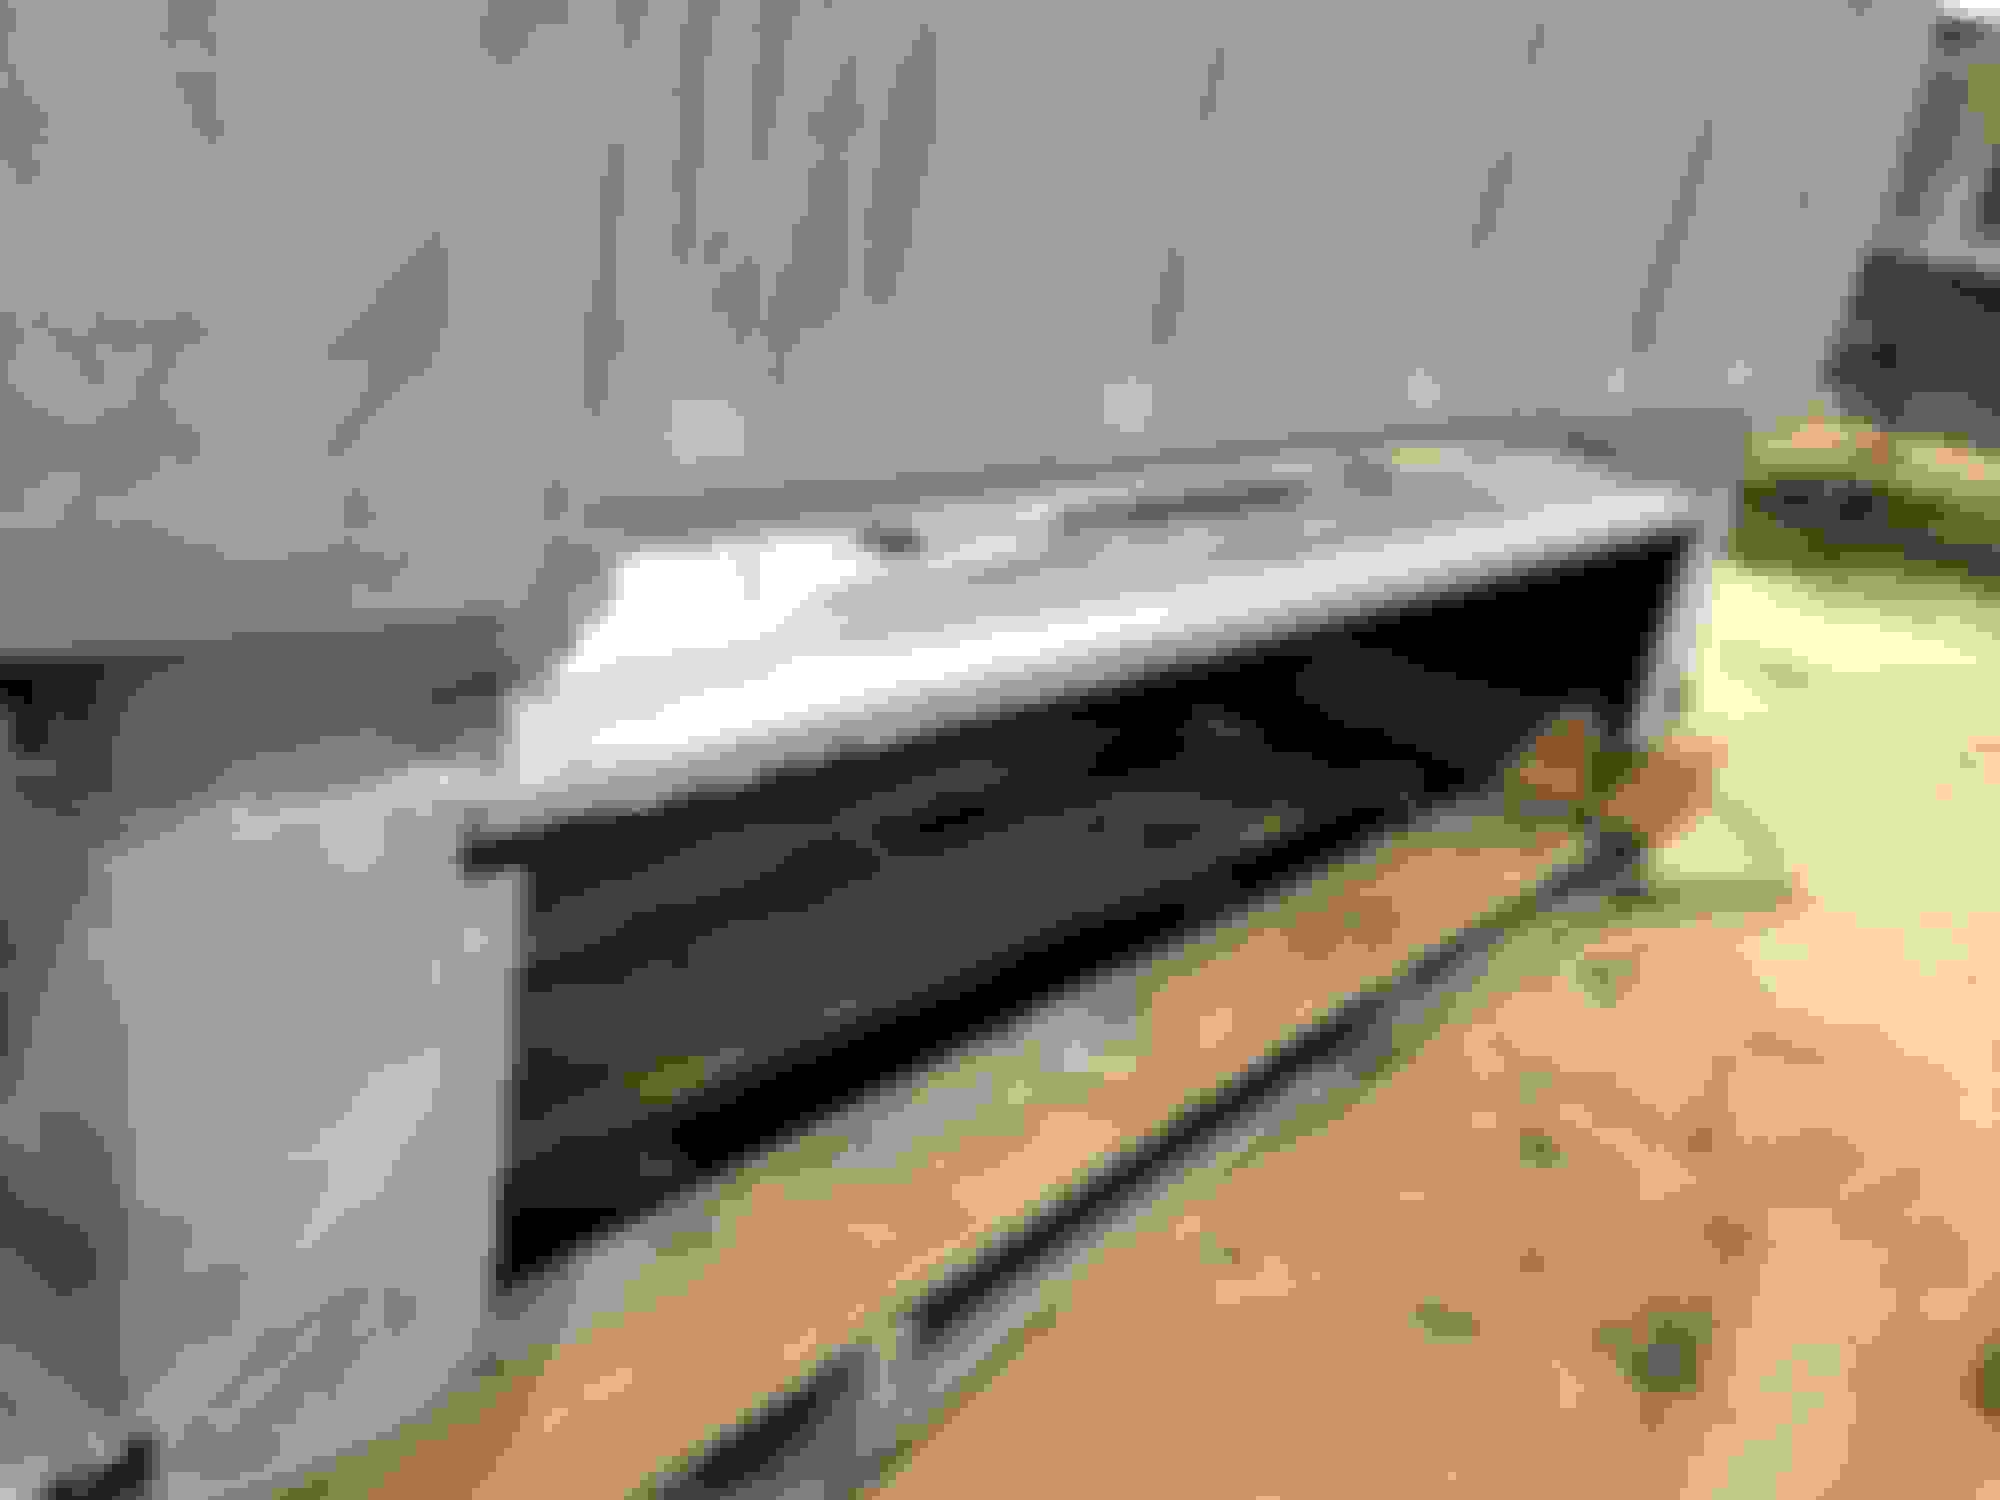
a real chopped top.
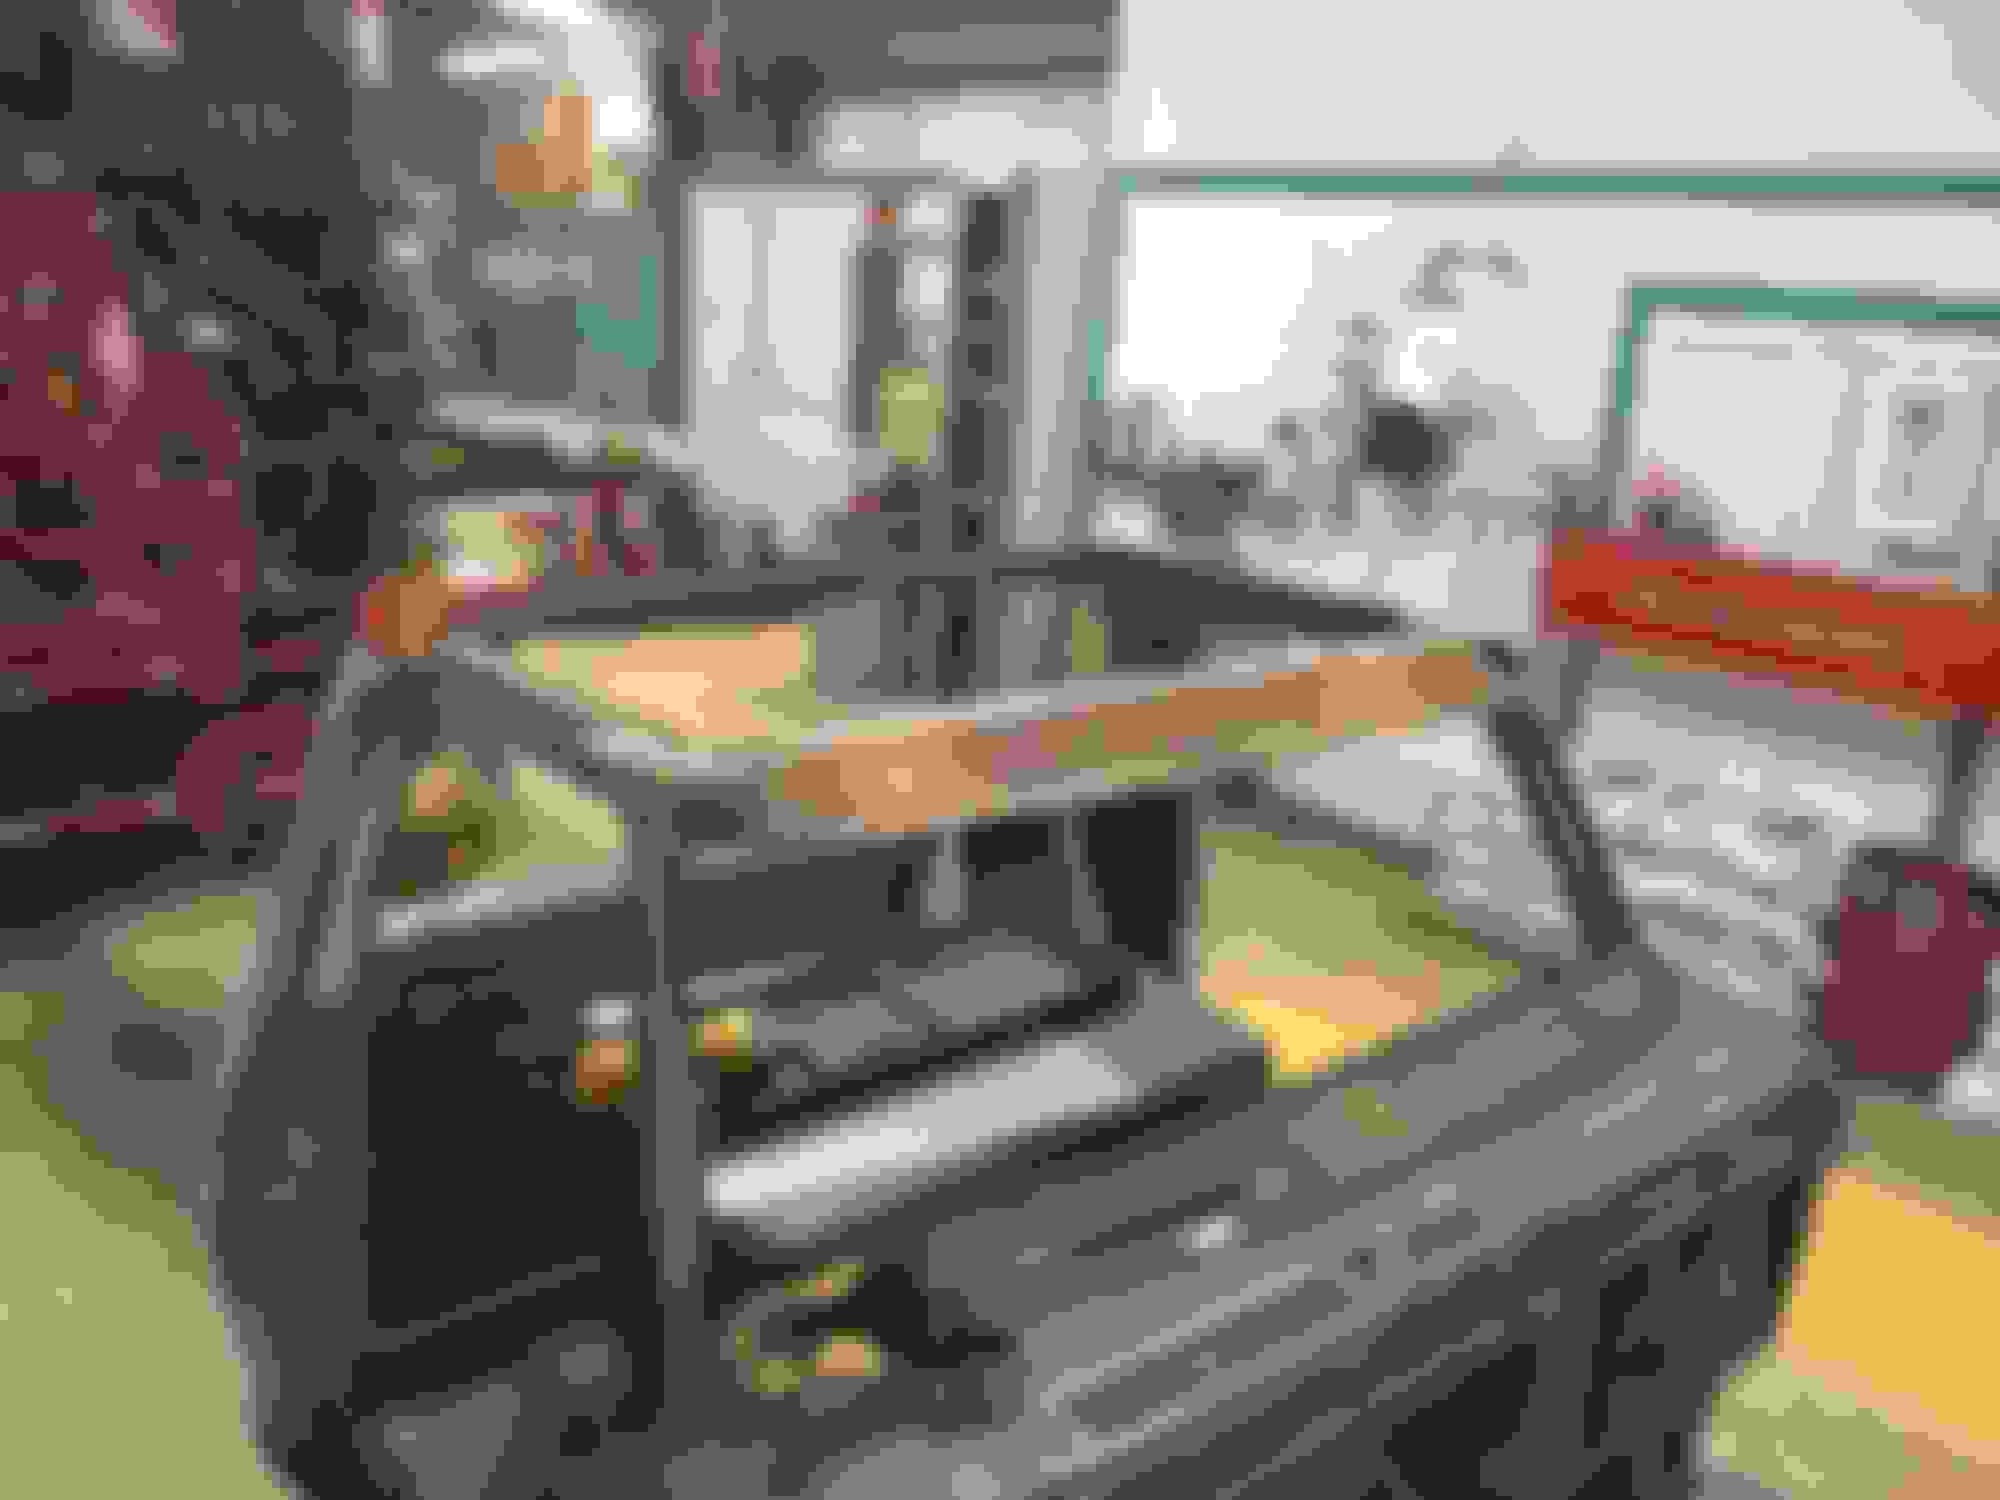
Truck for sale: Large sun roof!! Does anyone else remember the commercials about the vehicles for sale and they noted a highlight that was actually something bad that had happened to the vehicle?

 11-11-2014, 04:04 PM