When you click on links to various merchants on this site and make a purchase, this can result in this site earning a commission. Affiliate programs and affiliations include, but are not limited to, the eBay Partner Network.
Whichever tranny you go with the tail will have to be a short shaft and fixed yoke .. The Tailshaft housing will need provisions to mount the transfer case shift linkage to it .. If you are going to build a motor why not a 390 with a C6 highboy trans it will need no adaptor .. Or build a 460 .. This will be the cheapest motor to build .. If you are set on the 400 the easiest trans would be a 4spd from a highboy and a 351m, 400, or 460 4spd bellhousing .. You would need the pedal and clutch linkage however
Whichever tranny you go with the tail will have to be a short shaft and fixed yoke .. The Tailshaft housing will need provisions to mount the transfer case shift linkage to it .. If you are going to build a motor why not a 390 with a C6 highboy trans it will need no adaptor .. Or build a 460 .. This will be the cheapest motor to build .. If you are set on the 400 the easiest trans would be a 4spd from a highboy and a 351m, 400, or 460 4spd bellhousing .. You would need the pedal and clutch linkage however
I already have a 400 being built so Im gonna stick with it. I just happened to fall into the highboy which still have the 428 tranny still in it. I wasnt sure how difficult or costly it is to convert the trannys to fit. I guess I will just source a transmission to fit my needs and sell the 428 tranny in there now.
I already have a 400 being built so Im gonna stick with it. I just happened to fall into the highboy which still have the 428 tranny still in it. I wasnt sure how difficult or costly it is to convert the trannys to fit. I guess I will just source a transmission to fit my needs and sell the 428 tranny in there now.
If you have an FE highboy C6 then you should be able to swap the shaft and tailshaft housing out of it into the 2wd C6 and be good .. I would have a trans shop do it however .. You'll still need motor perches for the 400 into the highboy chassis ..
Here are a few updates of the truck. I still have a ton of work to do on the cab but the frame has been sand blasted and sprayed with por 15. I am going to put U POL raptor lining over the Por in the next week or so. Then I am going to get going on the cab asap.
I have started sandblasting the cab and working on the firewall and welding on the front cab mounts that I took off to replace and ended up repairing any rust, welding the cut out spot welds, and then blasting... what a task. I will have some pictures up in the next few days.
So I've being thinking and doing research on bracing the frame. I don't think boxing the frame is a reality for this project. I am looking for thoughts or ideas for supporting the frame with a 500 hp motor. Is it really necessary or not? This truck will be strictly a street truck and will see no off-road activity.
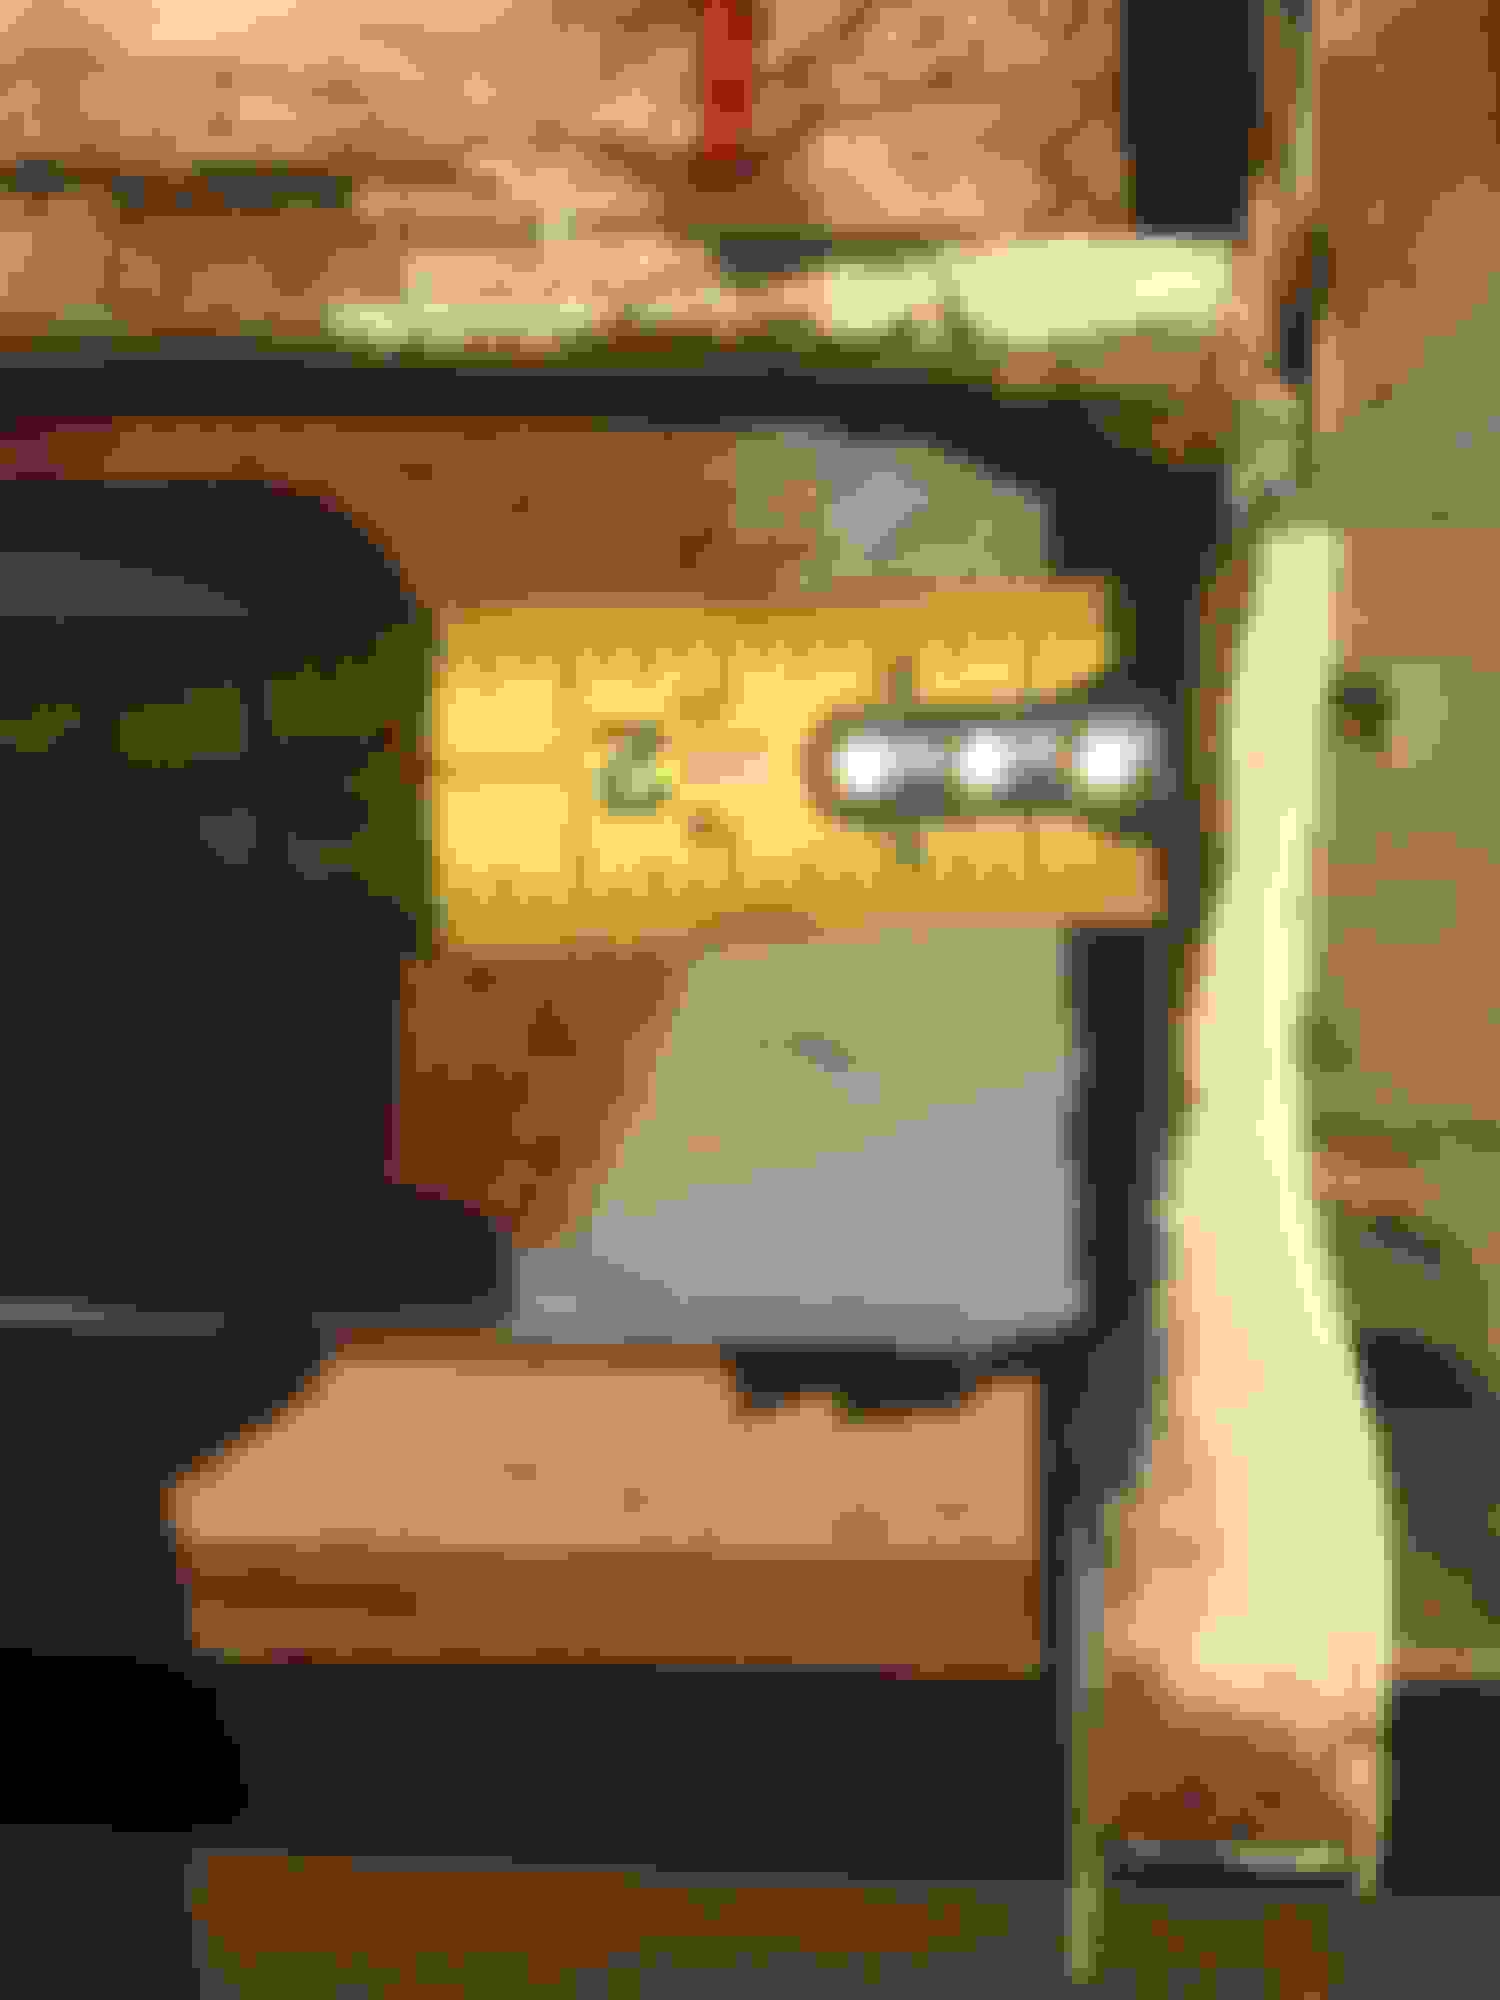
I have finally welded back the original cab mounts. On page two I took pictures of how back the aftermarket cab mounts were. They were not even close to matching up to the original curvature and would have required more fabrication then fixing up the old ones. So I took the old ones and welded up any holes and fixed any rust. Yesterday I finally welded them back on!
original driver side cab mount before taking off.
passenger side cab mount before taking off
alignment of LMC driver cab mount...not very good.
another shot of LMC cab mount alignment
post cab mount removal measurement on driver side
post cab mount removal measurement passenger side
driver side cab mount getting aligned. the mounts have been sandblasted and repaired and I have painted the insides with por-15 to prevent rust in the future.
self taping screws from the inside. to ensure the correct placement of the screws, I drilled a small hole from the outside through the cab mount and the floor and then went to the inside of the cab and drilled the self tap screw with a washer in so it would suck the metals together very snug.
finally welded in.. SUCCESS!
Passenger side with Cab mount removed.
aligning cab mount with Pilot holes drilled and self tap screws with washers install from the inside.
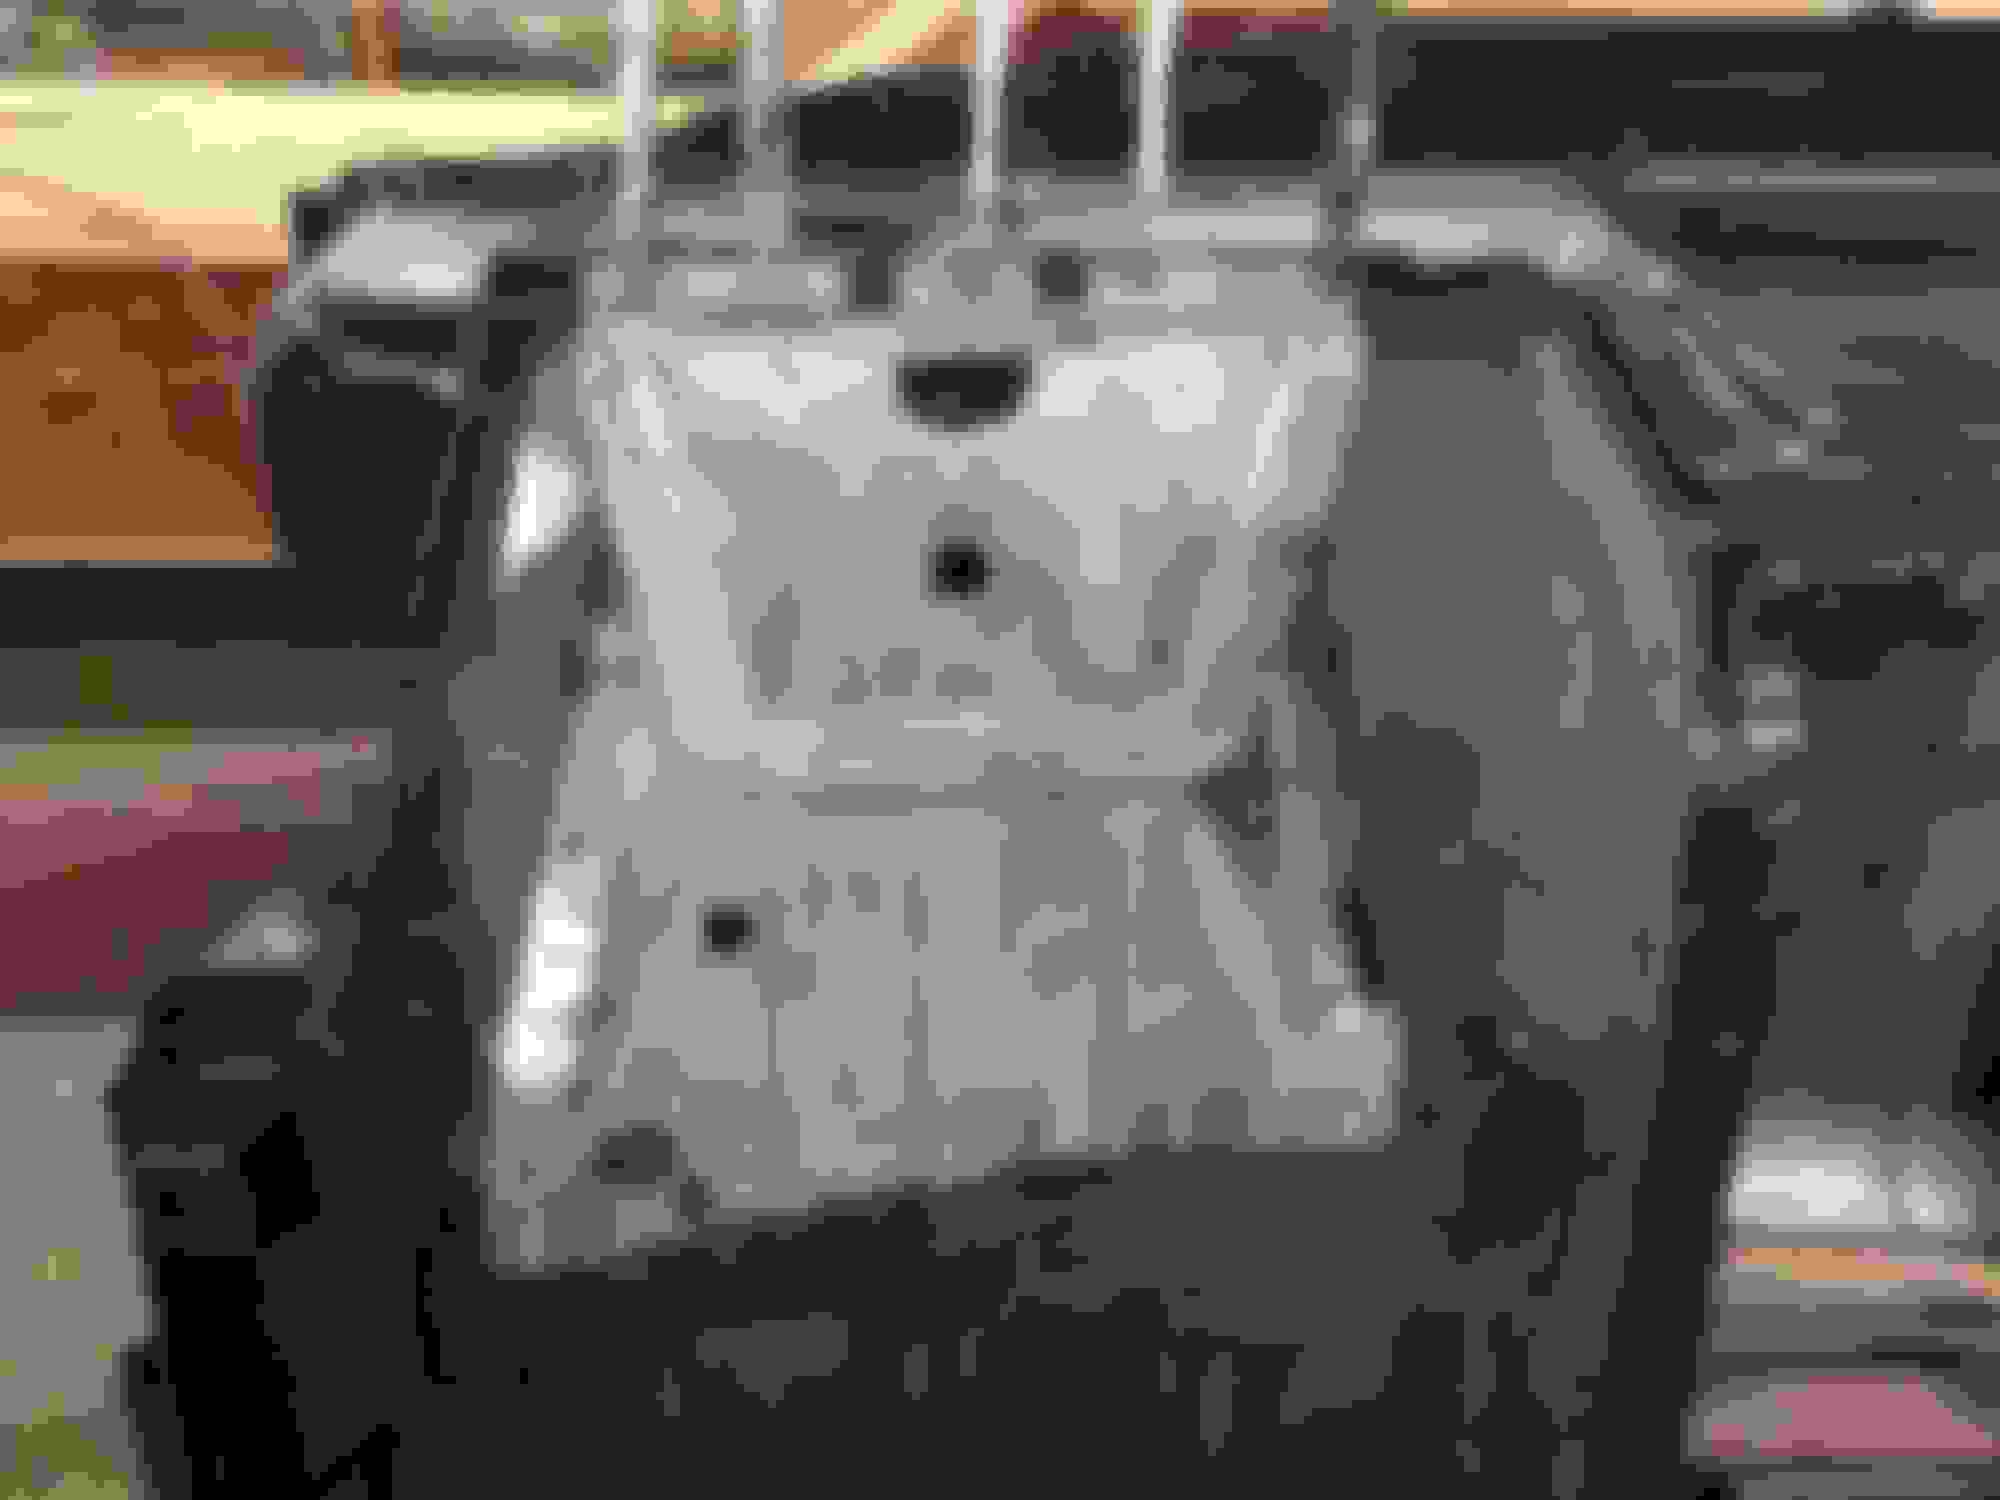
I sprayed any open metal areas with epoxy primer. I used the Eastwood rattle can epoxy. The stuff is easy to use and for the convenience you cant beat the price.
This is the first of 2 coats going down. It requires a 60 minute flash time.
That is awesome, what under coating are you using, did I just miss it
I used U-P Raptor Liner Black. The stuff is super easy to use and mix. I got it off ebay for $117.99 . It comes with 4 bottles so you don't have to use all of it. I used three for the bottom of the cab.

 06-16-2014, 06:43 AM