When you click on links to various merchants on this site and make a purchase, this can result in this site earning a commission. Affiliate programs and affiliations include, but are not limited to, the eBay Partner Network.
Well I gave the Thrush Welded mufflers a chance, they sounded nice but I could tell they weren't going to be noisy enough. So I sold them and got a pair of Super 10s instead. These little fellas sound sweet
Sold the old 33s that were on the truck and sent the wheels to get sandblasted. Primed them then painted them graphite gray and clear coated them. It should off set the white nicely with the trim rings and centre caps. For rattle cans it turned out really nice! I used Dupli Colour wheel paint then covered that with Dupli Colour crystal clear.
After deciding that this truck won't likely see enough miles to drastically wear off a set of tires I figured I had might as well get a sweet set of diggers on it. A sale flyer came around to the store for 35x12.5-15 Mickey Thompson Baja MTZ. Got a lot of good reviews on them from friends of mine so that's what I went with, can't wait to try them out.
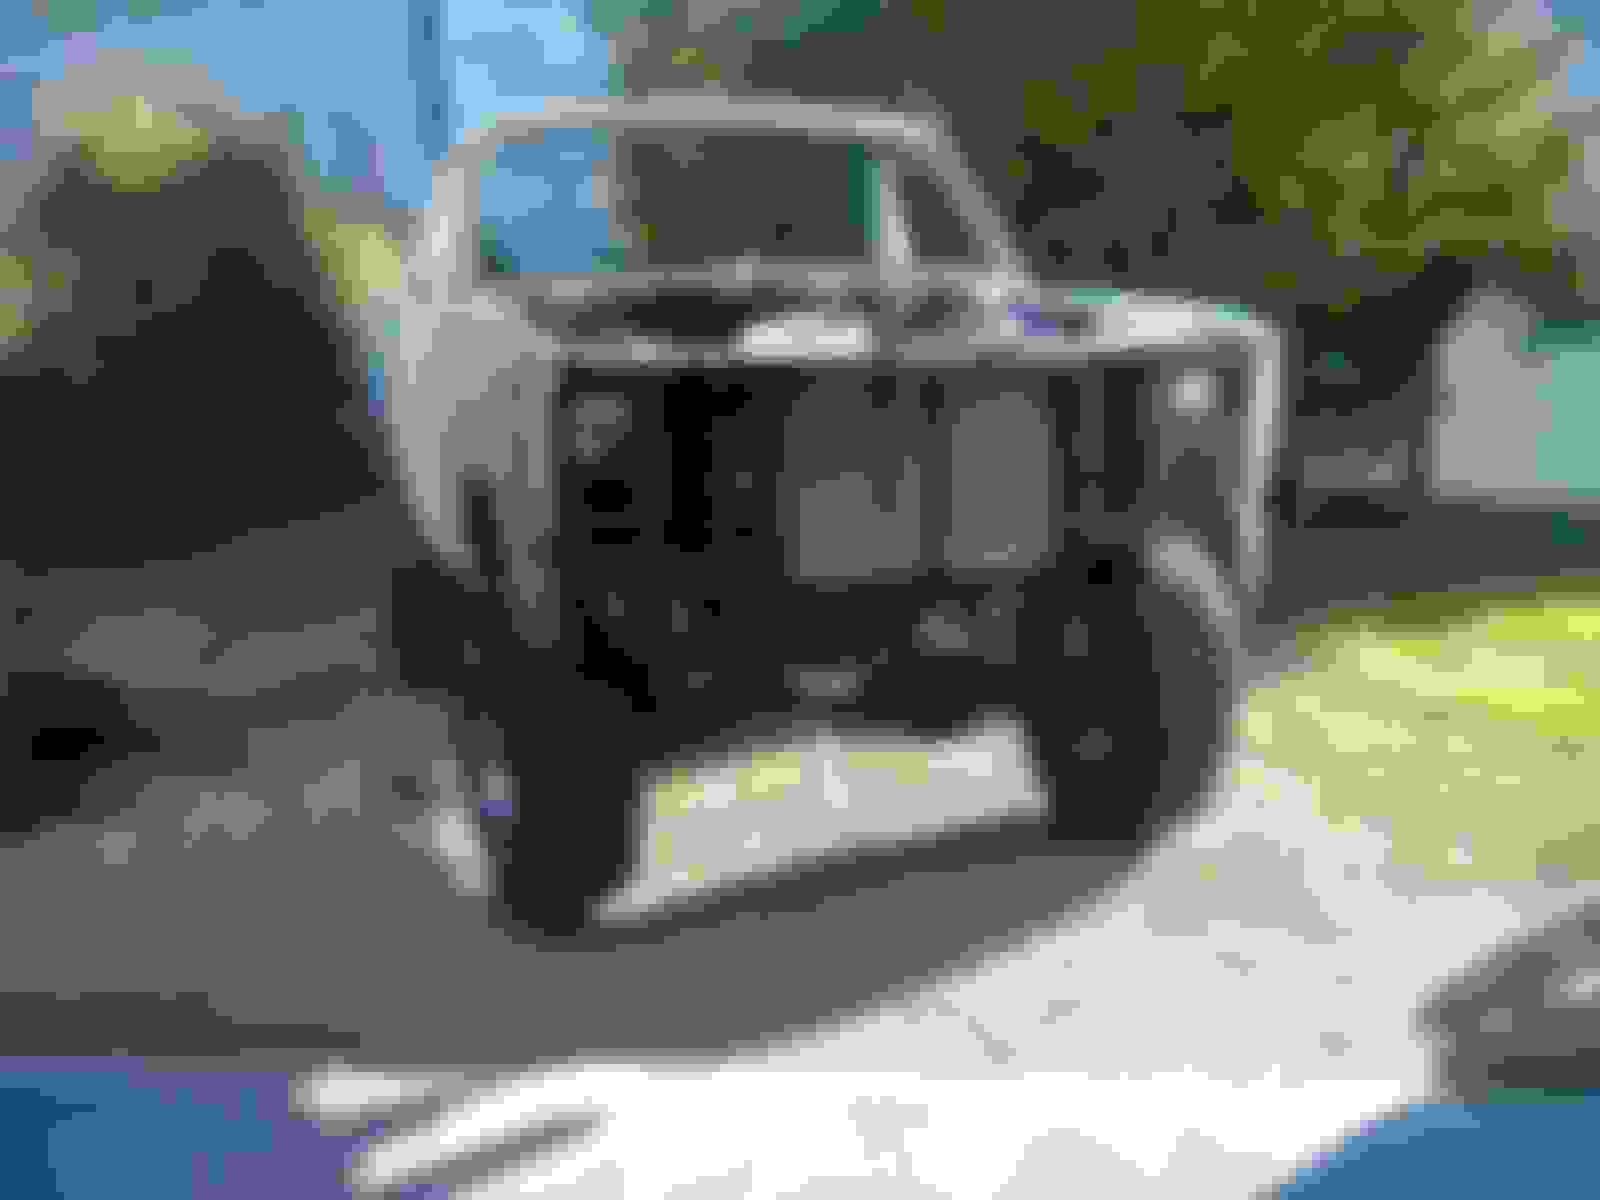
Got them mounted and balanced and threw them on. Looks nasty now, haven't got the trim rings and centres on yet. Also, the marathon passenger side quarter panel is done! I've been over it dozens of times now and I can't feel a ripple in it anywhere so I figure it's nice and straight like the other side now. The body and paint should turn out reeeeeally nice.
Thanks! That picture really doesn't do them justice, they almost look small on it from that angle. But in person I think they fit it just right. 37s would clear just fine too but I really don't like the stuffed look too much. Can't wait to try them out.
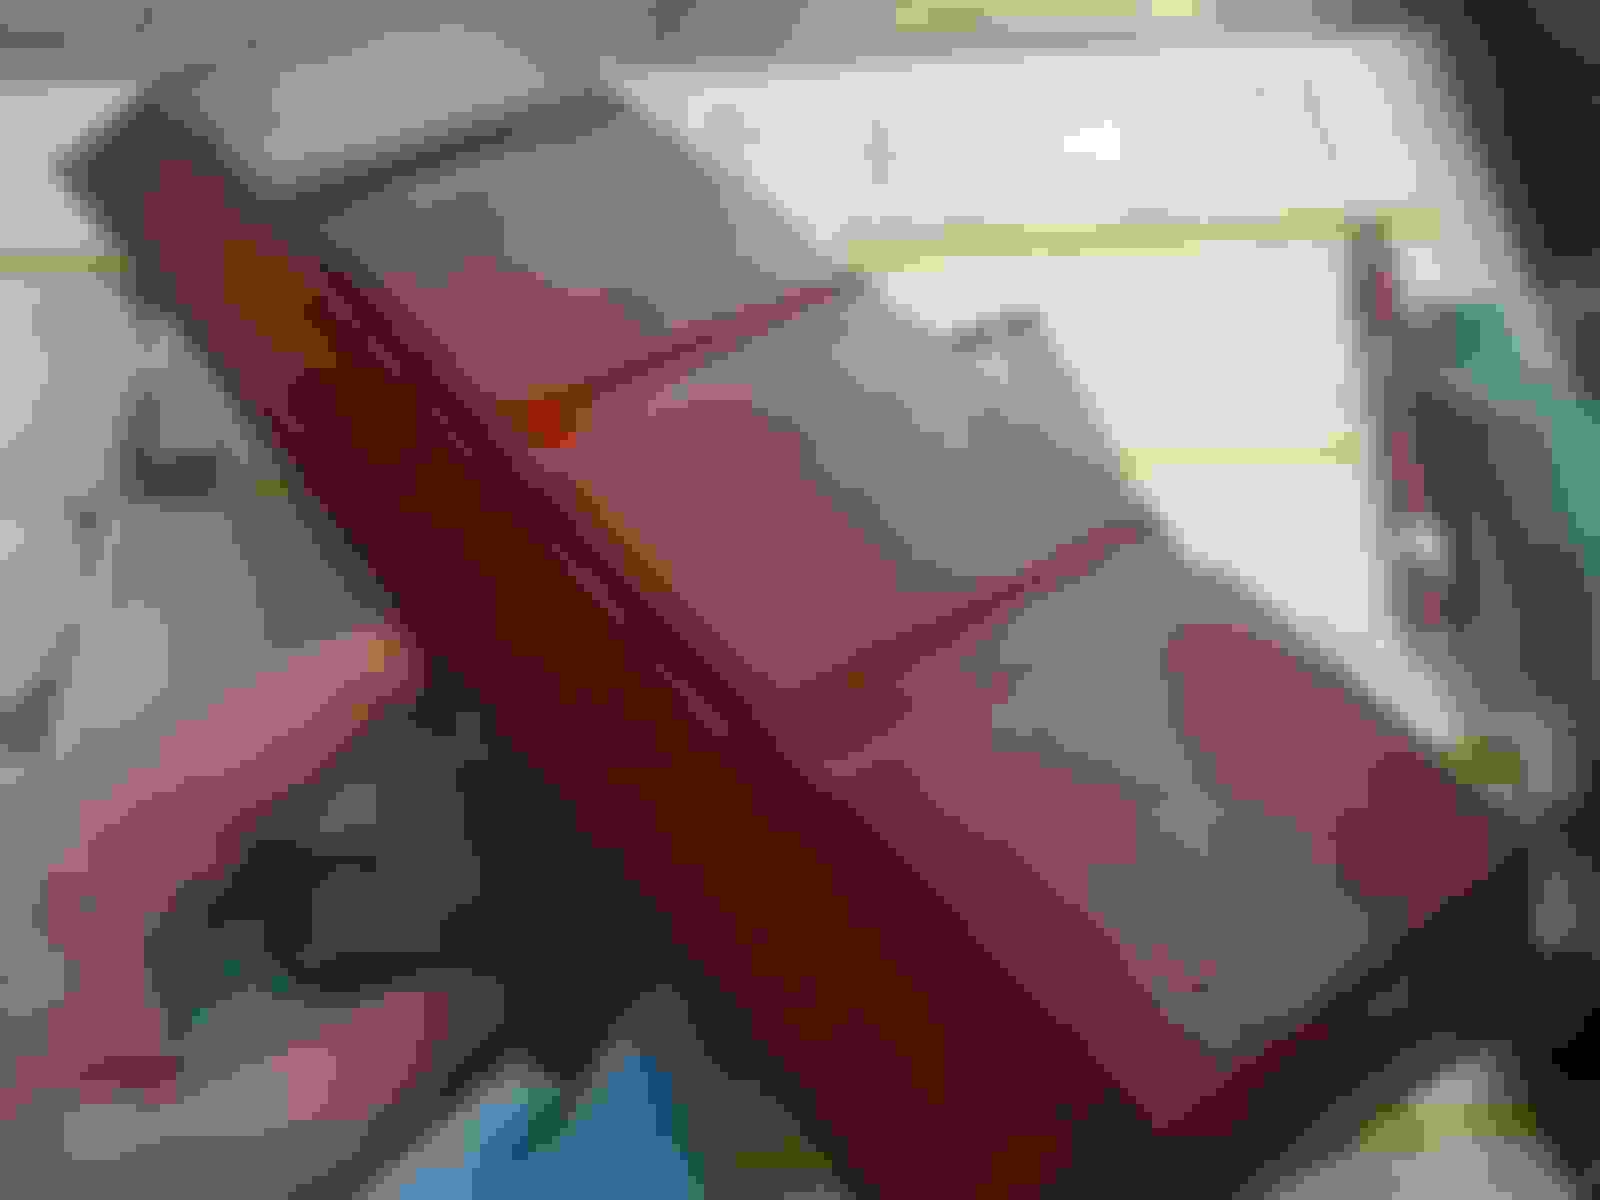
First experience with reproduction panels, not a huge fan. The driver's side fender had no issues. The black doors that I purchased from the wreckers were a different story. I knew they were reproductions before I took them off, but it was obvious that they weren't very old when they went to the yard. The body lines all aligned really nice and they opened and shut perfect. When I took the door panels off, there was a CAPA sticker still on the doors, so these were supposedly the 'premium' replacement panels. Haha... Right.
These doors weren't out of shape from being roughed up in the yard - the manufacturing process just sucks. There's 3 hours of work in the passenger's side door and 4 hours in the driver's side before I was happy enough with them. I really wished I had taken more pictures to show you guys where the contours were all goofy.
The hood is the last steel panel to be done. Every time we think it'll be a scuff and prime deal, there's a surprise. True to form, we got the green paint off the hood and found a few spots where the previous body job had been "caved and paved" so there's some more work there. I really hate having bondo anywhere unless it's completely necessary. I'll post more pictures soon!
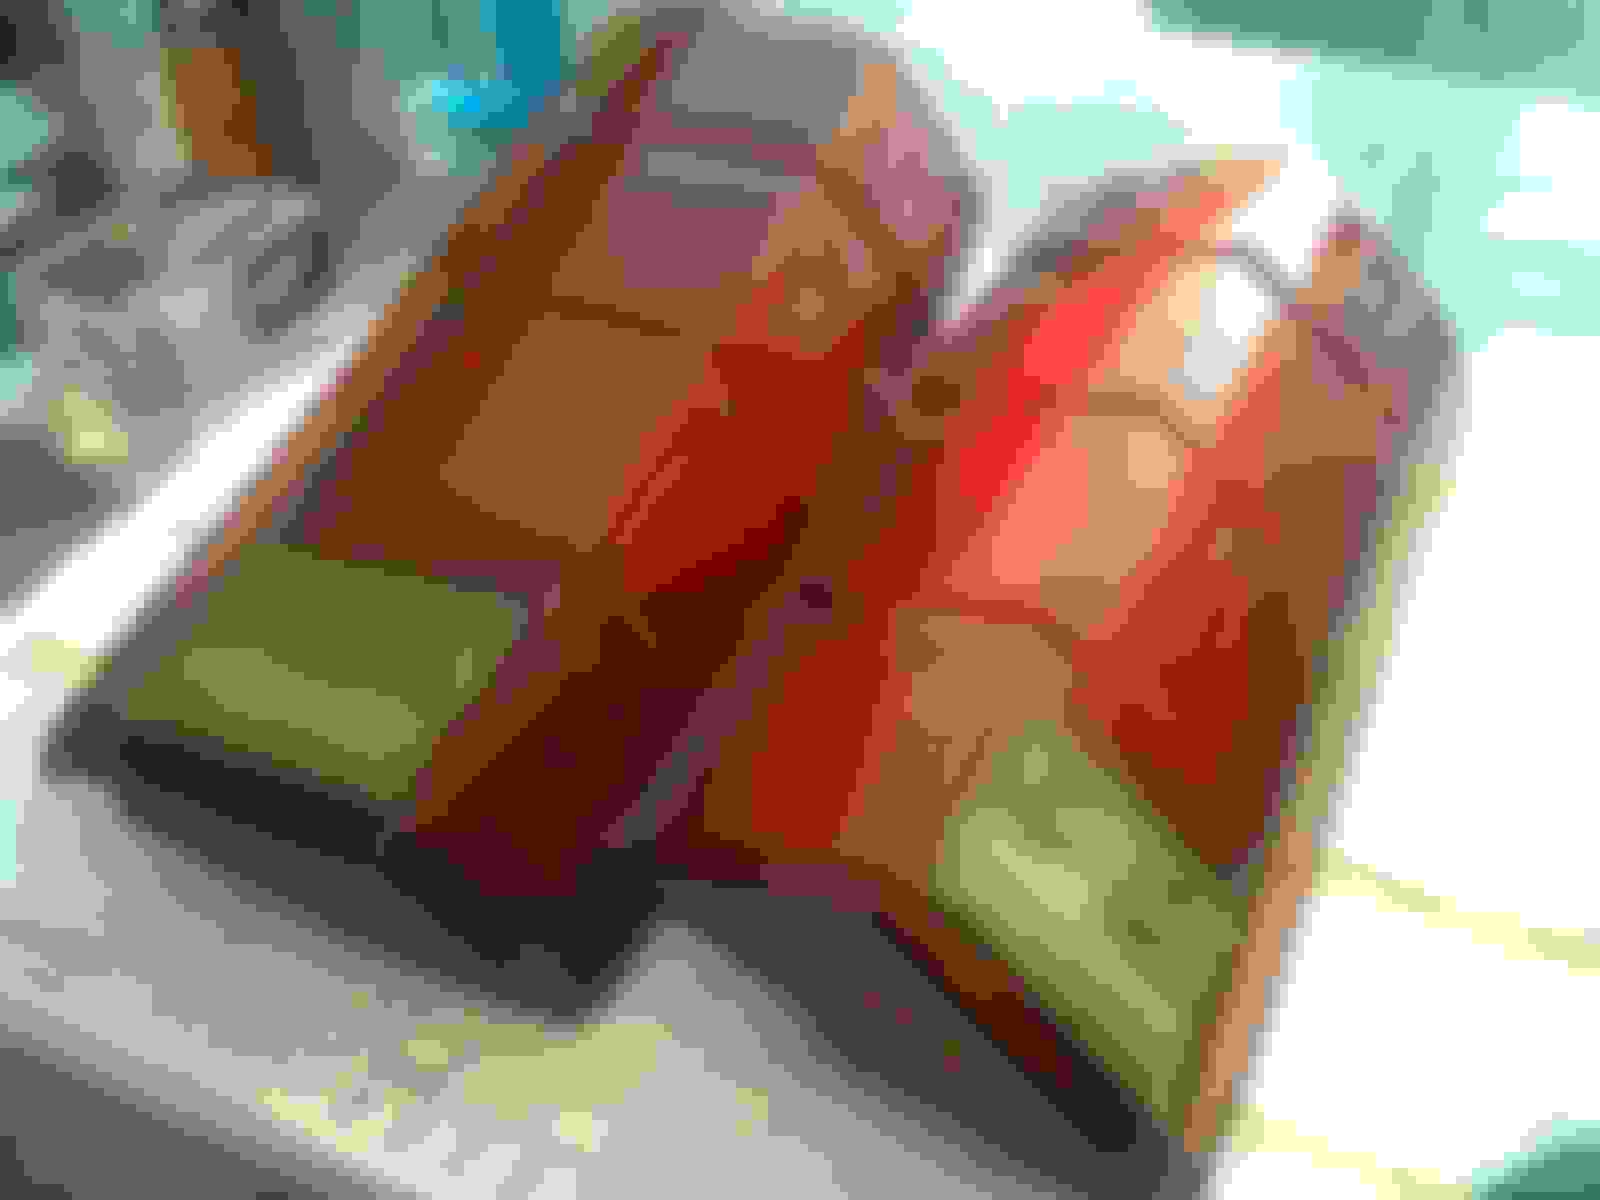
Alright let's try the new picture uploader. Had a slow afternoon at the store one day so I decided to try restoring some tail lights. Turned out awesome and all you need is a little Autosol (rubbing compound will work too) and some aerosol clear coat. Lots of us likely have a pair of tail lights that look like this. For about 10-15 bucks and half an hour's work they can look like new, or even better.
I started with the Autosol and went over them a couple of times. This alone works wonders but I wanted to try re clearing them.
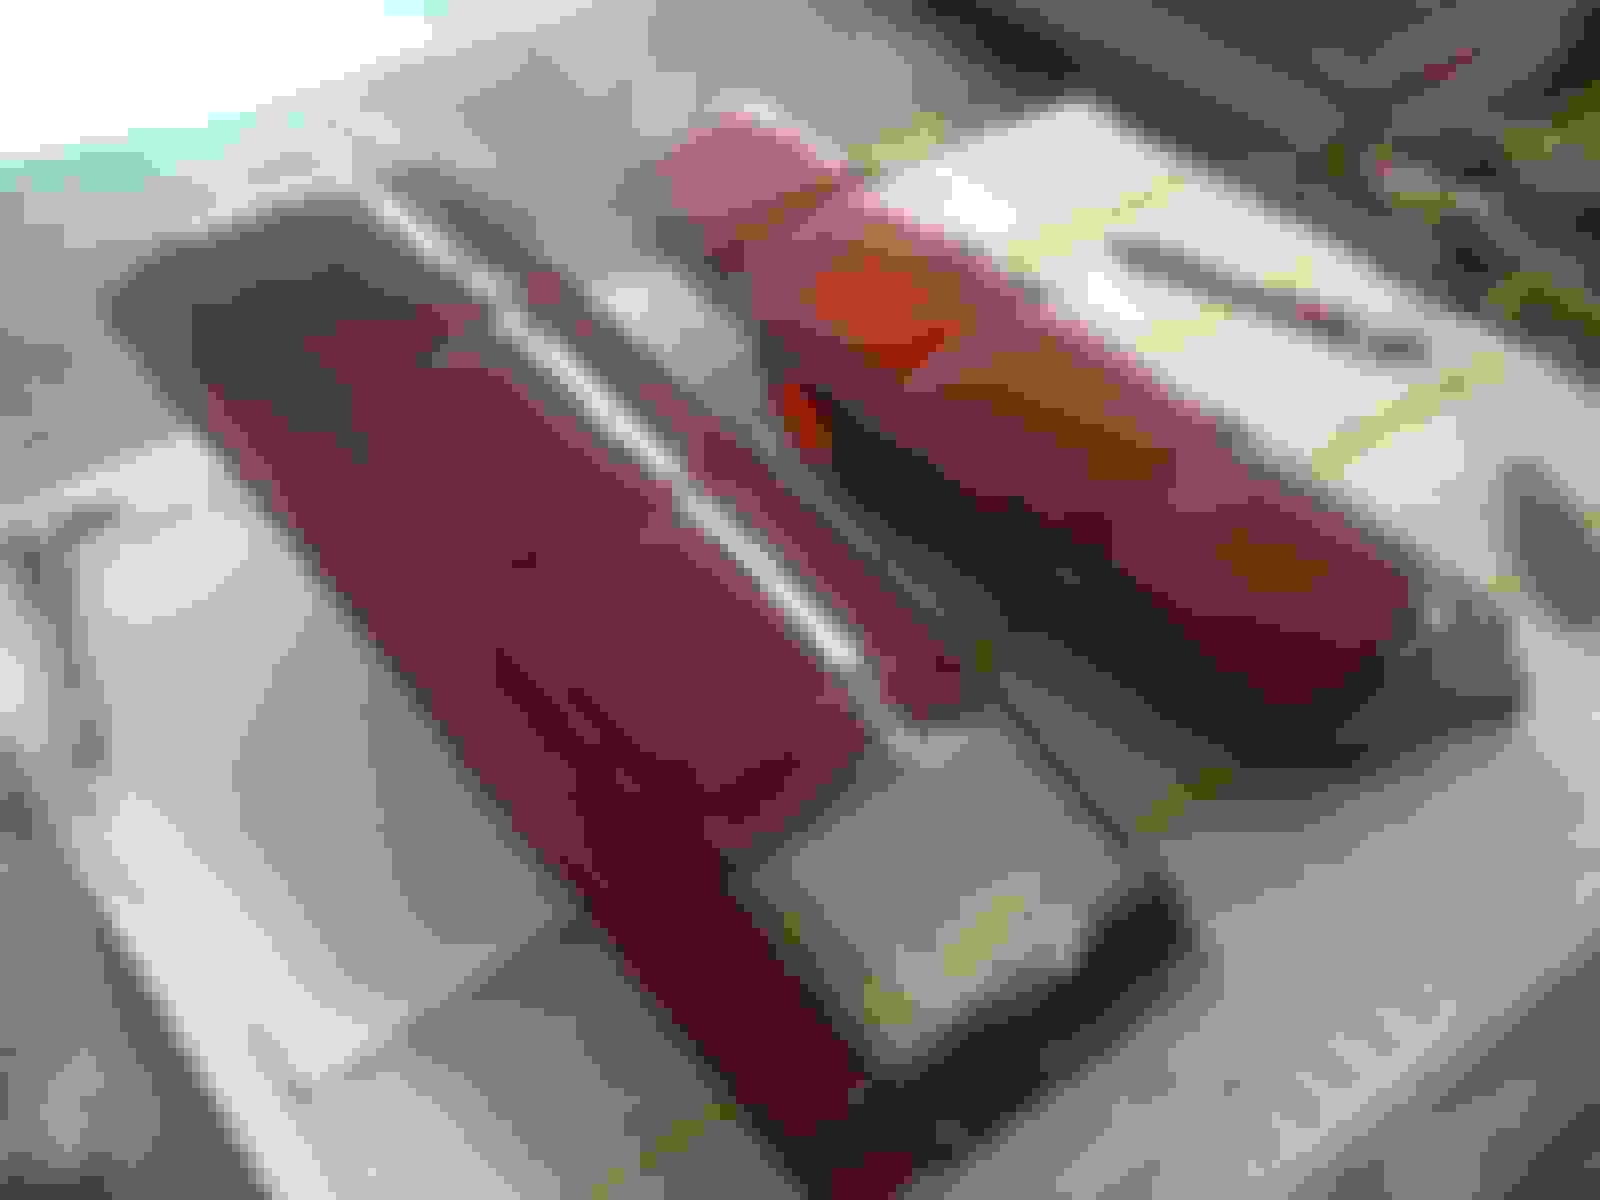
They turn out awesome. Figured this might be a cool DIY for somebody. I'll have to wait to see how the light shows through them now as compared to before, but should be able to see them a mile away now.
Brad - I don't want to be a pain, but I tried that a couple of years ago and got the lens looking nice and shiny. Then I put it on and compared the light through the lens with the light coming through the dull one and there was little, if any difference. So I bought new lenses and mounted one and compared to the polished one. The new one was much brighter.
The difference seems to be that the plastic of the old lenses has darkened all the way through. So regardless of how shiny they are on the outside they don't pass the light that they should, or that new ones do. And while shiny lenses look much better in the daylight, it is the light output that keeps us safe at night.
No problem! It's good to know, I don't have the tail lights working on the Bronco yet so I had no idea. Appearance should always take a back seat to safety. If these ones are darkened too badly I'll be tossing them in favour of some new ones. Thanks for your input Gary!
More updates! I apologize if it's a little long winded. I couldn't upload pics from my gallery so I've been getting behind on progress pics. Got it all figured out now though.
Got the tailgate mounted. The torsion spring in it was much safer to install now that I read here on the forum that there is a trick to safely installing them. I didn't know just how much tension they were under when a friend and I removed it. We were lucky not to get hit by it. It requires unbolting the retaining bracket from the body with the tailgate just barely open enough to get a wrench in.
These tailgates can be a pain to align, but with the bumper off it makes life so much easier.
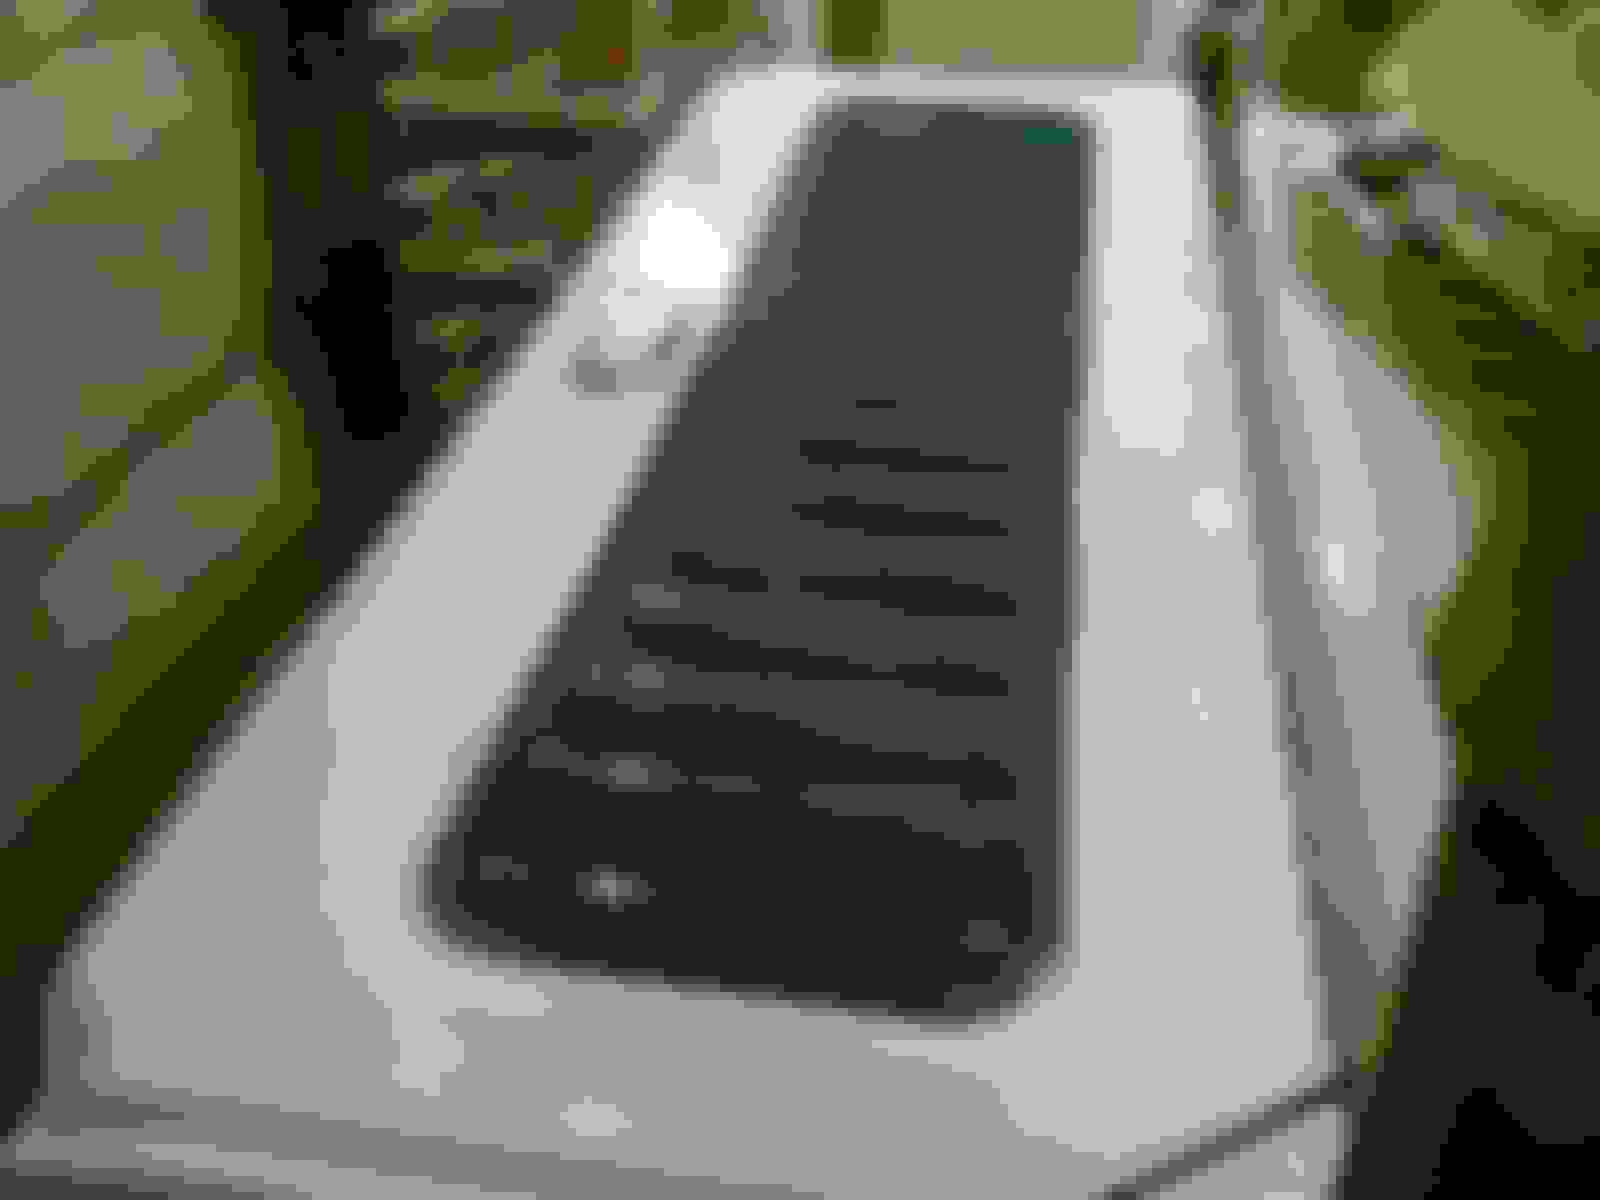
I was lucky to have a cover that wasn't rusted out. So we cleaned this one up front and back, rustproofed and painted it. I did it blue to match the interior. Almost looks like 50's era tuck and roll seat in a way. I really like it
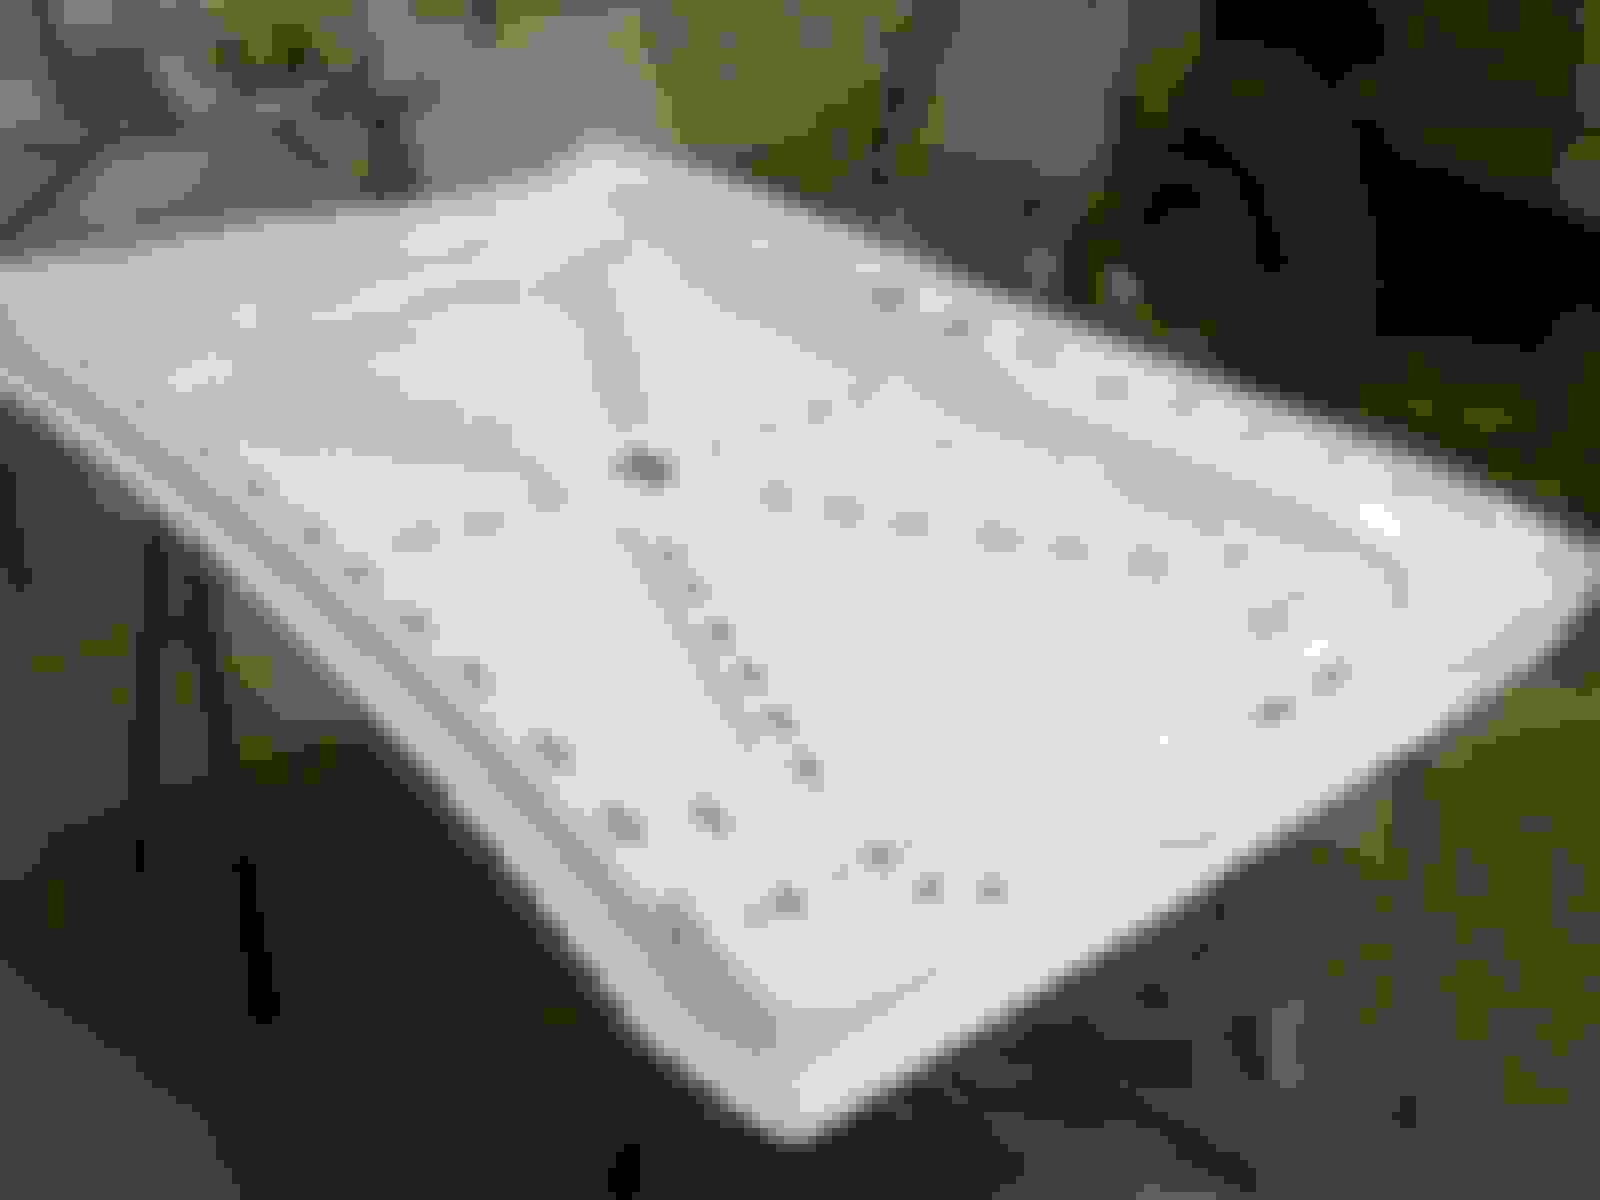
Sprayed the bottom of the hood too.
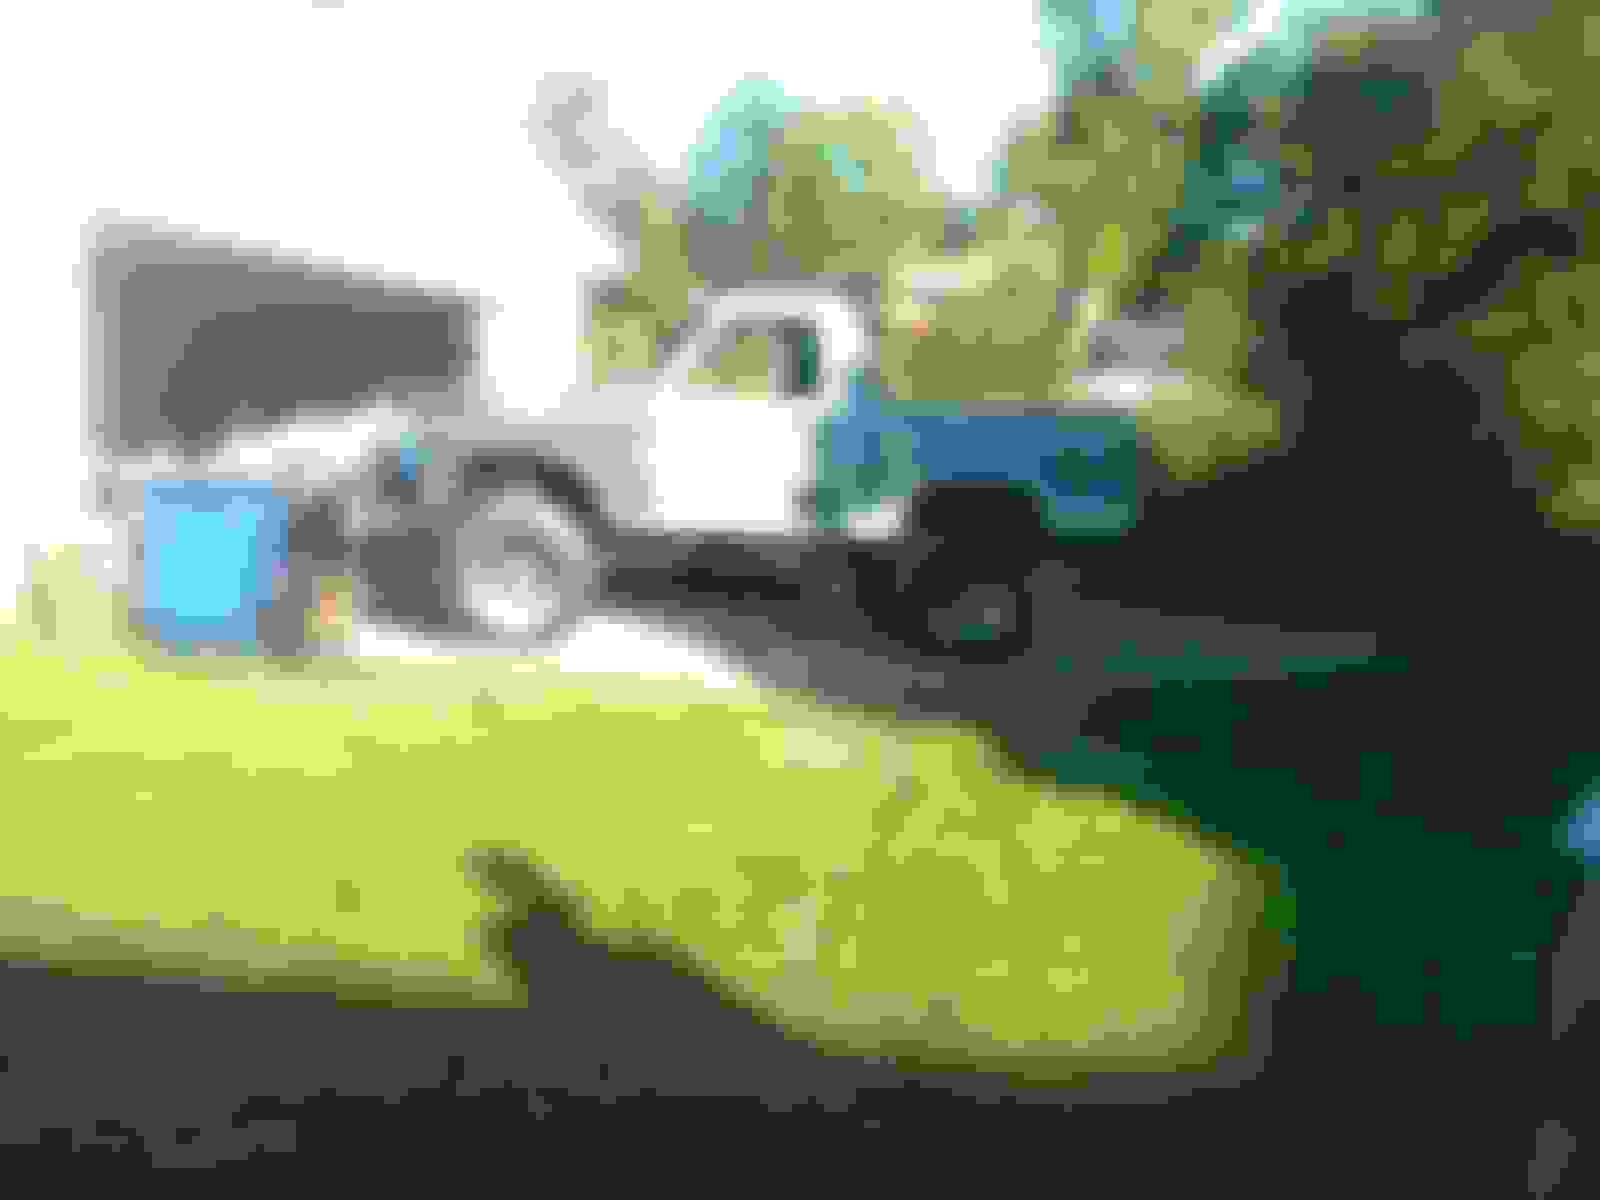
Rolled it outside with the new shoes on too. With the top off, it just BARELY clears the door with the 35s on - but it does.
And FINALLY. All masked and covered in the first primer coat. Colour should be in the next couple of days. Will keep you posted.
Thanks guys. It's going to be the same white as my '85 Flareside. Blacked out windows and some stainless trim should break it up nicely and set it off pretty good I think.
Im pretty jealous. I wish mine looked half as good right now. Going to look awesome with some color on it. Nice work. Did you decide what color the top is going to be?
Im pretty jealous. I wish mine looked half as good right now. Going to look awesome with some color on it. Nice work. Did you decide what color the top is going to be?
Thanks I think we're going to paint it white as well. Blue has crossed my mind too though, to match the interior. But I'm thinking it'll be solid white with a pinstripe of some sort.

 08-05-2014, 07:32 PM