Installing the Heidts IFSin the '53
#1
 01-05-2014, 05:23 PM

Join Date: Sep 2013
Location: Chokio, Minnesota
Posts: 58
Likes: 0
Received 0 Likes
on
0 Posts
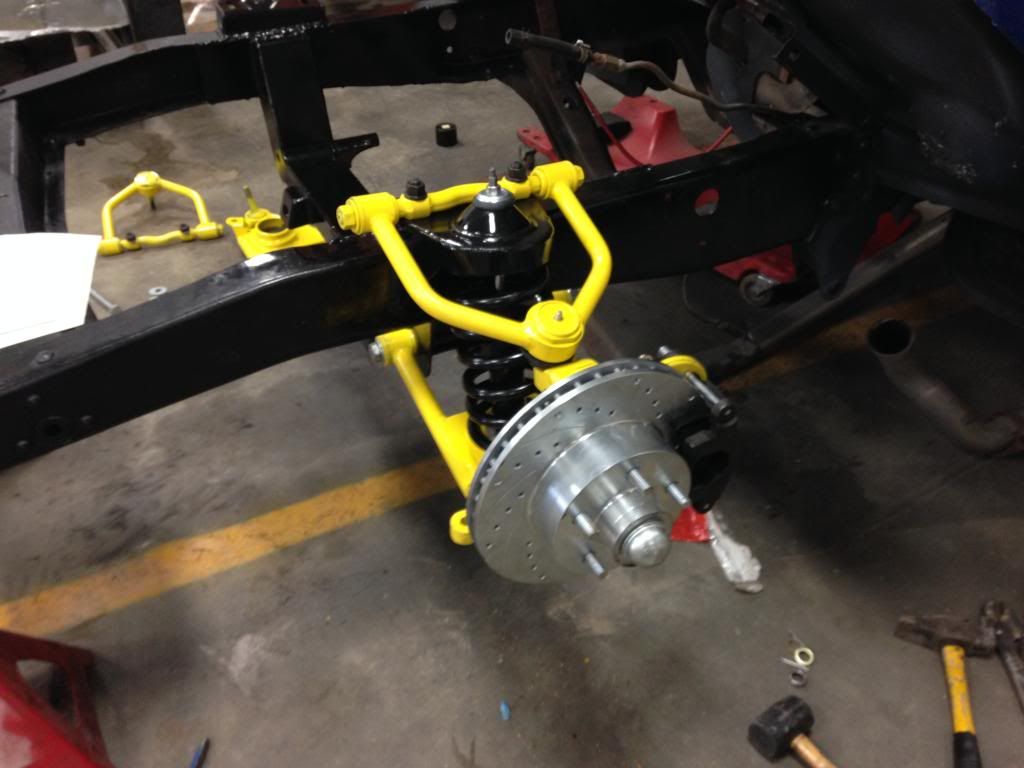
Installing the Heidts IFSin the '53
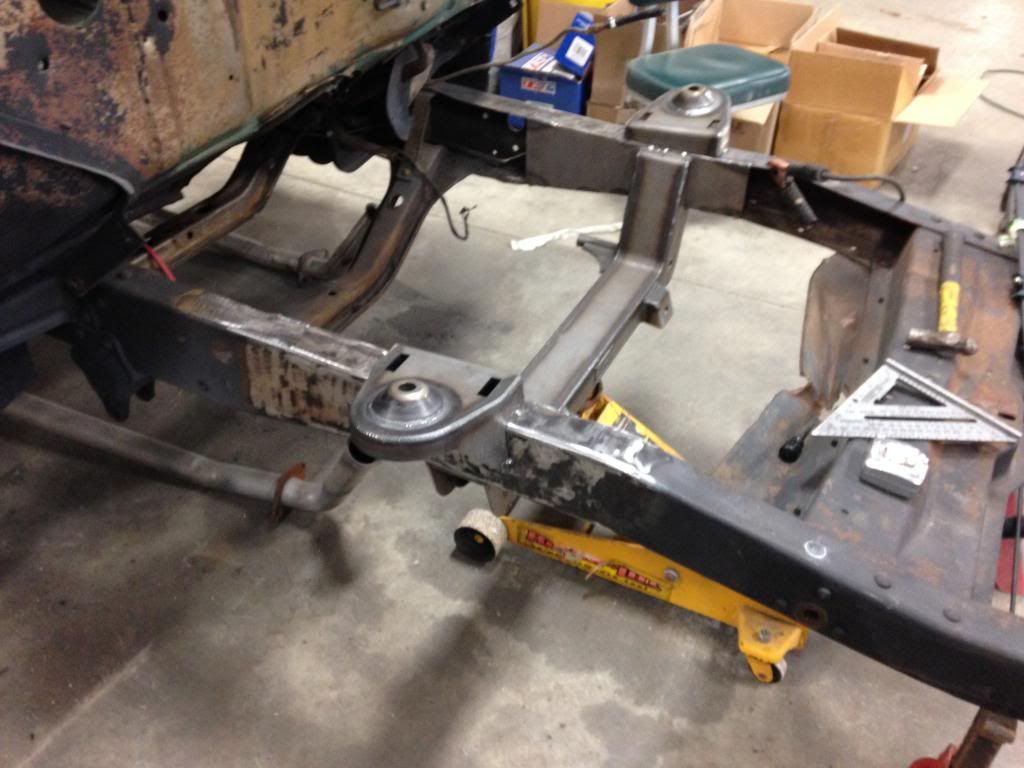
I have been planning on this part of the build for a few months and finally the time has come.... 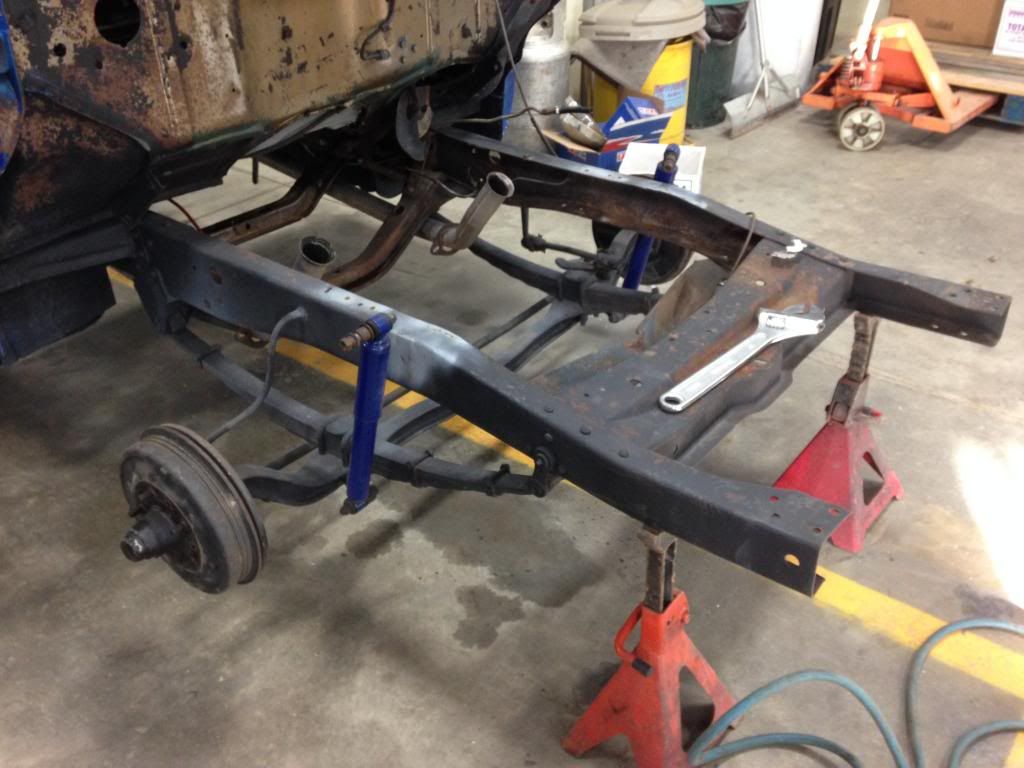
A little progress....

I got the IFS from JPL Street Rods, They were easy to communicate with and all the parts came intact!!!
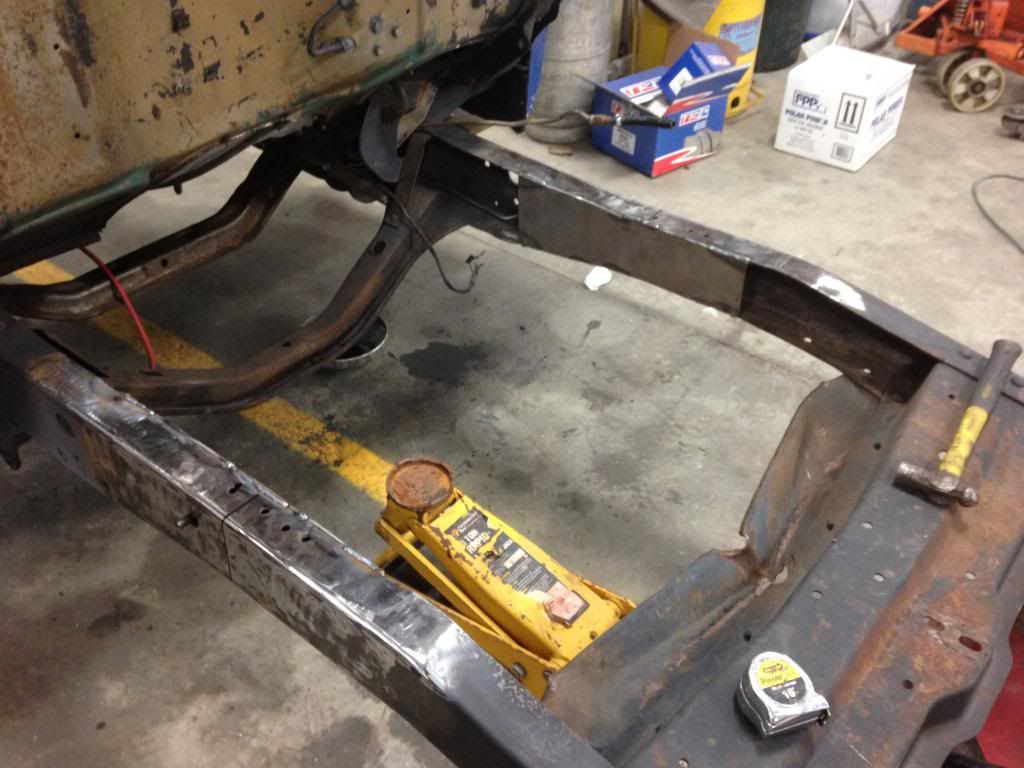
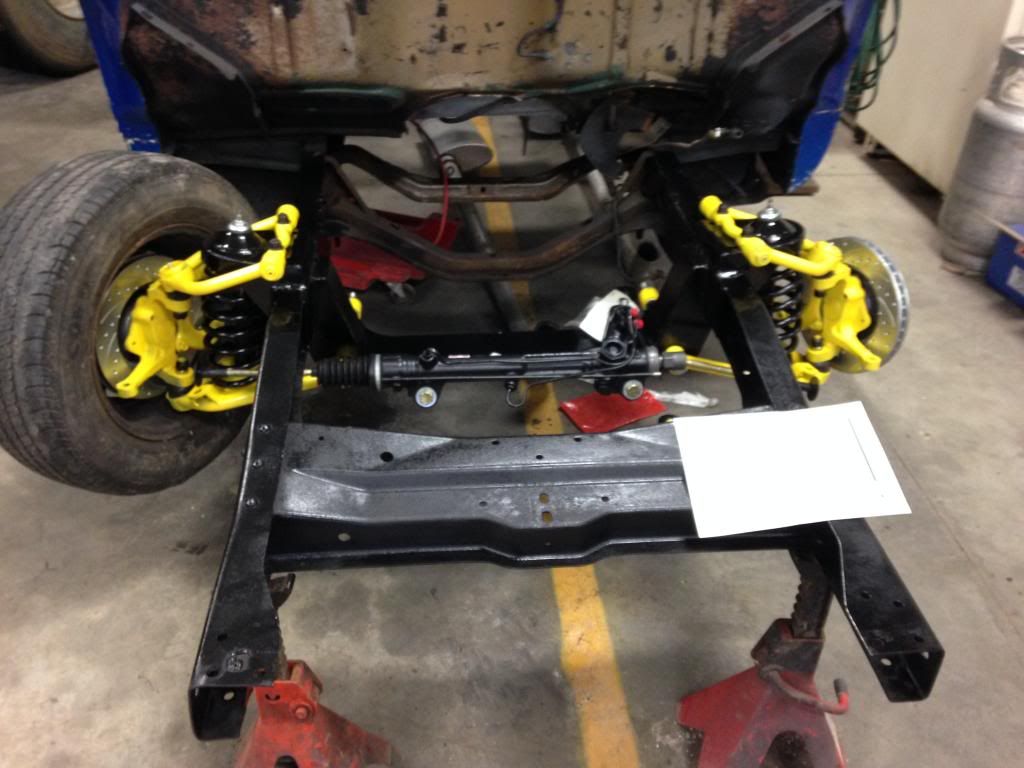
After I tact the cross member in place I found that it needed to be moved forward 1 1/4". After I remounted it I did the mockup of the fender and now it looks like the tires will be in the center of the fender. Just the way I wanted it...
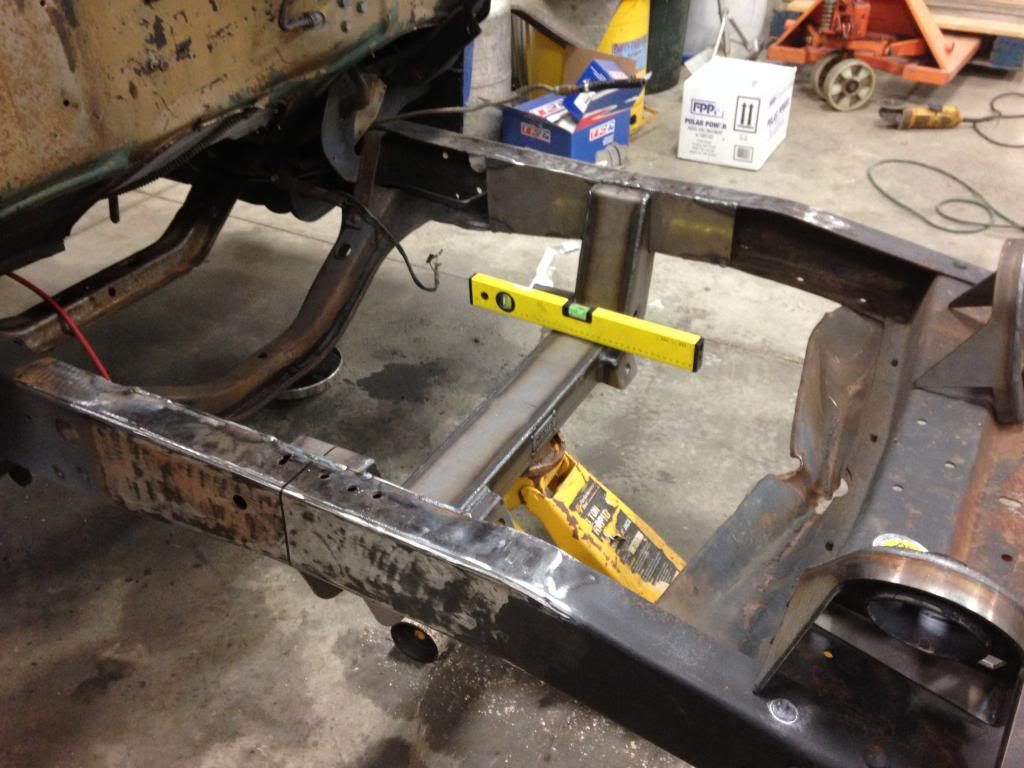
Here is a picture of where the center line was and now where the center line is...
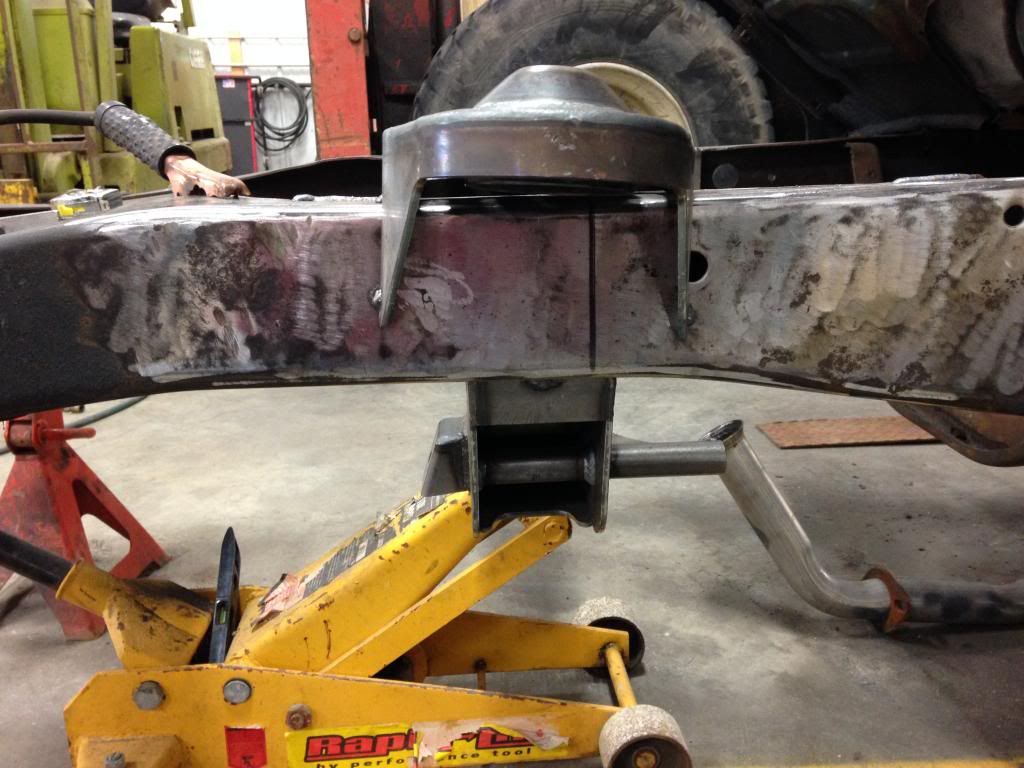
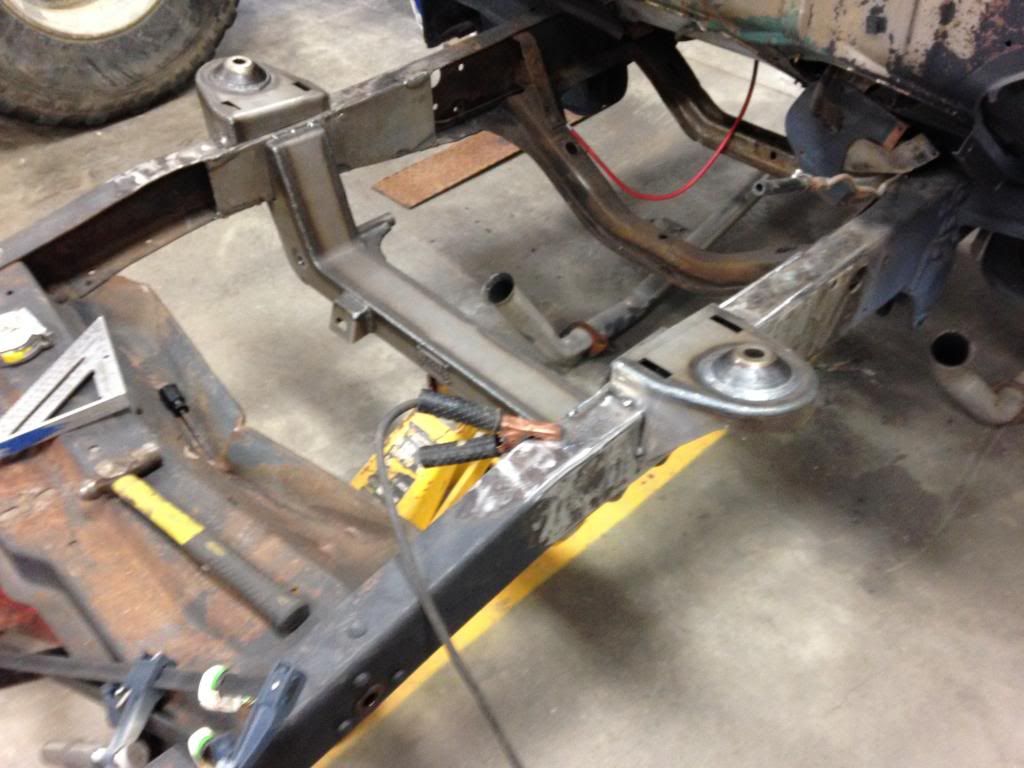
I have a buddy that is a "certified welder".... Damn he did a GREAT JOB!!!!
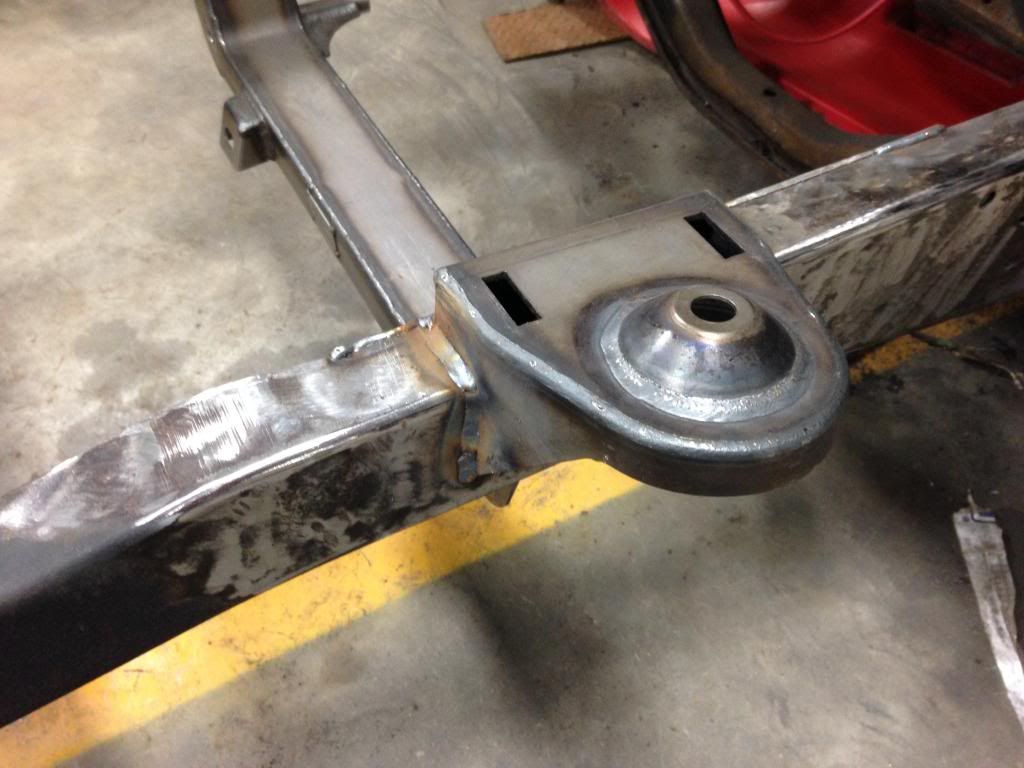
After a little paint and a little time Wala,,, Looks good!!
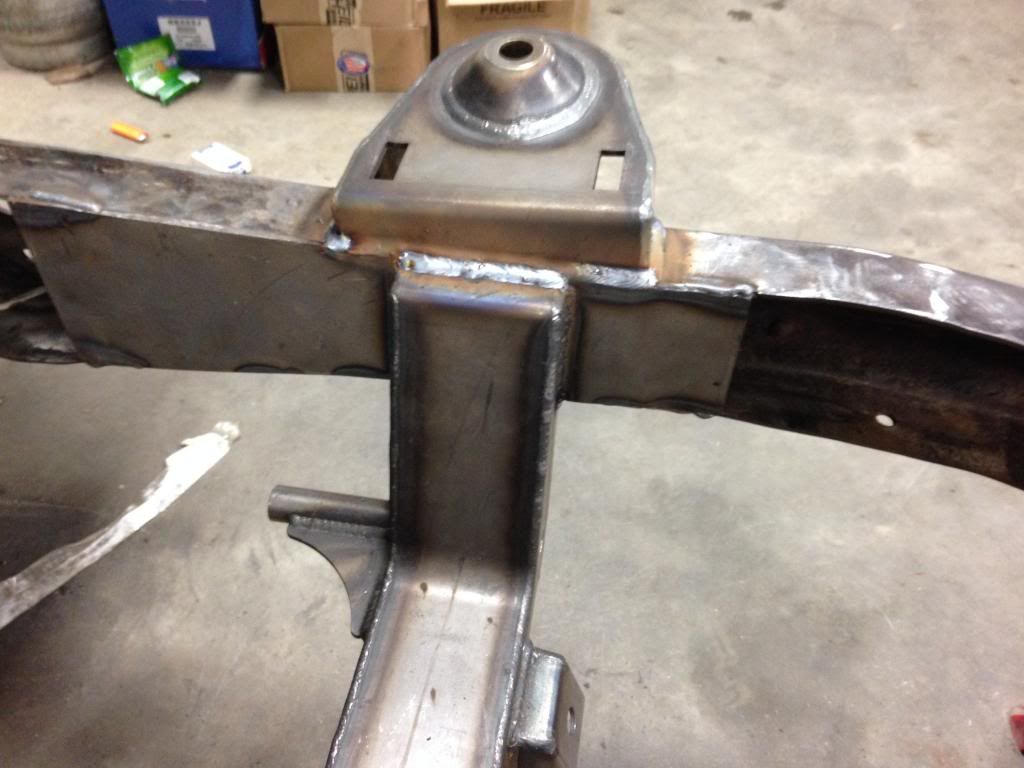
Does this look correct???? The instructions for the Rack and Pinion didn't say what to do with the washers.
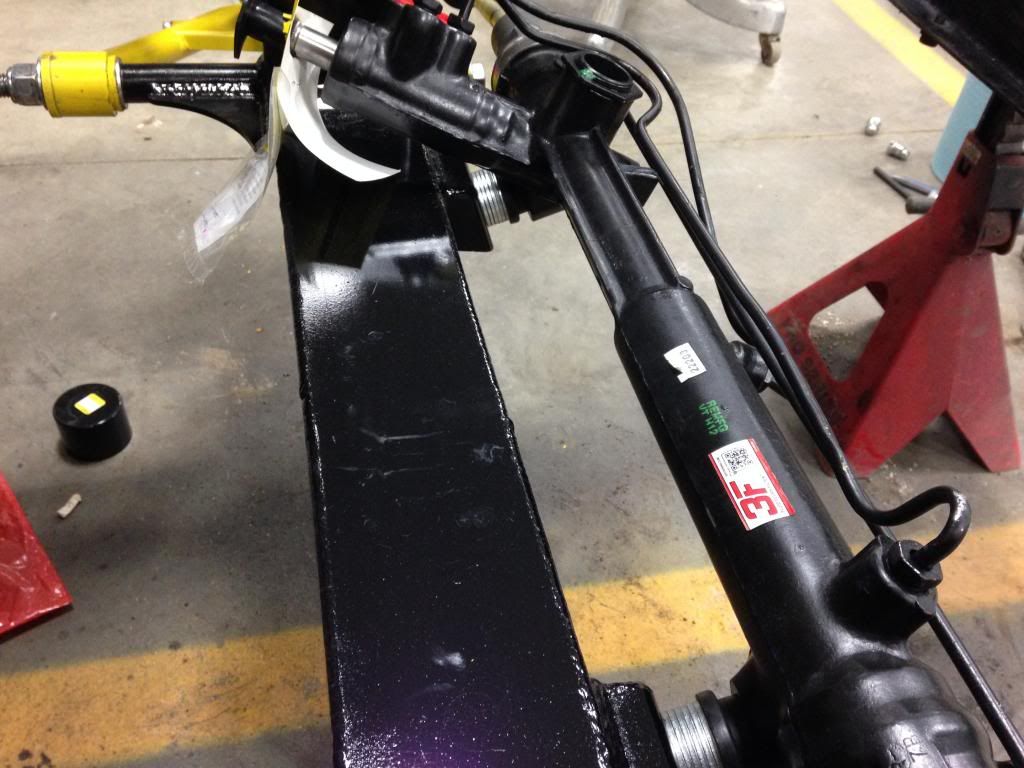
And How tight are the "inner tie rod ends" put on and how much can I crank on them before I can do damage to the Rack an Pinion? I checked and found NO pins installed so I should be able to unscrew them but NO dice... HELP!!!

A little progress....

I got the IFS from JPL Street Rods, They were easy to communicate with and all the parts came intact!!!


After I tact the cross member in place I found that it needed to be moved forward 1 1/4". After I remounted it I did the mockup of the fender and now it looks like the tires will be in the center of the fender. Just the way I wanted it...

Here is a picture of where the center line was and now where the center line is...

I have a buddy that is a "certified welder".... Damn he did a GREAT JOB!!!!


After a little paint and a little time Wala,,, Looks good!!


Does this look correct???? The instructions for the Rack and Pinion didn't say what to do with the washers.

And How tight are the "inner tie rod ends" put on and how much can I crank on them before I can do damage to the Rack an Pinion? I checked and found NO pins installed so I should be able to unscrew them but NO dice... HELP!!!
#2
01-05-2014, 05:51 PM

#3
01-05-2014, 06:18 PM
Posting Guru
Join Date: Apr 2013
Location: Rimrock AZ
Posts: 1,170
Likes: 0
Received 0 Likes
on
0 Posts
#4
01-05-2014, 06:33 PM
Fleet Mechanic
Join Date: Dec 2012
Location: Scottsdale, AZ
Posts: 1,257
Likes: 0
Received 0 Likes
on
0 Posts
#5
01-05-2014, 07:16 PM
Join Date: Sep 2013
Location: Chokio, Minnesota
Posts: 58
Likes: 0
Received 0 Likes
on
0 Posts
That's what I'm talking about. I just don't want to twist something. I used a 1/8" drill bit and found no studs in the holes. I tried to turn it out to install the 2" extensions and WOW it is TIGHT!!!! I'll take a look at it tomorrow.
#6
01-05-2014, 07:46 PM
Fleet Mechanic
Join Date: Dec 2012
Location: Scottsdale, AZ
Posts: 1,257
Likes: 0
Received 0 Likes
on
0 Posts
#7
01-05-2014, 07:56 PM
Join Date: Sep 2013
Location: Chokio, Minnesota
Posts: 58
Likes: 0
Received 0 Likes
on
0 Posts
I'll let you know what I find on this,,,, But I think I could just cut a new 1/4" pipe the new length to make that work...
Trending Topics
#8
01-06-2014, 09:54 AM
FTE Legend
Join Date: Oct 2005
Location: northwestern Ontario
Posts: 263,011
Received 4,132 Likes
on
2,656 Posts
#9
01-06-2014, 10:58 AM
Join Date: Sep 2013
Location: Chokio, Minnesota
Posts: 58
Likes: 0
Received 0 Likes
on
0 Posts
Thanks for the support!BTW, I came in this morning and put a little more pressure on the wrench and it came loose.. I am good to go!!! Thanks!

#10
01-06-2014, 11:03 AM
FTE Legend
Join Date: Oct 2005
Location: northwestern Ontario
Posts: 263,011
Received 4,132 Likes
on
2,656 Posts
#11
01-06-2014, 12:27 PM
Fleet Mechanic
Join Date: Dec 2012
Location: Scottsdale, AZ
Posts: 1,257
Likes: 0
Received 0 Likes
on
0 Posts
#12
01-06-2014, 01:08 PM
Join Date: Sep 2013
Location: Chokio, Minnesota
Posts: 58
Likes: 0
Received 0 Likes
on
0 Posts
Also I got the whole setup from JPL Street Rods. Good to work with and it seems all the pieces showed up.

#13
01-06-2014, 01:10 PM
FTE Legend
Join Date: Oct 2005
Location: northwestern Ontario
Posts: 263,011
Received 4,132 Likes
on
2,656 Posts
That's okay, I haven't started this new project yet.
#14
01-06-2014, 01:26 PM
Tuned
Join Date: Oct 2013
Location: Irvine, CA
Posts: 297
Likes: 0
Received 0 Likes
on
0 Posts
#15
01-06-2014, 02:25 PM
Join Date: Sep 2013
Location: Chokio, Minnesota
Posts: 58
Likes: 0
Received 0 Likes
on
0 Posts
Like I said, This is going to take time.