When you click on links to various merchants on this site and make a purchase, this can result in this site earning a commission. Affiliate programs and affiliations include, but are not limited to, the eBay Partner Network.
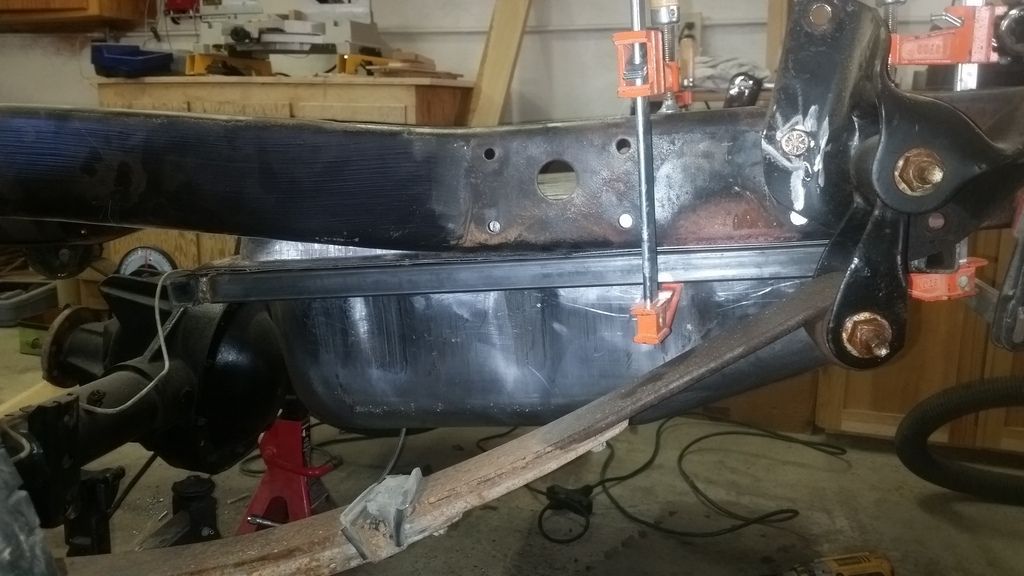
Unless I'm missing something on the block/hose it looks like the block is in good shape. You should be able to take it apart and clean the block out very well and reuse it. Take the hose either to a parts store or someone who makes hoses like a hydraulic shop (that's what I did) and get one to match.
Hi Sere, my block has the flexible hose fitting permanently attached to the block (the diff if from a 2000 Explorer.) After a couple other responses here I went to CPP last night and found just the ticket to replace the block. Thanks for the info guys!
Yesterday was 71 degrees and since I had four wheels on the ground I thought I'd roll the old girl outside. First time it's seen the sunshine since August of 2013. New goal is to get the drive train in place and cab on by August.
I love your thread Doug! Thank you and others that have posted all the details/pictures. It'll come in handy if I ever attempt to change out the front/rear ends. Keep up the good work.
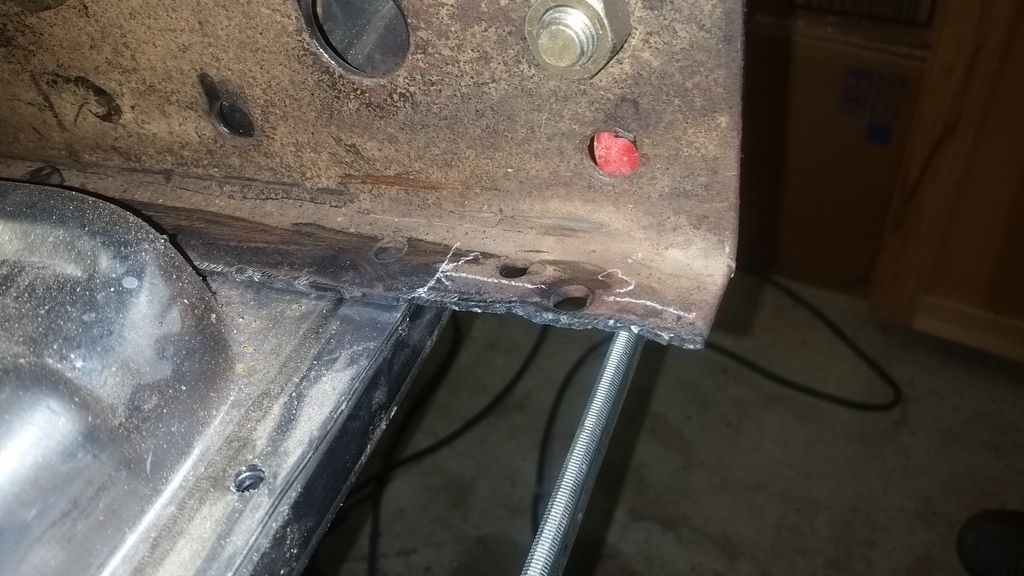
Thanks Sere, but your detail threads put mine to shame, lol. My next challenge is the lower rear cab corners, also fabricating the motor mounts and tranny mount. Progress, the name of the game!
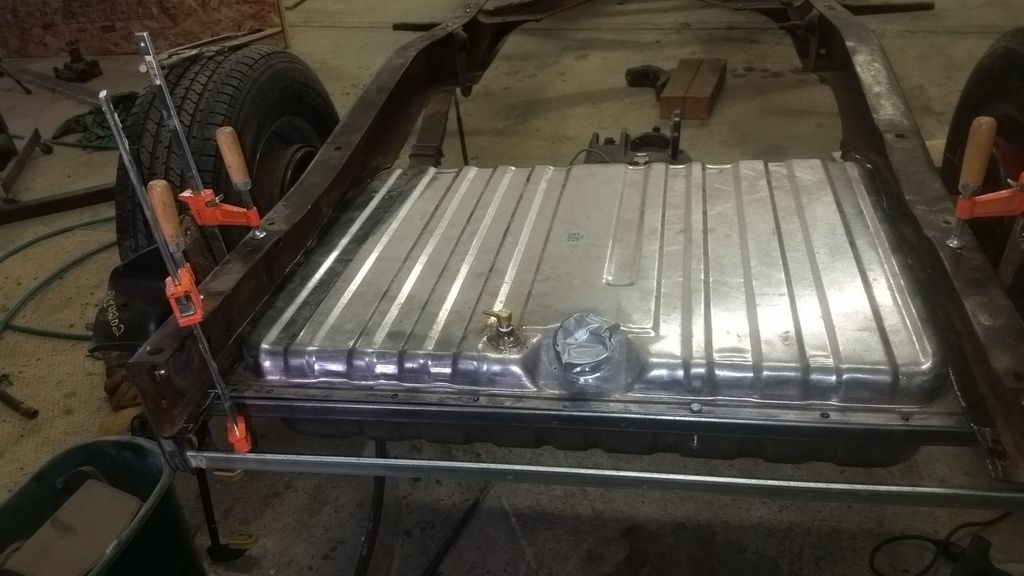
Took another baby step forward in my build today. Finished up making the frame to hold my 1970 Mustang tank up under the frame. Then used a few wood working clamps to get it into position.
I mounted the trailing edge of the tank 3 inches in from the rear of the frame. Tomorrow I'll buy some strap iron in town to make hangers for the leading edge of the tank. They will be bolted to the underside of the frame where it has started to raise up over the differential.
Last edited by DougofMontana; 04-12-2015 at 09:17 PM.
Reason: Added more text
Hey Doug,
That doesn't look like a step backwards to me! You are looking at 40% more range than stock! That's one of the best mods we did to our truck.
We used that same exact tank. Think through the sending unit to Fuel Gauge piece before you finish it up - (It's harder to go back later & correct it like we did).
We used the 1970 sending unit to fit that odd looking slot in the tank & take care of the fuel pick up line. We then cut the 70's unit float off & soldered a modern sending unit/float to it so it would talk to our modern Autometer gauges (ohms - 200 ohms if I remember correctly).. Your sending unit & your gauge have to talk on the same frequency - you can't fix it with resistors etc. later (We tried).
Hey Ben, thanks for those pics of your set up. I have to think through my end of frame setup as I will be building a trailer hitch for my truck. Once I have weight on the back end and can confirm the spring location, I'll be welding in flanged nuts for where the spring shackles attach to the frame. Oh, also, I'm using 3/8" bolts on the corners to hang the tank and 1/4" ones on the front and rear flanges of the tank. Ben, do you have a pic of where you ran your exhaust pipes? I know they need to jump out side the frame rails as they pass over the differential, just curious of your routing. Thanks.
Hey Doug,
I really wanted to run dual exhausts out the back but we just couldn't make it work comfortably with the tank back there.
We then went cheap & tried turned down exhaust just under the cab - horrible idea my head still aches from the noise & it spit gravel
& dust everywhere. We then went back & re-did it again as a traditional side exit exhaust just in front of the back tires.
Surprisingly enough that works & isn't too loud - even with the windows down. We initially had a 40 series mufflers from Flowmaster but you could
hear us coming from the next town. We went with brand new stock Mustang GT mufflers - the Mustang guys around here swap them out first thing for some reason - so brand new.
On the Gas Tank - We added a rollover valve for extra venting. I could hear our tank whistling after running around in the Texas heat. Then my wife complained about the smell in the garage so we ran that rollover valve tube through a Salvage Yard charcoal canister - peace at home.
Yeah, Ben, I put in a roll over vent as well. You can see it located near the filler opening. I think dumping the exhaust out in front of the tires would work just fine for me as well, certainly uncomplicating things (always a good thing). I'll look around for those Mustang mufflers. Being in Montana, there are not a whole lot of Mustang owners, but that equates to less people which again falls into the good thing category! Thanks for your input!
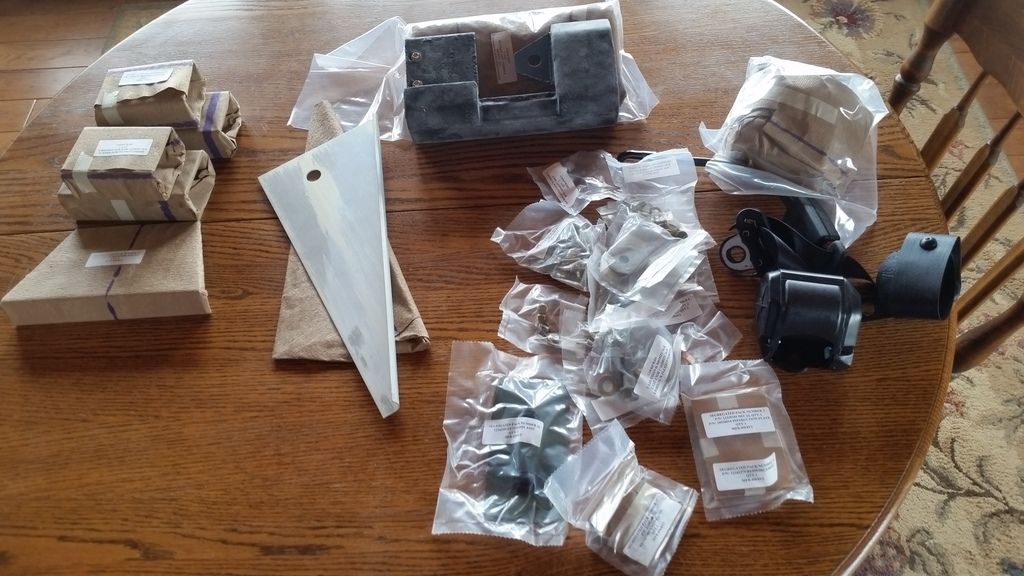
Over this past weekend I saw a thread here on FTE about seatbelts from Sportsman Guide. They are Army surplus, designed for HHMWV's. Received mine today only three days after ordering. Everything is black and the kit includes every conceivable nut and bolt that you would need for install. The price is hard to beat! $39.97 w/shipping. Oh, and they are brand spanking new as well.
Last edited by DougofMontana; 04-15-2015 at 03:51 PM.
Reason: Added text
Yesterday I ordered a MC/booster setup from Summit (p/n RSD J81315171). I am wondering what folks here would recommend for the pedal assembly behind the booster? I'm running a C6, so just the one pedal required. TIA! Oh also ordered fuel pump, motor mounts, Edelbrock carb and tranny mount. Will be Christmas in May next week!
 03-26-2015, 12:30 AM