1979 F150 Lariat- First truck project*Many Pics!*
#46
 02-22-2014, 09:35 PM

Join Date: Dec 2013
Location: Grants Pass, OR
Posts: 67
Likes: 0
Received 0 Likes
on
0 Posts
Thanks!
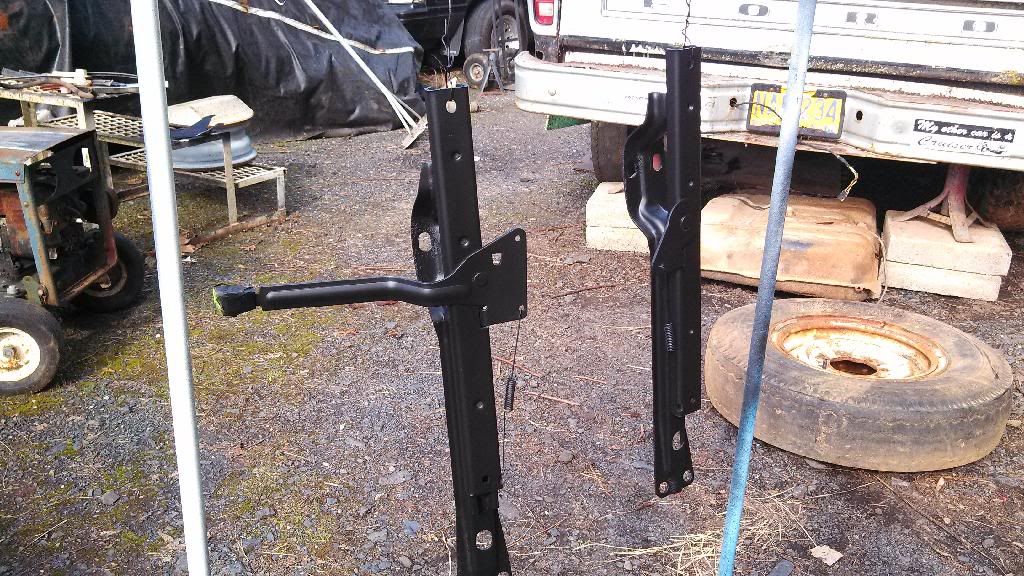
Wire brushed the seat tracks with my drill and a hand brush. Primer and paint tomorrow. I think they turned out much better. Pictures of the seat foam as well. Found a piece of carpet that was laying around that will be perfect to put under the seat foam too.
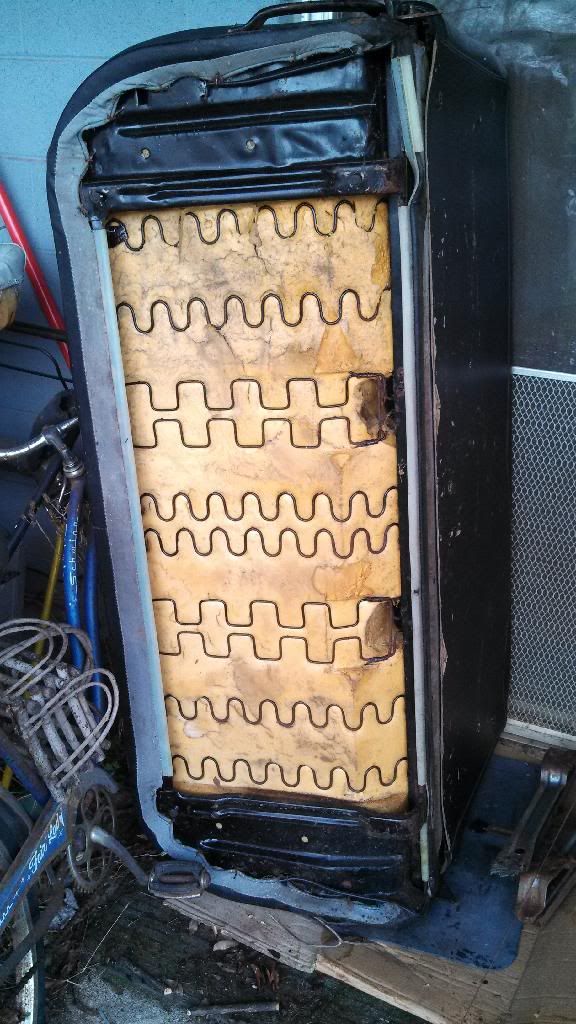
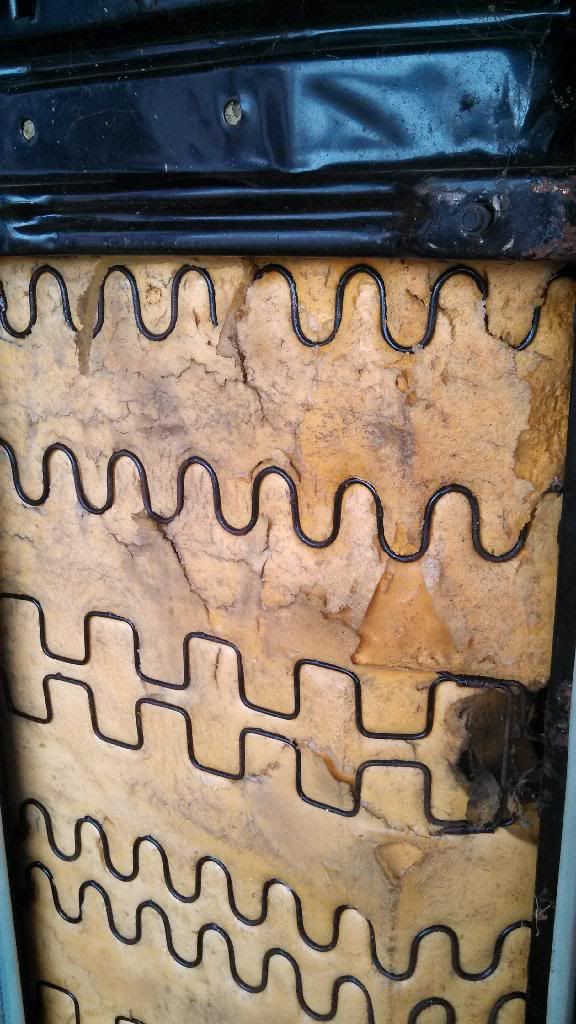
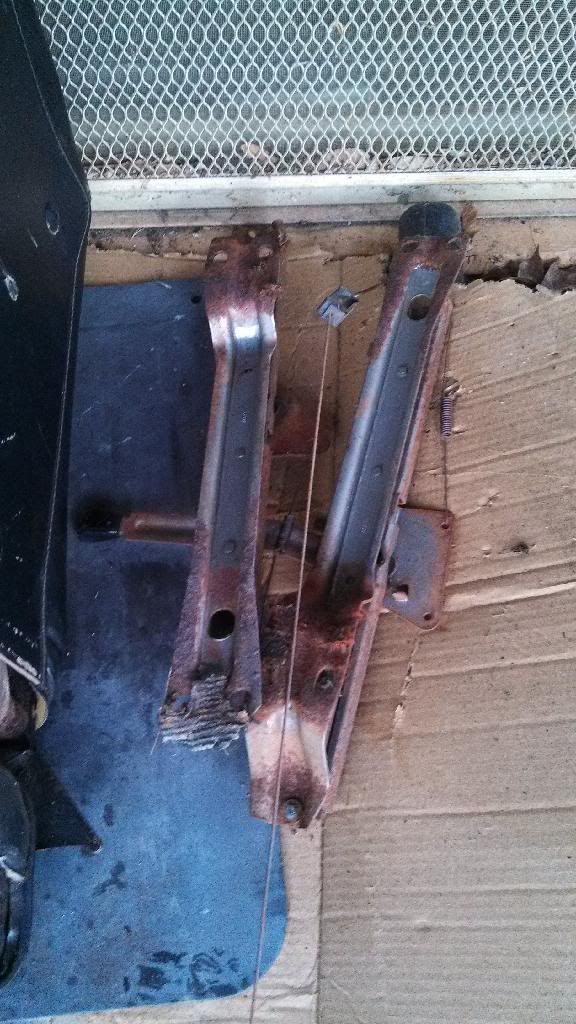
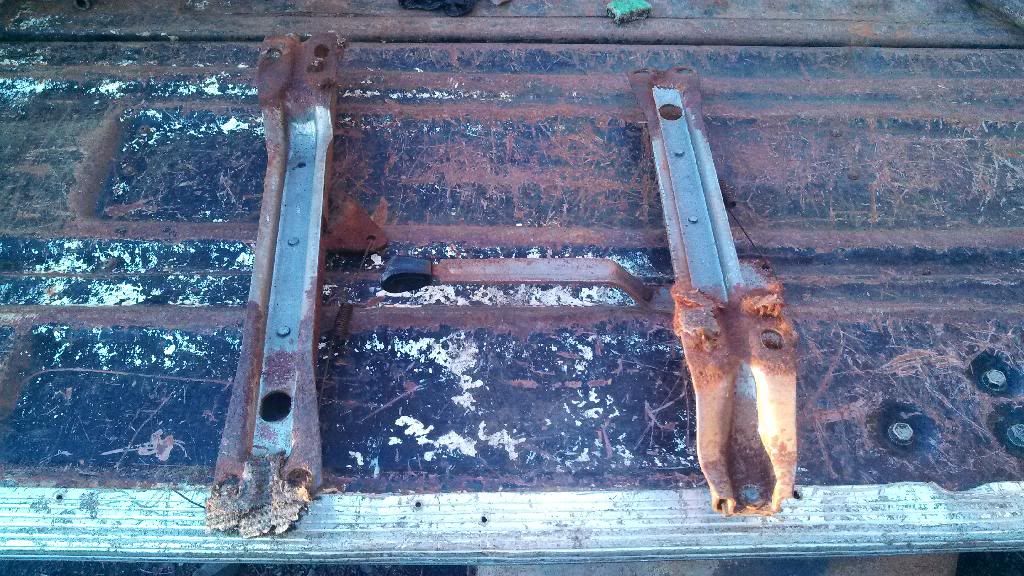
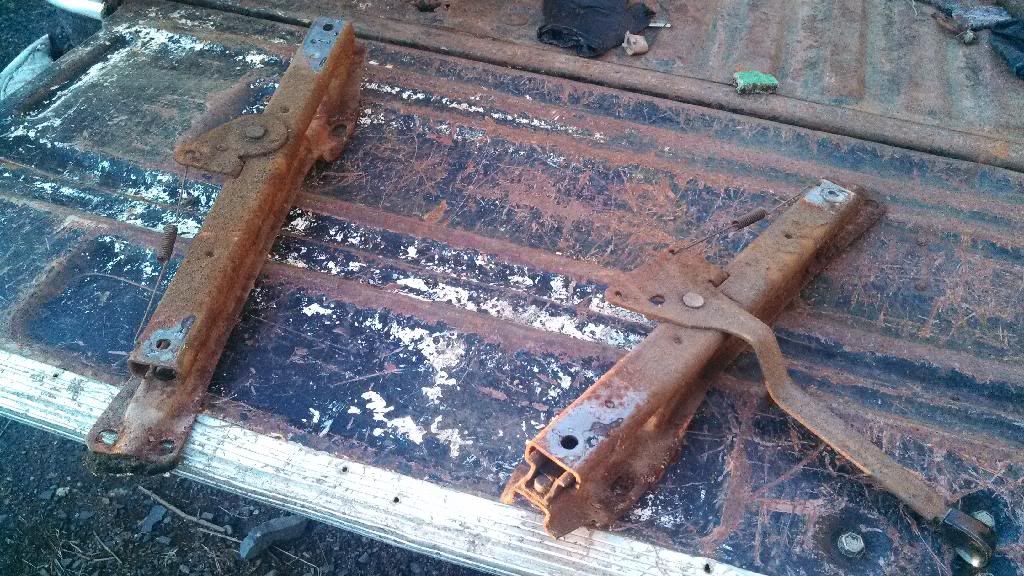
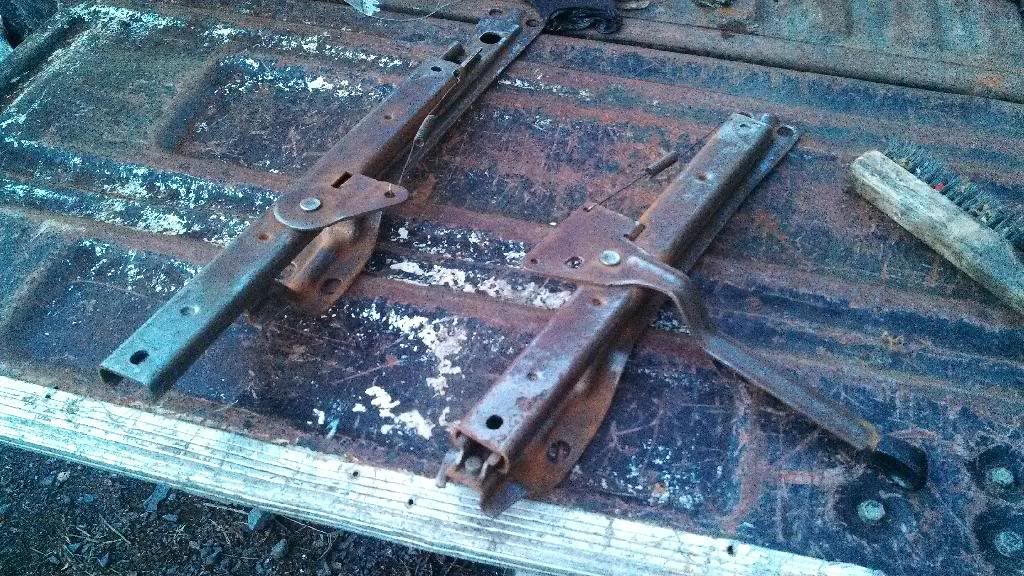


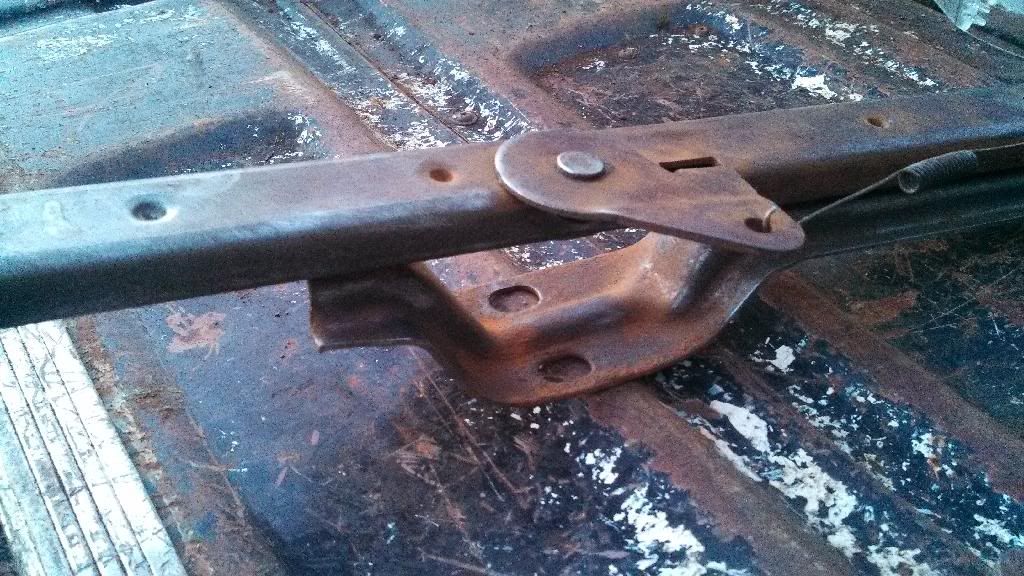
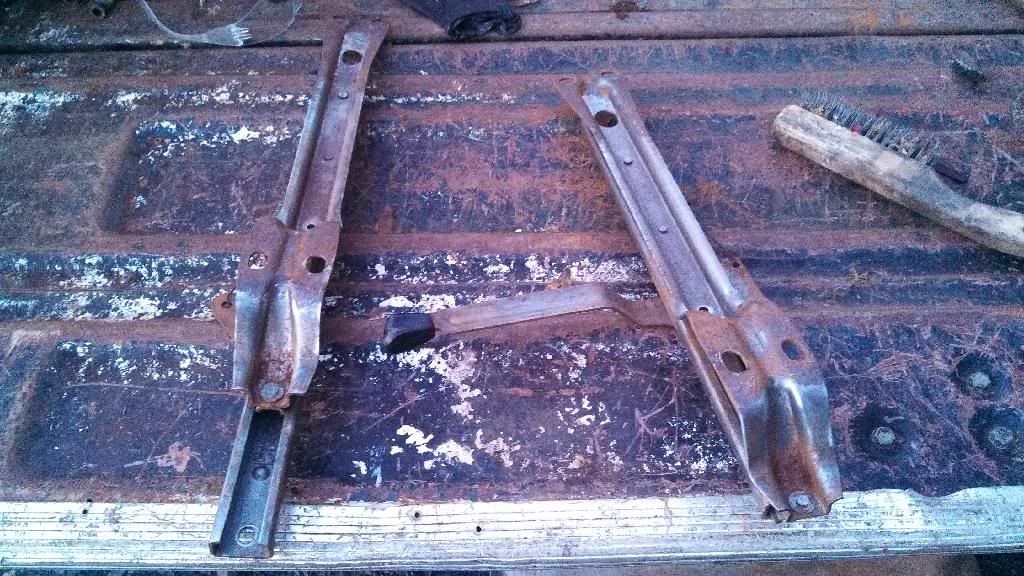
Here's a before and current pic right next to each other
And I don't know why my pictures are all grainy other than I installed a new photobucket app for my phone to get more storage space...
Wire brushed the seat tracks with my drill and a hand brush. Primer and paint tomorrow. I think they turned out much better. Pictures of the seat foam as well. Found a piece of carpet that was laying around that will be perfect to put under the seat foam too.


Here's a before and current pic right next to each other


And I don't know why my pictures are all grainy other than I installed a new photobucket app for my phone to get more storage space...
#47
02-23-2014, 08:30 PM
Join Date: Dec 2013
Location: Grants Pass, OR
Posts: 67
Likes: 0
Received 0 Likes
on
0 Posts
Went over the seat tracks with Scotch-Brite and flat black this morning. Came out real nice with a couple heavy final coats. I'm gonna grease the rollers in a couple days once the paint has cured nice.
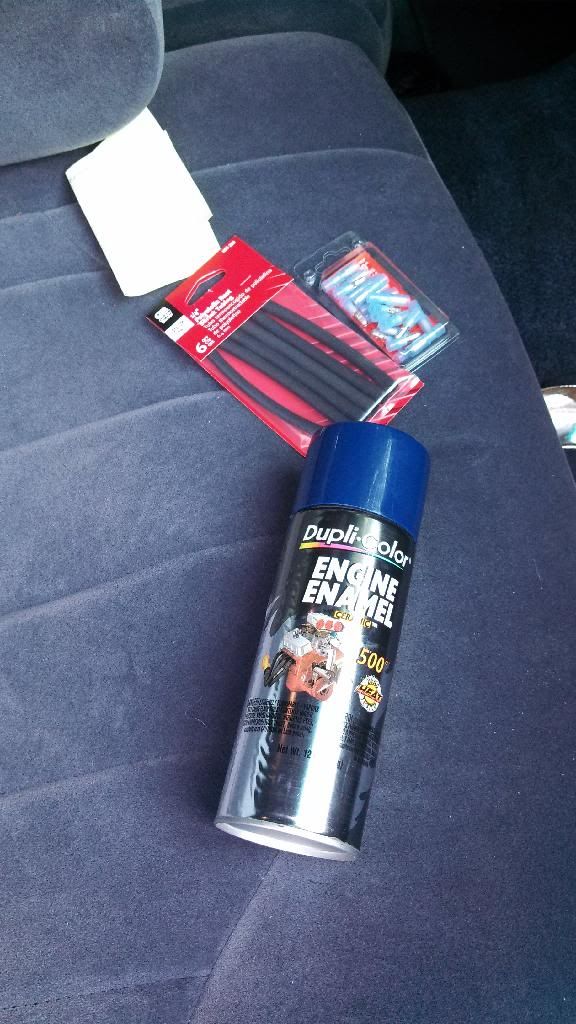
Bought some quick disconnect connectors to finish the radio wiring, heat shrink tubing for connectors under the hood, and dark ford engine blue for the engine parts.
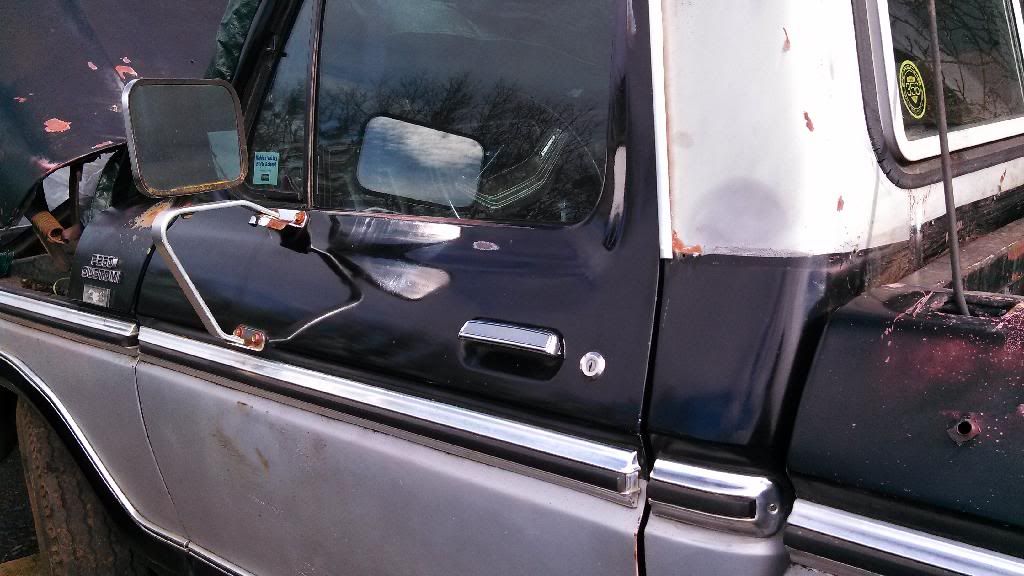
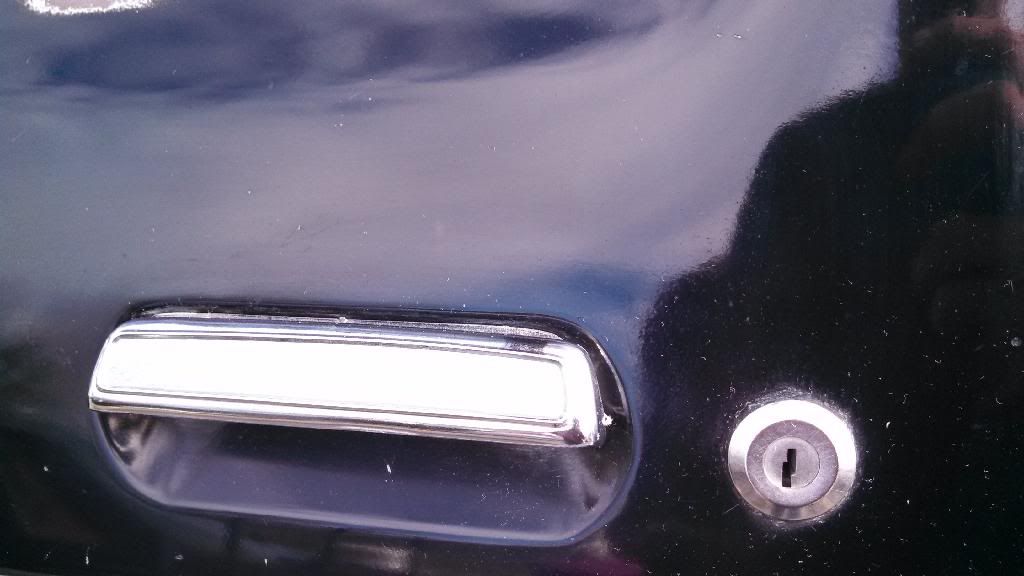
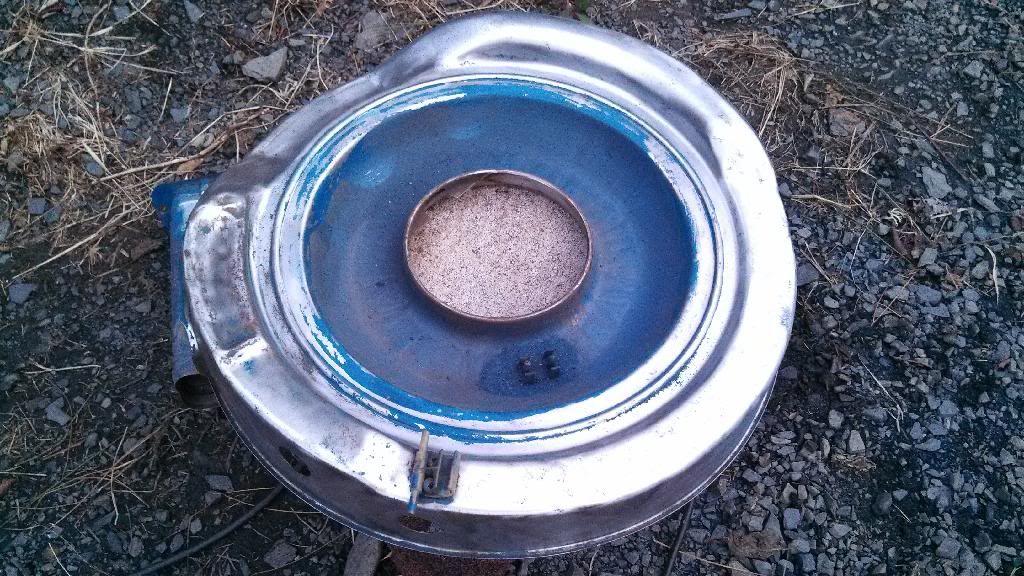
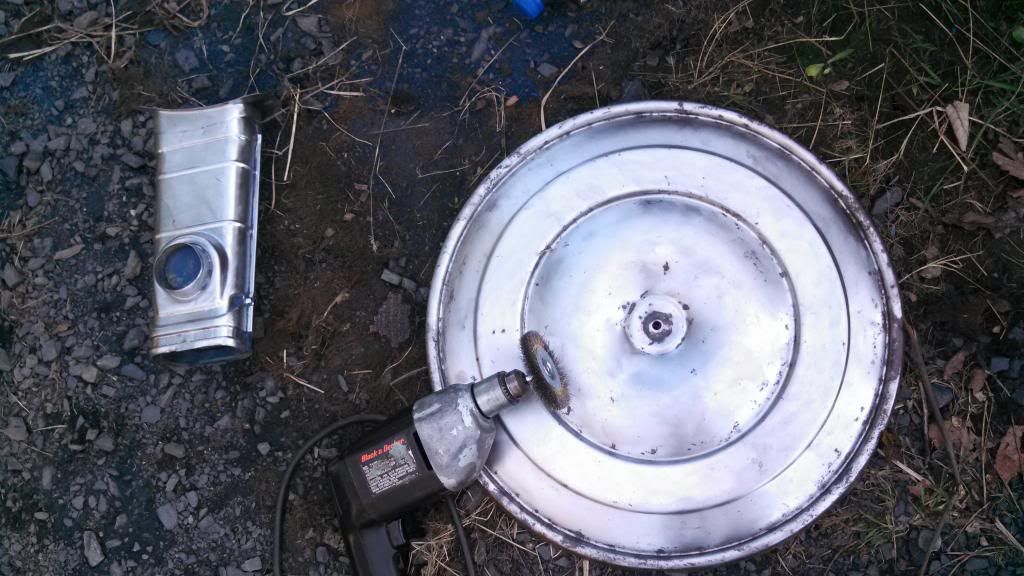
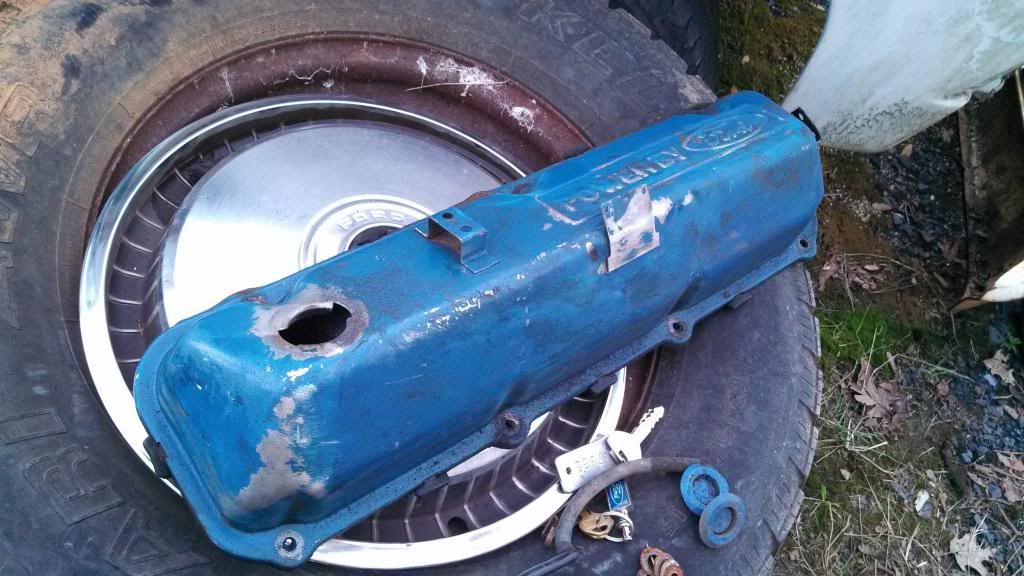
Spent the rest of the day getting a couple more small pieces off the parts truck like the speedo gear and firewall ground wire, buffing the door with some rubbing compound and a rag (shined up decent!), then used a fine grade wire brush wheel on my drill to strip the paint from the air cleaner. Couldn't get the deep areas inside it but everything else came off good. I'll finish it and the valve covers later this week since it's supposed to rain tomorrow.
Pics!
Before-
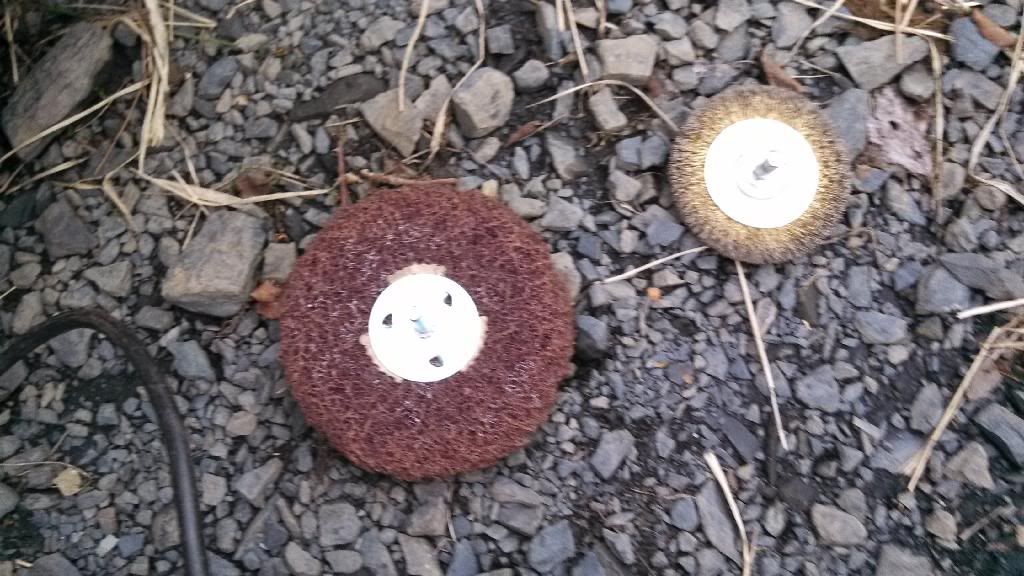
After-
Leaving the inside area there alone since the paint was decent
Bought some quick disconnect connectors to finish the radio wiring, heat shrink tubing for connectors under the hood, and dark ford engine blue for the engine parts.
Spent the rest of the day getting a couple more small pieces off the parts truck like the speedo gear and firewall ground wire, buffing the door with some rubbing compound and a rag (shined up decent!), then used a fine grade wire brush wheel on my drill to strip the paint from the air cleaner. Couldn't get the deep areas inside it but everything else came off good. I'll finish it and the valve covers later this week since it's supposed to rain tomorrow.
Pics!


Before-


After-
Leaving the inside area there alone since the paint was decent


#48
02-24-2014, 09:17 PM
Join Date: Dec 2013
Location: Grants Pass, OR
Posts: 67
Likes: 0
Received 0 Likes
on
0 Posts
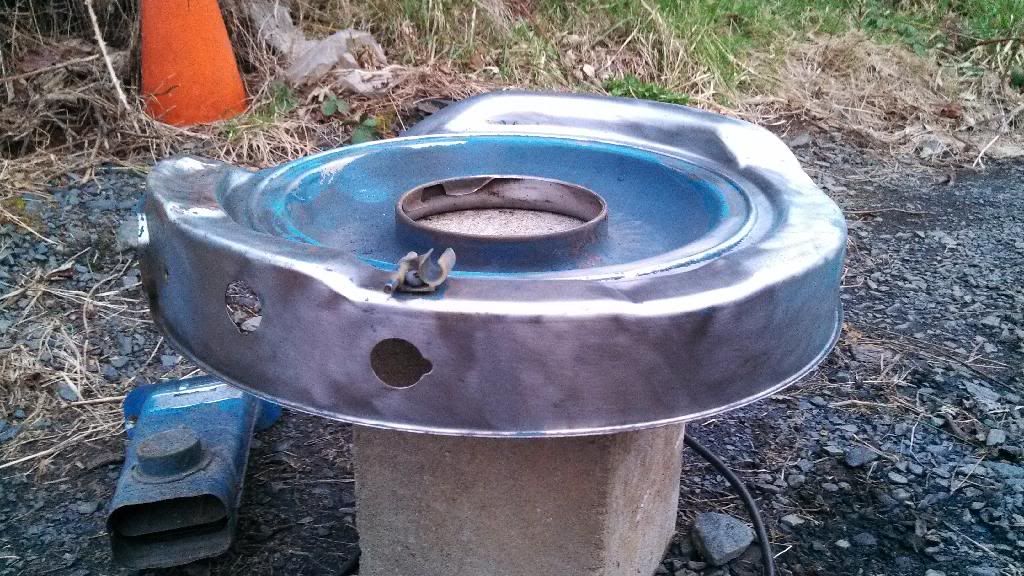
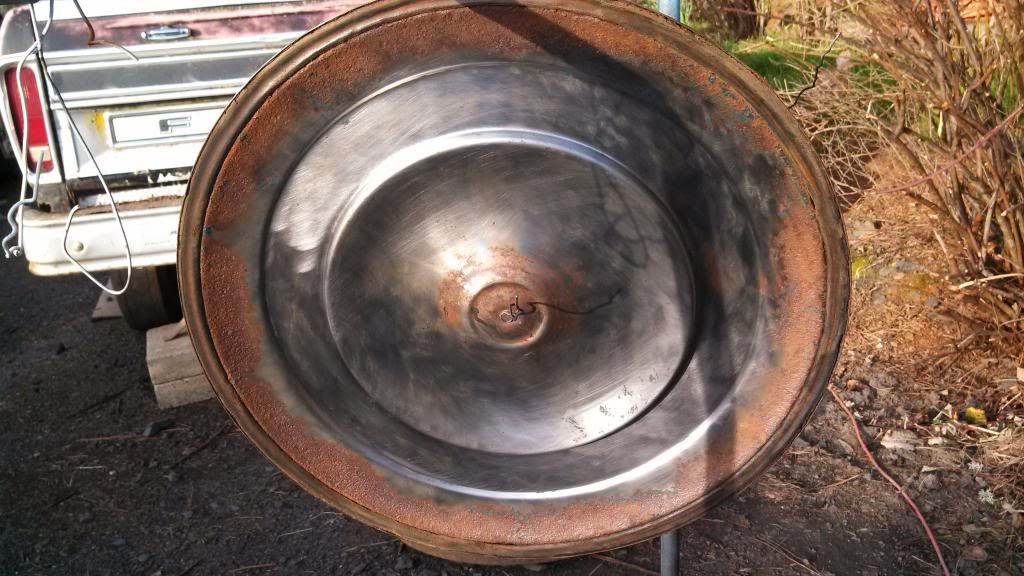
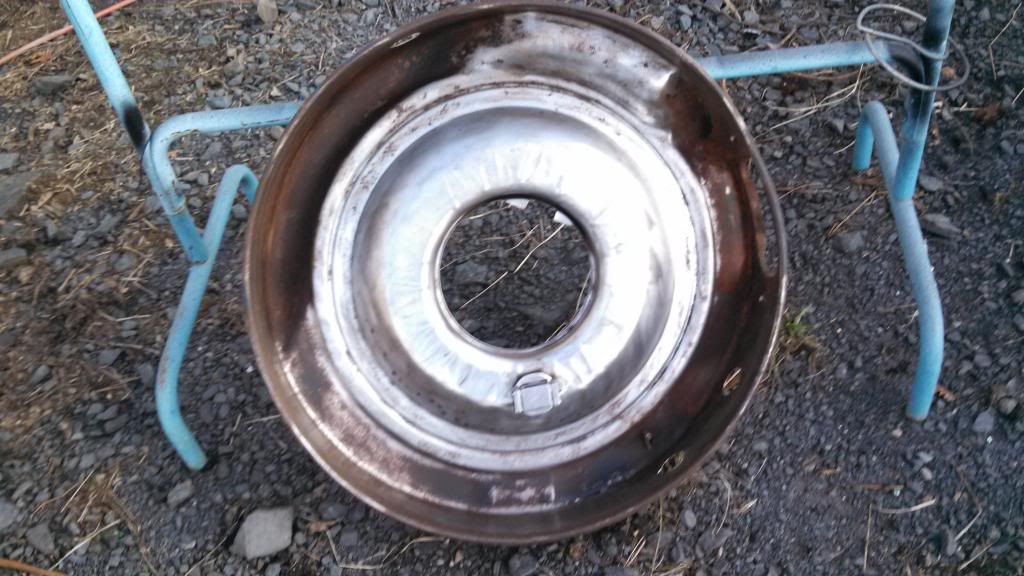
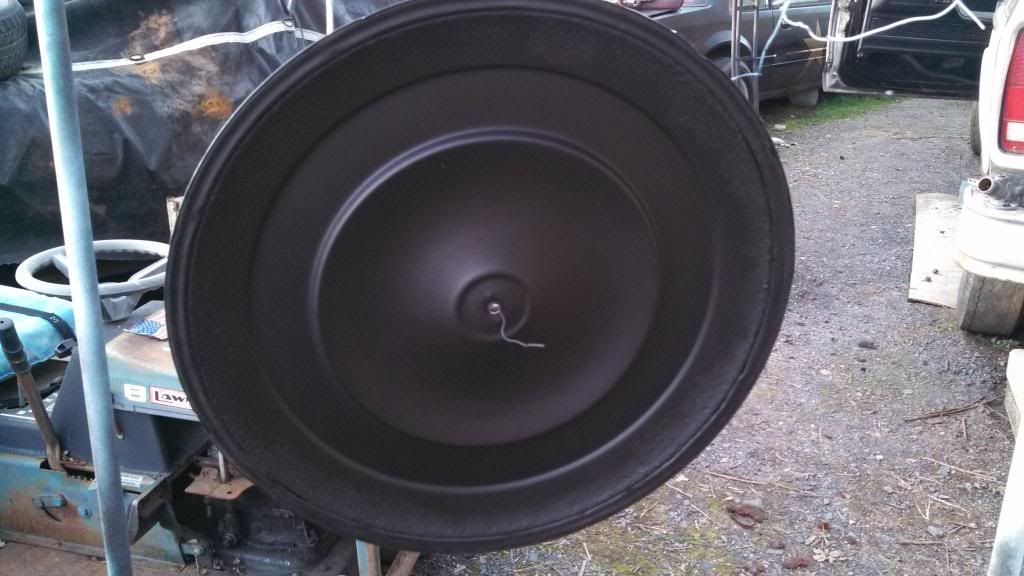
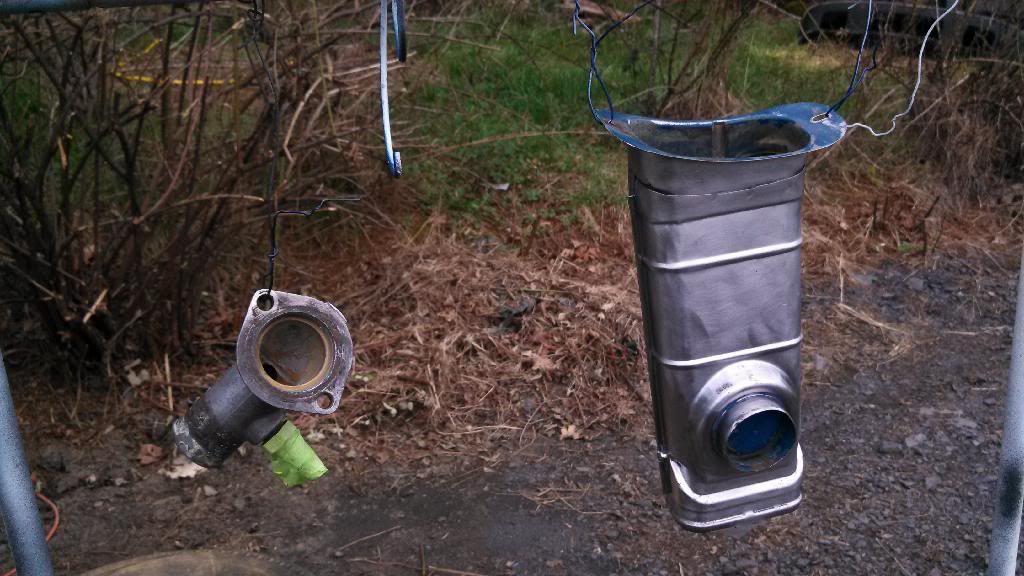
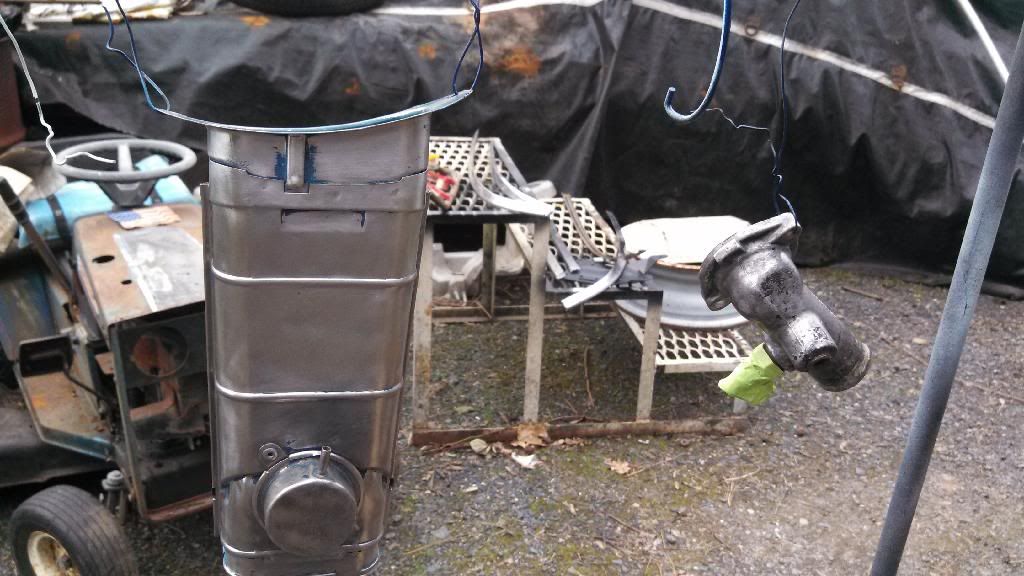
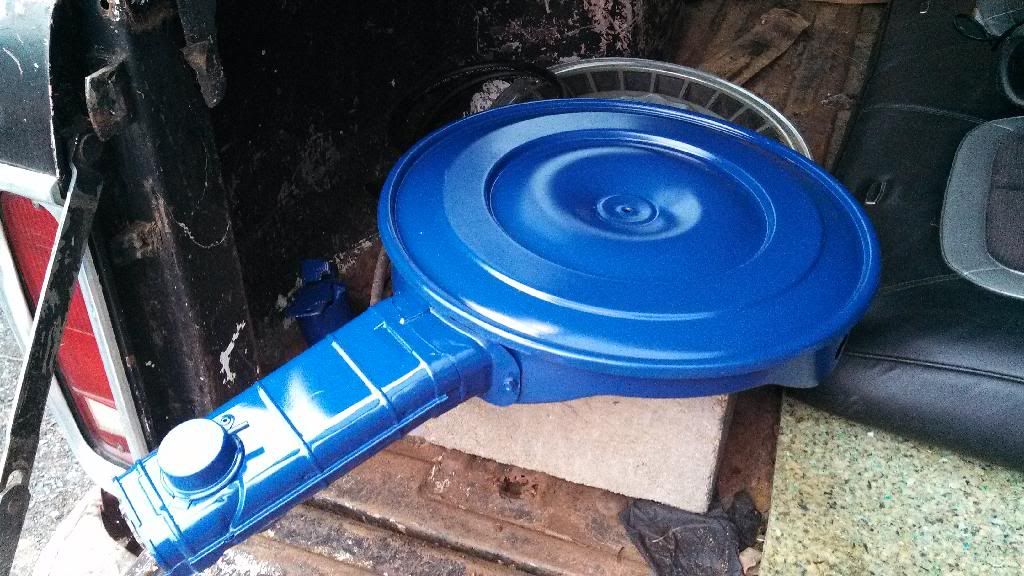
Fun day after school today! Finished stripping the paint of the air cleaner lid, stripped some of the intake bolts and the tstat housing as well.
Insides of the air cleaner were painted flat black.
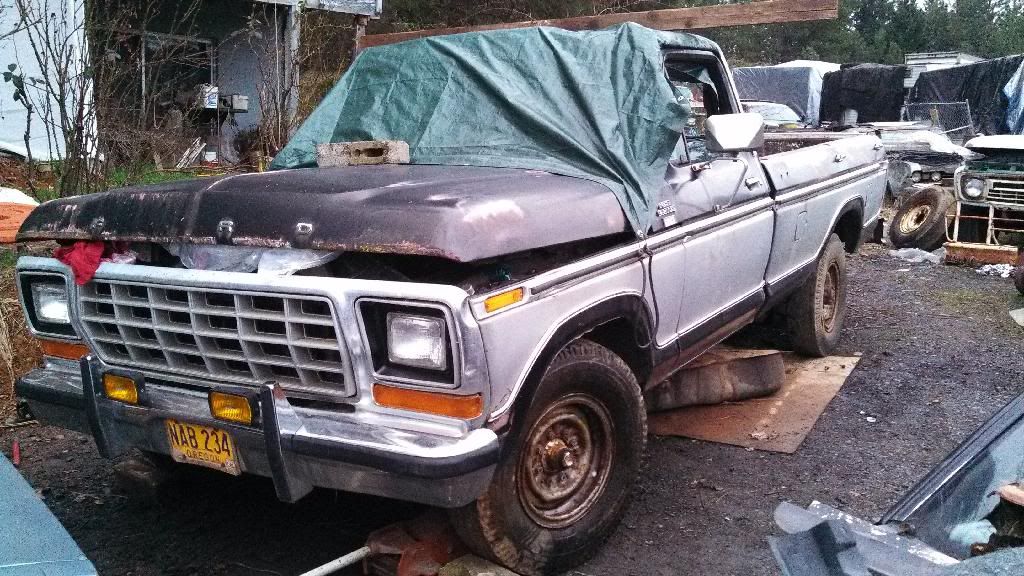
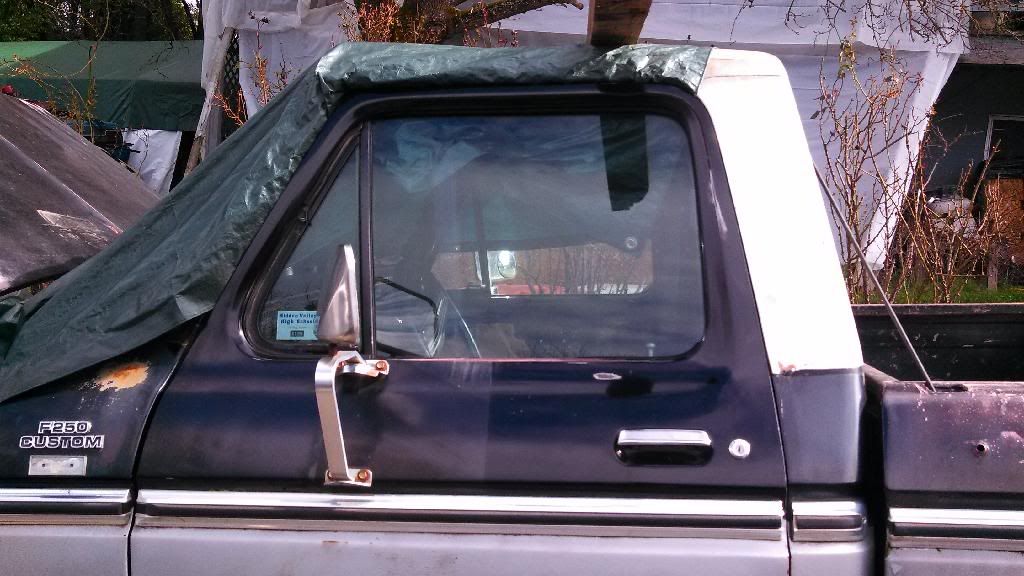
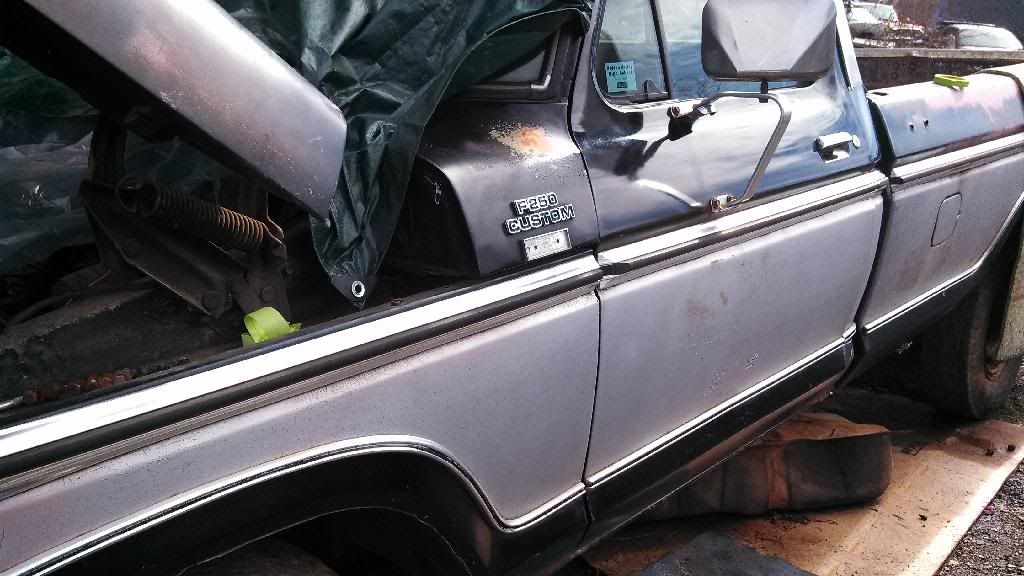
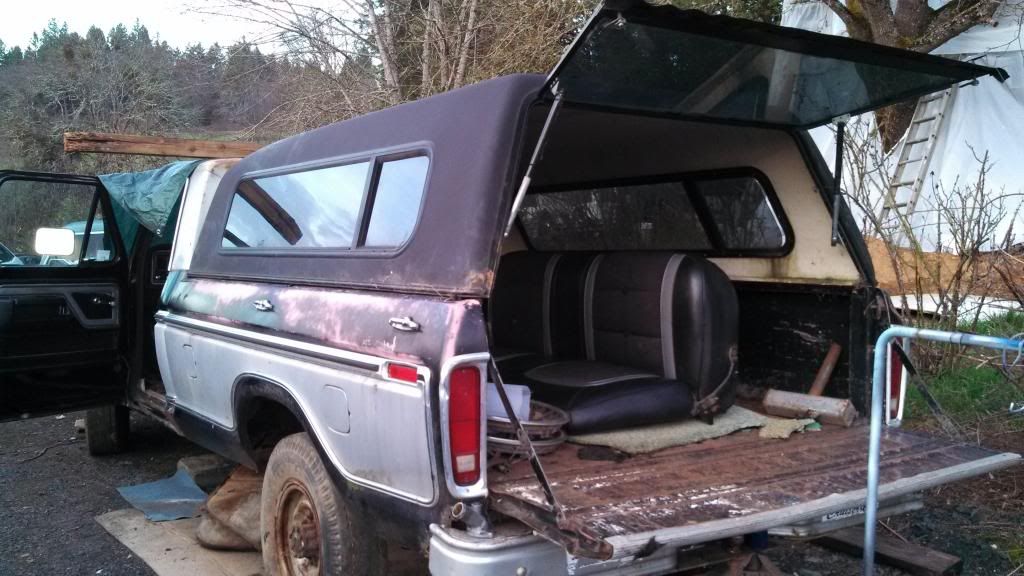
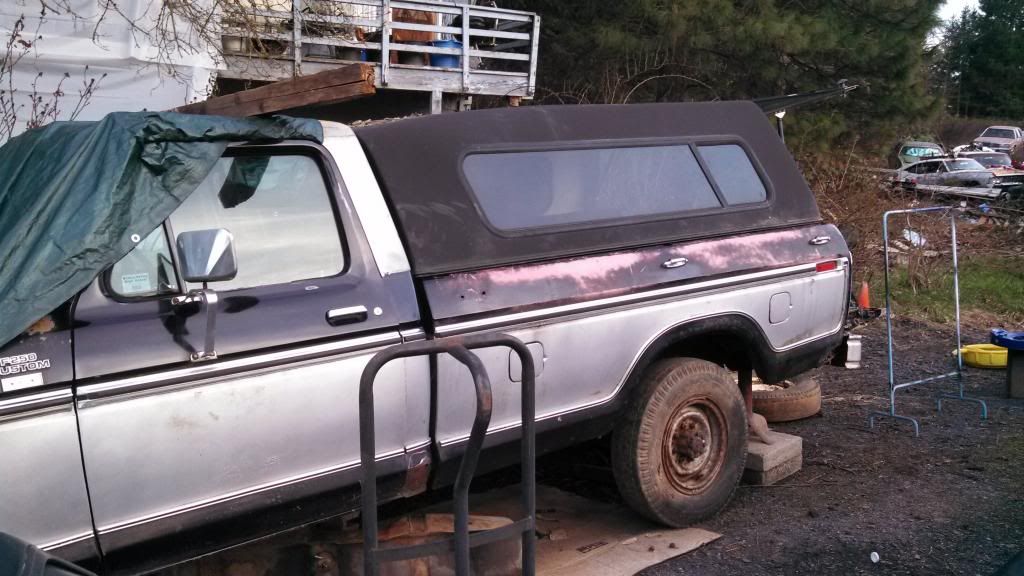
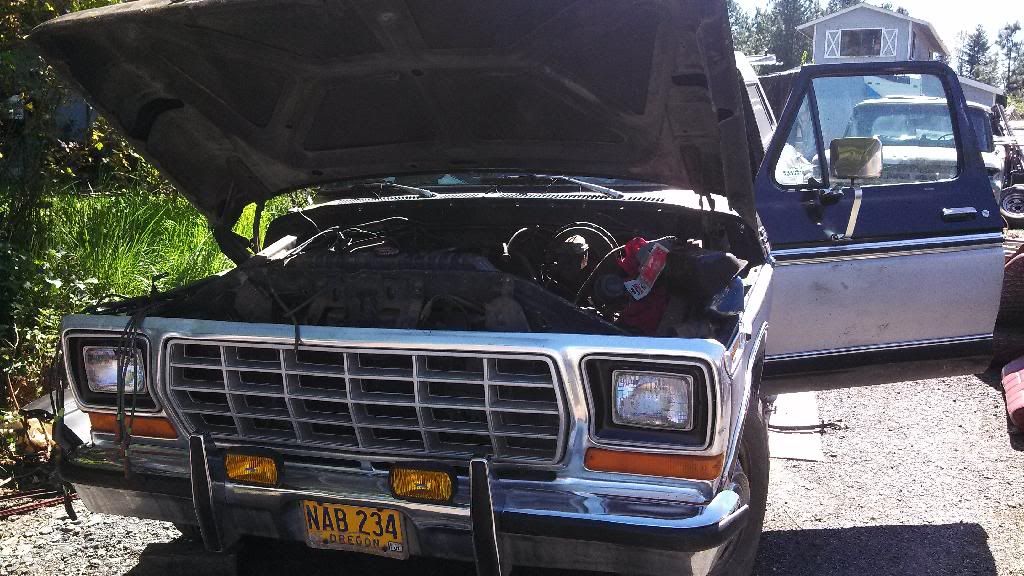
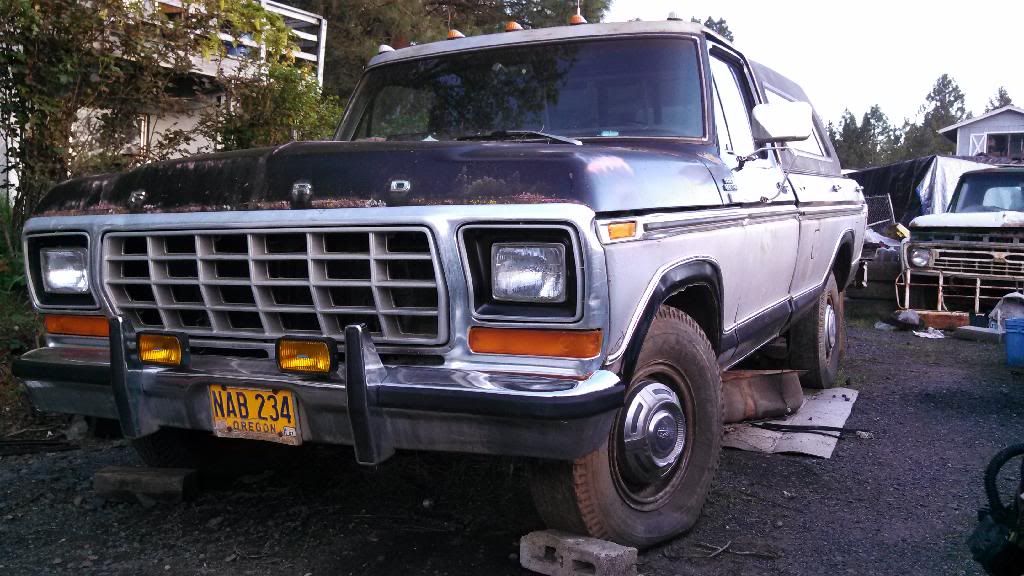
Put my canopy on the truck with the help of my dad to keep the bed and seat dry in the rain that should be here tomorrow.
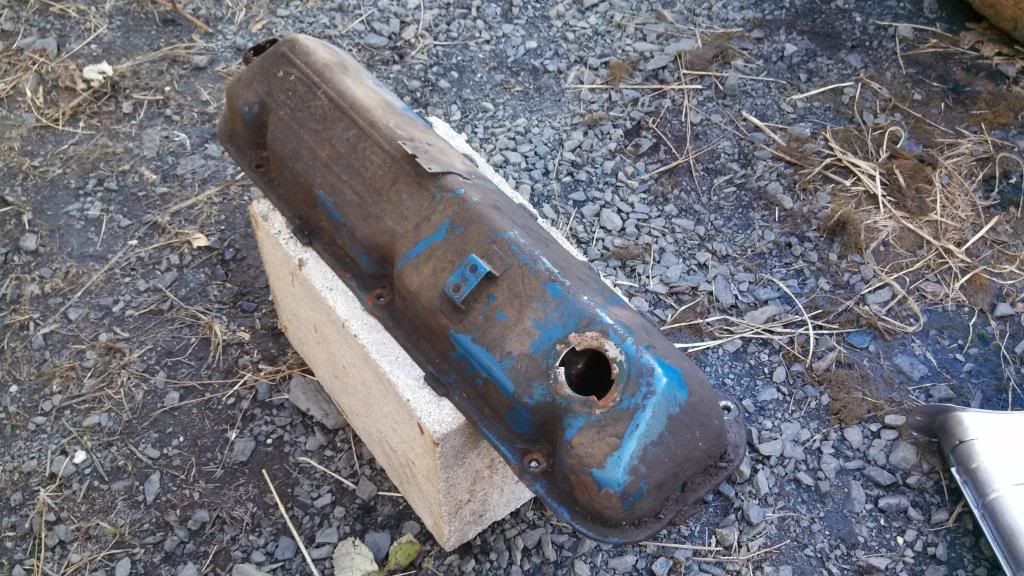

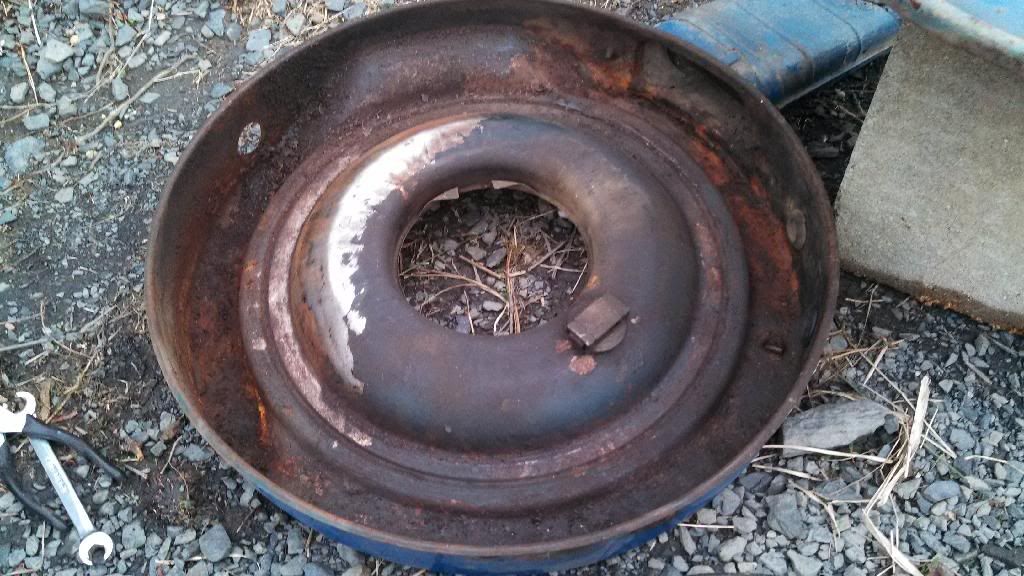
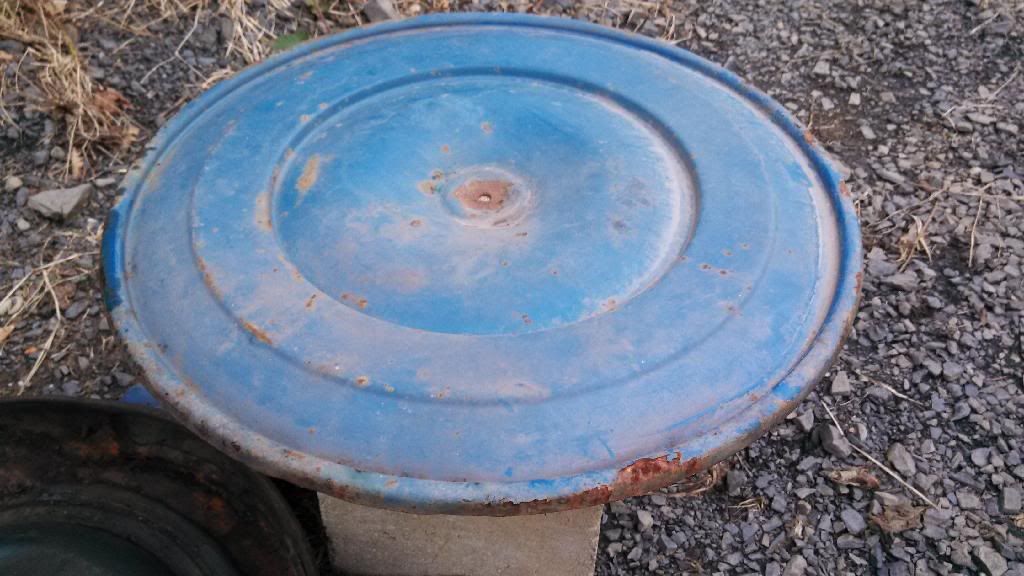
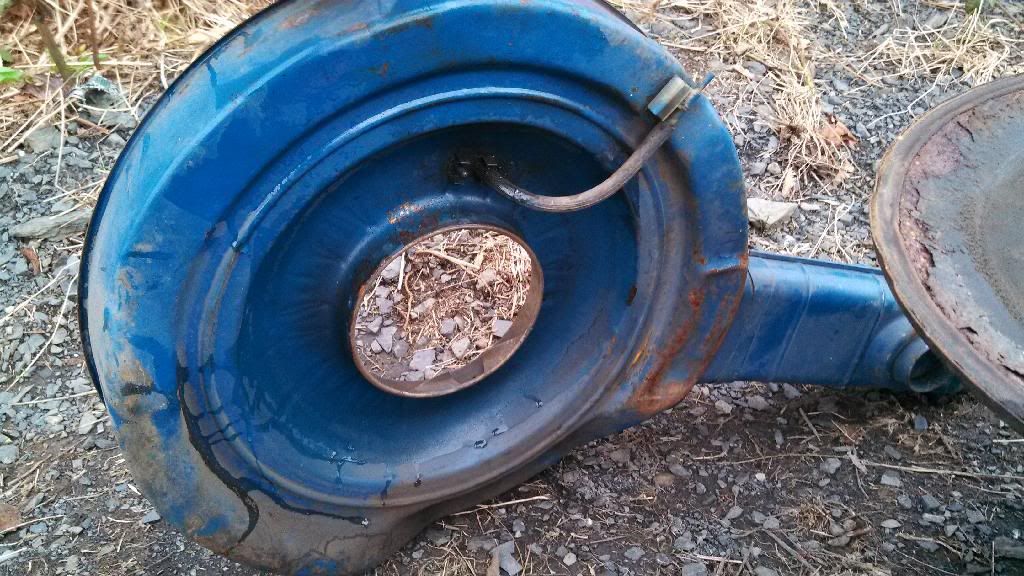
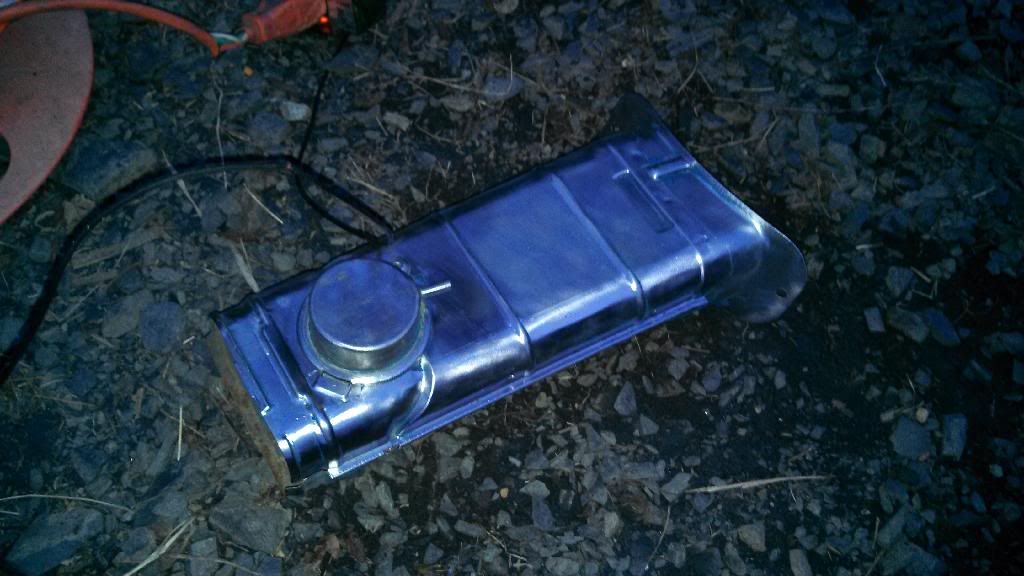
Little wet from cleaning the other side

Wire wheel got most of the grease and grime off. My dad has some aircraft paint stripper somewhere that I'll use to soften up the paint. Wasn't coming off as easy as the air cleaner
Canopy is a little too narrow and the wrong shape up front to fit my truck. Going to put a craigslist ad up to see if anyone would trade so I can get a factory canopy or one that actually fits

All about the details!
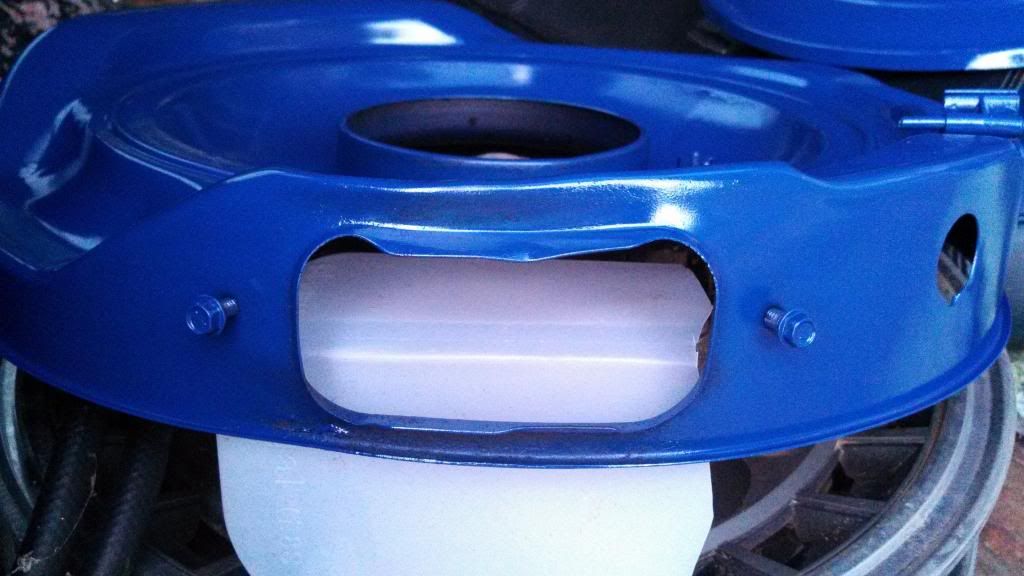
Insides of the air cleaner were painted flat black.
Put my canopy on the truck with the help of my dad to keep the bed and seat dry in the rain that should be here tomorrow.


Little wet from cleaning the other side


Wire wheel got most of the grease and grime off. My dad has some aircraft paint stripper somewhere that I'll use to soften up the paint. Wasn't coming off as easy as the air cleaner

Canopy is a little too narrow and the wrong shape up front to fit my truck. Going to put a craigslist ad up to see if anyone would trade so I can get a factory canopy or one that actually fits


All about the details!

#49
02-26-2014, 09:00 PM
Join Date: Dec 2013
Location: Grants Pass, OR
Posts: 67
Likes: 0
Received 0 Likes
on
0 Posts
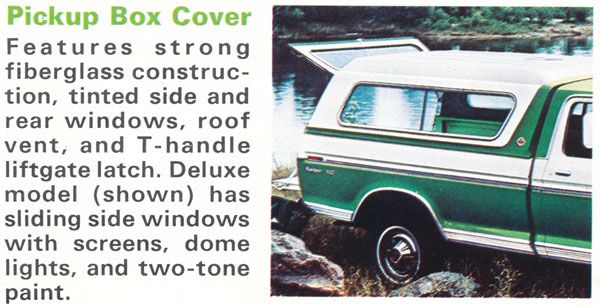
I've decided to try and find a factory ford four-seasons canopy for my truck, preferably a deluxe version. I like the look, I know one'll fit, and I could build a wrap around couch for the bed lol
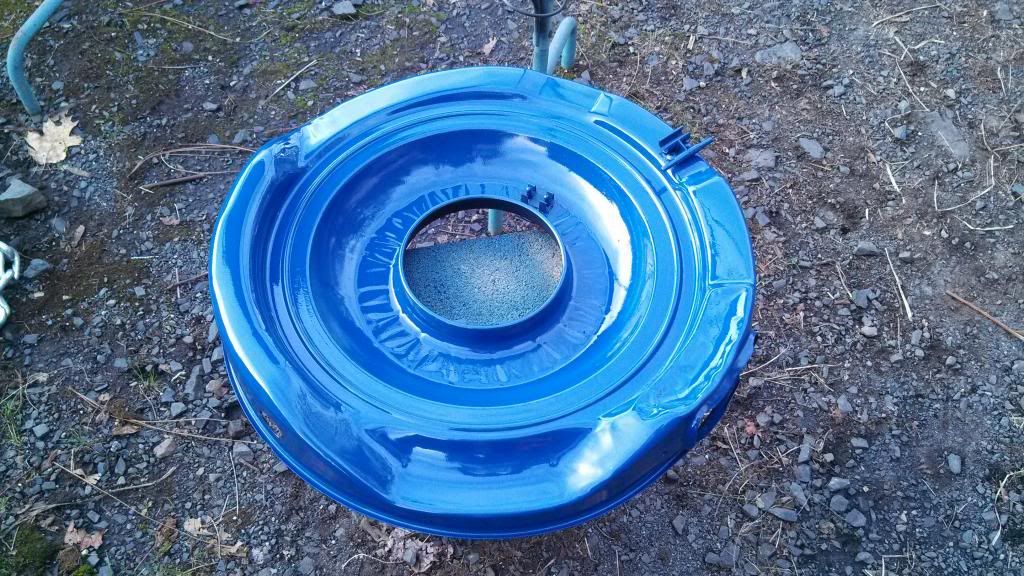
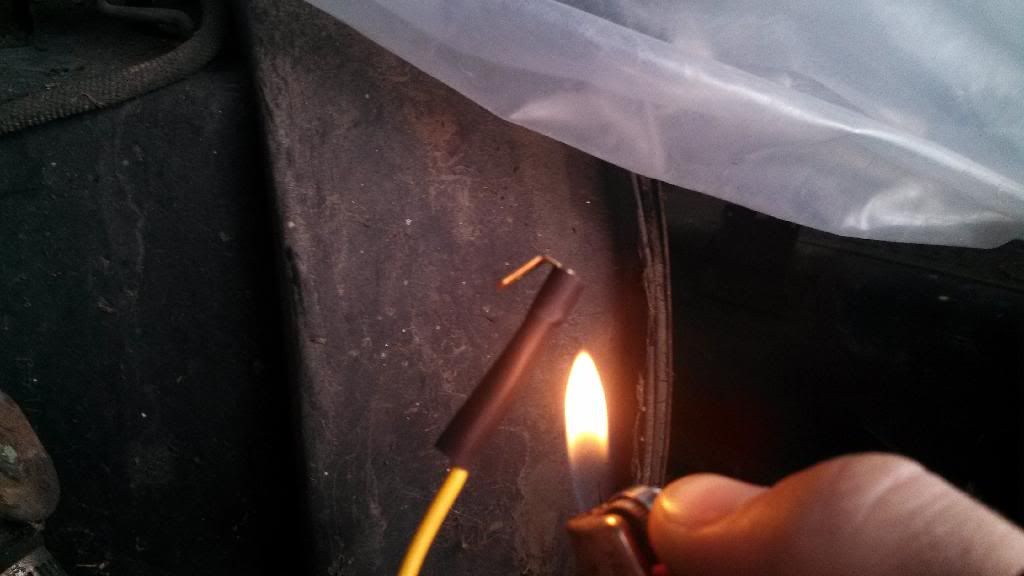
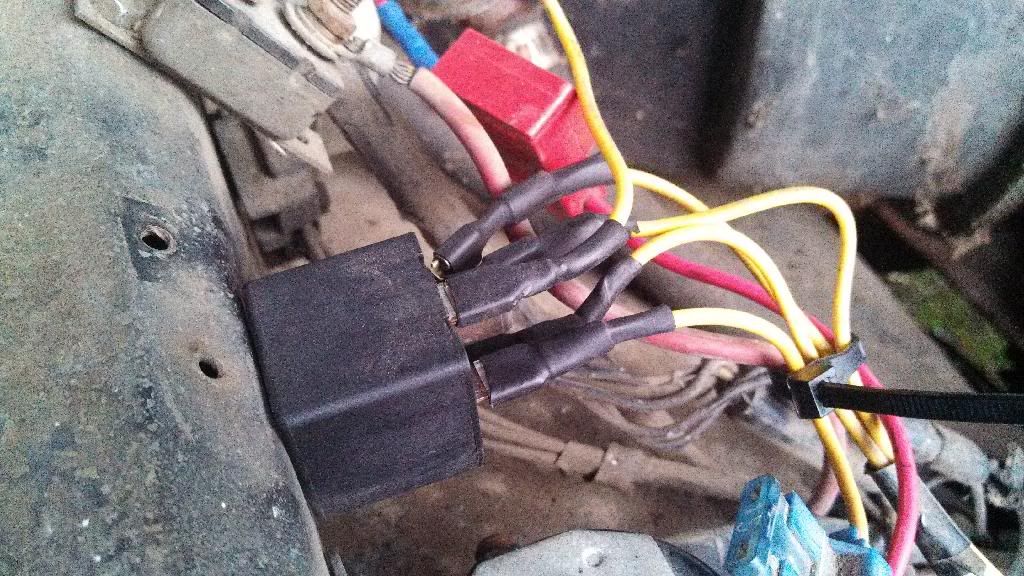
Finished up painting the air cleaner horn and tstat housing. Then finished my radio wiring and heat shrink over some connectors in the engine bay.
Don't know what's wrong with my turn signals and lights. No power to the drivers side front amber, RR taillight has low output, turn signals don't work now(before the dash light would stay on), but the hazzards work in the rear. I need to get better plugs since the ground terminals are really rusty on a couple.
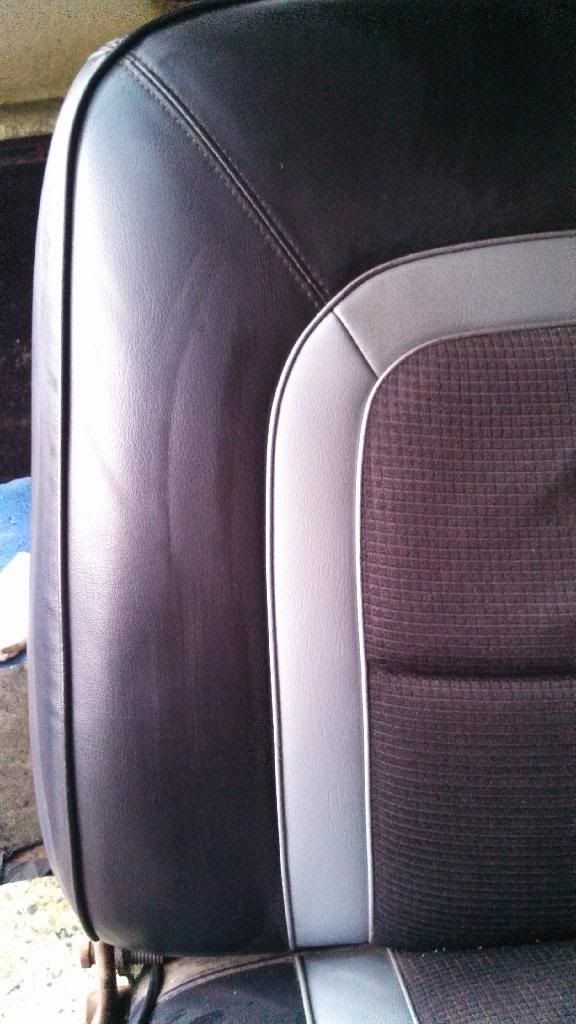
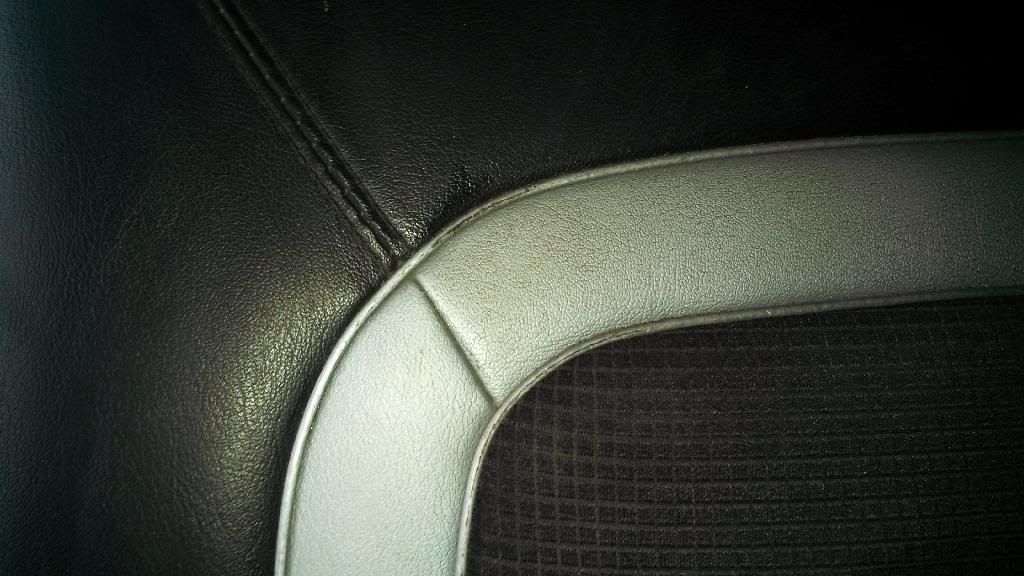
And I started cleaning the seat vinyl with a Mr. Clean Magic Eraser. Silver brightened up a bit!
Found more metal clips for the passenger side door panel. I think I have enough to put it on now

I tried to get a pic of the difference between the vertical silver strip that had been cleaned compared to the top one that hadn't
Dirty!

Finished up painting the air cleaner horn and tstat housing. Then finished my radio wiring and heat shrink over some connectors in the engine bay.
Don't know what's wrong with my turn signals and lights. No power to the drivers side front amber, RR taillight has low output, turn signals don't work now(before the dash light would stay on), but the hazzards work in the rear. I need to get better plugs since the ground terminals are really rusty on a couple.
And I started cleaning the seat vinyl with a Mr. Clean Magic Eraser. Silver brightened up a bit!


Found more metal clips for the passenger side door panel. I think I have enough to put it on now


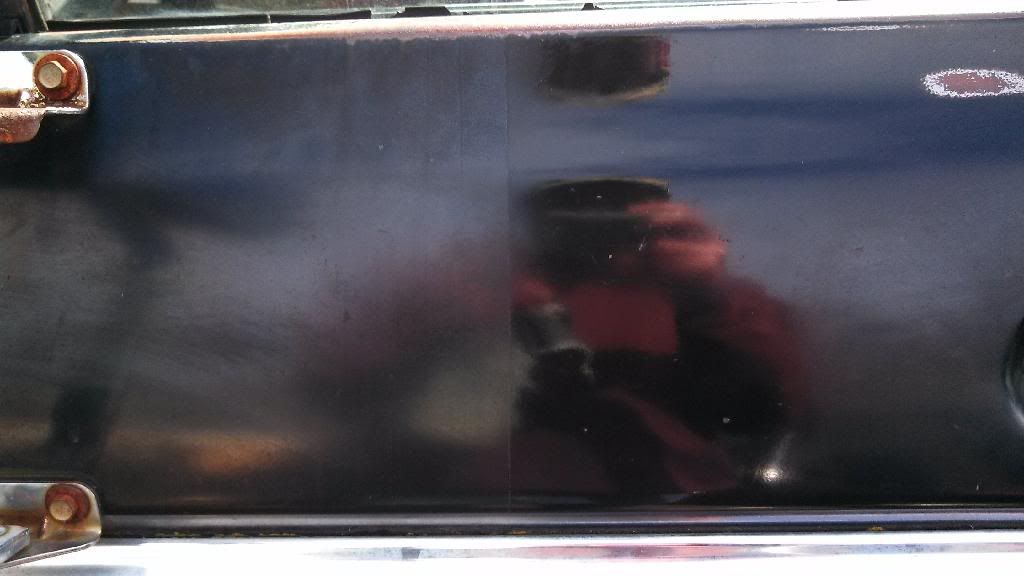
I tried to get a pic of the difference between the vertical silver strip that had been cleaned compared to the top one that hadn't


Dirty!

#50
02-26-2014, 09:01 PM
Join Date: Dec 2013
Location: Grants Pass, OR
Posts: 67
Likes: 0
Received 0 Likes
on
0 Posts
I've decided to try and find a factory ford four-seasons canopy for my truck, preferably a deluxe version. I like the look, I know one'll fit, and I could build a wrap around couch for the bed lol
Finished up painting the air cleaner horn and tstat housing. Then finished my radio wiring and heat shrink over some connectors in the engine bay.
Don't know what's wrong with my turn signals and lights. No power to the drivers side front amber, RR taillight has low output, turn signals don't work now(before the dash light would stay on), but the hazzards work in the rear. I need to get better plugs since the ground terminals are really rusty on a couple.
And I started cleaning the seat vinyl with a Mr. Clean Magic Eraser. Silver brightened up a bit!
Found more metal clips for the passenger side door panel. I think I have enough to put it on now
I tried to get a pic of the difference between the vertical silver strip that had been cleaned compared to the top one that hadn't
Dirty!
#51
03-03-2014, 09:16 PM
Join Date: Dec 2013
Location: Grants Pass, OR
Posts: 67
Likes: 0
Received 0 Likes
on
0 Posts
I just so happened to find a couple new parts to save me money!
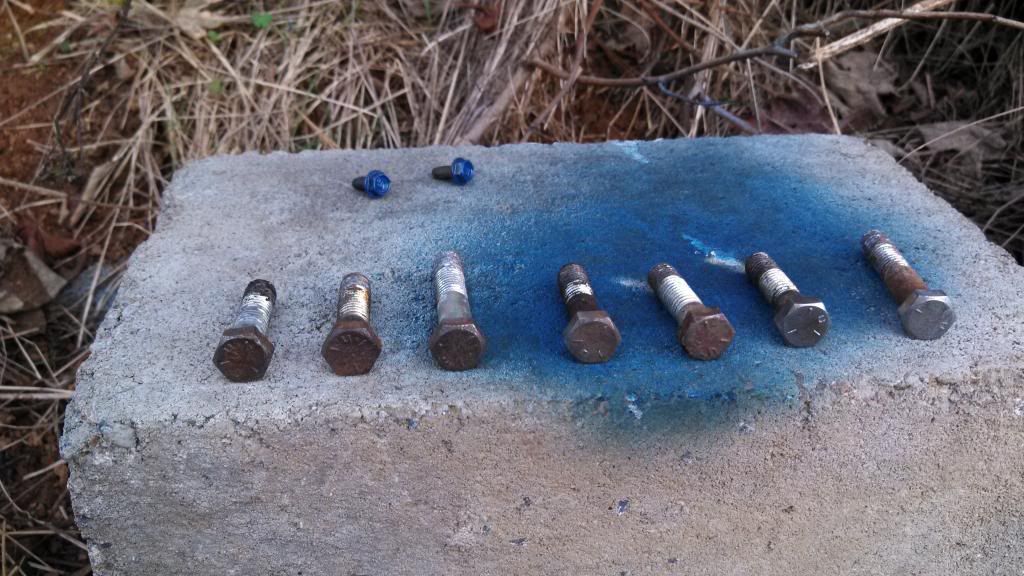
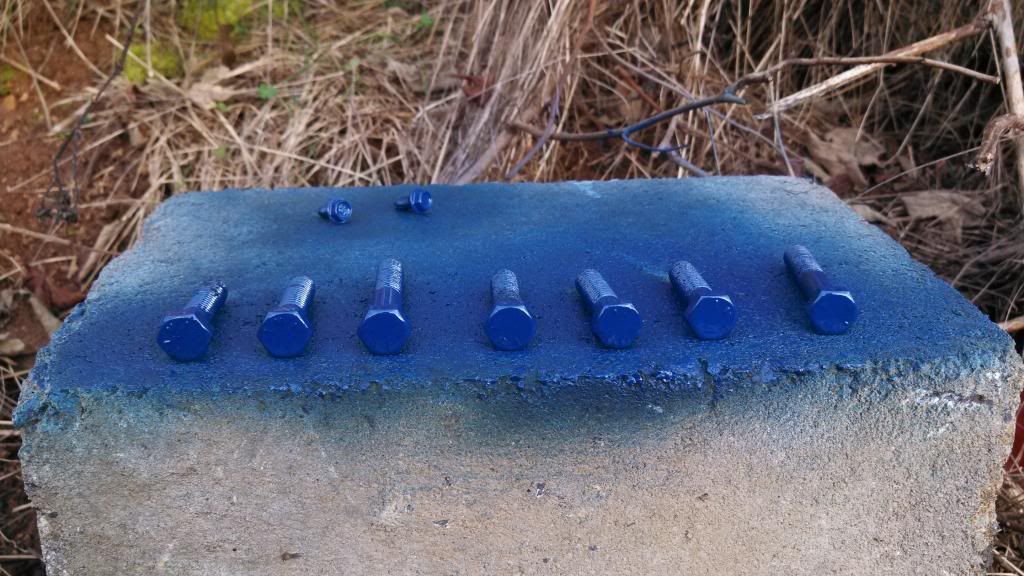
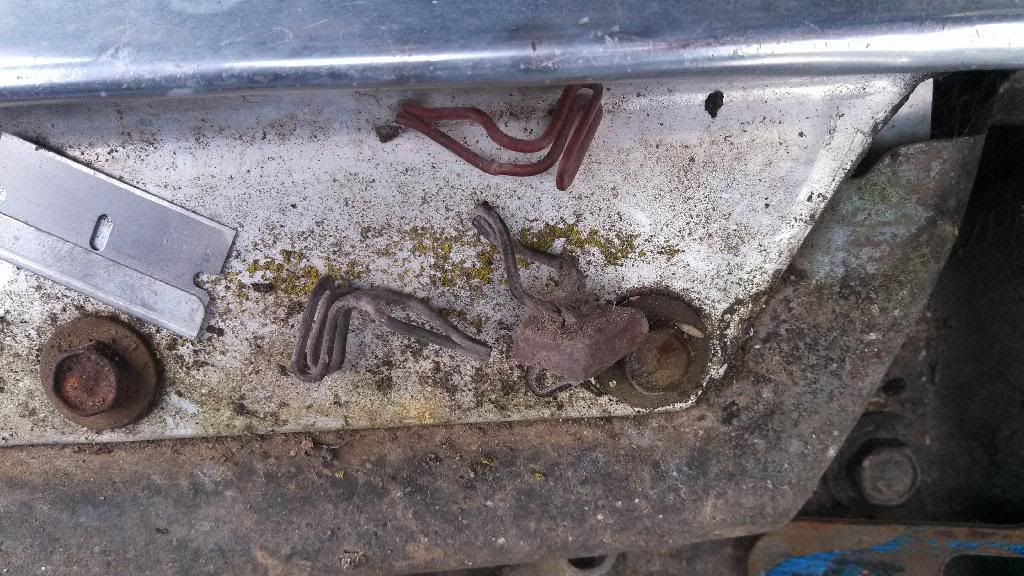
Found a new oil filter in a box that my dad had bought for the truck, and today moving a water soaked box a valley pan/intake gasket fell out. Fits my truck and had the rubber gaskets for the front and rear! It's from 1981, or atleast the tag on it had the date.
Just need to wire wheel the valley pan and pray some blue on top to keep it from possibly rusting.
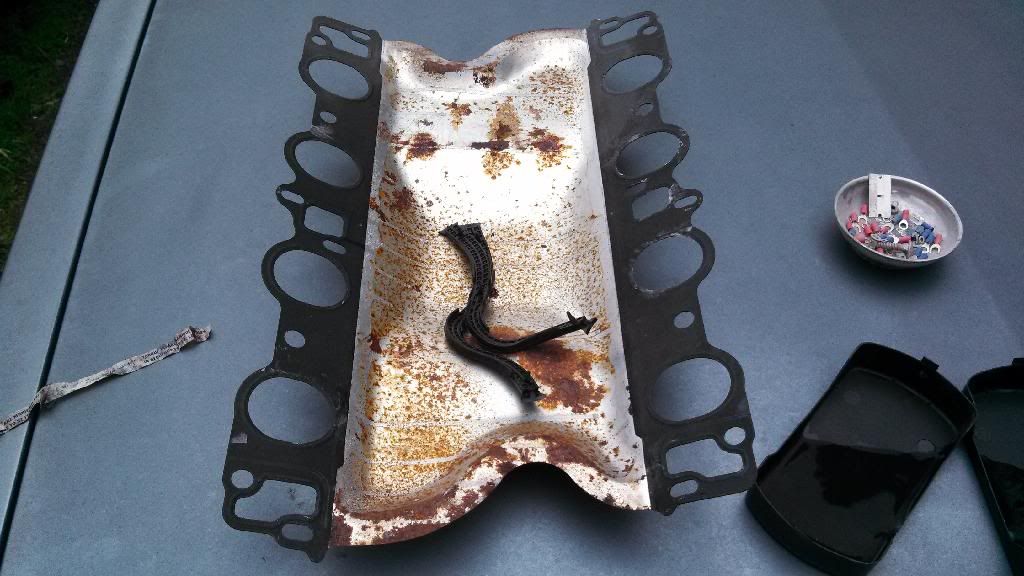


#53
04-14-2014, 10:13 AM
Join Date: Dec 2013
Location: Grants Pass, OR
Posts: 67
Likes: 0
Received 0 Likes
on
0 Posts
I actually do have some updates!
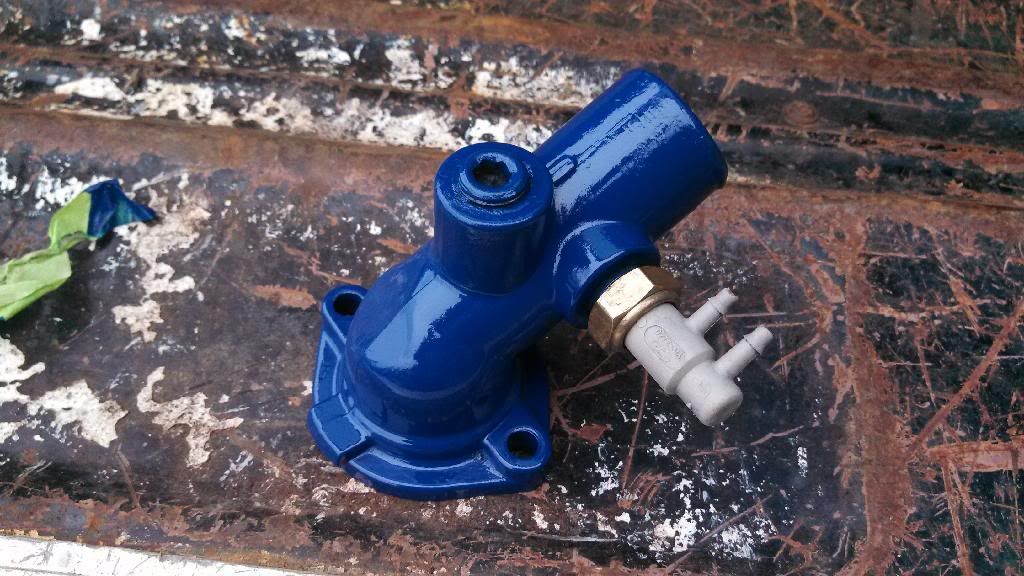
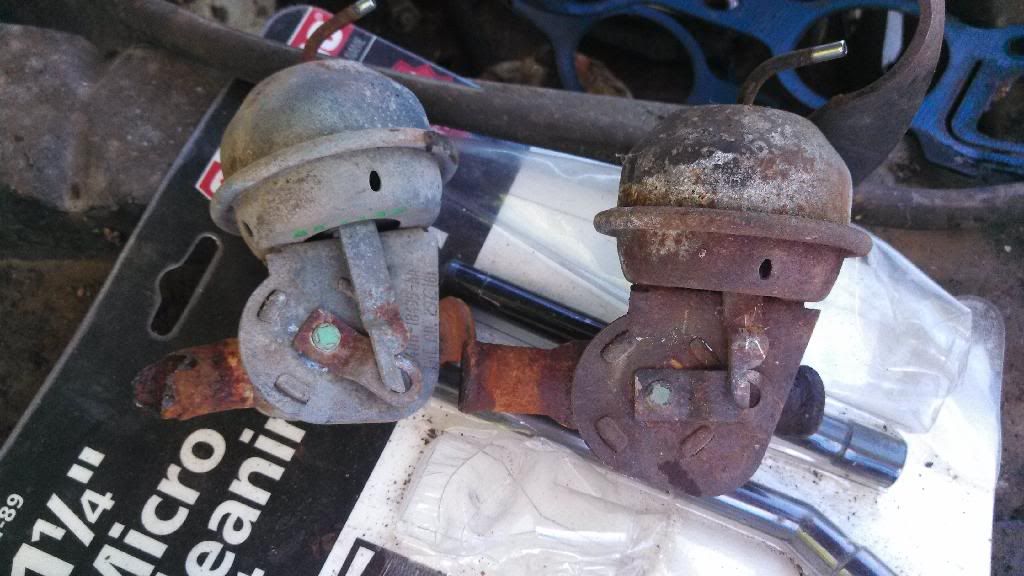
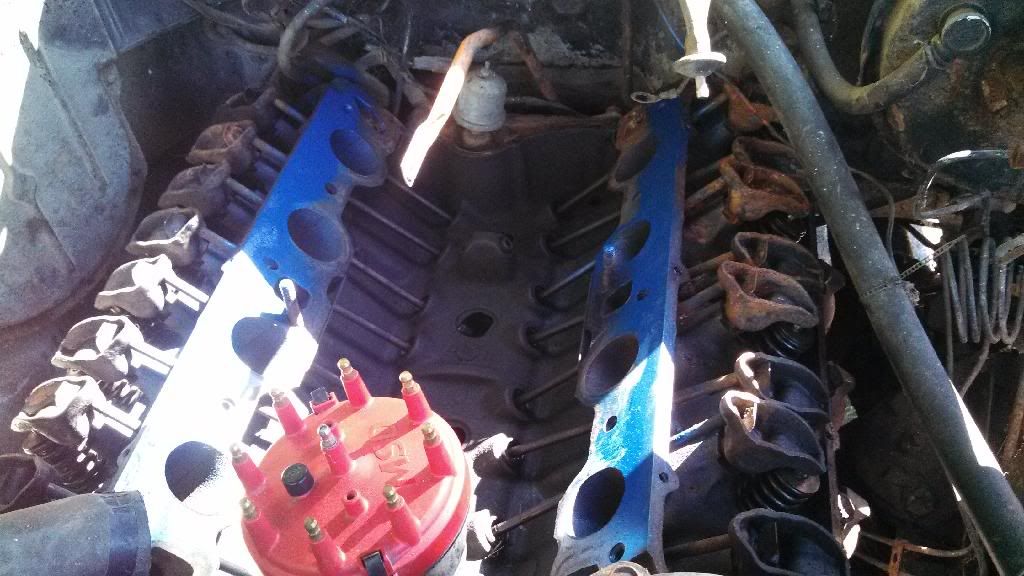
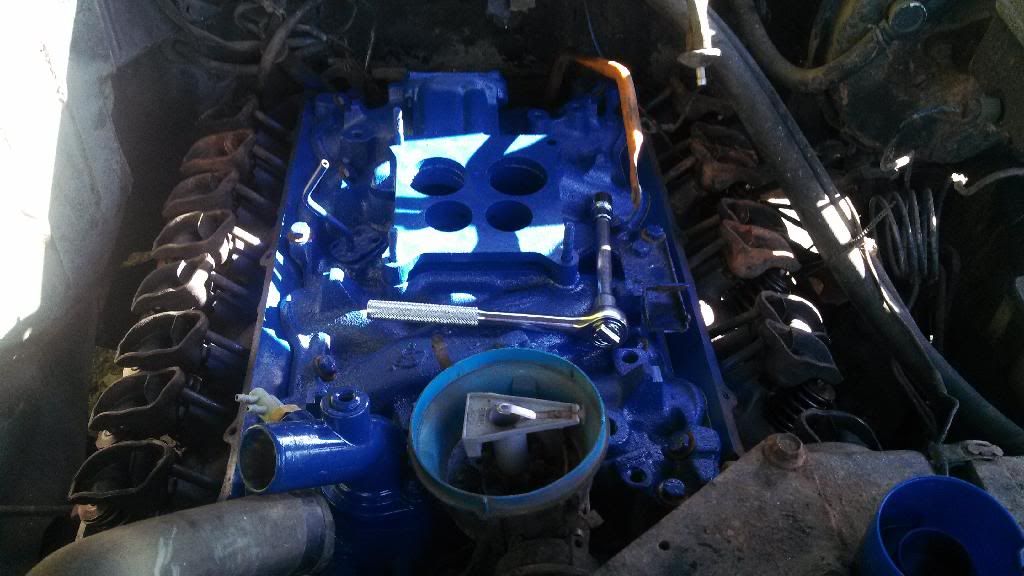
I've replaced a bunch of vacuum lines, windshield washer lines, the vacuum valve on the heater hose, flex loomed the wiring I put in along the cowl, and yesterday I put the intake on!
Bought a 4180 carb from a friend too
Replacement on the left until I get new hoses and a valve
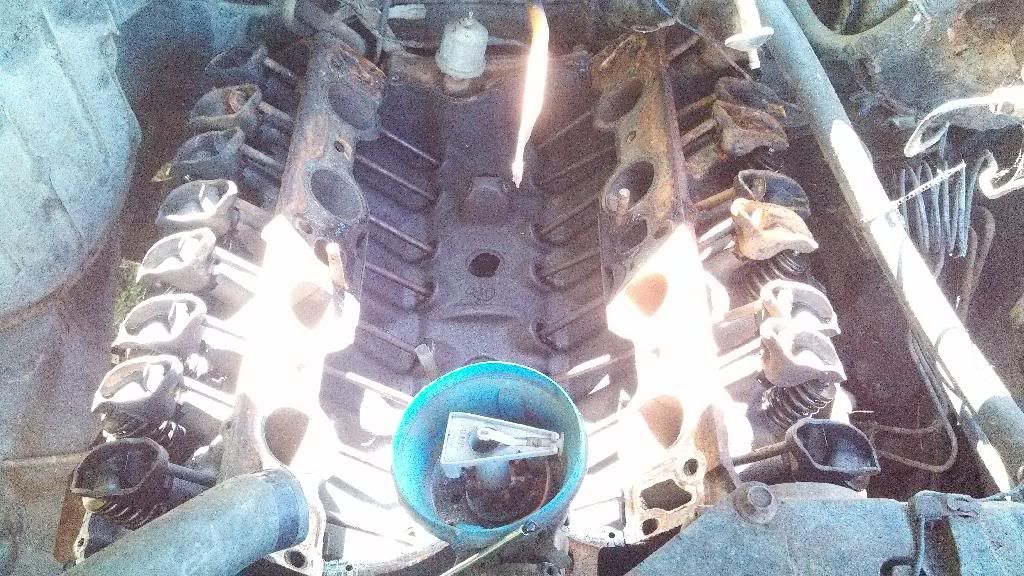
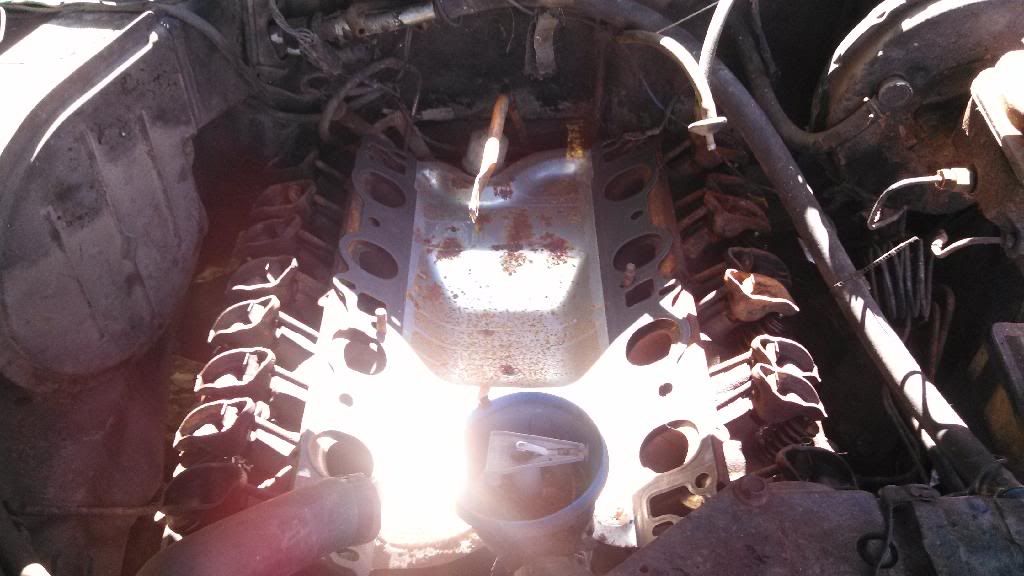
Sanded the heads real quick (with a vacuum sucking up the junk) and sprayed some blue so it wouldn't look hideous next to the new intake.
I just have to buy new washers and torque it all down
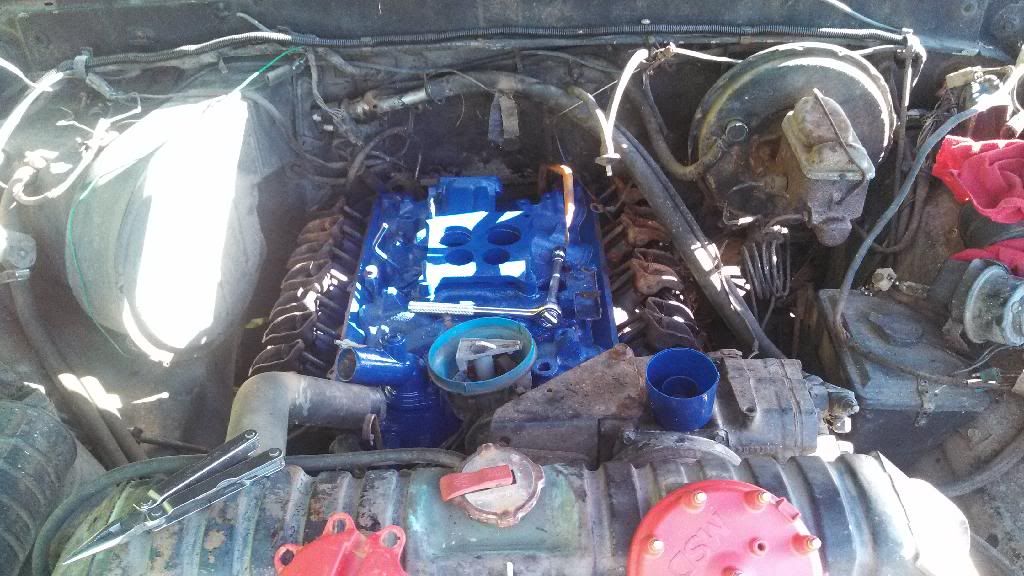
And then I noticed I didn't have a starter! I'll be buying one of those too
I have a job now so I can buy all that it needs left to run this weekend hopefully! Starter, oil, antifreeze, some gaskets, a thermostat, and the carb I have to pickup from my friend!
I've replaced a bunch of vacuum lines, windshield washer lines, the vacuum valve on the heater hose, flex loomed the wiring I put in along the cowl, and yesterday I put the intake on!
Bought a 4180 carb from a friend too


Replacement on the left until I get new hoses and a valve

Sanded the heads real quick (with a vacuum sucking up the junk) and sprayed some blue so it wouldn't look hideous next to the new intake.

I just have to buy new washers and torque it all down


And then I noticed I didn't have a starter! I'll be buying one of those too

I have a job now so I can buy all that it needs left to run this weekend hopefully! Starter, oil, antifreeze, some gaskets, a thermostat, and the carb I have to pickup from my friend!

#55
04-15-2014, 09:57 PM
Join Date: Dec 2013
Location: Grants Pass, OR
Posts: 67
Likes: 0
Received 0 Likes
on
0 Posts

#56
04-16-2014, 07:43 PM

#57
04-18-2014, 11:42 PM
Join Date: Dec 2013
Location: Grants Pass, OR
Posts: 67
Likes: 0
Received 0 Likes
on
0 Posts
I would recommend testing that new thermostat before installing. You can get new ones that are bad. Simple enough to do to. Place into a pan of water and begin to boil the water. If the t stat opens before the water boils, it's good. If not and the water boils, the t stat is bad.

#59
06-07-2014, 02:08 AM
Join Date: Dec 2013
Location: Grants Pass, OR
Posts: 67
Likes: 0
Received 0 Likes
on
0 Posts
Looks the same but I actually have some updates today! Lol
--------------
After being discouraged by lack of money and buying the wrong fuel line size I kinda gave up on the ford for a while, but after my graduation and money I got from family and work I tried to buy some things on craigslist to flip for more money. Those things didn't work out and last night when I got in bed I realized "hey, I have $300 burning a hole in my wallet, that'll go a ways on the Lariat!".
So today with the ambition to get my truck going, I went to autozone and bought 7ft of 3/8 fuel line, fuel filter, new plugs, starter, oil, air filter, and valve cover gaskets. Still need to go through the brakes and get the fuel tanks out of my parts truck and buy a few more small things.
There was a bunch of water in the crank case when I drained the oil but it should still be Ok, replaced the valve cover gaskets, put the plugs and thermostat in, and tightened down the intake bolts.
Tomorrow should be picture posting, oil filter changed, new oil put in, antifreeze, plug wires, starter, and fuel line install!
#60
07-17-2014, 12:33 AM
Posting Guru