When you click on links to various merchants on this site and make a purchase, this can result in this site earning a commission. Affiliate programs and affiliations include, but are not limited to, the eBay Partner Network.
I've run many PC'd pulleys and haven't noticed any glazing. I'll check the belts that were on Dad's truck later today and see. They have ~5k miles from new, all on newly-PC'd pulleys. And, I'll take a close look at the pulleys themselves.
I haven't gone into business to PC other people's things as my son, the tax lawyer, tells me there's lots of "stuff" that I would have to do. And, I'm having too much fun with my projects to take the time. But, Critter, its about 250 miles from Ft. Riley to Podunk.
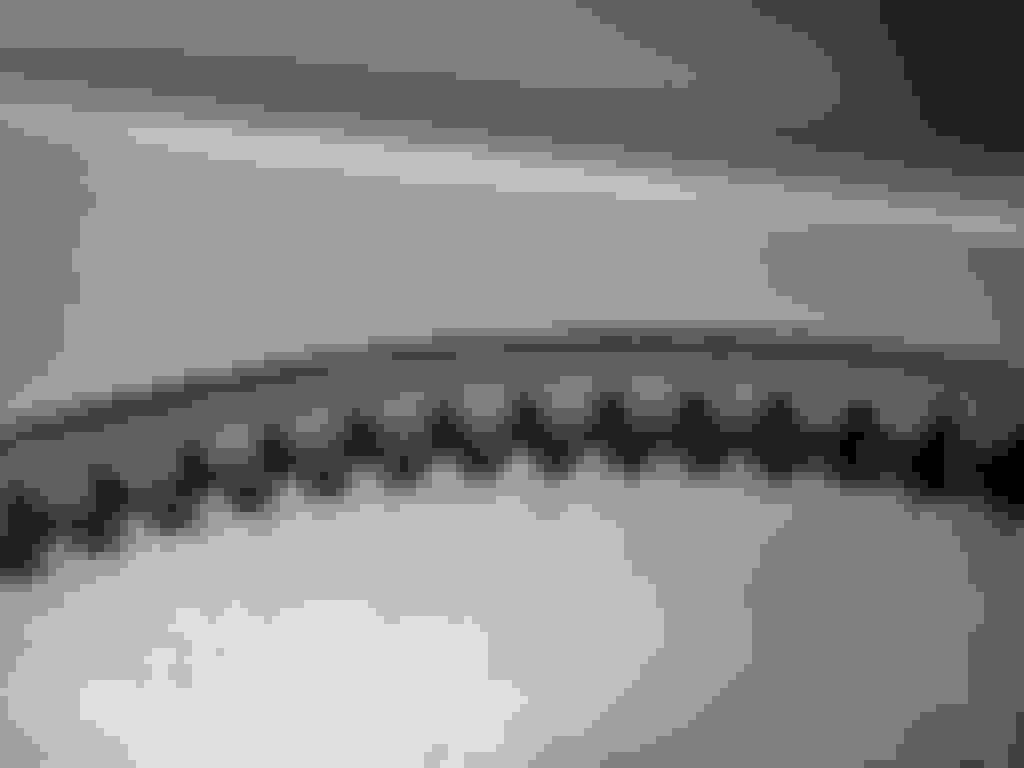
As for PC'd pulleys, here's the water pump pulley that ran on Dad's engine for about 5000 miles after I powder coated it. There is a narrow band that is worn off as you can see. And the A/C belt was apparently galloping and hitting the nose of the pulley, hence the two worn marks there.
And here's the belt that was running in that pulley. You can see the worn spot at the top that caused the wear mark on the pulley, but no glazing. Perhaps that pulley was not aligned with the P/S pump?
Well, I'm glad I didn't start blasting and powder-coating the pulley as it is the wrong one. It does have the right sized grooves but the 10mm groove is in the front and the 13mm in the rear, as shown below, which is exactly opposite from what I need. And, I just talked to Randy at National Quick Start and found that they don't have the pulley I need. Further, he suggested I run a pulley that has two 10mm grooves and let the 13mm belt just sit higher on the pulley.
I don't think that's a good solution as the two belts are going to be sitting at different heights in the pulley and, therefore, working at a different diameter - and fighting each other. So, I think I'll machine the black pulley, below, to widen the front groove as there is plenty of meat in the middle. Any other ideas?
Got a bit more done on the alternator. Removed the rear bearing and the slip rings, but had to resort to a cutting wheel on the Dremel to do it as they weren't coming off otherwise. Then, with all that off I chucked the armature, with the pulley attached, in the lathe, like this:
And then I turned the pulley like this:
Until it looked like this:
The belt fits it perfectly, but as I was finishing I realized that the right side of the pulley has some anomaly, so I'll check that out tomorrow.
Can you just flip the pulley and play with some spacers to get the belt alignment right? You might have to skim off the existing spacer/boss if there's not enough thread for the nut to go back on.
You mean the new $25 pulley? No, as the recess in the front for the nut, which would be at the rear then, would have to be filled with washers to get the alignment right. But then there wouldn't be any way to get the nut on as the shaft would be buried.
Besides, I now have a $17 pulley. Actually, I bought what I thought was a rebuilt 3G alternator that turned out to be a 2G. But it had a pulley that had two 100mm sheaves that has now been modified to have the requisite 10/13mm sheaves. And, I can return the $25 pulley.
Note to self: Do NOT attempt to re-powder coat something that is already powder coated. It can be done, but it isn't easy. I only have one water pump pulley and it had already been PC'd but it wasn't up to my standards. So I took the powder off and re-did it. But it wasn't as easy as that.
I bought a can of spray powder coat remover when I was at Eastwood recently, so that was the first step. (Actually, Step 0 was attempting to blast it off in the blast cabinet, but that didn't last long.). I sprayed that on and immediately recognized the smell of aircraft paint stripper. I used that on the aluminum wheels, so knew that the best way to get the goo off is to use steel wool. But with powder you don't wind up with clean metal after using the stripper like you do with paint. Instead there is a thin film of powder left on the metal that defies the stripper. Never fear, the blast cabinet will deal with that. WRONG! That was going to take forever.
So the next plan was to chuck the pulley in the lathe and use 80 grit sandpaper. But, how to chuck it in w/o damaging the pulley? Ahhhh! I have just the tool, and here's the pulley mounted. Recognize the thing it is mounted on?
No? How 'bout this view?
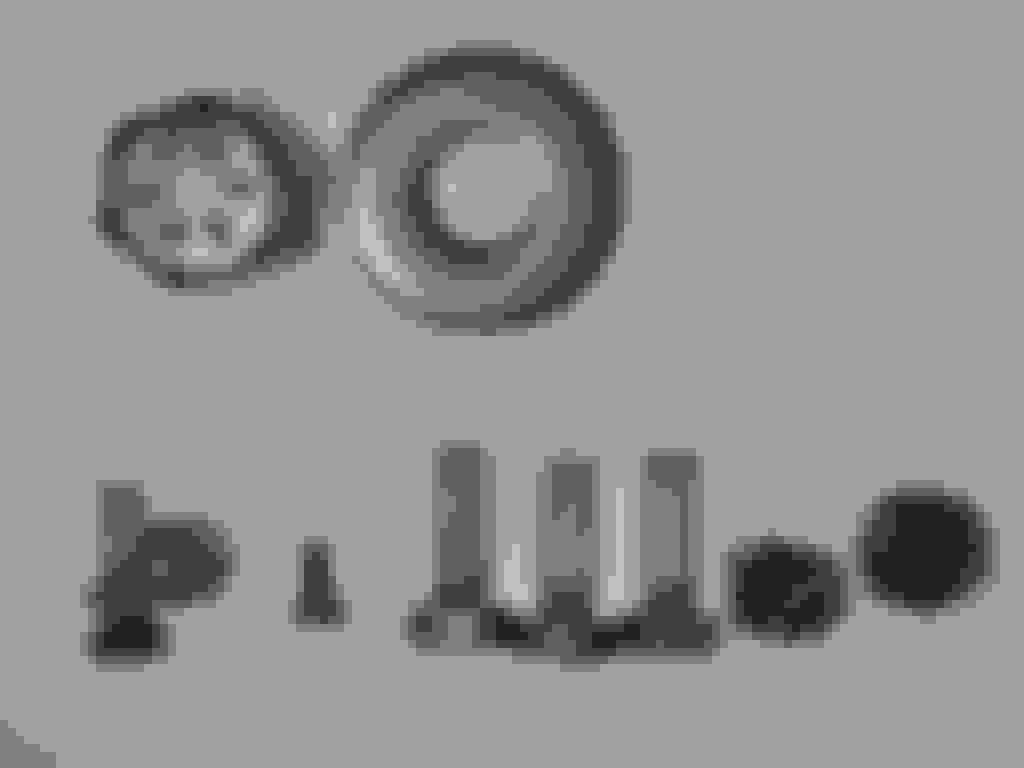
Yup, I took an old waterpump apart and used the shaft. That worked well and I was able to sand the last of the powder off the pulley. Then I PC'd it, the alternator pulley, and some bolts. Here are pics to prove it, but the batteries on the camera died before I got a shot of the alternator pulley so you"ll have to wait until tomorrow on that pic.
Found batteries and got some more pics today. Here's the revised alternator pulley with the rear groove for a 10mm belt and the front for a 13mm belt. And, by the way, there is no white ring on the bottom groove, that's just a reflection.
Another shot of the water pump pulley:
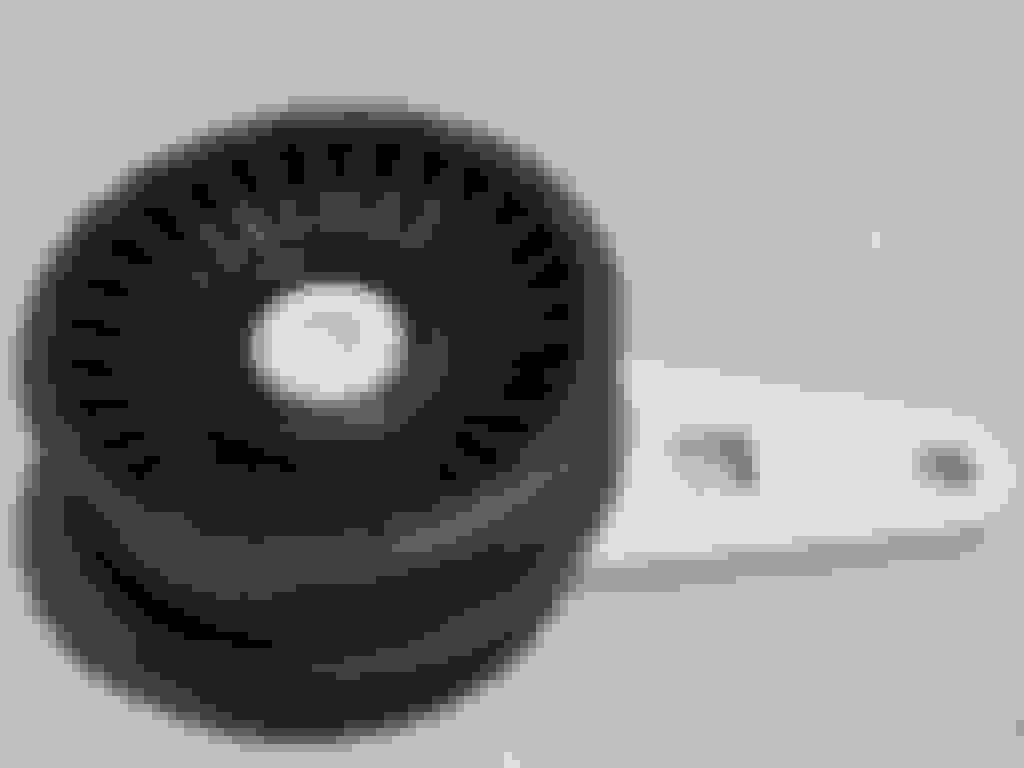
And a couple of shots of the finished idler pulley, and in the second one you can see the PC'd lock screw and the ugly spot welds.
 07-18-2014, 07:22 AM