When you click on links to various merchants on this site and make a purchase, this can result in this site earning a commission. Affiliate programs and affiliations include, but are not limited to, the eBay Partner Network.
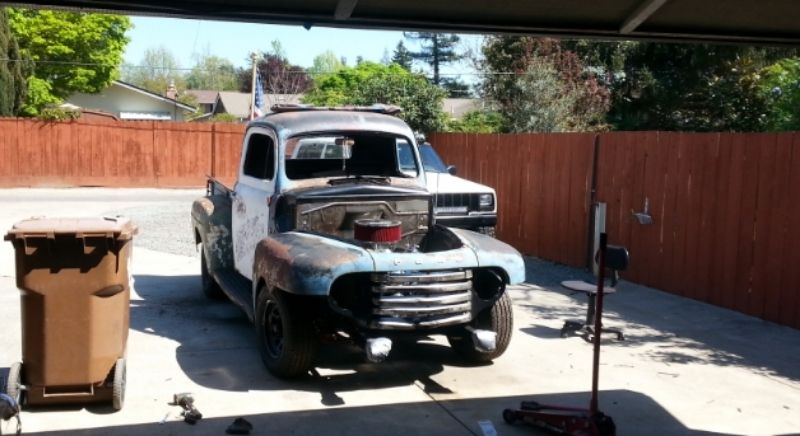
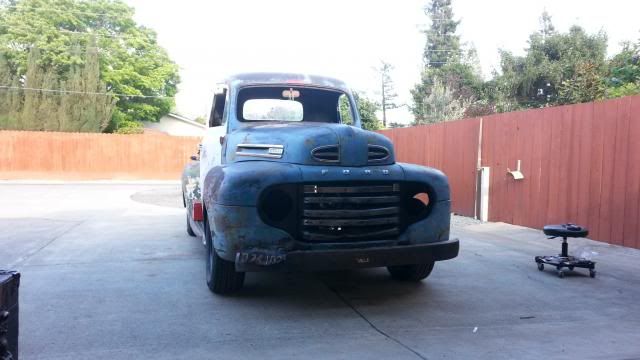
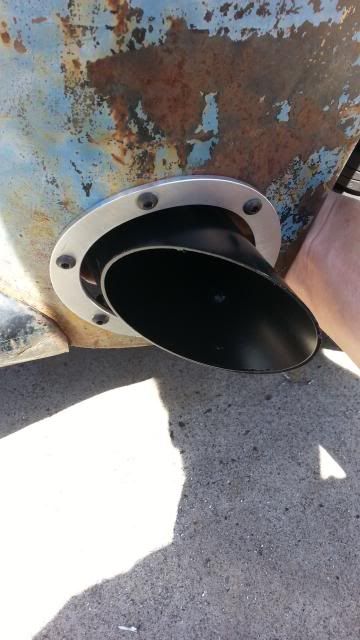
finally getting some consistent good weather so worked on getting the body together this weekend
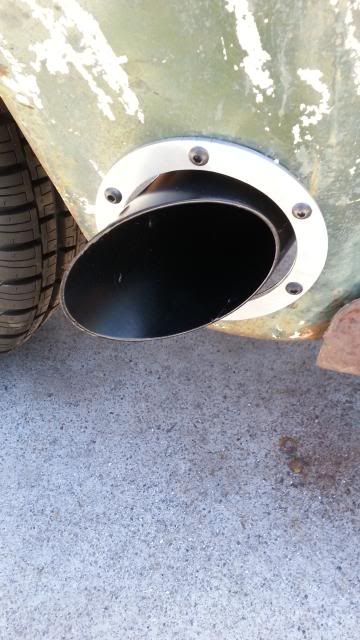
and as far as nuts and bolts go, I invested in some black button head allen cap screws and serrated flange locknuts for basically the entire truck, a mix of 1/4, 5/16, and 3/8x3/4 to 1" long, they suit the look I'm going for very well
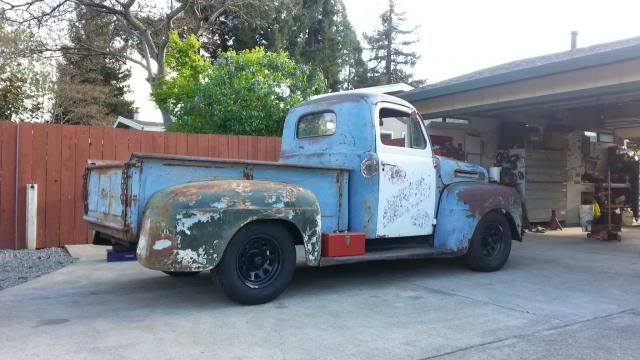
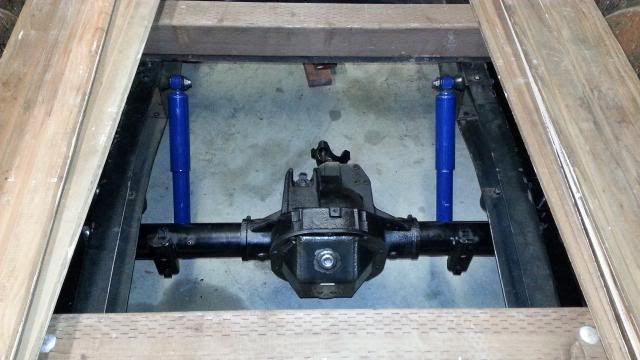
I've been putting in some serious time on the weekends and got my rear ride height set I ended up pulling leaves out of the rear pack to get rid of the rake.
I also moved the rear axle back 1" using the multiple holes drilled in the spring pad and u bolt plate, it centers it in the wheel well better.
My power steering conversion kit came in too, I went with the bolt on system sold through Performance Online.
The goal is to have the truck driving by the end of May.
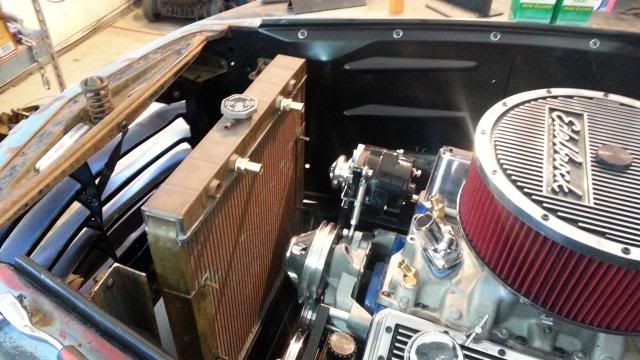
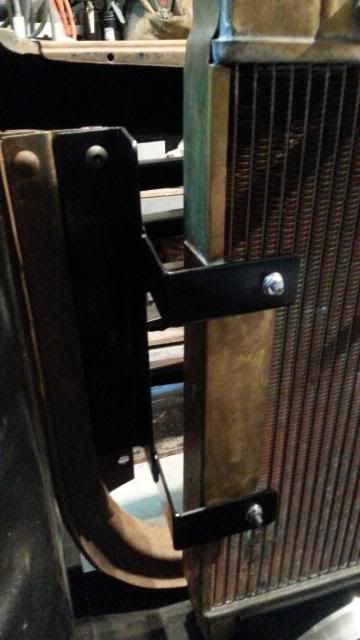
got the radiator mocked up, traded my friend a truck tool box for the radiator who ran it in his small block powered sprint car when he used to race, it's all copper and brass so it has a cool old look to it
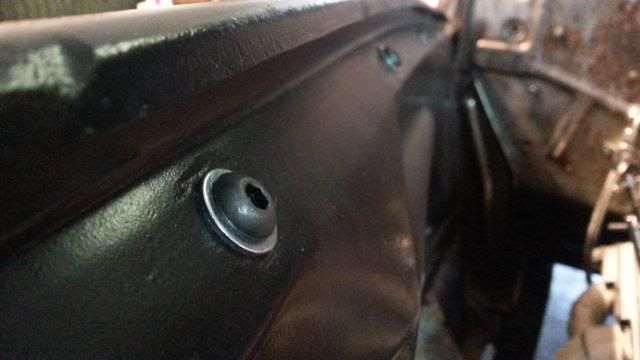
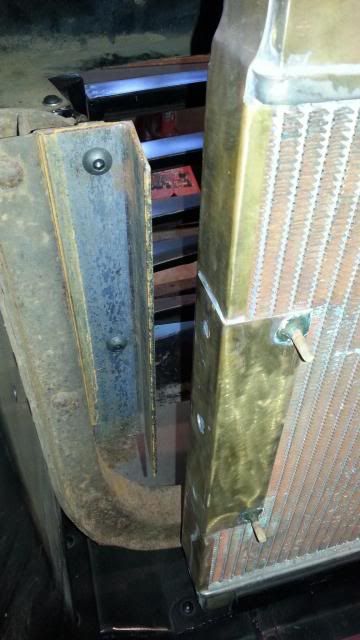
i built a lower cradle in the stock location and lined it with rubber to prevent abrasion but have to make some custom brackets come off the factory core support and attach to the four studs on the radiator
the third captured nut was missing on one side of the core support that's why the bracket doesn't extend all the way down to it, I have all three on the other side
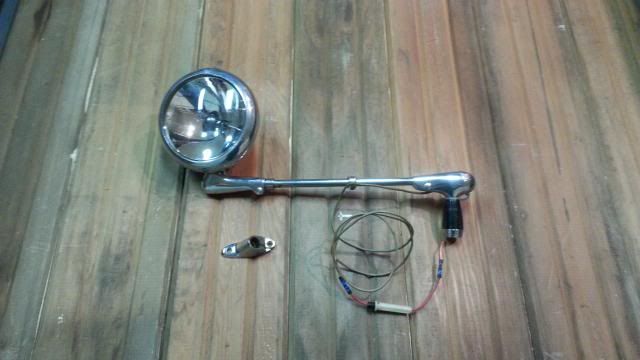
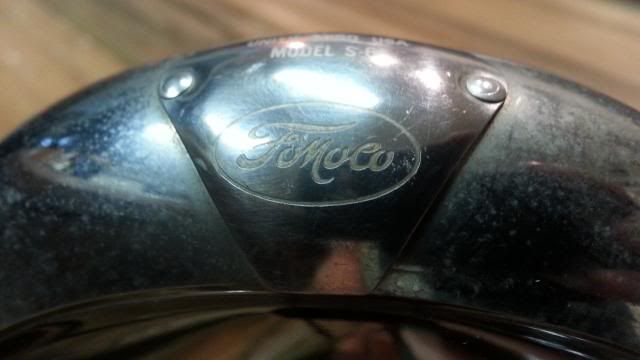
also picked up this original FoMoCo Unity spotlight for only $50 shipped and it works
So a lot has been happening over the passed couple weeks, I'll just explain with each picture.
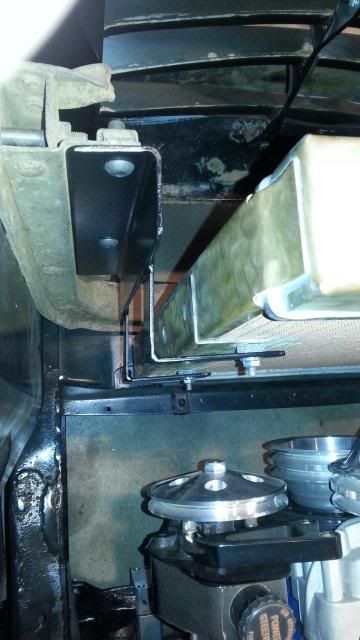
Got the radiator all mounted up with a simple bracket I built, using the factory support, the studs on the radiator,
and a cradle below so it's not hanging freely.
It's very secure but still flexible.
All isolated with rubber.
Then ran all my coolant lines, the two going towards the fender will connect to the heater core and
I'm going to block of the water neck with a plate and gasket.
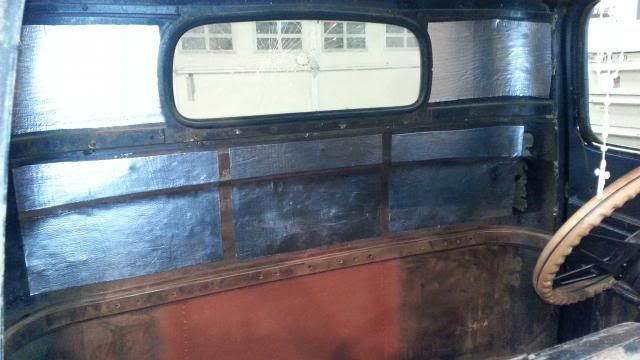
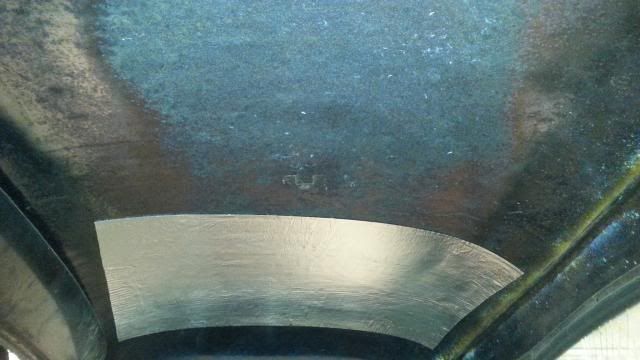
Also got some sound deadening material similar to dynamat but generic and cheaper, I noticed the biggest
difference in the doors where I applied a 24x18" sheet to the inside outer skin.
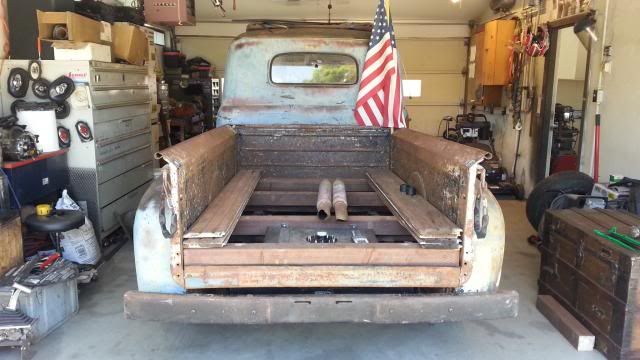
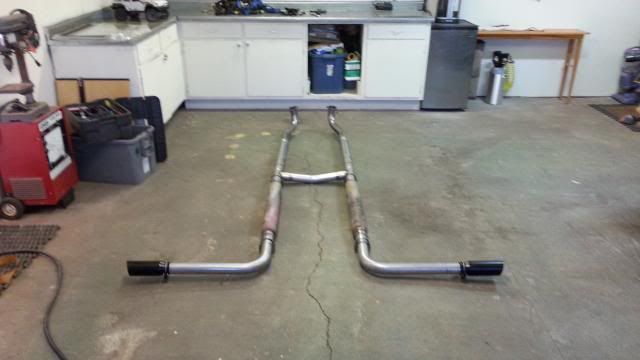
Here is the rear bumper I will be using, it's actually a front off a '55 F100 that my buddy's dad gave me,
I simply centered it up and drilled four holes to bolt on the shorty bumper brackets from Midwest Early Ford.
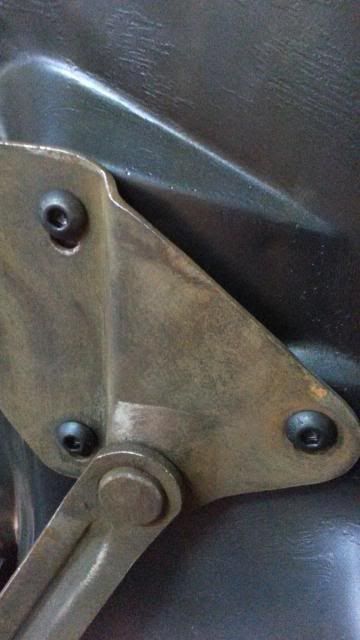
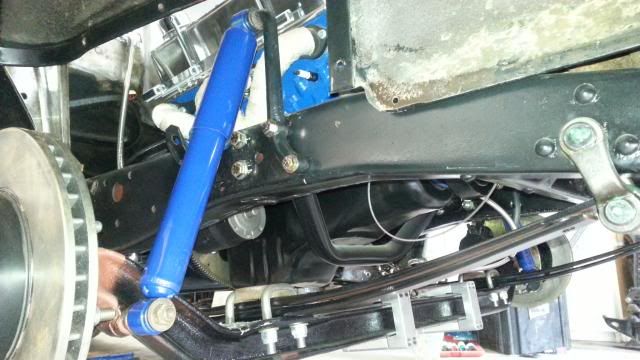
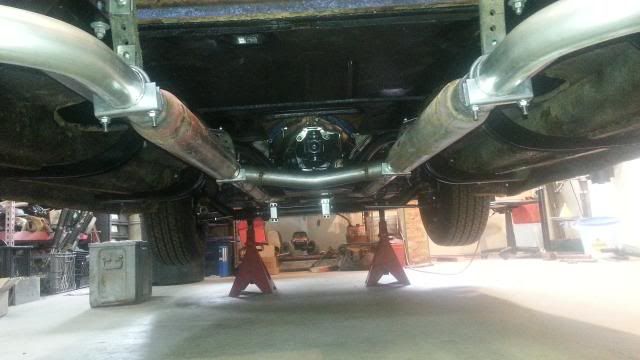
And last but not least for now, I got my front shocks mounted up using the original mounts but
flipping them and drilling two new holes because my motor crossmember is where they used to mount.
I'm using stock length shocks for a '53+ because that's all Rockauto had along with rears, but the
length works well and I'm doing custom lower mounts for the rear axle but didn't get a picture.
You can also see the bolt on power rack and pinion kit from Performance Online which is all hooked up,
including my later model GM column that I kept from an older project.
This kit may seem a little pricey but all things considered it's absolutely complete. That being said, out of the box it
would not work with my disc conversion so I did need to modify the steering arms slightly that come with it for
both systems to work together.
Thanks and yes sticking with the patina the only change I might do is sand down the white passenger door a little and shoot it with some primer. I'm also considering having it clear coated and I'd like to have some pinstriping done if I can find somebody to do it.
Progress is going well; I like your concept on using old items here and there. I recommend polishing the copper & brass on the Radiator and then clear coat it. Keeps you from having that tarnish green effect. Just a thought.....................
Keep up the great work.
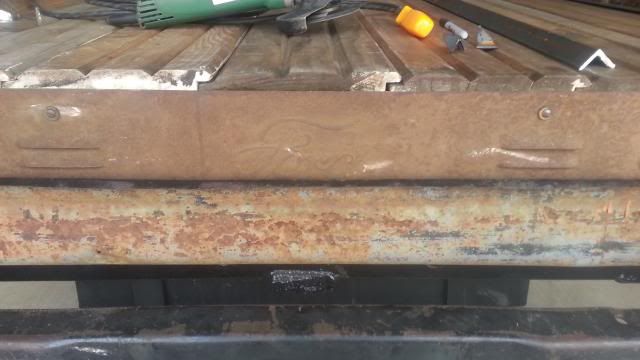
I wasn't satisfied with the bed sides so last weekend I remade them.
I also decided to run a late 40's Chevy truck mirror on the driver's side instead of the two chrome peep mirrors I had on there.
The arm is an original piece but the mirror is new reproduction.
And I finally got tired of looking at the white passenger door so I attempted a faux patina on it using brush on rustoleum and some original paint on the door.
The truck is definitely a lighter blue but this should fade as well and it'll just look like somebody swapped on a blue door from a different truck at some point.
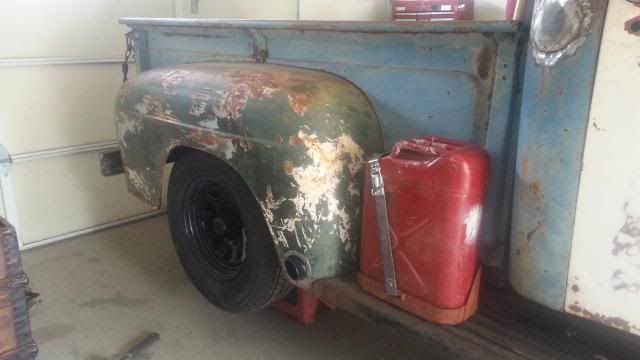
Been making progress and getting the truck ready for its first show this Sunday. We had a new windshield installed, I pulled a heater control panel off an old Dodge D100 for $16 and got the heat/defrost all working, I mounted some lap belts, and built a spare tire carrier in the bed.
 03-25-2014, 01:42 AM