1948 - 1956 F1, F100 & Larger F-Series Trucks Discuss the Fat Fendered and Classic Ford Trucks

Cowl Patch panel with Vintage Air ????? 56 F100

Thread Tools
 
Search this Thread
 
  #31  
Old 12-14-2015, 06:12 PM
Mad tiki's Avatar
Mad tiki
Mad tiki is offline
Freshman User
Join Date: Dec 2015
Location: Mesa, AZ
Posts: 29
Likes: 0
Received 0 Likes on 0 Posts
Originally Posted by Outlaw56
The original piece is double thick. I would be concerned when welding metal to extend its original size, then welding that into the cowl, there would be a chance of "ghost line" in the finish paint job. Just based on thicker metal beside thinner metal and metals contracting and shrinking at different rates. Have you painted it yet?

I hear what your saying Mad, I like the looks of the original cowl vent to. But I have three of these trucks and I am doing different things to each one. One will have the stock cowl. Im just in the process of "considering" a closed cowl.
Actually, after reading this i went outside to my truck to look at the vent. The thought of it being thicker than the rest of the sheetmetal didnt sound right to me. Structual steel is thicker, but all sheetmeyal is always stamped from the same thickness. I looked and see it is in fact the same as the rest of the trucks metal. I think your thinking its thicker because the ends fold over the same as a door skin. Which gives the illusion of the piece being thicker.
 
  #32  
Old 12-14-2015, 06:15 PM
Mad tiki's Avatar
Mad tiki
Mad tiki is offline
Freshman User
Join Date: Dec 2015
Location: Mesa, AZ
Posts: 29
Likes: 0
Received 0 Likes on 0 Posts
Originally Posted by Outlaw56
Thats pretty straight forward Mad. Do you use base clear or single stage in these products?
Depends on the color and clients budget. If its a solid color i prefer single stage with clear added into it. Solid colors actually look thicker this way. And they shine up fantastic when polished.
If its a metallic, i only use Base/ Clear. Single stage looks kind of muddy. The metal flake cant flow and lay down properly since its much thicker.
 
  #33  
Old 12-14-2015, 06:41 PM
Outlaw56's Avatar
Outlaw56
Outlaw56 is offline
Posting Guru
Join Date: Jul 2007
Posts: 1,081
Likes: 0
Received 1 Like on 1 Post
When you mix clear coat with a single stage solid color, can you color sand the runs same as single stage?
 
  #34  
Old 12-15-2015, 09:40 AM
Mad tiki's Avatar
Mad tiki
Mad tiki is offline
Freshman User
Join Date: Dec 2015
Location: Mesa, AZ
Posts: 29
Likes: 0
Received 0 Likes on 0 Posts
Originally Posted by Outlaw56
When you mix clear coat with a single stage solid color, can you color sand the runs same as single stage?
Yes. But there is a trick to any run. Single stage or clearcoat. Hold a brand new razor blade at a 90 degree angle on the center of the run. Tilt it about 10 degrees towards the direction you want it to go, and start scraping. I know it sounds crazy and scary to do this on fresh paint, but with practice, you can scrape the run right out of a panel without using sandpaper. Problem with sanding runs is the block or whatever else your using, tends to sand on the adjacent sides of the runs also. Leaving either a burn through or a ghost of where the run was. Never quite removing it 100%. The razor technique removes it 100% everytime.
 
  #35  
Old 12-15-2015, 09:48 AM
fbb1951's Avatar
fbb1951
fbb1951 is offline
Senior User
Join Date: Jul 2013
Location: Loa, Utah
Posts: 285
Likes: 0
Received 0 Likes on 0 Posts


I'm looking into welding in the cowl vent.


I like the clean look. Plus I could use the room under the cowl for elec. wipers and the Vintage Air AC unit. '51 F1 Panel.
 
  #36  
Old 12-15-2015, 09:59 AM
Outlaw56's Avatar
Outlaw56
Outlaw56 is offline
Posting Guru
Join Date: Jul 2007
Posts: 1,081
Likes: 0
Received 1 Like on 1 Post
Thanks Mad. I will keep the razor close.
 
  #37  
Old 12-15-2015, 03:41 PM
Mad tiki's Avatar
Mad tiki
Mad tiki is offline
Freshman User
Join Date: Dec 2015
Location: Mesa, AZ
Posts: 29
Likes: 0
Received 0 Likes on 0 Posts
Originally Posted by Outlaw56
Thanks Mad. I will keep the razor close.
Anytime 👍🏻
 
  #38  
Old 04-13-2016, 08:37 PM
Outlaw56's Avatar
Outlaw56
Outlaw56 is offline
Posting Guru
Join Date: Jul 2007
Posts: 1,081
Likes: 0
Received 1 Like on 1 Post
Originally Posted by 56panelford
I welded in the original piece but added a filler all around it while welding it.

John, when you welded in the stock panel and used a filler rod all around it, how did you close the gap below the panel in the groove? If I remember correctly, that gap you welded shut would take a pretty good size filler, like maybe 1/4" minimum? Not sure how you got it to round over the front edge and then down to the bottom of the groove.
 
  #39  
Old 04-13-2016, 08:48 PM
56panelford's Avatar
56panelford
56panelford is online now
FTE Legend
Join Date: Oct 2005
Location: northwestern Ontario
Posts: 262,880
Received 4,118 Likes on 2,648 Posts
Originally Posted by Outlaw56
John, when you welded in the stock panel and used a filler rod all around it, how did you close the gap below the panel in the groove? If I remember correctly, that gap you welded shut would take a pretty good size filler, like maybe 14" minimum? Not sure how you got it to round over the front edge and then down to the bottom of the groove.
I can't find any pics right now but will look, I cut a strip of metal to fill the gap and welded to the edge of the cowl lid and then to the bottom in that groove.
Here's a link to the late Randyjack that did this mod and where I got help from.
1956 Ford F100 4x2-Body Mods
 
  #40  
Old 04-13-2016, 09:02 PM
CharlieLed's Avatar
CharlieLed
CharlieLed is offline
Lead Driver
Join Date: Aug 2006
Location: Brentwood, TN
Posts: 7,863
Received 465 Likes on 301 Posts
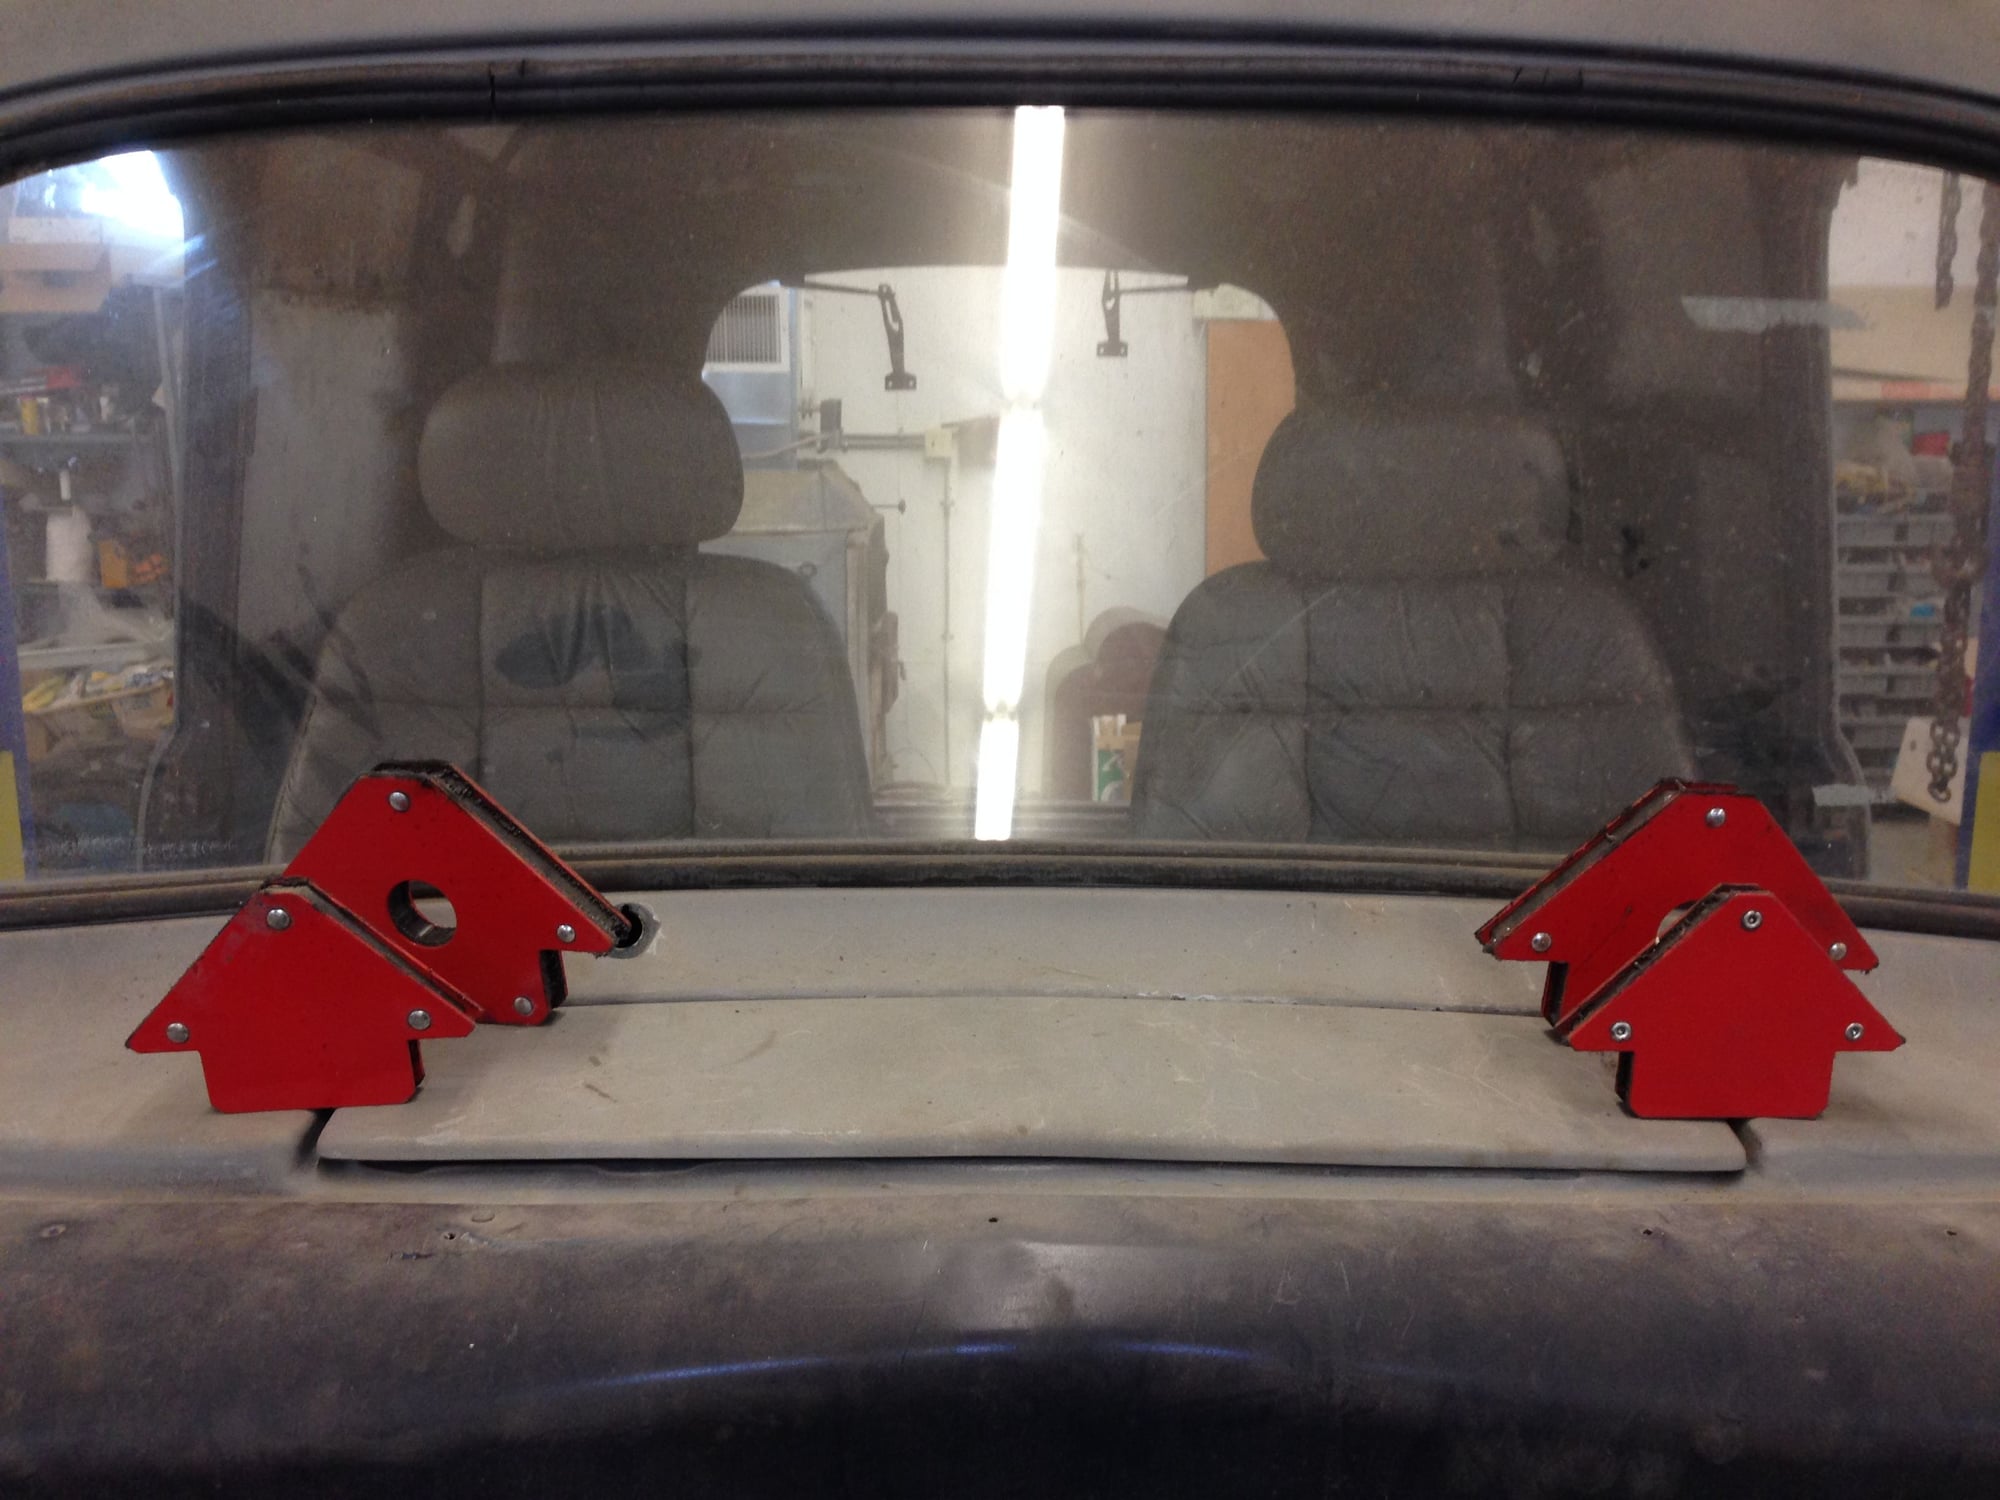
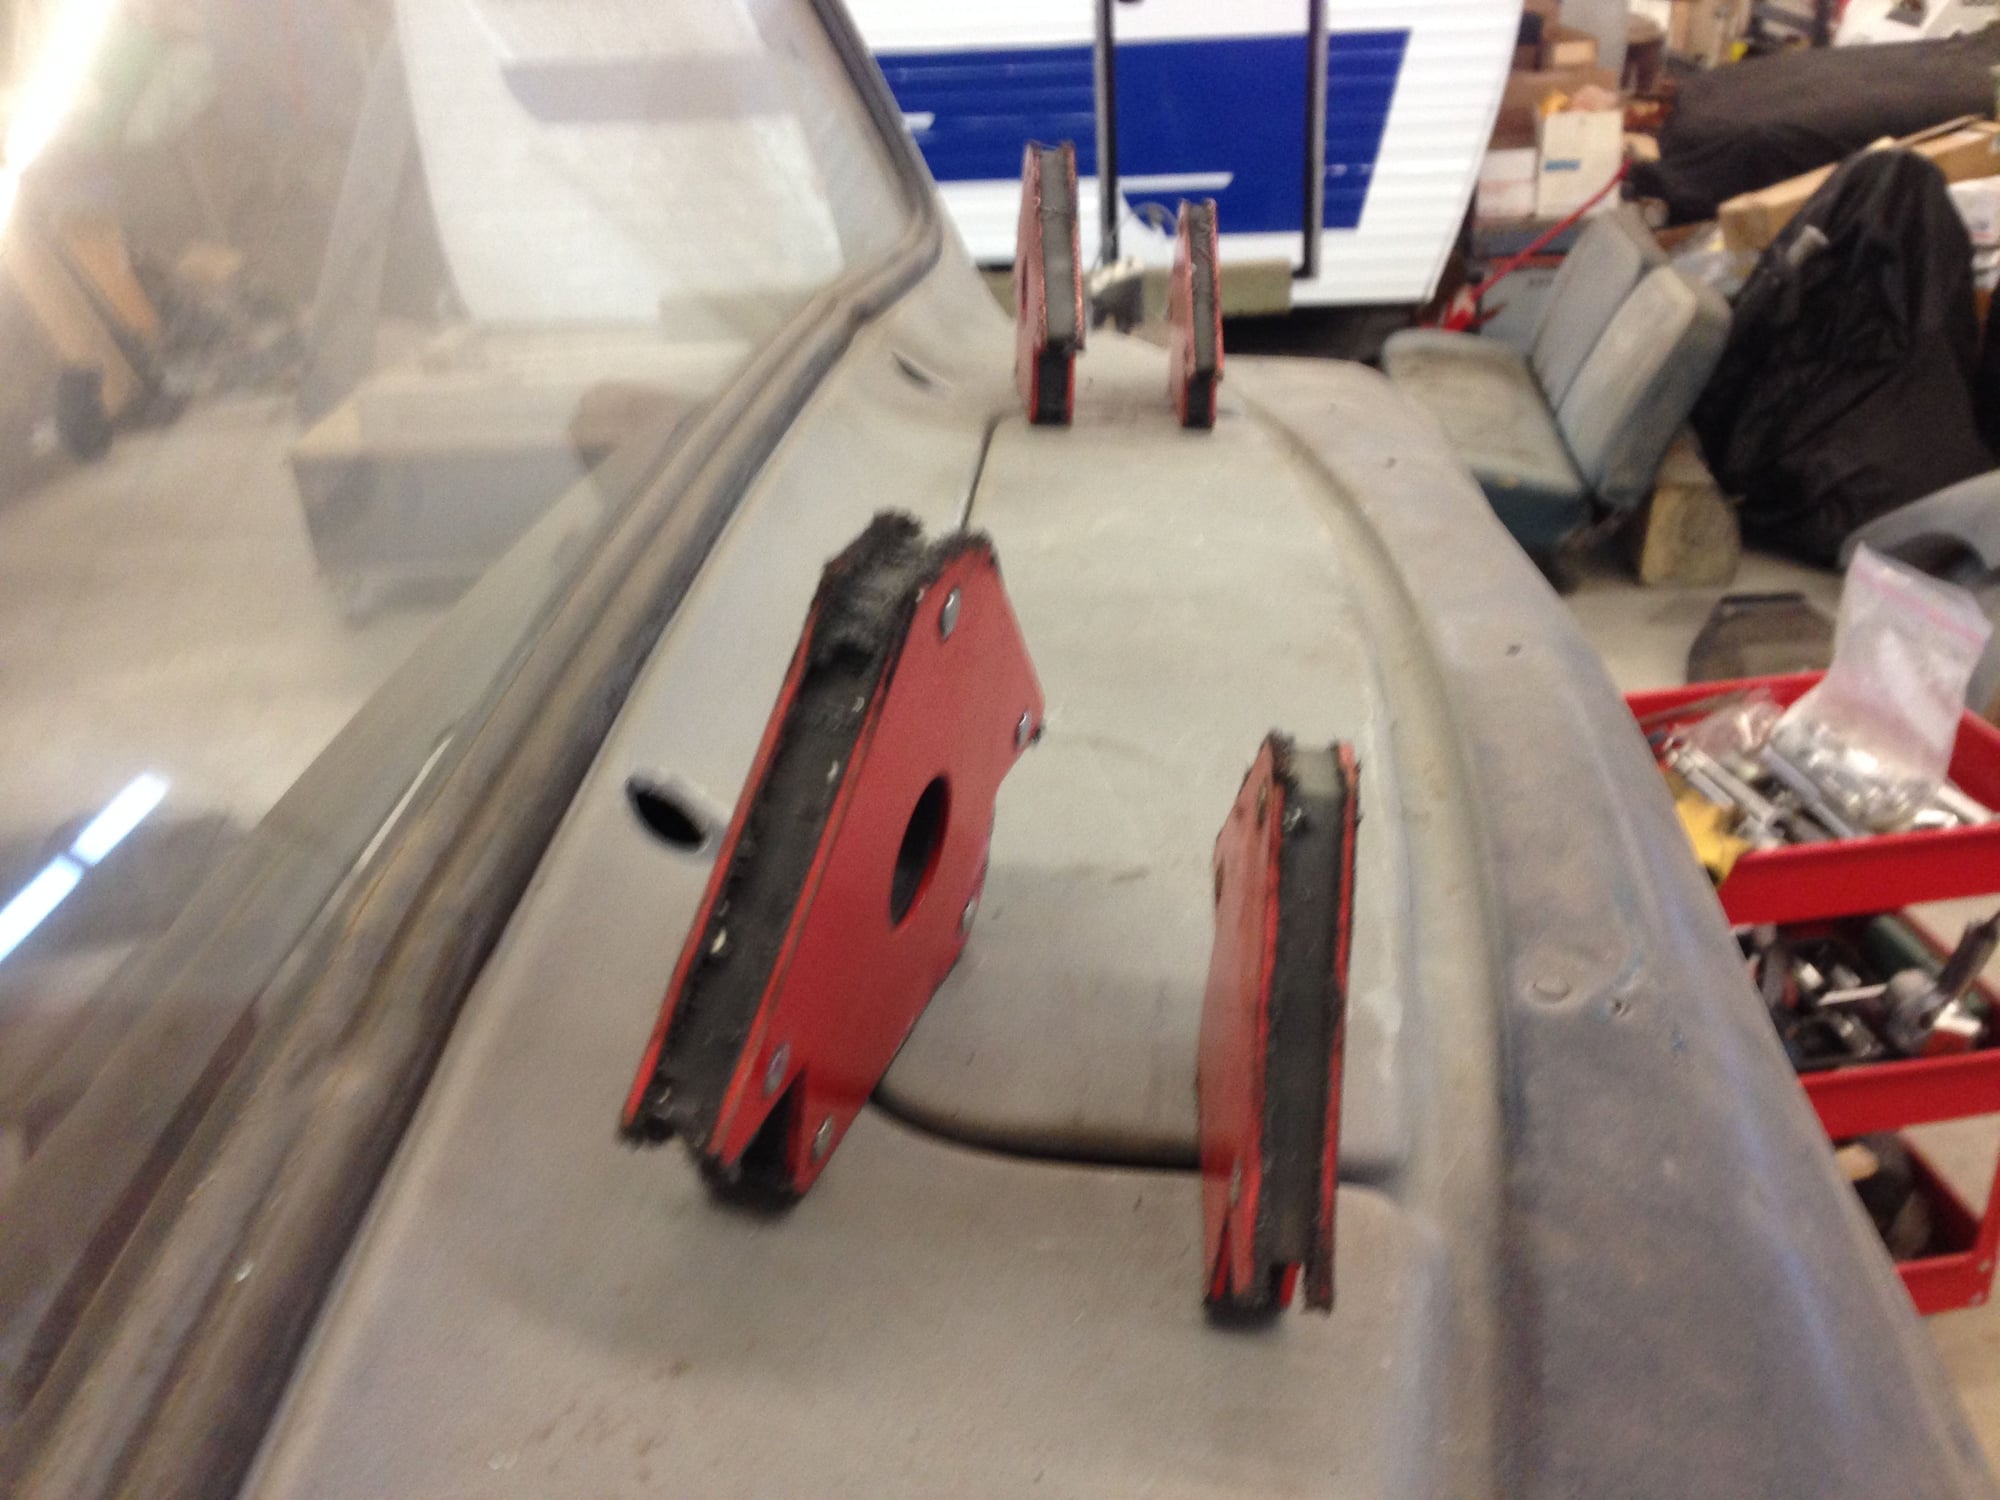
There are shops that will fabricate a filler panel for your truck so that you don't have to use the original cowl vent and use a bunch of filler rod. I believe that Direct Sheetmetal is one vendor, there may be others as well. I too went the route of filling the gaps on a 54...it was tedious
 
Attached Images    
  #41  
Old 04-13-2016, 10:33 PM
Outlaw56's Avatar
Outlaw56
Outlaw56 is offline
Posting Guru
Join Date: Jul 2007
Posts: 1,081
Likes: 0
Received 1 Like on 1 Post
Thanks for the link John, if you find some pictures of yours I would love to see them.
 
  #42  
Old 04-13-2016, 10:35 PM
Outlaw56's Avatar
Outlaw56
Outlaw56 is offline
Posting Guru
Join Date: Jul 2007
Posts: 1,081
Likes: 0
Received 1 Like on 1 Post
Thanks Charlie. I didnt want to use the original cowl cover but I may have to reconsider that. I assumed it was a much wider gap.
 
  #43  
Old 04-14-2016, 01:31 PM
56panelford's Avatar
56panelford
56panelford is online now
FTE Legend
Join Date: Oct 2005
Location: northwestern Ontario
Posts: 262,880
Received 4,118 Likes on 2,648 Posts


This is the only picture I've found from when I did my panel project. I might not have taken any from my current project.
 
  #44  
Old 04-14-2016, 07:13 PM
Outlaw56's Avatar
Outlaw56
Outlaw56 is offline
Posting Guru
Join Date: Jul 2007
Posts: 1,081
Likes: 0
Received 1 Like on 1 Post
Thanks John. I fabricated one up today, verdict still out whether or not I will use it. I probably did not pick an easy path using 18 guage sheet metal to fabricate it.
 
  #45  
Old 04-15-2016, 09:38 PM
Outlaw56's Avatar
Outlaw56
Outlaw56 is offline
Posting Guru
Join Date: Jul 2007
Posts: 1,081
Likes: 0
Received 1 Like on 1 Post
Well my fabrication turned out....ok, but not acceptable. It actually fit really well considering the compound curves I had to put into it. I attempted to bend the front over and include the little piece under the patch that closes the open face. I could not get a tight enough radius all the way across with the 18 guage. It was a good match on the ends, but the closer it gets to the middle, the bigger the radius. Its approximately 3/16" on both sides which is a perfect match where it meets the stock metal on both sides. But it graduates to a radius in excess of 1/4", 5/16-3/8". I dont want to use filler to bring the radius to 3/16" all the way across. I threw in the towell and took the bottom screen housing assembley off the stock cowling and welded a piece of 3/16" rod to the front of it (flushing it on the top). It makes the back fit perfect. I just need a little filler rod on both sides and maybe a quarter inch rod under the 3/16" once the patch in welded in. I like to use the rods in an application like this because you can weld in the "v" groove and grind it smooth to dissapear the welds.


Quick Reply: Cowl Patch panel with Vintage Air ????? 56 F100


All times are GMT -5. The time now is 09:27 AM.