When you click on links to various merchants on this site and make a purchase, this can result in this site earning a commission. Affiliate programs and affiliations include, but are not limited to, the eBay Partner Network.
I haven't tried to take the shifter off of the cover but, I've been replacing all the gaskets on the transmission and getting it painted up along with some other pieces.
what size bolts did you use to replace the rivets on the cross members?
3/8 fits loose in the hole and to small for 7/16 as the holes would need to be enlarged to use the 7/16 and fit tight.
I had the same thing happen to the support for the fuel tank strap as yours. luckily I found a salvage yard to rob the pieces I needed from a frame.
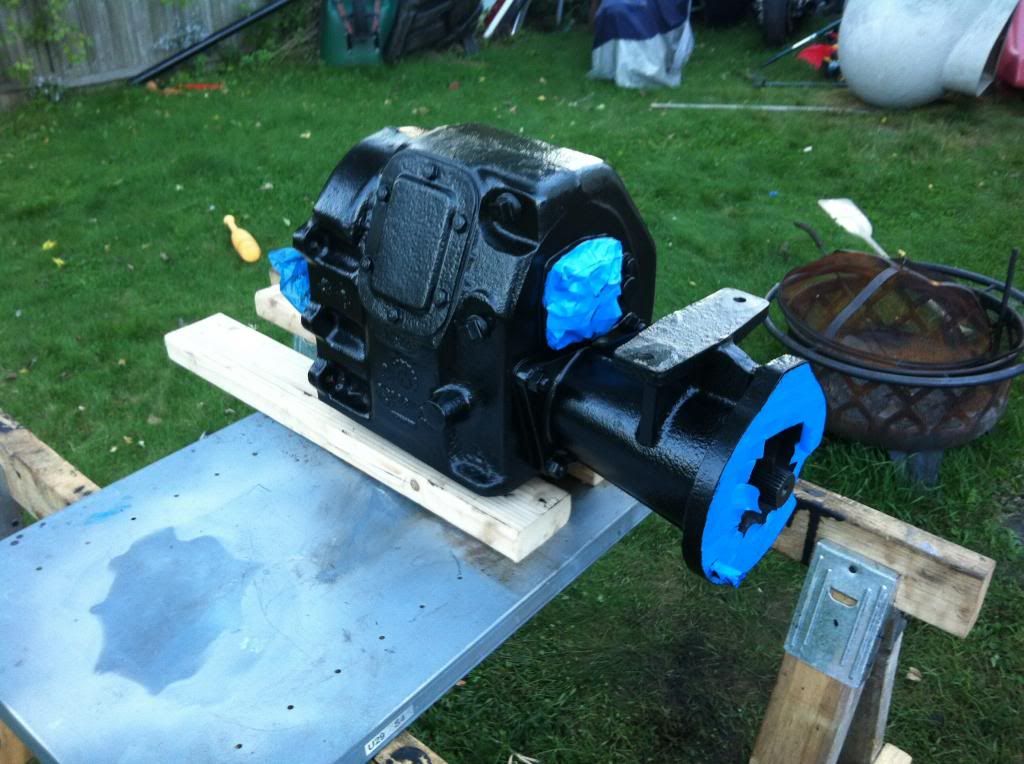
Gaskets finished! One more final cleaning.
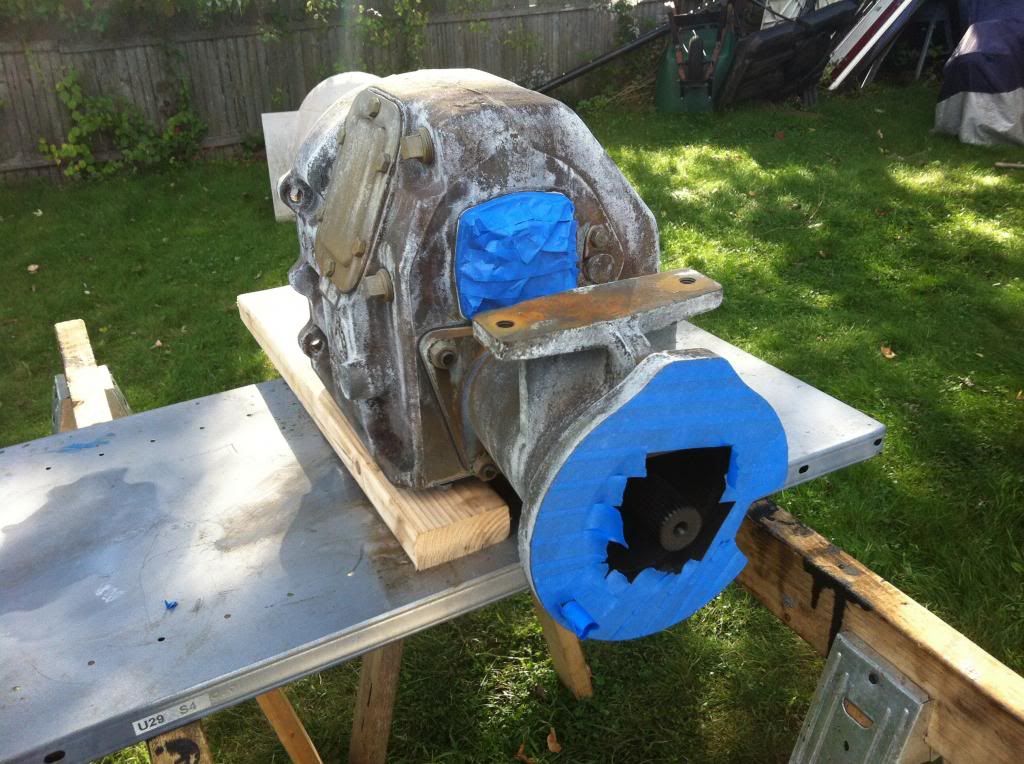
Taped and prepped
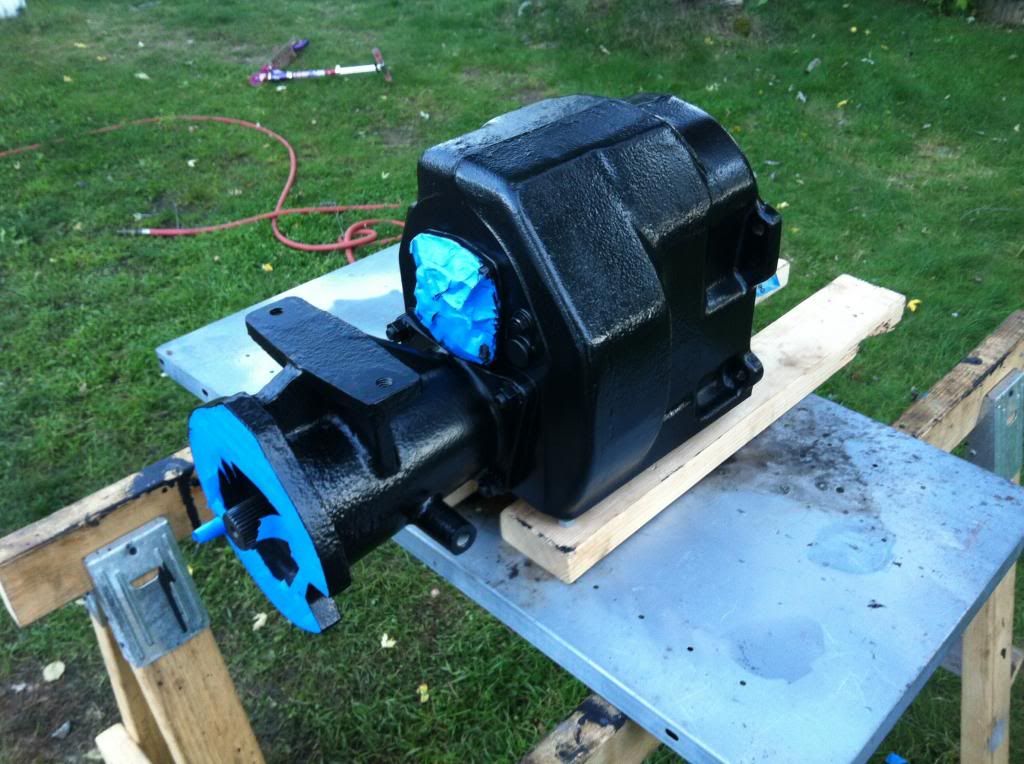
Two coats of POR15
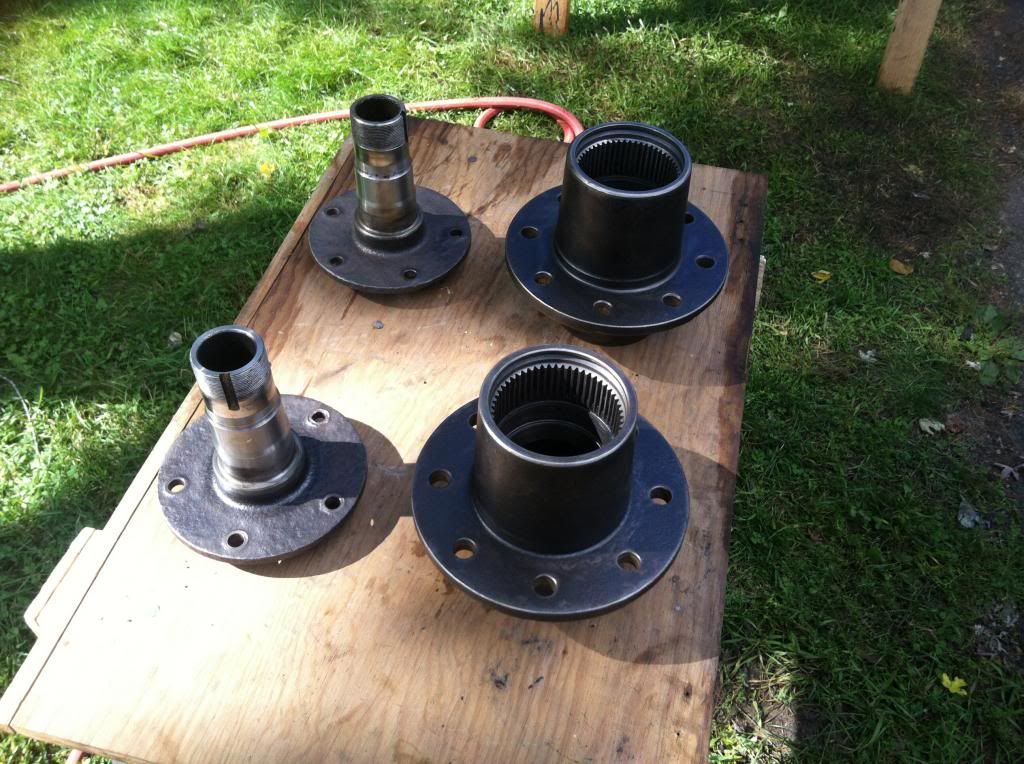
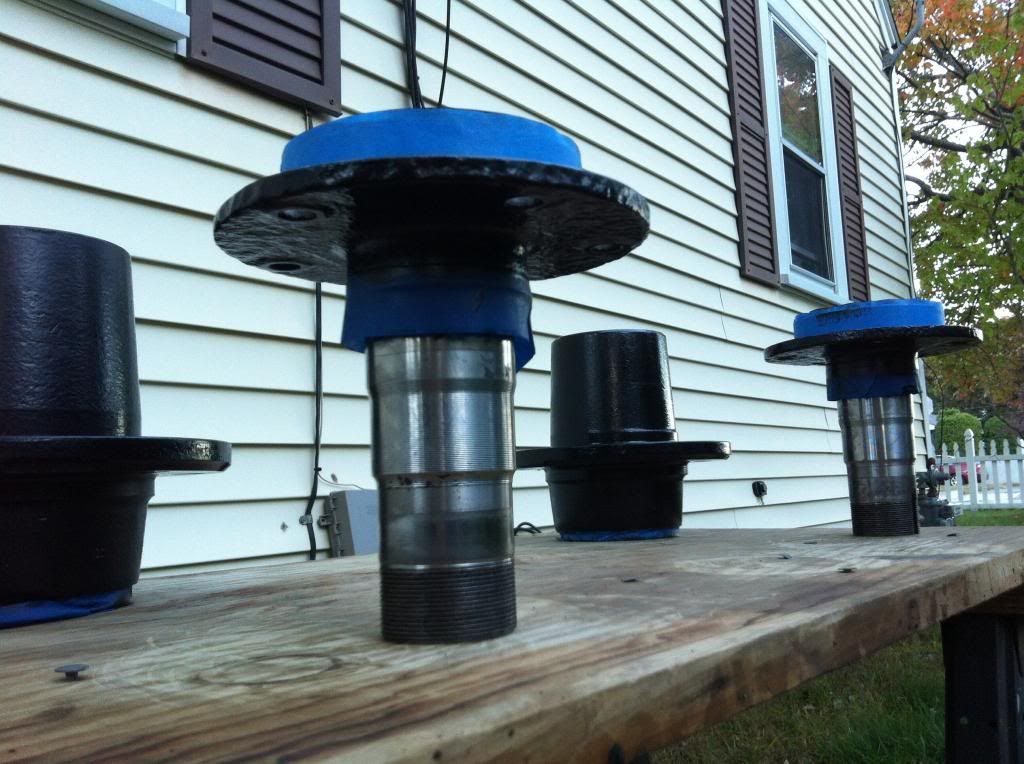
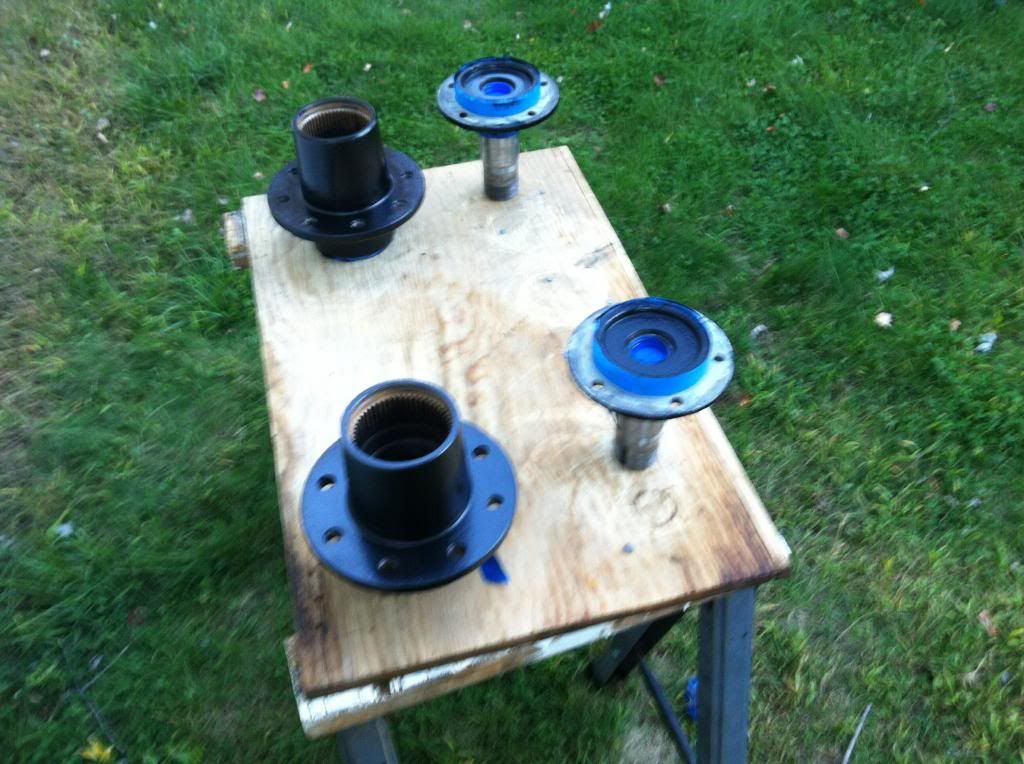
Hubs and spindles cleaned up nice with the wire wheel
Two coats on those as well
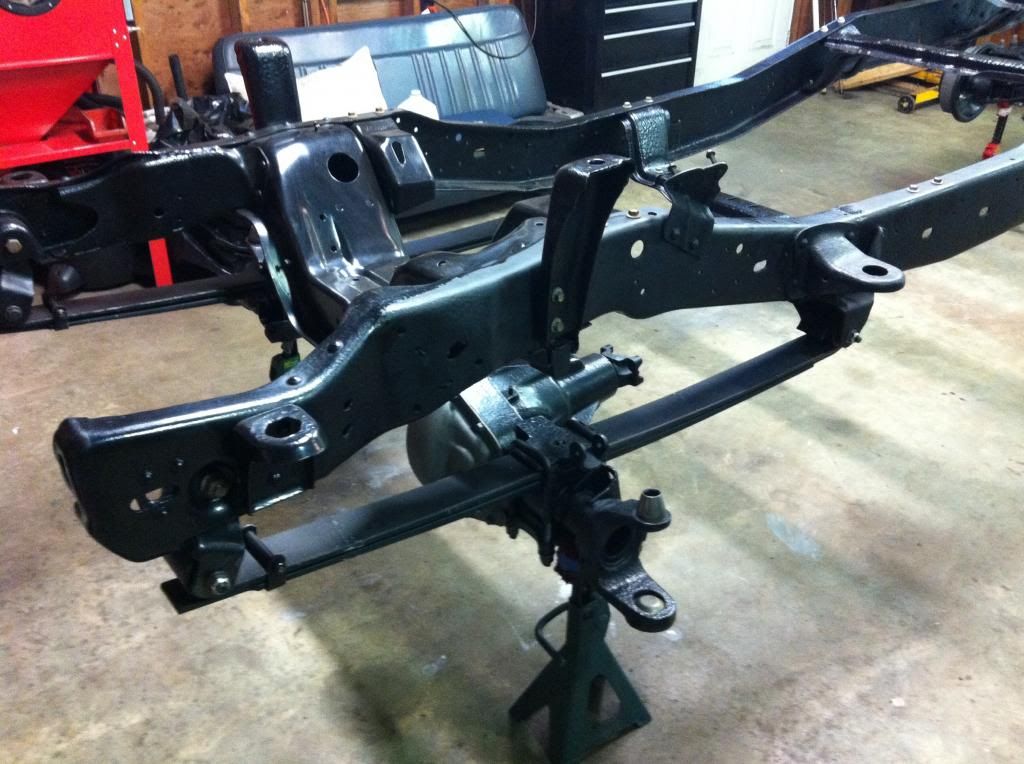
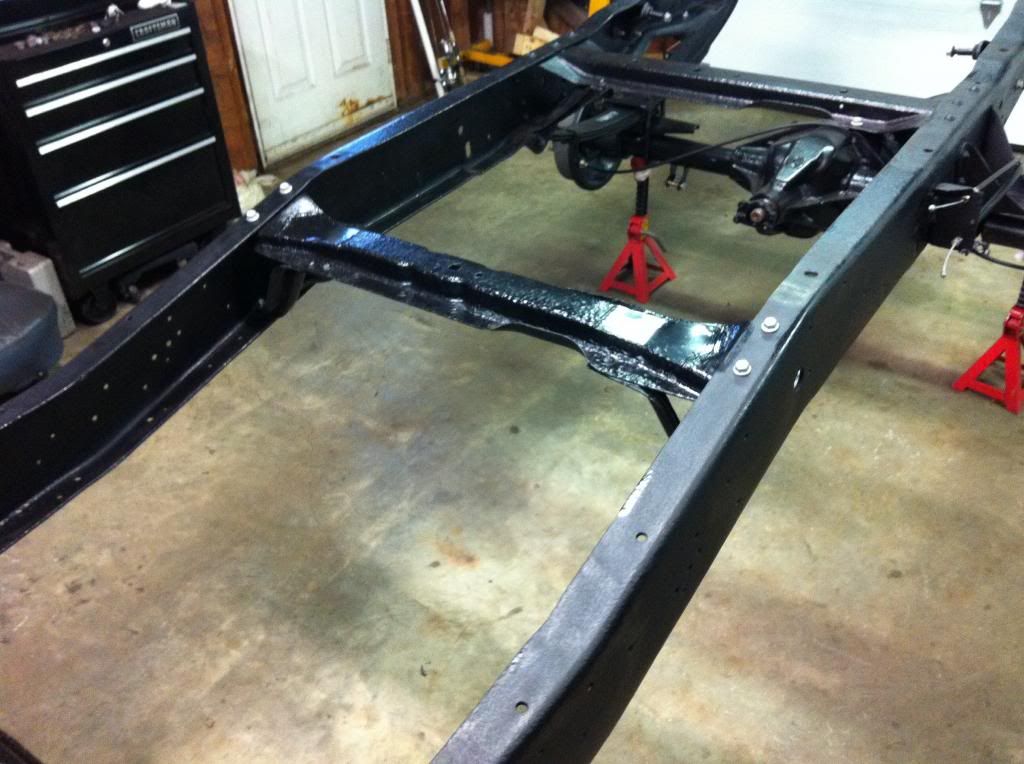
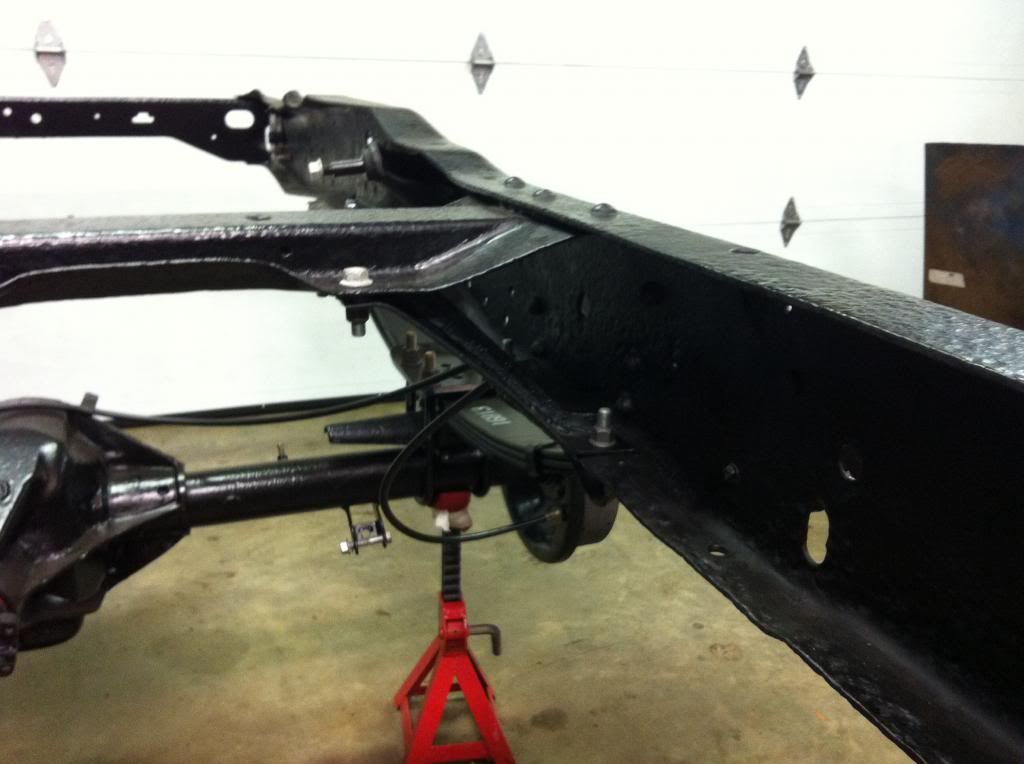
Here's some pics of the frame with axles and cross members installed.
I need to figure out how I'm going to locate the holes for the cab mounts. Anyone know what size the holes are on the rear cab crossmember for the mounts?
what size bolts did you use to replace the rivets on the cross members?
3/8 fits loose in the hole and to small for 7/16 as the holes would need to be enlarged to use the 7/16 and fit tight.
I had the same thing happen to the support for the fuel tank strap as yours. luckily I found a salvage yard to rob the pieces I needed from a frame.
Here's my '86 when I got it, we're talking about the box, not the cab.
And here it is after body work
A few hours worth of work got it almost perfect again. Very, very thin skim coat. Why would he have "so much mud in there"?
OP, looks very fixable, I would not even think of replacing that. Keep up the great work!!
The problem now days is there's too many panel replacers and not enough real bodymen. It's almost turning into a lost art.
My thinking is, if it's not rotted than it can be fixed. It IS a pretty bad dent, and it definitely would be easier to replace it, but that costs money I don't have. Plus It's kind of cool to keep working the metal back to shape.
what size bolts did you use to replace the rivets on the cross members?
3/8 fits loose in the hole and to small for 7/16 as the holes would need to be enlarged to use the 7/16 and fit tight.
I had the same thing happen to the support for the fuel tank strap as yours. luckily I found a salvage yard to rob the pieces I needed from a frame.
I don't recall the size, and the chassis is not here so I can't check. I got them out of LMC catalog and they just give you a part #. I'm pretty sure it's metric, not standard.
Even with it blasted it took hours...and hours....and HOURS to get it ready for primer. Next time I'll make sure the seam sealer and all hardware is off prior to blasting. Not a huge deal, but just added to prep time. I planned on doing it before i sent it and didn't get around to it. But then I had the money to get it blasted, so I figured I better get it done before the money's gone!
I just couldn't see priming over the rusty looking residue on the bed floor, so I sanded it w/150 and cleaned it a bunch of times till I was happy with it.
It was a late night last night, but I got the bed spayed with epoxy and 2K. The fenders have been sprayed with epoxy, but I ran out of 2K.
I back masked an area where there are some rust pin holes in the beds floor in the back where I'm gonna do some brazing. I also ONLY applyed epoxy on top of the bed rails (where the PO had drilled a bunch of holes and some pitting has occurred) and the area of the big dent, cause obviously there's going to be a considerable amount of work to be done in those areas.
Im going to POR the joint where the front panel meets the floor so I stuck a piece of heat shrink tubing in there to keep it from being covered in primer. There's also one small area in the front of the floor that needs brazing, though I primed over that spot.
I haven't talked much about the color of the body with everyone, so here we go. I want to use BC/CC with a cobalt type metallic blue for the primary color and a darker silver/gray metallic for the secondary color. Something like this bump, but with blue at the bottom too. I'm leaning toward a pin stripe too, dark red or black I think.
This gray is a little darker, probably closer to the color I want, rather than the other one.
I'm having a little trouble figuring out at what point I should tape out the colors on the body. I'm planning on doing a "dry build" fitting all the panels, taking it apart, fixing any chips or defects, final prime (to reduce the risk of seeing spot putty in the base coat), final block sand, spray secondary color, tape and spray primary color, clear and assemble.
I don't know if I should do the final prime before I go for the "dry build" and then address any defects with spot/glazing putty, tape, disassemble, spray secondary color, primary color, clear, then assemble.
What do you guys think? Do I have to tape out the colors while its assembled or can I get away with taping it disassembled? The colors WILL separate at the body lines, so I think I MIGHT get away with doing it in pieces.
This would be SO much easier if I was doing one color, but what's the fun in that? plus I love the two tone paint schemes!
PH, I was wondering you would be able to guestimate the weight of the empty frame and cab. I'm looking to do a frame swap soon.
Hey, sorry about the late reply. I haven't been on FTE for quite a while. I really dont know if I could estimate the weight of the frame as I didn't lift it at all. I have a bad back (which really has limited how much work I get done to the project) luckily I have some friends and family that will come to do any lifting that has to be done. I can say two people carried it each time it had to be moved. So I would say it isn't a crazy amount of weight.
 09-13-2015, 08:30 PM