When you click on links to various merchants on this site and make a purchase, this can result in this site earning a commission. Affiliate programs and affiliations include, but are not limited to, the eBay Partner Network.
Good point, Jim. I've used MAP gas, but it is only marginally hotter than propane and probably wouldn't get it hot enough. Best would be to heat with oxy-acetylene and get it red quickly in a small area, or be able to heat a larger area to red by moving the torch quickly. Anyway, where it is red is where the bend is going to be.
And if you want to move a bow, you're going to need to spread the force so you don't end up with a bow AND a kink.
A piece of light angle iron the width of the window might be where I'd start.
And if you want to move a bow, you're going to need to spread the force so you don't end up with a bow AND a kink.
A piece of light angle iron the width of the window might be where I'd start.
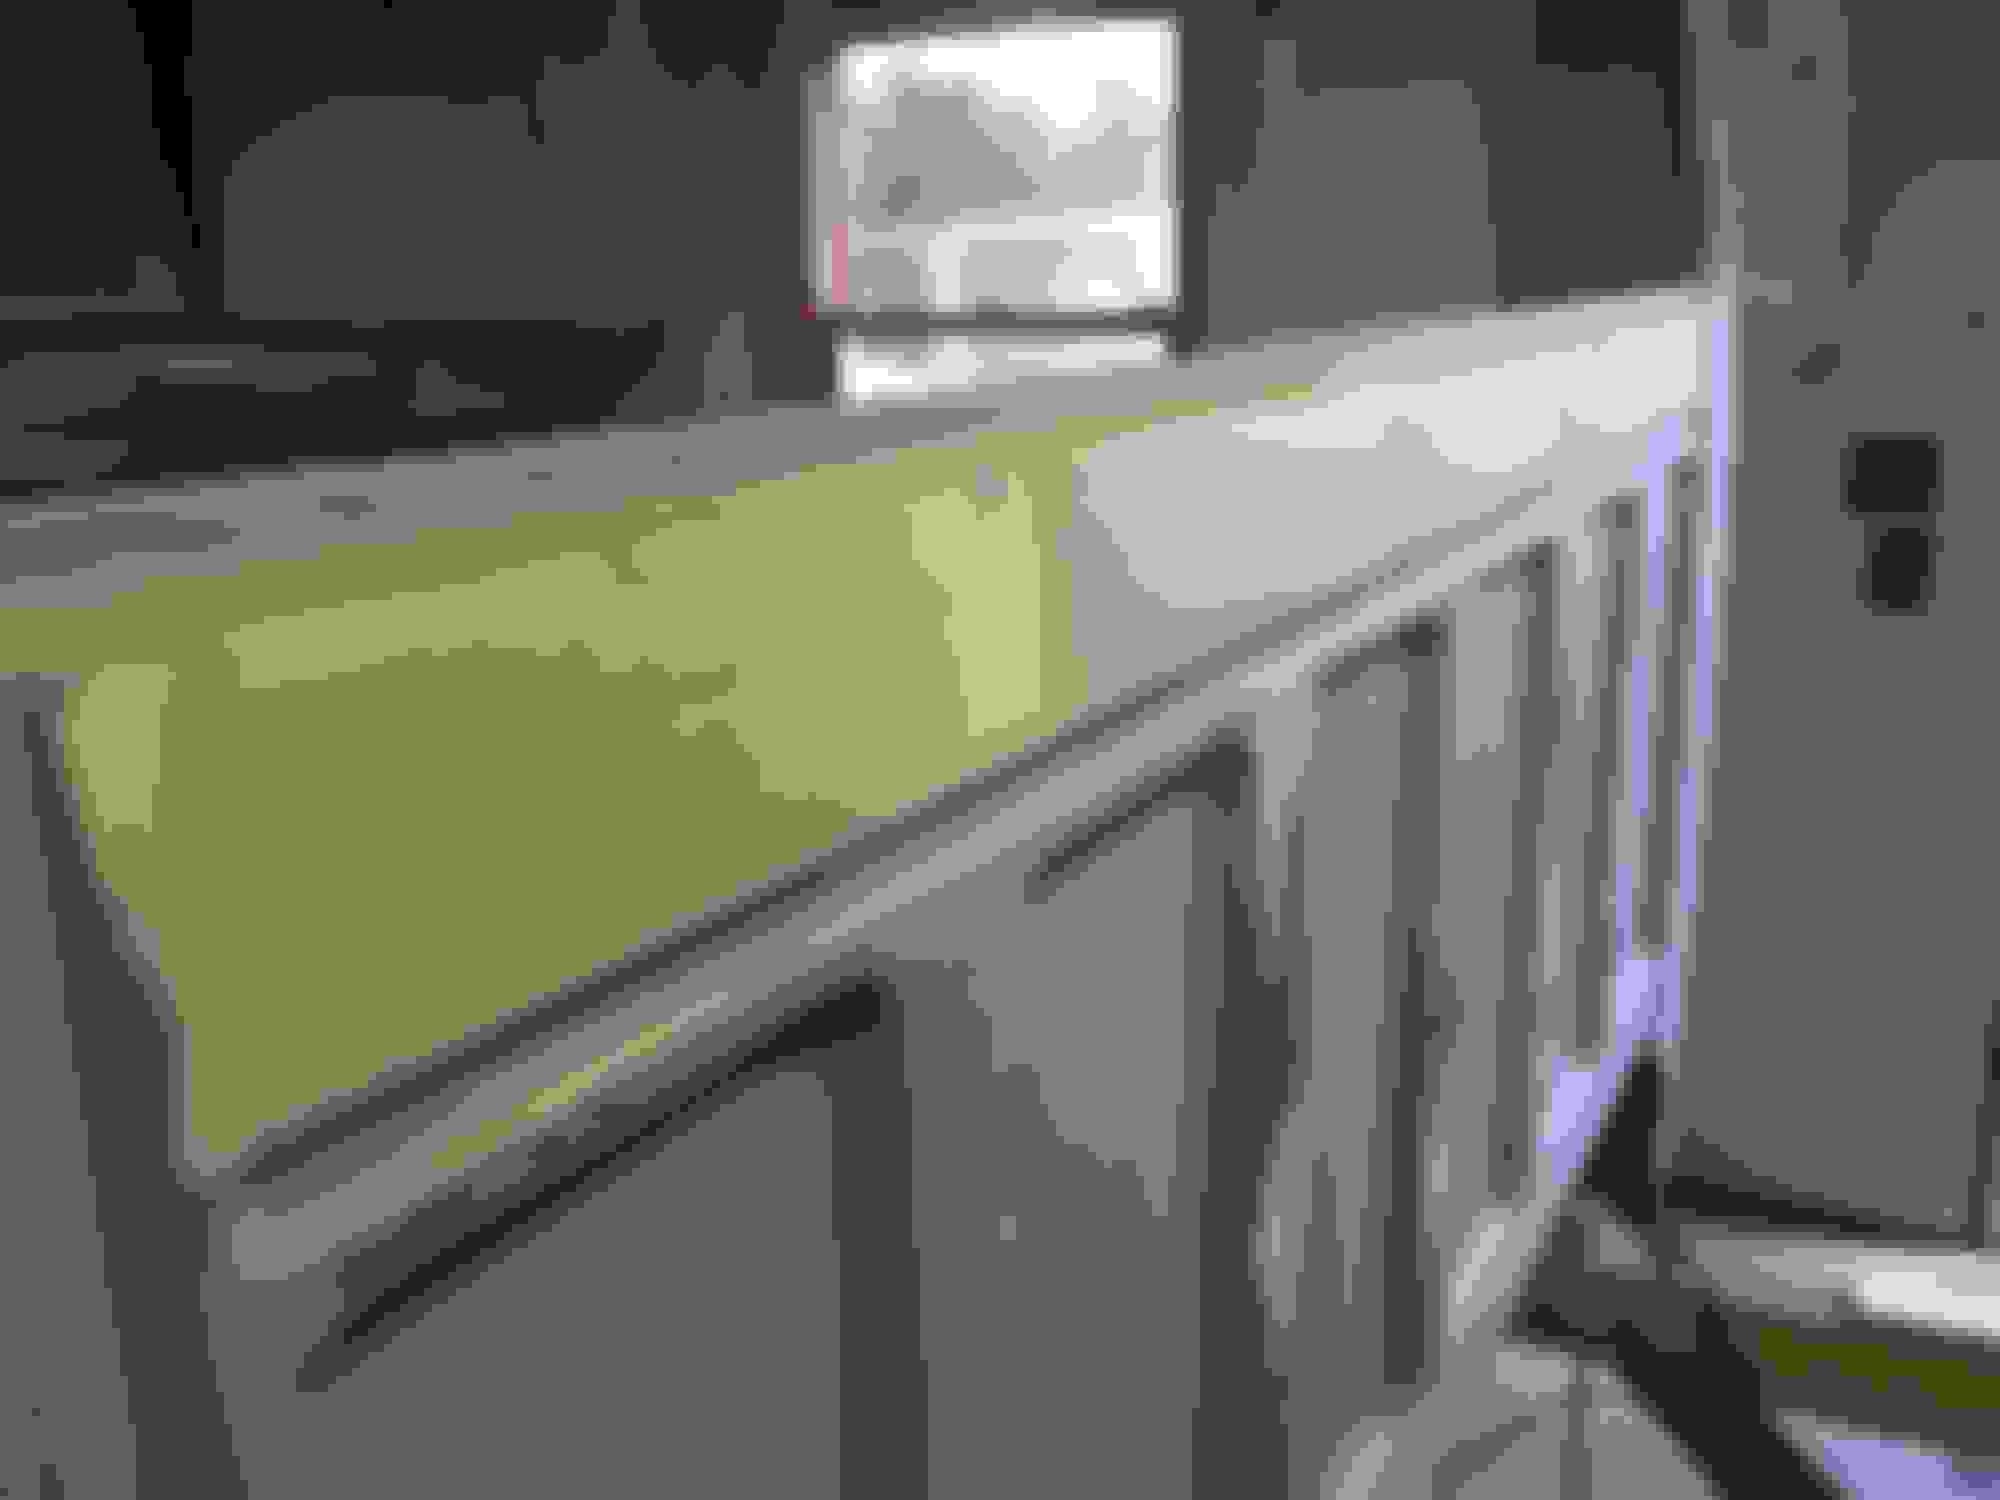
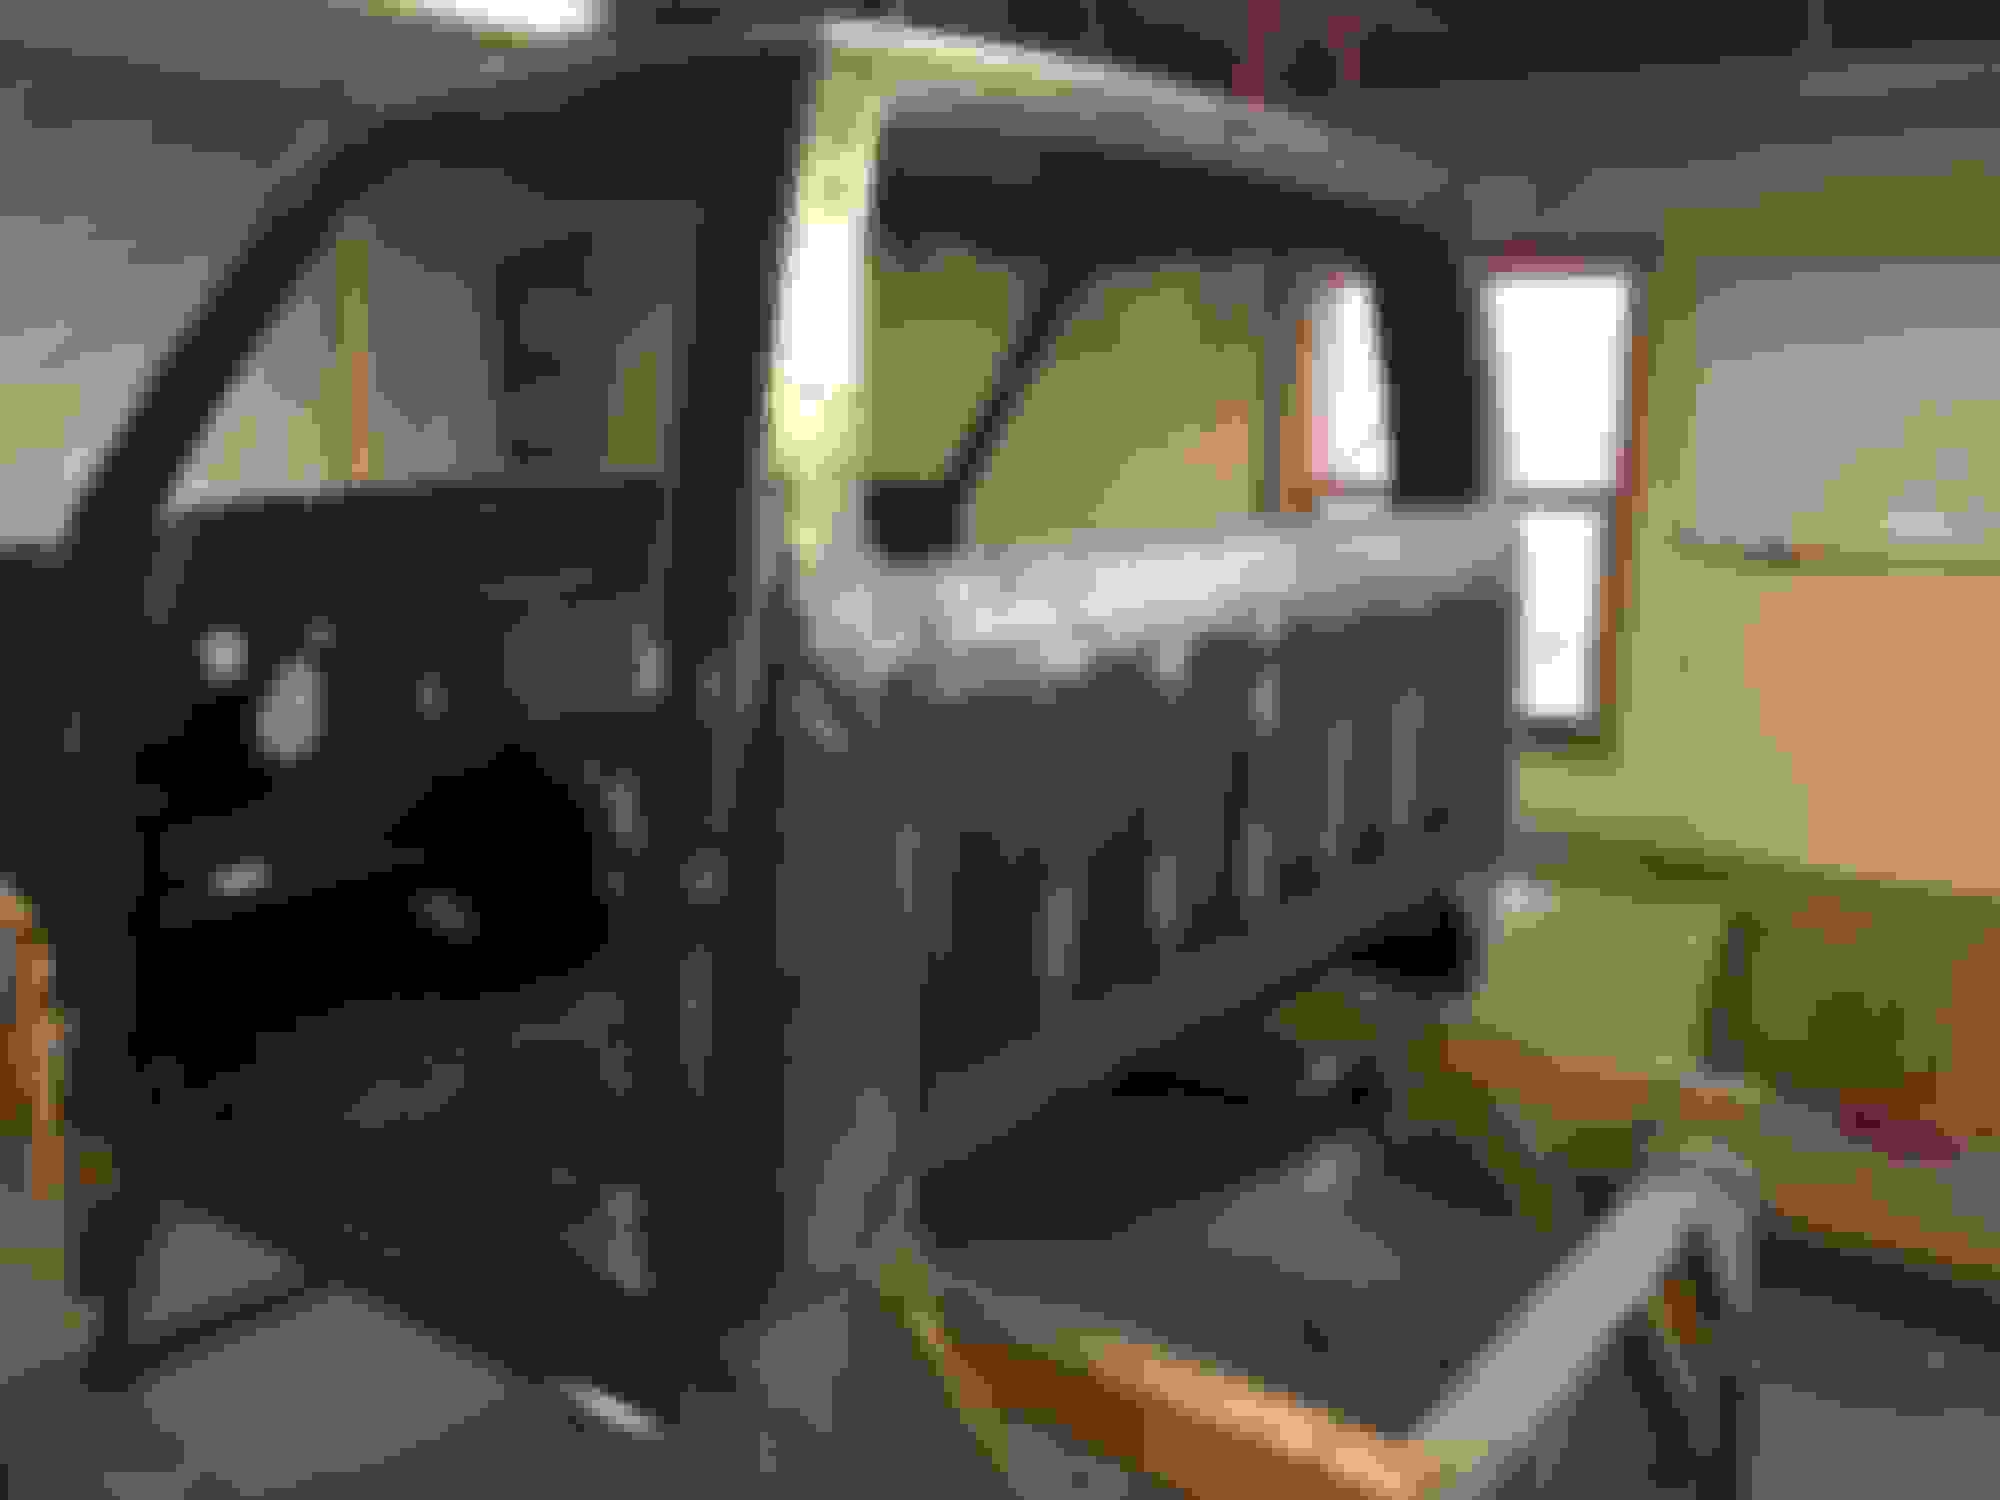
I've had that idea before and angle iron would be perfect. Unfortunately I don't have any on hand, so this is what I came up with
This worked fine for the very top of the panel. It did create a couple dents to the inner panel, but I don't think there was any way around that. Oh well, some studs and the slide hammer fixed that. But on the lower part (3" down) there was still a bow, about 1/4". This was my next idea for the lower bow
This time I put a considerable amount of heat to it, I think it did the trick. After I finish some lunch I'll check it out.
Ok, so I went through the process a couple of times, heating...pulling...heating...
BANG stud lets go! I wonder what the rating is for these studs, they hold pretty good, it would be better if they held a little more. It IS straightening out though. Instead of a good 7/16" bow it is now about 1/8"-3/16". Had to quit for a little bit, had to take my daughter to her dress rehearsal for this weekend's dance recital. wish me luck
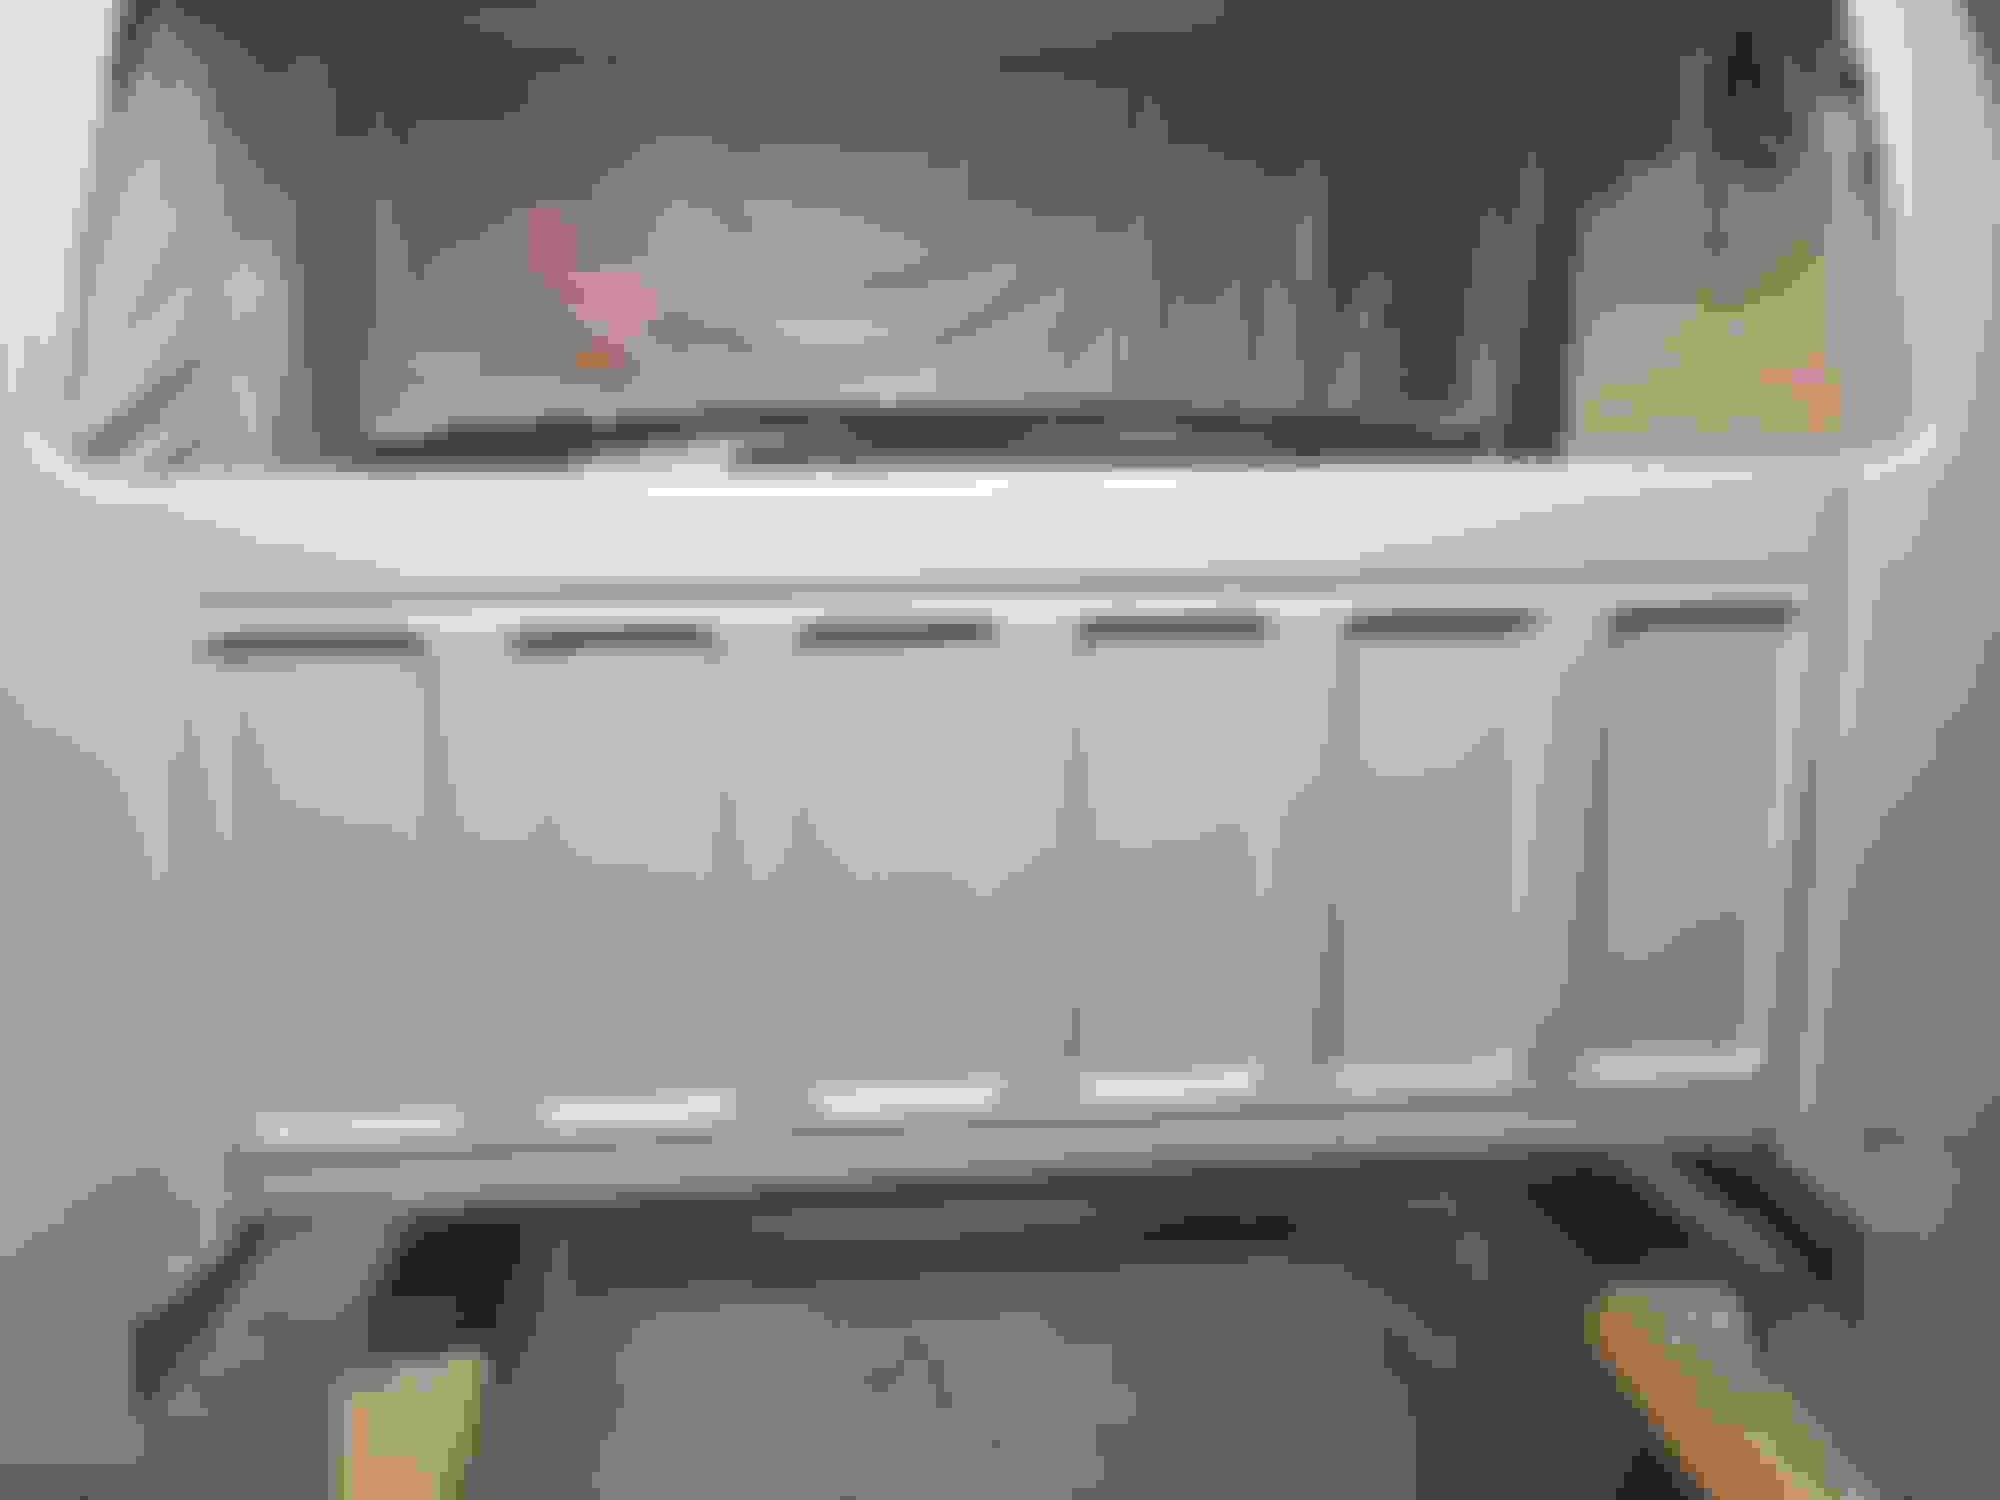
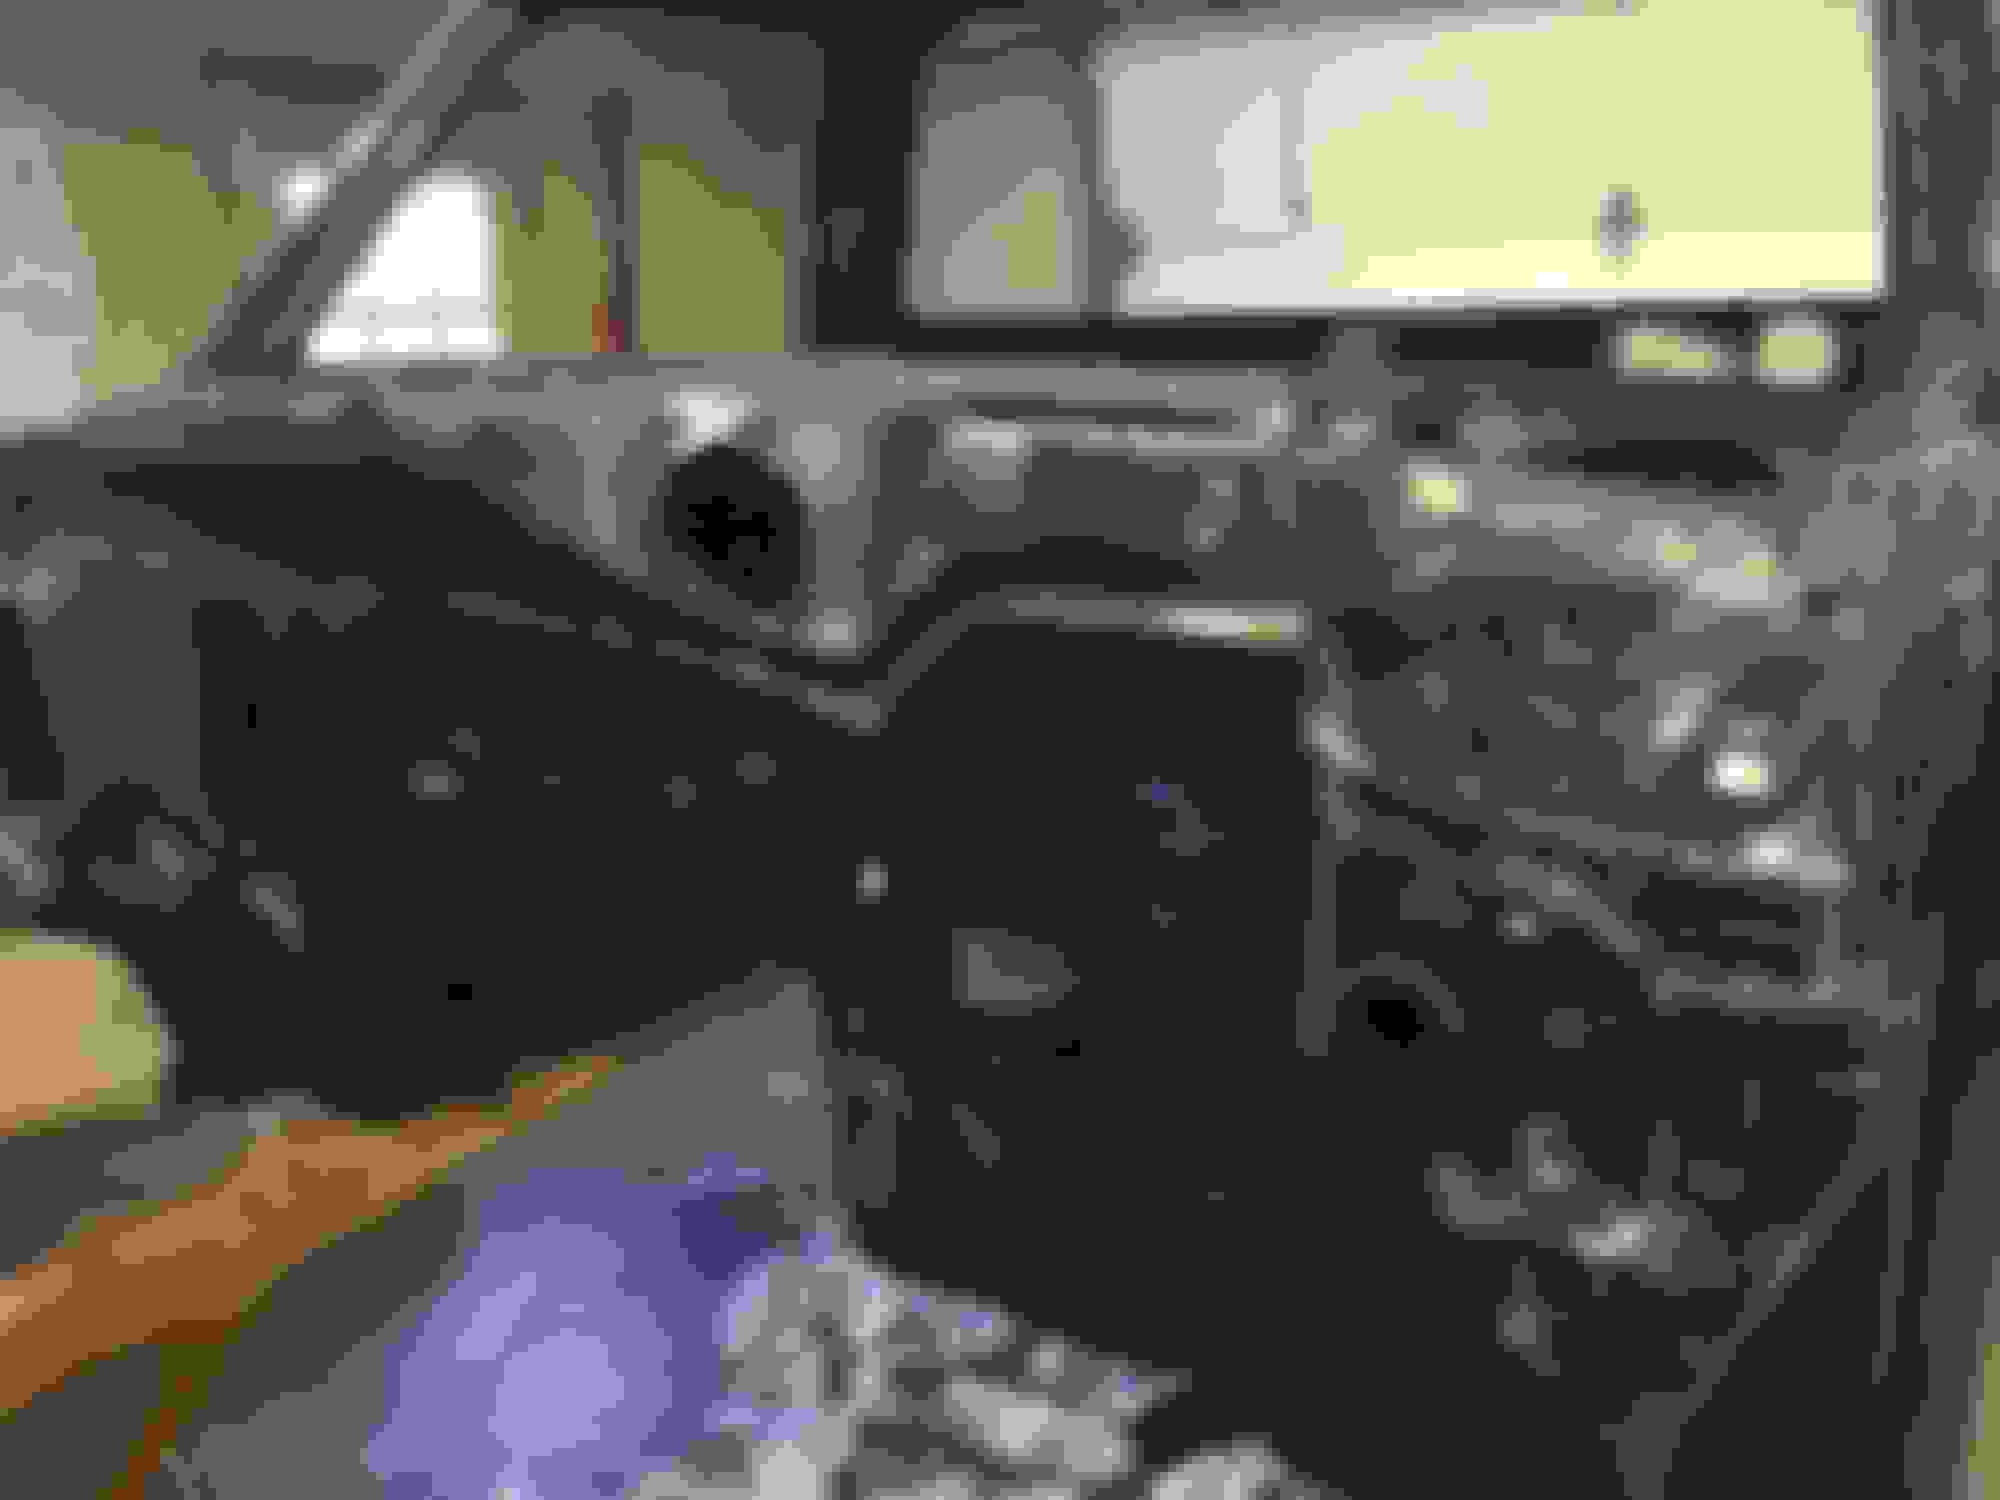
Time for an update. The bow has been taken care of and I pulled the dents out as best I could. I tried uploading some more pics of the bow removal but site keeps telling me that they're the wrong format. I basically put five studs across the back panel and pulled on each one until it was where I wanted it to be. It came out pretty good. Each place I had the stud, the panel was dimpled out a bit. I took a little oxygen/mapp torch and heated each dimple (about the size of a quarter) and then tapped it with a pick hammer till it as flat.
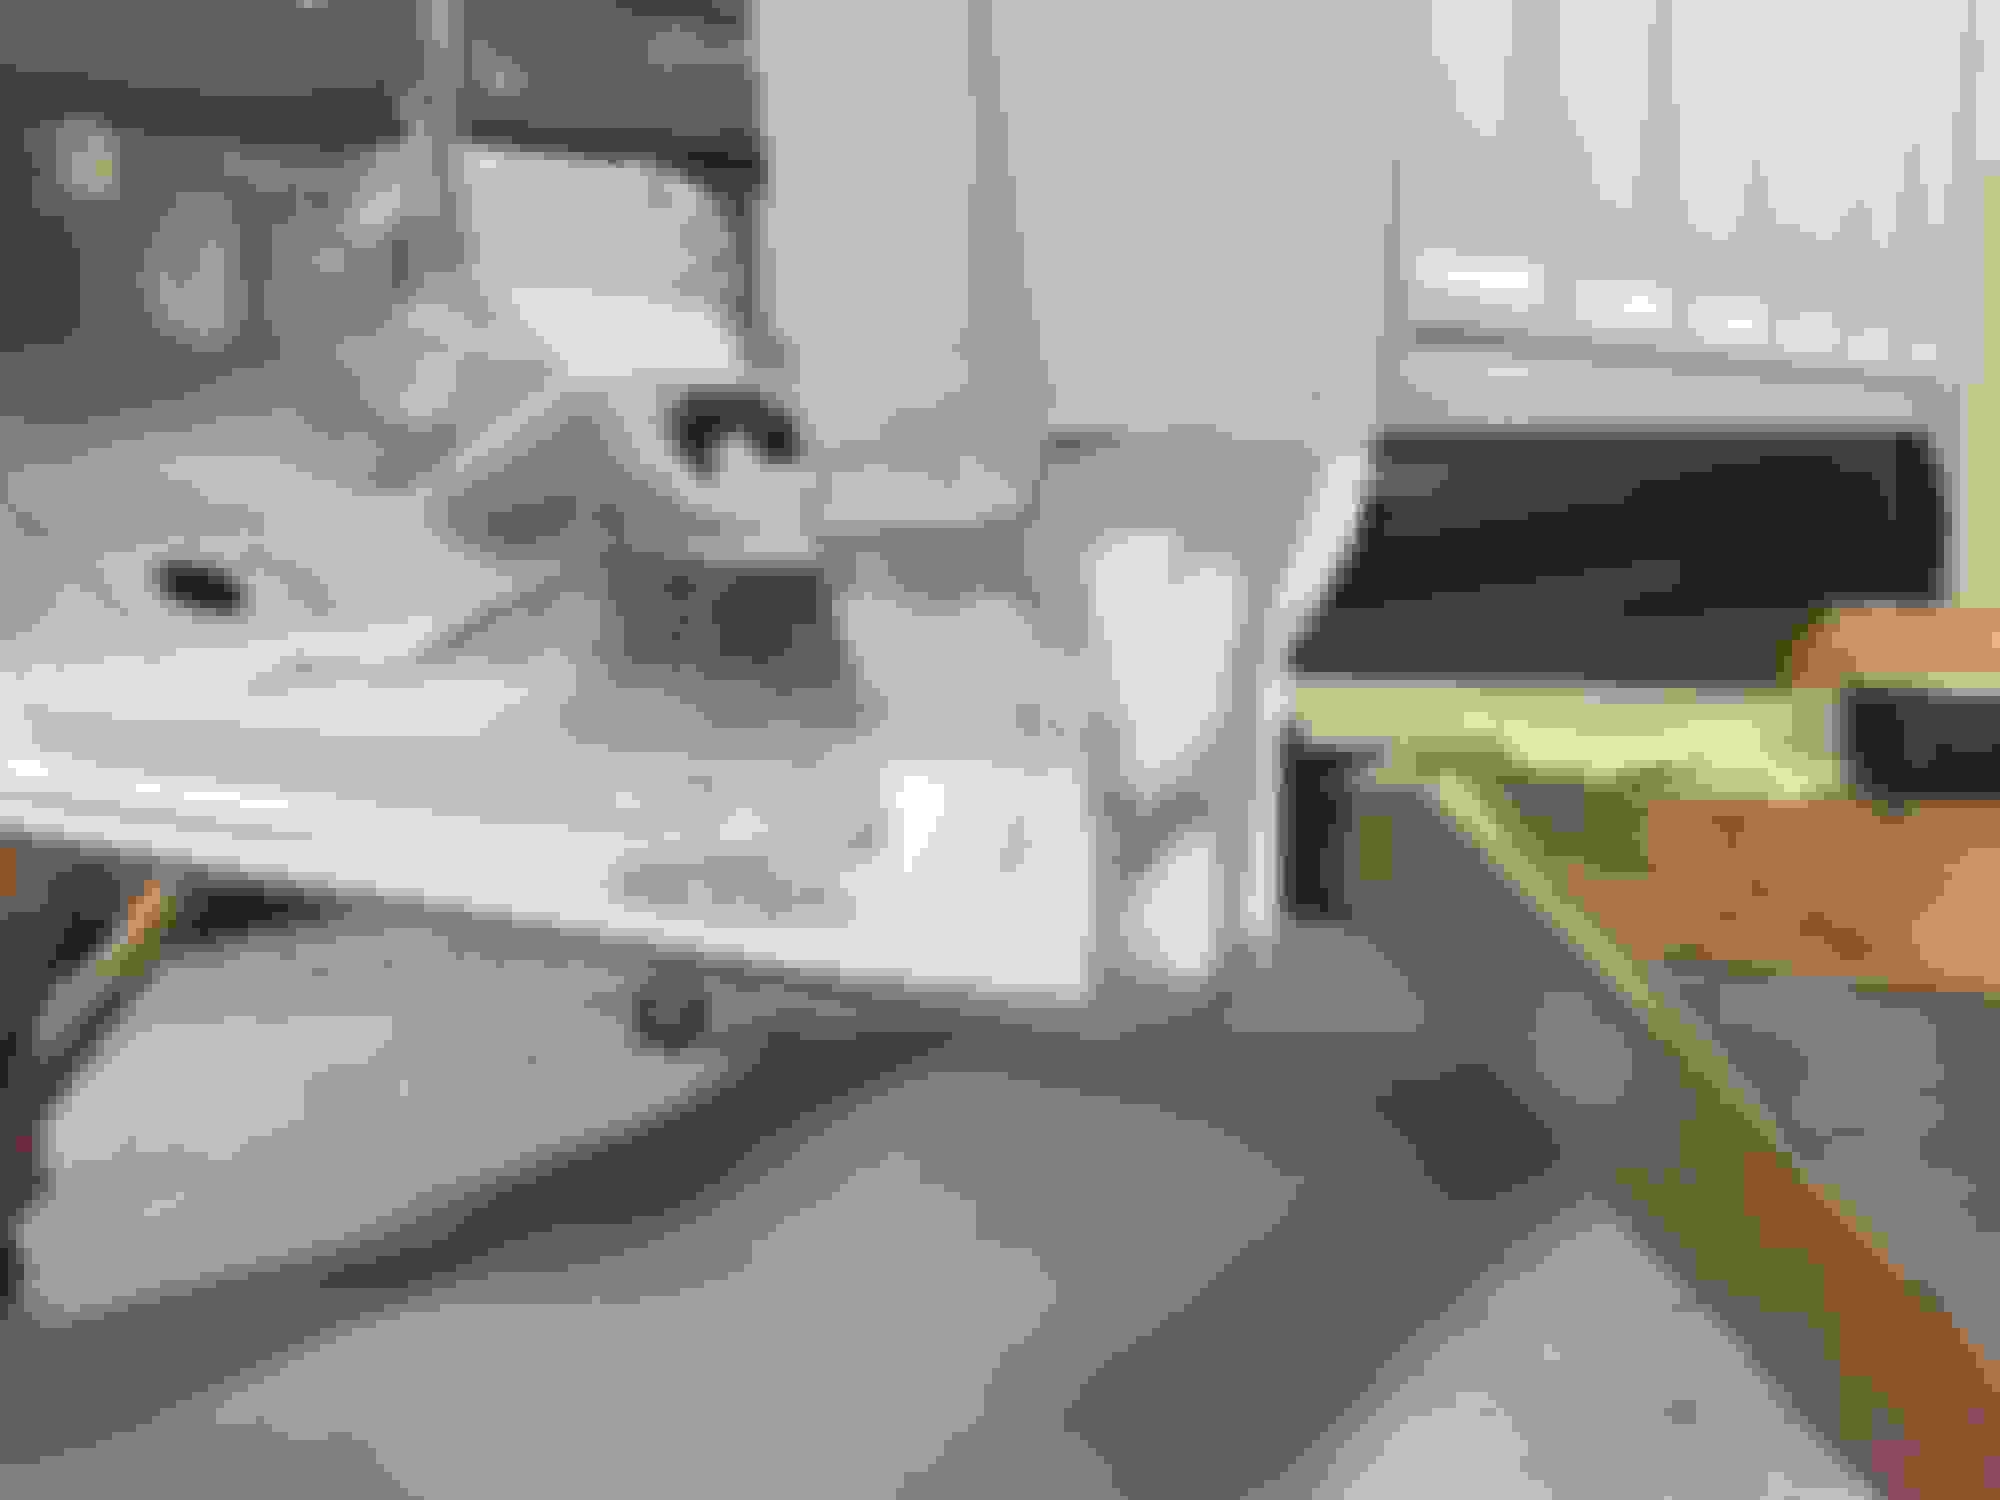
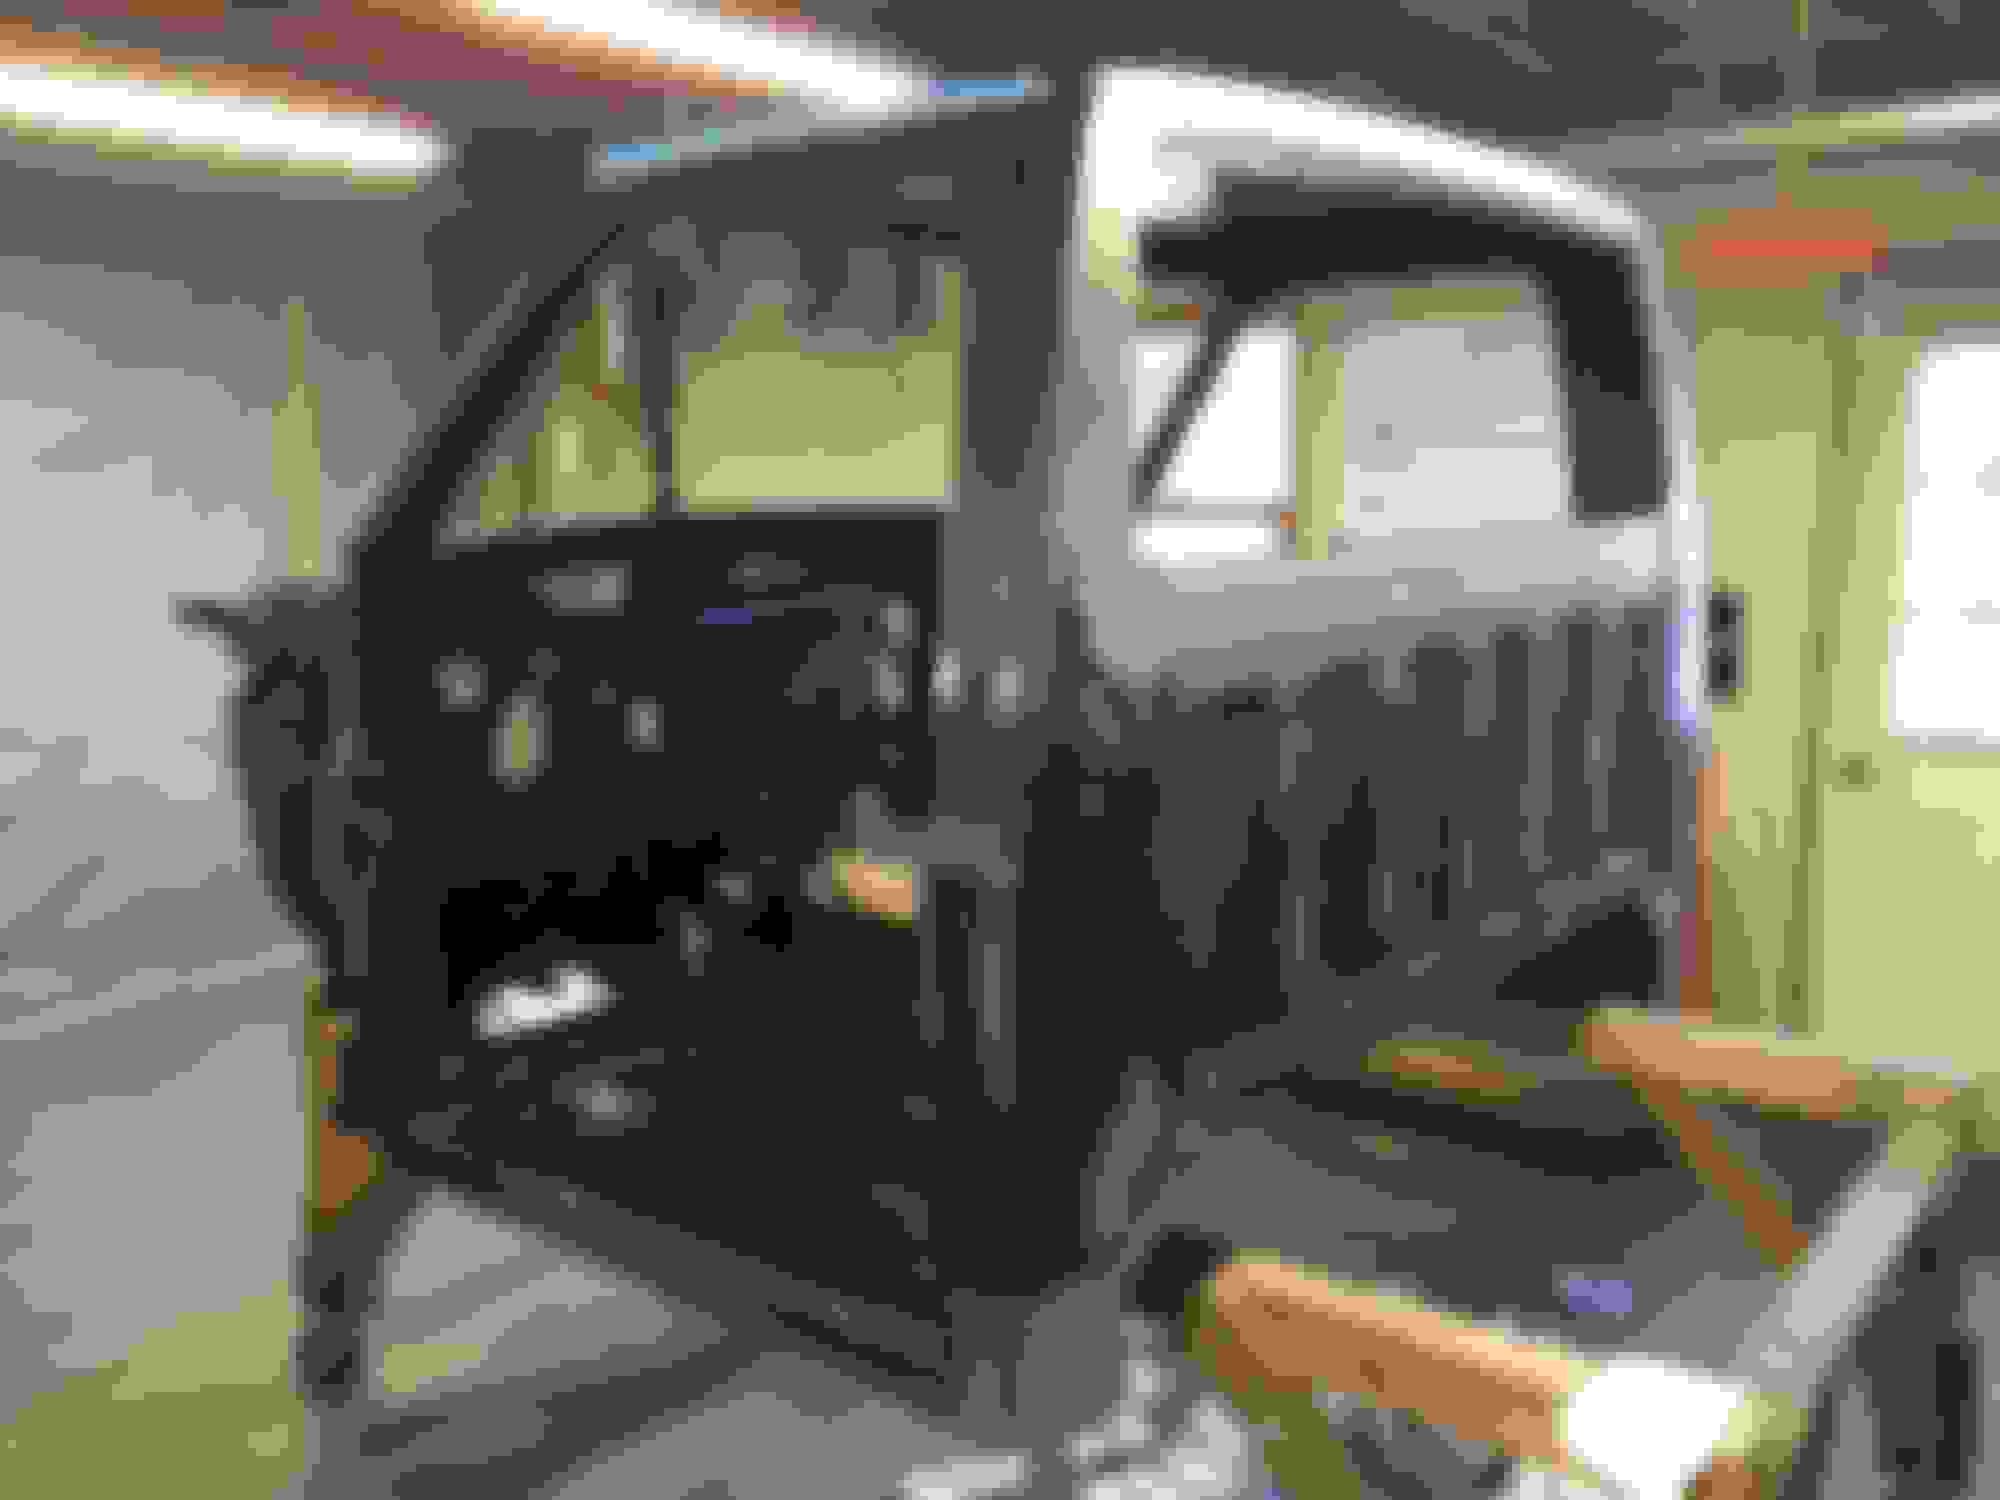
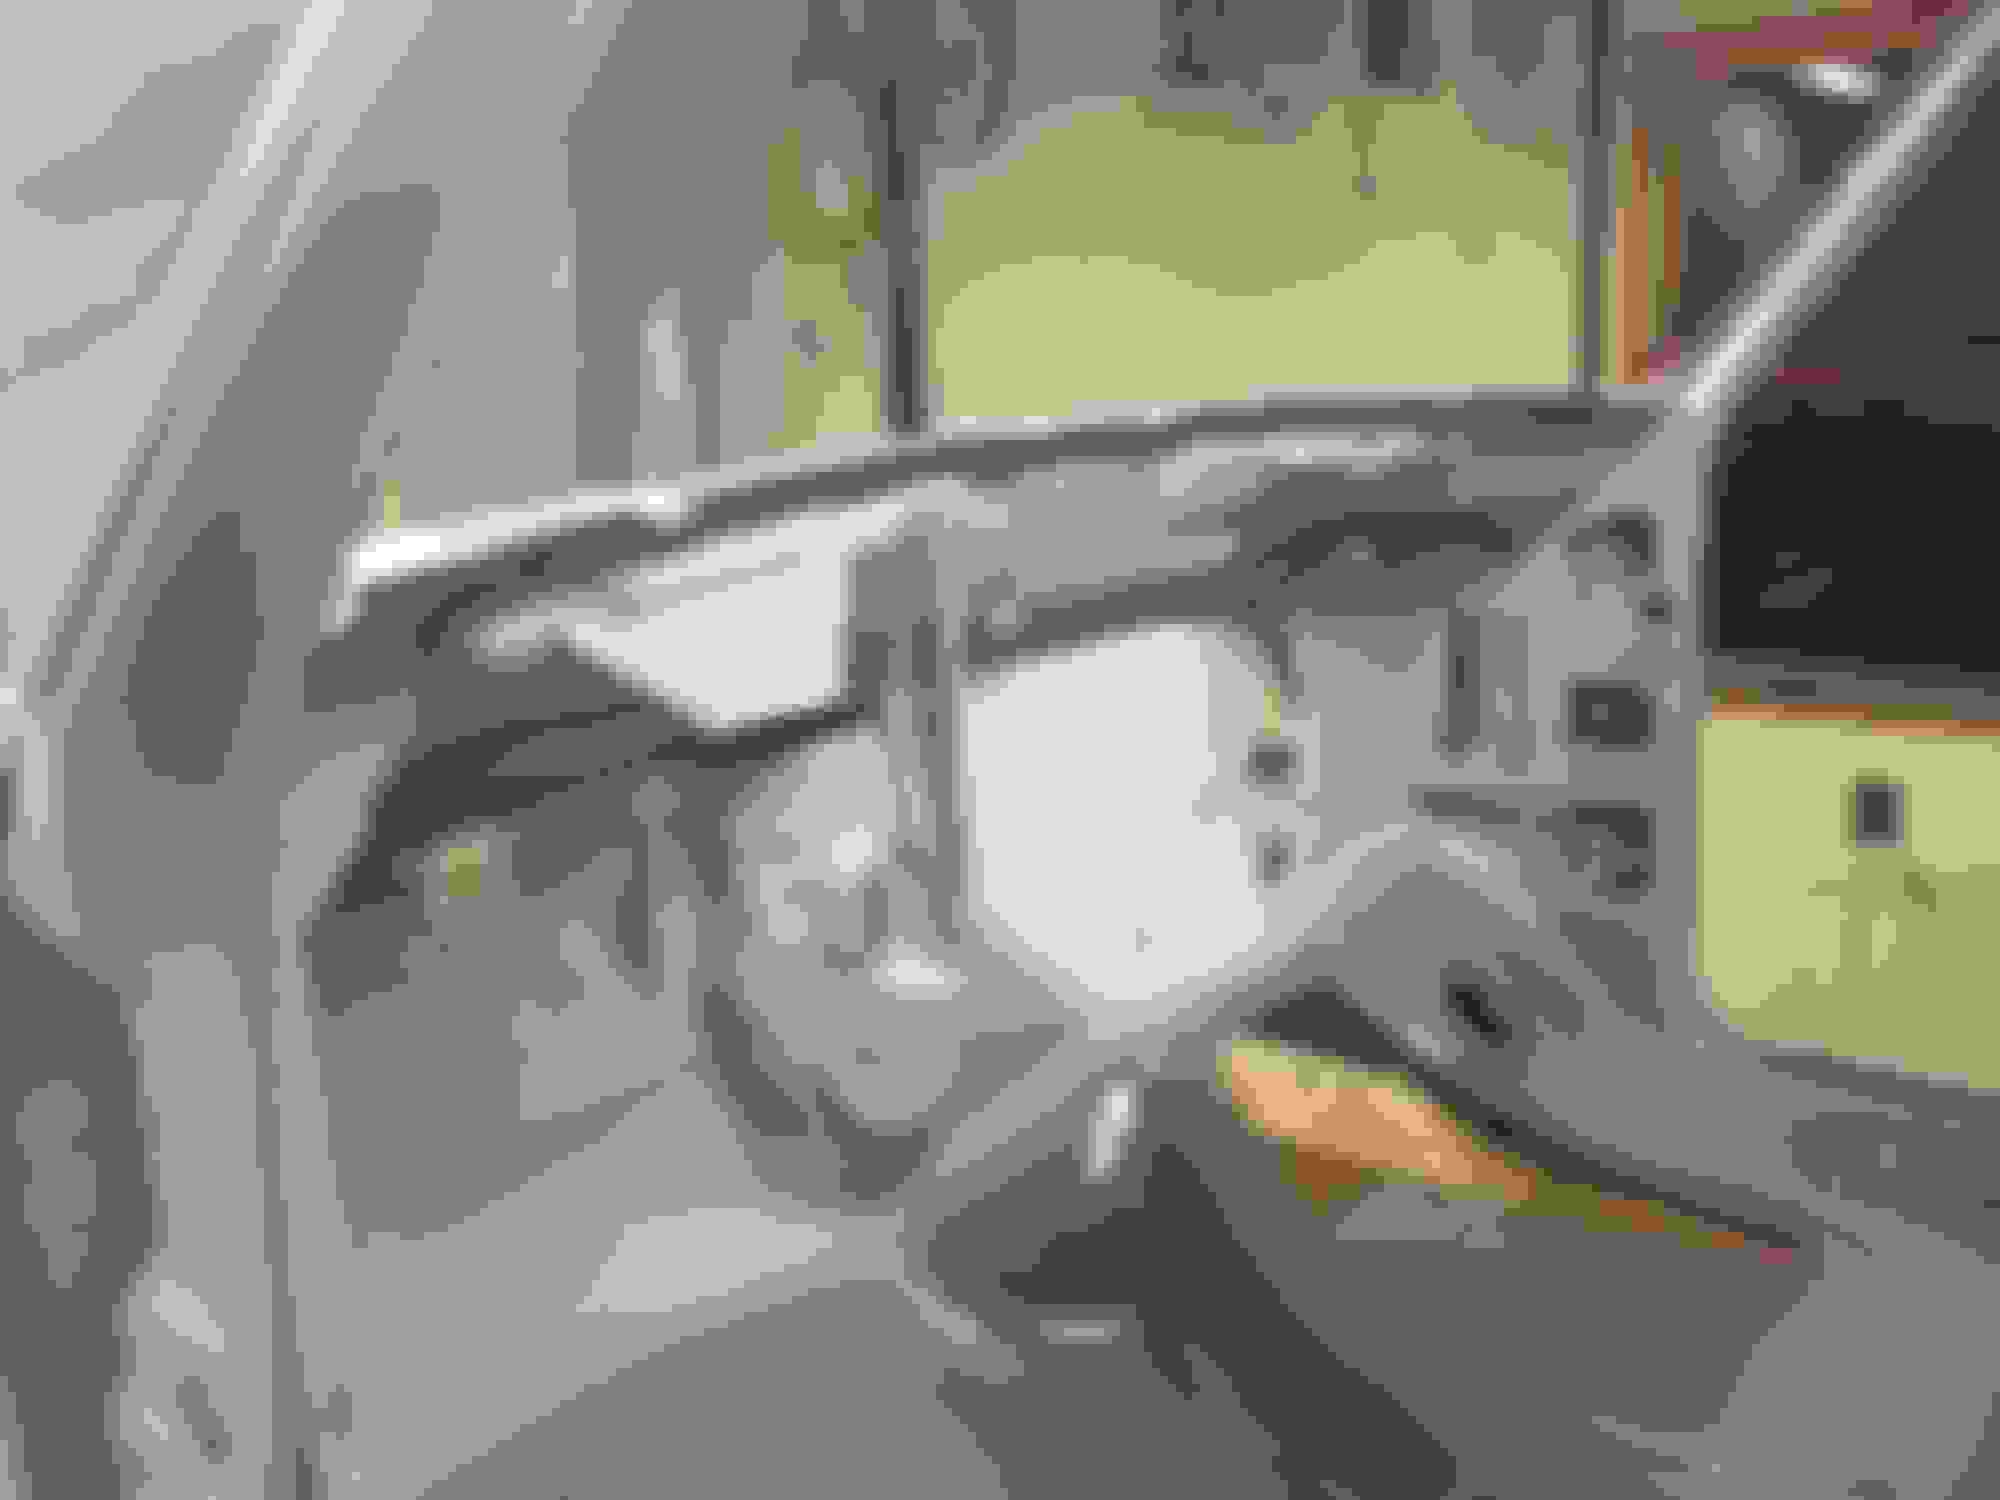
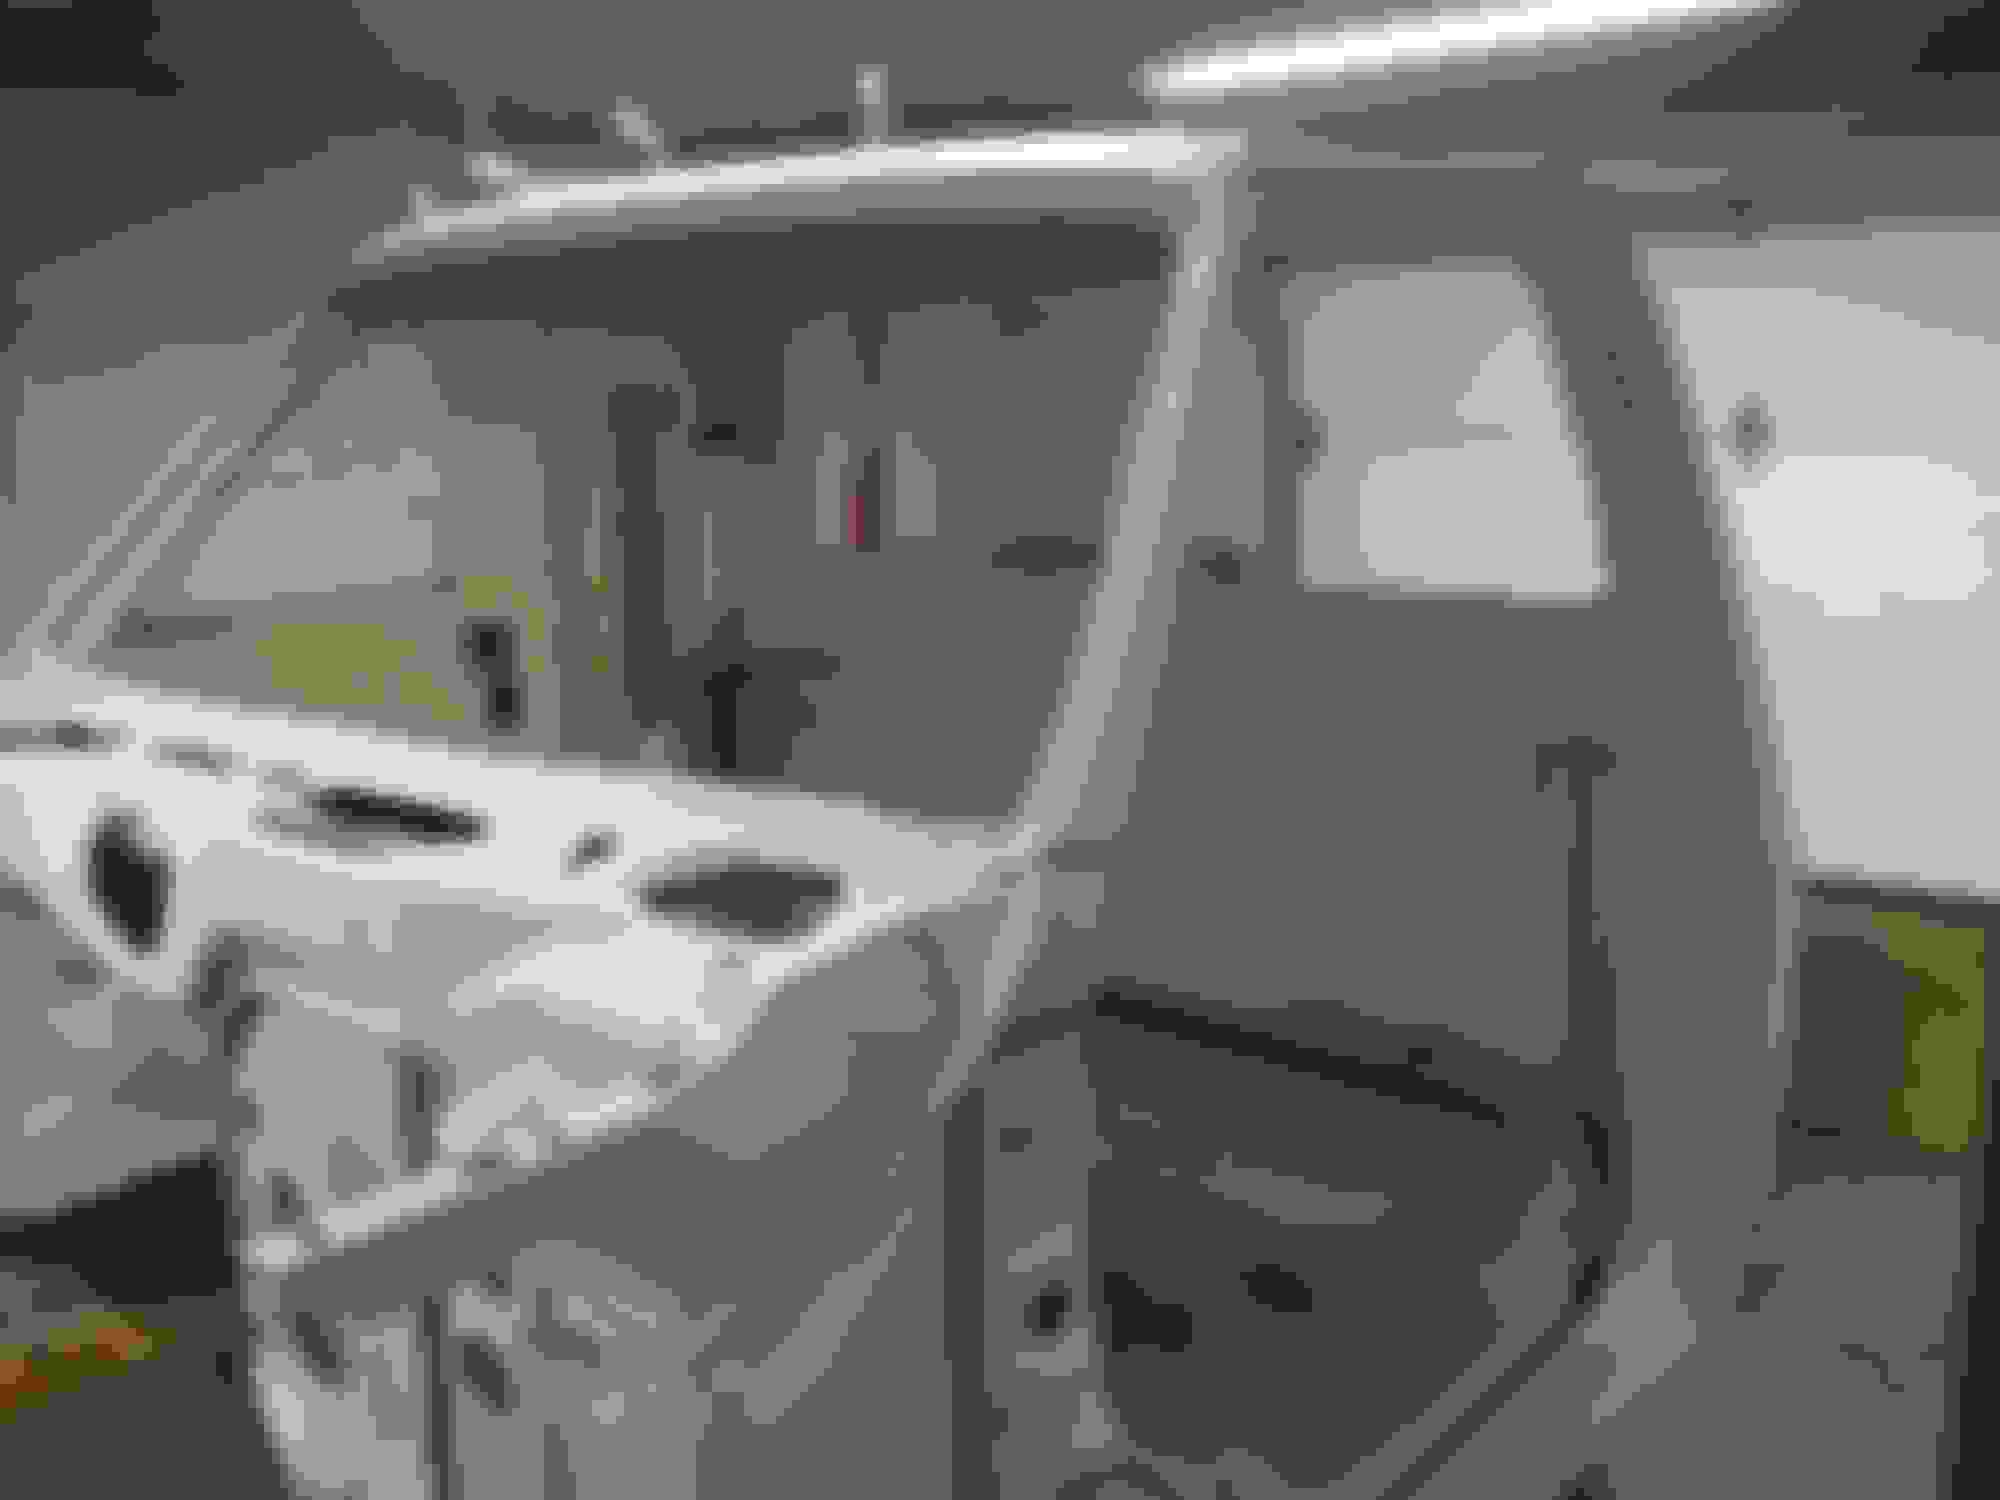
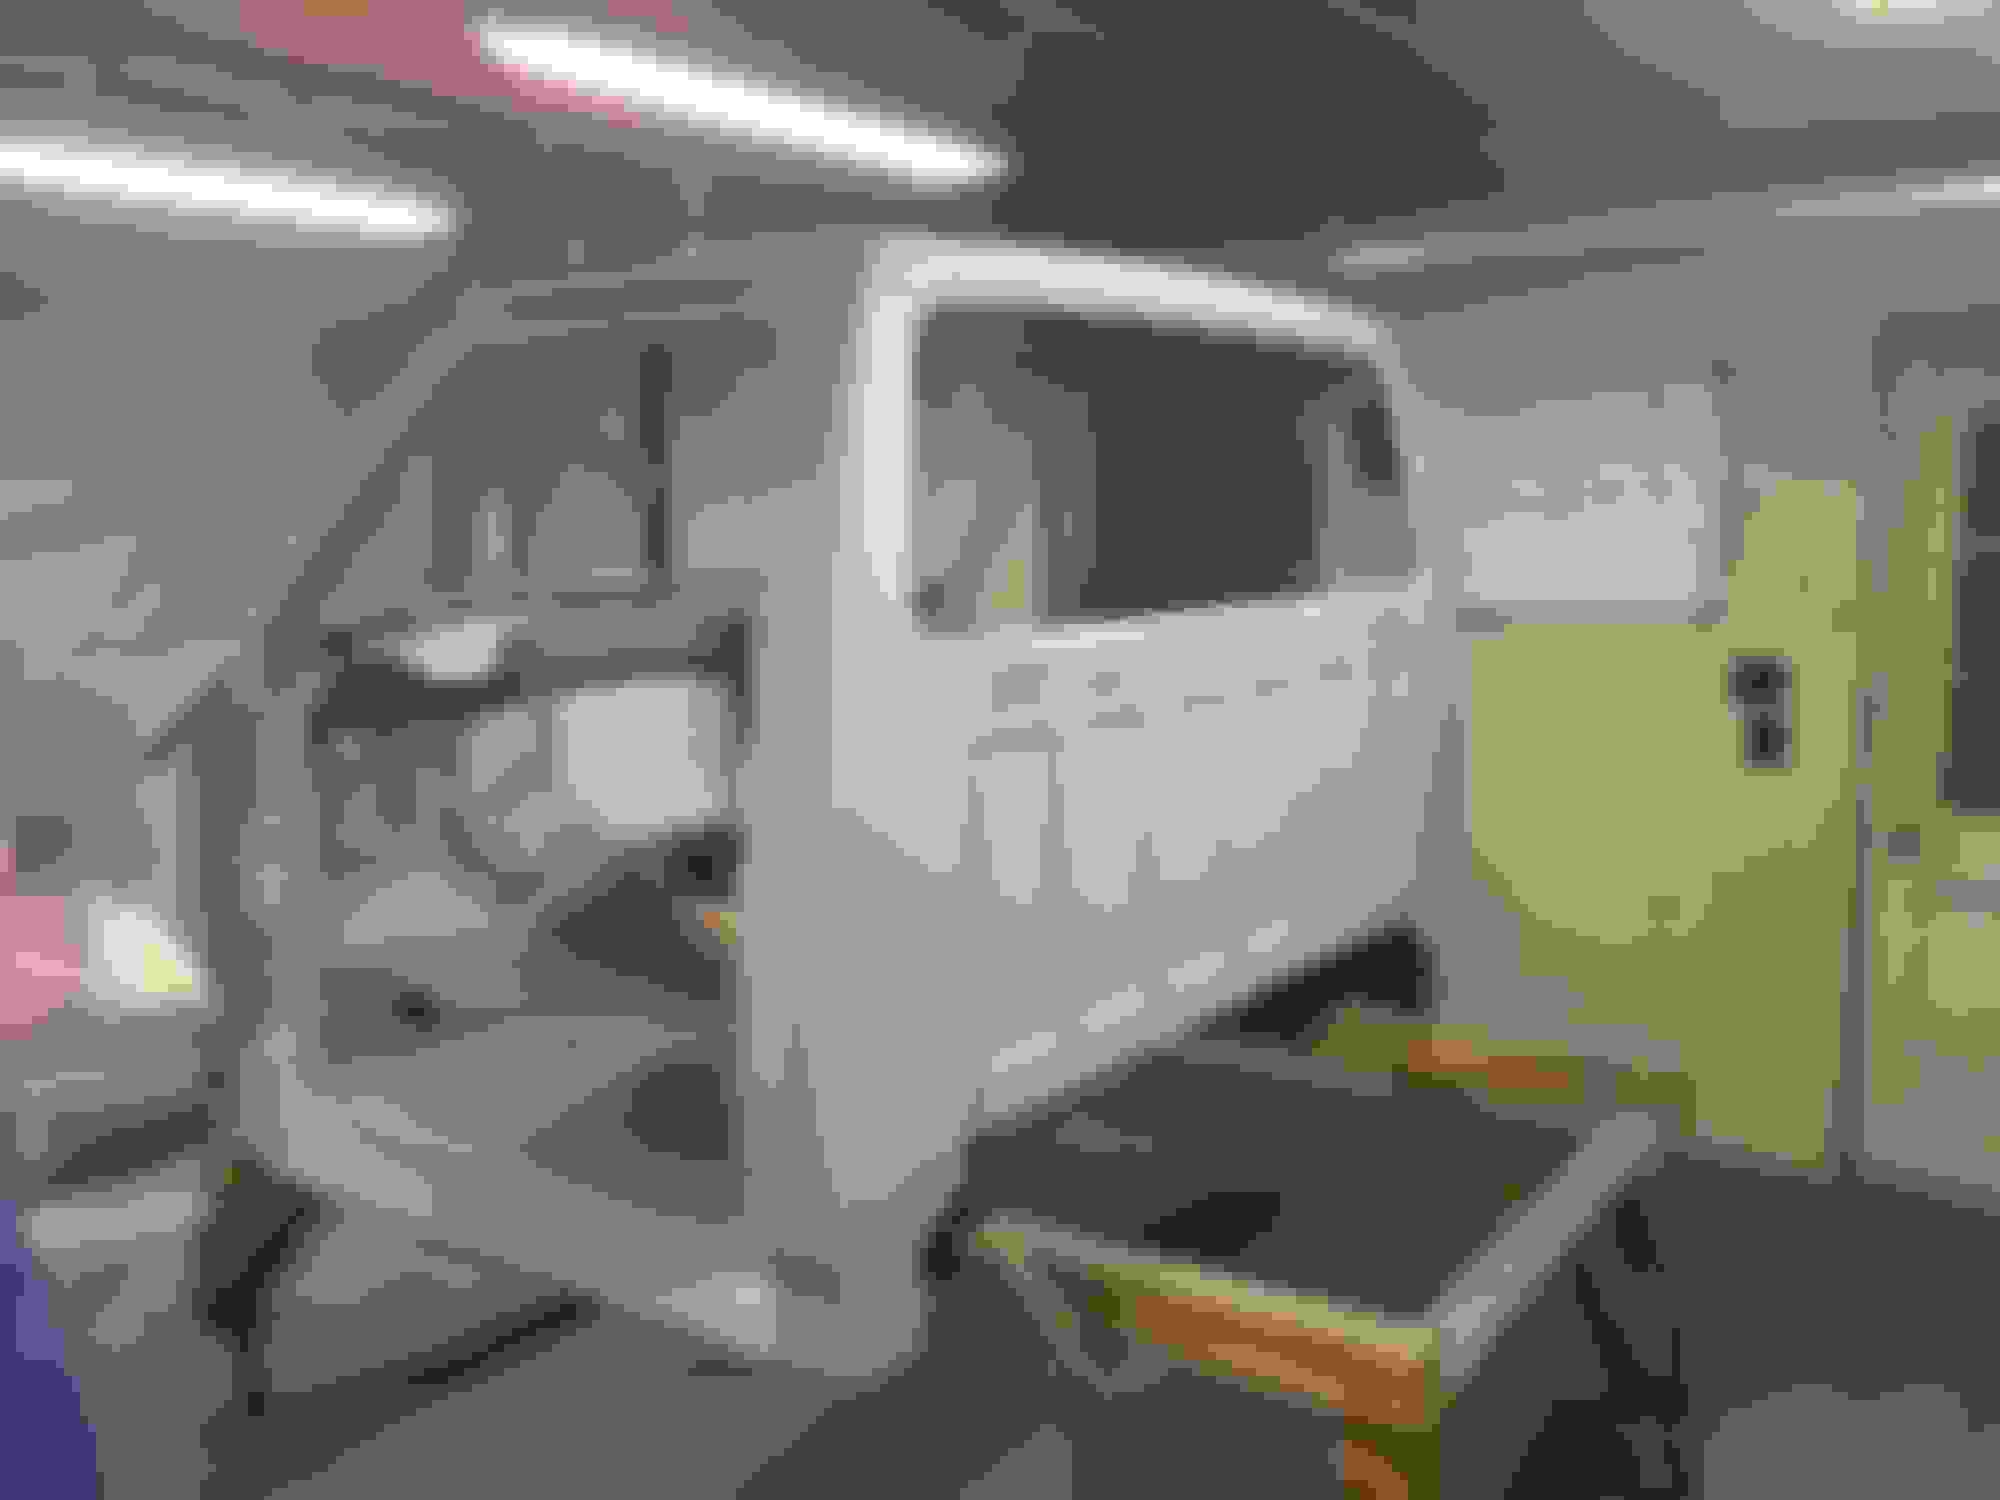
After that I prepped the body for primer. While sanding the entire body with 150 grit, each spot of rust I found I ground or wire wheeled away. Then I sanded the spot with 80grit followed by 150. It seemed like I would never stop finding little spots of surface rust. There was some bondo work done previously to the back of the roof and on the sides of the rear window, which I took down to metal, where there was more rust. Not real bad, but some.
There was some stubborn areas around the rear window. It might be a little hard to see in these pics. I didn't want to take too much metal away with a die grinder so I used a wire wheel then sanded until they were gone.
I don't have any close up "after" pics. Maybe you can see in these final pics before epoxy and surfacer was layer down.
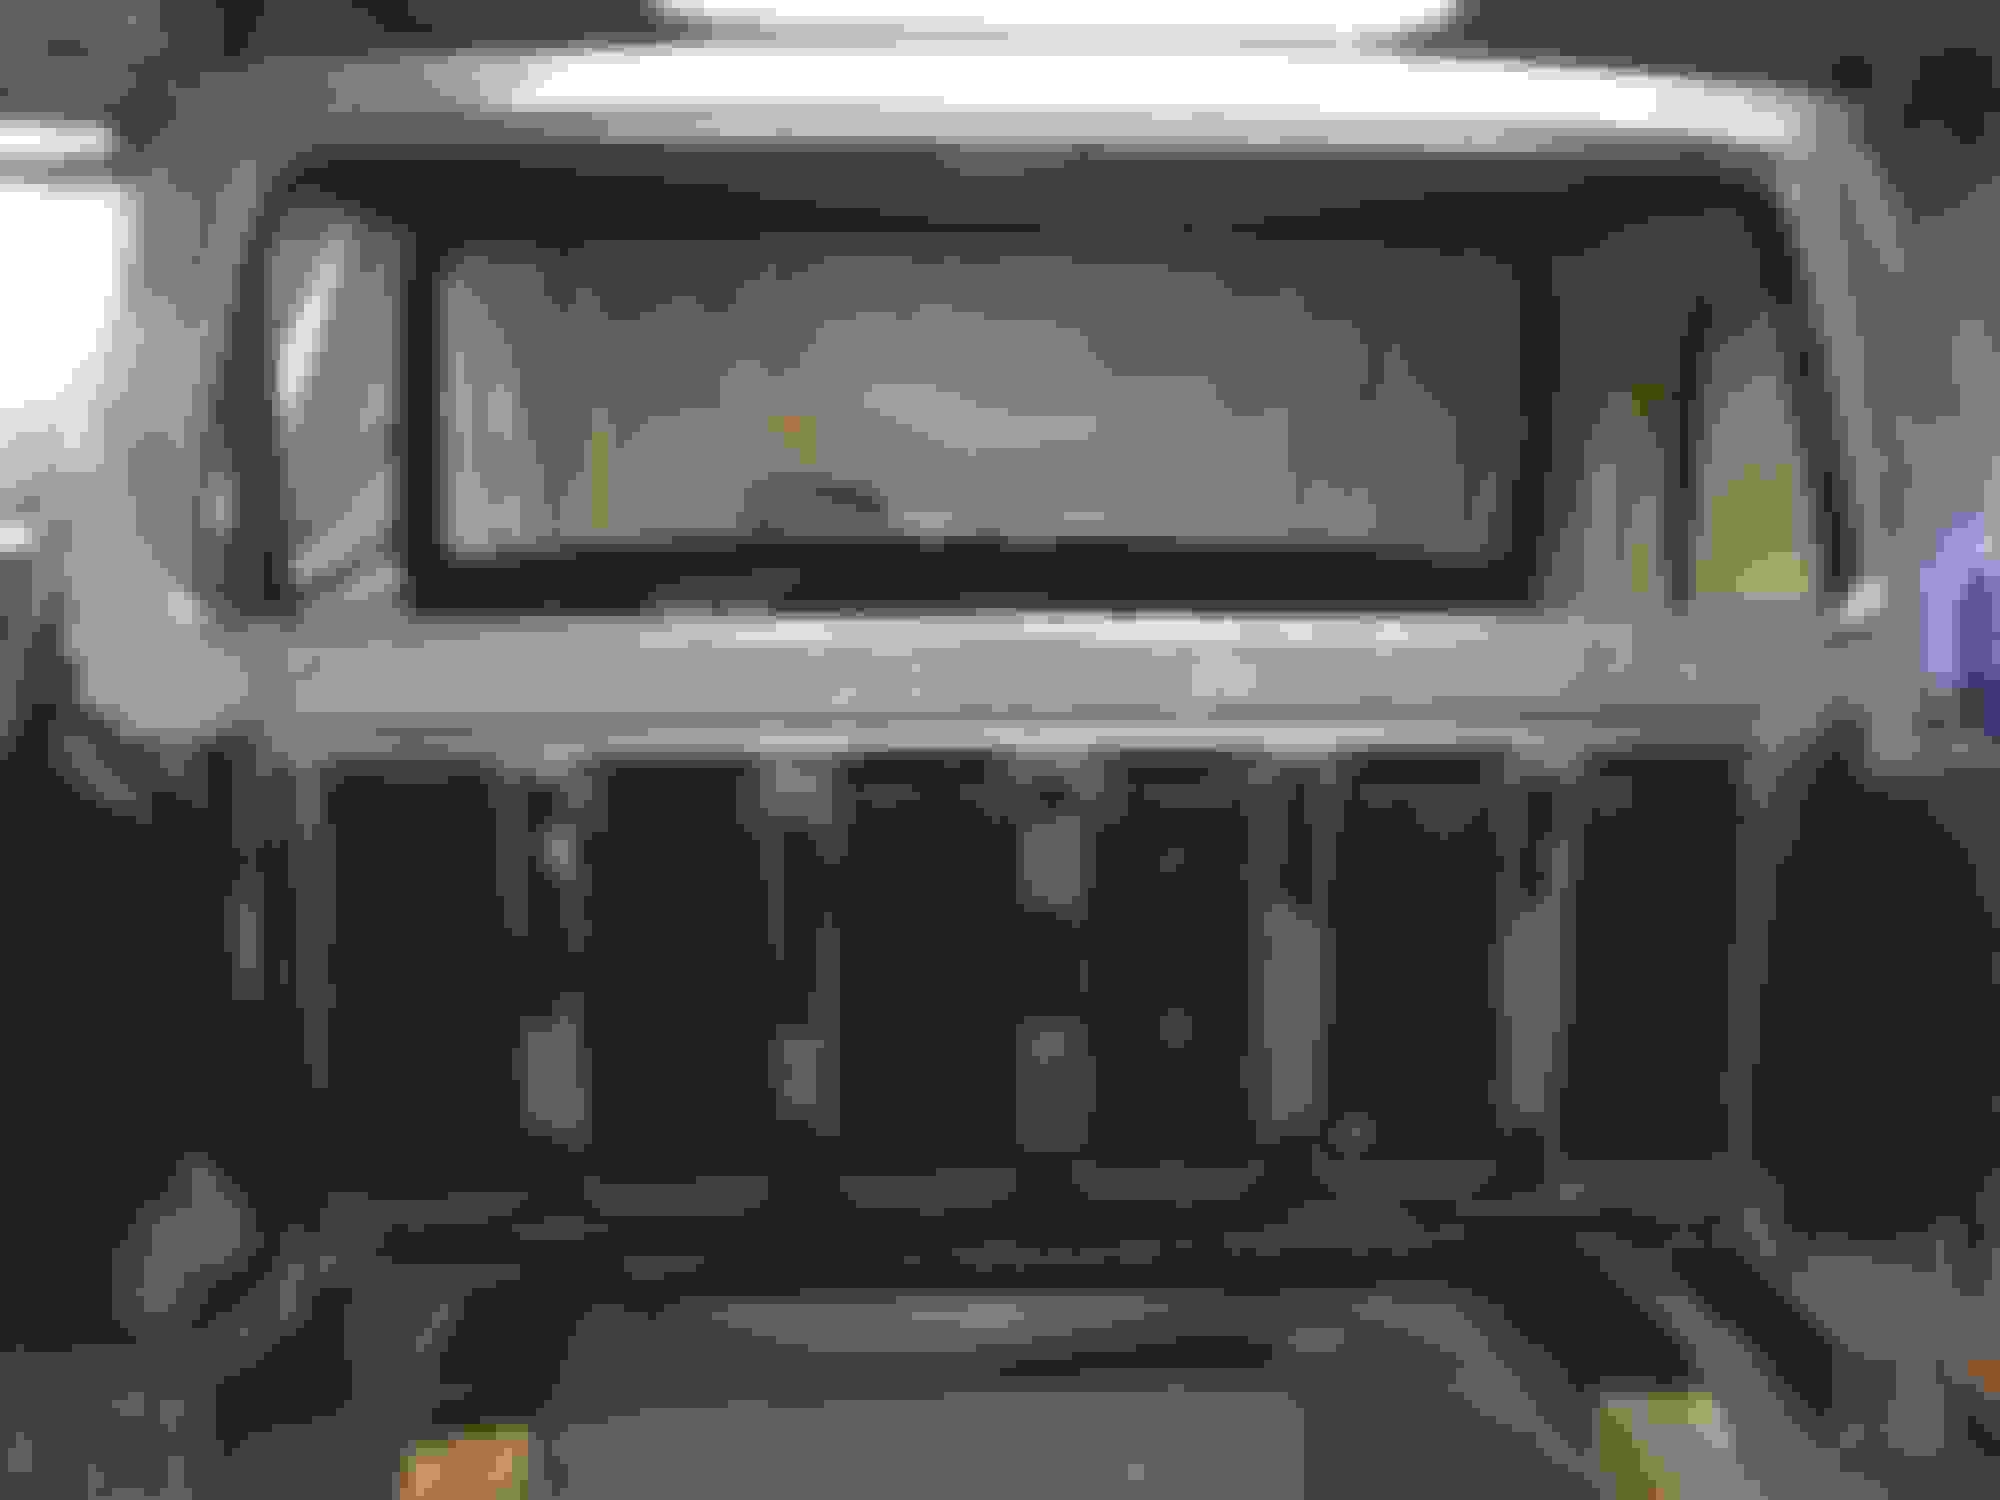
I put down two coats of Omni epoxy primer, then three coats of Nason 2K surfacer. I went lighter on the area that was bowed and the passenger side pocket with the 2K, so I wouldn't have as much sanding to do when I start applying filler. I probably should have done that on the cab corners and the other dents, but for some reason I didn't.
Looking good! Reminds me of that stage on Dad's truck. Although I didn't do the work, it was done much the same as yours and I got to watch quite a bit of it. Tedious, but the end result will be good.
At first I just never got around to it, then I thought it might be a PITA to fish it back in there. So, I just left it. It would have been easier spraying the roof if the pigtails weren't hanging out of the holes. The sockets come off I think, maybe I'll do that.
I decided to try and get the body filler on the back of the cab done today. It came out ok, there's still a couple little spots I might have to hit with some spot putty. Maybe some filler...
The debate of applying filler over epoxy or to bare metal was my life for the last 24 hours and I still wasn't sure what to do. I was always told to apply filler to bare metal. After sanding the old filler of the cab and seeing rust I figured to put the epoxy first, then the filler.
But then I figure, if I spray epoxy then put on filler, then I'm gonna sand through the epoxy around the edges of the filler. The idea of putting the epoxy first is to get protection under the filler, right?
What if it needs more filler?
Am I supposed to lay more epoxy down over the filler and the now showing metal, then put the second coat of filler on 24 hours later?
Sounds kinda silly! I think it's better to just take it to bare metal and then seal over it with epoxy plus you only have a 72 hour window then have to scuff and recoat with the epoxy anyway. Sounds like a lot of epoxy.
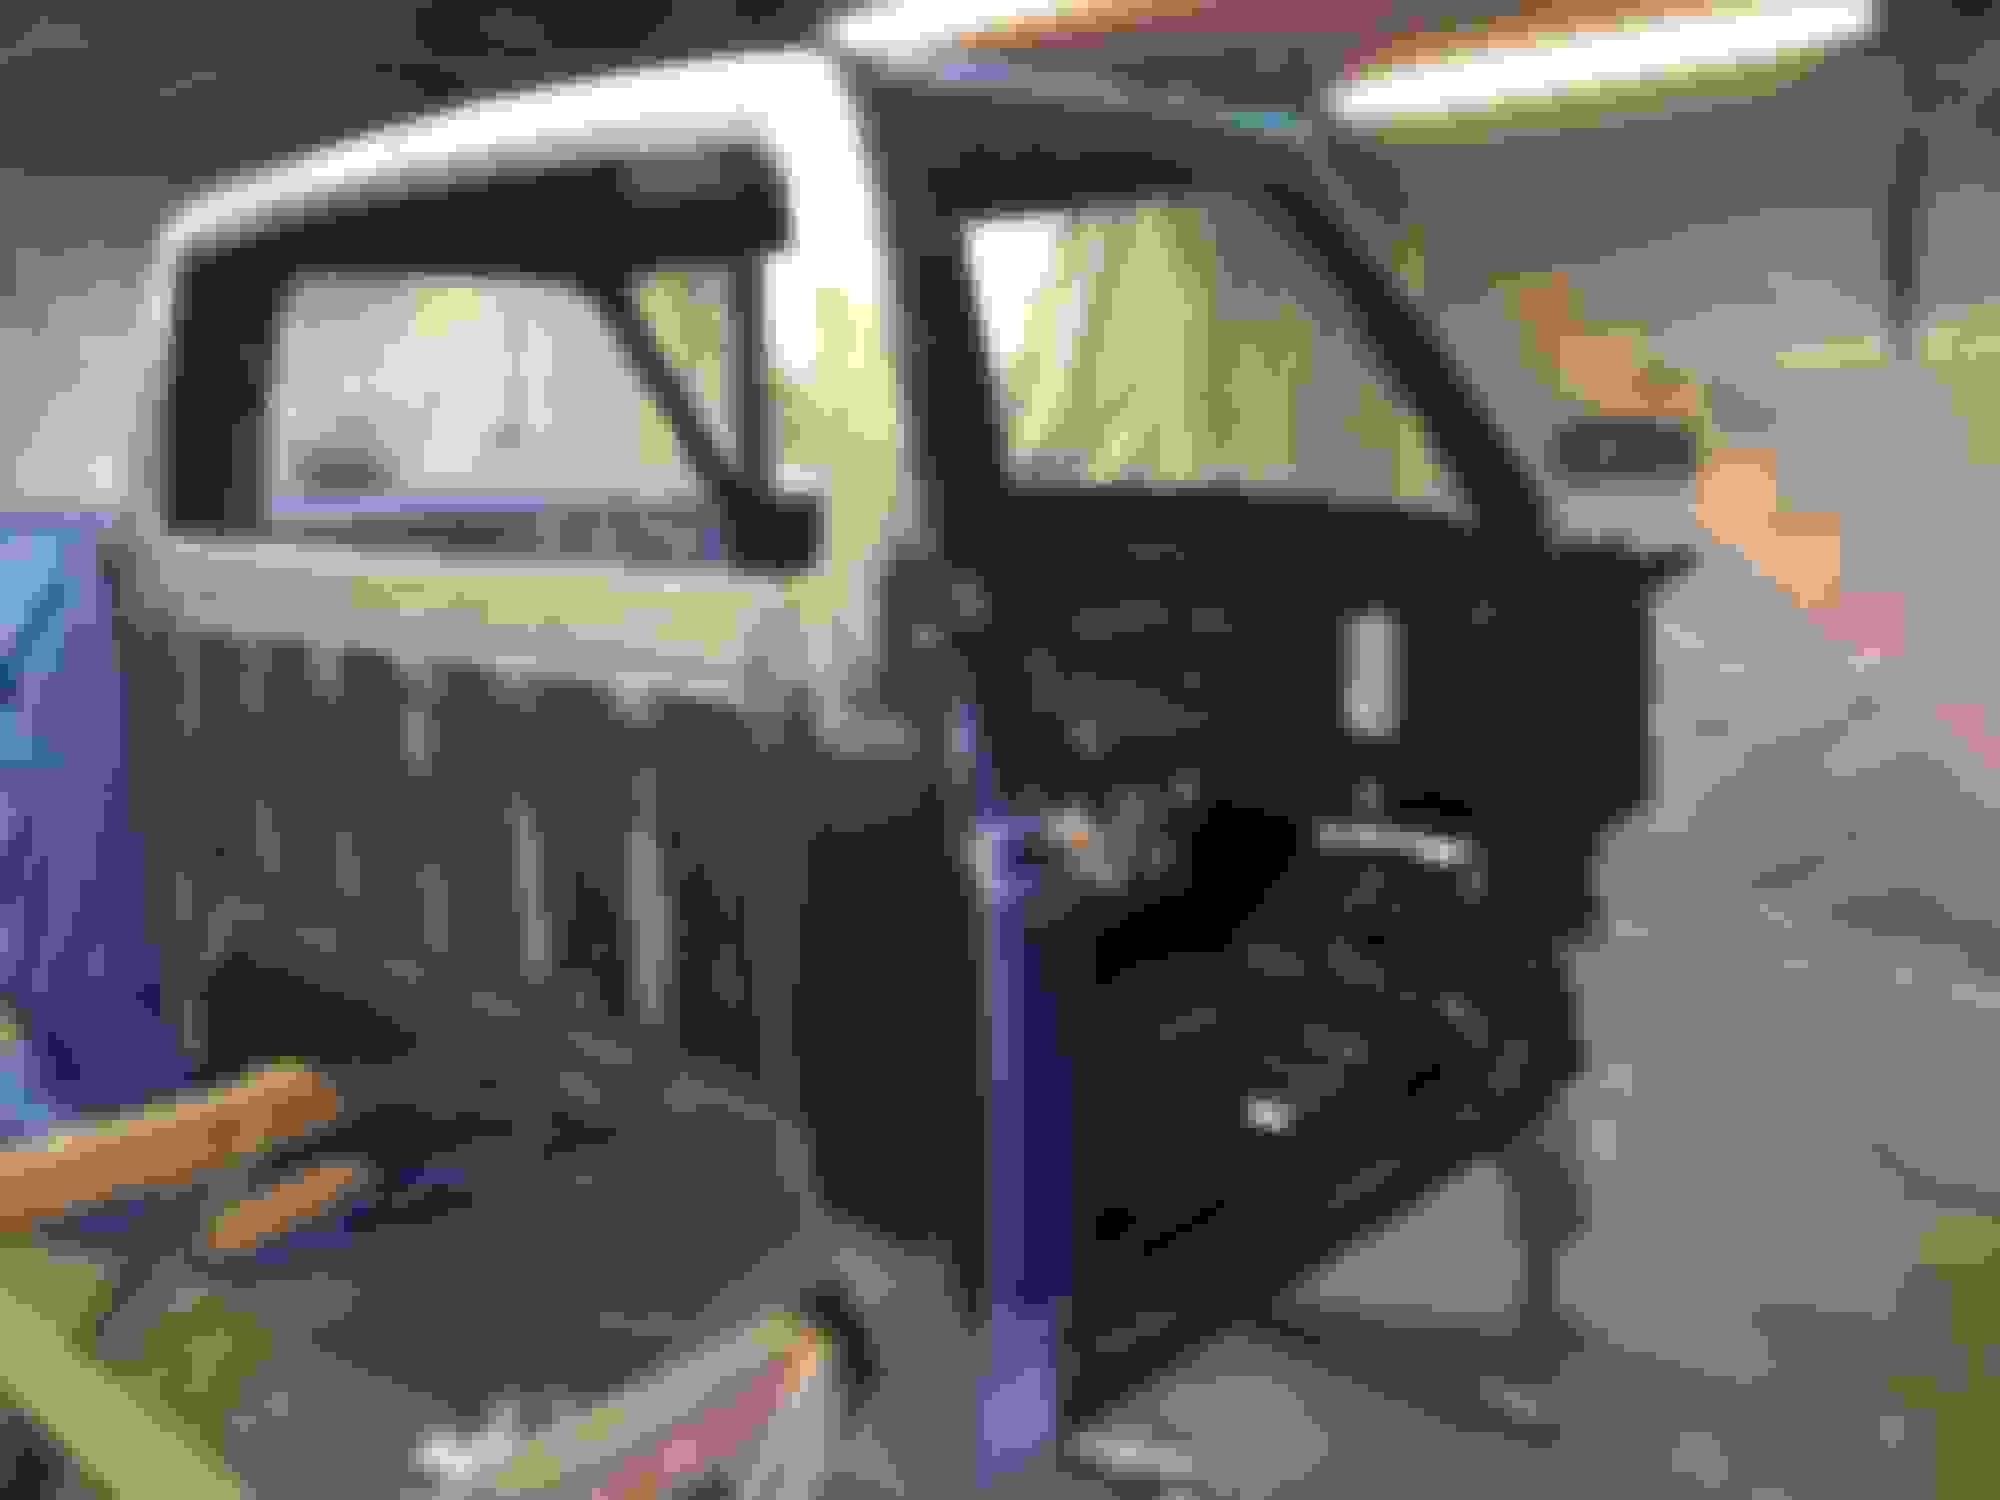
The day before yesterday, I tackled the driver side body work. I stripped down the cab corner and area to the left of the rear window to bare metal and filled those areas.
After I got those two areas sanded and smoothed out w/220, I sanded the lower door posts down to about the POR 15 underneath These areas I'm not bringing totally down to bare metal, I plan to apply filler over some epoxy.
I prepped for epoxy and sprayed two coats on everything. Then two coats of 2K on everything but the door posts.
 06-16-2015, 10:06 AM


 wish me luck


 plus you only have a 72 hour window then have to scuff and recoat with the epoxy anyway. Sounds like a lot of epoxy.