When you click on links to various merchants on this site and make a purchase, this can result in this site earning a commission. Affiliate programs and affiliations include, but are not limited to, the eBay Partner Network.
Luxury Liner is a good example of "a heavy layer that is fairly stiff". Here's what Second Skin Audio says about it:
Luxury Liner is the final layer of material in a multi step approach in the reduction of road noise.
The automotive industries heaviest aftermarket Barium Loaded Vinyl Barrier for sound attenuation and road noise reduction. Match up Luxury Liner with a closed cell foam like our Overkill or Overkill, on top of your vibration damper to block the transmission of airborne sound waves such as road noise, engine noise, and exhaust drone!
And their Overkill is a "thin layer of foam". The foam decouples the sheetmetal of the cab from the Luxury Liner so it doesn't vibrate and, therefore, doesn't pass on the noise.
Looking at their site, I think I used the Luxury Liner Pro, not just the base Luxury Liner. The Overkill might end up in that car as well
Yes, I did, and thank you for answering as it's the kind of answer I was hoping (er, expecting) to see. Seriously, I'll bookmark this post when I get home (if I don't forget) as I'm gonna want to do something like this to my own truck when it becomes a project again.....
Yes, I did, and thank you for answering as it's the kind of answer I was hoping (er, expecting) to see. Seriously, I'll bookmark this post when I get home (if I don't forget) as I'm gonna want to do something like this to my own truck when it becomes a project again.....
Shouldn't we have a sticky on this? I remember writing up something a bit more lengthy a few years ago. If that isn't enough then I could put together something with some drawings to help understand. Thoughts?
Diesel_Brad, I'm just about ready to start painting the underside of the cab and was wondering what you used to prep the floor of your Bronco with. Did you just sand blast and then use a prepzall or a similar product? Every thing I have painted with POR I prepped with the metal prep that they sell. But that involves washing the piece that your painting with marine clean and then using the metal prep and then rinsing with water. This is a little hard to do in the garage. I can't roll the cart out side because of the height now that the cab is on its back.
I got a couple of guys over to help me tilt the cab right side up again and was gonna take it out side and wash and prep the underside. I decided to hold off on that for right now. Today I wire wheeled all the old seam sealer off the firewall inside and out. And finally removed the windshield. These are the things I have left to do.
REMOVE DOORS
The passenger door has to be adjusted a little bit. The drivers side door fits very well. Although, that could change once the cab is on the frame. I've heard about drilling 1/8" holes through the hinge to help line them up during re installation.
Gary, I was looking at your build thread and I noticed in post# 4482, the hinges were on the cab still. We're those removed at any point or did they stay on the entire process? In the last few posts your doors are on and you guys were talking about door fitment. I've never adjusted doors before and I was wondering about the process. While removing the doors were these holes drilled? It looks like they were... on the bottom but I don't see any on the top. Looking at my door you can see the slop in the holes of the hinge attached to the door, so I get that part to move it in and out.
But what about left and right? I don't see any slop in the holes of the hinge that attaches to the cab.You don't shim in between the door and the hinge, do you? Did your body guy figure that out in the primer stage, with the entire body on the frame? Weatherstripping and all? I'm sure you mentioned some of this stuff in your thread....somewhere, but I'm still a few pages behind.
SEAM SEALER
I've got some POR-15 seam sealer for the underside and in the cowl. I'm not sure if im using it everywhere or not. It's a little expensive.
STRIP, CLEAN, PREP AND POR-15
Every where I'm going to POR I need to strip to bare metal, wash with marine clean and spray with the metal prep. These areas are the underside, insides of the cab corners, floorpans, topside of rockers, around the trans tunnel and inside the cowl (which I totally forgot about). I figure I should get ALL these areas stripped, so I'm not washing it a hundred times.
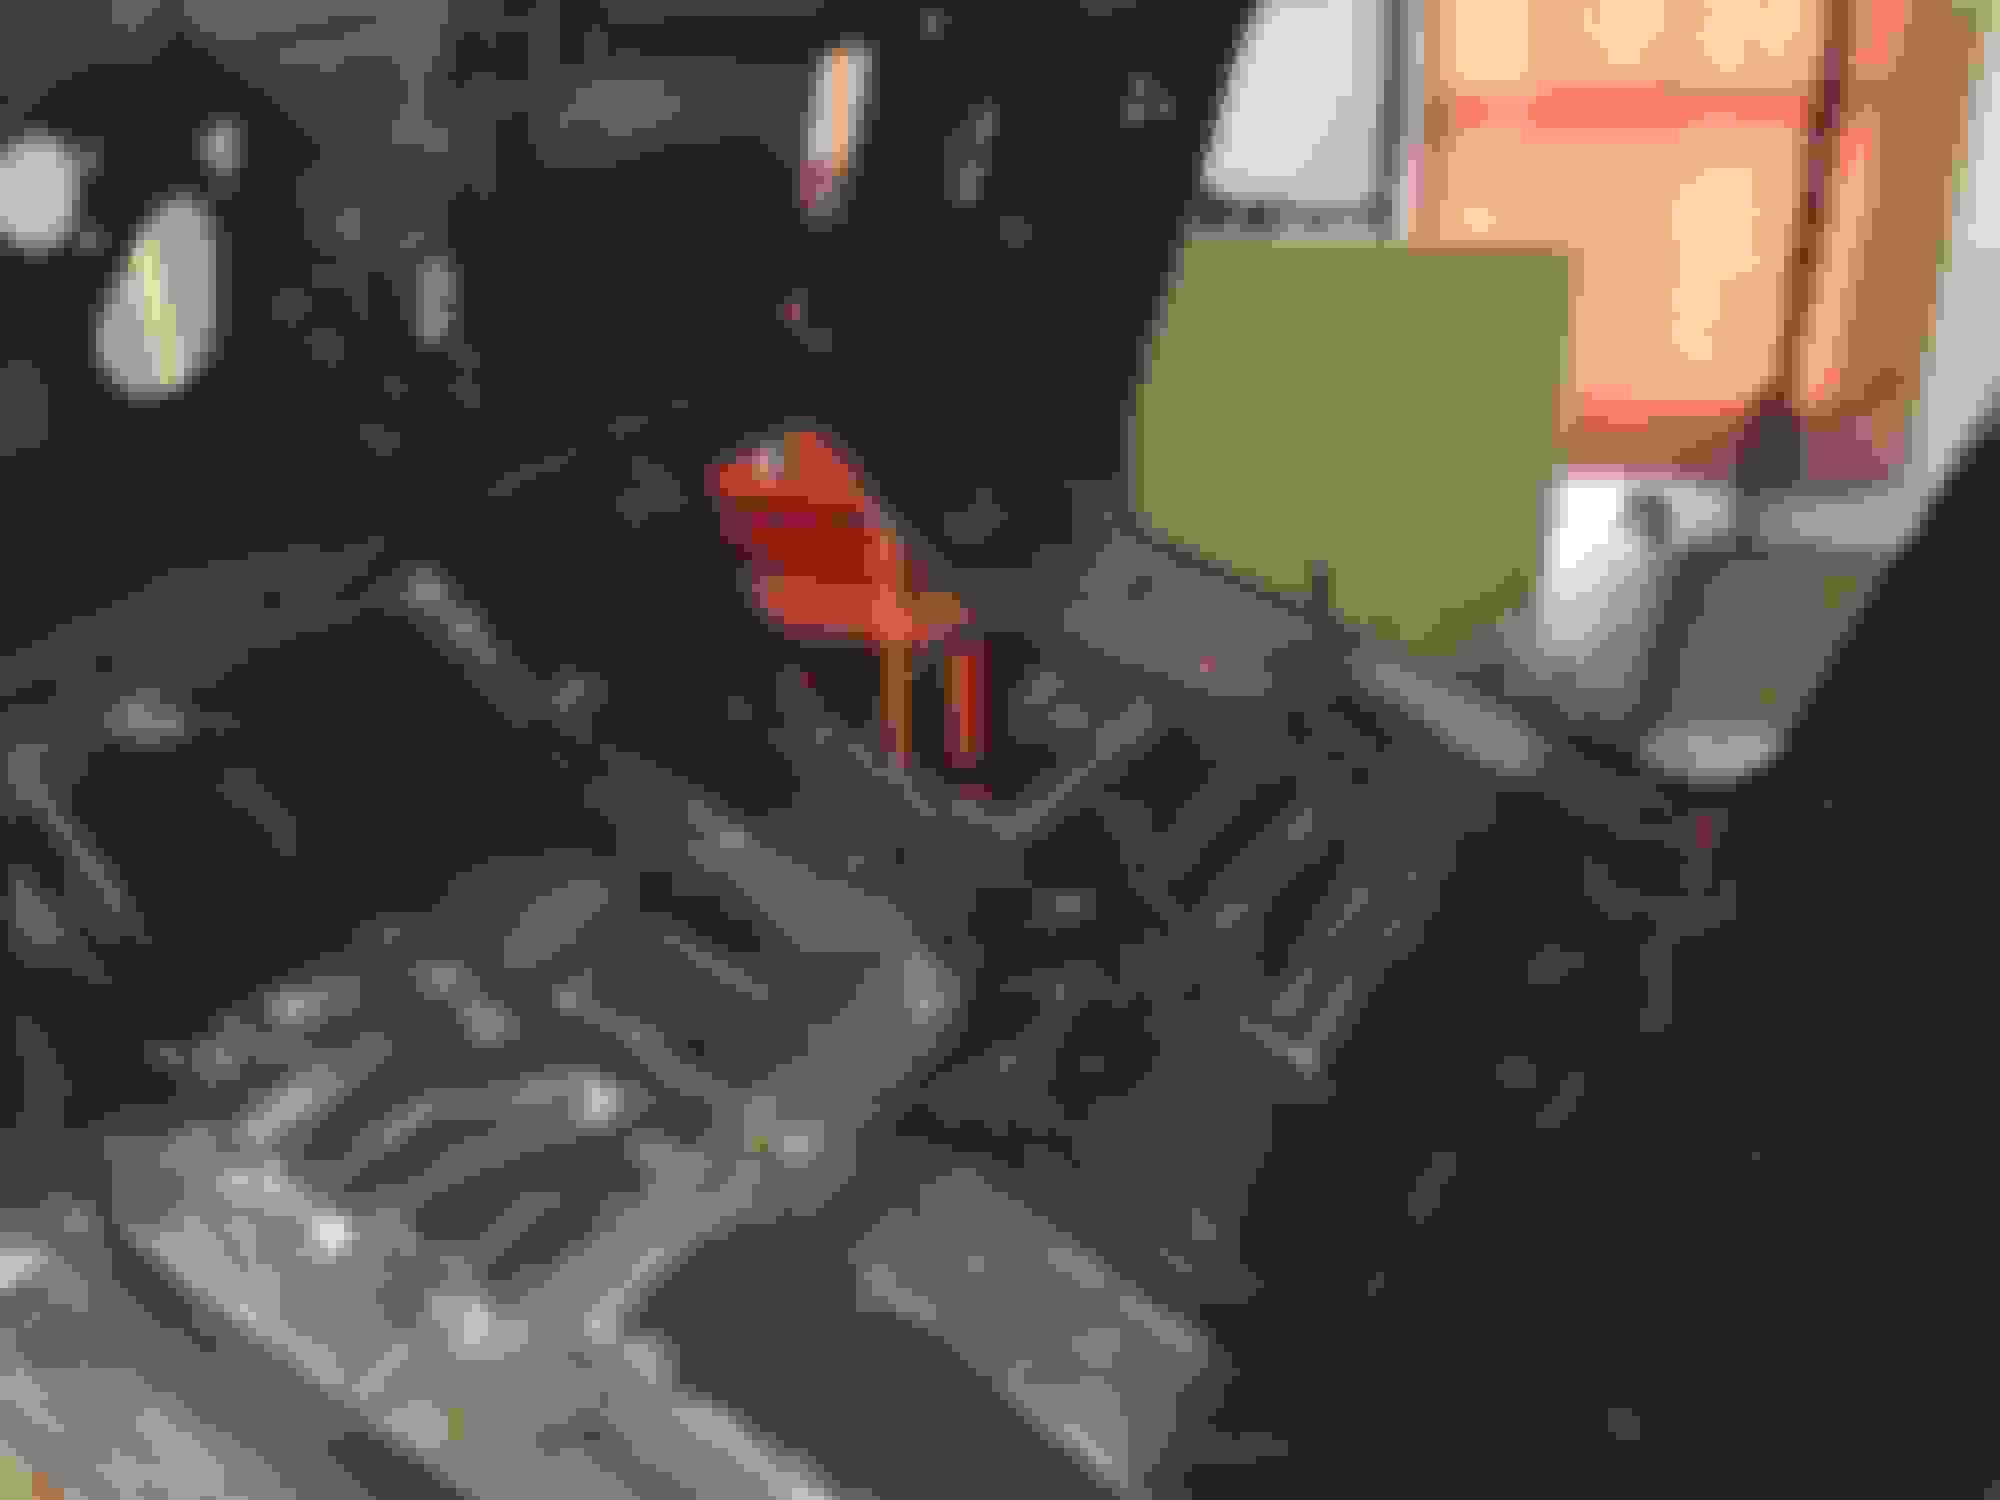
The underside of the cab, floorpans, trans tunnel and the areas under the seat tracks that I welded are stripped and ready for wash and prep.
I'm thinking the only way I can strip the inside of the cowl is to sandblast it. I have to somehow get the old seam sealer out of there too. It's lifted up and was leaking before tear down.
I have a little more paint to strip off the rockers and maybe sandblast the inside of the cab corners also.
AL'S LINER
After the interior spots have been painted with POR-15 I'll be using going over that with the bed liner. The directions on Al's site say to scuff surface with 36grit or coarser or sand blast, wipe down surface with solvent, then spray some self etching primer followed by the liner.
BODY WORK
There's still some work to be done to the back of the cab, below the window. It was bent in quite a bit. I straightened it out a little a while ago, but it still has to be worked out the rest of the way.
I have to apply body filler to the out side of the cab corners and a few small dents here and there.
After the POR is applied to the under side I have POR's brand of reinforced filler to cover the areas that were welded. Did I tell anyone that their sponsoring this build? Lol!
The door skins aren't in the best shape, but not the worst either. There is one spot that I can see where it had rusted through and a couple spots where the metal might be thin. My father In-law brushed some Rustoleum on these spots to stop the rusting process. On the bottom of the drivers door there's some rust also. I don't know if I can get away with applying some reinforced filler on the worst spots and then finishing them or if I have to cut them out and put new metal in. I don't have a pic of the bottom of the door, I'll get one tomorrow
PAINT
I'm a little uncertain what type off paint job I should preform. Being a full strip of the factory paint, or should I just scuff it up with some 180 grit and spray with hi build from there. There are some spots where surface rust had started and obviously have to be taken down to bare metal and I don't know exactly how to take care of those spots. Can just those spots be epoxy primered or do these spots justify stripping the whole cab and starting from scratch? If anyone has some insight or opinions on this, I'm all ears.
I sandblasted the inside of my bronco tub.
Then POR15
then sanded with 120 grit
then Bed liner.
I am not a fan of anything POR15 other than their rust preventive paint.
I would buy a 2 part seam sealer with a cheap application gun
You've had poor results with these products? I wanted to use the body filler on the bottom because it is supposed to adhere to the POR very well. Most fillers I've used are best used on bare metal. The seam sealer is supposed to be a thicker version of their rust preventive paint.
Gary, I was looking at your build thread and I noticed in post# 4482, the hinges were on the cab still. We're those removed at any point or did they stay on the entire process? In the last few posts your doors are on and you guys were talking about door fitment. I've never adjusted doors before and I was wondering about the process. While removing the doors were these holes drilled? It looks like they were... on the bottom but I don't see any on the top. Looking at my door you can see the slop in the holes of the hinge attached to the door, so I get that part to move it in and out.
But what about left and right? I don't see any slop in the holes of the hinge that attaches to the cab.You don't shim in between the door and the hinge, do you? Did your body guy figure that out in the primer stage, with the entire body on the frame? Weatherstripping and all? I'm sure you mentioned some of this stuff in your thread....somewhere, but I'm still a few pages behind.
He took the hinges completely off as he installed new bushings in them and then painted them. But he didn't drill any alignment holes - he just has enough experience to be able to hang doors without any extra holes.
As for slop for alignment, there really is quite a bit. The hinges bolt though the holes to a plate that serves as the nuts, and it slides with the hinge and boots. But, this type of alignment is not really what Brad and I were talking about. Instead it was how the door is shaped in comparison to the opening. And, from the factory the answer is "poorly". Regardless of how perfectly aligned the door is with the opening, the doors don't have the right shape to fit the opening neatly. So, John massaged the door itself, and especially the flange that sticks out around the edges of the door, to make the door a continuation of the body lines. And he did that in the primer stage, before weatherstripping. He changed the angle of the flanges, moved creases around, etc so the door and the cab look like they were once one.
You've had poor results with these products? I wanted to use the body filler on the bottom because it is supposed to adhere to the POR very well. Most fillers I've used are best used on bare metal. The seam sealer is supposed to be a thicker version of their rust preventive paint.
I have used some of their other products before (not the body filler or seam sealer) with poor results
Not a whole lot has been done, but some. Had to set the project aside again and do some suspension and steering work to my Accord.
I finally removed the doors and the windshield, then I finished up the rust and paint removal on the inside/underside of the floor, inside of cowl, and underneath the door hinges.
The cab was rolled outside and washed w/purple power (ran out of marine clean) and then prepped w/POR metal prep. After that I soaked up some of the puddles that formed with some towels and then blew the whole thing down with compressed air.
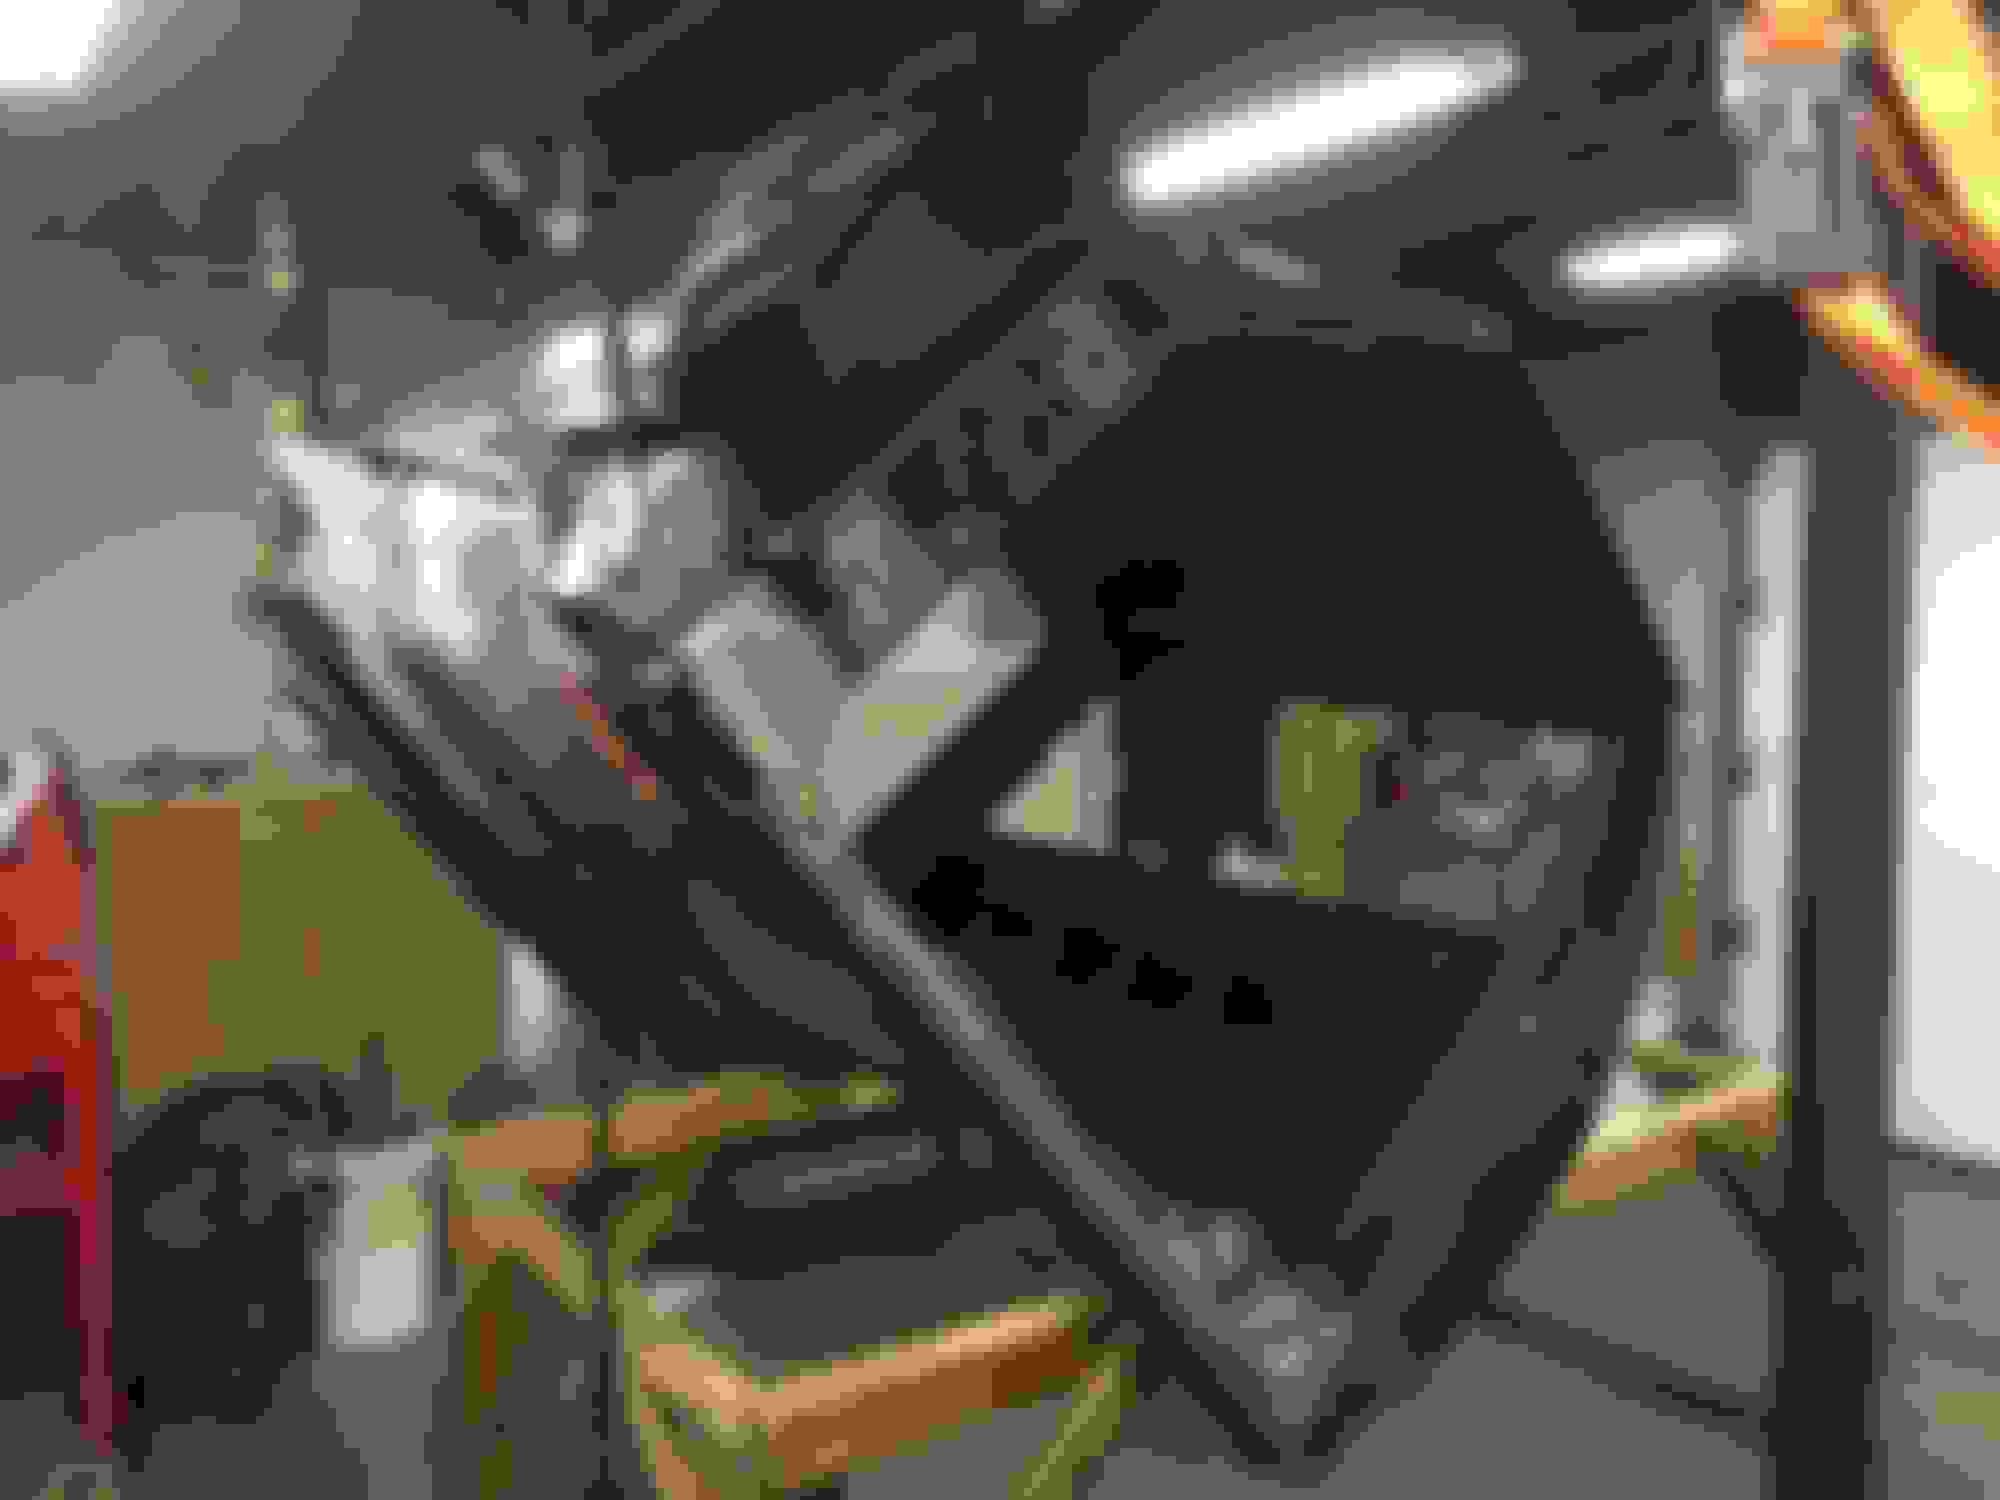
After waiting a couple days for it to COMPLETELY dry out I put the cab on its back again
First step was to seal the seams w/POR Patch. After the seam sealer was dry to the touch (2-3 hours) I put the first coat of POR-15 on. I waited another 2-3 hours and put the second coat on.
The seam sealer takes 96 hours to fully cure. Once cured the cab was put back down and the process was repeated on the inside and in the cowl too. I only sealed two joints inside the cab (where the firewall meets the floor and where the back panel meets the floor) primarily where there was rust inside the seams still. All the rest of the seams will be done with a two part seam sealer after primer has been layer down.
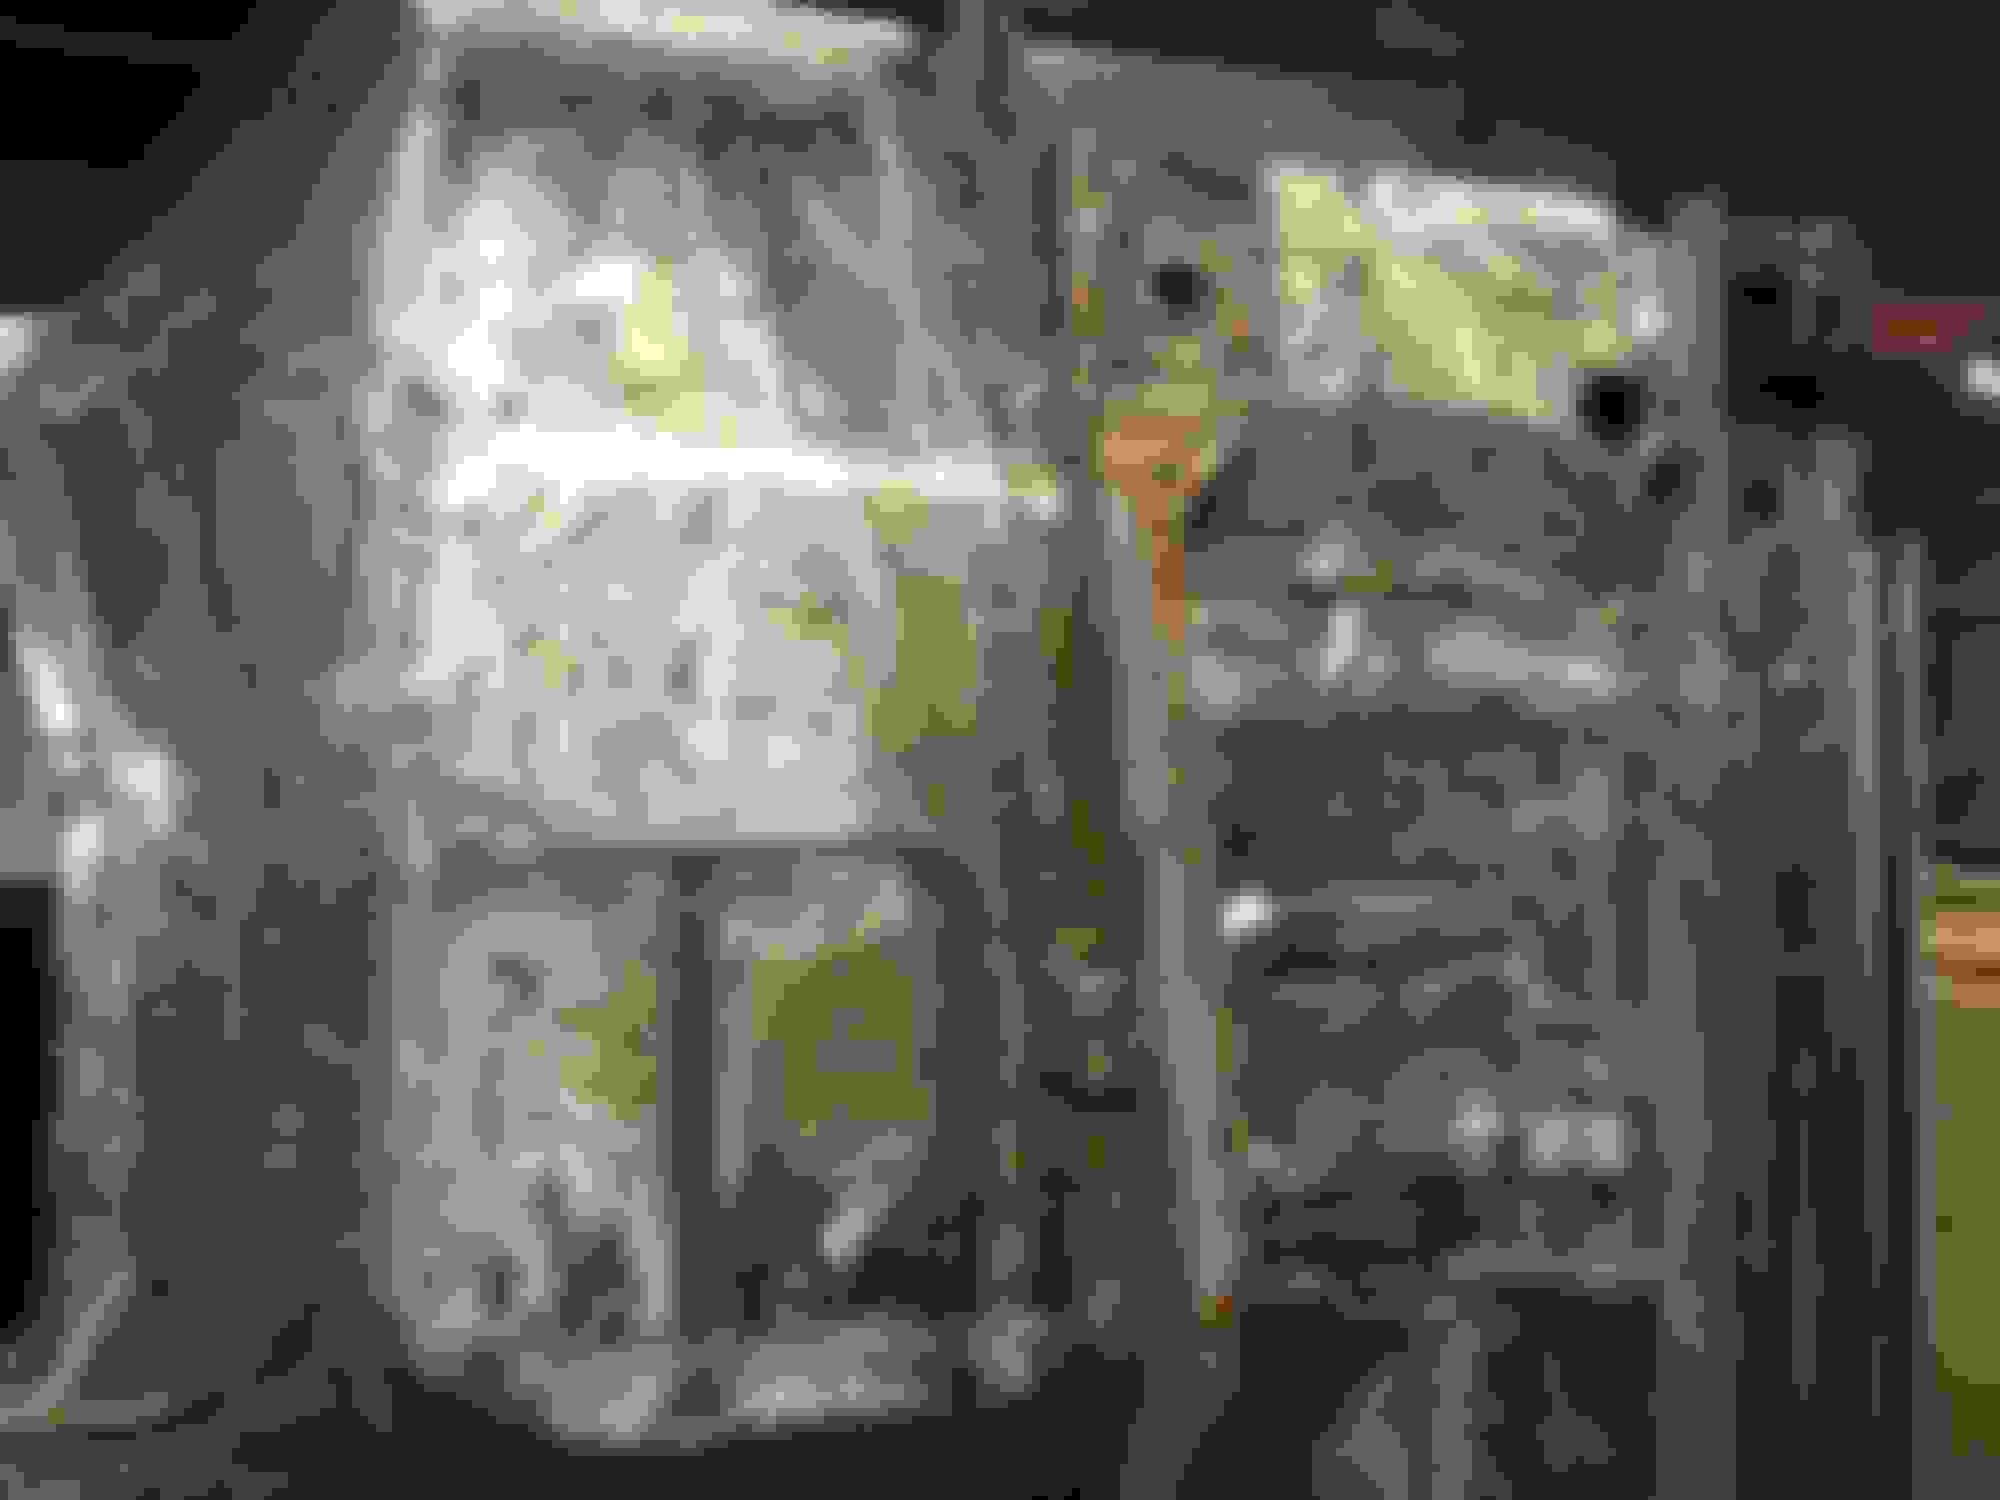
All the jambs, pillars and the firewall (inside and out) have been sanded with 180 grit. There's still the damage to the rear panel, but I'm probably going to spray everything with epoxy primer except for that area and the floor. Them I can work on getting that back panel straightened out.
Oh, I almost forgot, I also welded a new peice on the firewall where the PO had drilled a bunch of holes. You can see it in one of the pics.
 04-06-2015, 09:38 AM