Newbie 85 f250 frame off resto (Image Heavy)
#286
 03-06-2014, 09:54 AM


They're a little expensive through NAPA 20$ for each module connector. The coil connector is reasonably priced at 7$
Here is a site where they're cheaper, but the ignition coil connector comes in a ten pack. The other connectors are sold in singles. 7-8$
Ford Clips And Fasteners
Here is a site where they're cheaper, but the ignition coil connector comes in a ten pack. The other connectors are sold in singles. 7-8$
Ford Clips And Fasteners
Pico Wiring Accessories 2013 Catalog
Automotive Electrical Connector Pigtails, Terminals, Tools and More
The Motorcraft connector catalog also lists these.
You might be surprised how reasonable OEM connectors are.
http://www.fordservicecontent.com/pu...torcatalog.pdf
If you have good numbers, I invite you to add them to the stickied thread.
https://www.ford-trucks.com/forums/1...l#post14137827
#287
03-06-2014, 10:15 AM
A note on 'dwell'.
Dwell was a problem with points because they can only pass so much current without arcing to death, and can only open and close so fast due to the cam they ride on.
Transistors don't have that problem.
See that metal 'can' on a big heatsink of the Dodge ignition box?
How fast do you think that can switch?
It is on the order of �s, that's millionths of a second.
Modern computers operate orders of magnitude faster than that '60's technology.
#288
03-06-2014, 10:31 AM
Join Date: Sep 2013
Location: New Hampshire
Posts: 429
Likes: 0
Received 0 Likes
on
0 Posts
You should also check out Pico Wiring and The Repair Connector Store...
Pico Wiring Accessories 2013 Catalog
Automotive Electrical Connector Pigtails, Terminals, Tools and More
The Motorcraft connector catalog also lists these.
You might be surprised how reasonable OEM connectors are.
http://www.fordservicecontent.com/pu...torcatalog.pdf
If you have good numbers, I invite you to add them to the stickied thread.
https://www.ford-trucks.com/forums/1...l#post14137827

#289
03-06-2014, 10:37 AM
Posting Legend
Yup. But with longer "dwell", which is really an outdated term, comes more heat. When the transistor is conducting current it is dropping about .7v and that voltage times the current equals power - that gets turned into heat. The longer the dwell the more the heat, which is the limiting factor in solid state electronics.
#290
03-06-2014, 11:03 AM
Join Date: Sep 2013
Location: New Hampshire
Posts: 429
Likes: 0
Received 0 Likes
on
0 Posts
I'm going to store the truck in a POD in my yard while I work on the body and I want to hear this thing start and run before I do so. I was planning on fastening the module, ballast resistor and solenoid to a piece of plywood off to the side and hooking up everything temporarily. I have to set up a few more things
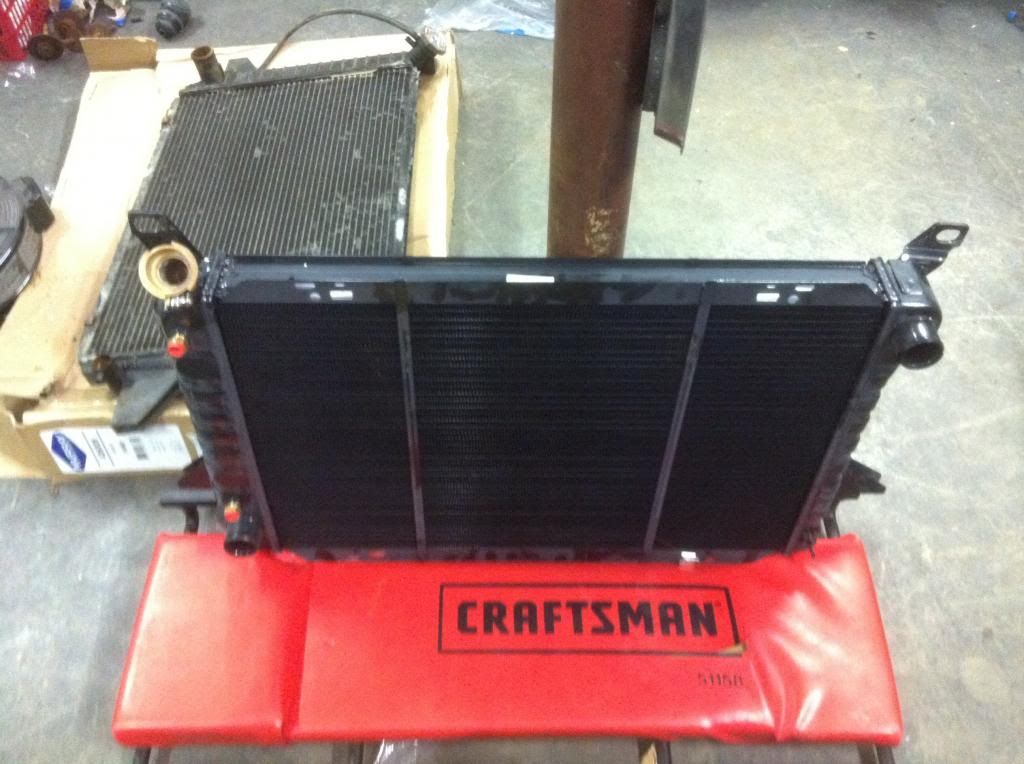
Radiator
Dizzy
Module
Resistor
Coil
3G Alternator
Megafuse and holder
Solenoid
Battery and cables
Anything else come to mind?
Radiator
Dizzy
Module
Resistor
Coil
3G Alternator
Megafuse and holder
Solenoid
Battery and cables
Anything else come to mind?
 any way, I guess I'll just cover it up or take my Lexus out of storage and tow the chassis over there.
 Now that I've kinda got the harness and module figured out should I need anything else to get it running.
I don't know if I need to get a ported vacuum switch. The one on my stock manifold has three ports. I'm not running any emissions, so correct me if I'm wrong, but I need two ports. One for the distributor and one for the carb. If I only need two ports can I just plug one?
#291
03-06-2014, 11:24 AM
Posting Legend
#292
03-06-2014, 11:33 AM
Join Date: Sep 2013
Location: New Hampshire
Posts: 429
Likes: 0
Received 0 Likes
on
0 Posts
#293
03-06-2014, 11:50 AM
Posting Legend
#294
03-06-2014, 12:13 PM
Join Date: Sep 2013
Location: New Hampshire
Posts: 429
Likes: 0
Received 0 Likes
on
0 Posts
So I guess my question is, how do I hook up the distributors vacuum advance? Just hook it up to the carb and that's it. I really don't know how all the vacuum stuff works, especially because the rats nest that was under the hood to begin with (sticks, bolts, and screws shoved in damn near every hose and vacuum line in there).
#295
03-06-2014, 01:12 PM
Posting Legend
The simple way is to run a vacuum line from ported vacuum on the carb to the advance on the dizzy. Nothing else is needed - if you don't have emissions testing.
But, some emissions testing requires everything to be there and operable, so if you have that they you will need everything. On the other hand, some emissions testing just checks the exhaust gases and the simple setup might pass.
But, some emissions testing requires everything to be there and operable, so if you have that they you will need everything. On the other hand, some emissions testing just checks the exhaust gases and the simple setup might pass.
#296
03-07-2014, 01:12 PM
Join Date: Sep 2013
Location: New Hampshire
Posts: 429
Likes: 0
Received 0 Likes
on
0 Posts
The simple way is to run a vacuum line from ported vacuum on the carb to the advance on the dizzy. Nothing else is needed - if you don't have emissions testing.
But, some emissions testing requires everything to be there and operable, so if you have that they you will need everything. On the other hand, some emissions testing just checks the exhaust gases and the simple setup might pass.
But, some emissions testing requires everything to be there and operable, so if you have that they you will need everything. On the other hand, some emissions testing just checks the exhaust gases and the simple setup might pass.
#297
04-02-2014, 07:20 PM
Join Date: Sep 2013
Location: New Hampshire
Posts: 429
Likes: 0
Received 0 Likes
on
0 Posts
Update time!
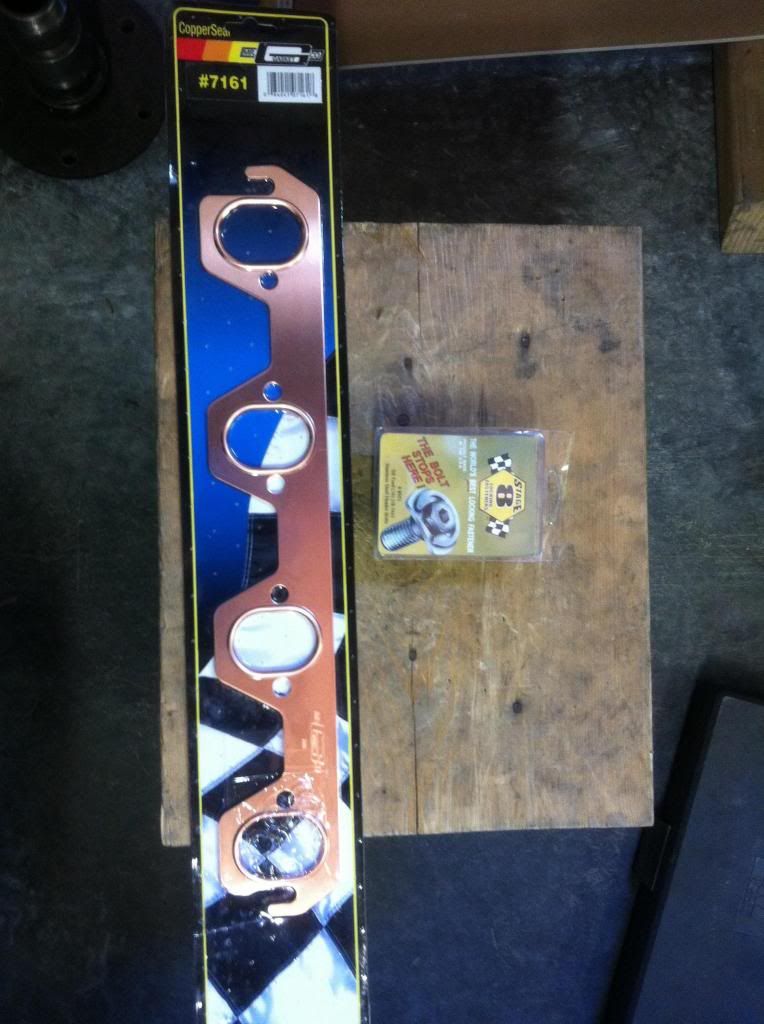
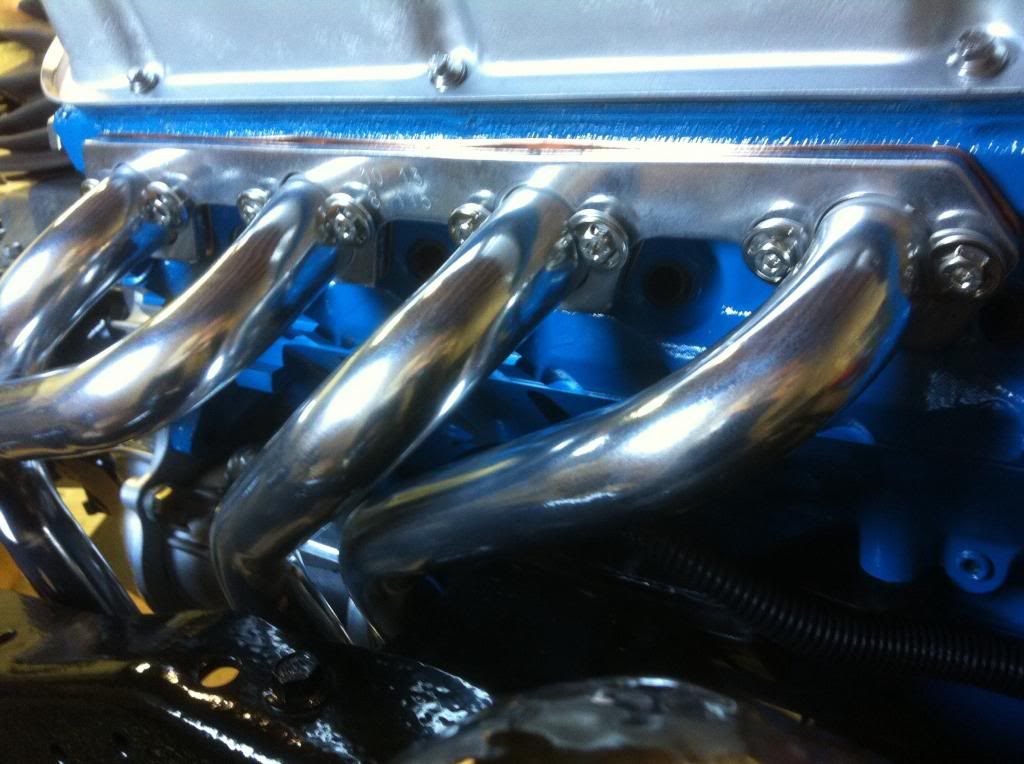
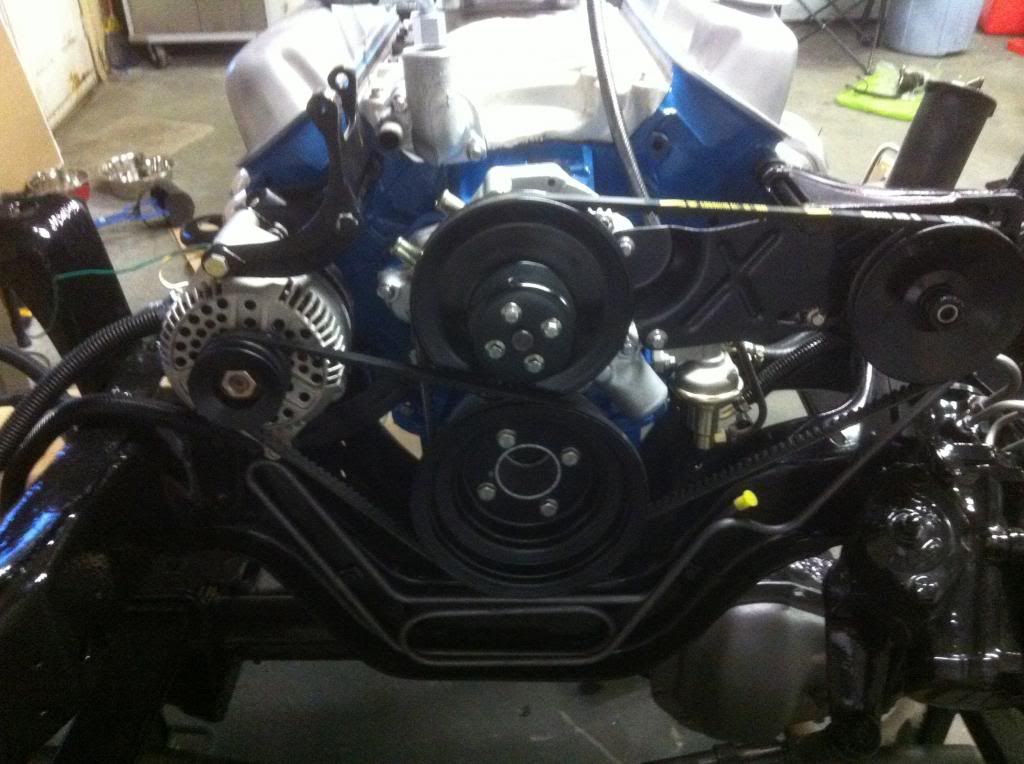
So, for the past Few weeks I've been getting everything ready to start. Ive got the headers installed, all the pulleys and belts on, oil added, oil pump primed, dizzy, module, coil, spark plugs and wires installed. The positive and negative cables are made up and connected. Radiator support is in, with the radiator installed and filled with coolant.
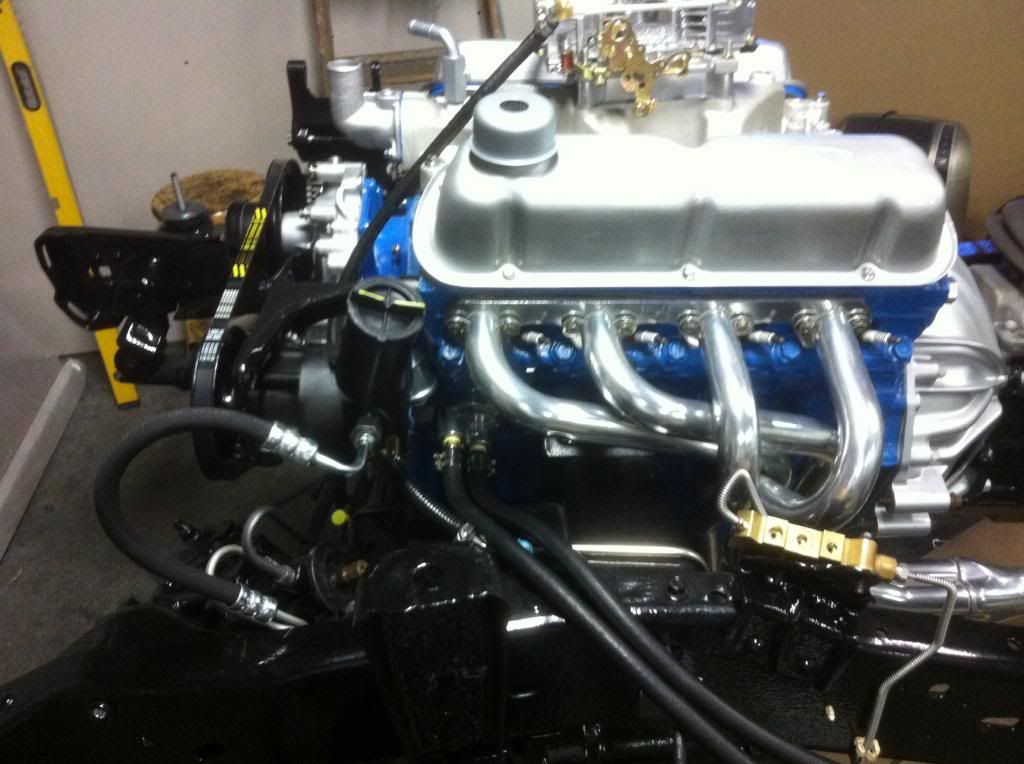
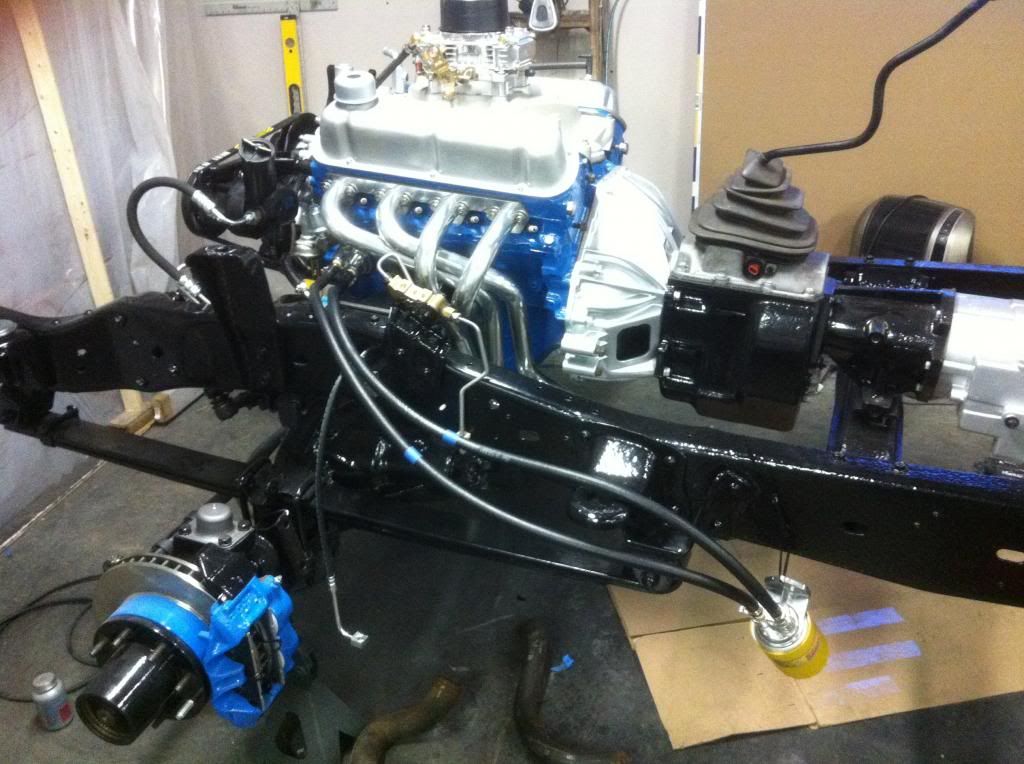


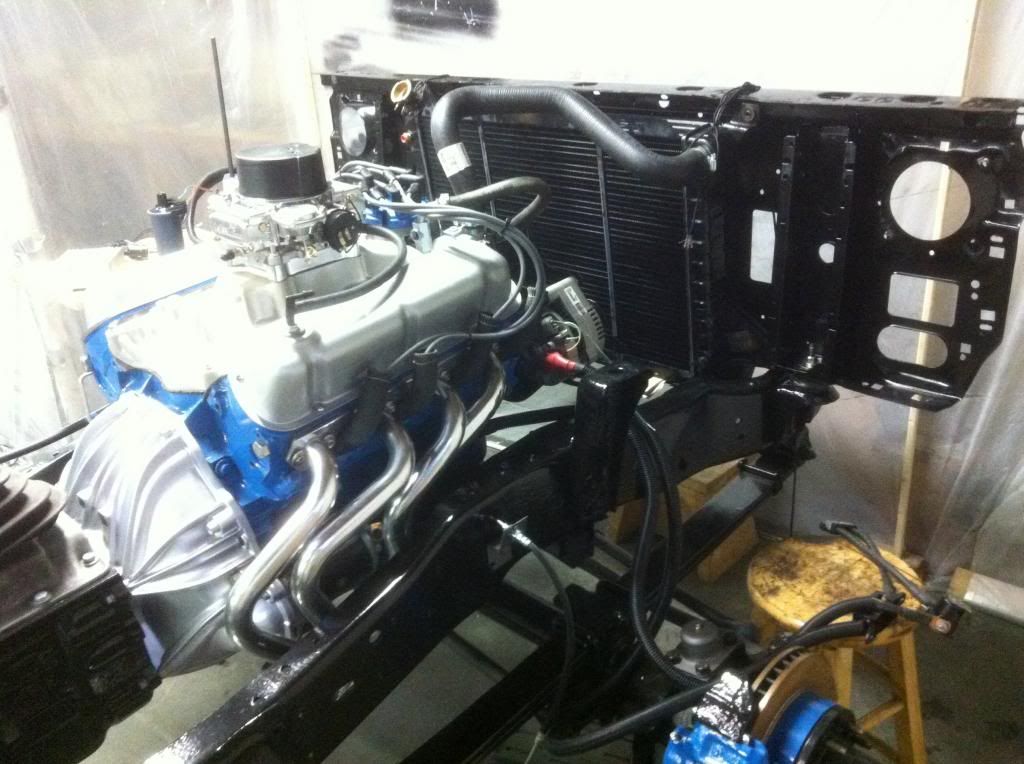
The grounds are not in these pics, but are there now, from the neg terminal to the block and then a short one from the block to the frame.
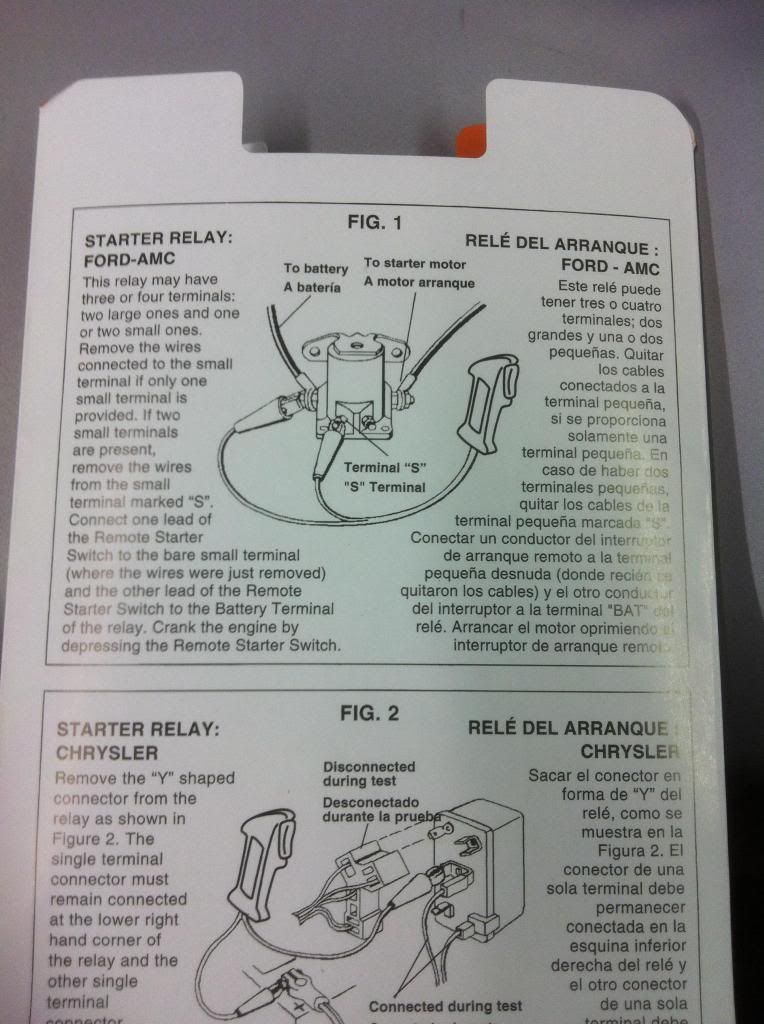
I'm using a remote starter gun to start the engine. The directions show to disconnect the coil wire from the dizzy and ground it to the block. Disconnect the primary wire from the battery side of the coil.
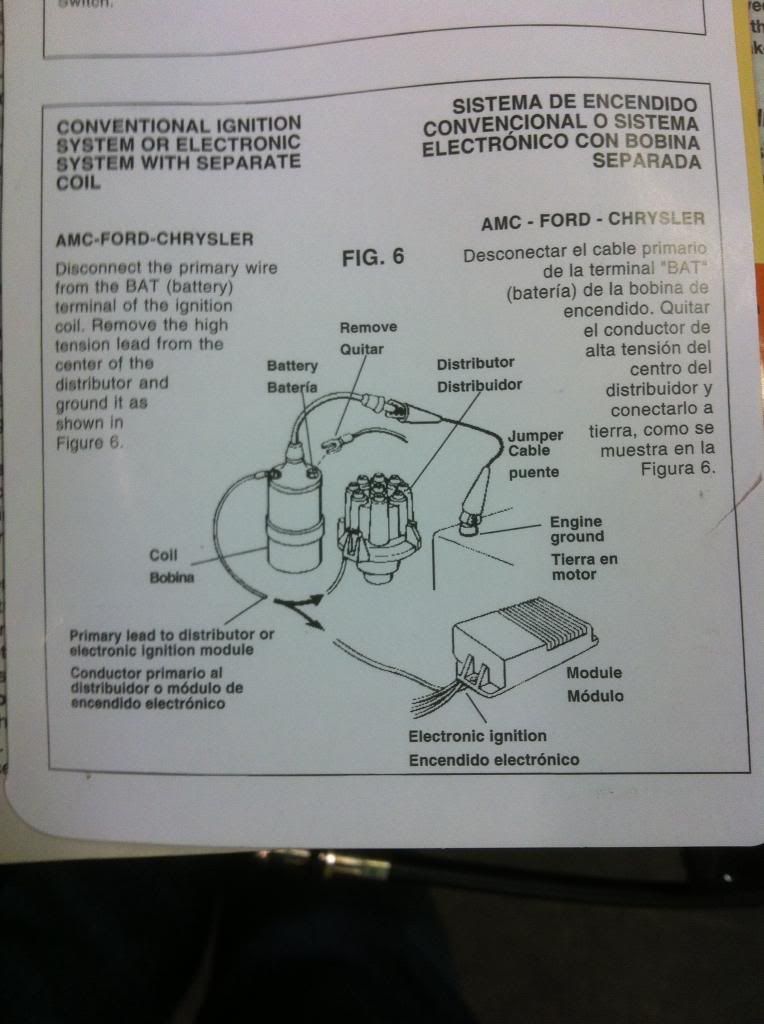
Then it shows to connect one end of the gun wire to the battery side of the solenoid and the other end to the "S" terminal.
Now, the power connector on the module has two wires, one red and one white. When I was building the harness, I read that the two wires had two be switched on the harness side of the connector. So, I did that, the white wire from the module ultimately runs to the coil and the red should go to the solenoid. Right?
The grounds are not in these pics, but are there now, from the neg terminal to the block and then a short one from the block to the frame.
I'm using a remote starter gun to start the engine. The directions show to disconnect the coil wire from the dizzy and ground it to the block. Disconnect the primary wire from the battery side of the coil.
Then it shows to connect one end of the gun wire to the battery side of the solenoid and the other end to the "S" terminal.
Now, the power connector on the module has two wires, one red and one white. When I was building the harness, I read that the two wires had two be switched on the harness side of the connector. So, I did that, the white wire from the module ultimately runs to the coil and the red should go to the solenoid. Right?
#298
04-02-2014, 08:09 PM
Posting Legend
#299
04-02-2014, 08:34 PM
Join Date: Sep 2013
Location: New Hampshire
Posts: 429
Likes: 0
Received 0 Likes
on
0 Posts
OK, so that's hooked up correctly. I tried to start it using the gun and it didn't start, nothing, no sound, nothing. I said the hell with the gun and tried running a jumper cable from the battery to the starter and the starter seems like it has drag and is super slow. This leads me to believe it is a timing issue, and since I changed the dizzy and the mark I made on the old dizzy shaft is now irrelevant, the dizzy must not be rotated to the correct spot. If I bring the #1 cylinder to TDC, the timing mark on the damper should be in line with the arrow on the timing cover, correct?
Edit: Forgot to say thank you!
Edit: Forgot to say thank you!
#300
04-02-2014, 08:38 PM