Stanley, the 1948 Ford F4
#1
 09-04-2013, 07:31 PM


Stanley, the 1948 Ford F4
I've been talking about this old truck for a few weeks and asking questions as I've encountered them, so I decided to start a build thread to document my progress. I reserve the right to stop at any point in the process!
Welcome, this is an attempt to put my progress on my old truck in one place on here. I have named my truck Stanley, after the late former owner. Stanley the man was a tough dairy farmer in Bristol, VA. Stanley the truck, I have discovered, is at least as tough as his former owner- most likely tougher.
When I learned of the truck it was in a barn and had resided there for several decades. It was a used farm truck when it entered the barn. It was a tired farm truck that had been in a barn for decades when I found it.
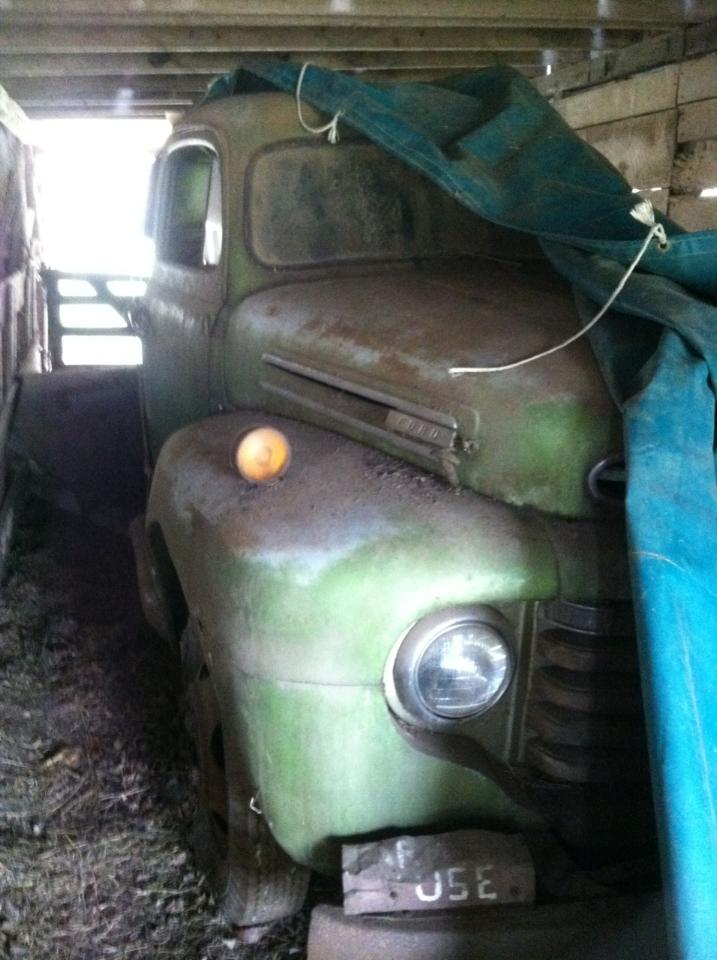
The first picture I saw of it was while it was still in the barn, having been covered under a tarp for who knows how long.
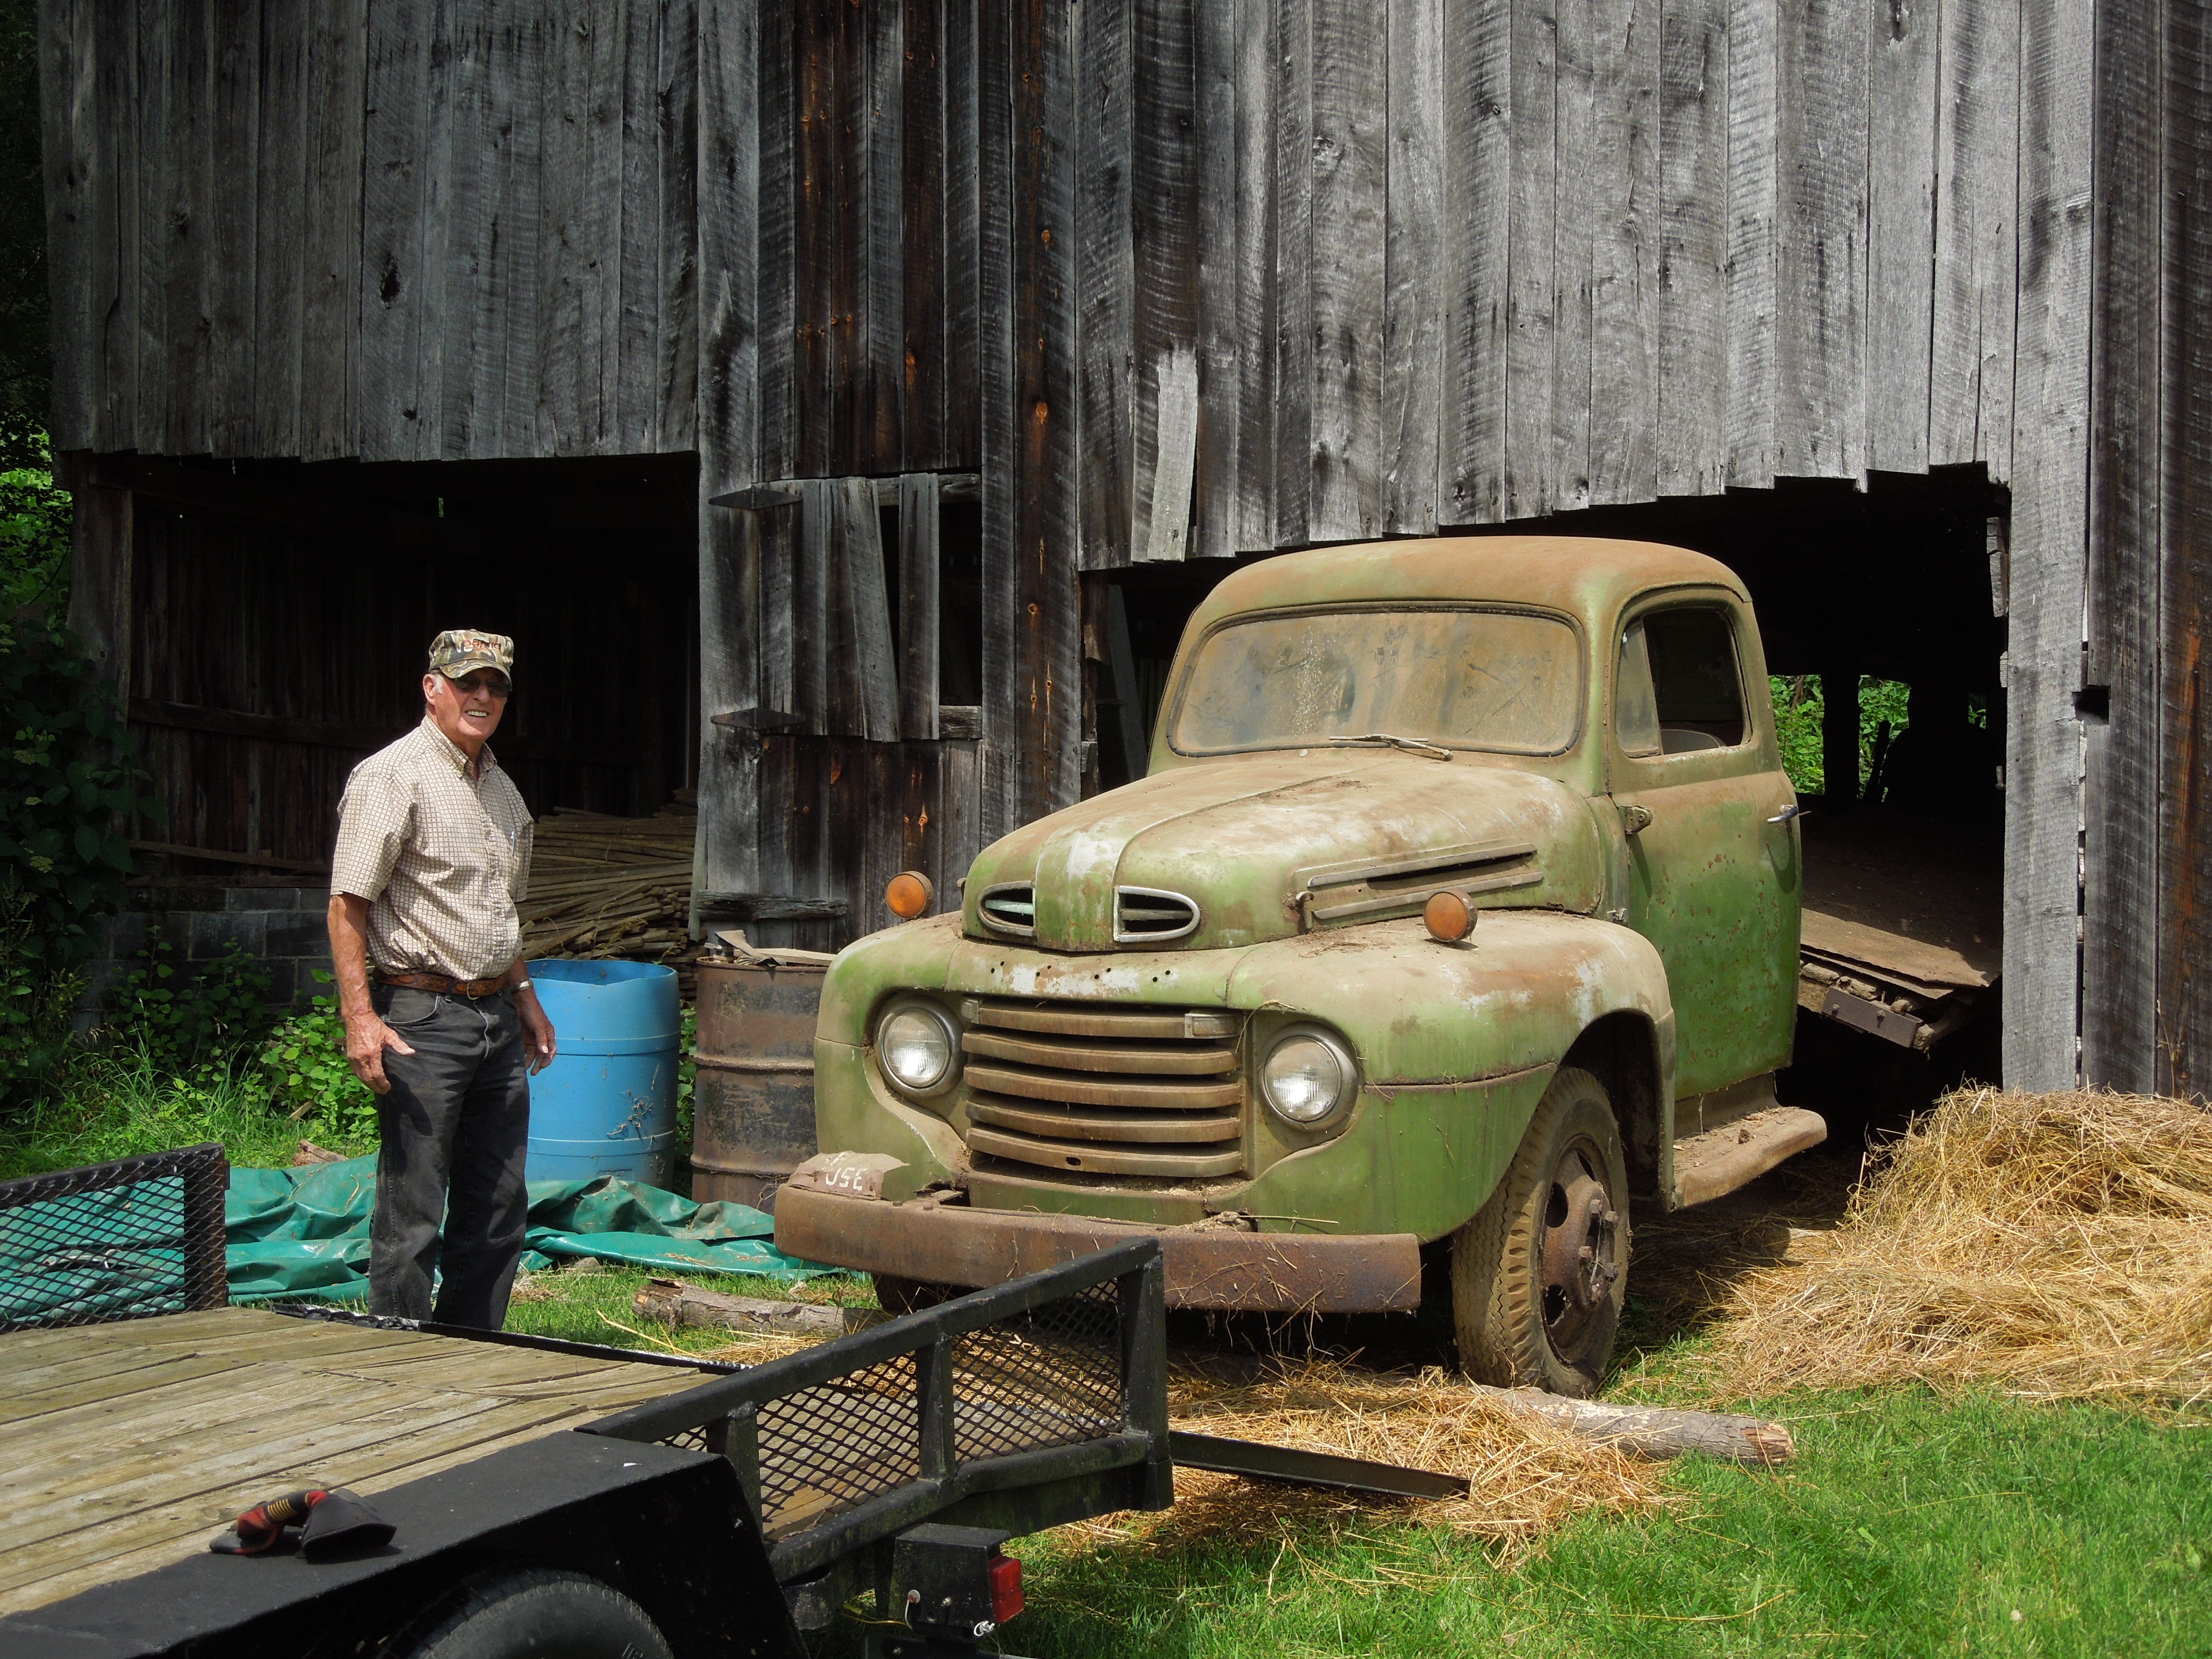
Here's a shot after we pulled the front of it out of the barn. It barely cleared the opening of the bay it was stored in. That's my Dad in the picture- he was a big help getting the old truck loaded! He's a Chevy guy and the day we drove to Bristol to pick up the truck was the longest amount of time he's spent in a Ford in a long time, and he lived through it, but he doesn't go around bragging about it.
My first goal was to try to get the old truck to start. I discovered before we ever moved it from the barn that the engine would turn a bit by hand, so that was a good sign. All the wiring was intact and there was nothing that looked like it had been tampered with, modified, or butchered. The truck was in pretty fair shape, for an old farm truck that had been sitting in a barn for thirty years or more. I spent a couple of weeks after I got the truck home trying to get it started. I first soaked the cylinders in transmission fluid. Then I installed a new fuel pump, rebuilt the carb, replaced the points, condenser, cap, plugs, etc.


The old truck showed sign of life two weeks after I brought it home, when the engine finally started and it seemed to run pretty darned good. It can still use some tweaking, but all things in time.
Now that it's running I had to decide if I wanted keep it, or pass it on to someone else. Keeping it will involve a great deal of work.
I decided to hang on to it for a while and try to get it roadworthy. First on the list of necessary upgrades was replacement of the widow maker split rims. I found a set from our friend truck dog (Stu) in IL. I got a set of six tubeless rims with a very good set of used tires.
Removing the widow makers proved to be a challenge. The socket size is 1 1/2", and I first broke my 1/2" drive rachet, then I broke a 1/2" drive breaker bar. Then I bumped up to a 3/4" drive breaker bar with a 4 foot extension. After quite a bit of umph and groaning the first front wheel lug nut broke loose, sending my 190# frame onto the grass. With force. This repeated nine more time for the remaining front lug nuts.


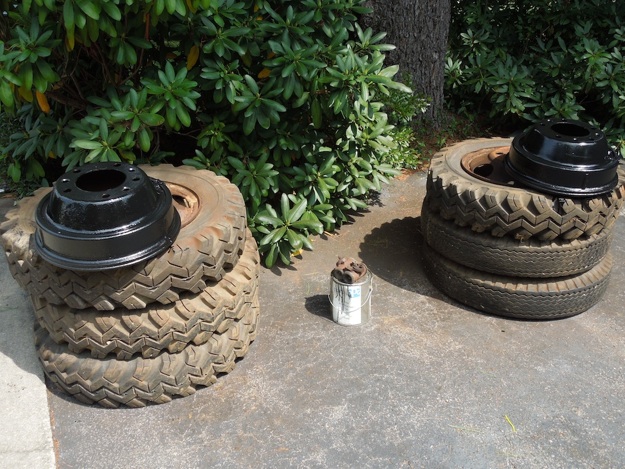
The rear wheels were a bit more of a challenge. I used a ten foot piece of heavy wall steel tubing as an extension on the breaker bar. A 1" drive impact gun would've made a quick and easy job of this, but what fun would there be in this story? The ten foot extension also took a toll on my sore body and a few of those sent me to the ground. My mission was accomplished- there rear outer rims had been removed. Now for the inners. I had to borrow a square drive socket from a friend because the one I ordered had not yet arrived. It worked like a charm but I still had to break out the ten foot extension. You can see from the tires and the marking that these rubbers were new when Stanley was confined to the barn some years ago. (700-18)


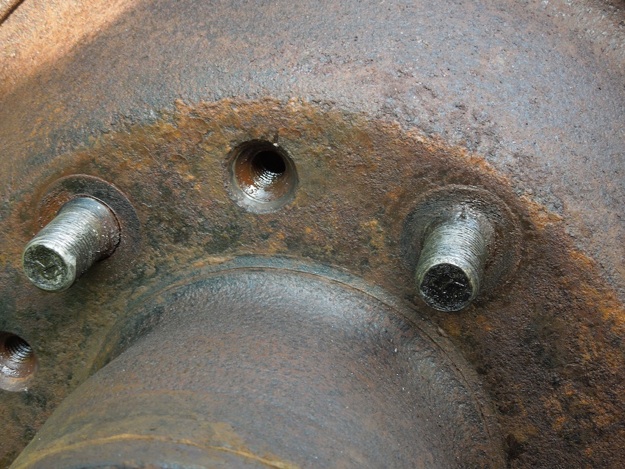
The next hurdle was the three slotted head cap screws that hold each of the rear drums on. Over the weekend I tried whacking those darned screws a few times and finally decided to just drill them out. After I got them partially drilled, I suppose they warmed up enough to make a difference, because a few taps on each with a chisel would start them turning. By then they were too boogered up to reuse so I ordered a set that JollyRogerJoe mentioned from McMaster Carr (McMaster-Carr). They'll look much better!
While I was in there I replaced the rear wheel cylinders and discovered that the shoes look absolutely perfect- score! Glad I don't have to reline them.
I used a wire wheel and cleaned up the leaf springs, hubs, and drums and put a coat of gloss black on them. This was a brush job, but I plan to clean up the frame rails and everything rear of the cab and spray everything gloss black before I put new steel brake lines and hoses on. I got the wheel cylinders, hoses, and master cylinder from Job Lot.


More to come after the weekend!!!
Welcome, this is an attempt to put my progress on my old truck in one place on here. I have named my truck Stanley, after the late former owner. Stanley the man was a tough dairy farmer in Bristol, VA. Stanley the truck, I have discovered, is at least as tough as his former owner- most likely tougher.
When I learned of the truck it was in a barn and had resided there for several decades. It was a used farm truck when it entered the barn. It was a tired farm truck that had been in a barn for decades when I found it.
The first picture I saw of it was while it was still in the barn, having been covered under a tarp for who knows how long.
Here's a shot after we pulled the front of it out of the barn. It barely cleared the opening of the bay it was stored in. That's my Dad in the picture- he was a big help getting the old truck loaded! He's a Chevy guy and the day we drove to Bristol to pick up the truck was the longest amount of time he's spent in a Ford in a long time, and he lived through it, but he doesn't go around bragging about it.
My first goal was to try to get the old truck to start. I discovered before we ever moved it from the barn that the engine would turn a bit by hand, so that was a good sign. All the wiring was intact and there was nothing that looked like it had been tampered with, modified, or butchered. The truck was in pretty fair shape, for an old farm truck that had been sitting in a barn for thirty years or more. I spent a couple of weeks after I got the truck home trying to get it started. I first soaked the cylinders in transmission fluid. Then I installed a new fuel pump, rebuilt the carb, replaced the points, condenser, cap, plugs, etc.
The old truck showed sign of life two weeks after I brought it home, when the engine finally started and it seemed to run pretty darned good. It can still use some tweaking, but all things in time.
Now that it's running I had to decide if I wanted keep it, or pass it on to someone else. Keeping it will involve a great deal of work.
I decided to hang on to it for a while and try to get it roadworthy. First on the list of necessary upgrades was replacement of the widow maker split rims. I found a set from our friend truck dog (Stu) in IL. I got a set of six tubeless rims with a very good set of used tires.
Removing the widow makers proved to be a challenge. The socket size is 1 1/2", and I first broke my 1/2" drive rachet, then I broke a 1/2" drive breaker bar. Then I bumped up to a 3/4" drive breaker bar with a 4 foot extension. After quite a bit of umph and groaning the first front wheel lug nut broke loose, sending my 190# frame onto the grass. With force. This repeated nine more time for the remaining front lug nuts.
The rear wheels were a bit more of a challenge. I used a ten foot piece of heavy wall steel tubing as an extension on the breaker bar. A 1" drive impact gun would've made a quick and easy job of this, but what fun would there be in this story? The ten foot extension also took a toll on my sore body and a few of those sent me to the ground. My mission was accomplished- there rear outer rims had been removed. Now for the inners. I had to borrow a square drive socket from a friend because the one I ordered had not yet arrived. It worked like a charm but I still had to break out the ten foot extension. You can see from the tires and the marking that these rubbers were new when Stanley was confined to the barn some years ago. (700-18)
The next hurdle was the three slotted head cap screws that hold each of the rear drums on. Over the weekend I tried whacking those darned screws a few times and finally decided to just drill them out. After I got them partially drilled, I suppose they warmed up enough to make a difference, because a few taps on each with a chisel would start them turning. By then they were too boogered up to reuse so I ordered a set that JollyRogerJoe mentioned from McMaster Carr (McMaster-Carr). They'll look much better!
While I was in there I replaced the rear wheel cylinders and discovered that the shoes look absolutely perfect- score! Glad I don't have to reline them.
I used a wire wheel and cleaned up the leaf springs, hubs, and drums and put a coat of gloss black on them. This was a brush job, but I plan to clean up the frame rails and everything rear of the cab and spray everything gloss black before I put new steel brake lines and hoses on. I got the wheel cylinders, hoses, and master cylinder from Job Lot.
More to come after the weekend!!!
#2
09-04-2013, 08:01 PM

Looking good Howard. You're making great progress, and having good luck with the shoes and drums. Glad you're happy with the 19.5s. Heard today that the set of 22.5s you found have gone to a good new home. Now we're trying to find part numbers on them. Keep us posted on your progress. Stu
#4
09-04-2013, 09:53 PM

Lead Driver

#5
09-05-2013, 05:30 AM
Hey Stu, who snagged the 22.5s? Good to hear they'll hopefully go on an old Ford truck.
Looking good Howard. You're making great progress, and having good luck with the shoes and drums. Glad you're happy with the 19.5s. Heard today that the set of 22.5s you found have gone to a good new home. Now we're trying to find part numbers on them. Keep us posted on your progress. Stu
#7
09-05-2013, 11:08 AM
Post Fiend
Join Date: Sep 2006
Location: Island Southeast Alaska
Posts: 14,325
Likes: 0
Received 5 Likes
on
5 Posts
Trending Topics

#10
09-07-2013, 06:44 PM
I made a little more progress on the rear frame today. I removed the u-bolts and the two wood beams. (I'd like to re-use the wood because it is still in decent shape, but it looks rugged, and being a farm truck at heart that might just be ok.)
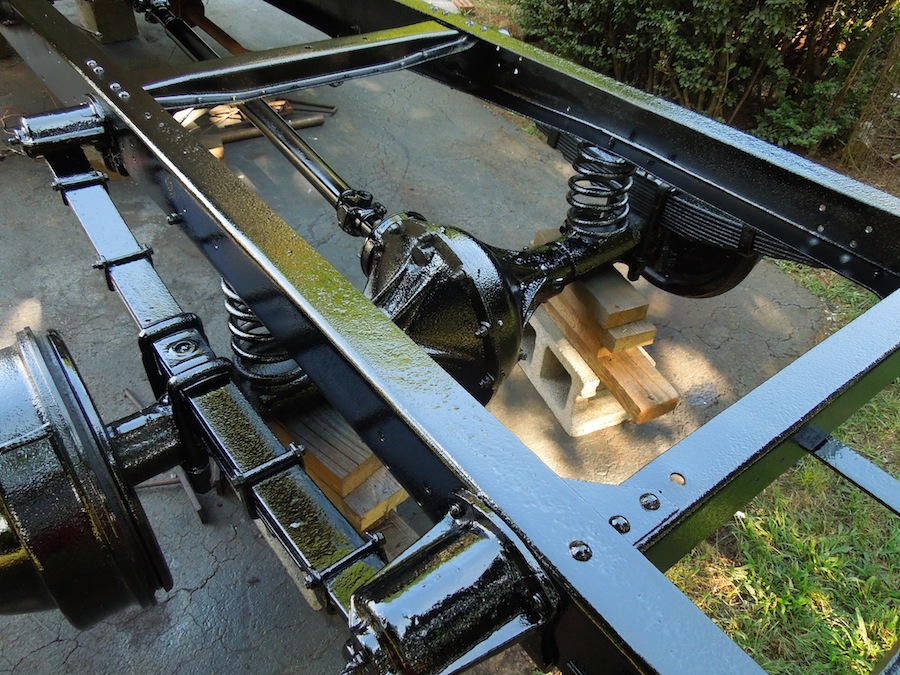
I went at the frame rails and axle housing with a wire wheel and cleaned the loose rust scale off. Then I primed everything with an epoxy primer, followed by some basic gloss black acrylic enamel.
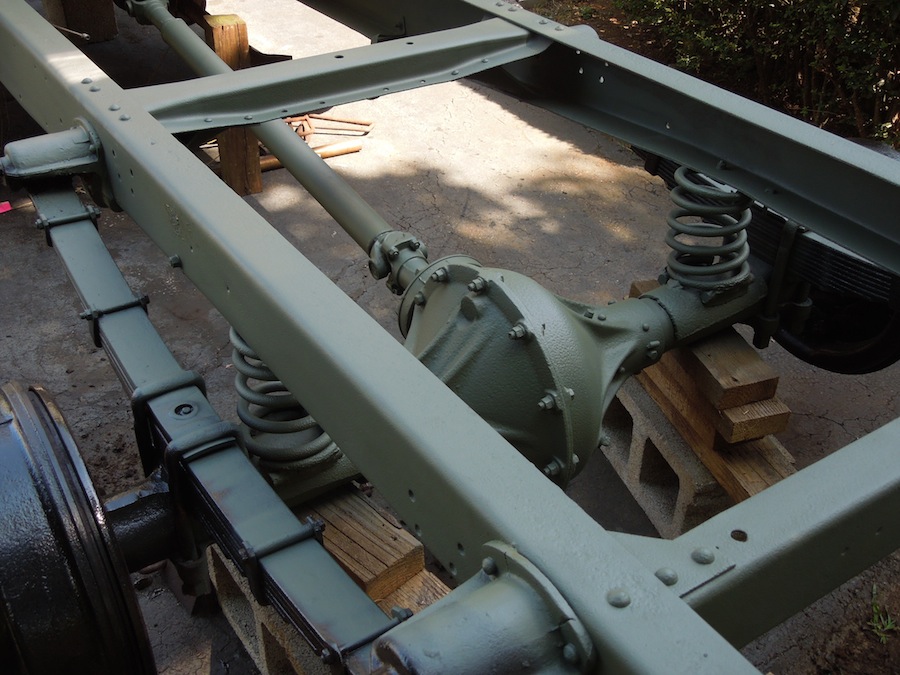
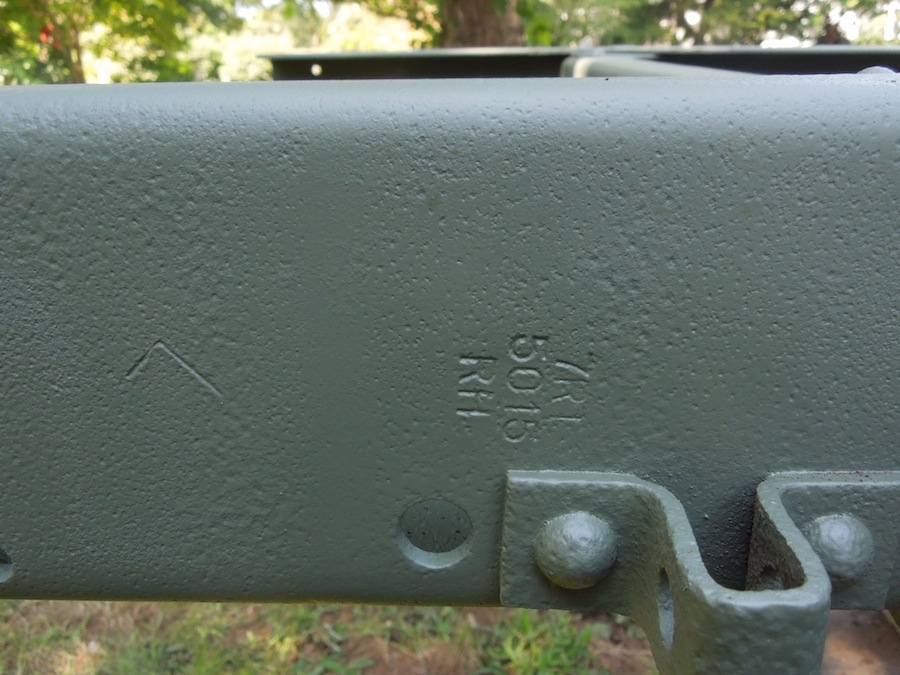
I discovered some stampings on the rear of the rails, perhaps a part number for assembly. There was one on the rear crossmember but I didn't get a picture. Does anyone know what the u-shaped brackets in the pictures of the stamping on the frame rails are for?

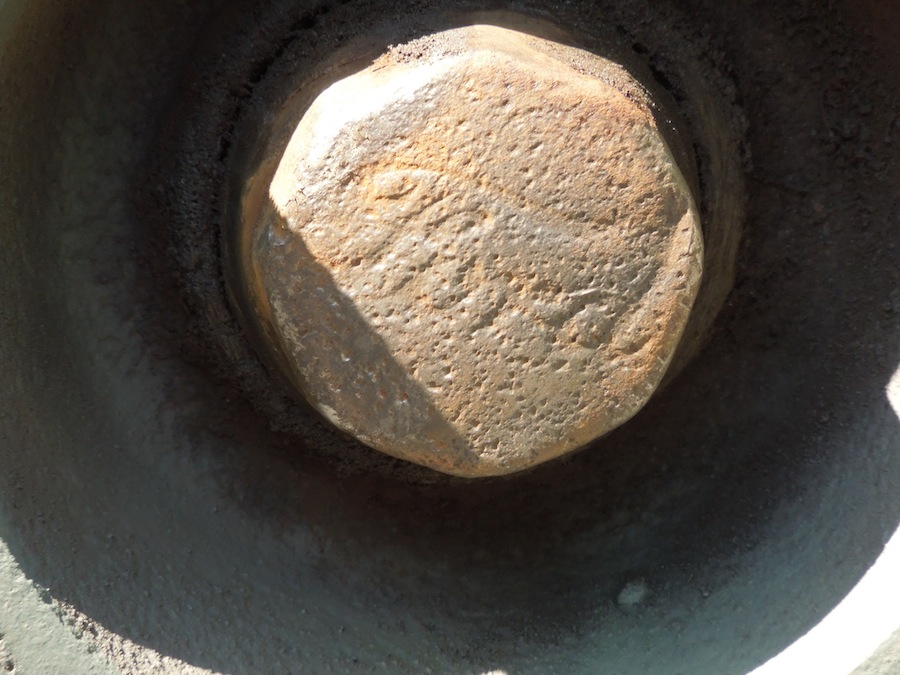
I also noticed the Ford script on the right front wheel bearing dust cover when the sun hit just right. Had not noticed this until today. Can't detect it on the left dust cap.
Next I need to remove the remains of the broken bolt that attaches the brake hose junction end to the axle housing, then attach the brake hose and run new steel lines in the rear.
I went at the frame rails and axle housing with a wire wheel and cleaned the loose rust scale off. Then I primed everything with an epoxy primer, followed by some basic gloss black acrylic enamel.
I discovered some stampings on the rear of the rails, perhaps a part number for assembly. There was one on the rear crossmember but I didn't get a picture. Does anyone know what the u-shaped brackets in the pictures of the stamping on the frame rails are for?
I also noticed the Ford script on the right front wheel bearing dust cover when the sun hit just right. Had not noticed this until today. Can't detect it on the left dust cap.
Next I need to remove the remains of the broken bolt that attaches the brake hose junction end to the axle housing, then attach the brake hose and run new steel lines in the rear.
