Stanley, the 1948 Ford F4
#16
 09-07-2013, 07:23 PM


This wasn't really fair of me. This subject has been one of my obsessions in recent weeks. The below picture is of an F-3 M-H owned by a M-H collector by the name of Dana Jones. This is the only F-3 M-H I've ever come across that clearly had a spare carrier at one time. It has the shorter 10 3/4" hanger bolts. An F-3 M-H would have used the big truck carrier with the two pictured Budd lug nuts. Big trucks, however, had longer 13 7/16" hanger bolts. So on my truck I'm exercising some judgment and using the big truck hanger with the shorter F-2/3 hanger bolts. Stu

#17
09-07-2013, 07:50 PM
BTW: I always to take my before pictures. After I'm done!
#18
09-21-2013, 08:11 AM
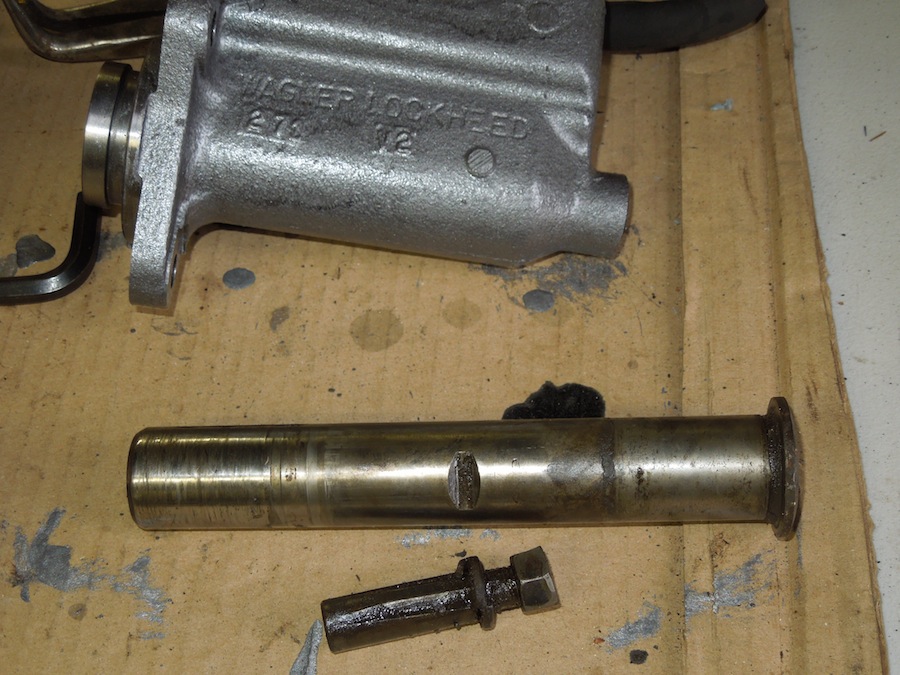
King Pin Locking pins
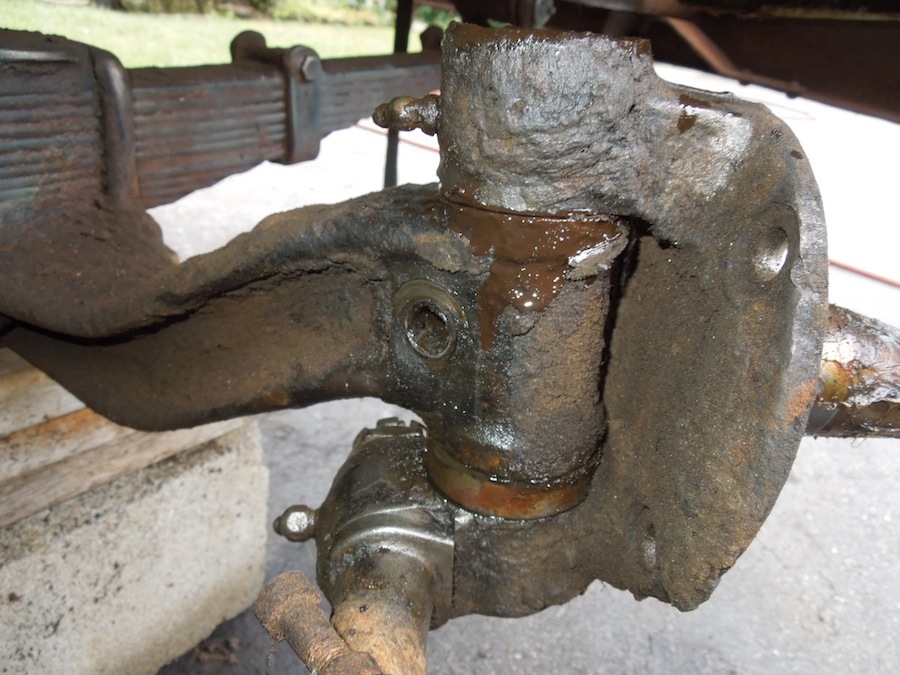
I have progressed to the front brakes and discovered that I will need to replace the king pin bushings. I have the brake backing plate off on both sides and see that my next step is to remove the spindle bolt locking pins from the axle. This is a real bonehead question I know , but could someone confirm that I should drive the pins out working on the end the nut is on, after removing the nut? Or am I thinking totally backward on the direction to drive them out? I do catch on quick sometimes because I can already see this might be a little more involved than the steering bushings on my lawn tractor.
, but could someone confirm that I should drive the pins out working on the end the nut is on, after removing the nut? Or am I thinking totally backward on the direction to drive them out? I do catch on quick sometimes because I can already see this might be a little more involved than the steering bushings on my lawn tractor.
#19
09-21-2013, 10:20 AM
Wow- I can't believe how simple this task was!
I went ahead and guessed that the locking pins should be driven out from the nut side, so with the nuts loosened and backed out to the end of the pin I tapped and out they came.
The drag link joint seems tight and it came loose from the spindle without any trouble, and the steering link did also.
After removing the locking pins and disconnecting the steering components, I drove the king pins out from the bottom using a smaller impact socket and a hammer with minimal effort.
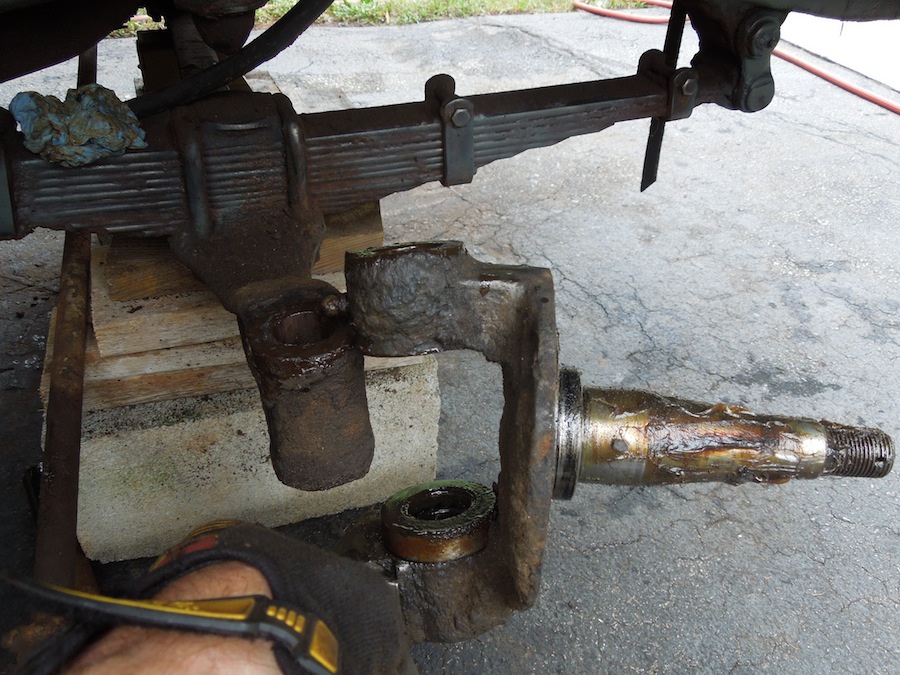
This was a breeze and I was expecting to spend a while there with my head in the fender well.
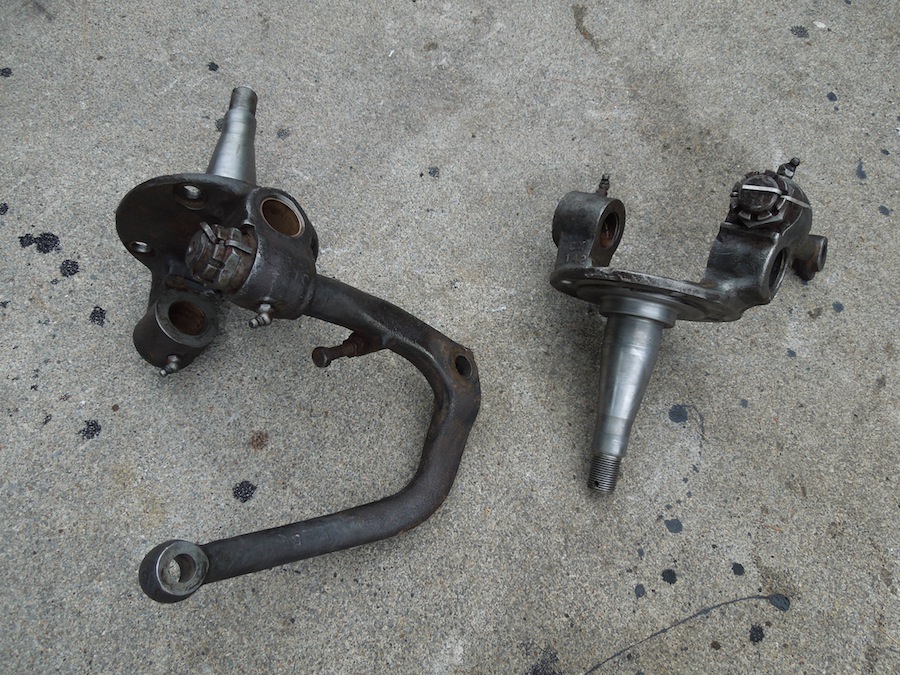
I ordered the bushing kit and will take the spindles and new bushings to the machine shop for a good reaming.
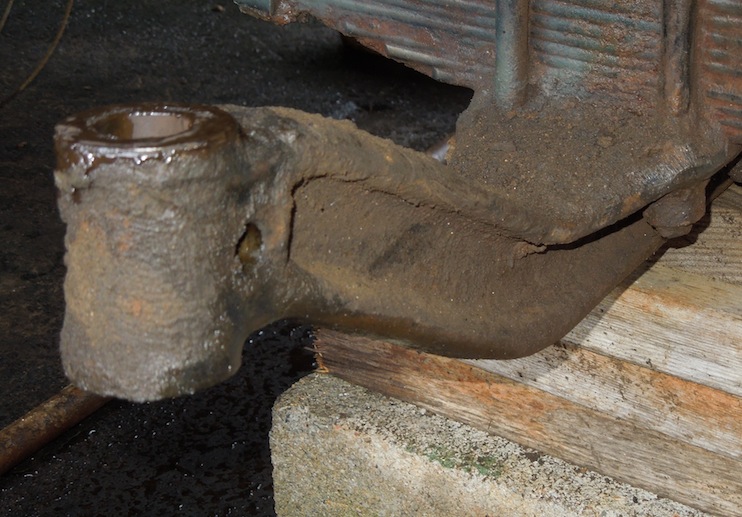
One thing's for sure: Stanley the man never missed an opportunity to break out the grease gun! There are grease clumps all over this truck!
I went ahead and guessed that the locking pins should be driven out from the nut side, so with the nuts loosened and backed out to the end of the pin I tapped and out they came.
The drag link joint seems tight and it came loose from the spindle without any trouble, and the steering link did also.
After removing the locking pins and disconnecting the steering components, I drove the king pins out from the bottom using a smaller impact socket and a hammer with minimal effort.
This was a breeze and I was expecting to spend a while there with my head in the fender well.
I ordered the bushing kit and will take the spindles and new bushings to the machine shop for a good reaming.
One thing's for sure: Stanley the man never missed an opportunity to break out the grease gun! There are grease clumps all over this truck!
#21
09-29-2013, 01:35 PM
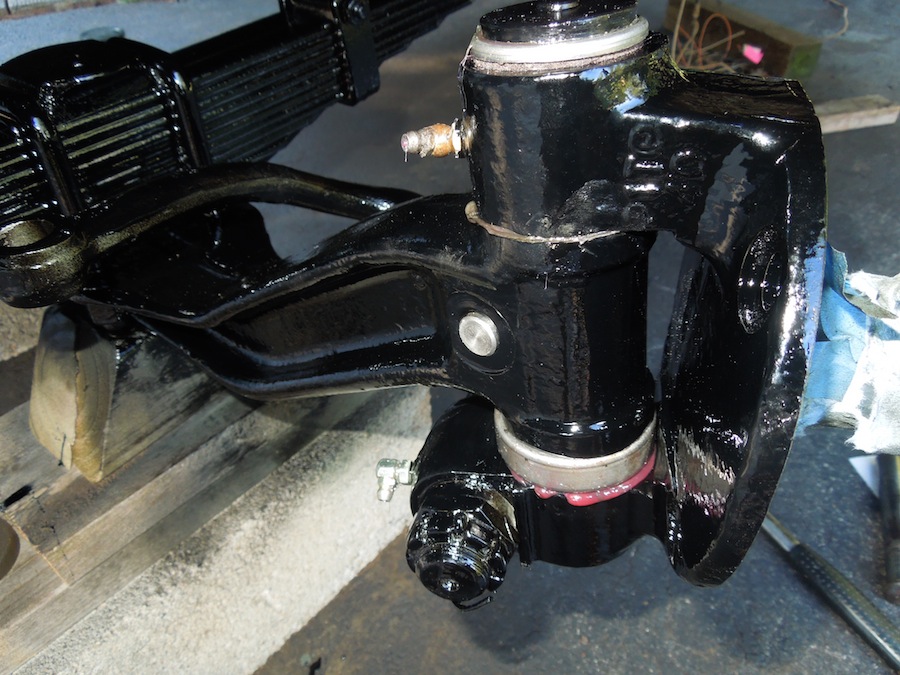
A bit more progress this week. I had the king pin bushings installed in the spindles and reamed at an alignment shop nearby by a guy that has some experience with vintage steering setups. Cleaned and painted all the parts and pieces that were close by too while I was in there. Got it all back together and the pins feel like a perfect fit- not binding and no slop at all.
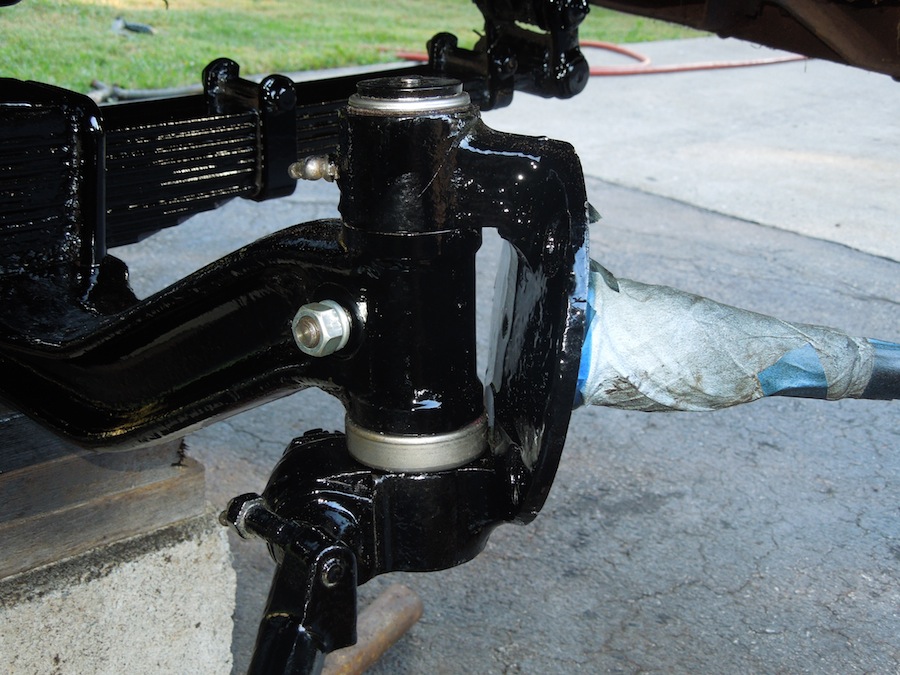
As symmetrical as the brake backing plates appear, I was surprised to see a "RF" and a "LF" stamped in them after the grime came off.
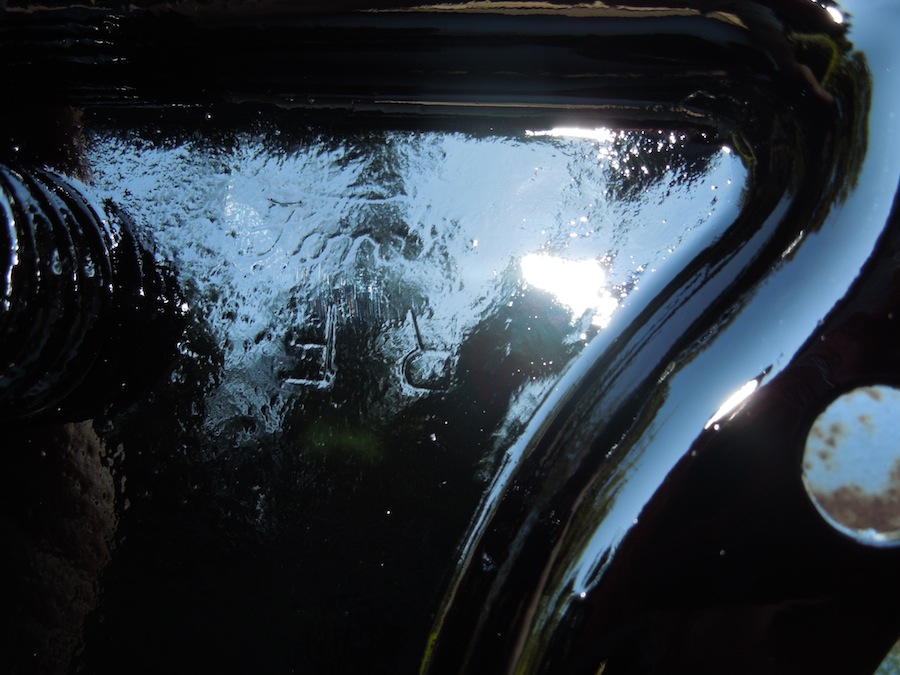
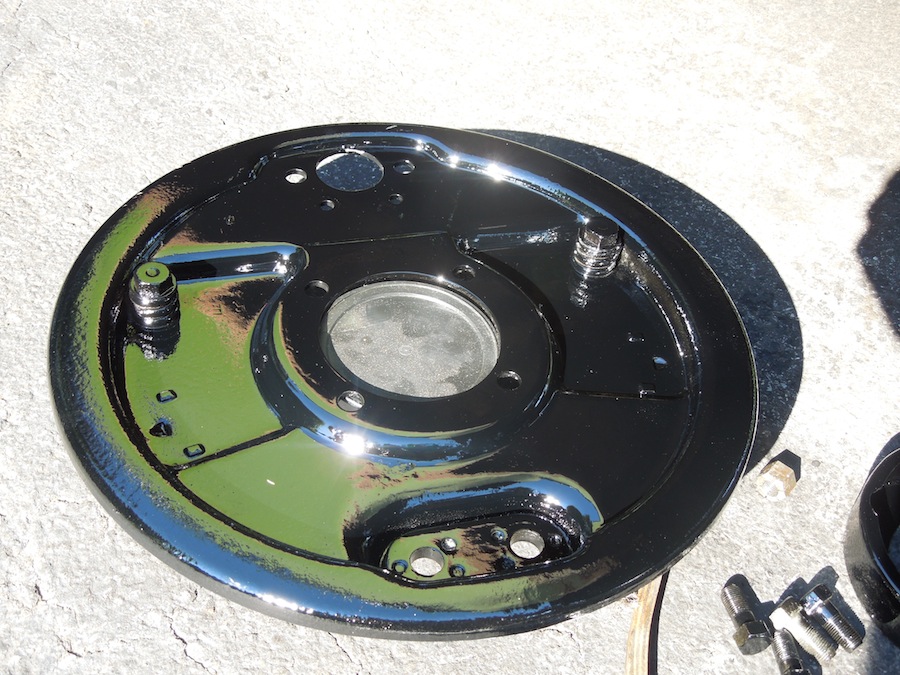
I now need to install the master cylinder and run the lines out to the new wheel cylinders. That *might* complete the brake phase of this project. I uploaded some pictures for those that might be preparing for an adventure like this.
As symmetrical as the brake backing plates appear, I was surprised to see a "RF" and a "LF" stamped in them after the grime came off.
I now need to install the master cylinder and run the lines out to the new wheel cylinders. That *might* complete the brake phase of this project. I uploaded some pictures for those that might be preparing for an adventure like this.

#24
09-30-2013, 05:45 PM

#26
10-06-2013, 08:17 PM
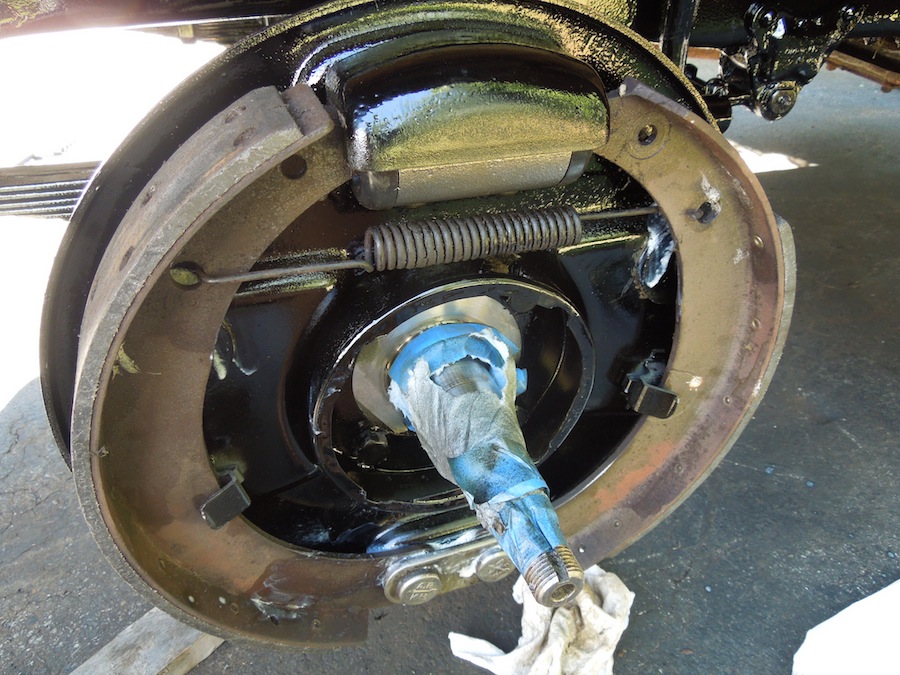
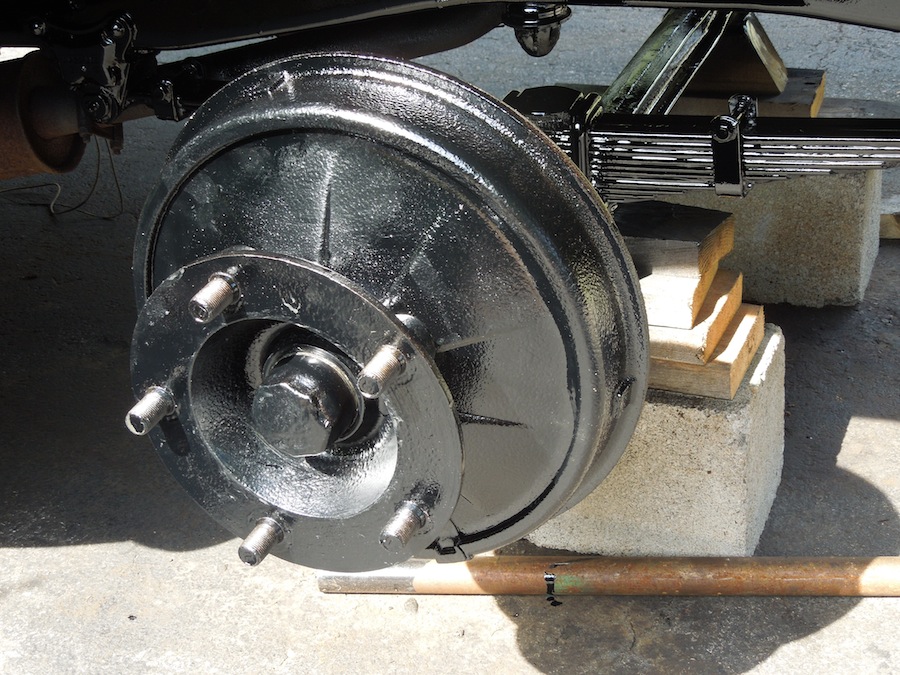
I was able to make a few minor accomplishments this weekend. I'm happy to report that I am now completely finished with replacing all the brake components!  I only need to add fluid and do some bleeding now.
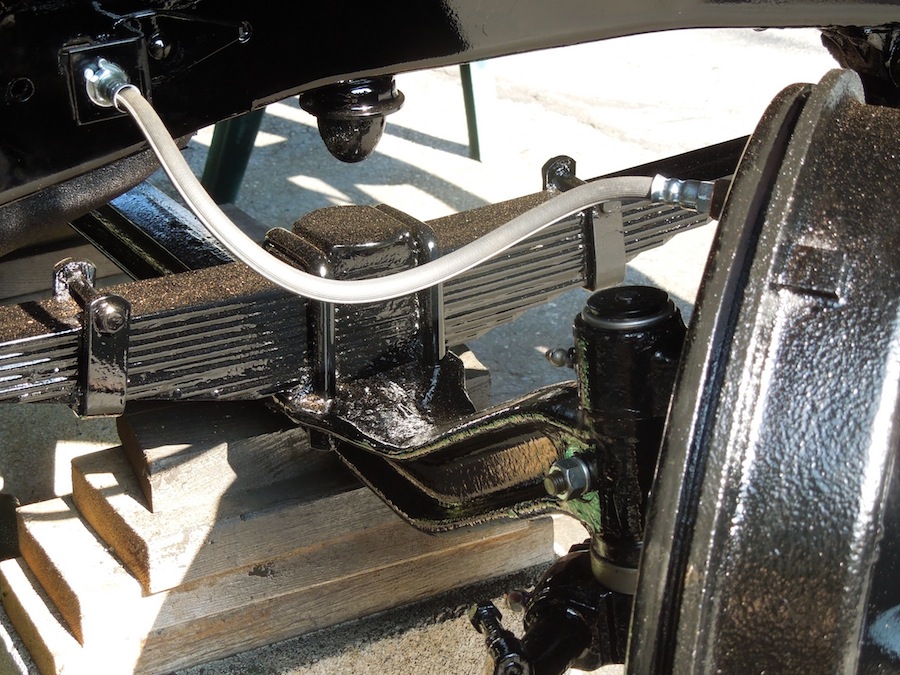
I ran the new lines, installed the hoses, and installed the master cylinder on Saturday. It's a lot more of a pleasant job putting it back when everything is new and clean that it is tearing apart fasteners that have been together for 65 years.
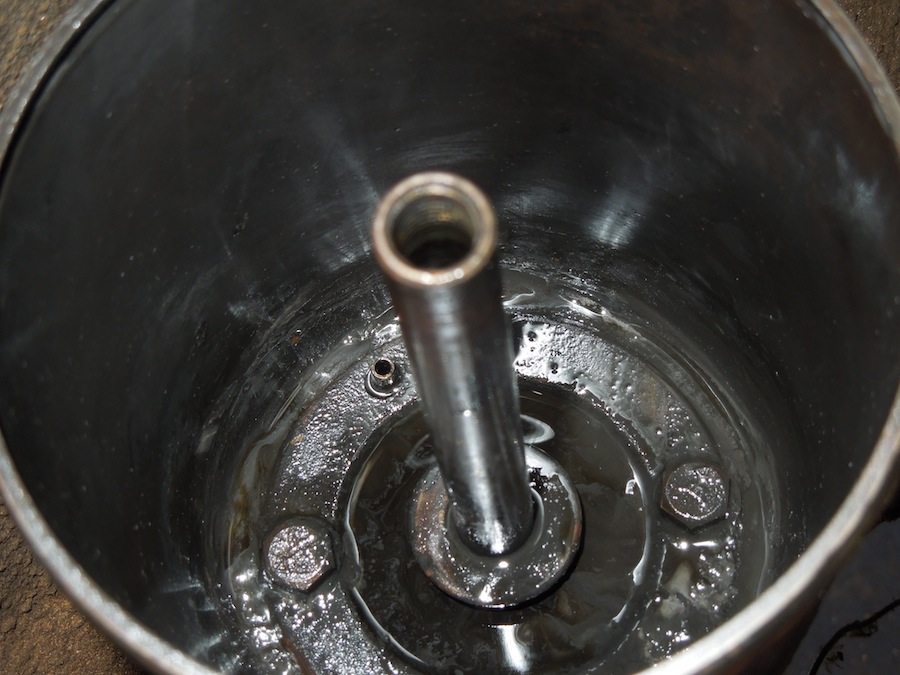
I changed the oil in the old truck too, this was my first experience working with a cartridge filter. It came apart easy enough, but getting it all buttoned up afterward was another learning experience. It took me three attempts to get it to seal. The first was due to my ignorance about these canisters; I thought the larger gasket was for a different application, so I didn't use it the first time, I only used the smaller diameter gasket on the underside of the lid, and it leaked oil all over the driveway. Then I thought maybe I should use the larger gasket around the outer circumference of the canister, and it worked a little but I could hear it losing pressure and spraying a bit when I started it. I don't think I had the lid snugged up enough. The third time is a charm I guess! I'm still not completely sure I have it correct, but it's not leaking any and I let it run for about 5 or 10 minutes.
My manual seems to show only one gasket, so I guess that's what was throwing me off. This canister arrangement reminds me of the power steering reservoir in my '63 Galaxie I had in high school- a dog to get sealed up the first time.
I'm just living and learning, and loving it!
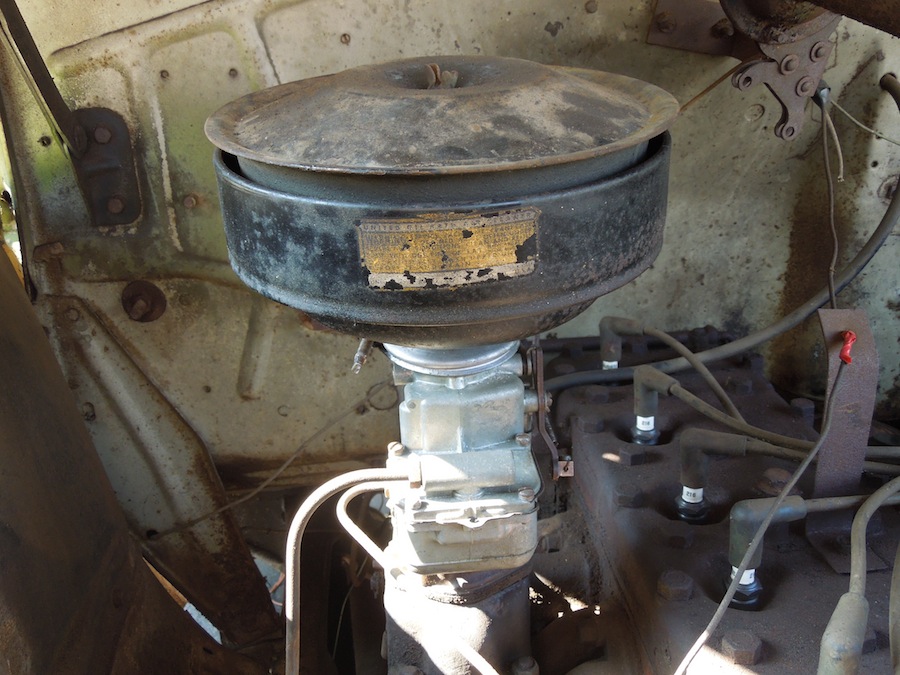
I have been noticing the air cleaners on other trucks here at FTE, and mine does not seem to be as tall as some. Does anyone know if this is a stock air cleaner? I also noticed that the bracket that supported the air cleaner is gone, but I am not sure where it would attache to the cleaner. Thoughts?
I only need to add fluid and do some bleeding now.I ran the new lines, installed the hoses, and installed the master cylinder on Saturday. It's a lot more of a pleasant job putting it back when everything is new and clean that it is tearing apart fasteners that have been together for 65 years.
I changed the oil in the old truck too, this was my first experience working with a cartridge filter. It came apart easy enough, but getting it all buttoned up afterward was another learning experience. It took me three attempts to get it to seal. The first was due to my ignorance about these canisters; I thought the larger gasket was for a different application, so I didn't use it the first time, I only used the smaller diameter gasket on the underside of the lid, and it leaked oil all over the driveway. Then I thought maybe I should use the larger gasket around the outer circumference of the canister, and it worked a little but I could hear it losing pressure and spraying a bit when I started it. I don't think I had the lid snugged up enough. The third time is a charm I guess! I'm still not completely sure I have it correct, but it's not leaking any and I let it run for about 5 or 10 minutes.
My manual seems to show only one gasket, so I guess that's what was throwing me off. This canister arrangement reminds me of the power steering reservoir in my '63 Galaxie I had in high school- a dog to get sealed up the first time.
I'm just living and learning, and loving it!
I have been noticing the air cleaners on other trucks here at FTE, and mine does not seem to be as tall as some. Does anyone know if this is a stock air cleaner? I also noticed that the bracket that supported the air cleaner is gone, but I am not sure where it would attache to the cleaner. Thoughts?
#27
10-06-2013, 08:34 PM

Elder User
Join Date: Dec 2011
Location: Echuca VIC Australia
Posts: 701
Likes: 0
Received 0 Likes
on
0 Posts
#28
10-06-2013, 09:40 PM
Fleet Owner
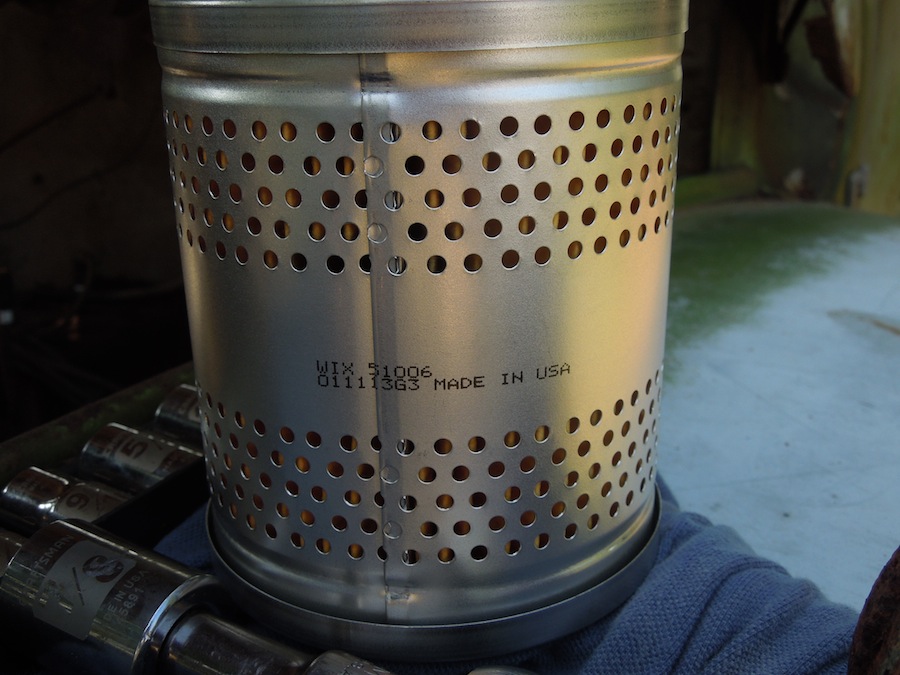
When you buy an oil filter element from NAPA (maybe others, Wix makes NAPA's filter), it comes with two large flat rubber rings. The smaller, narrower one is the one mine uses. The larger one is for a different style canister, these elements were used on all kinds of farm equipment, tractors, and trucks and rather than make two separate numbers, they just give you both gaskets. Usually when they leak it's because you haven't removed the old gasket. After a while they can look like part of the lid.
#29
10-07-2013, 05:44 AM
Aussie: Thanks! I am entertaining that very idea.
Ross: I appreciate the input. I wasn't sure if I had mine in there the right way or not. I cleaned both the bottom of the lid and the top of the canister very well. I used the smaller diameter gasket on the underside of the lid- it seemed to be a perfect fit. That alone didn't seal so I then also put the larger one around the flange of the canister- it also seems to be a perfect fit, but turned downward all the way around the outside as I put the lid on. This arrangement sealed. Which of the two gaskets was the one I should have exclusively used?
Ross: I appreciate the input. I wasn't sure if I had mine in there the right way or not. I cleaned both the bottom of the lid and the top of the canister very well. I used the smaller diameter gasket on the underside of the lid- it seemed to be a perfect fit. That alone didn't seal so I then also put the larger one around the flange of the canister- it also seems to be a perfect fit, but turned downward all the way around the outside as I put the lid on. This arrangement sealed. Which of the two gaskets was the one I should have exclusively used?