New Restoration Product Coming Soon- Gauge Cluster Decals
#1
 08-21-2013, 11:42 AM

New Restoration Product Coming Soon- Gauge Cluster Decals
I've been using Greenback Decal's gauge overlay decals for the last few Chevy C10 clusters I've rebuilt, and he is getting ready to release a set of decals for 61-66 Ford trucks. I just received an early set to test out, and wanted to share that they'll be available soon. I will post a "how-to" thread in the next couple weeks.
Here is his website:
Wix.com home created by parklane410 based on eStore | Wix.com

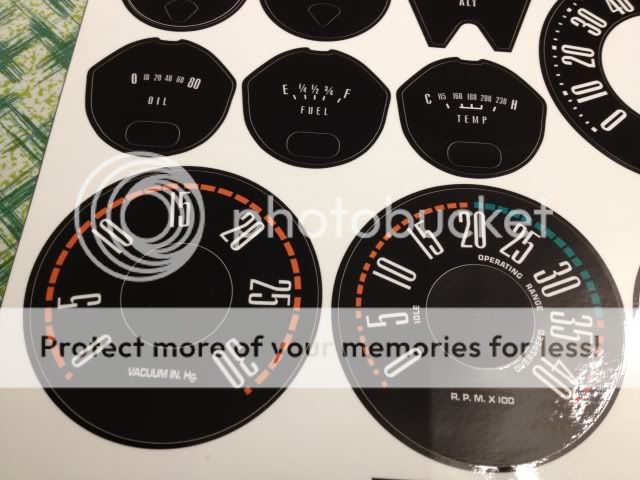
Here are some C10 gauges, before and after using Jason's decals.


Here is his website:
Wix.com home created by parklane410 based on eStore | Wix.com


Here are some C10 gauges, before and after using Jason's decals.
#2
08-21-2013, 11:44 AM

Freshman User
Join Date: Apr 2013
Location: Bay Area, CA
Posts: 45
Likes: 0
Received 0 Likes
on
0 Posts
#4
08-21-2013, 04:20 PM
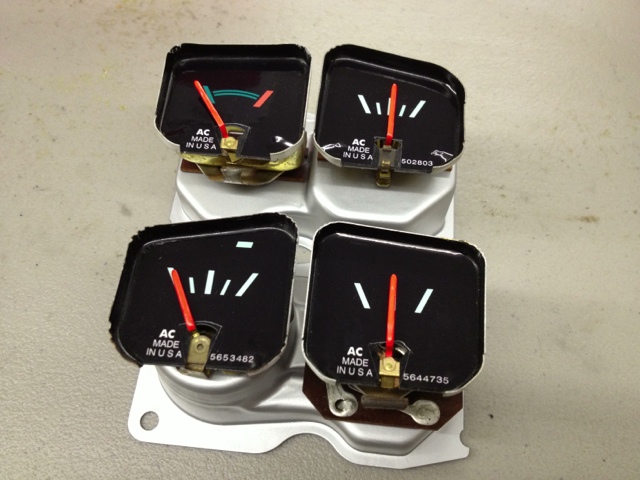
Tried out the decals on the Fuel and Temp gauges, they worked great! I used a hair dryer to heat the vinyl so it could stretch around the raised letters, and a microfiber towel to push the decal into the base of the stamping. I need to find a speedometer since the needle is broken on this one, and I'll be able to start reassembling the cluster.
Before:

After, and painted the needles.


Before:

After, and painted the needles.


#5
08-22-2013, 06:47 AM

Postmaster
#6
08-22-2013, 04:41 PM
The insides of those gauge decals are die cut so that the black center is removable. I guess you paint that section before applying the decal? Not familiar with the round gauges, the sweep style is the only one I've had apart.
#7
08-22-2013, 04:44 PM
I finished the cluster today.
Here's how the speedo decal went. Lining up the lines with the raised ridges was the first step after cleaning the face. I used a hair dryer to keep the decal warm and workable, and a microfiber cloth to help push the decal around the raised ridges.

Working from the center out.

Keeping the edges pulled tight to keep wrinkles out.

Right side finished. Amazing how well the printed lines line up with the stamped lines, Jason got this right!


Speedo finished. Odometer cleaned, reset to zero and needle repainted.

Trending Topics


#15
08-25-2013, 09:57 AM
I actually used fluorescent red, the needles fade out to orange but the unfaded areas match the fluorescent red model car paint best. It's more orange than red if you're worried about the color being named "red". That said, different brands will have different shades, so don't go by the name- look at the color sample to pick the best match.
Edit- pic of the needles.

Edit- pic of the needles.

Thread
Thread Starter
Forum
Replies
Last Post
itsnotavan
1948 - 1956 F1, F100 & Larger F-Series Trucks
4
04-11-2017 06:43 AM
Moe Craig
1948 - 1956 F1, F100 & Larger F-Series Trucks
11
01-16-2017 11:13 AM