
Ball joint removal and installation (79 Bronco)
#1
 05-23-2013, 11:22 PM

Join Date: Nov 2009
Location: SE Georgia
Posts: 3,189
Likes: 0
Received 0 Likes
on
0 Posts
Ball joint removal and installation (79 Bronco)
I decide to try to replace my bottom worn passenger ball joint. While I was at it...I got a new top ball joint as well. I thought I was getting Raybestos from Carquest but the part number came up to be "Mevotech" ball joints. They are ok and do have greasble fittings.
I rented a OEM Ball Joint Press from Autzone for $107.
-----------------------------------------------
How do I know my ball joints are bad?
Your steering will feel loose. You can easily tell if it is your ball joints by jacking up the front of your Bronco or truck and place the jack stands under the axle. Grab a wheel on the top and bottom of the tire and see if it wiggles. If it does it is a ball joint. Sometimes it isn't your ball joints; when it isn't your ball joints it could be loose/damaged wheel bearings, worn track bar bushings, tie rods are worn, steering gear box is worn, or your steering shaft that goes from your power steering to your steering wheel could be worn. Another way to tell what is wrong and you want to check the steering linkages is by letting someone turn the steering wheel back and forth (while the front of the Bronco is jacked up)....look for looseness in the tie rod ends, track bar bushings, etc.
Here is a video I made showing how loose my bottom ball joint was........
79 Bronco worn ball joint - YouTube
--------------------------------------------
-Jack up the front of your Bronco.
-Place jack stands under the front axle and put a wheel chop behind and in front of the rear wheels.
-Take off your wheels
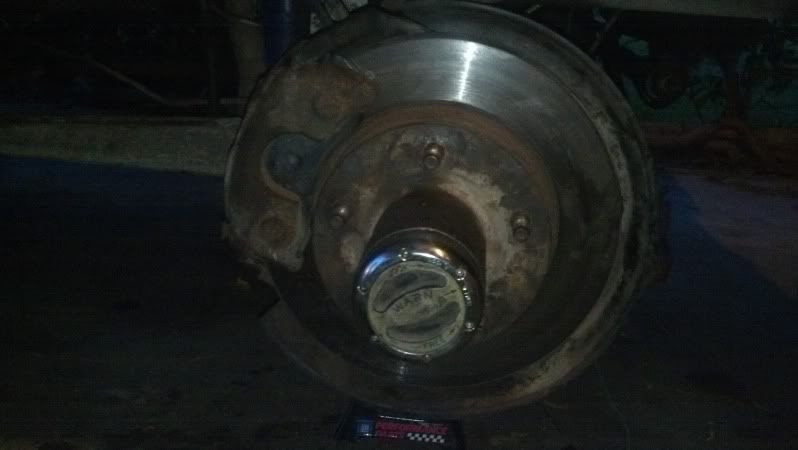
-Take off your brake caliper (you do not have to loosen the brake lines); would be a good time to check the pads condition and disc. Zip tie the brake caliper to a safe location, out of the way.
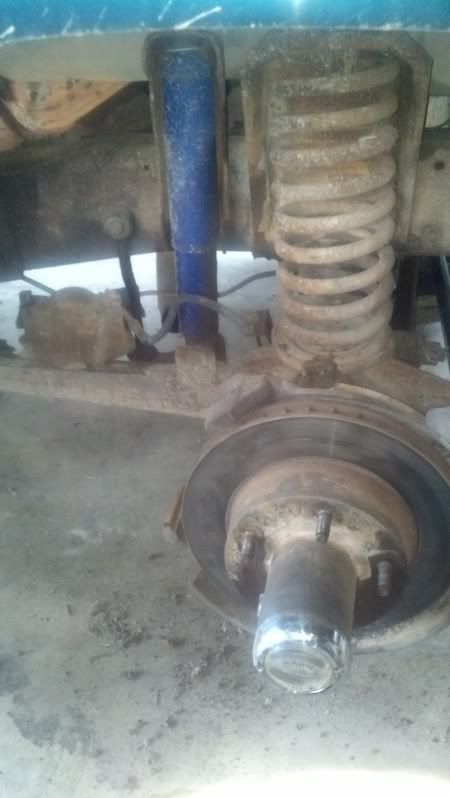
-Get the right allen wrench and unscrew the hub lock screws.
-Take out the snap ring on the axle shaft (you may have to use a crow bar and put it behind the axle shaft on the knuckle to bring the axle shaft farther out to reach the snap ring).
-Take out the bigger snap ring that holds the hub lock mechanism
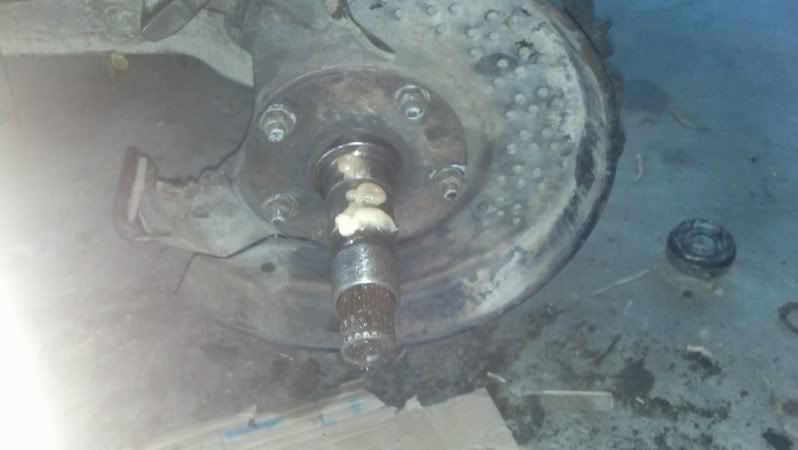
-Take out the locking nut, the washer, and the other locking nut to remove the whole disc/hub assembly.

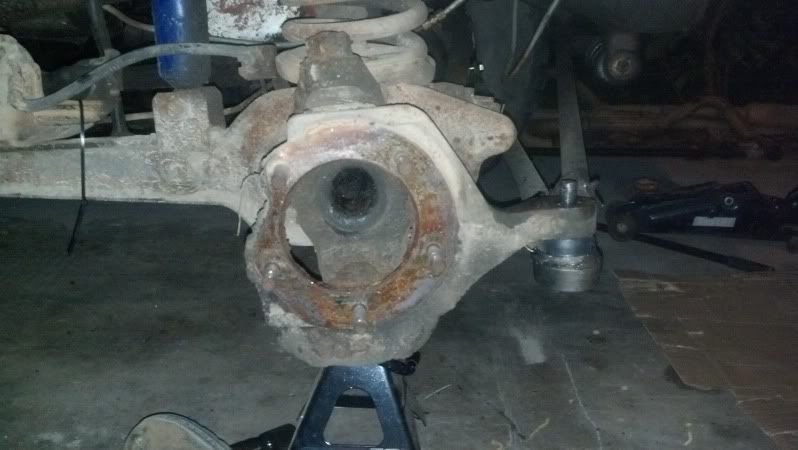
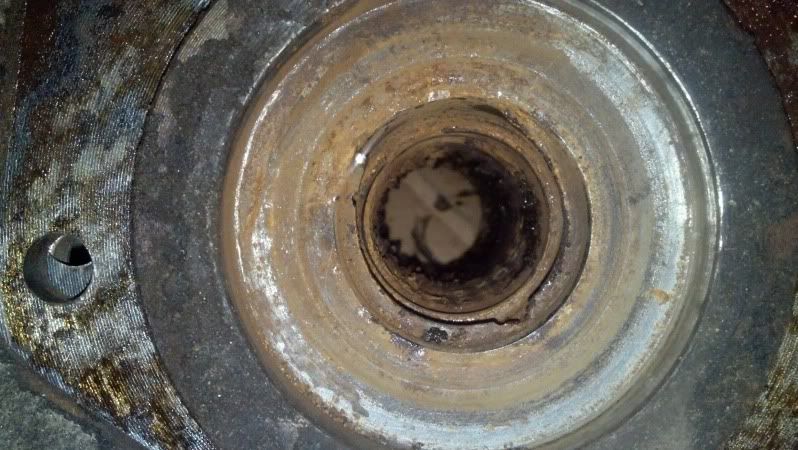
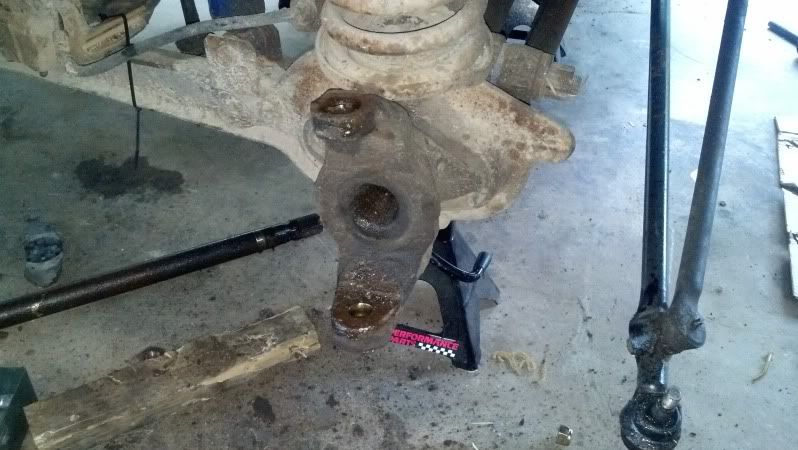
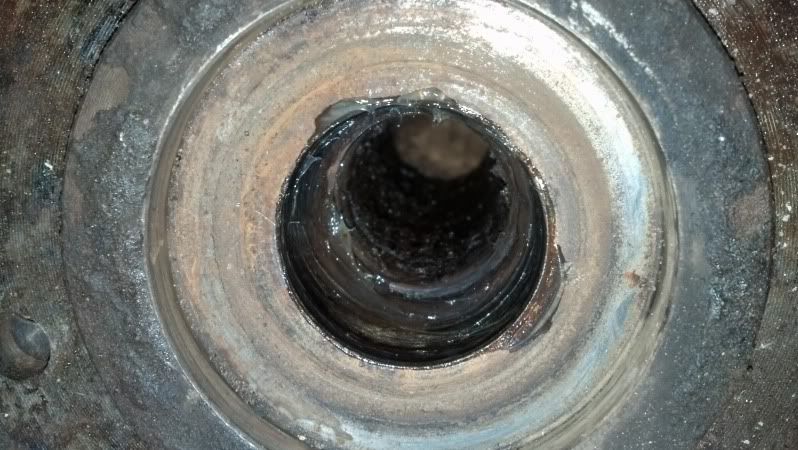
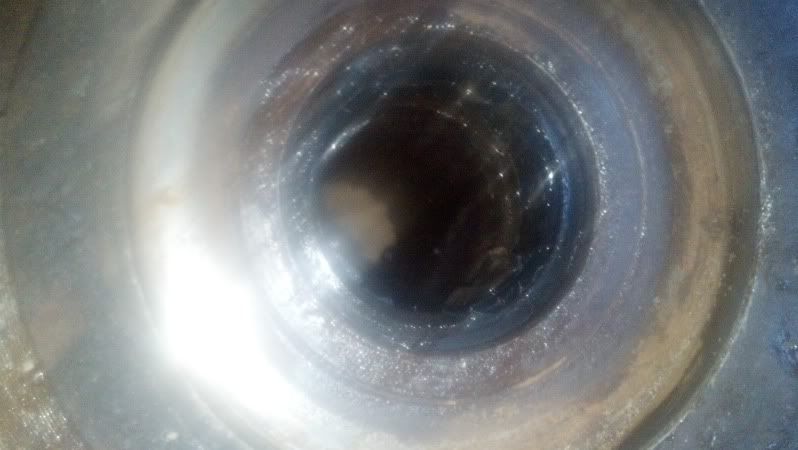
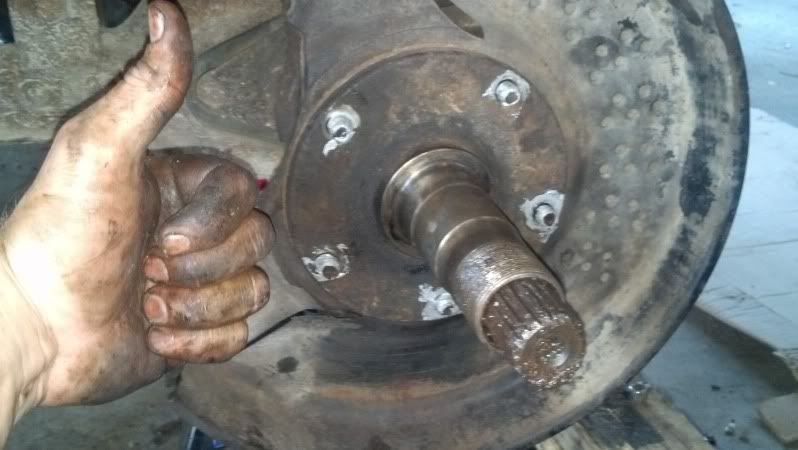
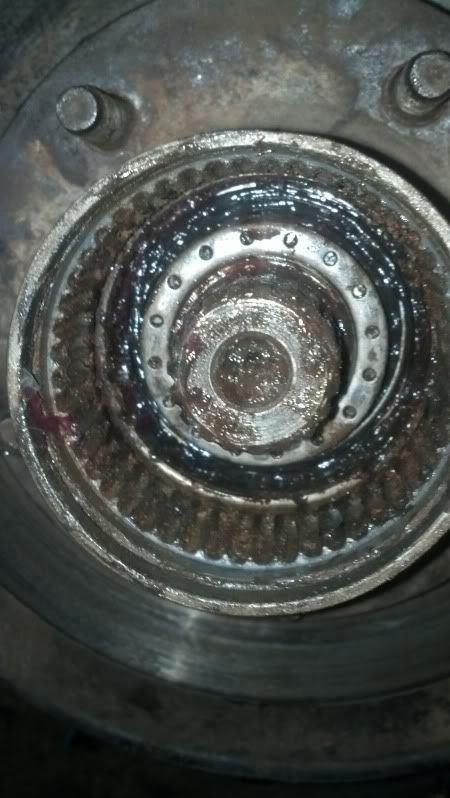
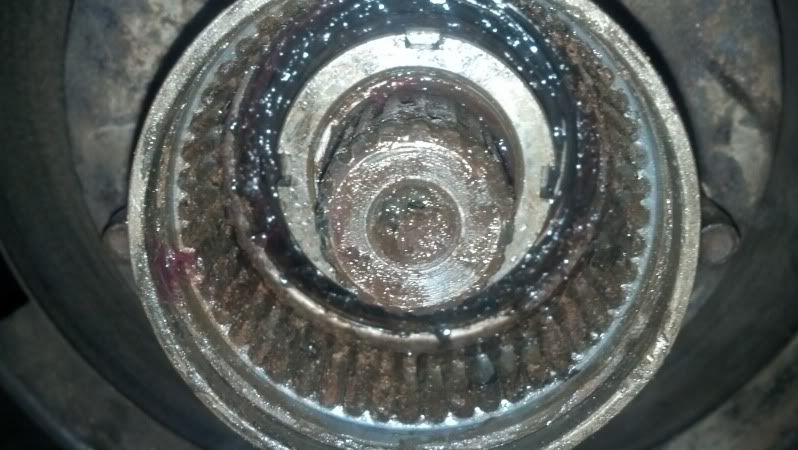
-Take off the 5 nuts that hold the spindle on (in the above picture) and pull the spindle off. It will be a good time to check and see if the axle spindle needle bearing and seals are in good condition. Mine weren't. The whole bearing looks to have been destroyed a long time.
-Take off the tie rod. I just replaced mine.
-Take off both the castle nut and the bottom nut on the ball joints.
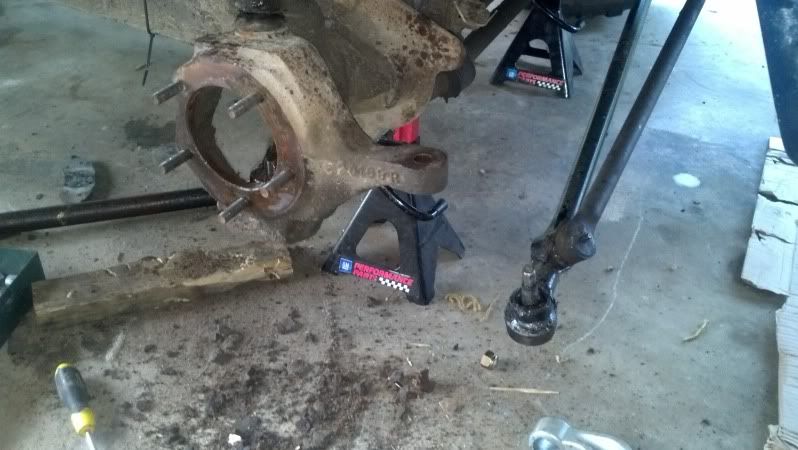
-Get a pickle fork, tie rod seperator, or whatever you want to call it and beat in between the ball joint. I just used a hammer and beat on the top of the ball joints since I was going to be replacing them anyways. Remove the knuckle assembly (watch out for the caster that is used for alignment, your new ball joint should have a new one that you will have to install. Keep note where the caster is adjusted at.)
-Put the knuckle assembly in a vise.
-Take out the trusty OEM Ball Joint Press and remove the old ball joints. Clean the inside of where the ball joints seated at.
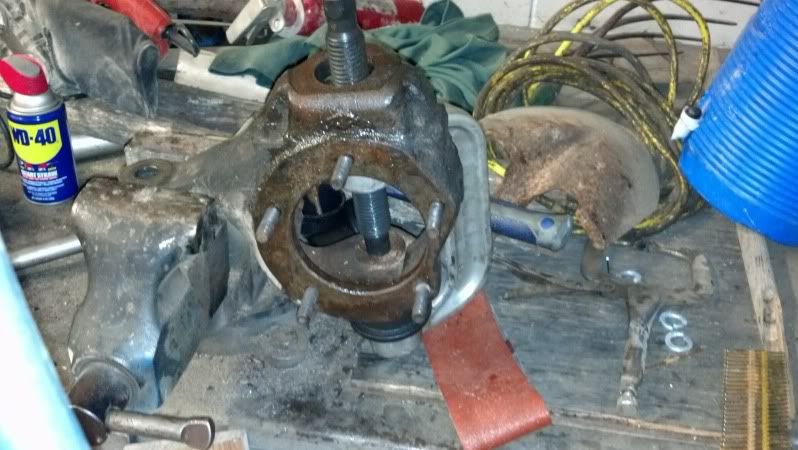
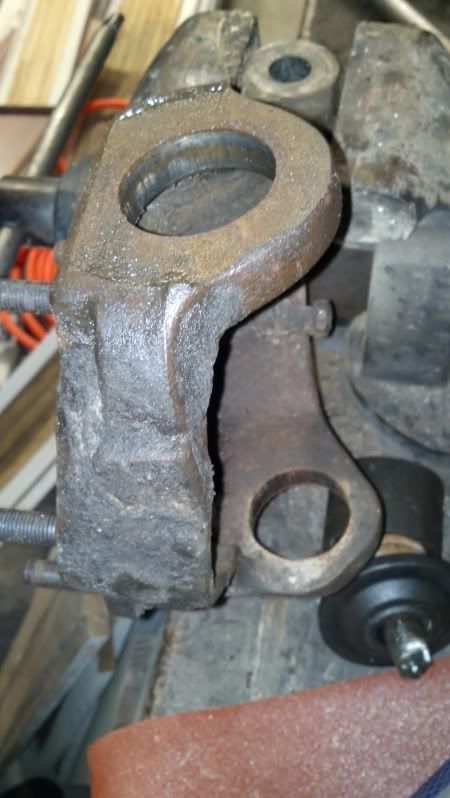
-Press in the bottom ball joint first then finally the top one (you will have to watch out for your caster piece..my new ball joint had a new one with it but I didn't replace it)
-Grease the ball joints up, especially the top one if you can't get the grease fitting on due to the axle shaft being in the way.
-Put the knuckle assembly on.
-Begin tighten the nuts on the ball joints; IF the stud (the threaded piece on the ball joint) spins, put a jack under the bottom of the knuckle and put the vehicles weight on that knuckle. Begin tighten to spec.
-Install tie rod back to the knuckle assembly. (USE ANTI-SEIZE ON ALL OF THE LOCATIONS WHERE THE THREADS AND METAL ON METAL ARE LOCATED)

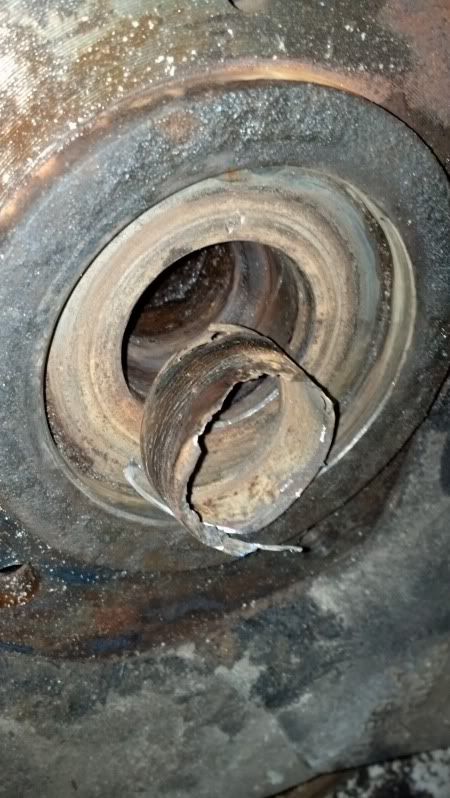
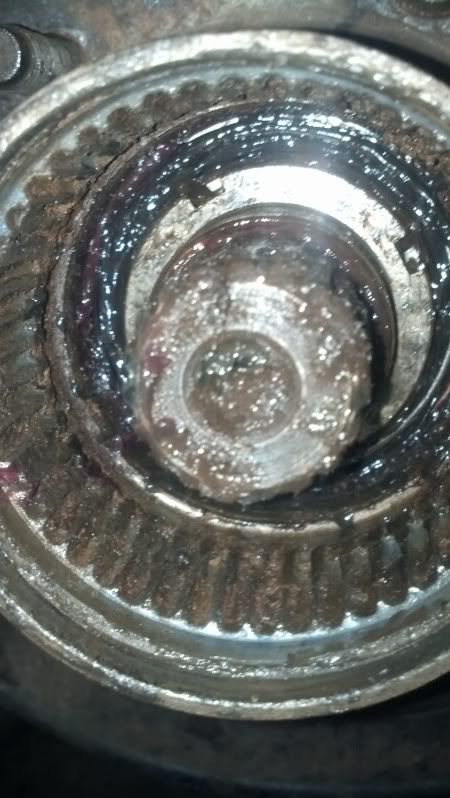
REPLACING THE SPINDLE NEEDLE BEARING
-I had to use my dremel tool with a cutting disc to remove what was left of the old bearing.
-Grease the area where the new bearing will go in so the bearing will go in smooth.
-Use a socket and beat in the new bearing in the hub.
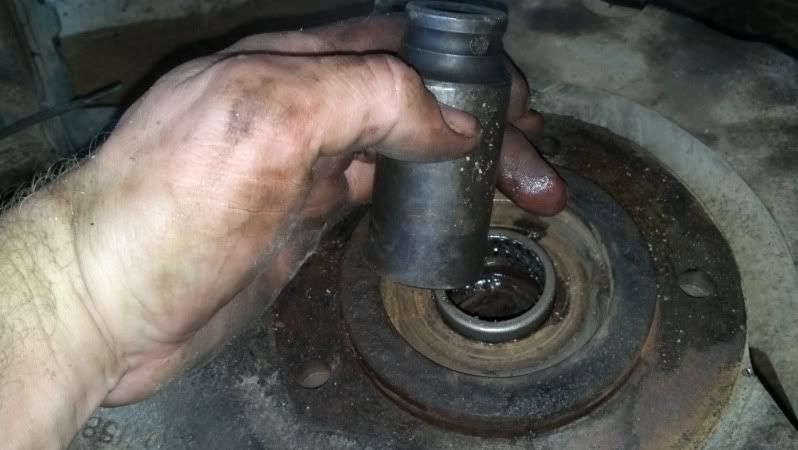
-Keep beating...
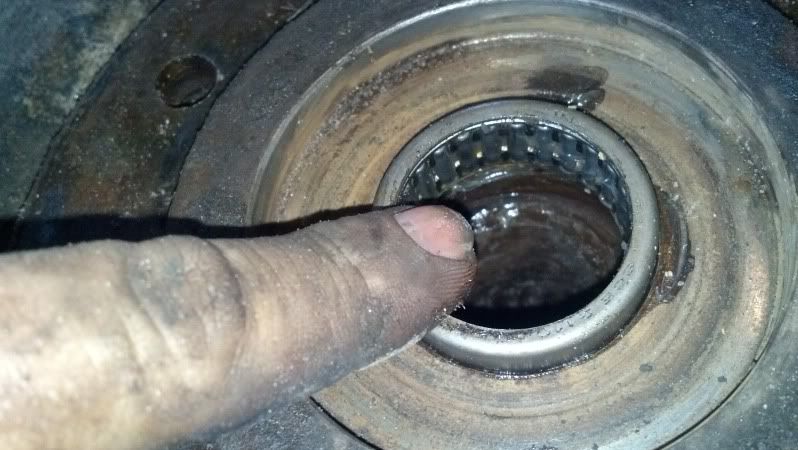
-Keep beating until the bearing is finally seated.
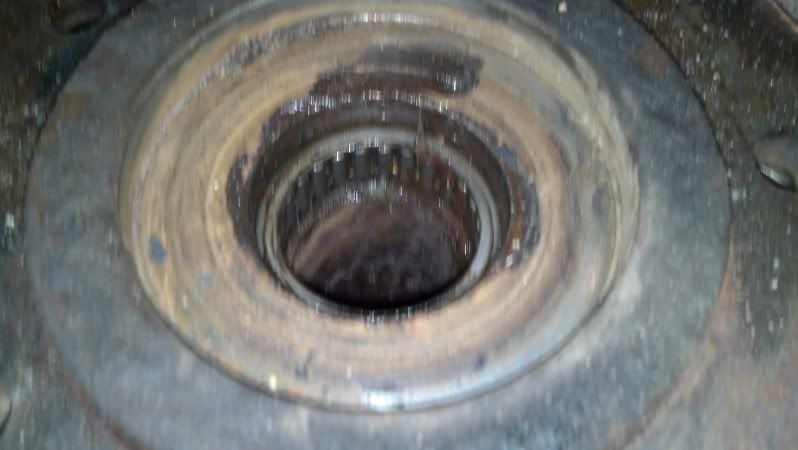
-Grease the needle bearing good and put the small seal that came with the bearing on the hub. You will also have a bigger seal that will have to go on the lip on the axle shaft.
-Put on the spindle. Put some Anti-Seize on that ****.
-Grease that **** up (wheel bearings, etc)!
-Install the inner locking nut to spec (turn tire and tighten, turn tire and tighten until you reach the ft-lbs recommended..I didn't have a torque wrench though)
-Install the washer (will have a lip that slide in a grove on the spindle, ALSO the inner lock nut will have a piece of metal that will go into one of the holes on the washer so make sure you have it facing the correct way!)
-Install out lock nut.
-Put on the hub lock assembly, and brake caliper.
-Install the tire............YOU'RE DONE!
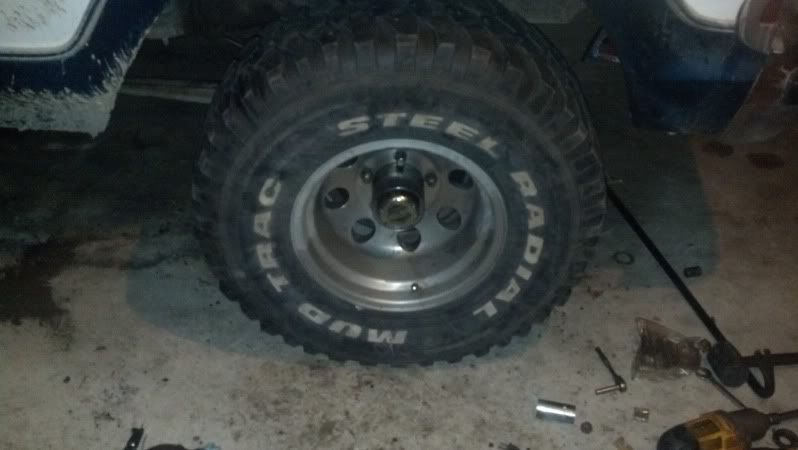
Pat yourself on the back..you saved some money!
It took me a couple of days to get this done because I was busy working. Air tools will help get this done faster too.
I rented a OEM Ball Joint Press from Autzone for $107.
-----------------------------------------------
How do I know my ball joints are bad?
Your steering will feel loose. You can easily tell if it is your ball joints by jacking up the front of your Bronco or truck and place the jack stands under the axle. Grab a wheel on the top and bottom of the tire and see if it wiggles. If it does it is a ball joint. Sometimes it isn't your ball joints; when it isn't your ball joints it could be loose/damaged wheel bearings, worn track bar bushings, tie rods are worn, steering gear box is worn, or your steering shaft that goes from your power steering to your steering wheel could be worn. Another way to tell what is wrong and you want to check the steering linkages is by letting someone turn the steering wheel back and forth (while the front of the Bronco is jacked up)....look for looseness in the tie rod ends, track bar bushings, etc.
Here is a video I made showing how loose my bottom ball joint was........
79 Bronco worn ball joint - YouTube
--------------------------------------------
-Jack up the front of your Bronco.
-Place jack stands under the front axle and put a wheel chop behind and in front of the rear wheels.
-Take off your wheels
-Take off your brake caliper (you do not have to loosen the brake lines); would be a good time to check the pads condition and disc. Zip tie the brake caliper to a safe location, out of the way.

-Get the right allen wrench and unscrew the hub lock screws.
-Take out the snap ring on the axle shaft (you may have to use a crow bar and put it behind the axle shaft on the knuckle to bring the axle shaft farther out to reach the snap ring).
-Take out the bigger snap ring that holds the hub lock mechanism
-Take out the locking nut, the washer, and the other locking nut to remove the whole disc/hub assembly.

-Take off the 5 nuts that hold the spindle on (in the above picture) and pull the spindle off. It will be a good time to check and see if the axle spindle needle bearing and seals are in good condition. Mine weren't. The whole bearing looks to have been destroyed a long time.


-Take off the tie rod. I just replaced mine.

-Take off both the castle nut and the bottom nut on the ball joints.
-Get a pickle fork, tie rod seperator, or whatever you want to call it and beat in between the ball joint. I just used a hammer and beat on the top of the ball joints since I was going to be replacing them anyways. Remove the knuckle assembly (watch out for the caster that is used for alignment, your new ball joint should have a new one that you will have to install. Keep note where the caster is adjusted at.)

-Put the knuckle assembly in a vise.
-Take out the trusty OEM Ball Joint Press and remove the old ball joints. Clean the inside of where the ball joints seated at.


-Press in the bottom ball joint first then finally the top one (you will have to watch out for your caster piece..my new ball joint had a new one with it but I didn't replace it)
-Grease the ball joints up, especially the top one if you can't get the grease fitting on due to the axle shaft being in the way.
-Put the knuckle assembly on.
-Begin tighten the nuts on the ball joints; IF the stud (the threaded piece on the ball joint) spins, put a jack under the bottom of the knuckle and put the vehicles weight on that knuckle. Begin tighten to spec.
-Install tie rod back to the knuckle assembly. (USE ANTI-SEIZE ON ALL OF THE LOCATIONS WHERE THE THREADS AND METAL ON METAL ARE LOCATED)

REPLACING THE SPINDLE NEEDLE BEARING
-I had to use my dremel tool with a cutting disc to remove what was left of the old bearing.

-Grease the area where the new bearing will go in so the bearing will go in smooth.

-Use a socket and beat in the new bearing in the hub.

-Keep beating...

-Keep beating until the bearing is finally seated.

-Grease the needle bearing good and put the small seal that came with the bearing on the hub. You will also have a bigger seal that will have to go on the lip on the axle shaft.

-Put on the spindle. Put some Anti-Seize on that ****.

-Grease that **** up (wheel bearings, etc)!

-Install the inner locking nut to spec (turn tire and tighten, turn tire and tighten until you reach the ft-lbs recommended..I didn't have a torque wrench though)

-Install the washer (will have a lip that slide in a grove on the spindle, ALSO the inner lock nut will have a piece of metal that will go into one of the holes on the washer so make sure you have it facing the correct way!)

-Install out lock nut.

-Put on the hub lock assembly, and brake caliper.

-Install the tire............YOU'RE DONE!

Pat yourself on the back..you saved some money!
It took me a couple of days to get this done because I was busy working. Air tools will help get this done faster too.
#2
05-24-2013, 02:34 PM

#3
05-24-2013, 04:36 PM
Join Date: Nov 2009
Location: SE Georgia
Posts: 3,189
Likes: 0
Received 0 Likes
on
0 Posts
#4
05-25-2013, 12:12 AM

Great write-up and pics!
I was glad to see that you serviced what is probably the most-forgotten part on Ford 4WD front axles, the Spindle Needle Bearings!
I figure there are thousands and thousands of F-150's and Bronco's out there that the SNB's are shot. Often wondered if many of the failures of auto hubs could be due to failed SNB's, allowing the axle stub to wobble around a bit when the front axle drive is engaged, the wobble at the outer end wrecking the auto hub. Just a hypothesis.
#5
05-25-2013, 09:34 AM
Join Date: Nov 2009
Location: SE Georgia
Posts: 3,189
Likes: 0
Received 0 Likes
on
0 Posts

Thread
Thread Starter
Forum
Replies
Last Post
mechelement
1999 - 2003 7.3L Power Stroke Diesel
2
10-12-2009 01:26 AM
cantedvalveFord
1980 - 1986 Bullnose F100, F150 & Larger F-Series Trucks
4
12-03-2003 05:01 PM
Mexray
1978 - 1996 Big Bronco
4
03-29-2002 09:36 AM