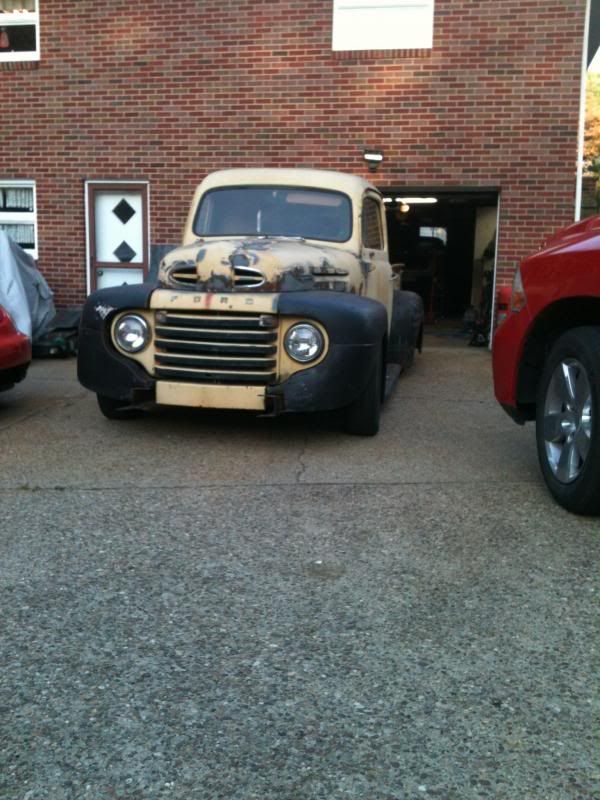
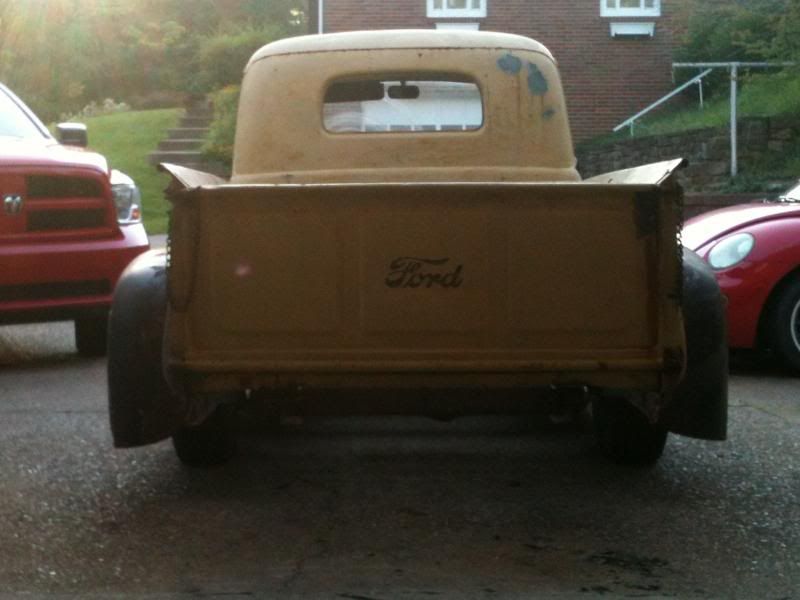
Starting a new project! 49 F3
#16
 05-09-2013, 12:07 PM

Join Date: Jan 2013
Posts: 90
Likes: 0
Received 0 Likes
on
0 Posts
making progress
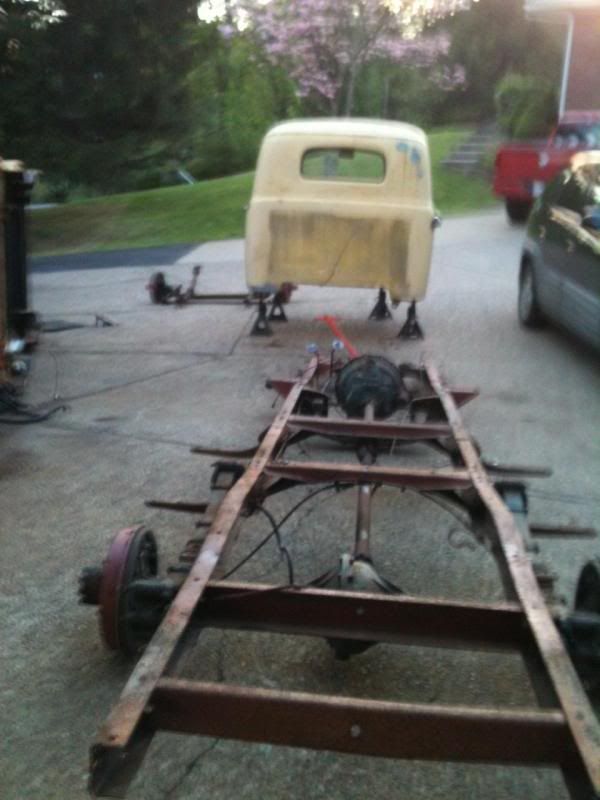
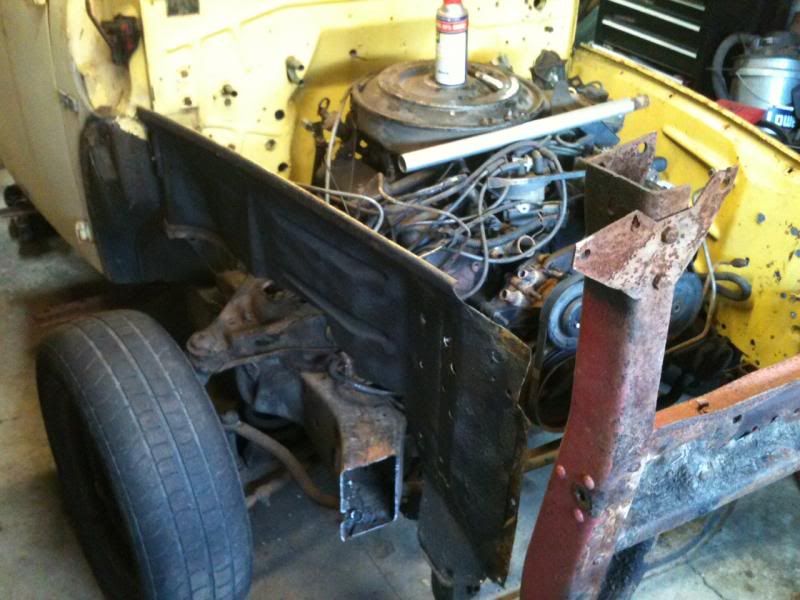
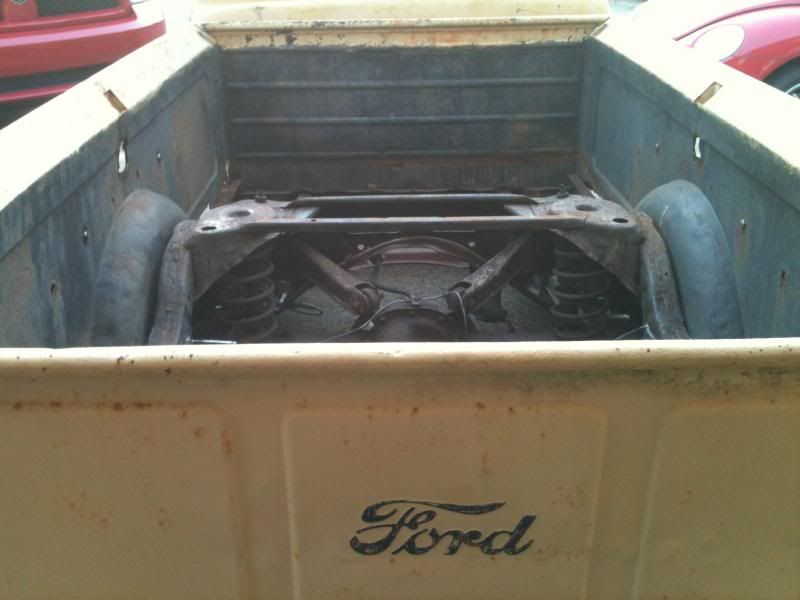
got the bed and cab off frame, removed front suspension and slid it out from under the cab. gotta love doing the grunt work alone!
stretched the Vic frame 8" with 3/16" steel to the inside, rosetted if not welded on inside, then wrapped with 16 ga outside to smooth it up.
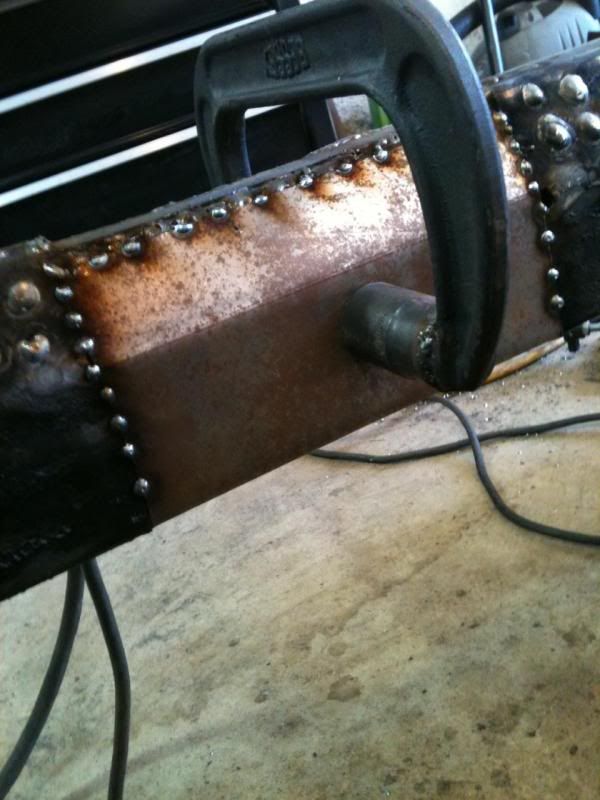

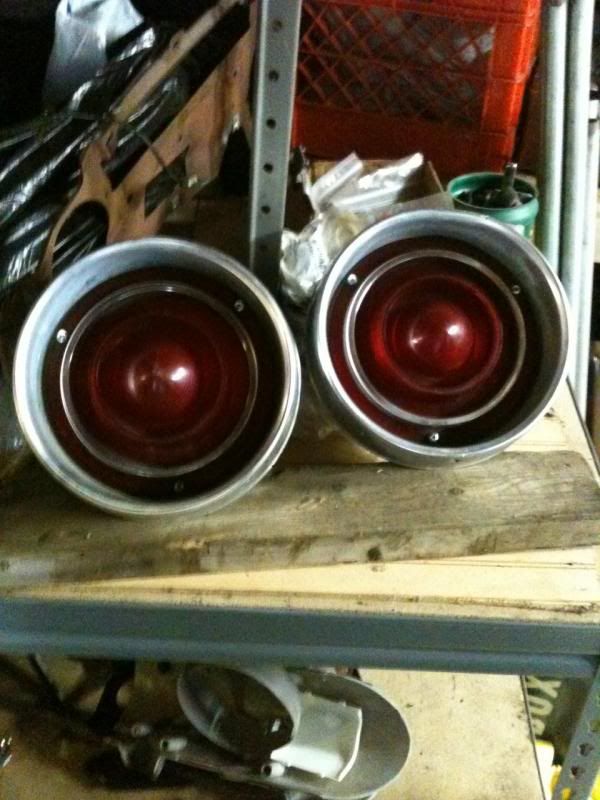
scored some cool Ford tails for cheap. will add to rear fenders nicely.
hope to have cab on chassis this evening to start mocking up and fabbing mounts.
stretched the Vic frame 8" with 3/16" steel to the inside, rosetted if not welded on inside, then wrapped with 16 ga outside to smooth it up.


scored some cool Ford tails for cheap. will add to rear fenders nicely.

hope to have cab on chassis this evening to start mocking up and fabbing mounts.

#17
06-20-2013, 09:06 AM
Join Date: Jan 2013
Posts: 90
Likes: 0
Received 0 Likes
on
0 Posts
update with pics! woohoo!!
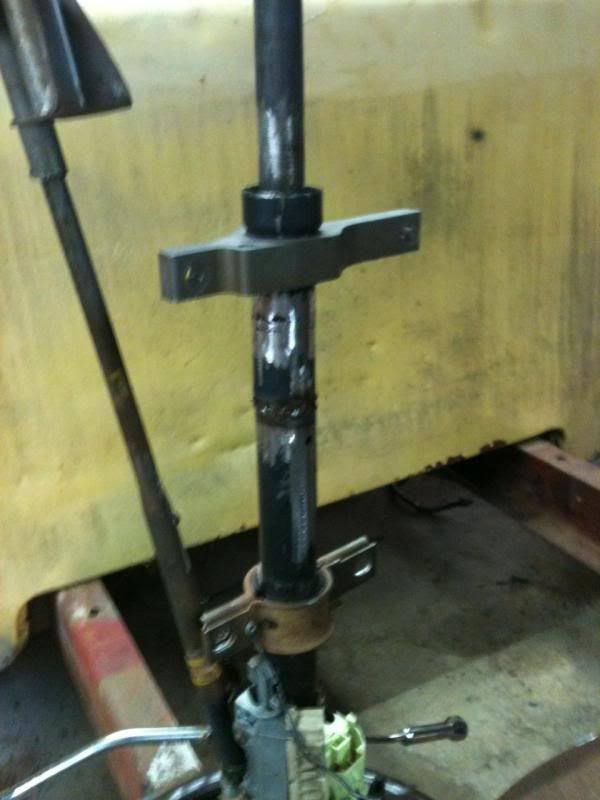
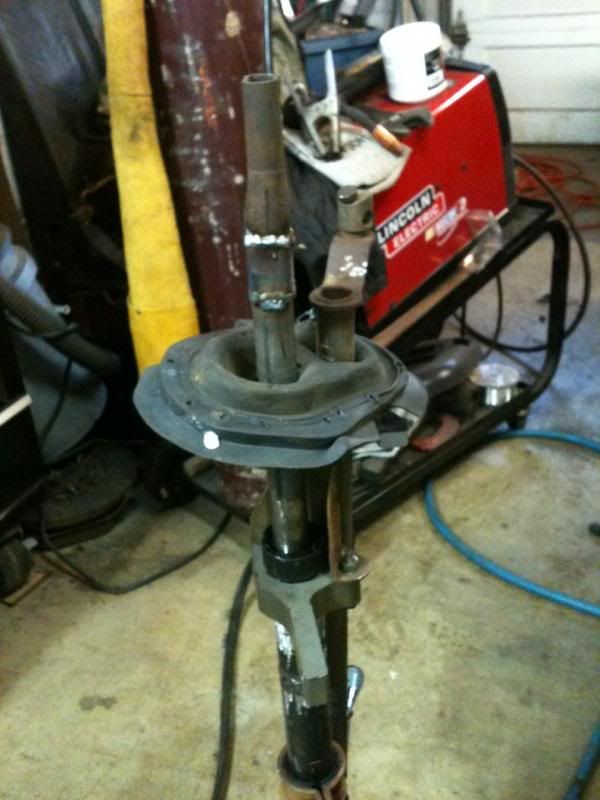
got the vic steering column mount (ties to master cyl booster) bolted in, booster fitted up, the dash is very thick at the bottom (has to be, column hangs from it) so I drilled it out and added the lone bolt that braces at the end of the column hanger. fit perfectly!! I will be adding extra braces to the mount to triangulate to the firewall and cowl, to eliminate torsional twist of the steering and better support overall. I took 6" out of the steering column tube, but realized the upper mount that moves , would be needing to occupy the space that the spring loaded shifter arm required. SO. I had to add 2" more of the tube back, this got the shifter off the dash itself and moved out a comfortable distance. I then added a 2" section of 1x1 1/16" steel box to the steering shaft and made sure to burn it in like mad. had to add about 3" onto the shifter arm that ties into the mechanism down at the chassis for the transmission, but it all lined up well. tilt column with cruise controls on wheel , delay wipers & turn, stay as original from the 85 donor. cruise in comfort! the wheel is small, does not even come up to the top of the dash. should give plenty of room as well since the pedals are closer to firewall than original.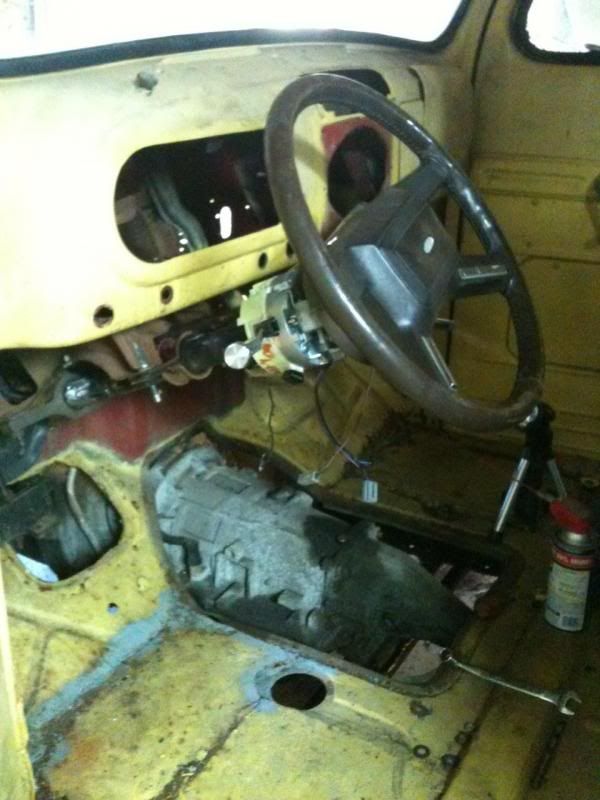 [/URL]
 [/URL]
got the vic steering column mount (ties to master cyl booster) bolted in, booster fitted up, the dash is very thick at the bottom (has to be, column hangs from it) so I drilled it out and added the lone bolt that braces at the end of the column hanger. fit perfectly!! I will be adding extra braces to the mount to triangulate to the firewall and cowl, to eliminate torsional twist of the steering and better support overall. I took 6" out of the steering column tube, but realized the upper mount that moves , would be needing to occupy the space that the spring loaded shifter arm required. SO. I had to add 2" more of the tube back, this got the shifter off the dash itself and moved out a comfortable distance. I then added a 2" section of 1x1 1/16" steel box to the steering shaft and made sure to burn it in like mad. had to add about 3" onto the shifter arm that ties into the mechanism down at the chassis for the transmission, but it all lined up well. tilt column with cruise controls on wheel , delay wipers & turn, stay as original from the 85 donor. cruise in comfort! the wheel is small, does not even come up to the top of the dash. should give plenty of room as well since the pedals are closer to firewall than original.
[/URL][/URL]
#18
06-20-2013, 09:07 AM
Join Date: Jan 2013
Posts: 90
Likes: 0
Received 0 Likes
on
0 Posts
#19
06-20-2013, 09:31 AM
Join Date: Jan 2013
Posts: 90
Likes: 0
Received 0 Likes
on
0 Posts
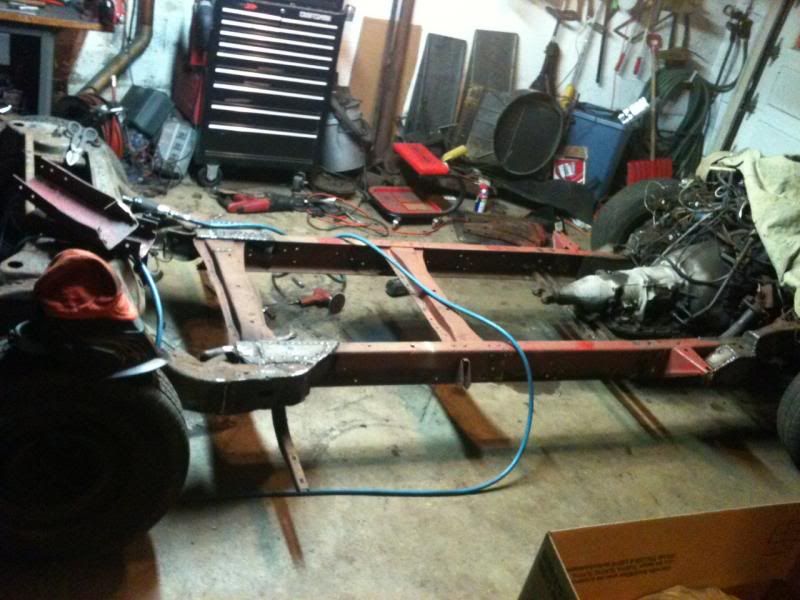
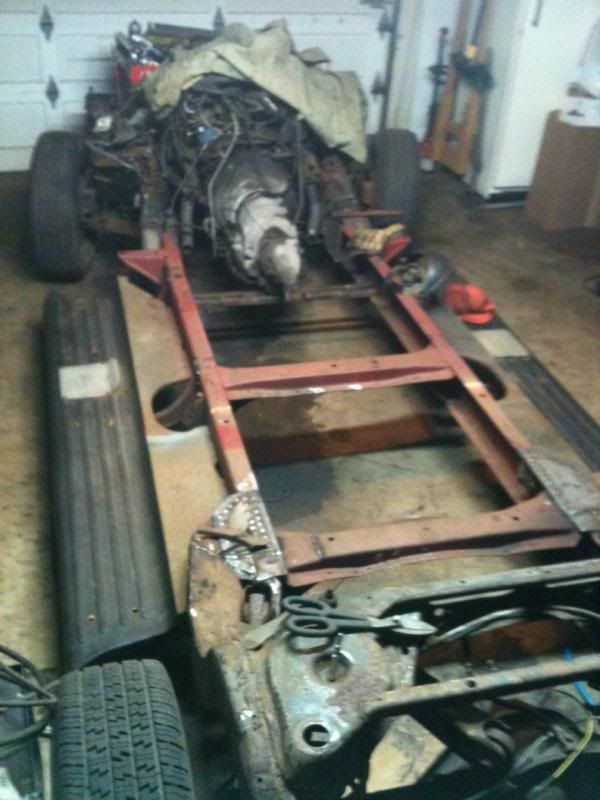
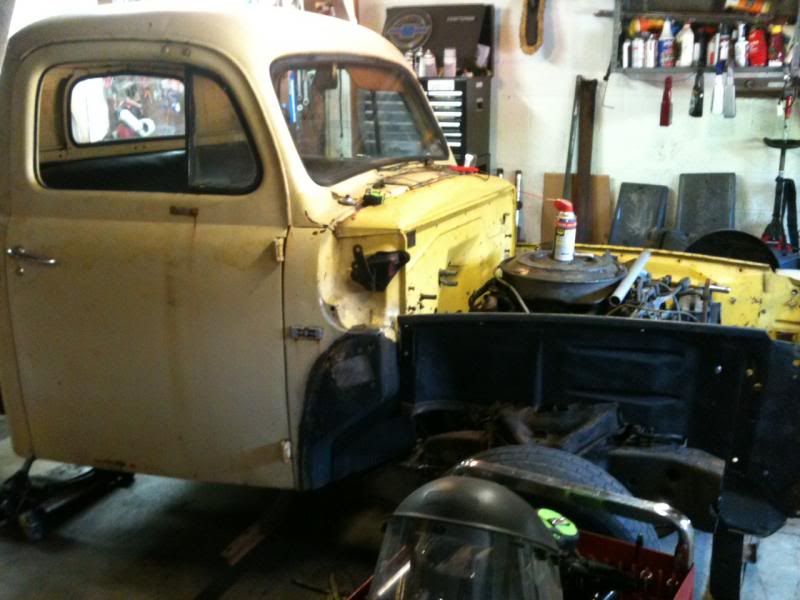
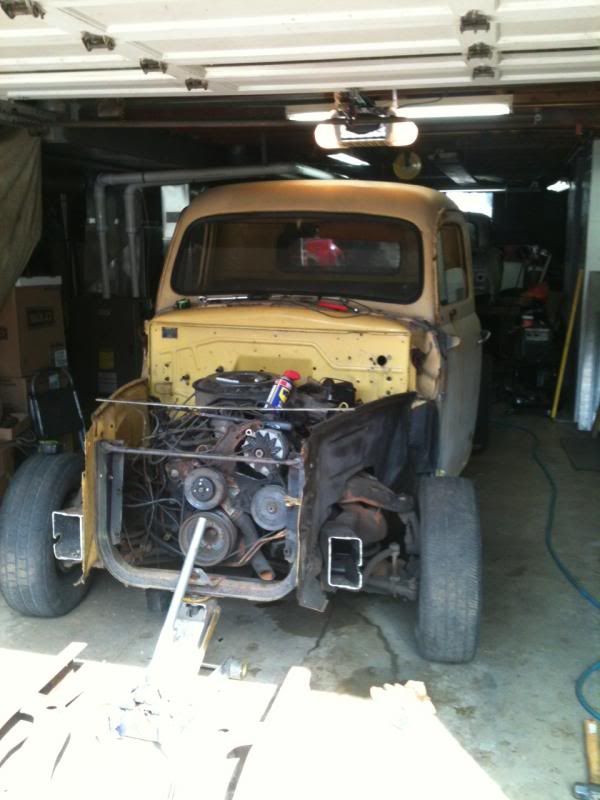
here's a few more pics of the chassis before loading it up with parts, and of cutting the inner fenders to fit. the body sits rather low about 3" down "into" the subframed part,but still on top the original chassis as intended. gives me about a 5" ground clearance from the running boards , maybe 4" after all the parts are on chassis to load it down. the front frame section will be grafted on with a 3/16" plate going straight down to meet the front frame stub of the truck, then gusseted for strength. I plan to run a bumper so this is more than just for giving the front clip it's solid mounting with the radiator core support mount. using a couple old valve springs and made a new insulator from a mudflap. piecut the front of the vic frame to be half as wide as it is in the pics, to smooth the transition to the other frame.


#20
07-01-2013, 08:58 AM
Join Date: Jan 2013
Posts: 90
Likes: 0
Received 0 Likes
on
0 Posts

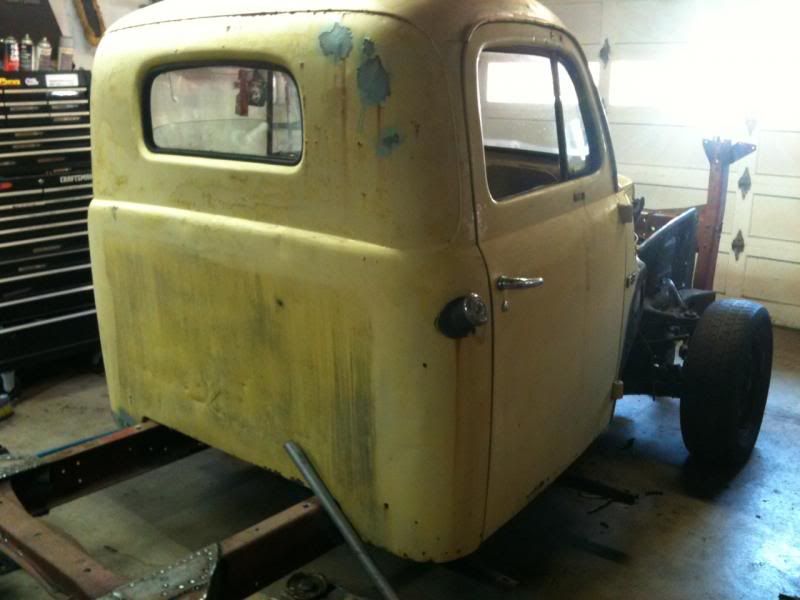
got more parts hung and doublechecking parts fit. gonna go with some adjustable cab mounts in the back and snug the bed up closer to cab. even at the 122" spec wheelbase, the rear wheel still doesnt line up perfect with the "wheelhouse" arch of the bedside! WTF. maybe the fender will line up correct?

#22
07-02-2013, 01:50 PM
Join Date: Jan 2013
Posts: 90
Likes: 0
Received 0 Likes
on
0 Posts
#23
07-20-2013, 01:44 PM
Join Date: Jan 2013
Posts: 90
Likes: 0
Received 0 Likes
on
0 Posts
 done some blues clues work and found the original owner.
#24
07-29-2013, 03:17 PM
Join Date: Jan 2013
Posts: 90
Likes: 0
Received 0 Likes
on
0 Posts
#25
08-08-2013, 07:44 PM
Join Date: Jan 2013
Posts: 90
Likes: 0
Received 0 Likes
on
0 Posts
#26
08-08-2013, 07:57 PM
Join Date: Jan 2013
Posts: 90
Likes: 0
Received 0 Likes
on
0 Posts
#28
08-08-2013, 09:29 PM
Join Date: Jan 2013
Posts: 90
Likes: 0
Received 0 Likes
on
0 Posts
#29
09-05-2013, 08:13 AM
Join Date: Jan 2013
Posts: 90
Likes: 0
Received 0 Likes
on
0 Posts
