When you click on links to various merchants on this site and make a purchase, this can result in this site earning a commission. Affiliate programs and affiliations include, but are not limited to, the eBay Partner Network.
Ford (89 - 97 E4OD) B&M Trans Cooler and Shift Improver Kit install (No resistor)
The E4OD transmission is known for far too soft shifts, and heat is also a great problem with most automatics, so, since mine finally had a hard part failure (at 250,000mi) and I replaced it with a fresh rebuild, I wanted to do anything to improve the life expectancy of my new trans by doing everything right from the beginning. To address the two most important weaknesses of the E4OD I decided I would install a cooler and a shift kit. The market is full of options regarding both products, so you'll have plenty of options to pick from, why did I pick B&M? the quality is great and the brand has a great reputation, for the cooler, it was the stacked plate design, which is more efficient (33%) and durable (the fins in the fin/tube design bend really easily). Regarding the shift kit, I think I would have gone a different direction if I had the chance, but this kit's installation wasn't very involved, and it was my first time working on a transmission, still a great product, but I think the TransGo kit might be a better choice if you want further customization.
The benefits I expect: A cooler will reduce the ATF temperature, which is great for the trans, period. A shift kit will improve the general feel of the trans, shift speed, firmness, and in some cases it will have parts to optimize/modify the shift points (not available with the B&M), it will reduce slippage, reducing general wear and heat. Modifying the pump has pros/cons: If the pump pressure is too high it will reduce the life of the pump and could hurt the seals, otherwise higher pressures help lubrication, further reduce the heat and could counter the pressure losses produced by adding a cooler.
Tools I used:
* The tools required if you're only doing the cooler install in black.
- Protective goggles.
- Ratchet set, with metric sockets (8mm, 10mm), 2" extention. I used several ratchets to avoid the need of swapping sockets all the time.
- A flat screwdriver.
- A funnel and 1ft of hose (I used this to refill the trans, If you have a fancier funnel, all the better).
- Some wrenchs (sorry, can't remember the sizes, but you'll need them if you use the brackets supplied with the cooler).
- A blade or knife (to cut the hose sections).
- A sticker scraper.
- A heavy duty clip (to be shaped into a tool, more on this later).
- Torx T30 tip.
- A Phillips screwdriver.
- A drill.
- A flat file.
- A receiver pan that can hold at least 5gals if you plan on doing a full ATF swap (if you have no drain plug, the wider the better).
- One wheel chock (the more the merrier, but at least use one).
- Jack and jackstands (you can use these to lift the rear axle and insure that the truck won't go anywhere when you have the trans disassembled).
- A rag or an old shirt (whatever you want to use to remove the ATF from yourself and your tools).
Parts:
- B&M 10025 Shift Improver Kit. My review on Amazon: Amazon.com: Customer Reviews: B&M 10025 Shift Improver Shift Kit
- B&M 70268 SuperCooler Automatic Transmission Cooler (13,000 BTU if you're wondering). My review on Amazon: Amazon.com: Ruben's review of B&M 70268 SuperCooler Automatic Transmissi...
- A new transmission filter (if you plan to replace the ATF you should also replace the filter).
- Homemade transmission filter clip.
- Lots of newspapers.
- Paper towels.
- Vaseline (don't worry, it isn't THAT hard ).
- WD40 (I didn't actually use this since everything inside was new and clean).
- Several qts. of the ATF of your choice (1-2 if you will reuse your ATF like me, up to 19 if you plan on replacing all the ATF).
As always, wear your protective gear (I didn't wear my gloves since it makes it harder to handle the small bolts/nuts, but I really busted my hands...), and find a proper spot to work of your transmission, flat and clean, keep in mind you probably won't be able to finish this upgrade for several hours, even a couple of days. Put the newspapers all under the transmission (if you plan on installing the shift kit), and keep some in reserve.
Transmission cooler installation
Sadly, I didn't take pictures during the installation, but it's quite simple, so the ones I took later will do. Before you start unattaching anything, you need to define three things: the positions of the ATF output line and the input line of the transmission, and the location were you wish to install the cooler. In my case, the trans output line went to the top of my radiator, and the input line was attached at the bottom, also, the truck has plenty of space ahead of the A/C condenser to mount the cooler (check the pictures), it has to be at least 1" apart from the condenser/radiator to improve the cooling, and remember the length of hose supplied is limited (it will be enough if your install resembles mine).
First off, we need to remove the grille, to do so, remove the four bolts on top, and the bolt just under the Ford badge, and set them somewhere safe.
Here is the top of the grille, showing two of the bolts (center left and right).
This is the bolt found just under the badge, remove it first and install it last.
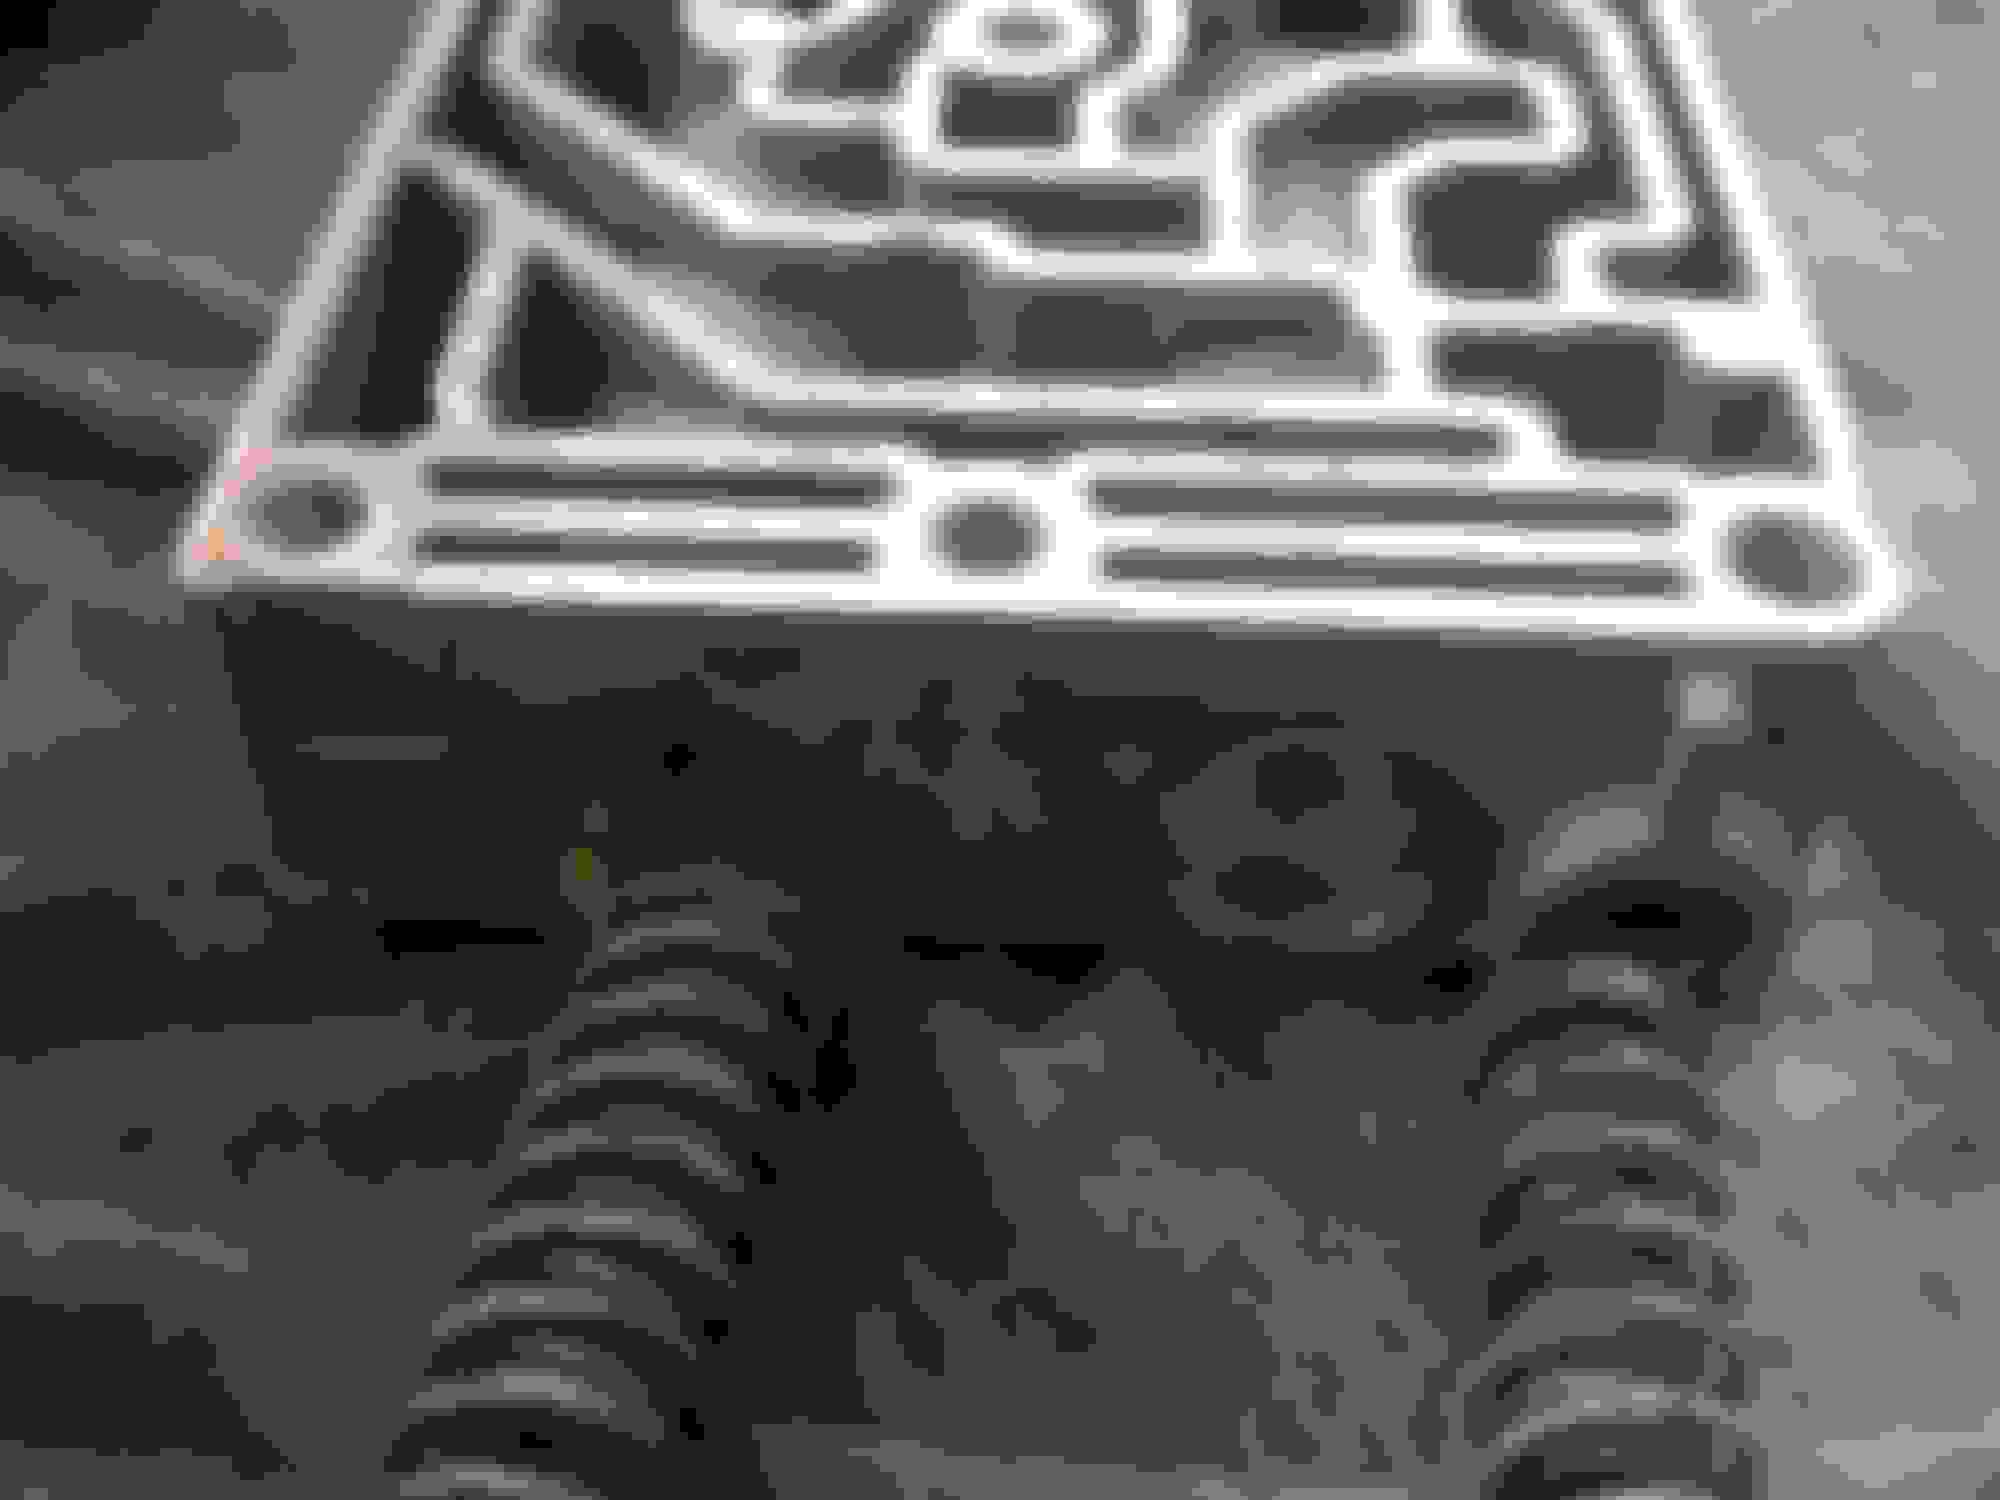
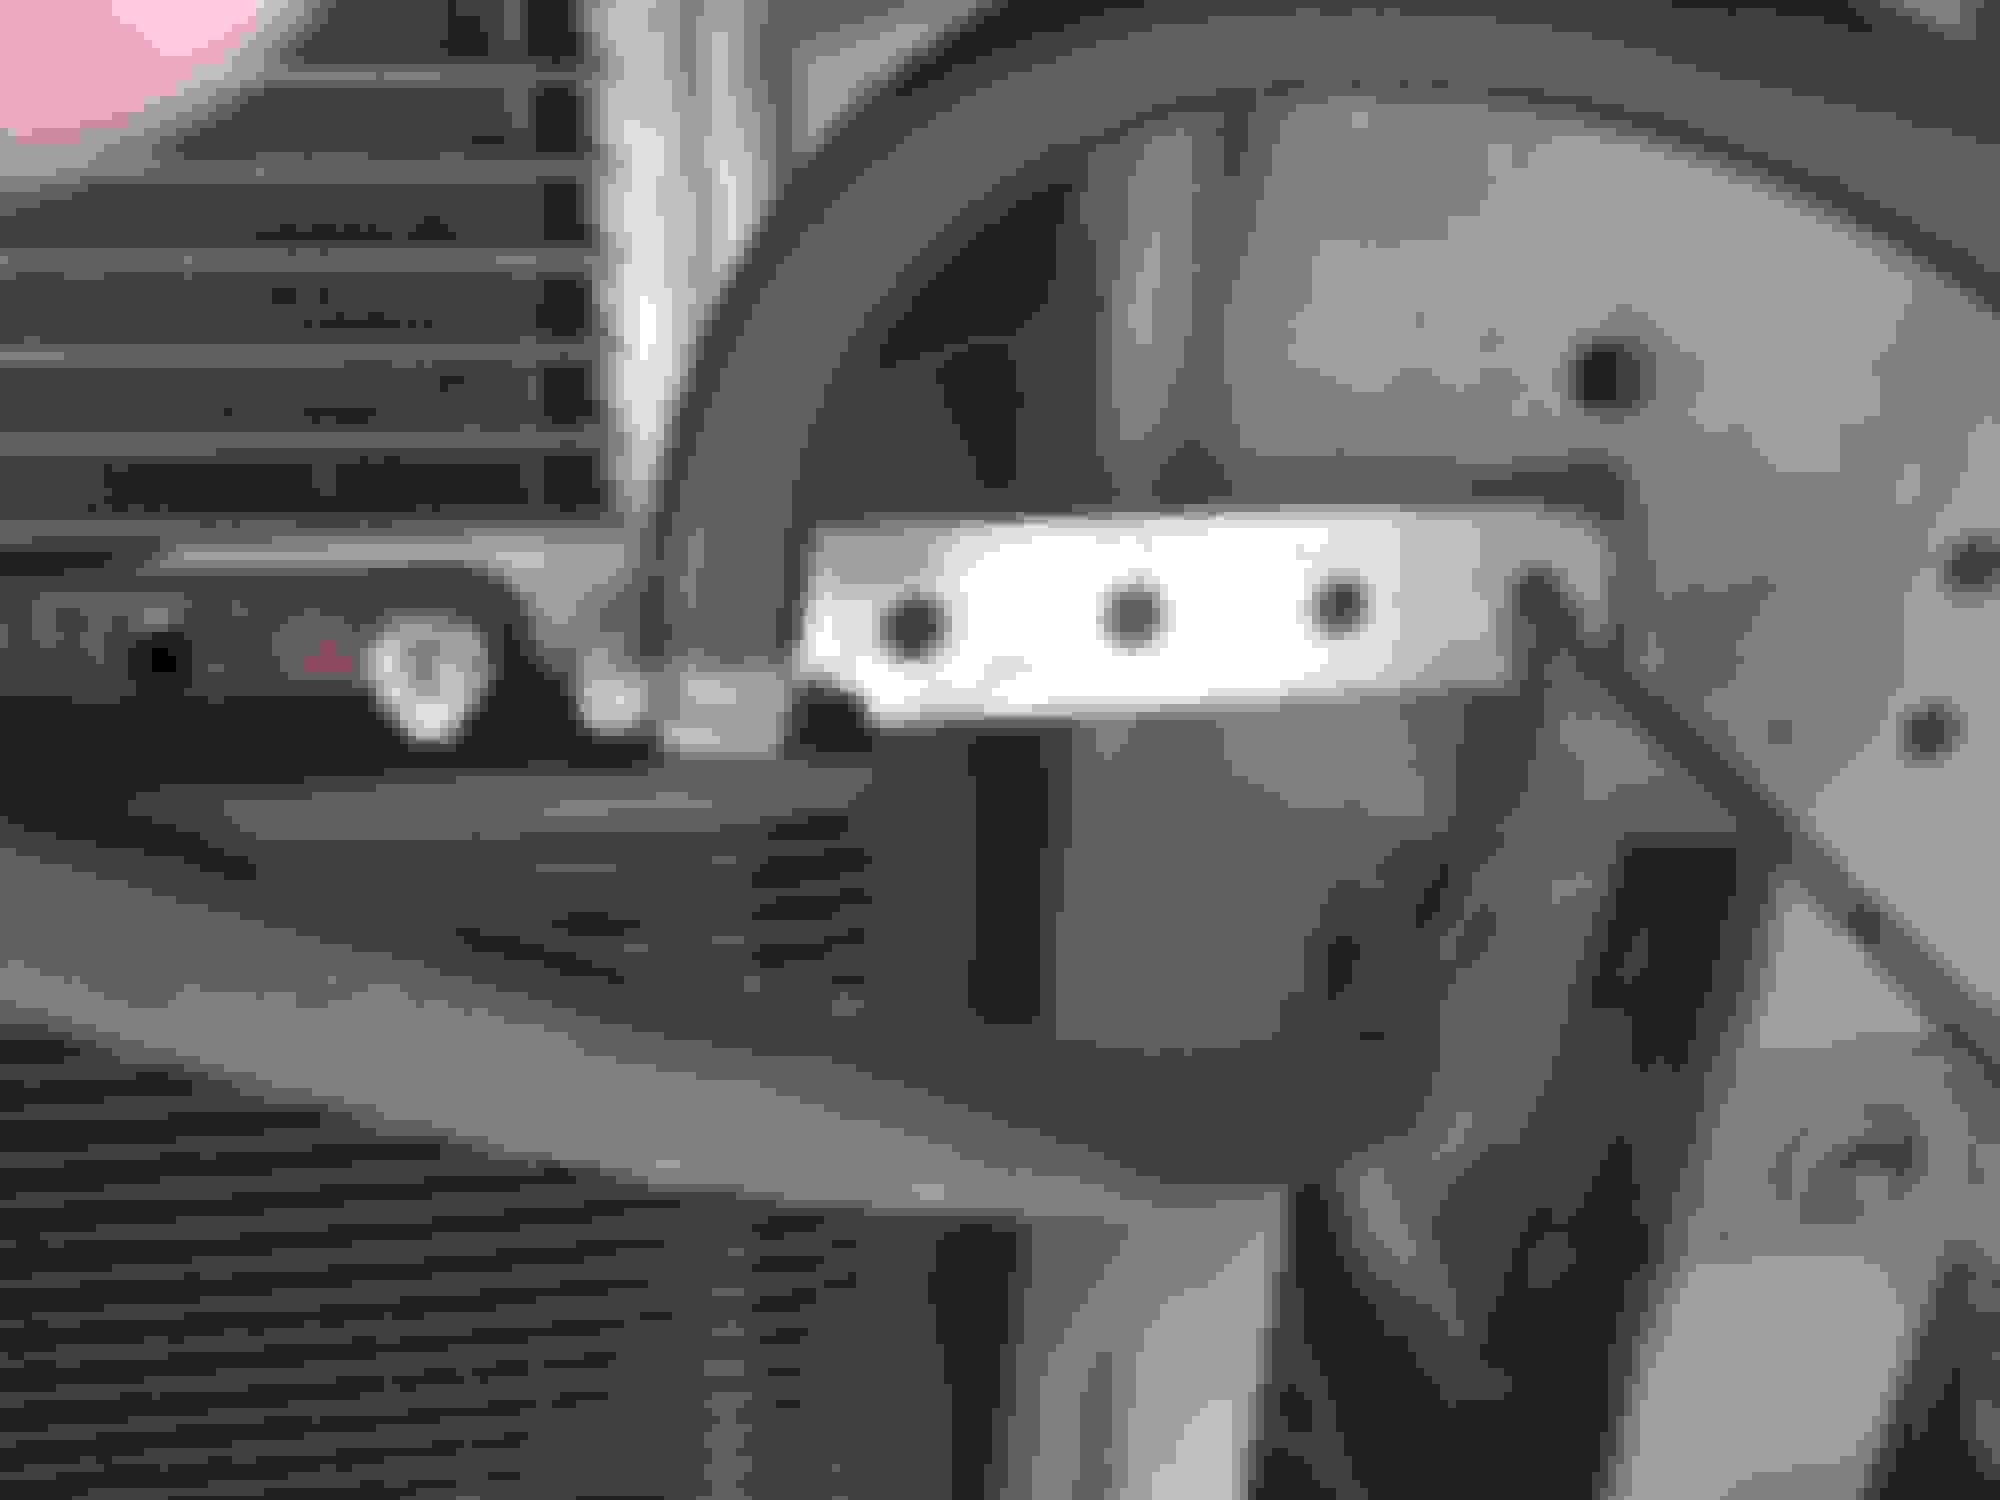
After removing the grille, take the brackets supplied and use at least 3 attaching points to set the cooler in place, this will prevent undesired vibrations. This is how I did it:
This is the first spot, to the left, in the center, I attached the bracket to the center support behind the grille.
This is the second spot, at the bottom, here I took advantage of the Condenser bracket attaching the cooler bracket to it.
This is the last point, here I recommend using the plastic strap included in the kit, I just used a tie-wrap with a black foam pad to damper any vibrations.
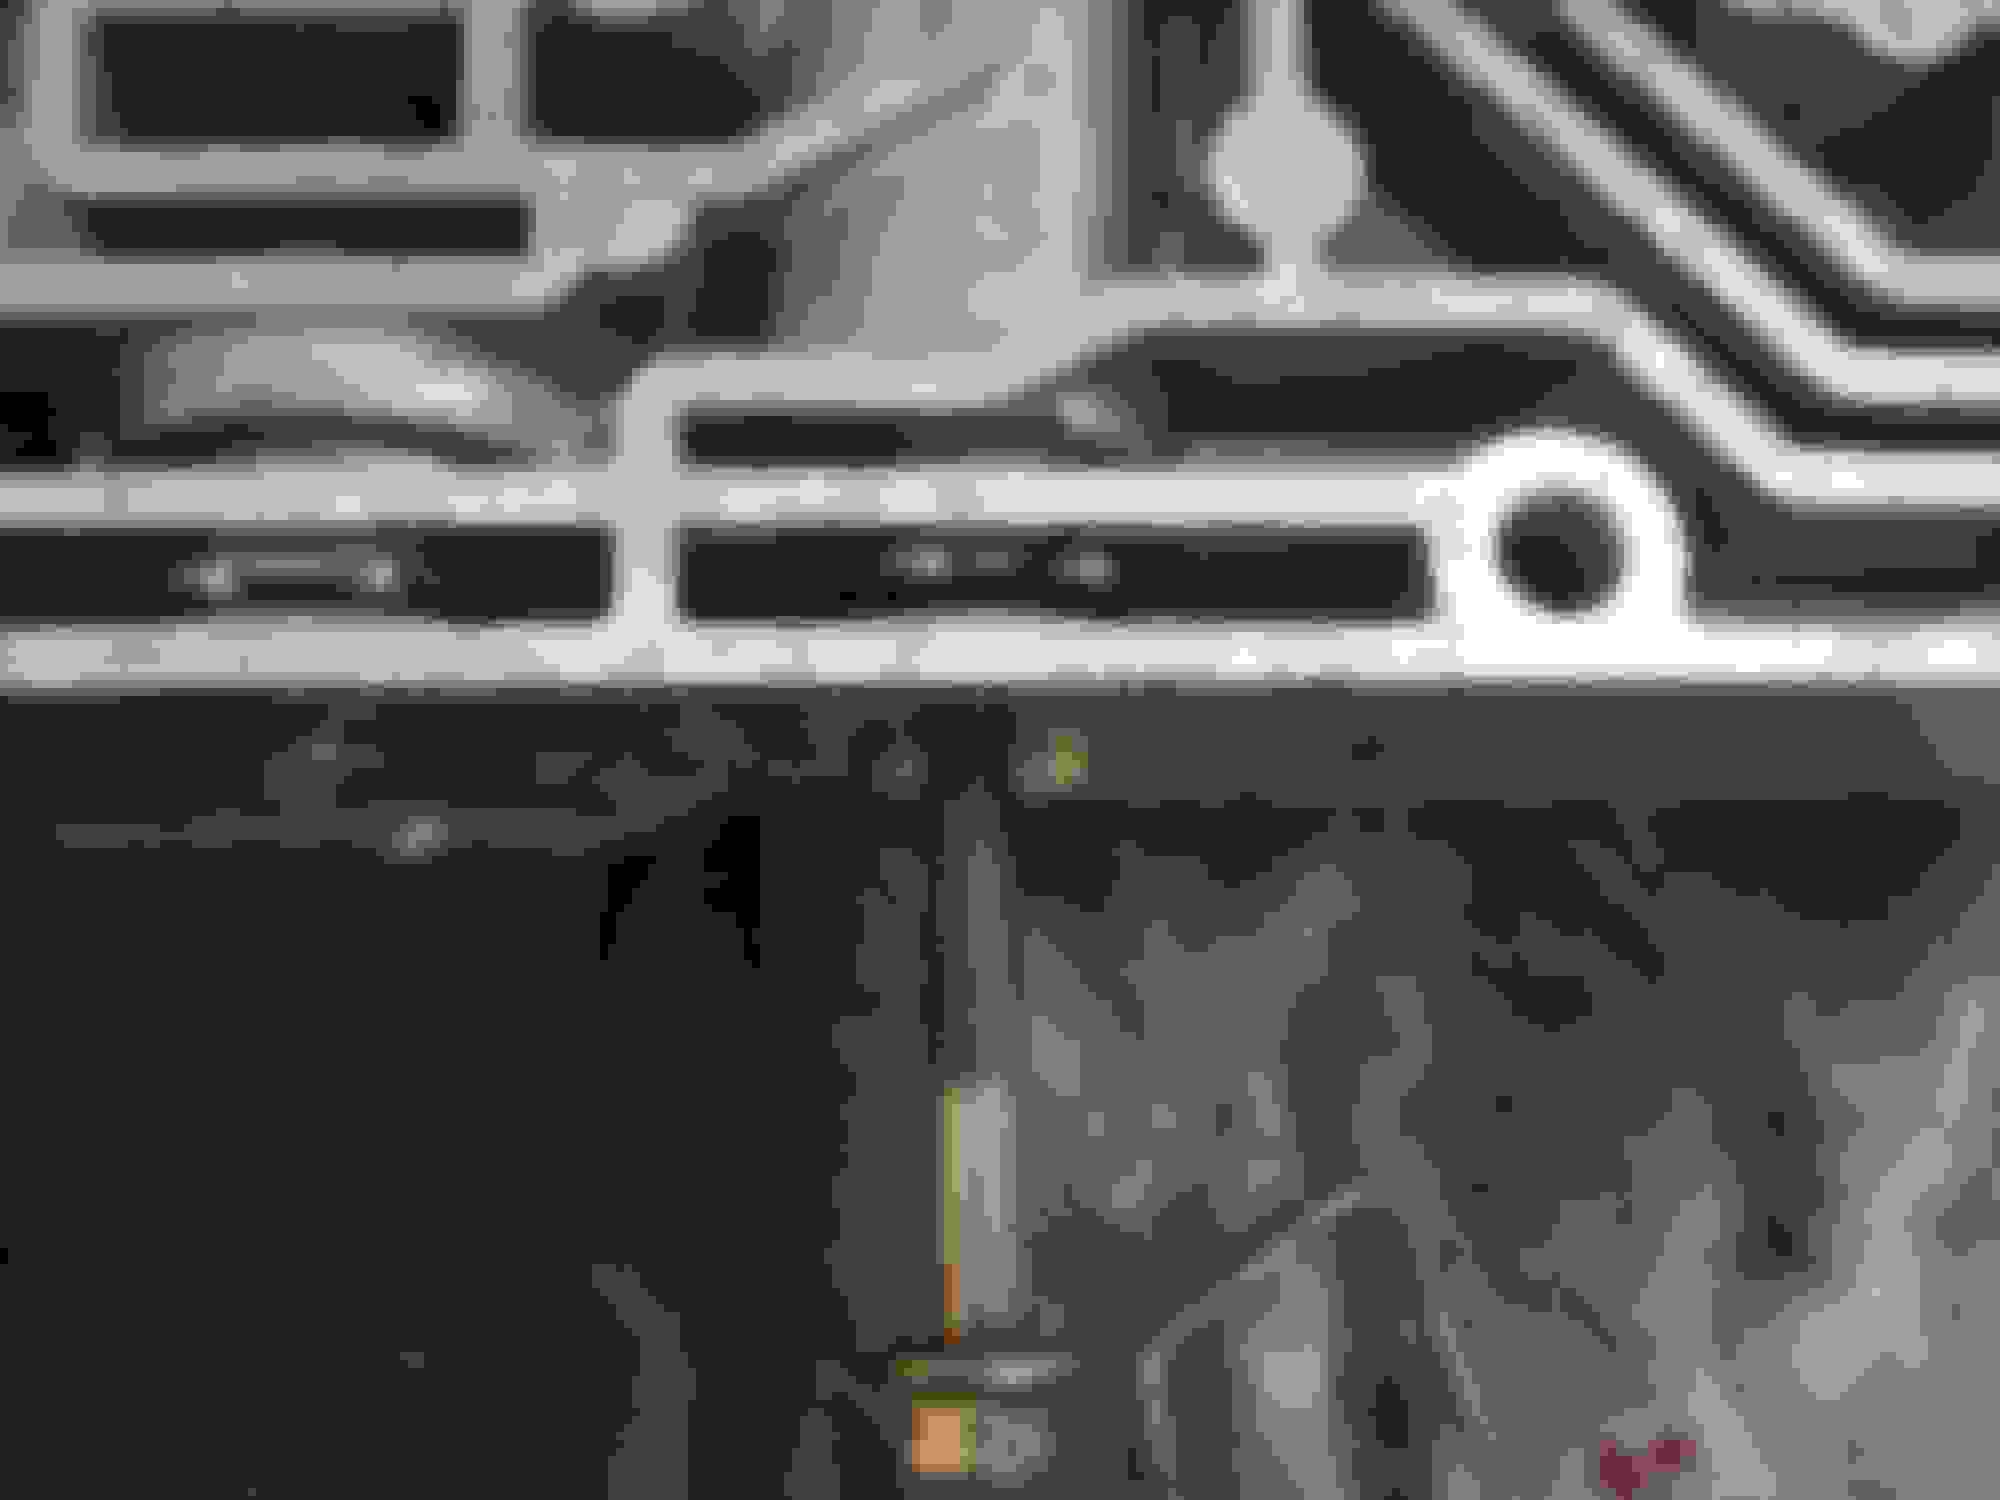
After the cooler is in place, all that's left to do is cutting and fitting the hose, when all is said and done the system should be laid out like this: Transmission outlet -> radiator ATF cooler IN -> radiator ATF cooler OUT -> aux. cooler IN -> aux. cooler OUT -> Transmission inlet, this should represent a typical serial installation. It should be noted that any of the ports in the cooler can be considered inlets/outlets, it will only depend on how you connect it. Let's check the hose connections:
The outlet line from the transmission threads into the upper radiator fitting near the radiator cap (radiator ATF cooler IN).
This image shows both the radiator ATF cooler OUT (left) and the hose coming back from the aux. cooler attached to the inlet transmission line (right). At the radiator outlet I used one of the fittings supplied which threaded right in. For the inlet transmission line, just push the threaded part to the back and connect the hose with the clamp directly over the tubing.
Before you cut the hose, mock it in place, making the bends as soft as possible and avoiding any rubbing or sharp edges. Once you're ready to disconnect the lines, remember to place the receiver pan beneath, just in case any ATF spills to the ground. Make all the connections, using the hose clamps and fittings supplied (don't overtight them). When you're done, reinstall the grille, and if you won't install the Shift Kit, add 1/4-1/2 of a qt. of ATF and take the truck for a ride around the block. When it reaches the operating temperature check every connection for leaks, then keep a close eye on all the system the following days. Leaks, loose connections, rubbing spots are what you should be looking for. Plastic conduit and tie-wrap will be you friends if you need to shield any section of the hoses.
Congrats! the cooler is ready to help you transmission dissipate all that mean heat .
The cooler all cozy in its new home... The install is complete, and more than a month later there aren't any leaks or problems to report (except the death of my old transmission, but it was due to a hard part failure during a downshift).
Shift Kit installation:
Before anything, read the instructions supplied with the kit to familiarize yourself with the procedures, keep the booklet at hand (mine got all dirty with atf stains... so you get an idea), and have no fear, it's actually very easy, just time consuming. Also, if you're doing a full ATF drain and filter replacement, check this link: Changing ATF Fluid in a E4OD and 4R100 transmission .: Articles
With the work space prepared, use either the wheel chocks or lift the rear axle and leave it on the jackstands, this is a safety measure to prevent the truck from moving while the transmission is open. Place the receiver pan under the trans and start the disassembly procedure. There are several steps that can be done before or after each other, but I'll try to keep the same order as in the instructions provided with the shift kit for the sake of simplicity.
Here you can see the heat shield on one of the rear corners of the transmission, just above the pan, there are two 8mm bolts to remove (one shown removed in the image).
After the heat shield is off, the plug for the solenoid pack will be visible. Very carefully work to unplug this connector, this would be a great time to inspect it for any damage, even replace it if it's required. Be very careful if you decide to pry on it with any tool as you might break the plastic.
Just behind the heat shield you'll find the solenoid pack plug, unplug it!.
Next, you need to remove the bolt pans, there are twenty 10mm bolts, if you have no drain plug, remove all the bolts but the two up front:
These two bolts will allow you to pivot the pan and drain the ATF, just loose them up, then pry gently with the slot screwdriver until the pan/gasket separate from the transmission (that's if yours isn't GLUED to the trans with RTV)... You already have the receiver pan in place, right?.
Right now would be a good time to go have lunch or finish that breakfast, the longer you wait before digging into the trans the lesser the quantity of ATF in your face/floor/shirt/arms. But no matter what you do, be ready to have very oily tools/hands, the rag will come handy here to clean the excess of ATF from your arms/hands/tools. I used this time to work on my old pan, which has a very desirable feature, a drain plug. Here are some pics (it was a very rough work as I just want it to endure being on the underside):
The old pan, asking for some love.
After some wire wheel work.
Primed with a brush and then spray painted, this was the result.
Let us continue with the install, after the pan stops dripping, remove the remaining bolts and set it aside, you can use the pan later to place all the transmission parts you will be removing next. Of course, keep every nut/bolt set together and in a safe place (you don't want to lose any of them). with the transmission open, you can start removing the parts inside, first, remove the filter:
This is actually an image I shot during the reassembly, with the new homemade clip in place. On the opposite side the filter is held in place by the seal that goes into the bore, pull there to release the filter.
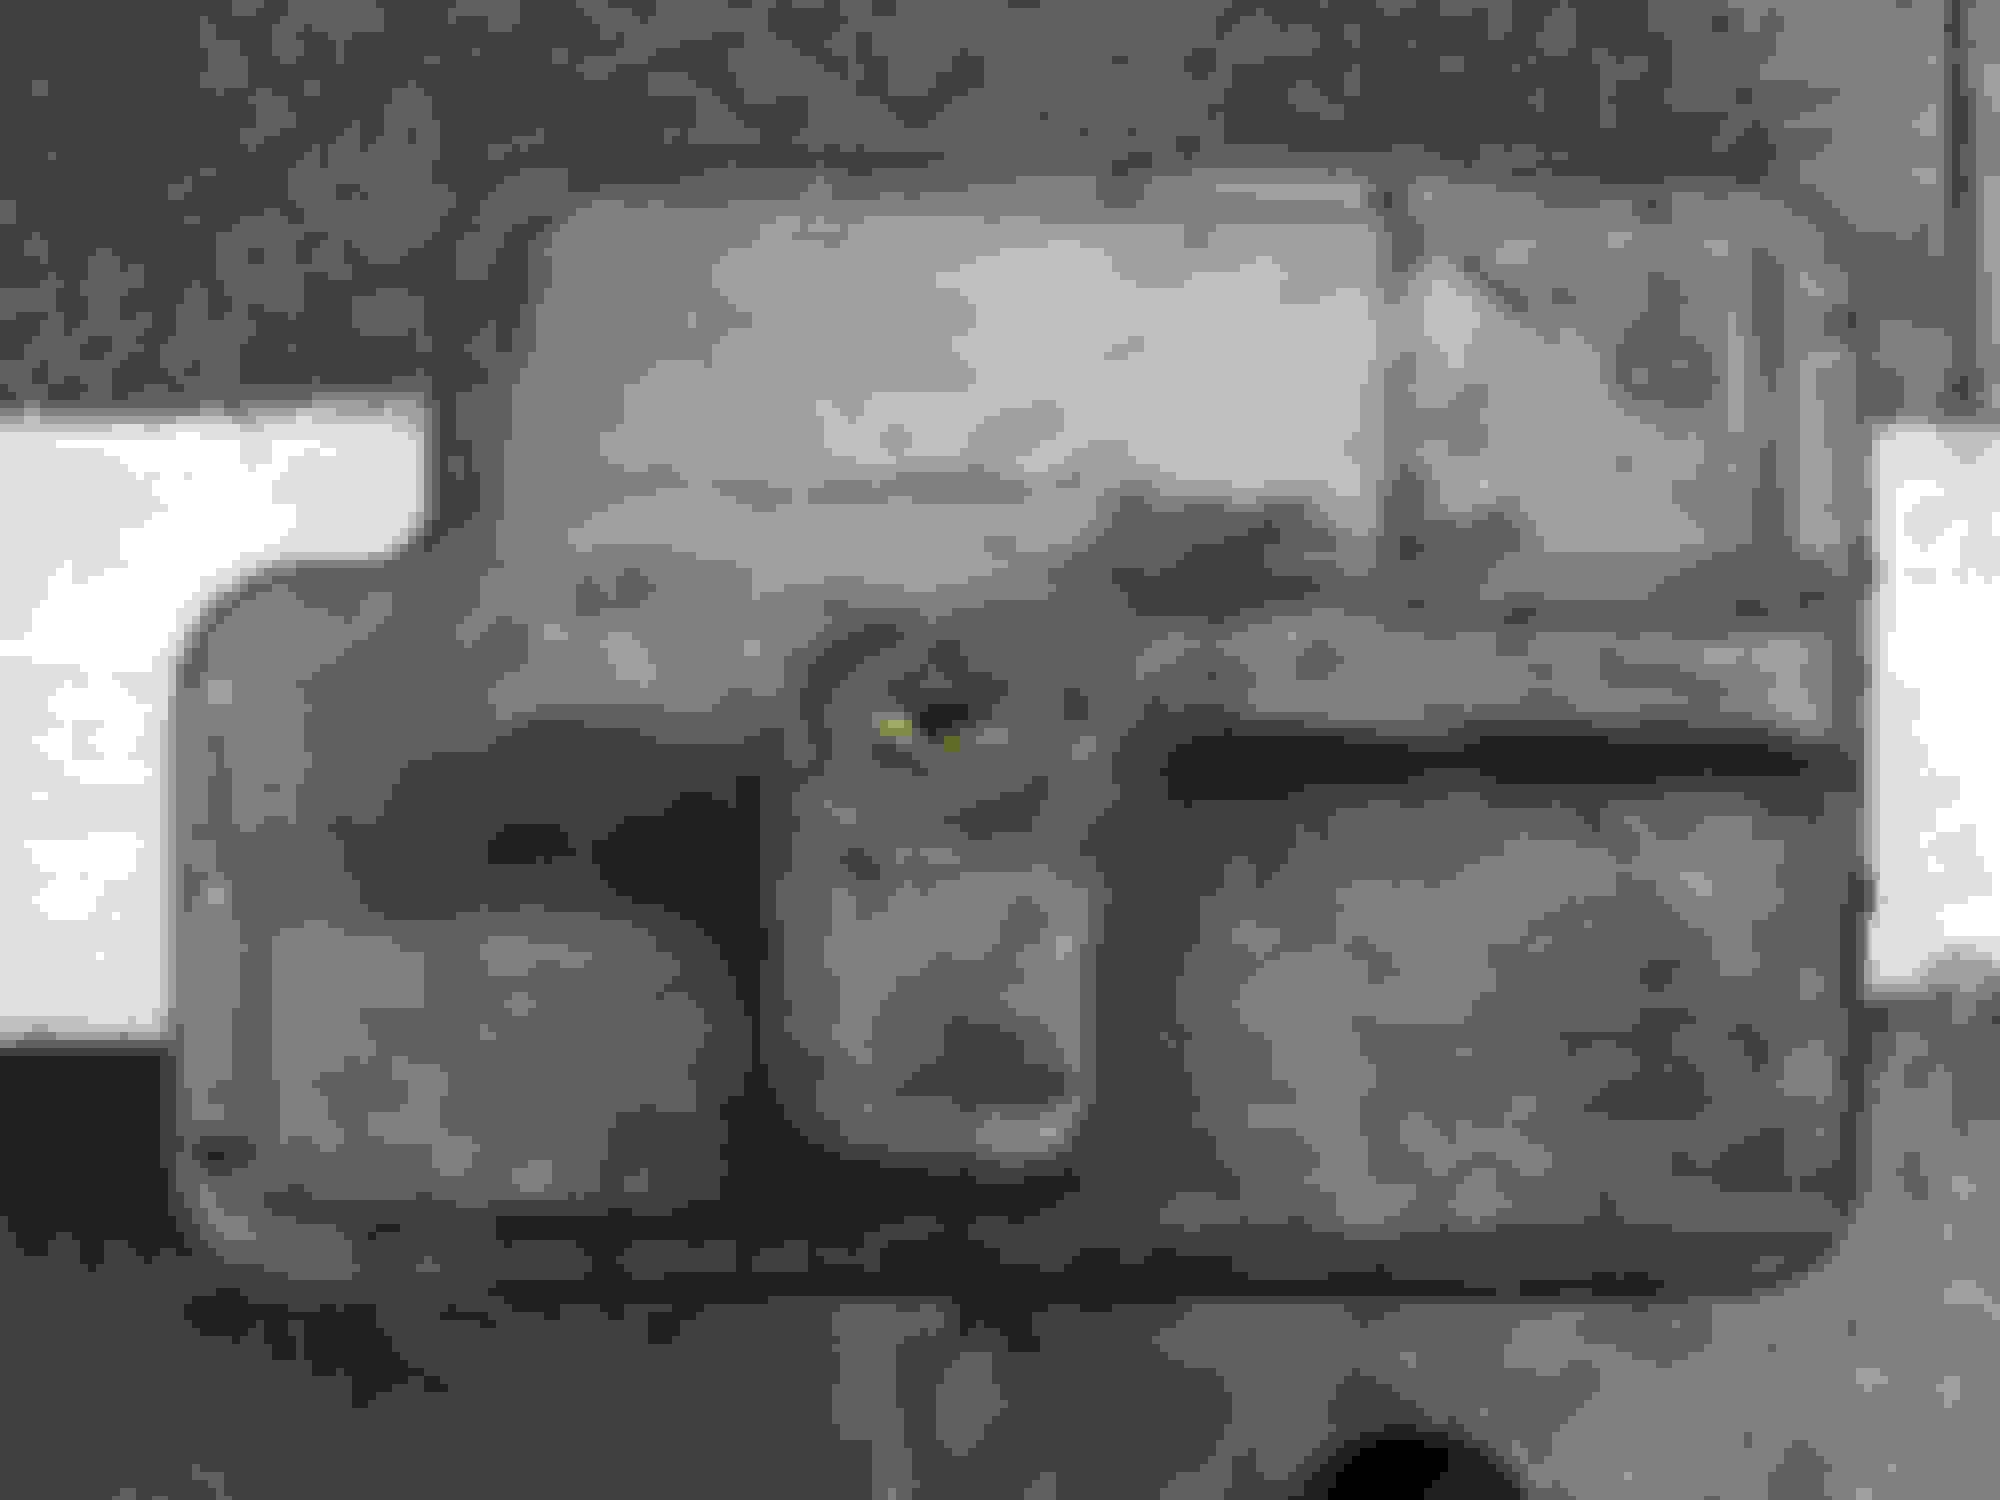
Now, you'll use the T30 tip and the 8mm and 10mm sockets to release each of the modular pieces, to work on every piece release the bolts before, and then the nut/s, now just follow the pictures.
Remove the solenoid pack (the piece with black plastic in it), it has nine T30 bolts and one 10mm nut, then carefully pull it down, as the plug seal will offer some resistance.
Next in line is the accumulator valve body (right), remove eleven 8mm bolts, then two 10mm nuts.
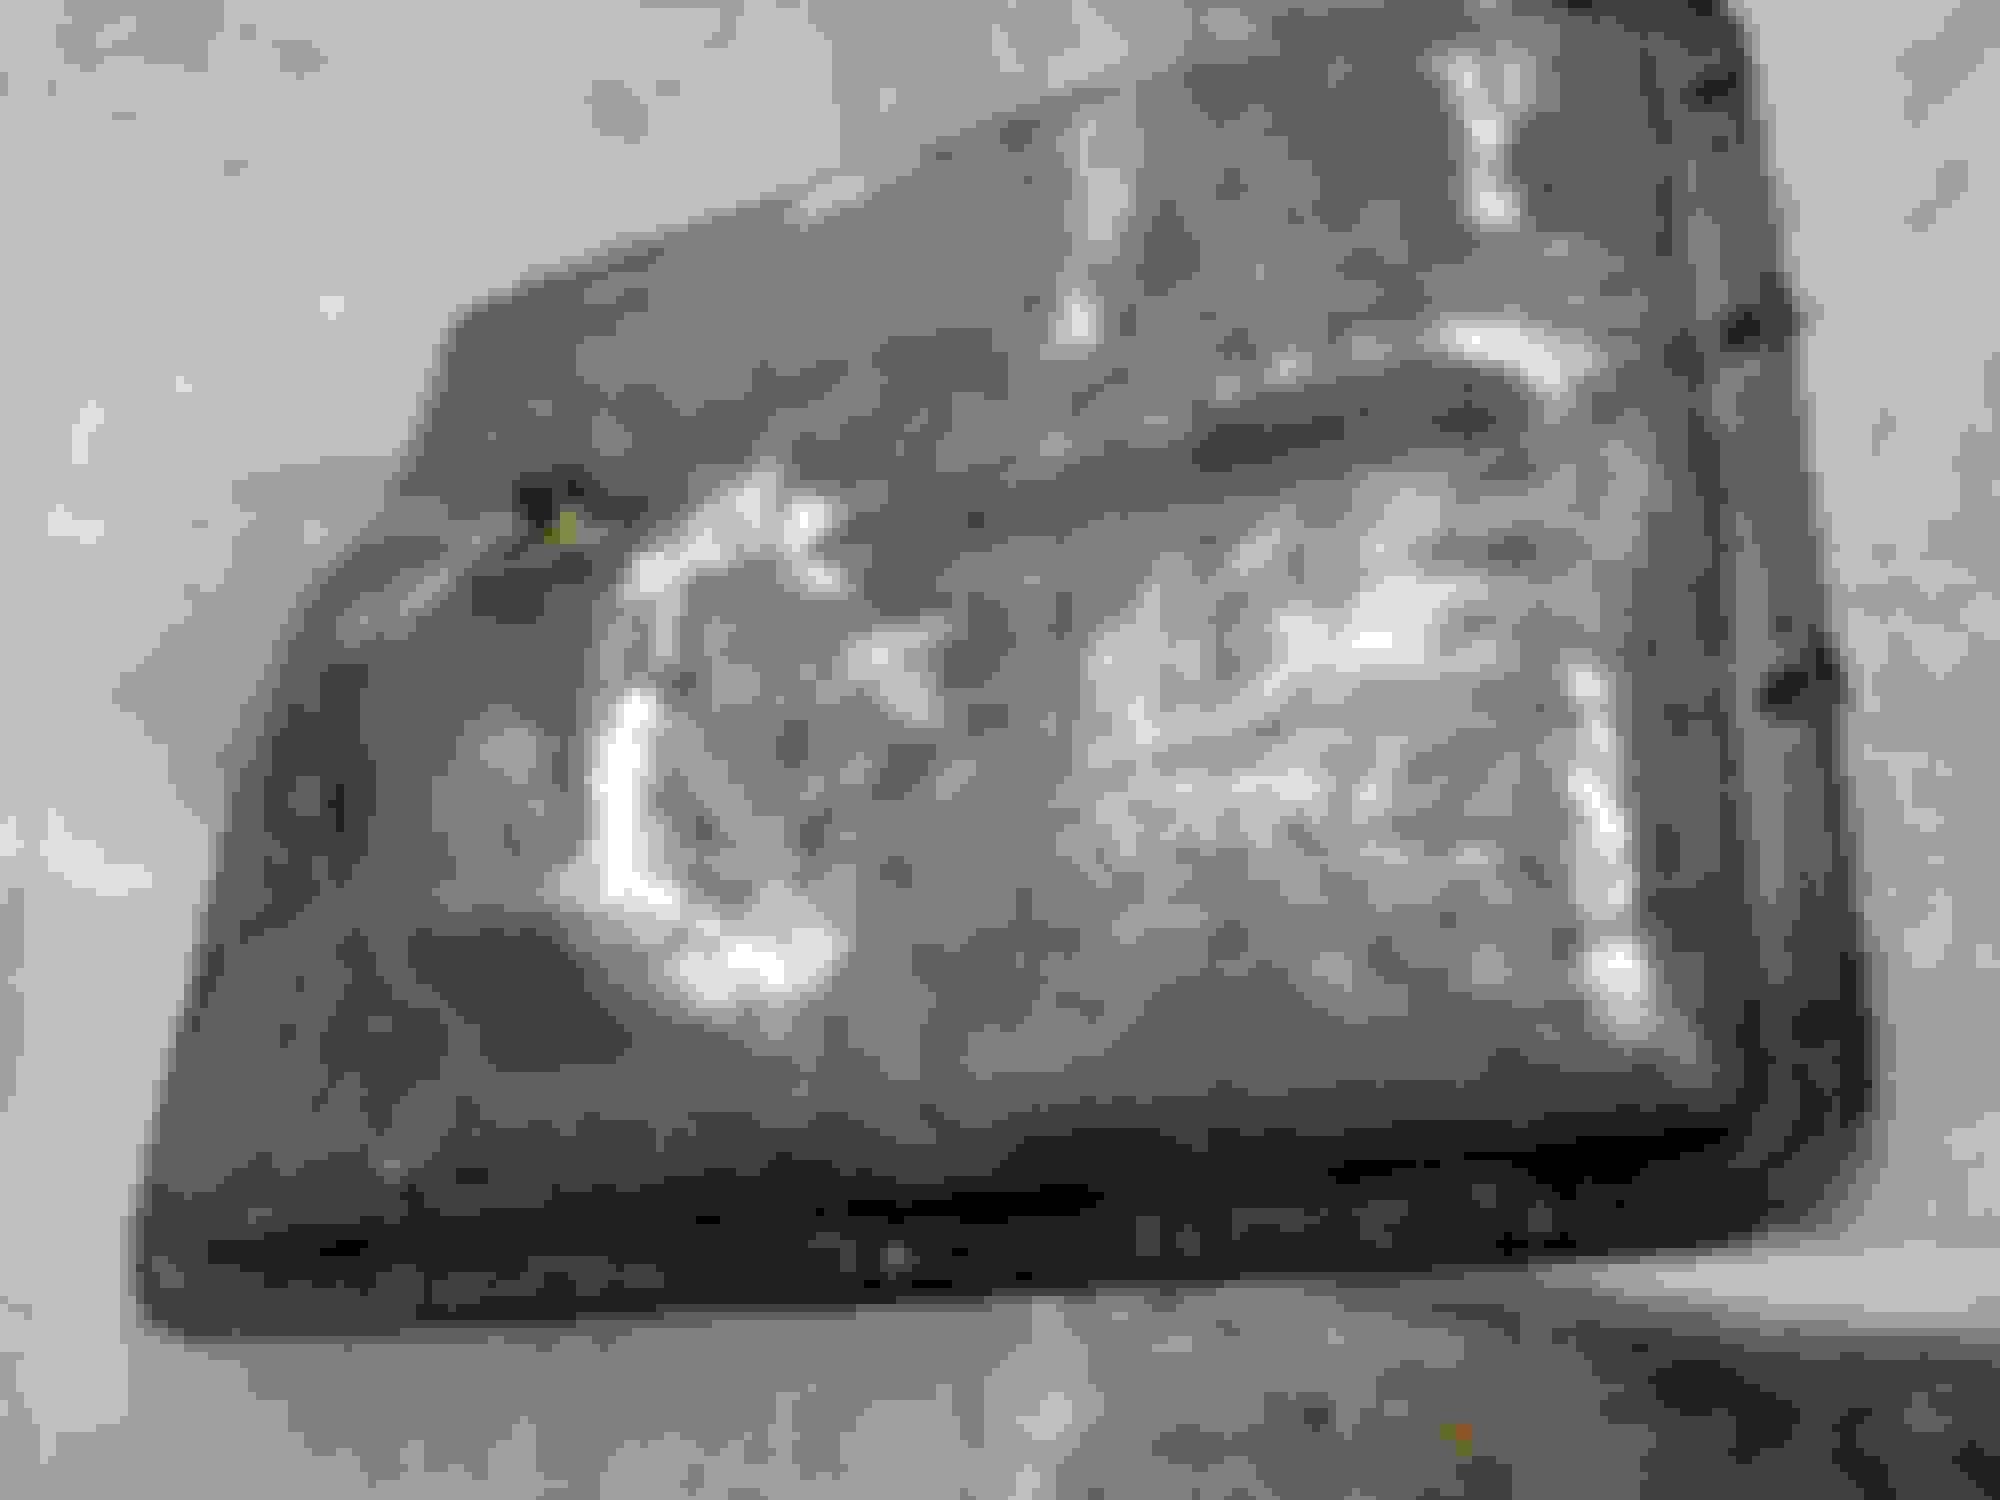
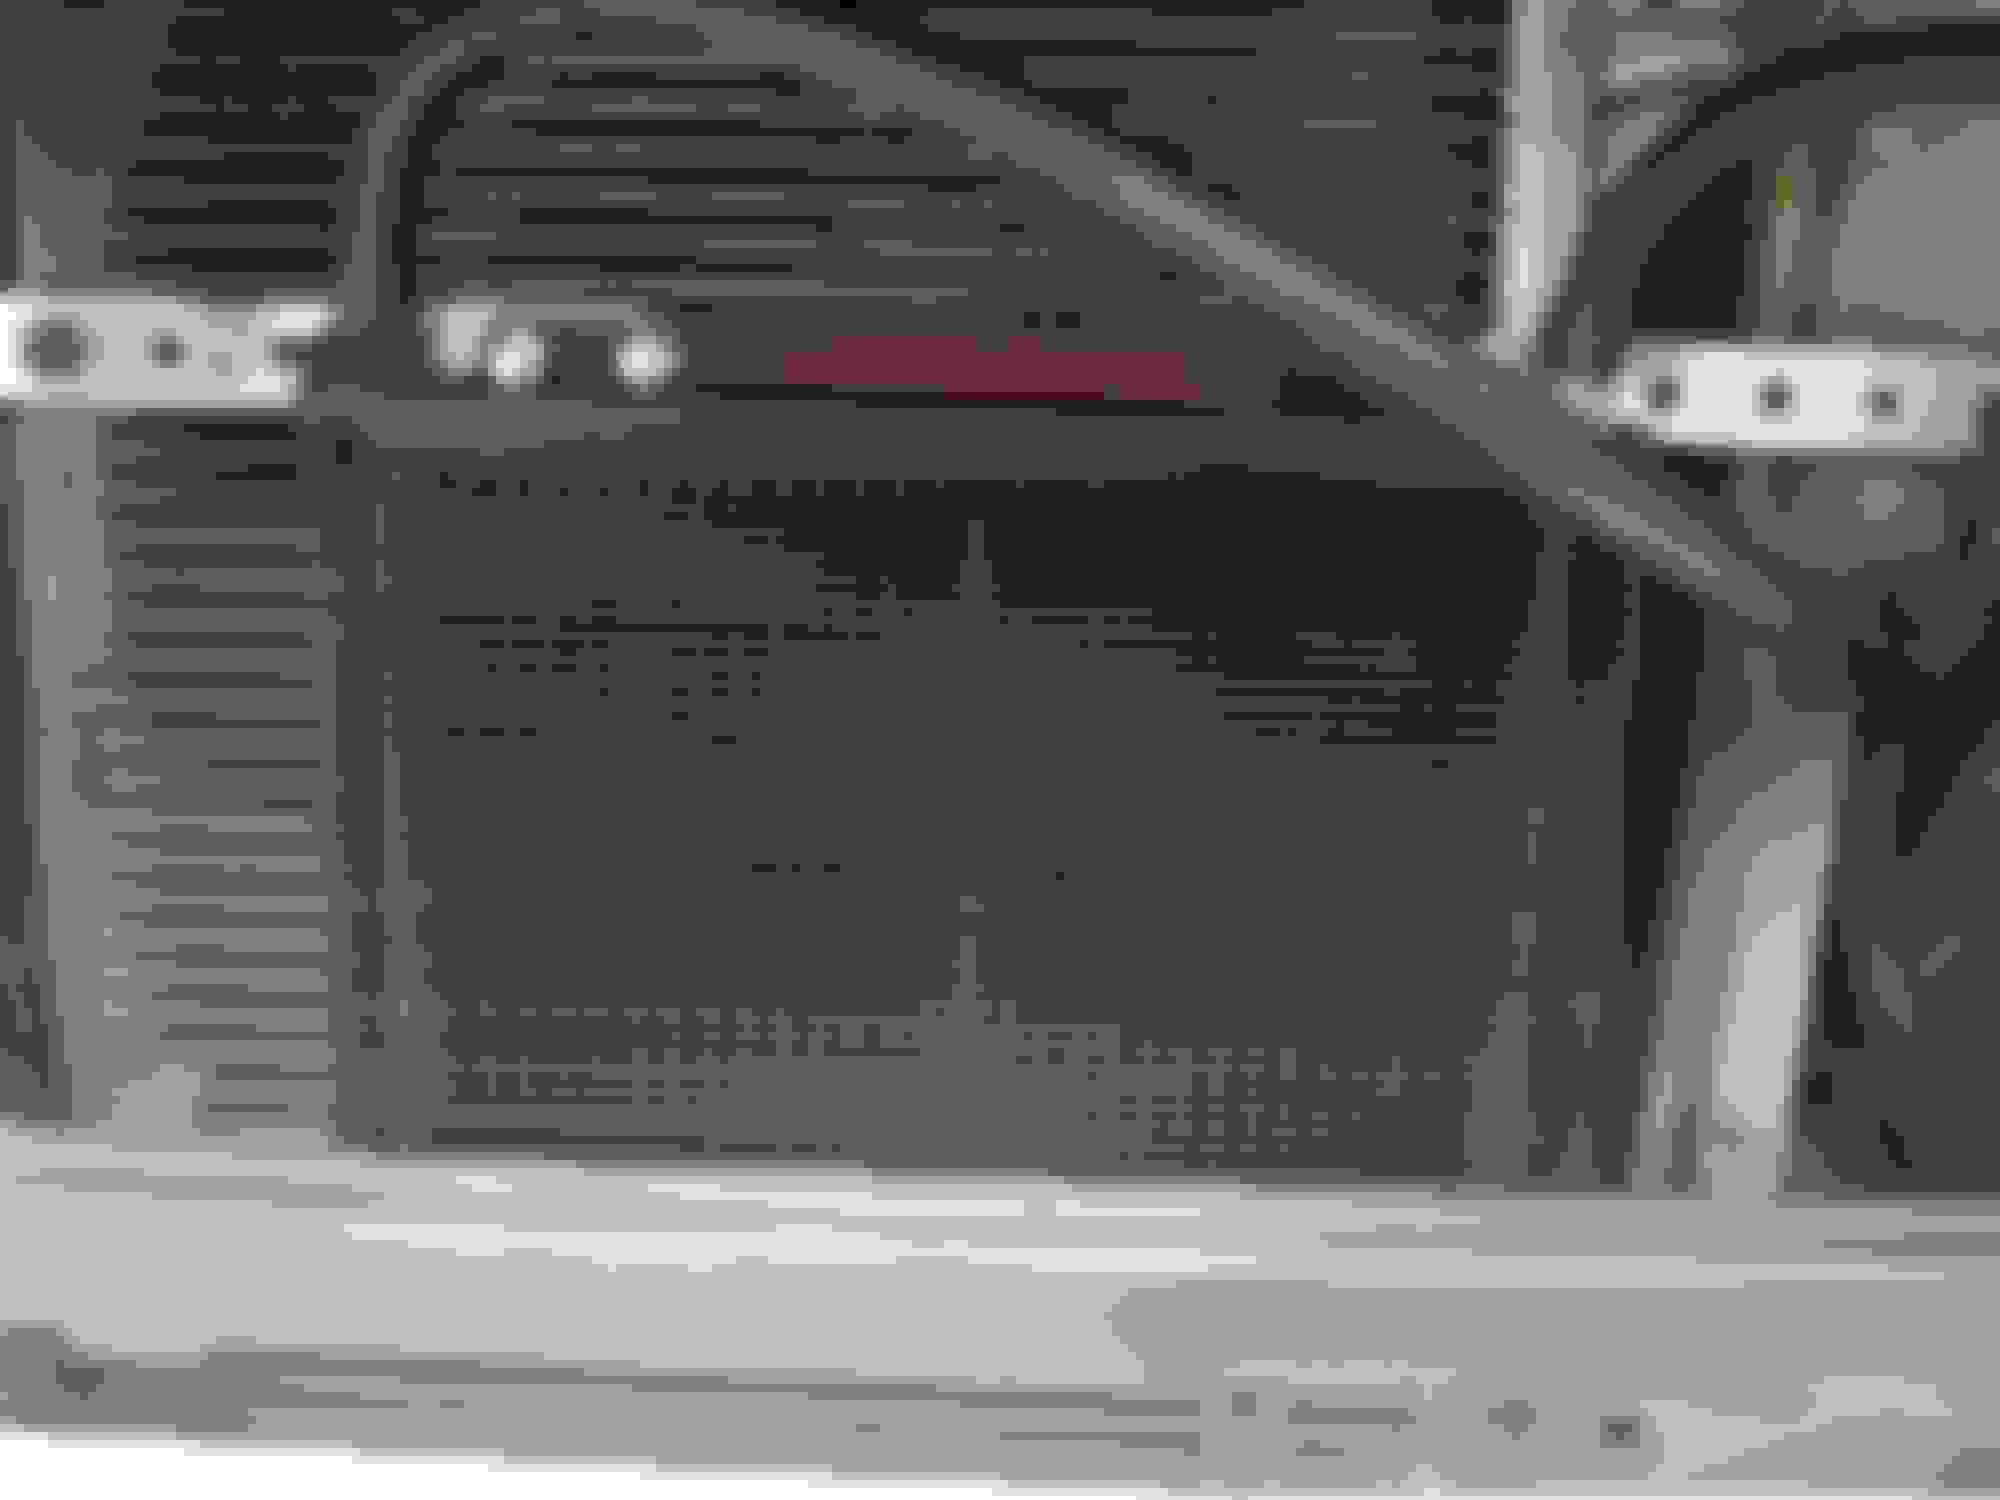
Now it's time to remove the valve body, it has two parts, but for this kit there is no need to separate them, so keep the two bolts shown in the image on the smaller part in place, in order to remove the whole valve body. If you mess up, the kit's instructions have a diagram of the check ***** between both pieces. You will remove fourteen 8mm bolts and two 10mm nuts. Also in this image you can notice the bore for the solenoid pack connector, that and the gasket mess I had to scrap off later...
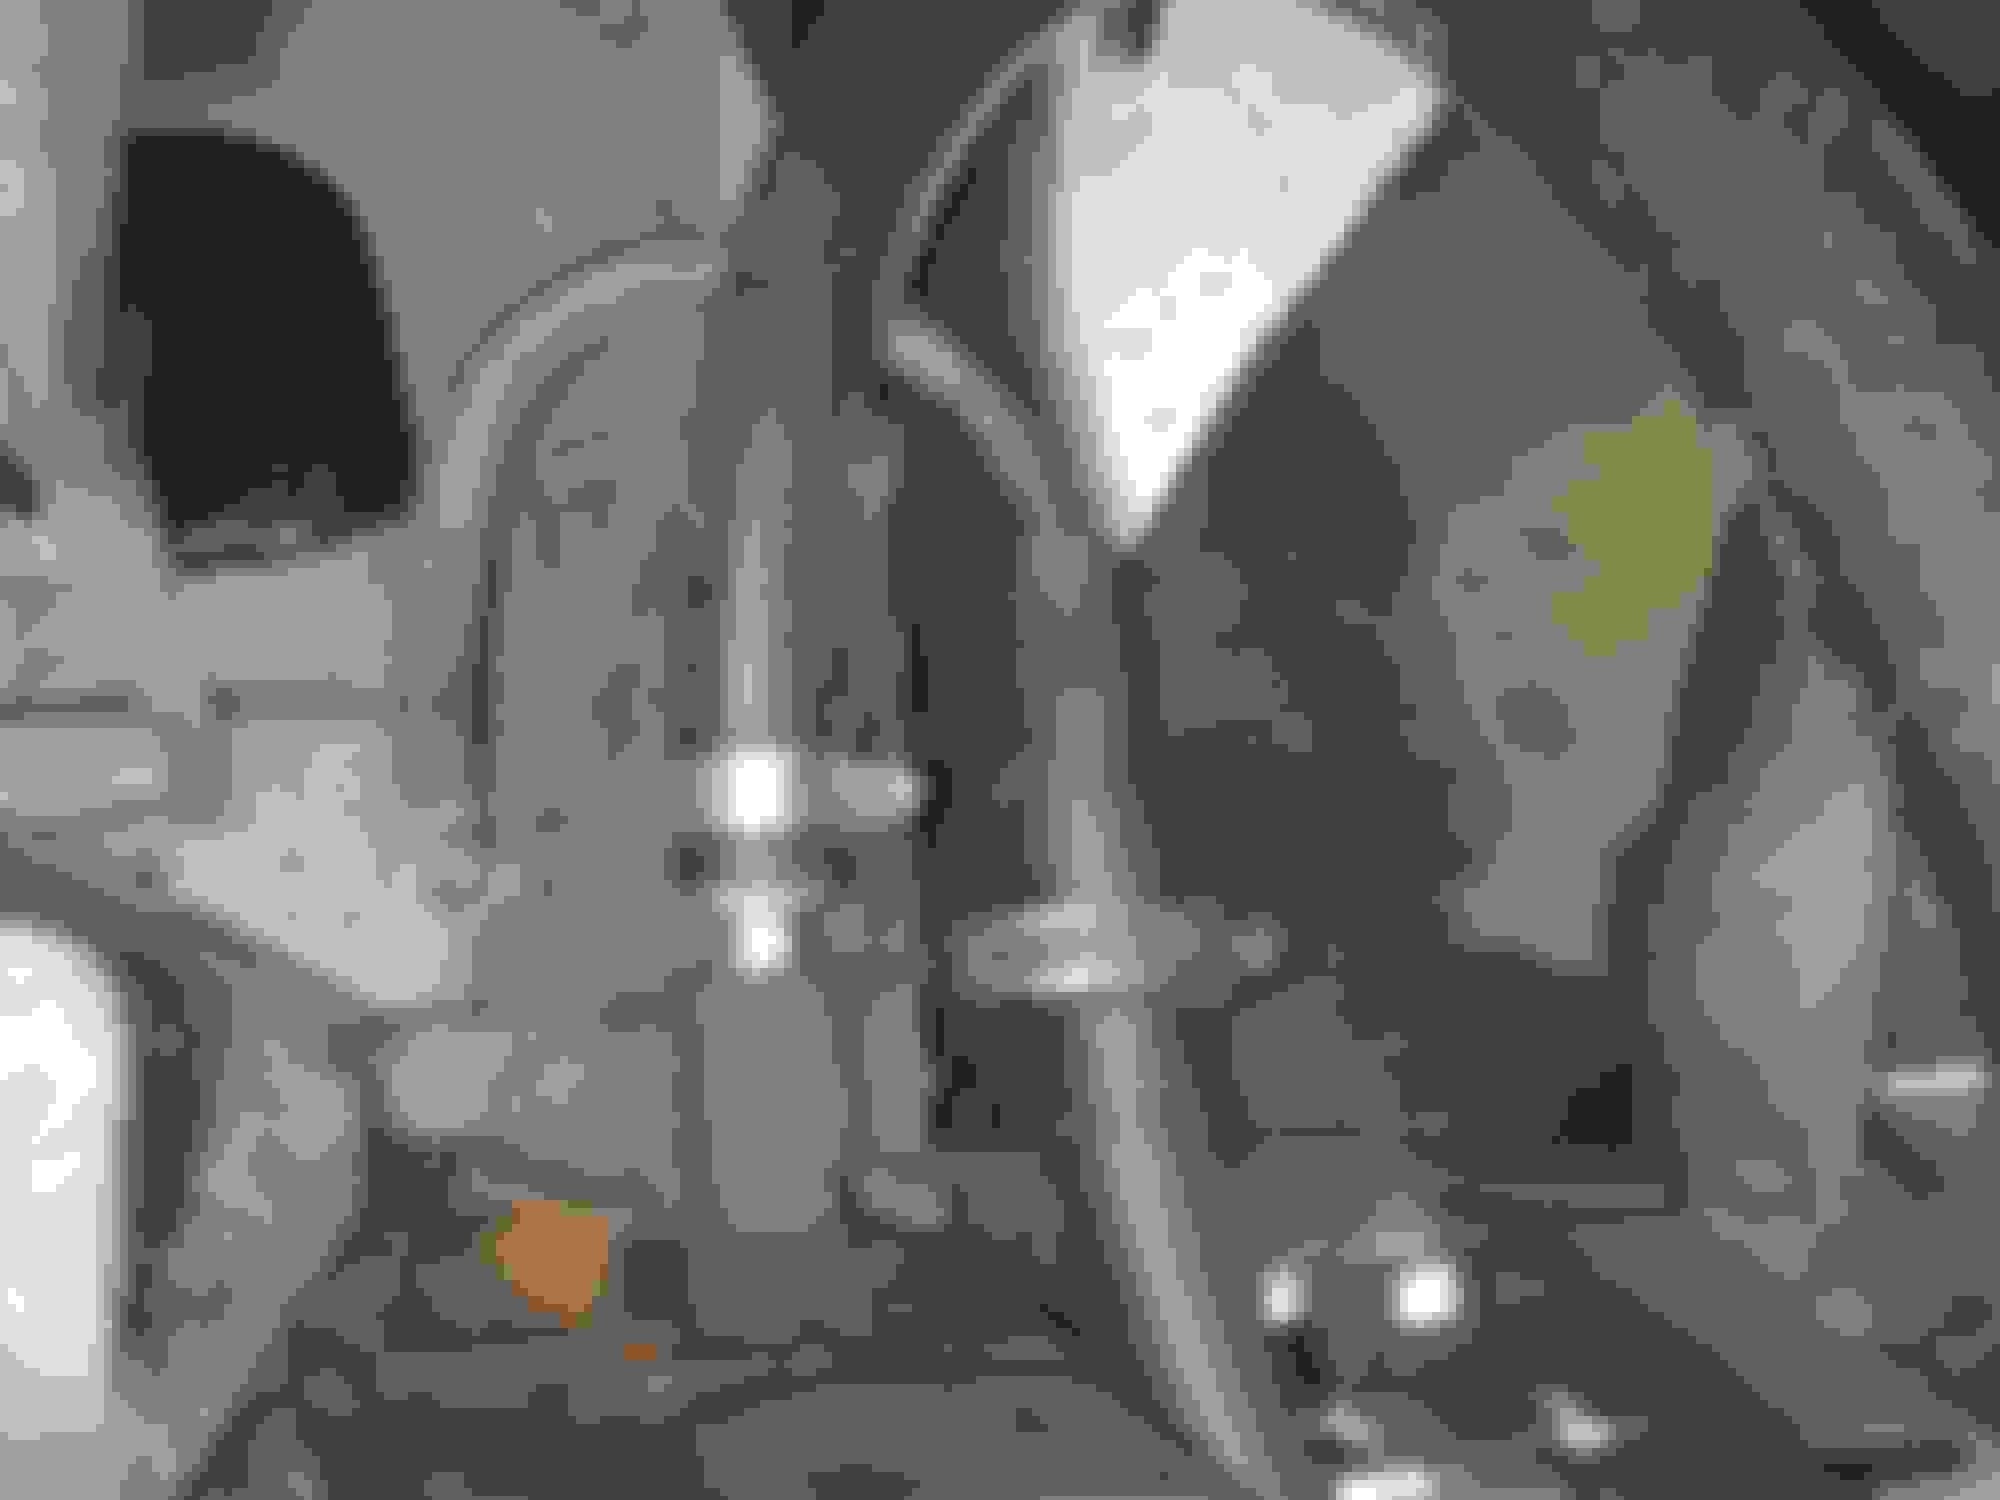
After all these parts are off, it's time to remove the reinforcer plate (the one that reads UP), remove three 8mm bolts and you'll be free to remove the separator plate, this is the single most sensible part of the disassembly procedure, VERY CAREFULLY remove the plate, keeping it level, since this plate holds most of the check ***** (CB) in the transmission, including a spring-loaded one (the ball count can range from 14 to 9 depending on the year, be sure to find out which vintage yours is). If you're lucky, the plate will come off with both gaskets attached, of course in my case that didn't happen, the upper gasket required special care to be removed without moving the ***** (again, the instructions have diagrams in case you mess up, just don't lose any of the CB, or the small spring). Once off, and in a safe spot, I would advice taking a picture to have a CB position reference. Remove the spring that mates with the EPC steel ball and save it. Remove all the check ***** and save them.
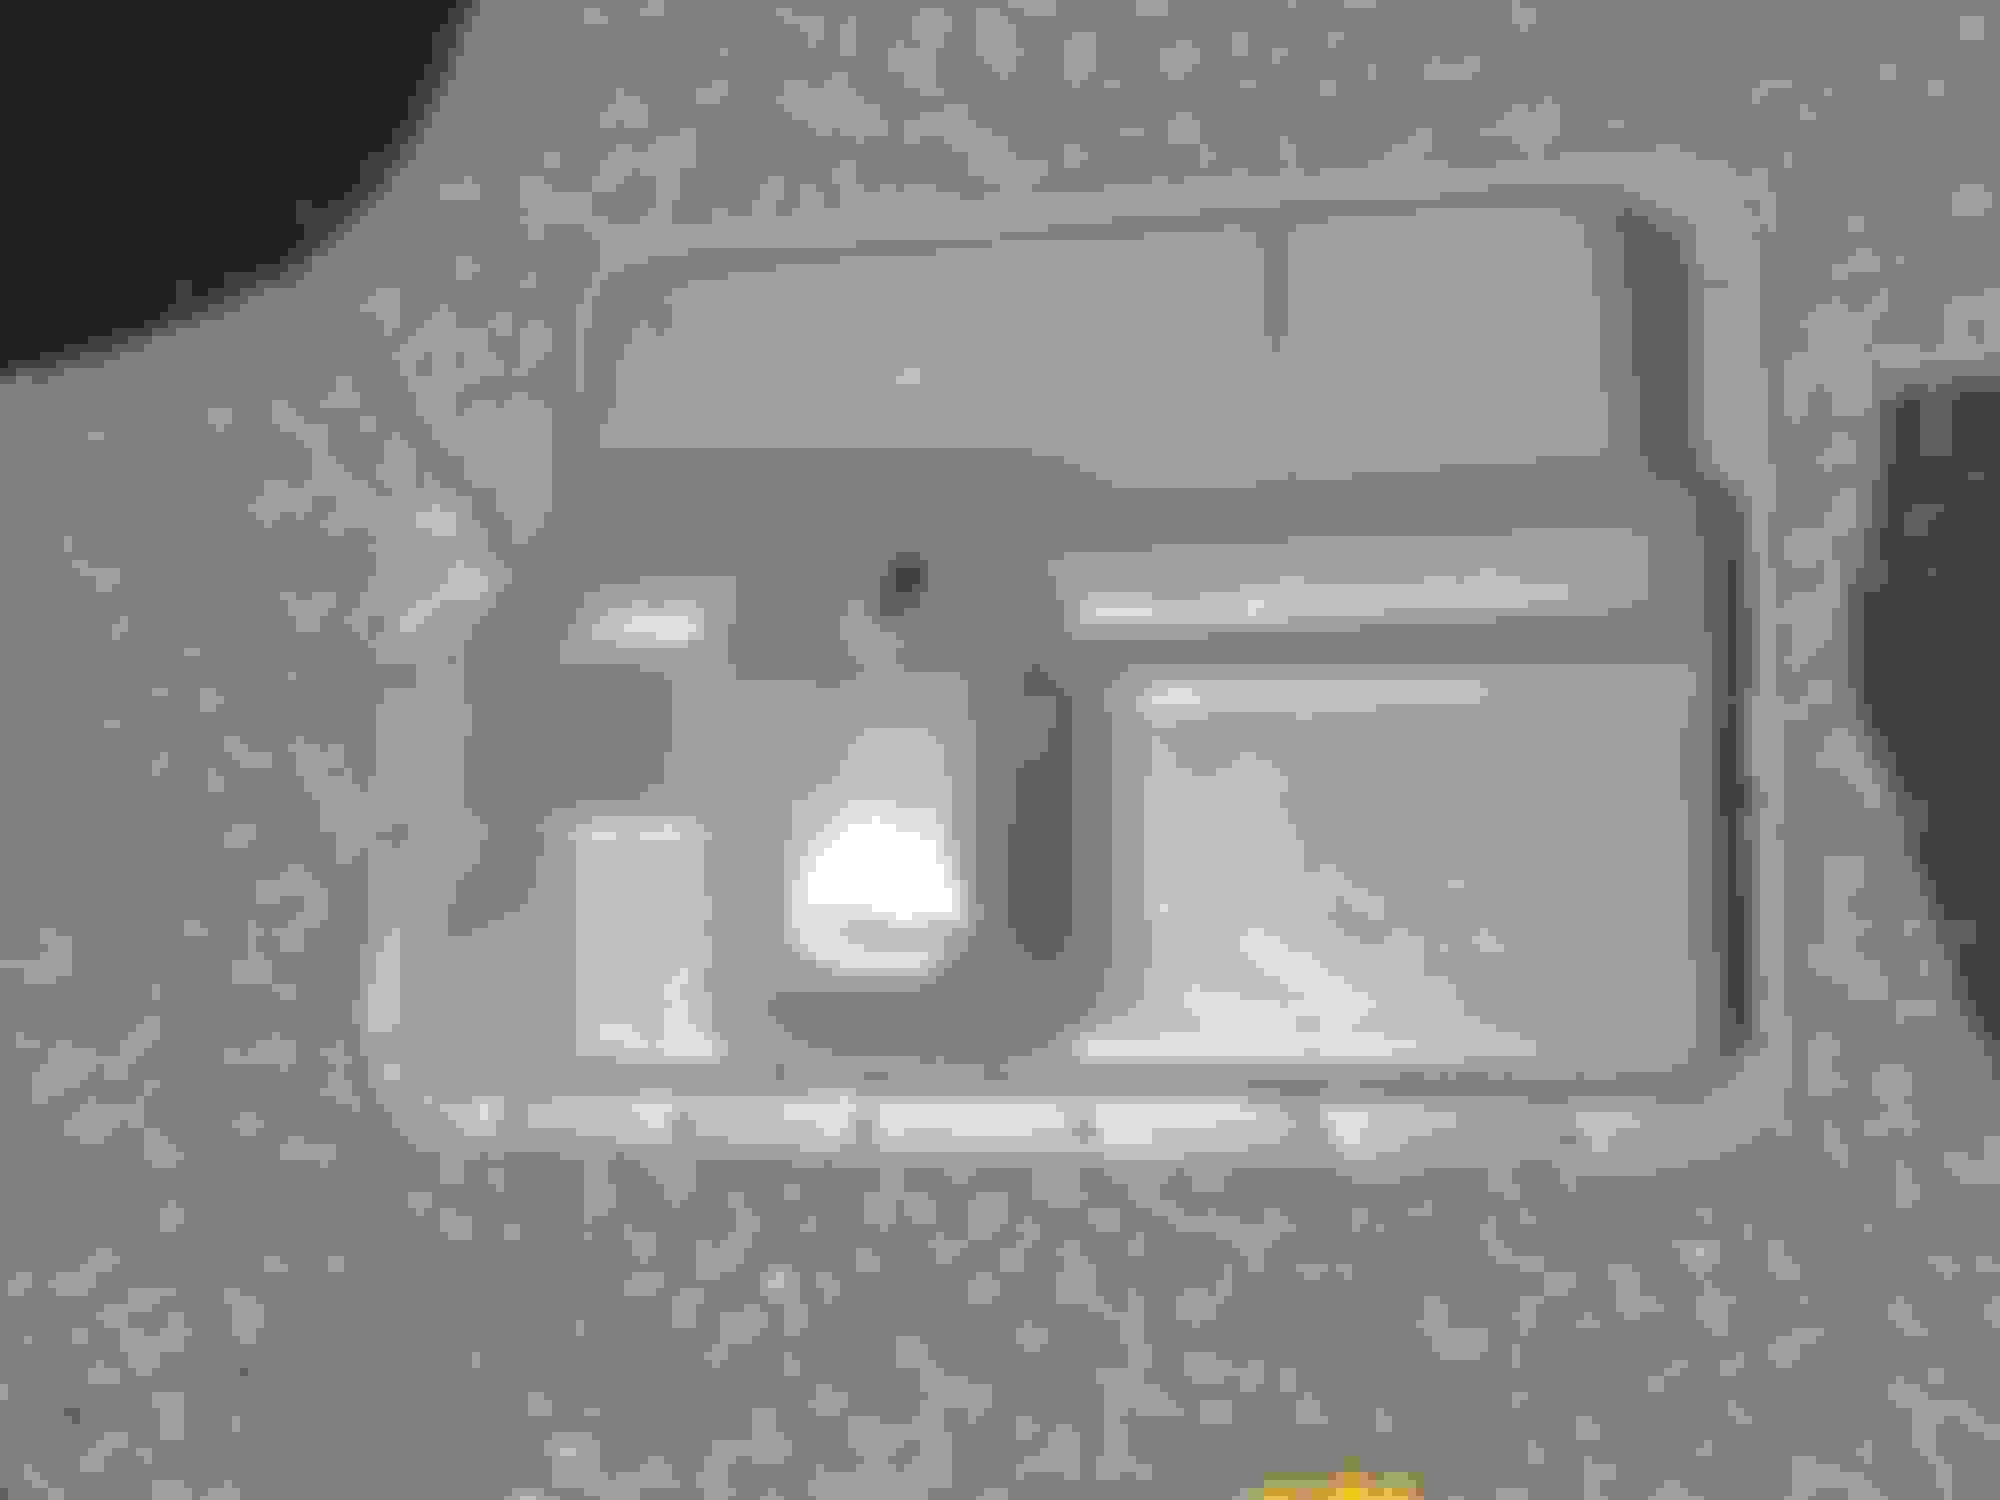
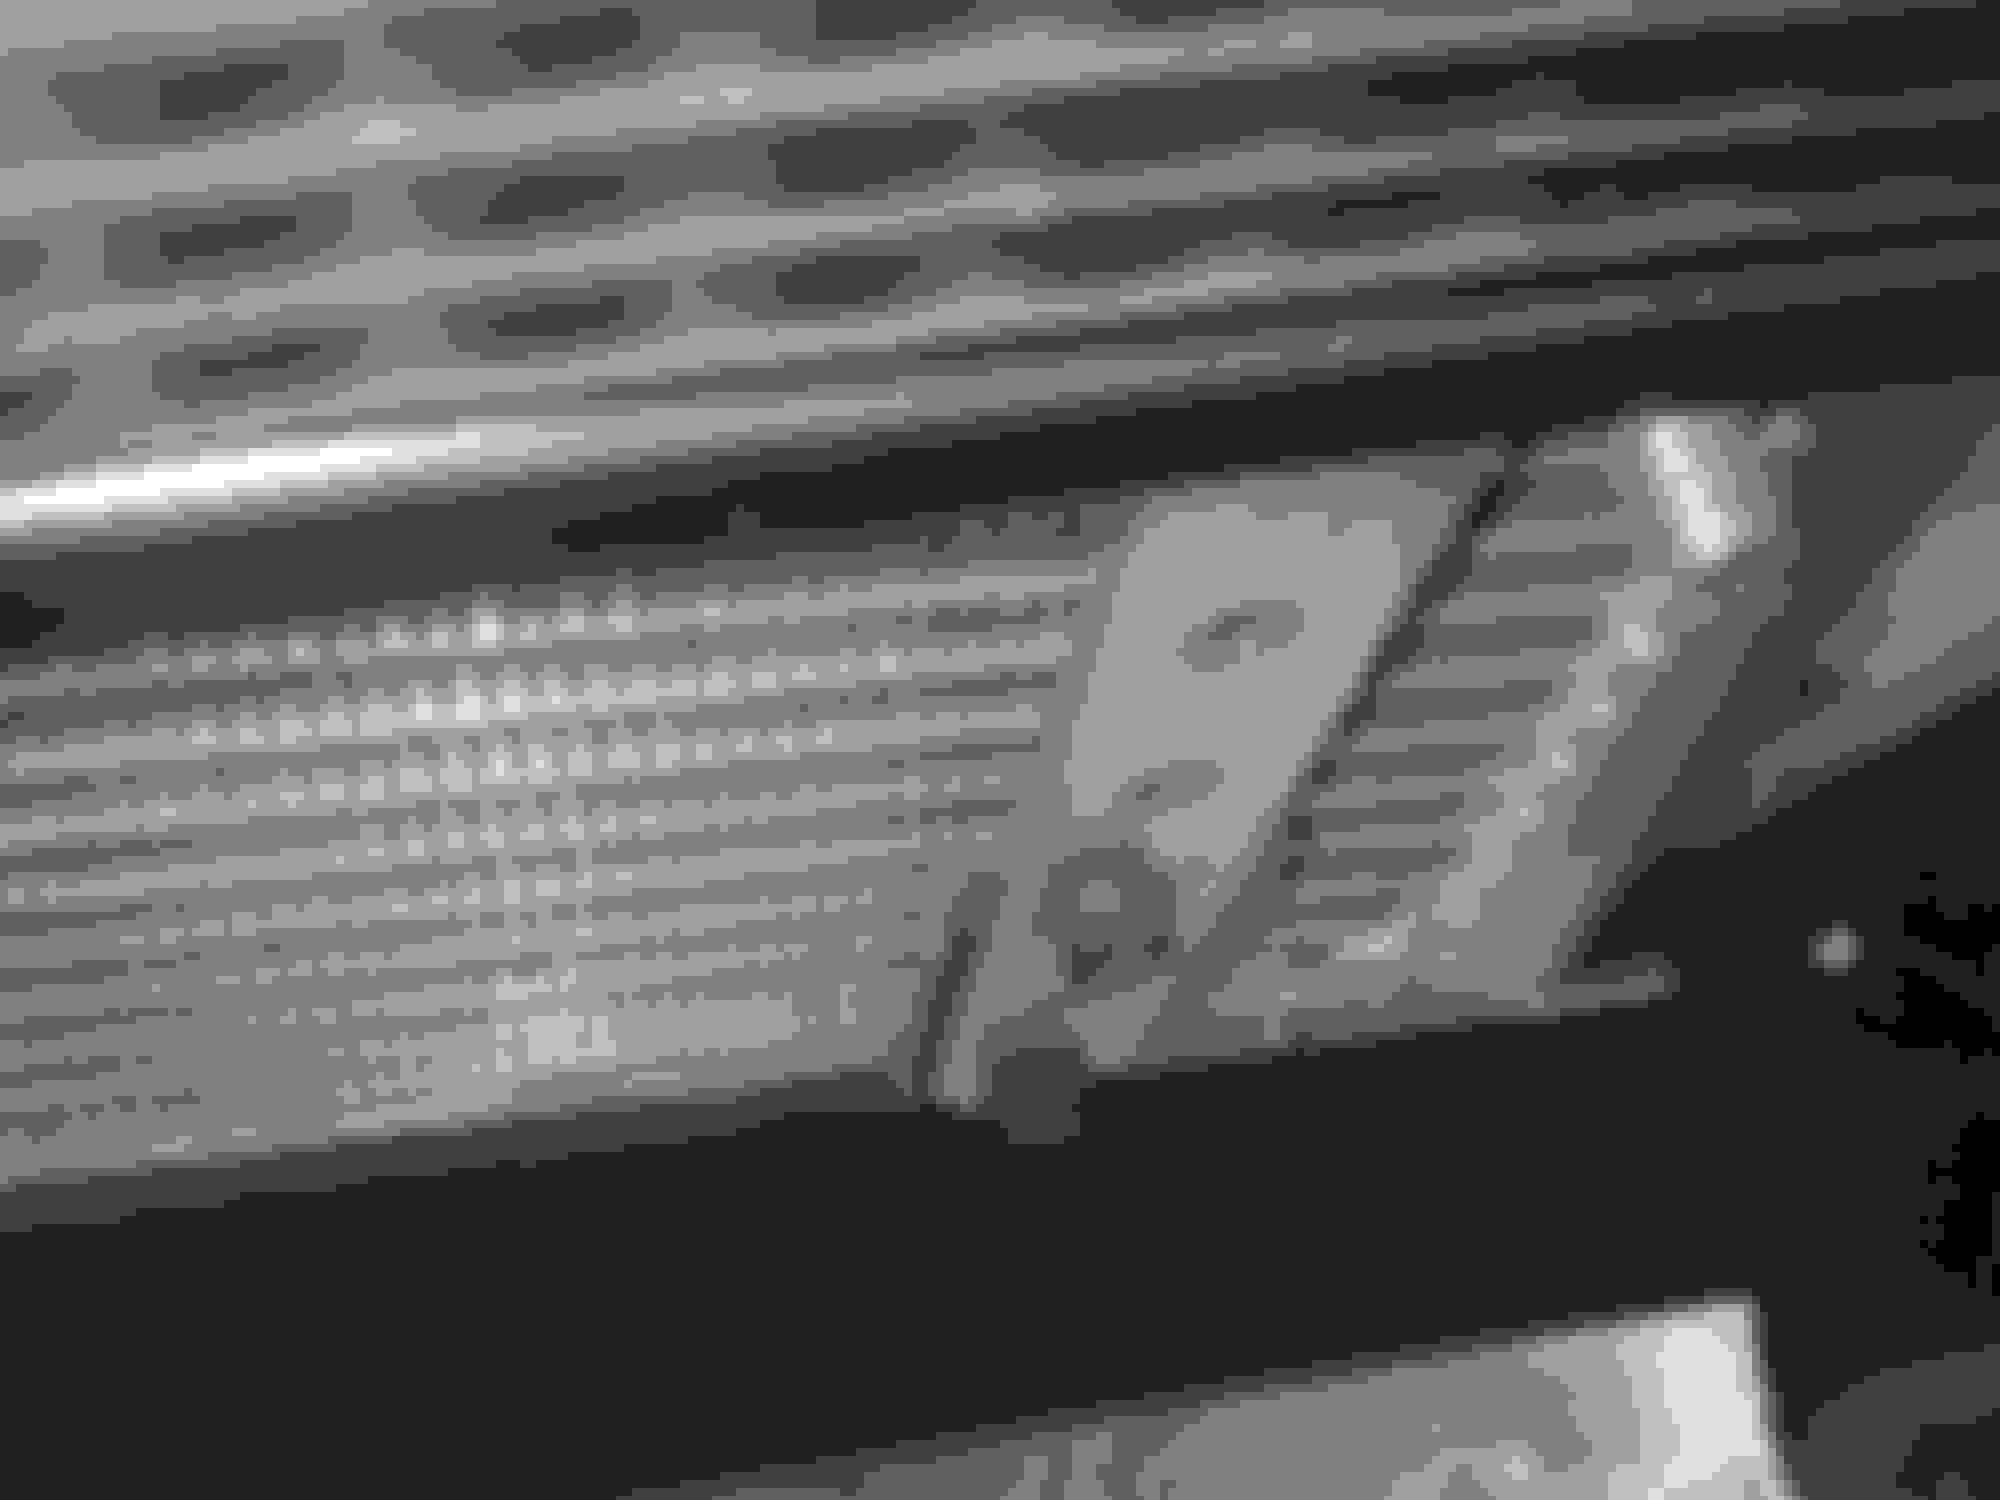
This image shows the proper CB location for 90-95 E4OD transmissions, nine rubber ***** and a smaller EPC steel ball (horizontally in line with the eyes of the girl in the newspaper).
With the CB safely stored, remove the gaskets from the plate and clean it with WD40 and some paper towels. Using the kit's instructions diagram and the supplied drill bit, mark the spots for the required holes (skip this step if there are already larger holes in these spots, you can widen smaller holes in these spots to the size of the bit), three at most. After you're done drilling, use the flat file to soften the surface around the new holes and remove any metal shavings.
You can now use the vaseline (some dabs in strategic spots will do) to stick the proper gasket set to the separator plate, there are two sets of upper and lower gasket, the upper one being the longest in both sets. The set used depends on the transmission vintage, just match the set that works with your plate:
This is a great spot to line up the gaskets to the plate, no hole should be blocked, for further reference see the next image.
Here you can compare both gasket sets with the spot in the previous image. It becomes obvious my gasket set is the older style (yellow line), shown at the left of this image.
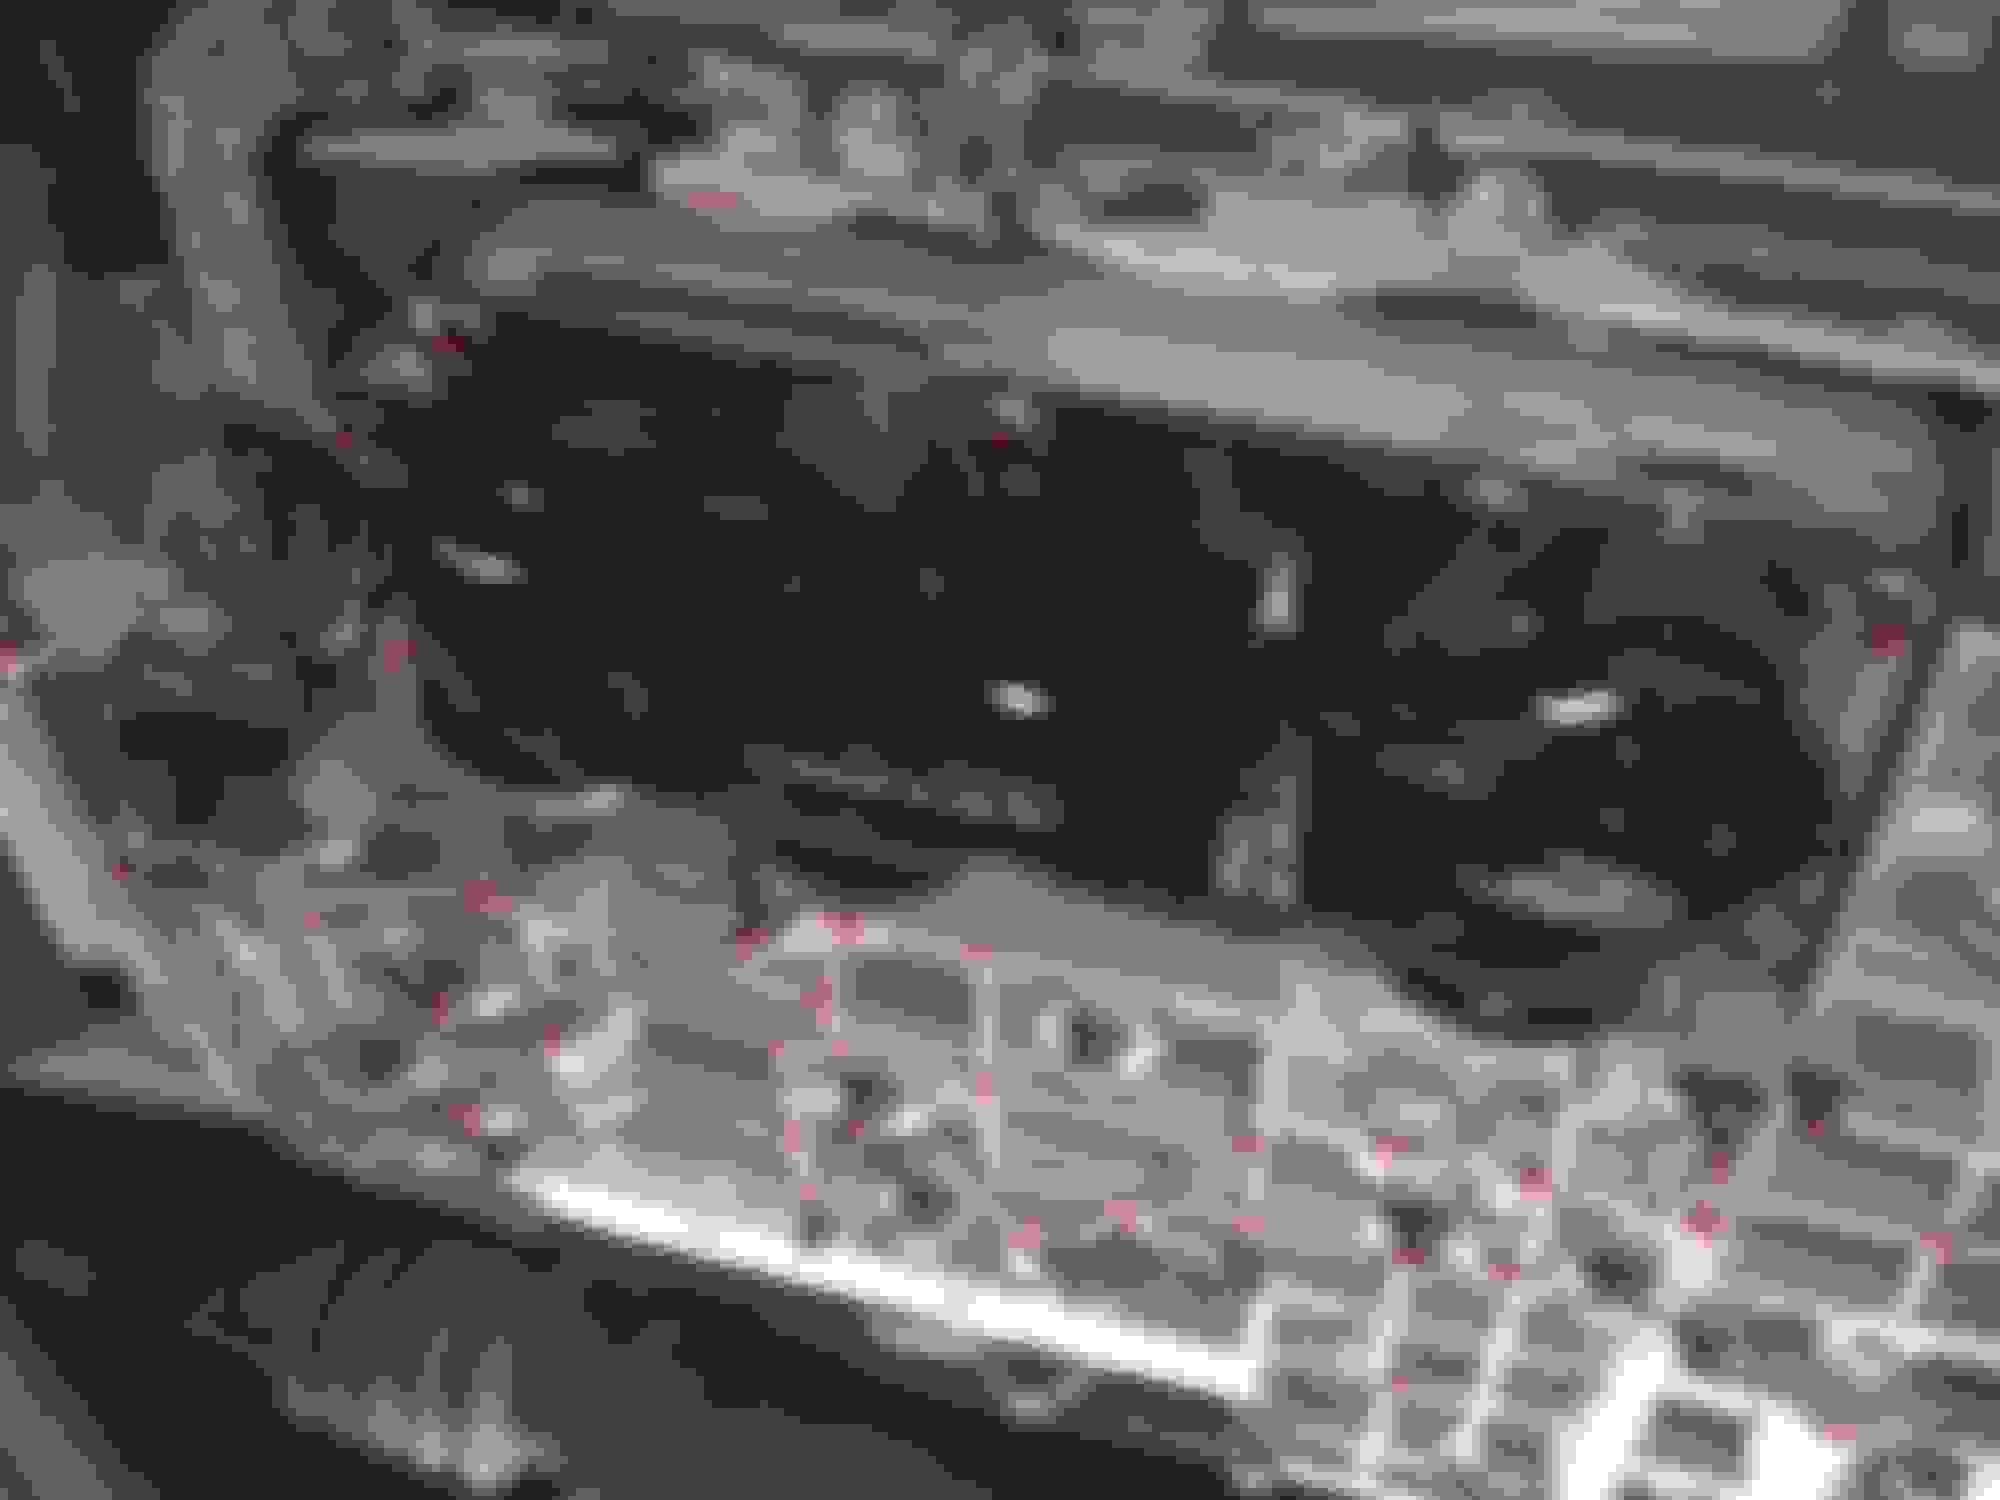
Once you've done this you can turn your attention to the modifications in the accumulator and the valve body. While doing the modifications remember not to remove the pistons from the bores in any of the spots. In the accumulator you will exchange the stock springs, there are two or even three in each spot, all these will be replaced by ONE spring from the kit per bore. The O/D springs have to be replaced with one of the green springs (watch the next images), on the two other spots you get to choose the springs for one of two possible stages: Stage 1 (HD/towing, green springs) which is firmer than stock, yet softer than the Stage 2 (Street/Strip, orange springs), which is a little firmer than the Stage 1.
This is an overview of the accumulator (left) and valve body (right), showing the springs removed already and the spot you will be working on the valve body with a bolt threaded to the plug. Notice the clip remover tool made from the clip at the bottom, also notice the small 90� bend at one end.
At the left side spot in this image you'll find the O/D springs (these are the ones to be replaced ONLY with one of the green springs).
A closer look at the other side of the accumulator, showing other of the spring sets to replace, this kit doesn't modify the valve at the left in this image. Here you can also see one of the retainer clips more clearly, above said valve.
To access the O/D springs (use the previous images for reference) use the clip remover tool in the slots above the accumulator to pull out the clip, keep a finger over the slot while you pull since the clips can literally jump quite a distance, then thread one of the 8mm bolts to pull the plug out, now replace the stock O/D springs with any of the three green springs in the kit. Repeat the same procedure on the other two spots shown on the previous images, use either green or orange springs depending on your desired level, being this my first time doing any modifications to my transmission I wanted something mild, so I went with the Stage 1 springs.
The modification to the valve body is done in this spot, notice the clip is still in place (remove it), and a bolt is threaded to show how you can use them to remove the plugs, once the plug is off, for 1989-1995 valve bodies just install the spacer, for 1996-1997 take the springs out and insert the brass spacer, don't reinstall the springs.
With this, all the modifications inside the transmission are done, unless you have the trans out of the truck, in that case you should consider Replacing the stock Pressure Regulator spring in the transmission pump with the blue one from the kit, you can do either this modification or the resistor modification in order to improve the pump pressure output (refrain from doing BOTH modifications). Now it's time to prepare for the reassembly, clean every part with WD40 prior to installing it, in my case that also meant scrapping the gasket/RTV mess from the case, I used a sticker scraper to take most of the gasket pieces off, then some very soft steel-wool to remove all the remaining RTV, it ended up amazing, not a single scratch and a very clean surface to seat the new gasket in (this will properly seal the surfaces and prevent any leaks). The Instructions in the kit tell you to stick all the CB and the new filter screens directly to the case using the vaseline, personally, I only stuck the spring for the EPC ball and the spring loaded accumulator screen (both springs seat against the case), the other screen is inserted through a hole in the separator plate, then turned, pointing to the case (it will only fit in one spot). Use the instructions as a guide to place all these. If you took the picture of the CB in the plate, then you can use it as a guide to stick the ***** in the proper spots using vaseline dabs. If not, check the diagrams in the instructions and match your transmission year.
The reassembly procedure from here on is exactly the opposite of the disassembly procedure, taking special care to torque every nut and bolt to spec (80-100 lb*in). Carefully insert the separator plate, then install the reinforcer plate (with the word UP facing down... what gives? maybe front?), tight those three bolts and recheck them and every bolt/nut you install, believe me, you don't want to drain/open/disassembly the transmission for a while... After that install the valve body, tightening the bolts in a spiral from the center out (to properly seat the gasket), then the accumulator body, then the solenoid pack and finally the filter (new filter if it's getting replaced), place it in the right position, then insert the upper sleeve up in the main ATF bore. In my case I also installed a new homemade filter clip to prevent the known issues with these filters, falling off in the pan, this is what I did:
This was made from some aluminum from the old A/C condenser I replaced, which I sawed, bent, and filed until I got the final product. It's held by one of the "do not remove" bolts in the valve body. At the beginning of this write-up there is a zoomed out image of this clip.
The last step of the reassembly is to install the pan, use generous amounts of vaseline to stick the new gasket to the pan (or reuse your old gasket if it isn't the cork type), thread all the bolts to the pan and be very careful to have the gasket always in place, once the bolts start getting tight center the pan with the holes and the bolts, then torque each bolt to spec (10-12 lb*ft) using an X pattern if possible. Personally I grab the ratchet very close to the head and turn the bolts until I can't tighten them anymore, then grab the handle and turn it 1/4 of a turn, I took my pan down 3 times and was able to re-utilize my new cork gasket without crushing it and without leaks.
The new pan all pretty in its new home, little did I know I would have to take it down two other times... GOD BLESS THAT DRAIN PLUG!.
Since everything in my transmission was brand new, I decided to reutilize the ATF I drained, to do this I started with the engine off, and poured some ATF until the transmission's dipstick showed the level was in the crosshatched area, then I turned the engine on, shifted slowly several times between D and R, then very slowly poured the rest of the fluid, using a Scott towel as a filter element, also adding 1 extra qt. to replace the lost ATF. After this, I took the truck for a test drive, all the forward gears worked flawlessly, with fast and firm, yet comfortable shifts, then I tried to back up... It felt very weak (like it was slipping), I later found I didn't tighten the T30 bolts in the solenoid pack enough because my T30 tip was broken, here you can read all about it, and get some other ideas on troubleshooting issues that could rise up with this upgrade: https://www.ford-trucks.com/forums/1...k-reverse.html
You will also be VERY interested in checking the second page of that thread for some goodies.
This is how I set everything for the refill procedure, again, you can follow the procedure in the first link I posted at the beginning of this part of the shift kit section of the write-up, or you can use the procedure in the kit's instructions. Hey, notice the foam I wrapped around the A/C drier/accumulator, I did that to further isolate the A/C system and improve its efficiency.
This is all I did regarding the installation of my shift kit, you could also install the resistor (if you didn't modify the transmission pump) at this point, but right now I have no intention of doing so, so this is it, the installation is complete!.
Enjoy your new E4OD, and I hope you don't run into any problems like me!
You won't go wrong with a B&M Supercooler I know. I have owned & ran three of them. 2 on Chevy (JUNK) Blazers & one on as Jeep GC 5.9 Limited.
I prefer Trans Go Shift kits but nothing wrong with B&M.
But come on 250,000 miles on an A/T is real good. I hope your not old like me because before I put another 250,000 on any of my junk I might not be here to see it.
Craig
Well, it's done guys, probably some minor corrections will be made in the following days, but that's it! unless I install the resistor... I hope you guys enjoy it
Nice write-up Encho. A stock E4OD shifts like a Buick and I was wondering if there were any decent kits out for the E4OD, so it's good to see you're happy with yours.
How firm do the shifts feel compared to stock, scale of 1-10? I think I might get this kit and go for Stage II only because I don't want to do it twice if Stage I is too mild.
I do realize shift feel is a matter of opinion... but to give you an idea of what I'm used to, the last transmission I modded was a 1998 Ford 4R70W in my 97 Thunderbird. Did the J-Mod to it which involves changing springs and enlarging a few holes in the separator plate. At full throttle, that transmission would break the rear tires loose shifting into second and third.
Not looking for that with this truck of course, but I do want to get rid of that mushy feel.
Alright, thanks. I don't think I'll do the resistor mod... or if I do I won't splice into the harness near the transmission. I'd rather do it near the EEC, although really I'd prefer that if I need or want higher line pressure, to do it with an EEC reflash or even spend a day removing and reinstalling the transmission to change the line pressure valve spring in the pump. It ain't hard to get the transmission out of these trucks.
If you have the tools my friend, I couldn't possibly remove that behemoth. But personally I would advice not to modify the pressure, the seals begin to fail and you gain nothing that way.
Well, my tool collection ain't that impressive really. It honestly just doesn't take much to work on these trucks, just basic hand tools for the most part. Sockets, wrenches, prybar, etc. will do it 95% of the time. Sometimes you'll need something like snap ring pliers or a pulley remover set, but not for pulling a trans. You'll also need a jack and a friend to help you move the heavy biatch, but that's about it. Oh, and beer.
I hear you on raising line pressure. The nice thing about having an electronically controlled transmission is that you can program the EEC to only raise line pressure during shifts, which is why I mentioned an EEC reflash. This is the most expensive but also the best and safest way to adjust pressure on any electronic transmission. If I do it at all, this will probably be the method I choose.
Now all my write-ups are up to date and all the pictures properly hosted at FTE, let's hope no more problems arise. BTW, once I get some funds I'll be cracking open my Transfer Case, which decided to give up on me a couple weeks ago. Also slowly making a write-up for fuel pump replacement.

 04-12-2013, 11:49 PM


 ).
).


 .
.