When you click on links to various merchants on this site and make a purchase, this can result in this site earning a commission. Affiliate programs and affiliations include, but are not limited to, the eBay Partner Network.
To say I am mechanically inclined is laughable. To go near panel beating is plain stupid. I need some help.
I have a 1977 F100 XLT swb. The left handside gutter is rusting, and what I think is a 'drip rail' is rusting through down the door jam.
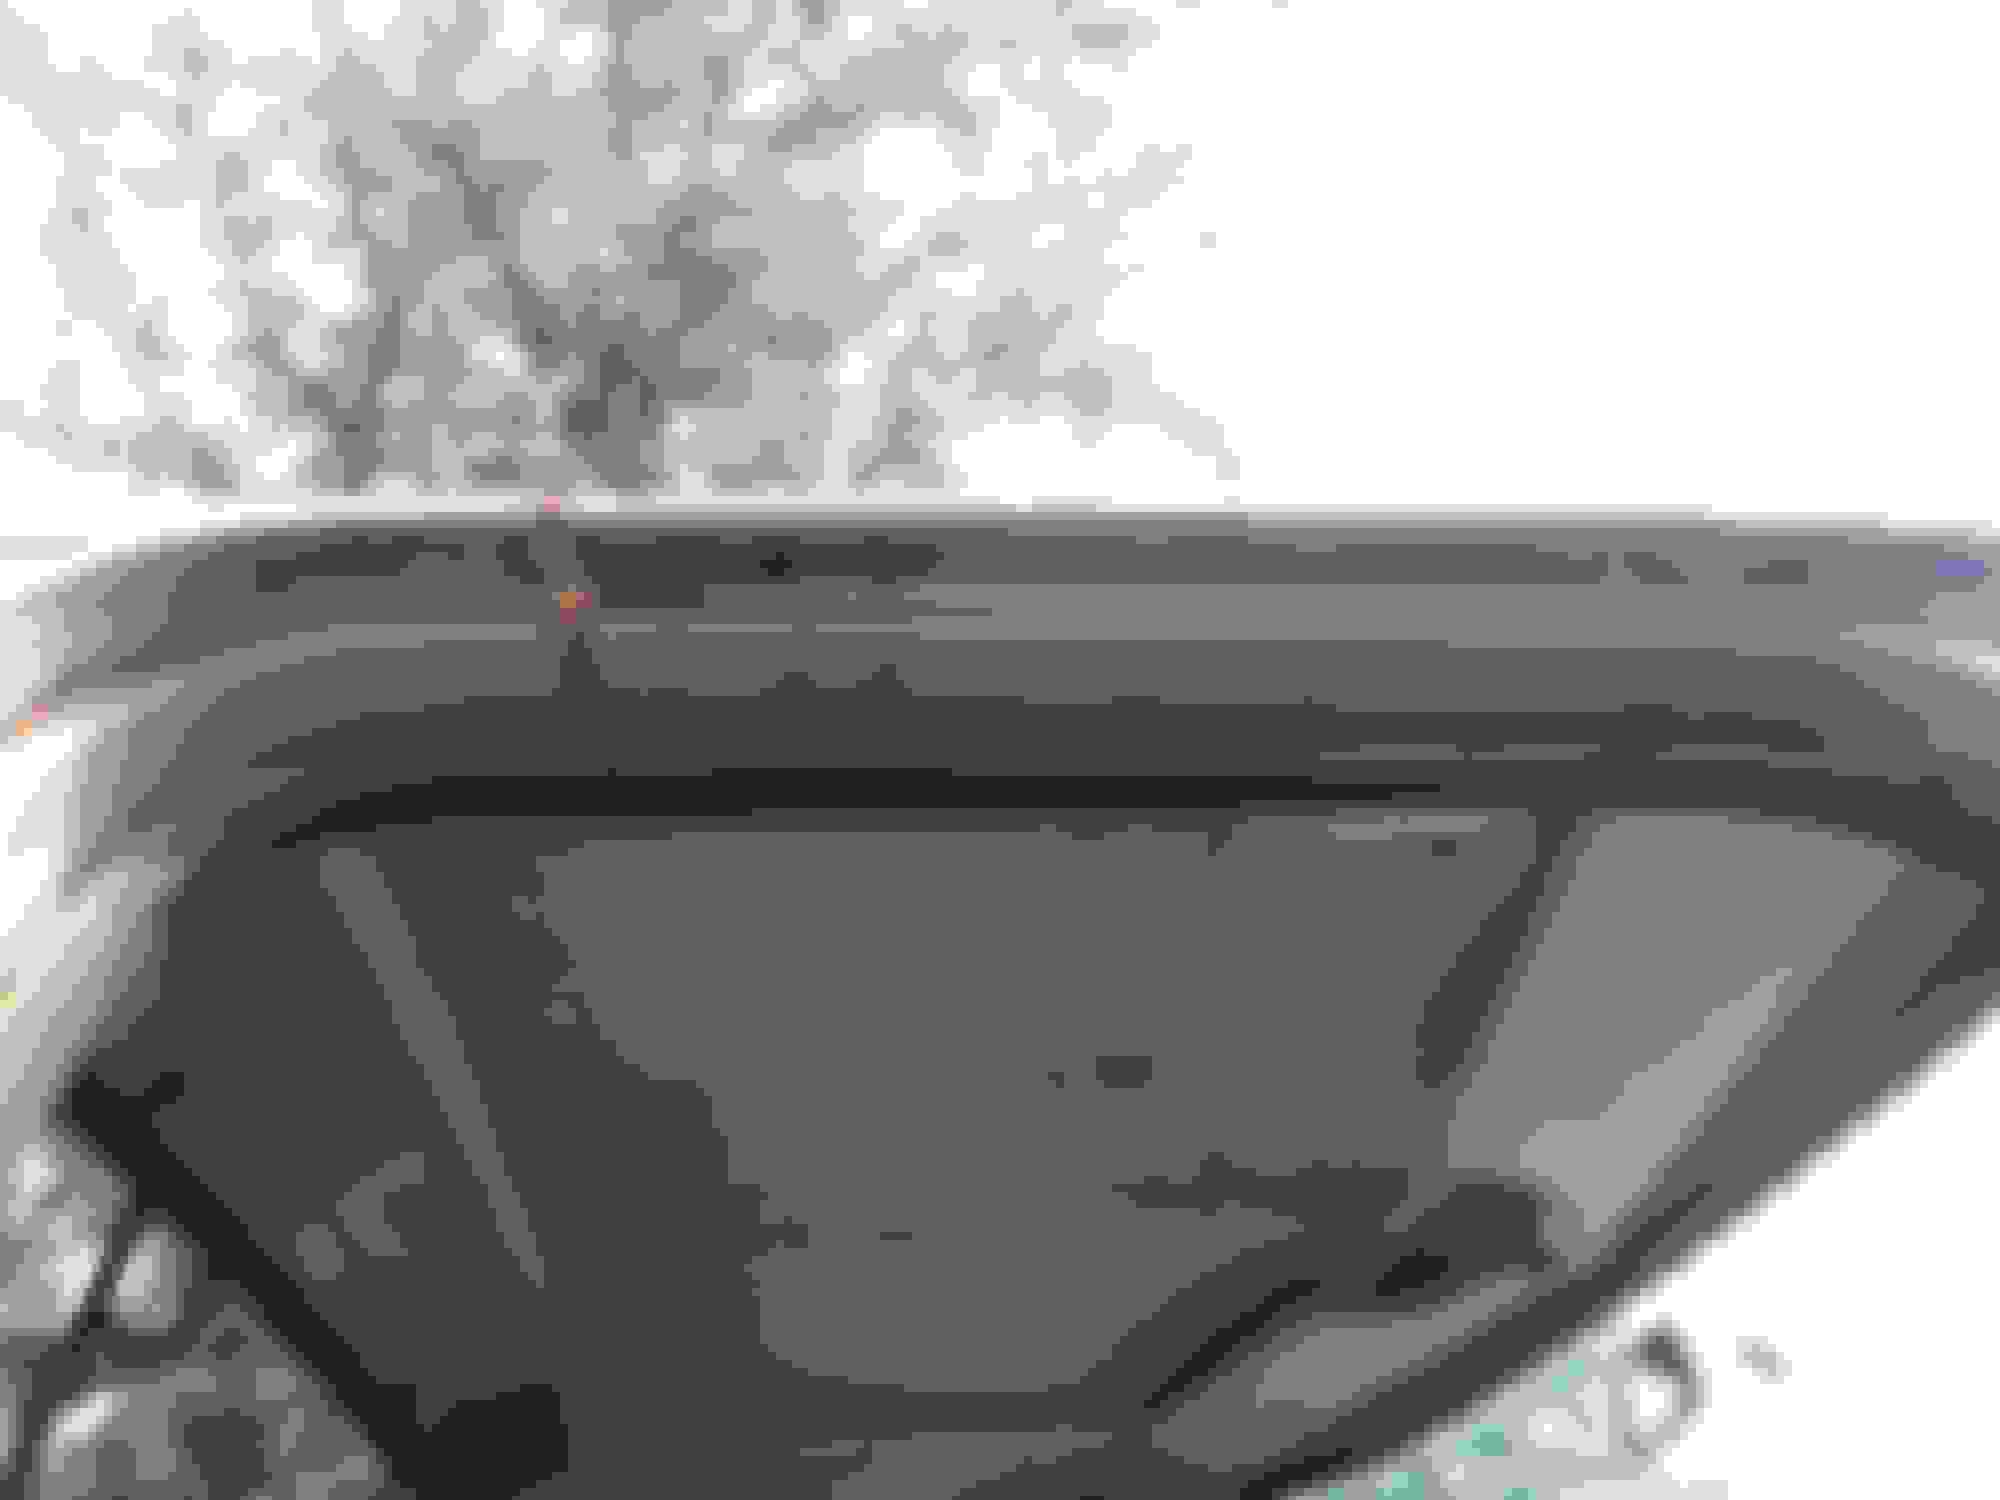
This is what I think a drip rail is (please correct me if I am wrong):
Between the two red dots is what I believe is the same piece of sheet metal/panel:
So what you are looking at is the left hand door jam from the door latch (striker) running up the back of the turret then under the cab's gutter.
Mine is not rusted through, but its bad enough to concern me.
Is it best to remove (what I call) the drip rail and re-weld a new one (after grinding out the gutter), or try to surgically re-weld a whole new rust free gutter and drip rail and part of the roof and turret? What is the best method to kill and prevent the rust from spreading?
This is really layman but I appreciate any help. Thanks in advance.
There are actually 2 and in places 3 layers of metal all folded together. Might just slick off the rails and replace with donor parts from a mid 70's Chevy p/u. Those were screwed on and can be cut and altered to fit.
I know this is an old thread and I know this isn't the bodywork forum but I gots questions. I've searched through the bodywork forum and found several related threads, but no solutions - just the OP asking questions. I'm posting here because my question is directly related to the dentside drip rail and I couldn't find the answer there.
What I'm asking is how does the drip rail come off? I've seen people discuss removing the drip rail trim with a bottle opener, but I have no trim. Just the painted rail. My '77 has rust above the drip rails on both doors, passenger worse than driver side. The rail itself is not rusted anywhere - looks as if the drip rail seam sealer has cracked (as numberdummy described). I dropped the headliner to find that there are actually 3 layers of metal, as Scot said. The inner layer appears to have light surface rust, but the outer is completely rusted through - light shines thru a pin hole you can see from the inside of the cab. I'm assuming that once I cut that outer layer out the middle piece will also be trashed. Everything else *looks* rust free and solid, but I know that once I get in there it'll be worse than I expect, that's just how rust goes.
I'm comfortable cutting and welding in patch panels and treating surface rust, but I'd REALLY like to avoid messing up any paint that I can avoid. My truck was repainted about 7 years ago and I'd really like to keep as much of it nice as I can. I know it's mostly unavoidable tho.
Is there a way to remove the actual drip rail itself? Or is it part of that 3 layer sandwich and unavoidable?
If you grind off the existing drip rails, it will be 2 or 3 layers thick.The top itself has a flange about 1/4" wide that comes out horizontal and was laid on top of the horizontal part of the lower drip rail and spot welded and then covered by the body seam sealer.
OK, so I feel like I've read the description 100x and for whatever reason I'm having trouble following. When it says "Remove spotwelds around windows..." which spot welds are they specifying? A or B?
Also, would it be a terrible idea to simply cut the entire section off a donor cab and stitch it in all as one piece? Currently, my rusted area is limited to about 5" or so and I really don't want to replace the entire roof, or the entire gutter section. If I could just graft in the entire sandwhich, seems easier and a better repair.
Our first attempt at the pass. side. Water was getting in where the patch is. Some spots were rusted through.
I know it is a terrible patch, but it has been cleaned up.
First attempt on drivers side. Tried to solder and use bondo. Didn't work too well.
Last attempt at drivers. Cut out bad metal and patched in new. There wasn't really anything to weld to on the bottom, so after welding the top and sides, we used JB Weld steel stick (a little at a time) and "welded" bottom edge to the remaining metal/drip rail. Also cleaned, treated and resealed the rear seam.
Cleaned up and primed.
The gaps that were on the underside were filled with steel stick and primed.
We cleaned and prepped the whole area for new door seals.
While the headliner was out, we used Eastwood Internal Frame Coating with the 360 nozzle to treat the areas mentioned in Post 6 and also used brush on and spray encapsulator where needed.
This may not be what you are really looking for, but maybe it will at least give you some ideas.
Our goal was to at least prevent any further damage and have it at least look half way decent.
Either treat and hope for the best, or cut the rust out and replace with good metal. Then treat the repair properly to prevent any more rust from reforming.

 04-02-2013, 03:55 AM