
Repairing the rear AC line leak with pictures
#1
 03-26-2013, 01:00 PM


Repairing the rear AC line leak with pictures
You can spend $700+ or fix it yourself in about an hour. Mine had a pinhole in the middle of nowhere so small you couldn't see it. First you have to get it tested with green dye.
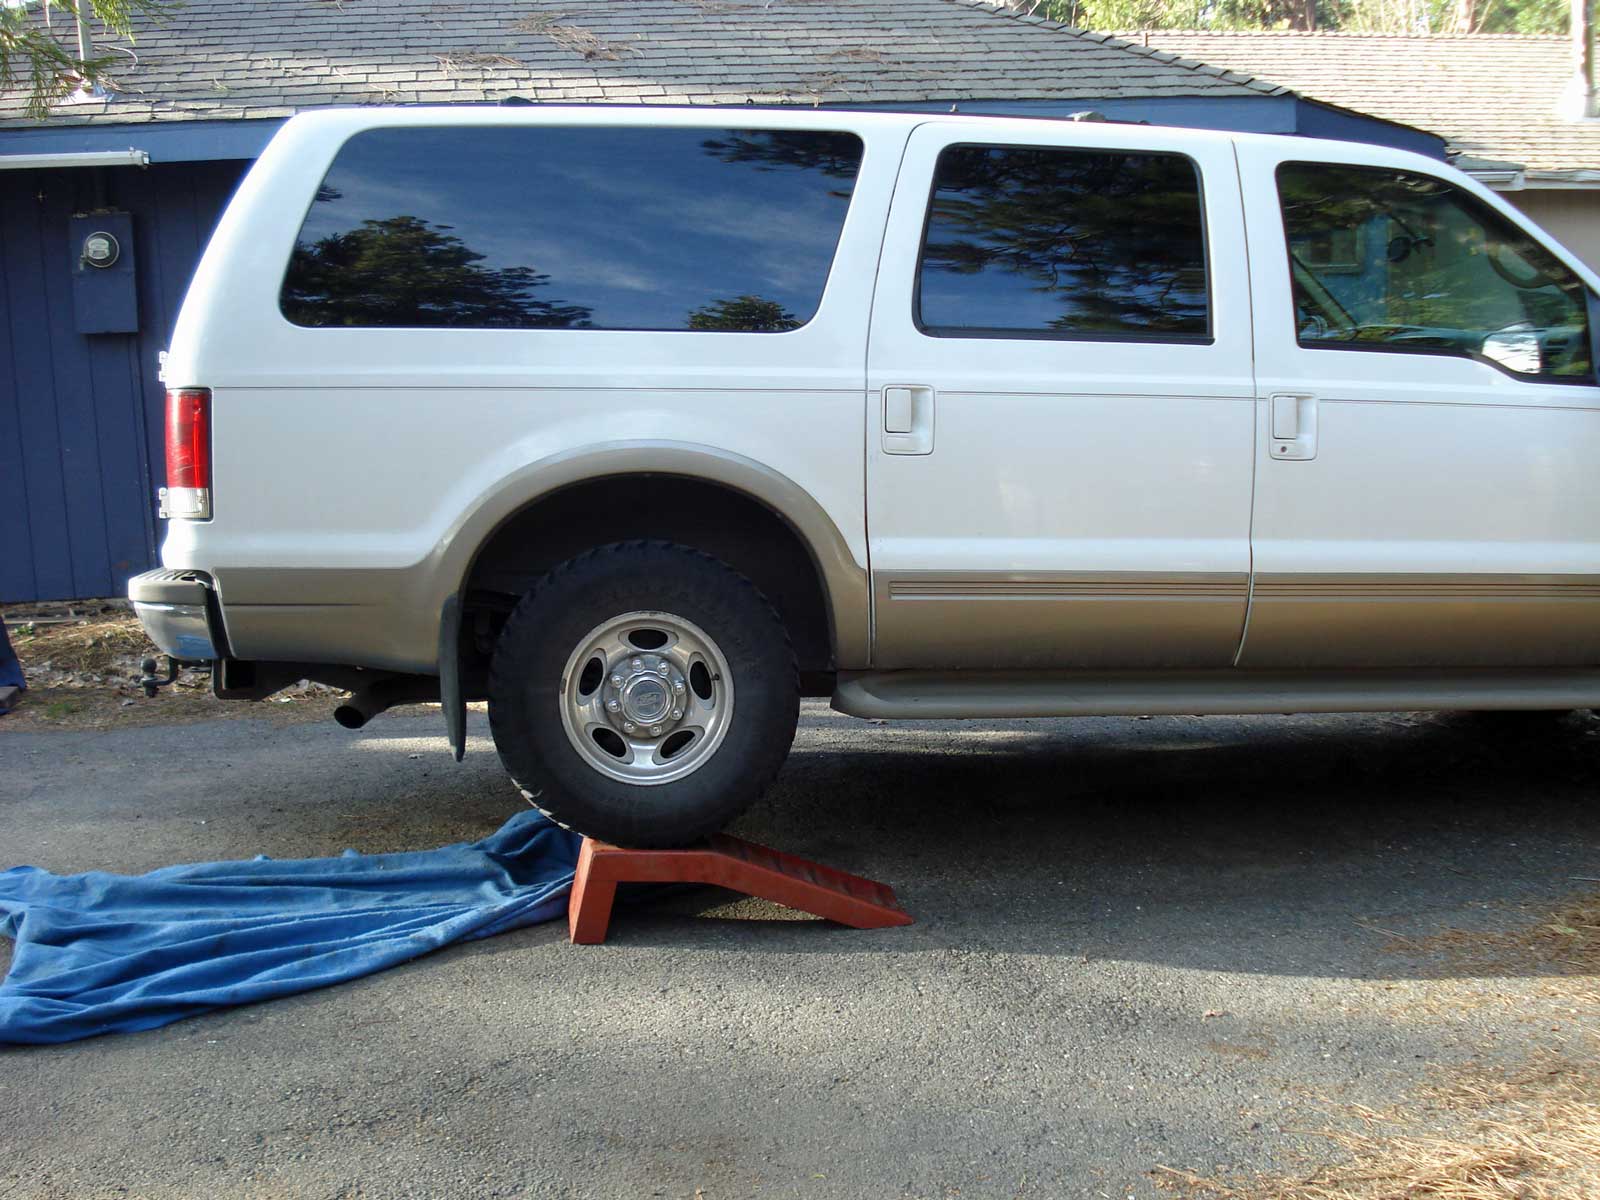
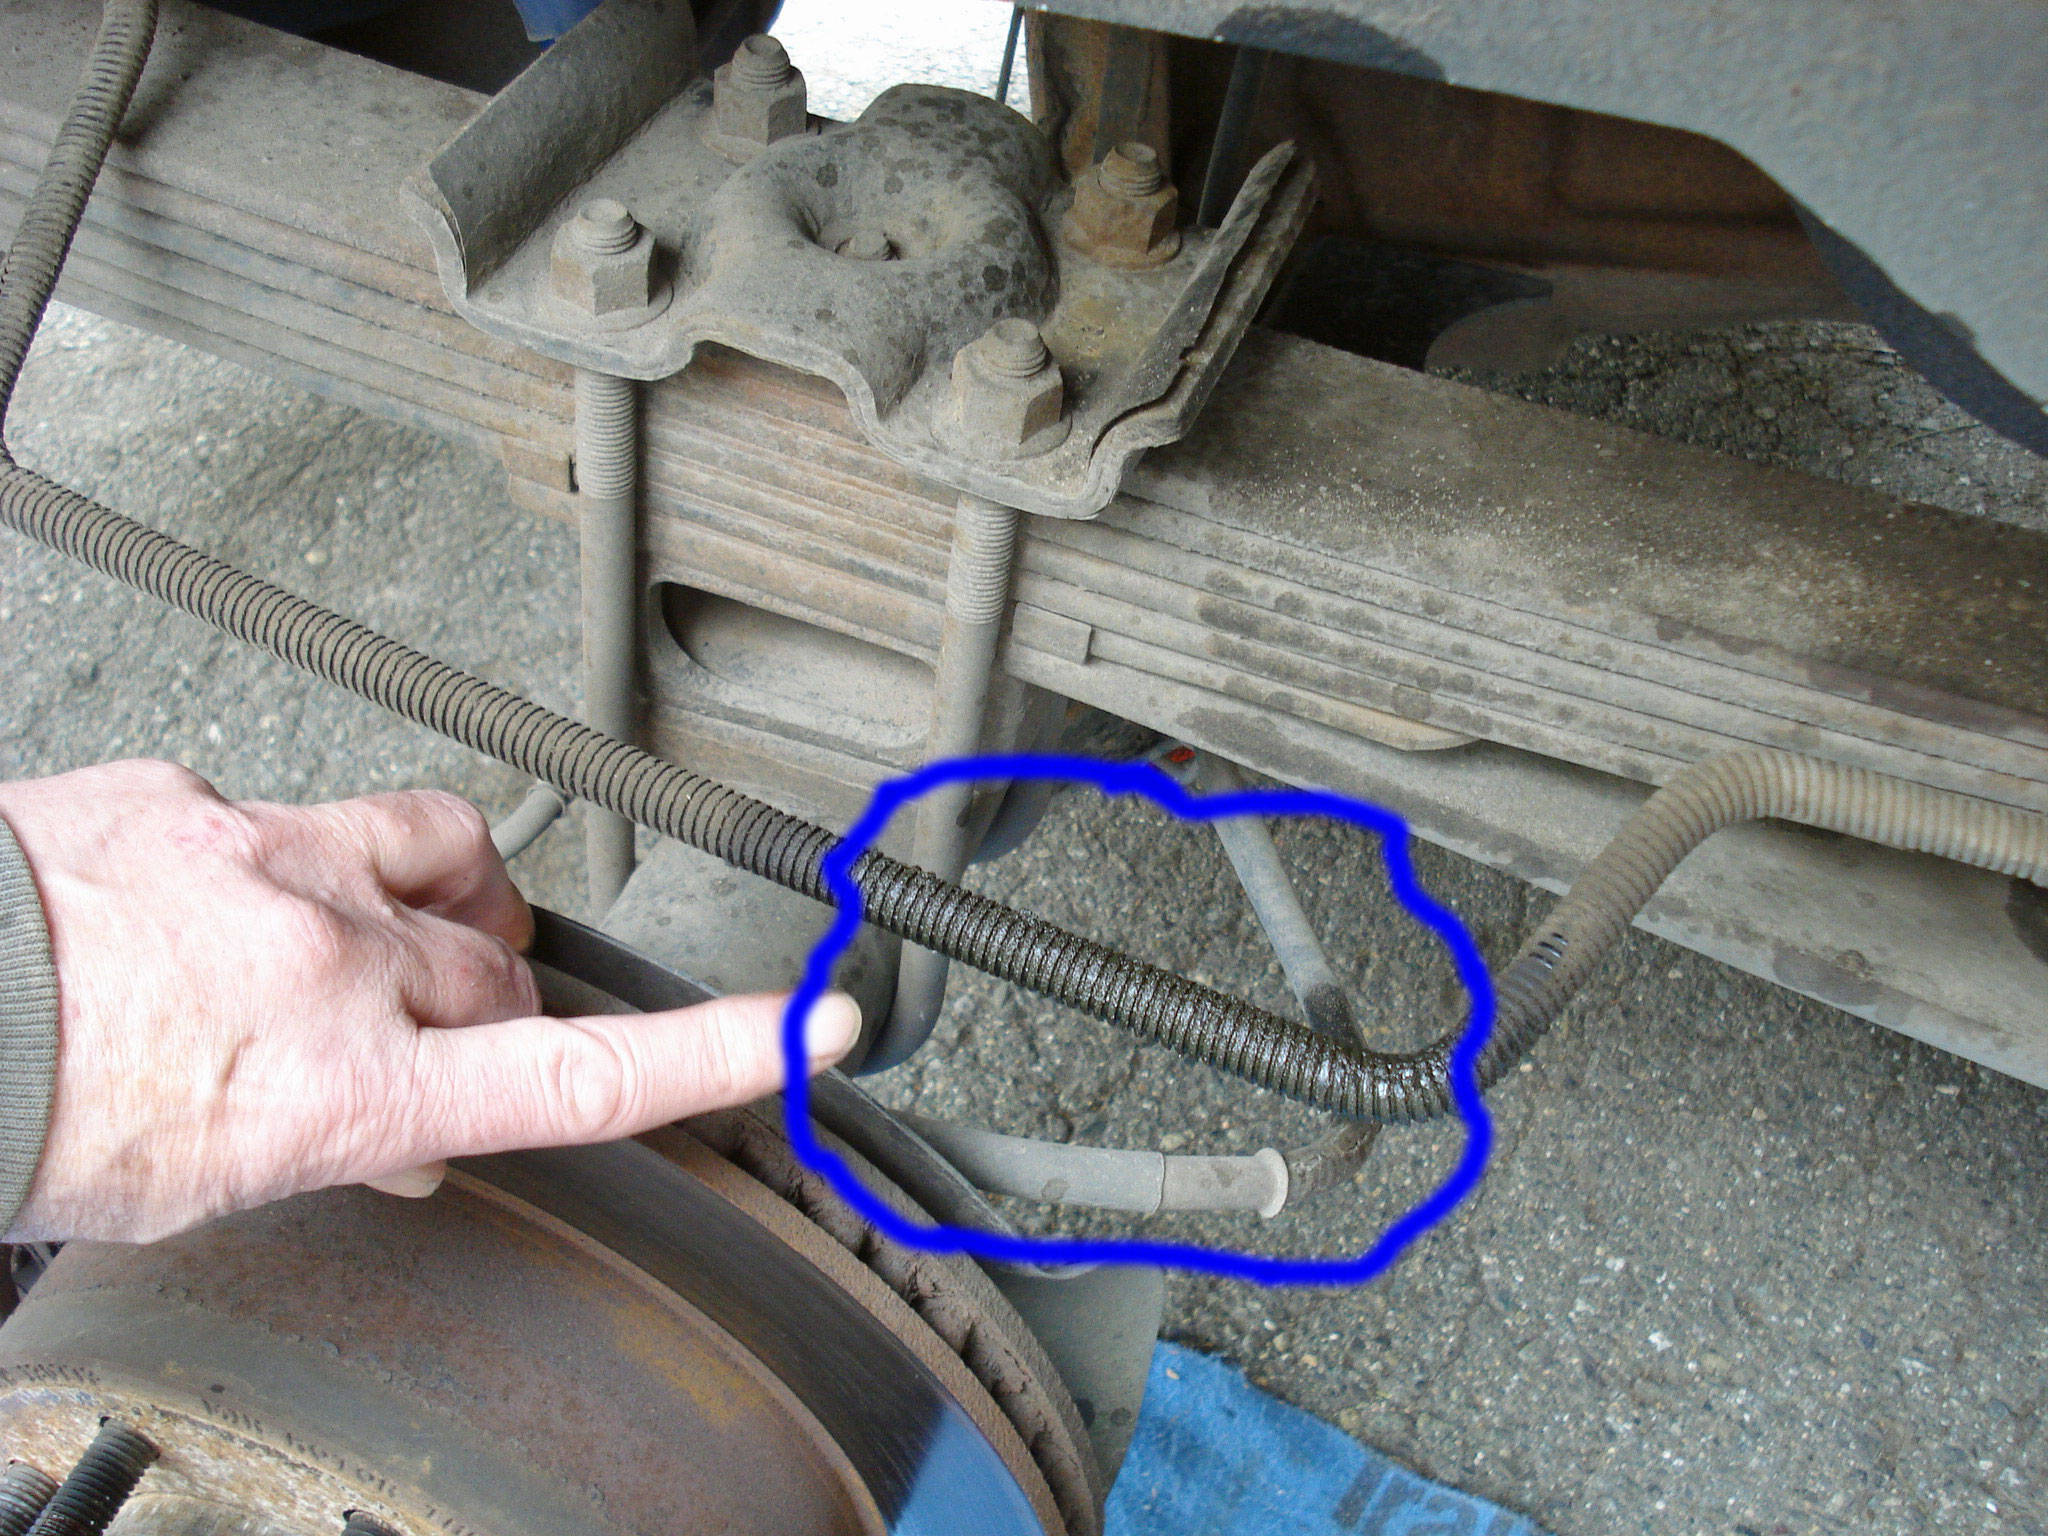
Raise it up and look for a wet spot;
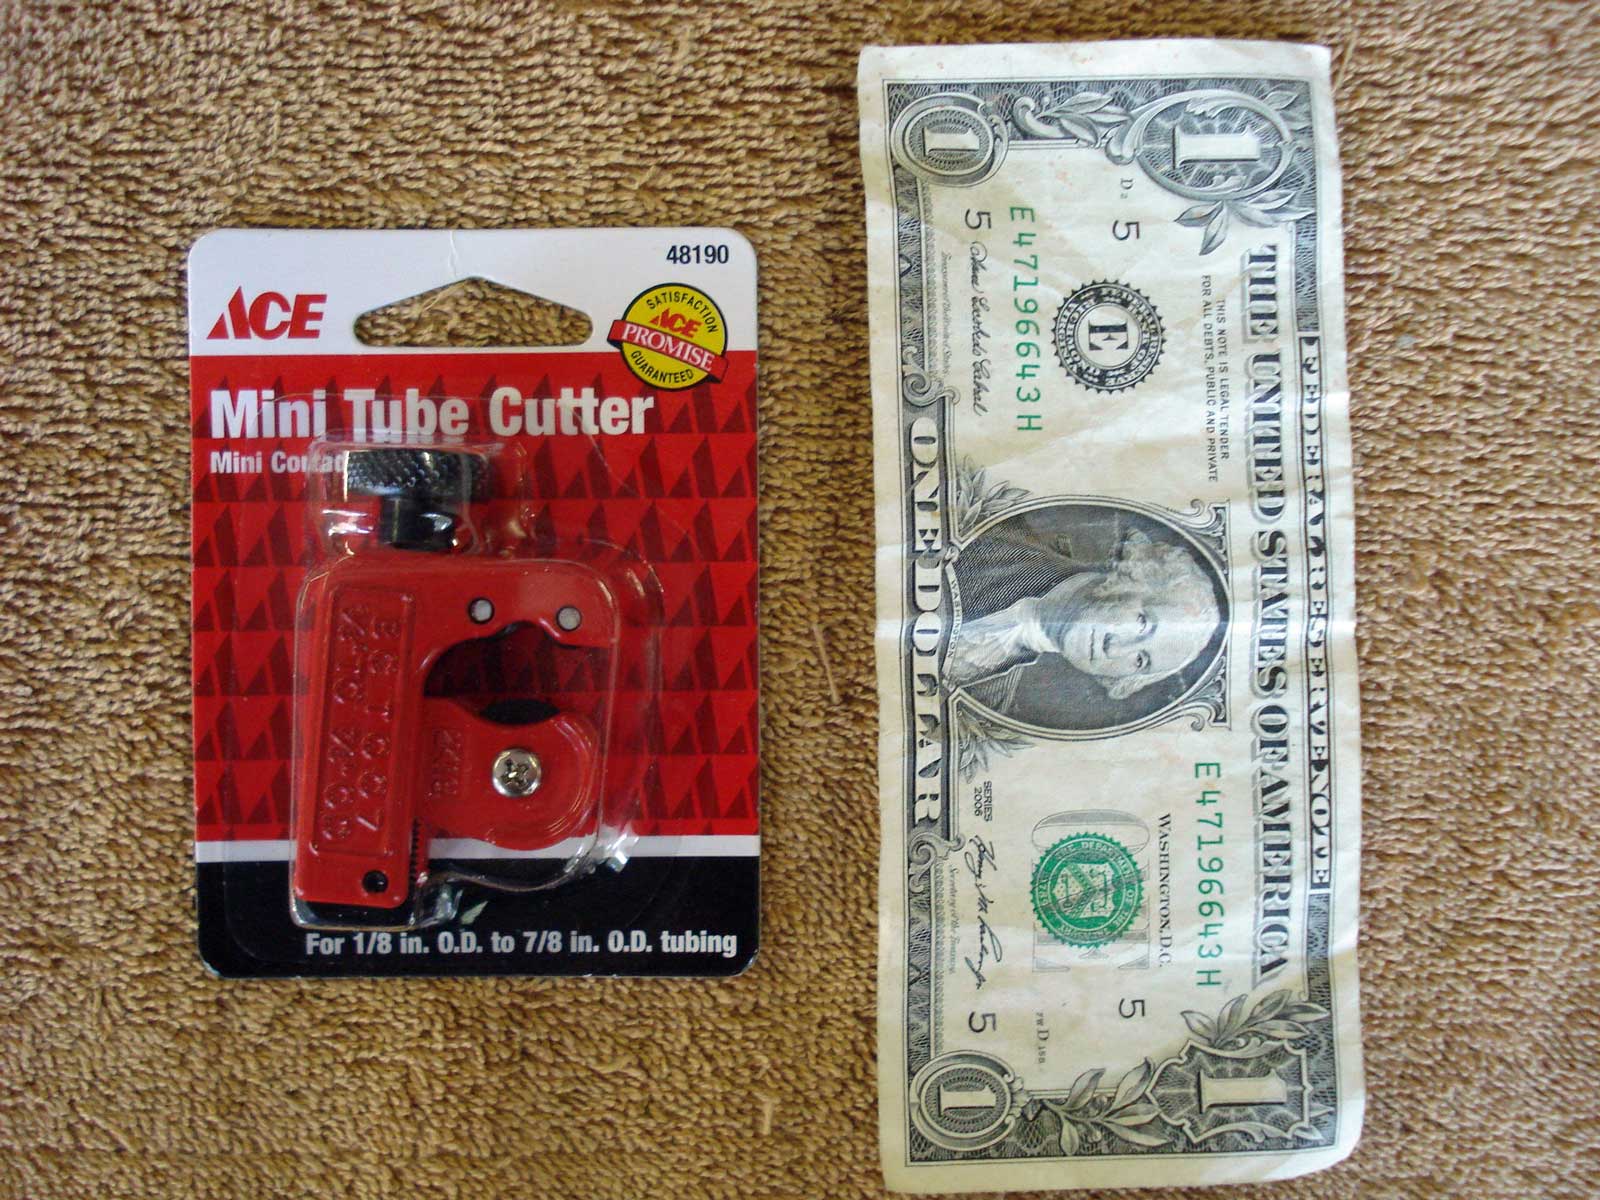
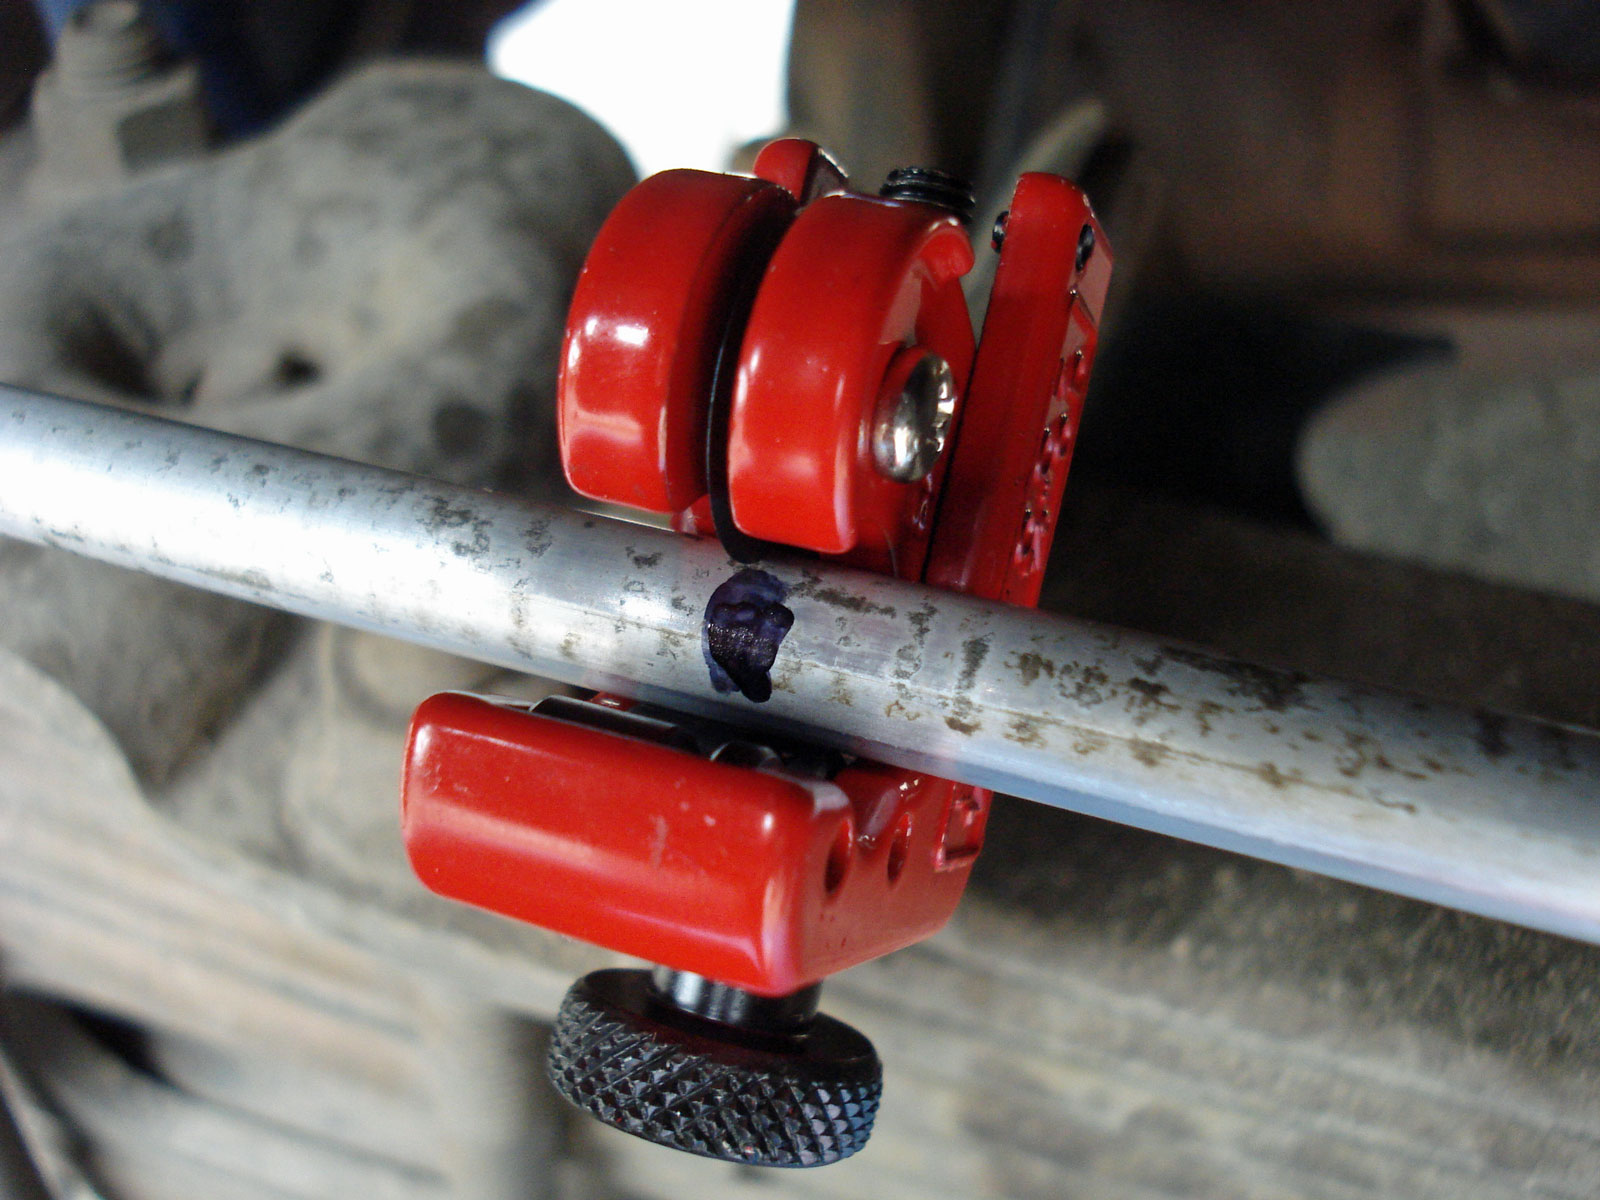
Get a little tubing cutter like this;
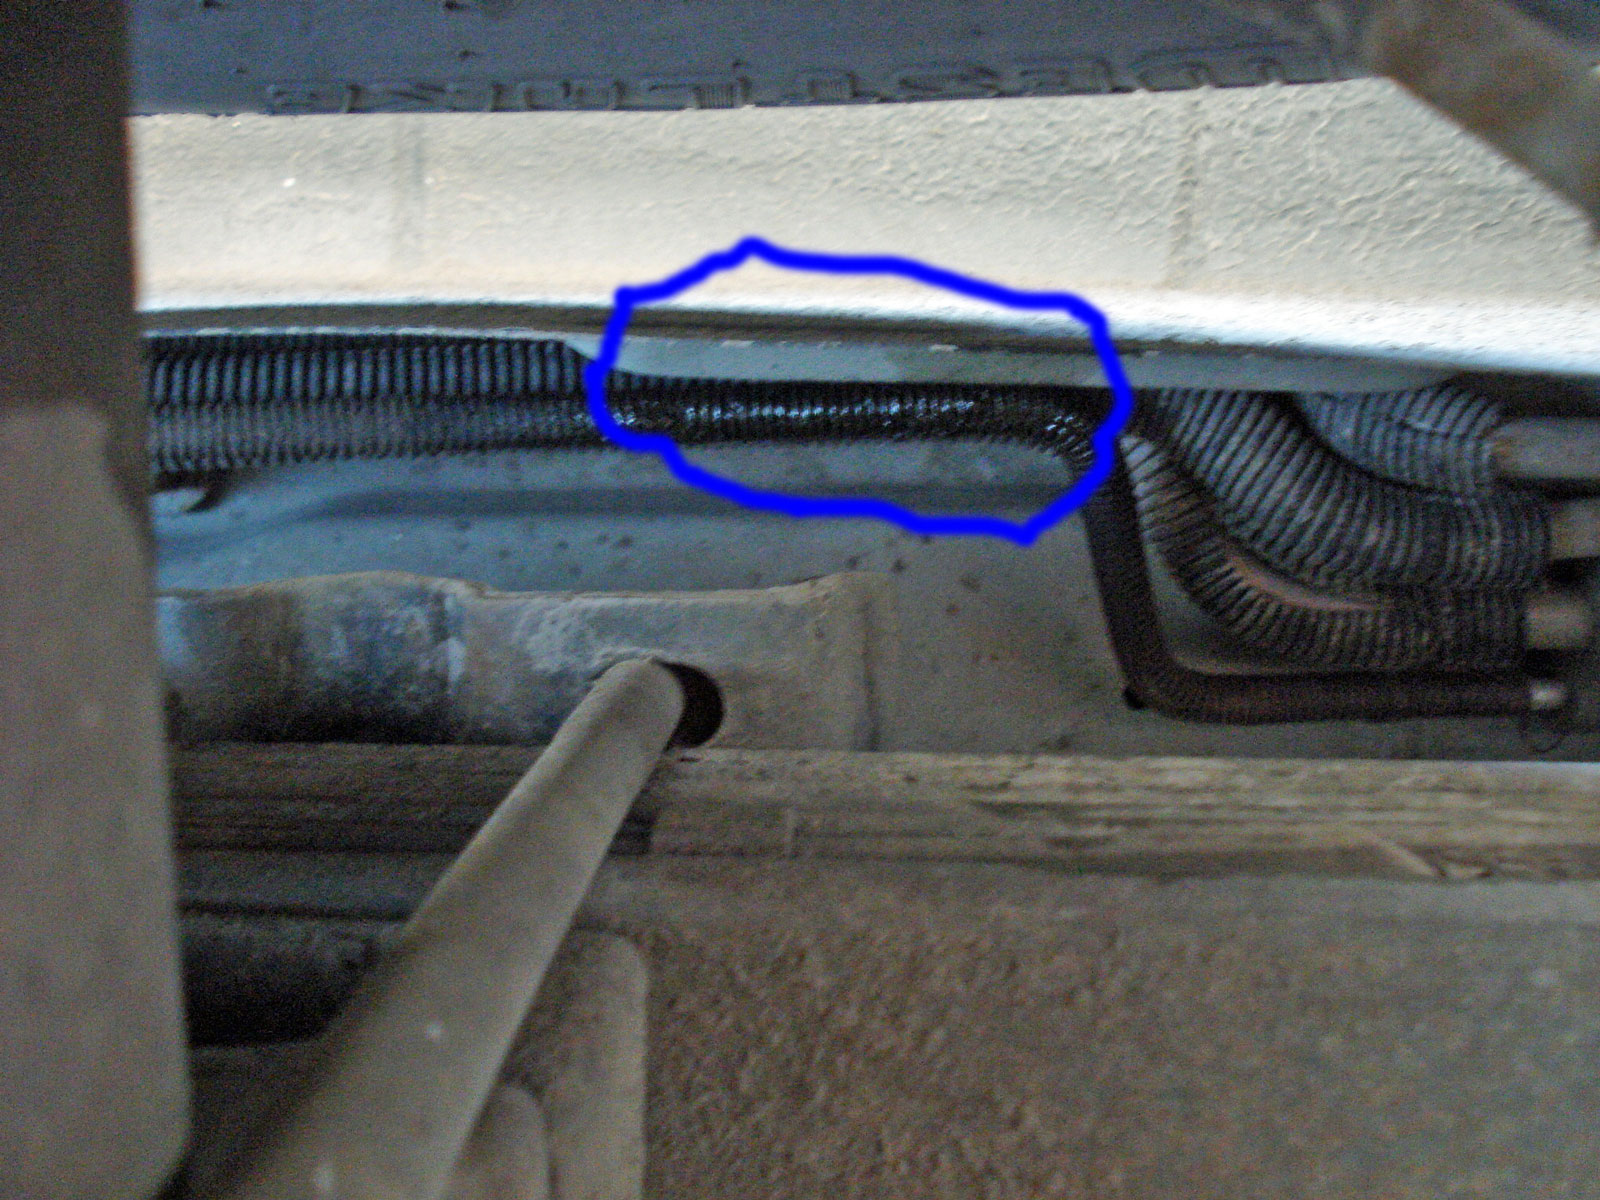
The insulation retains the wet area luckily;
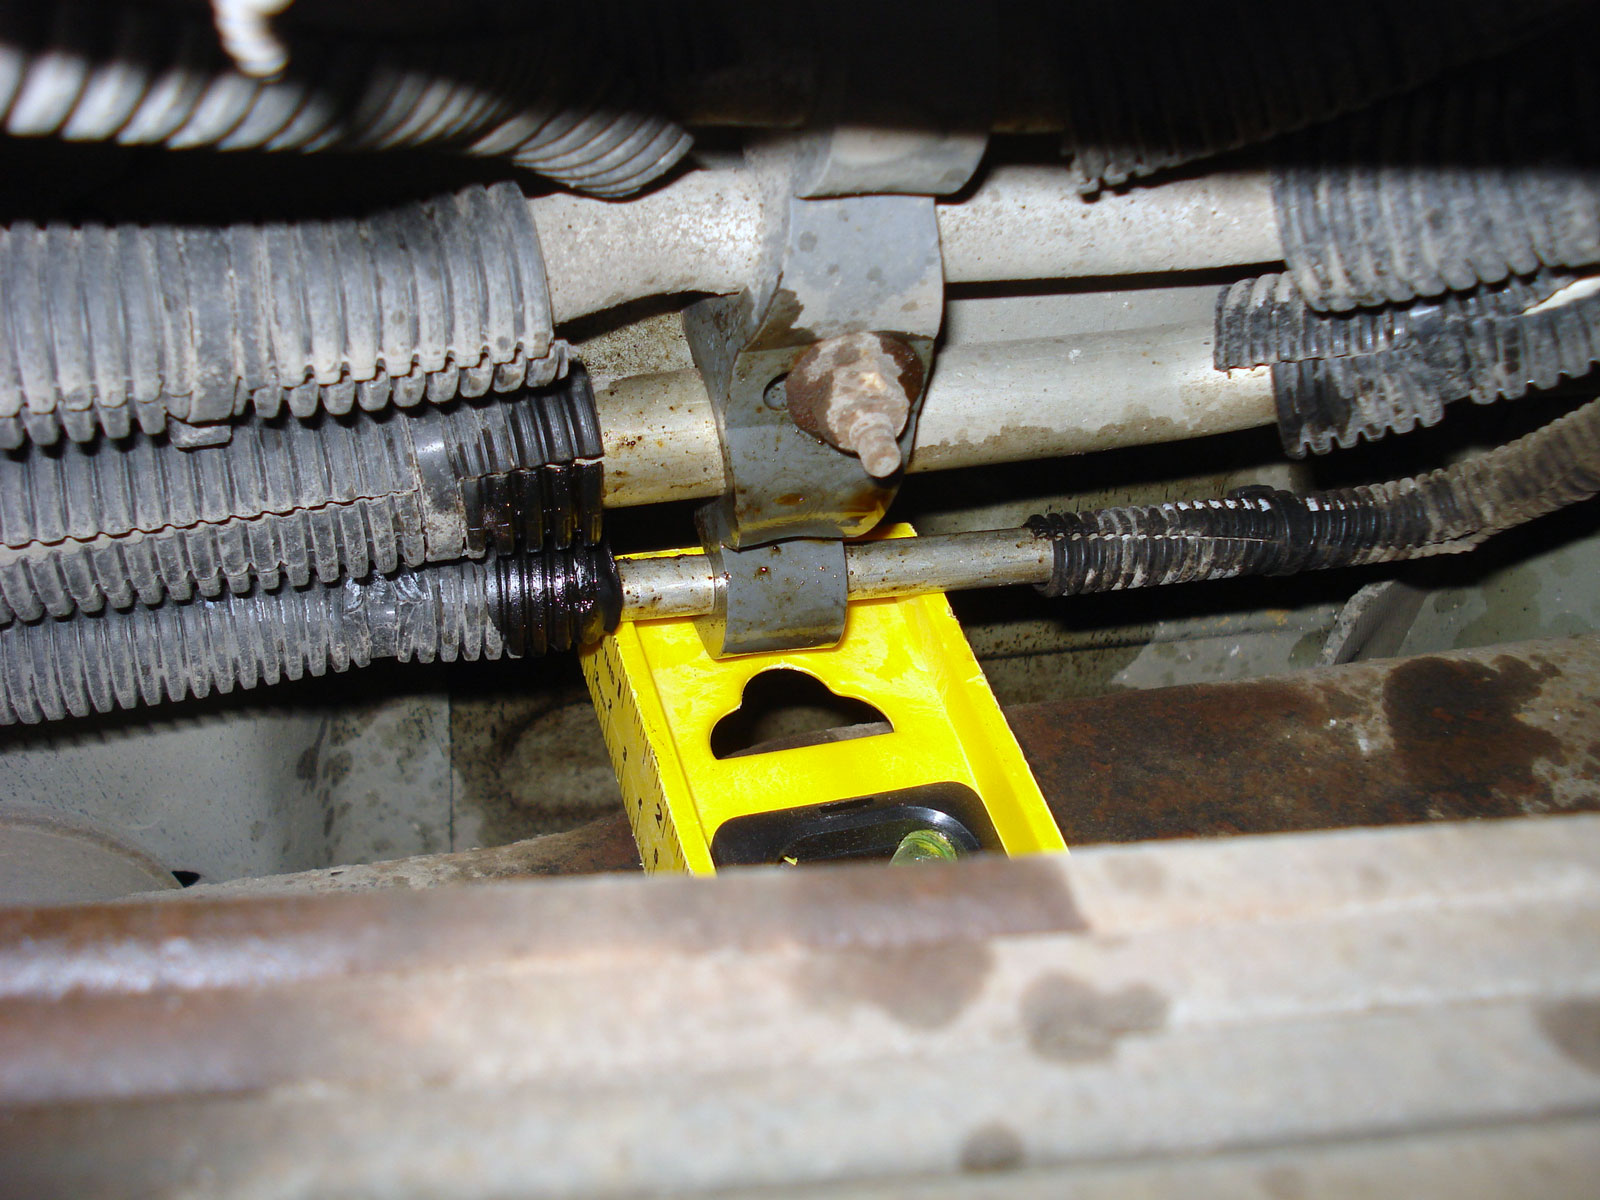
Loosen all these retainers all the way back;

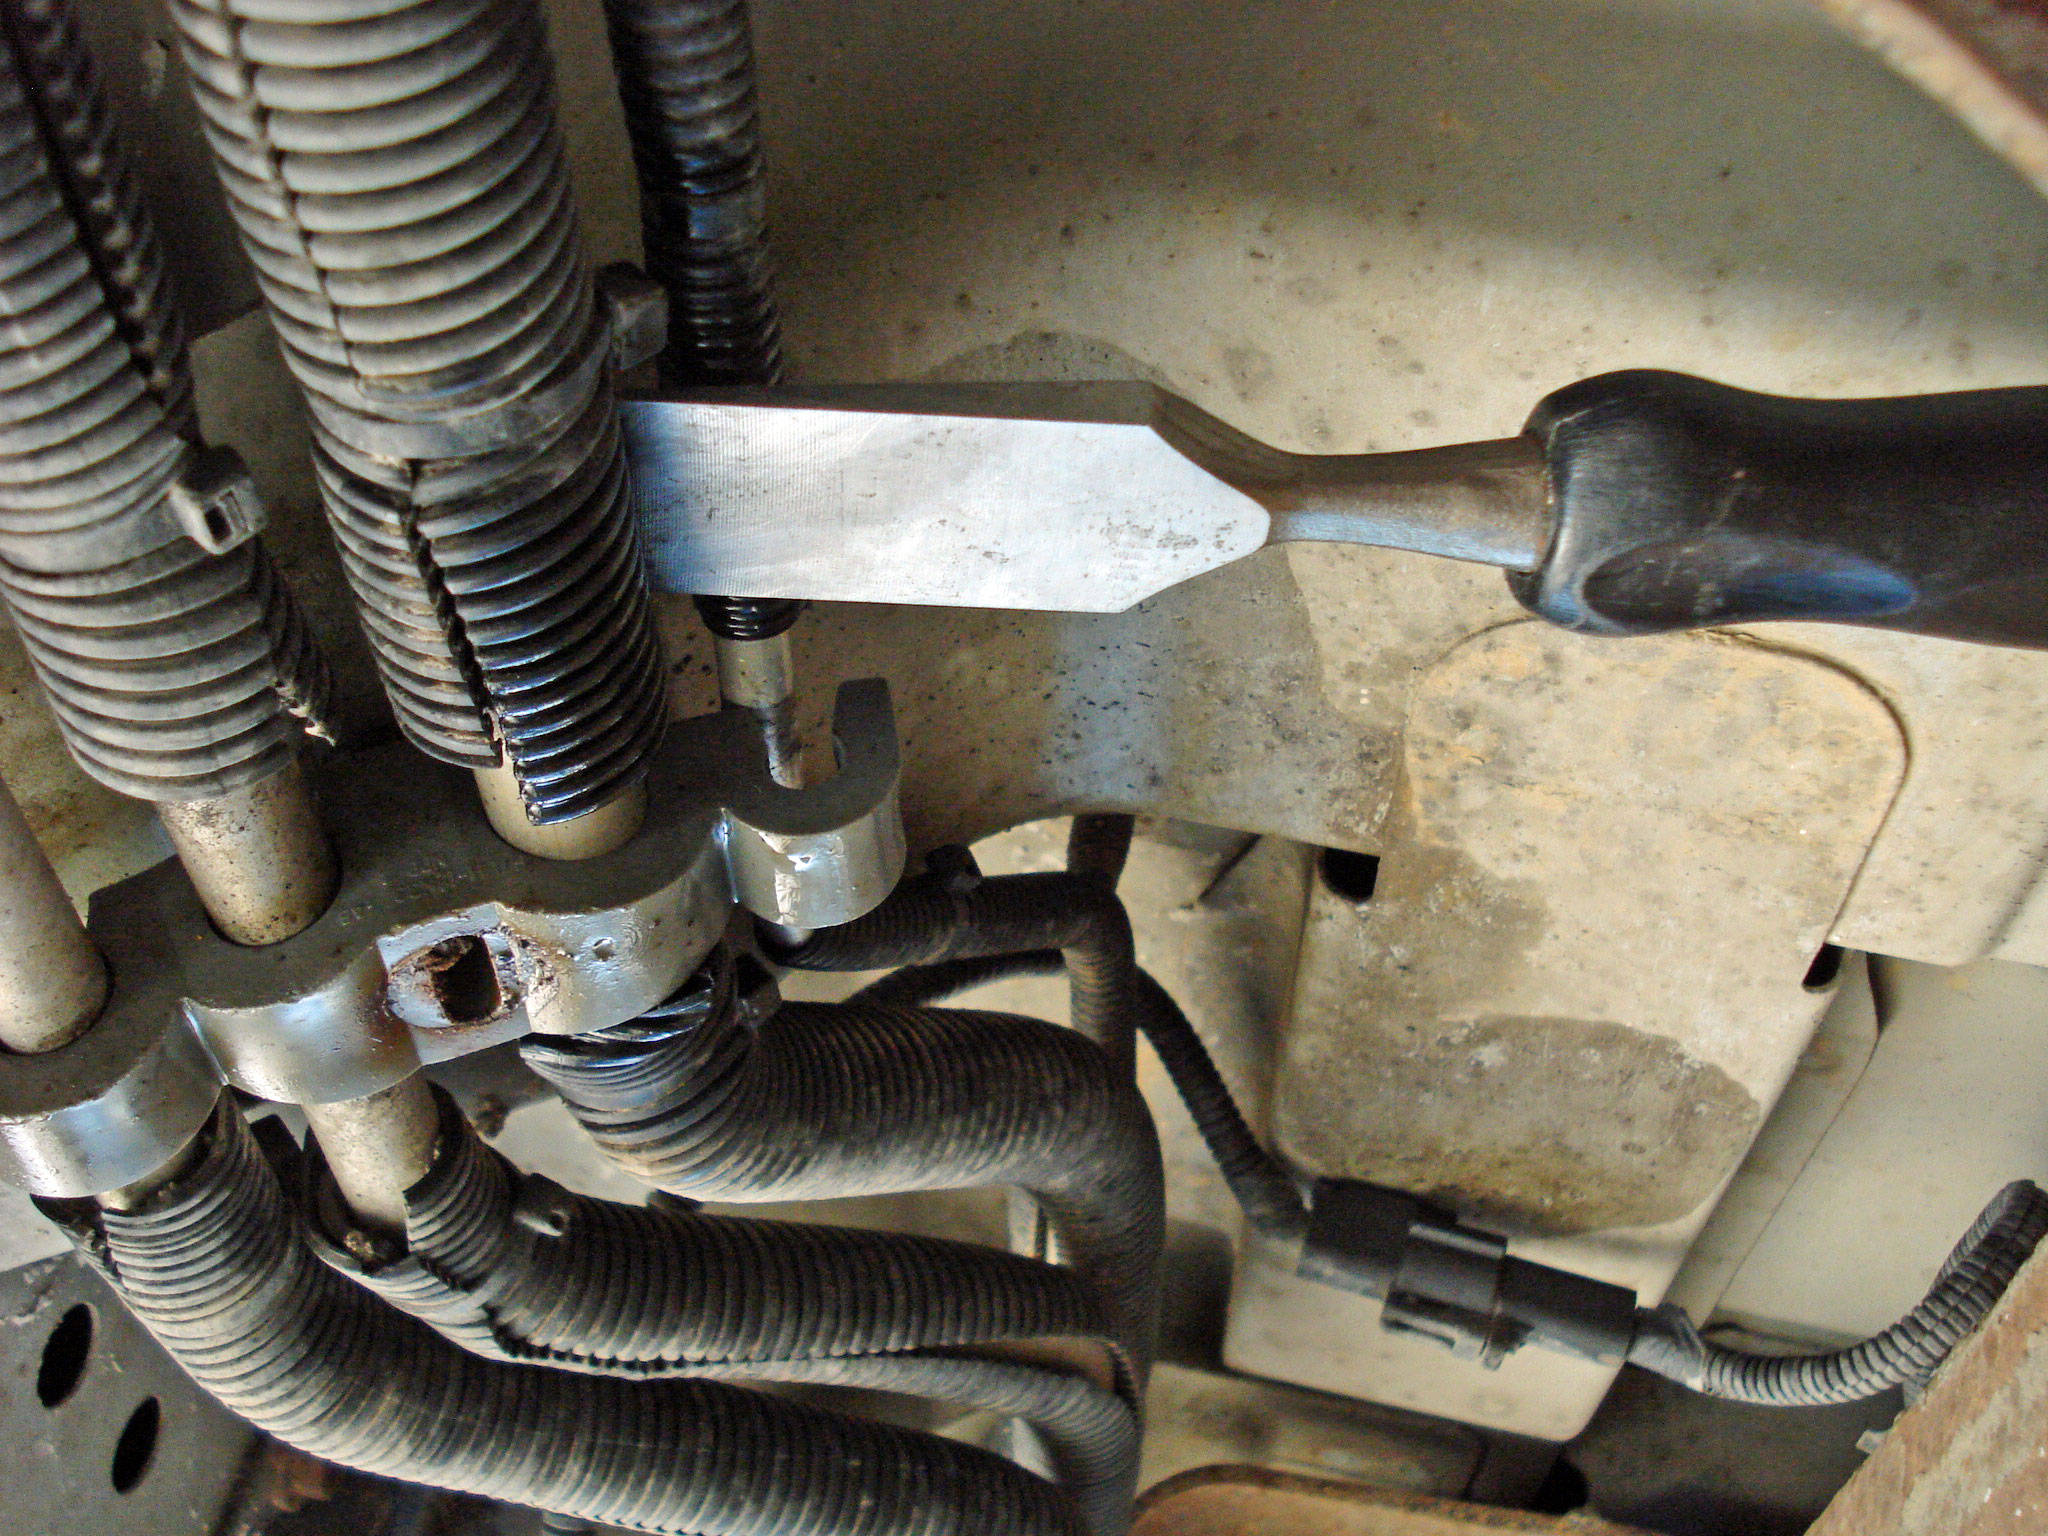
Pop the leaking tube out with a wood chisel on the front holders;
Push it out with something like a hammer handle on the back holders;
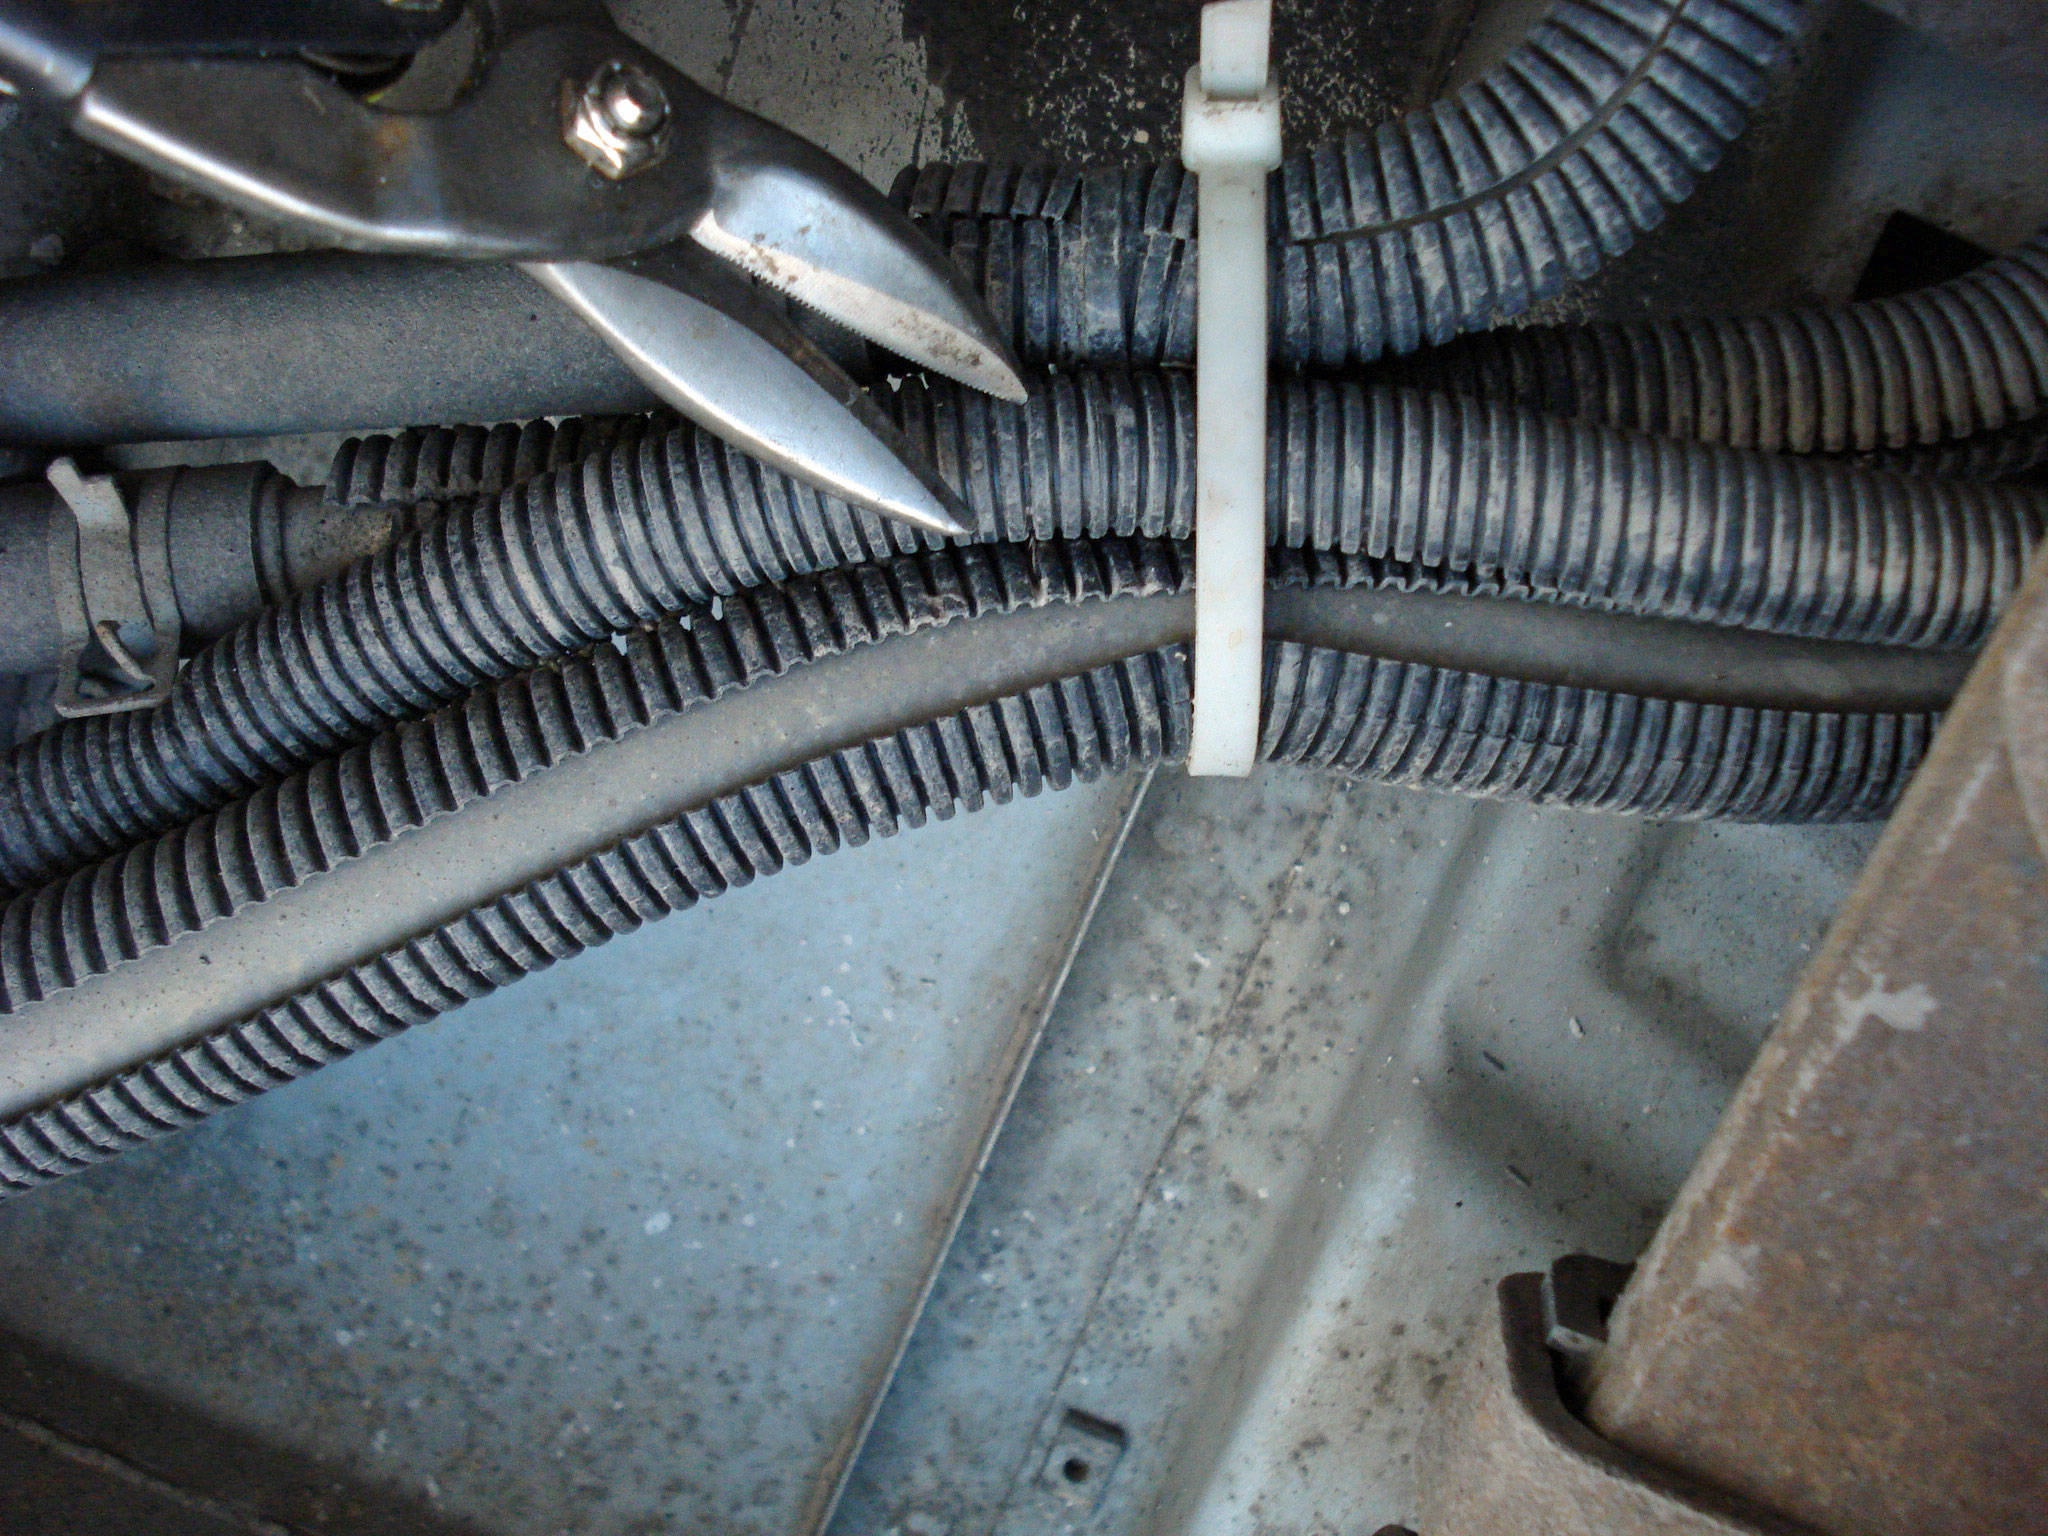
Cut the rearmost zip tie;
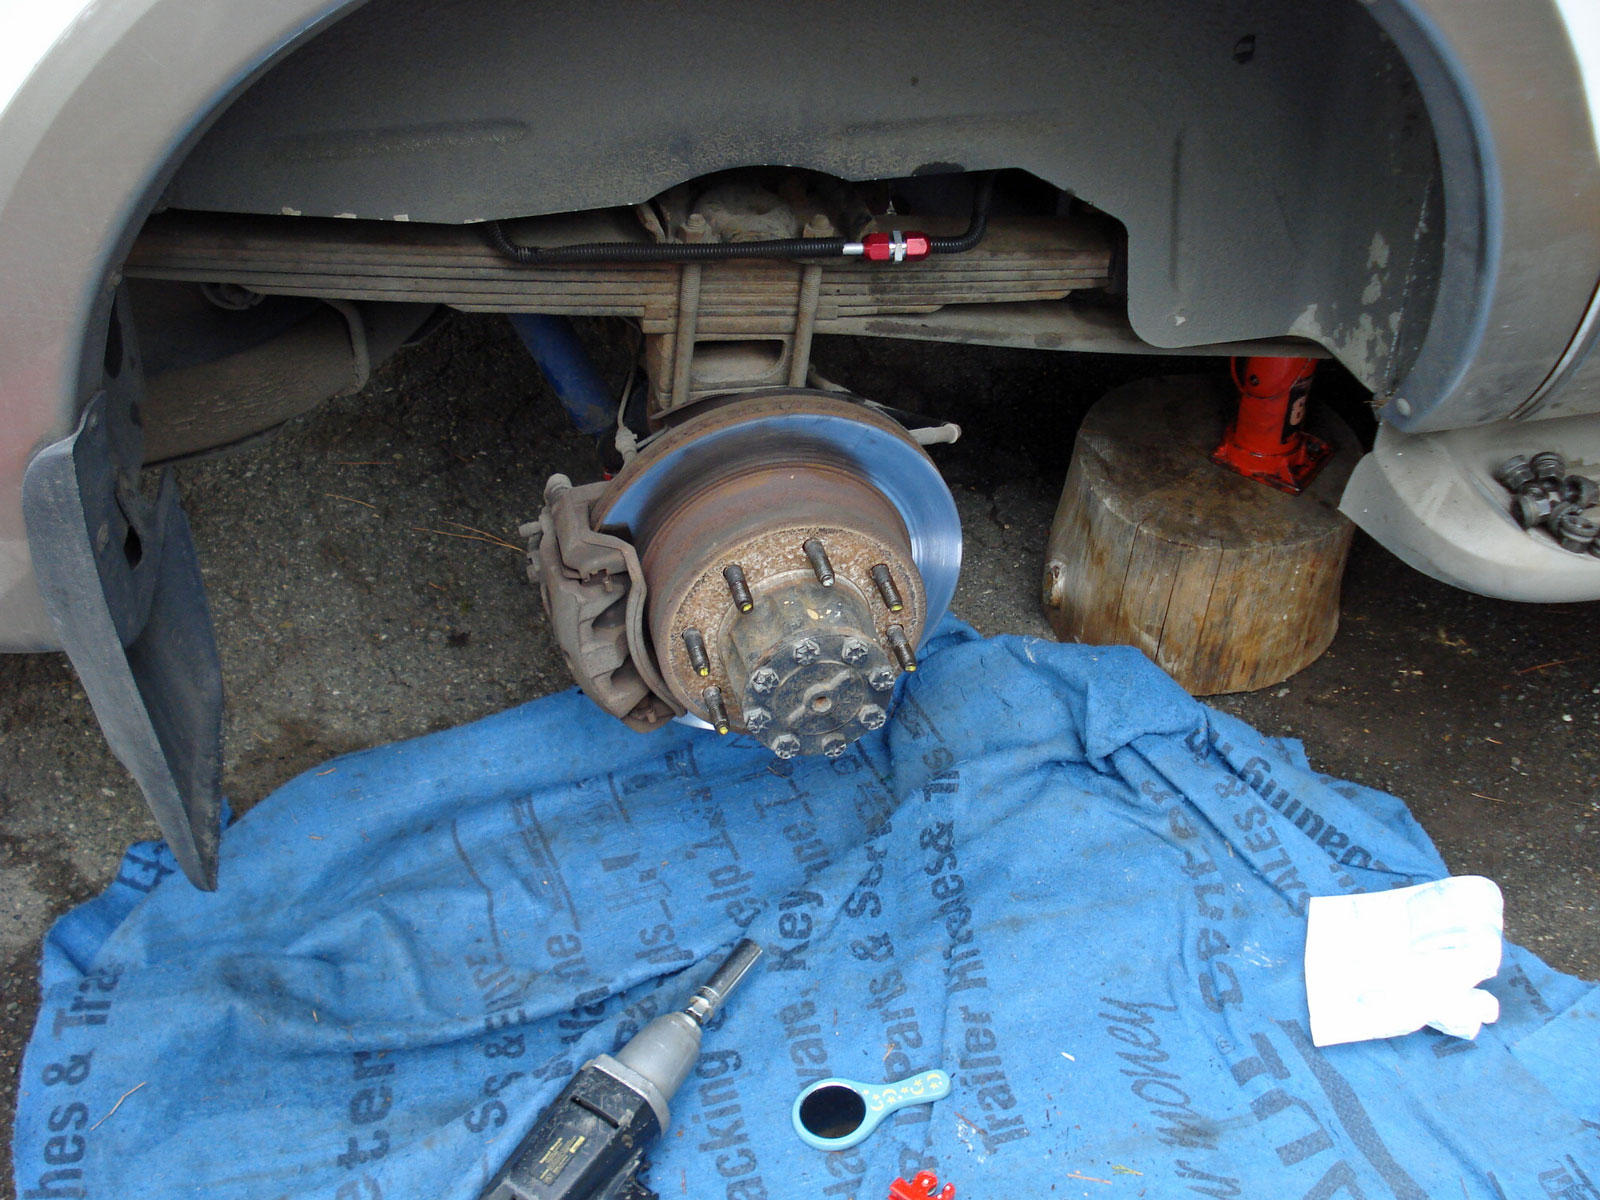
Take the wheel off for more light and room;

Drop the bad line down so you can work on it;
Now you can barely see the green dye;
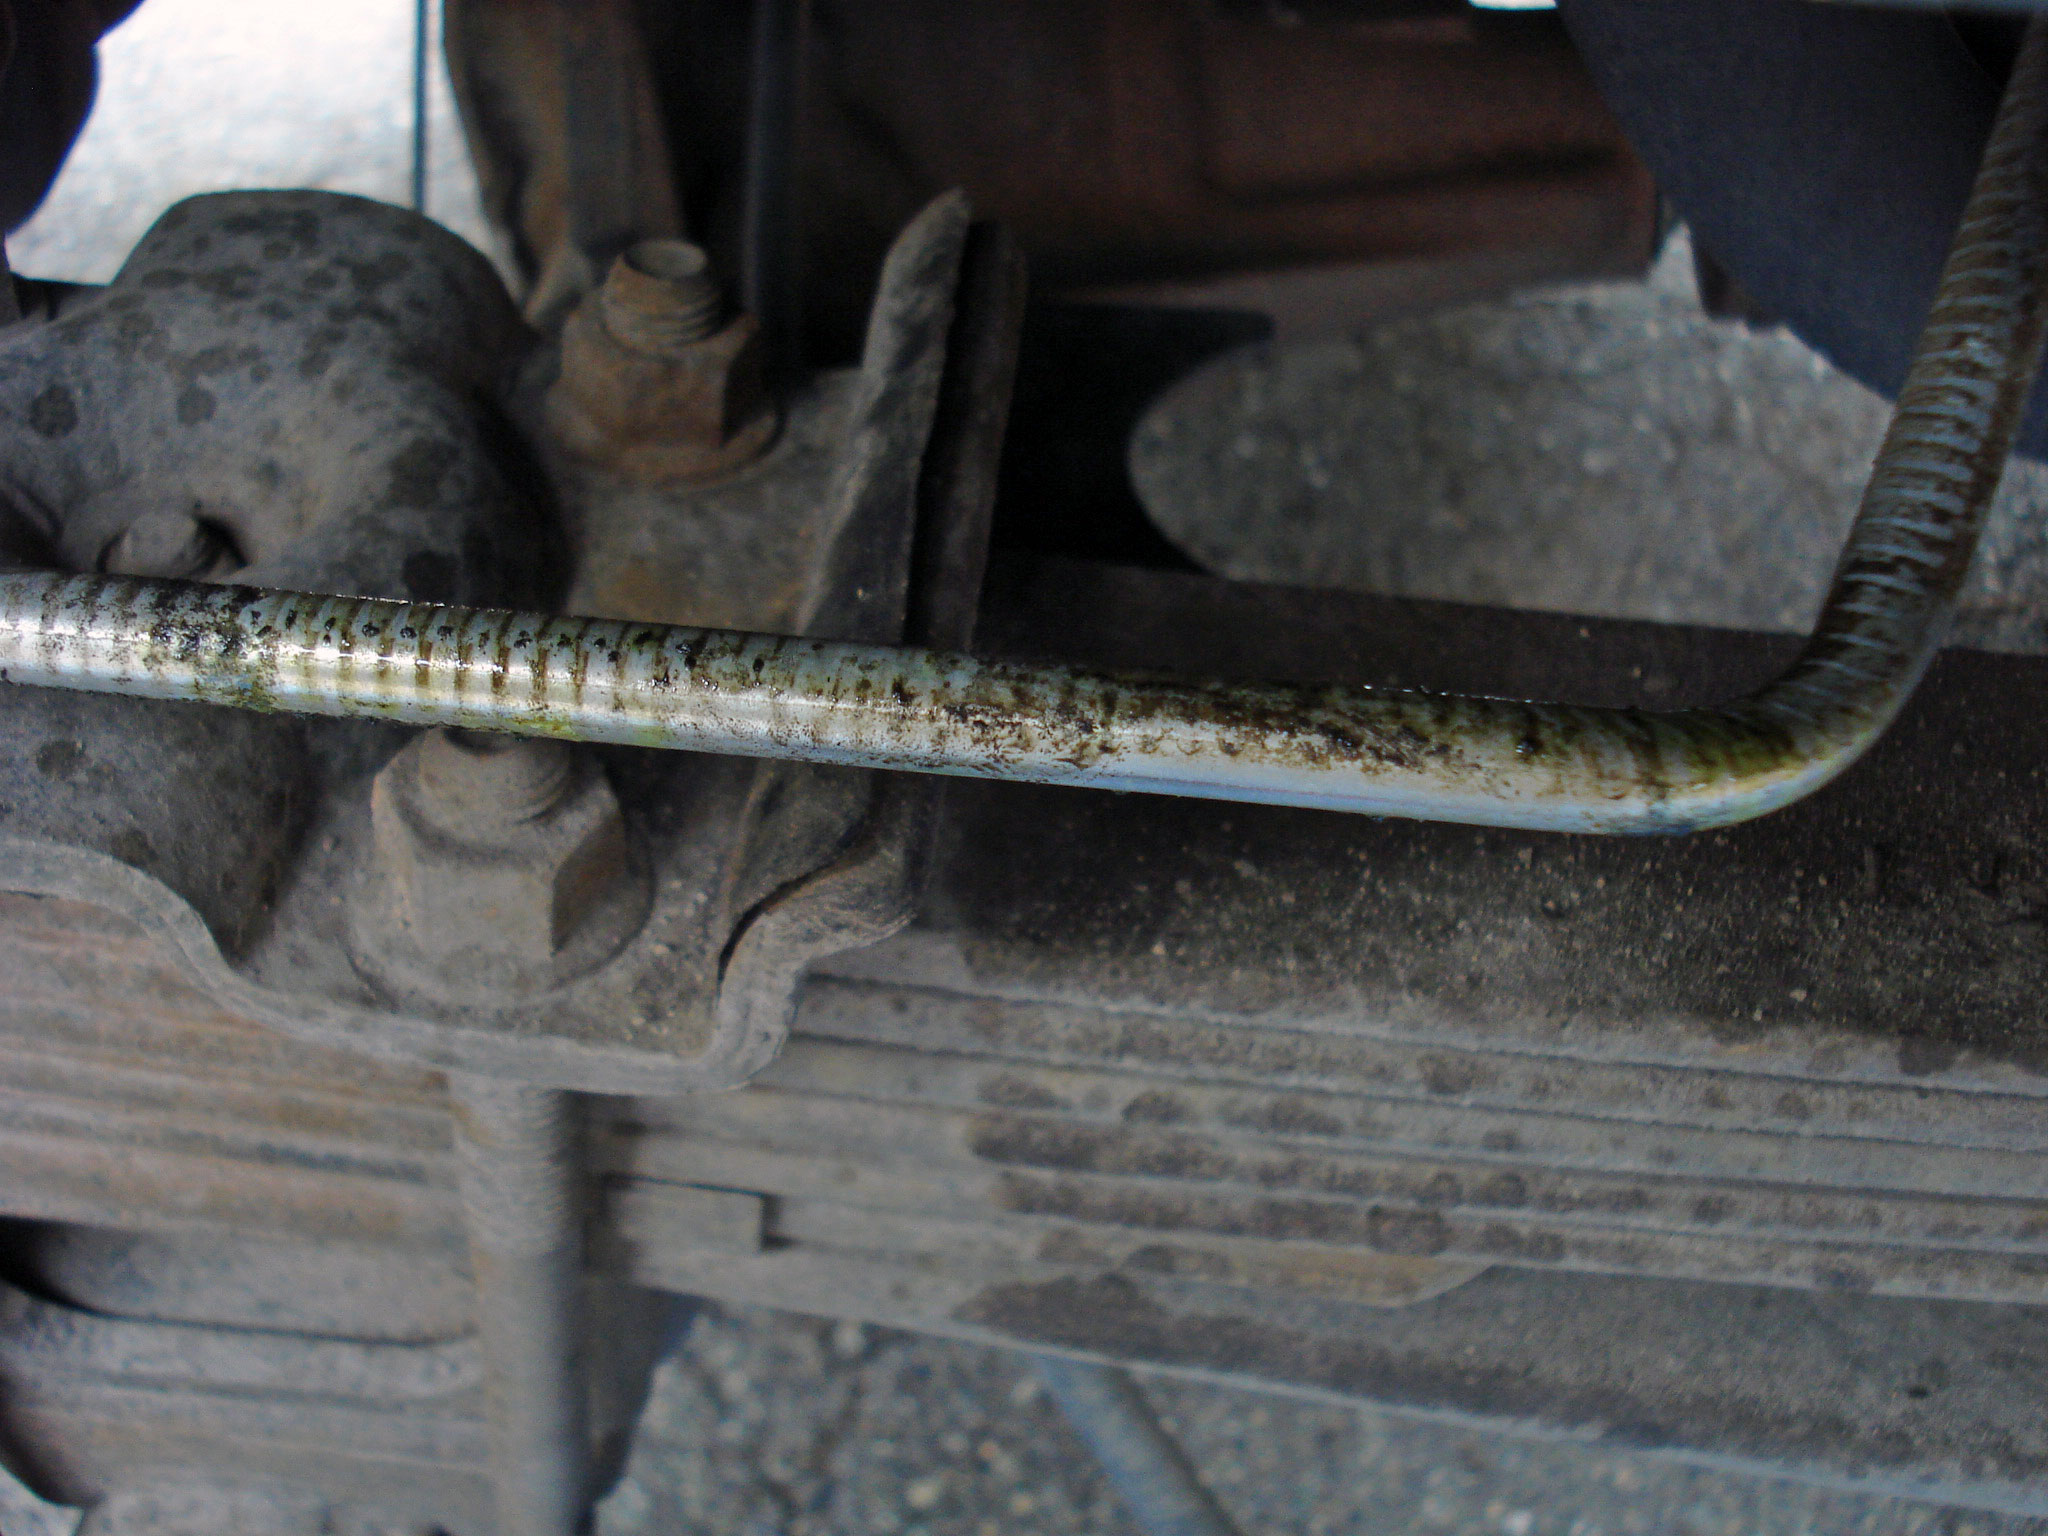
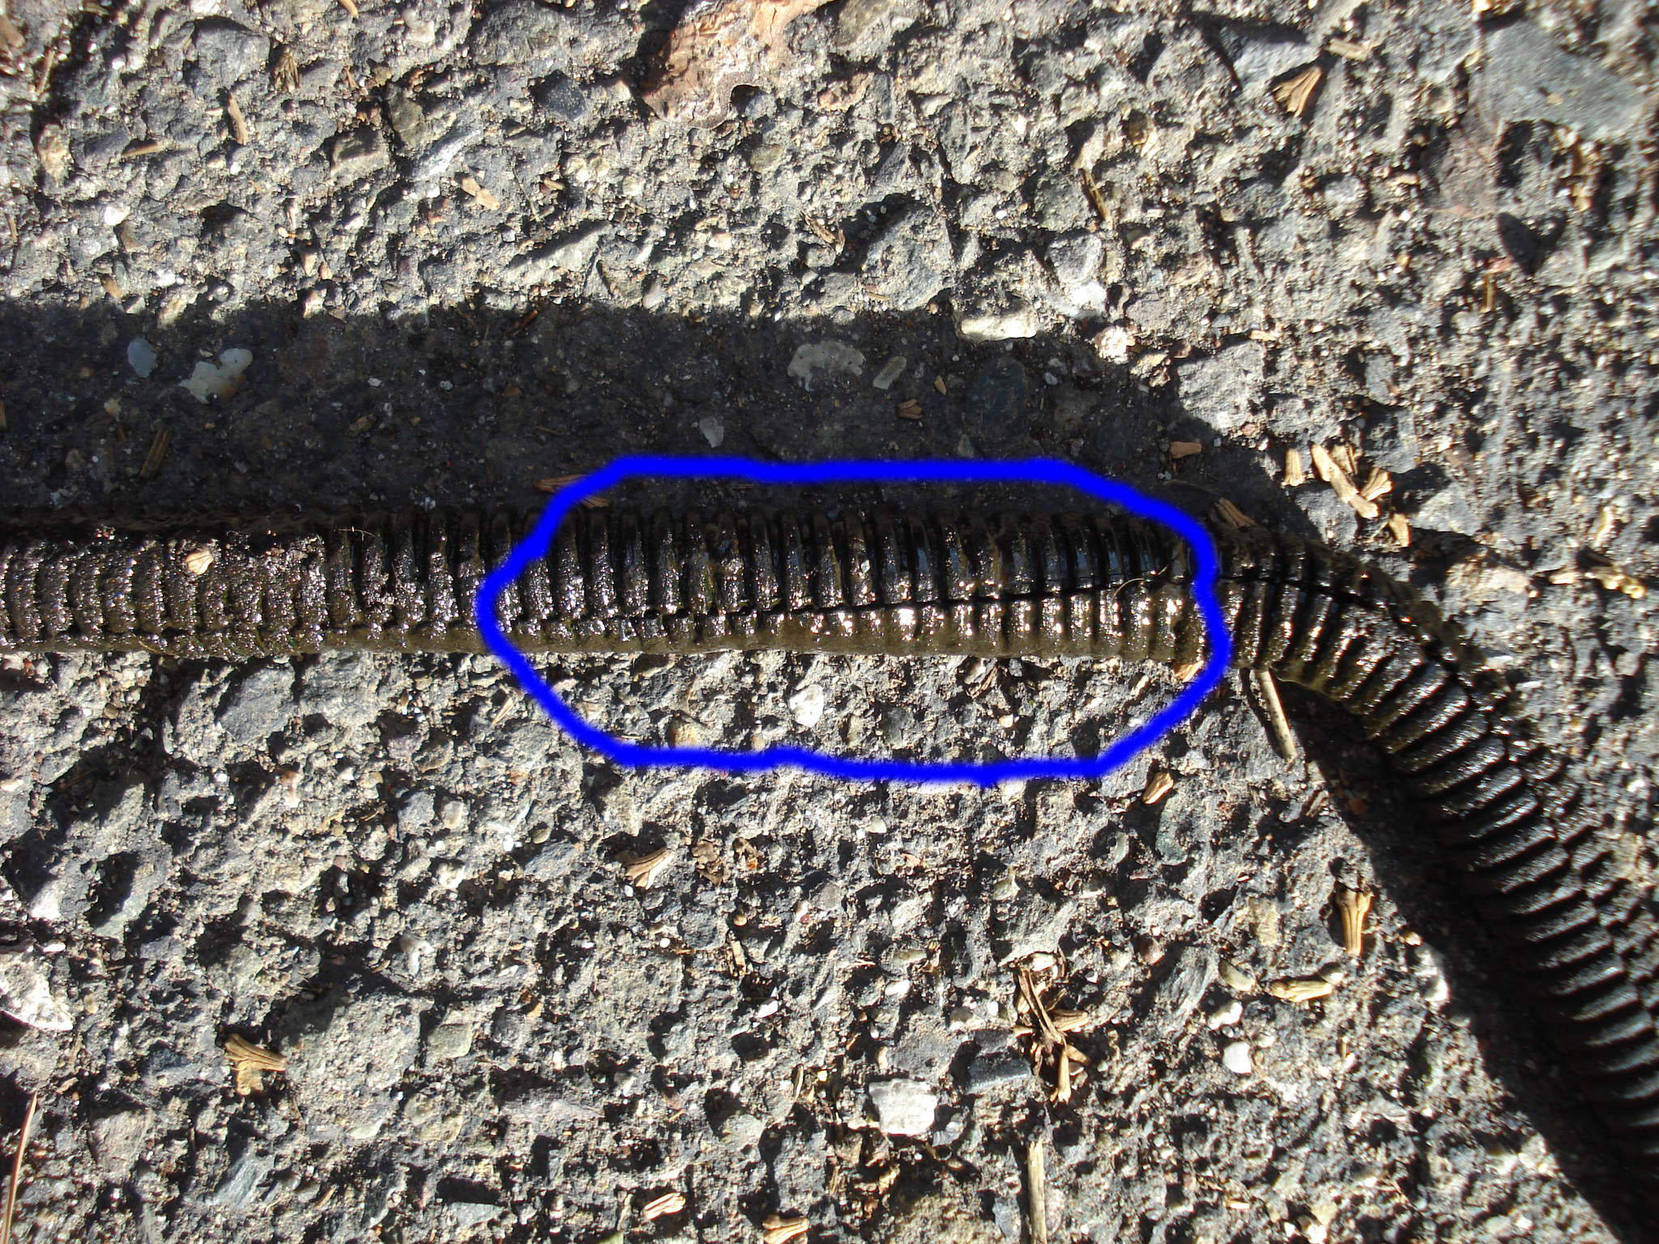
Here is the leak but the pinhole can't be seen;
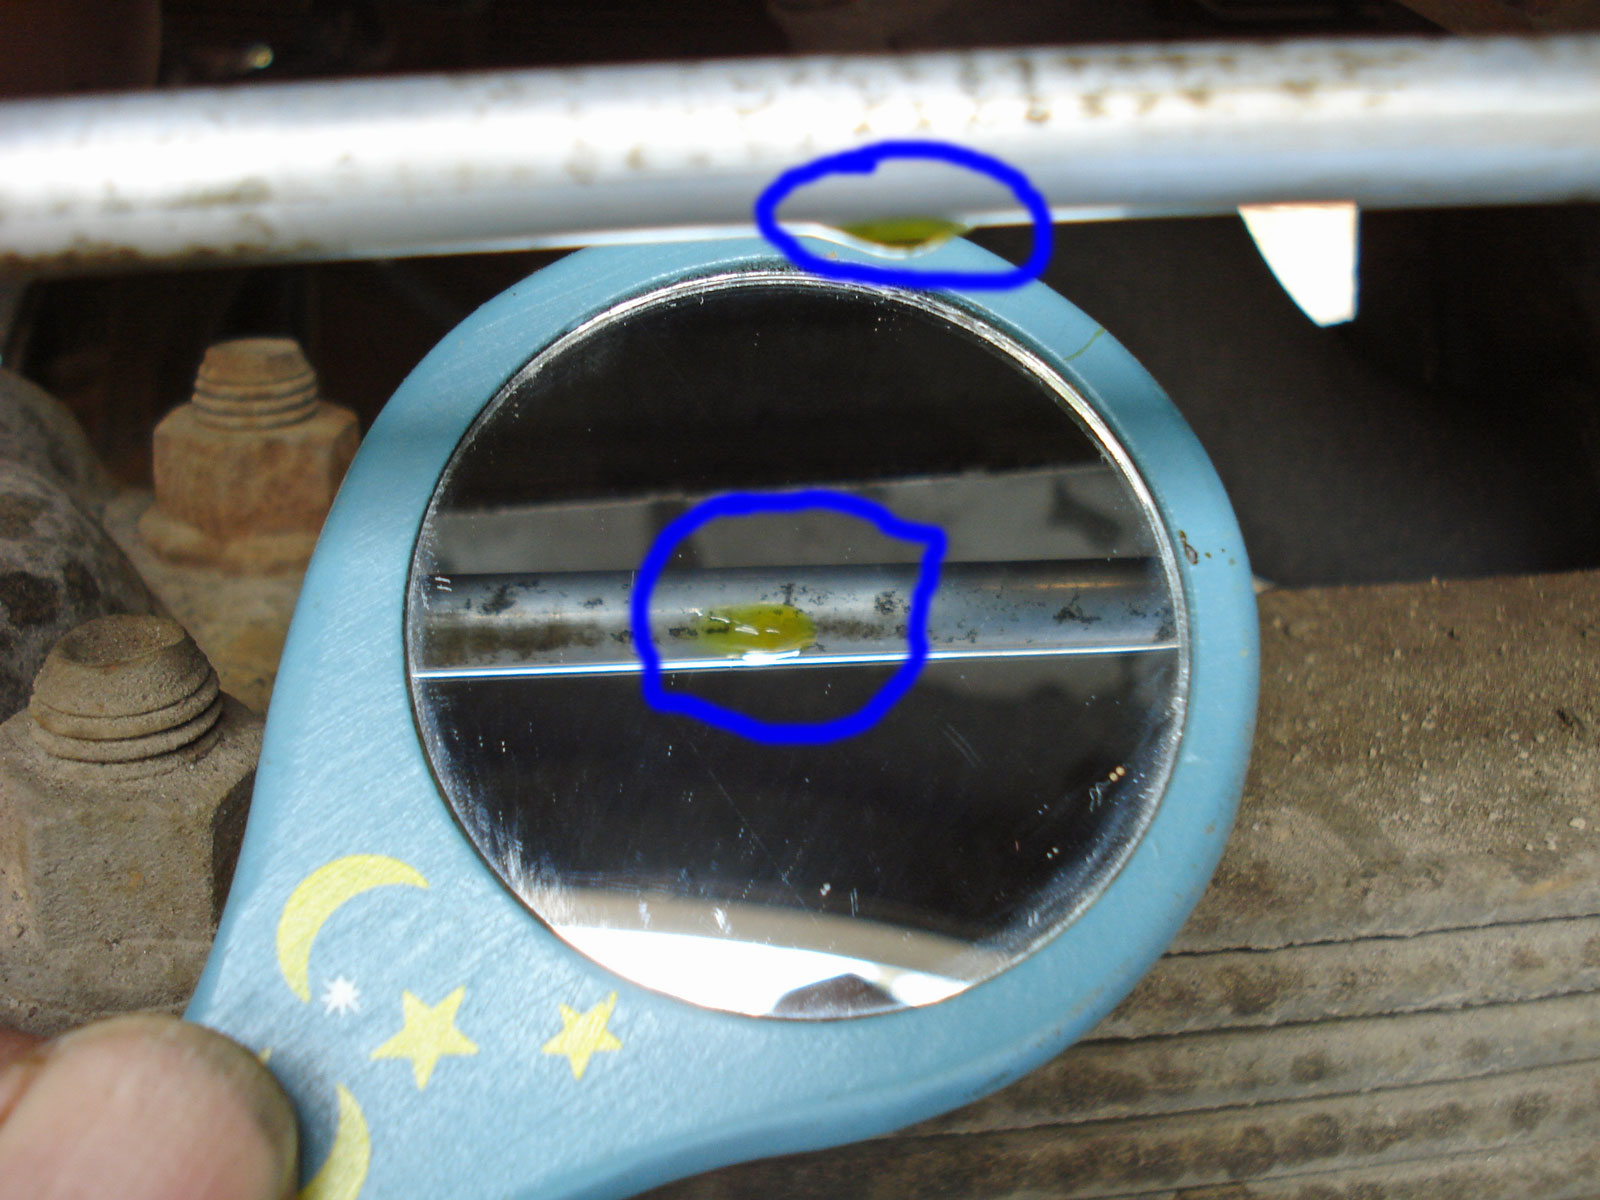
Mark where the leak is, score it with the cutter, and clean the area with FINE emery cloth. Now push it back up and rest it on the holders until you get the splice kit.
You can barely see the dye in the sunlight;
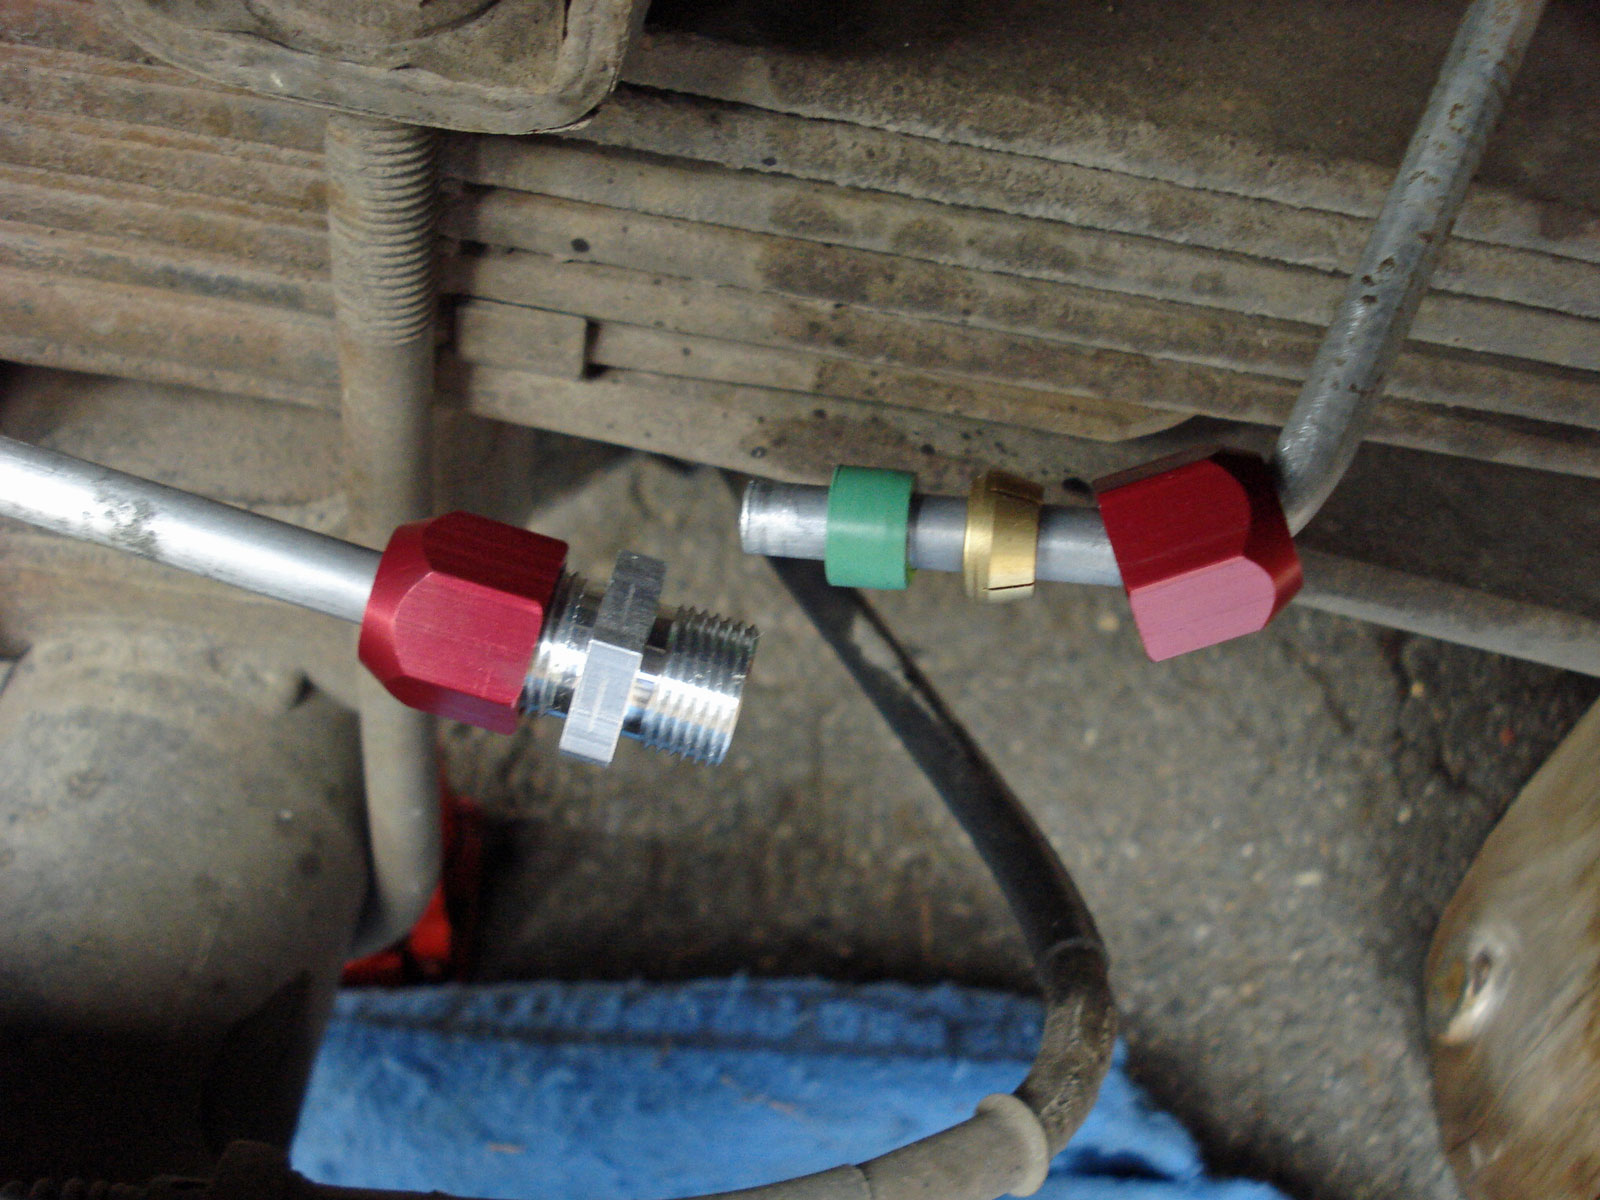
Here is the Dorman AC splice;
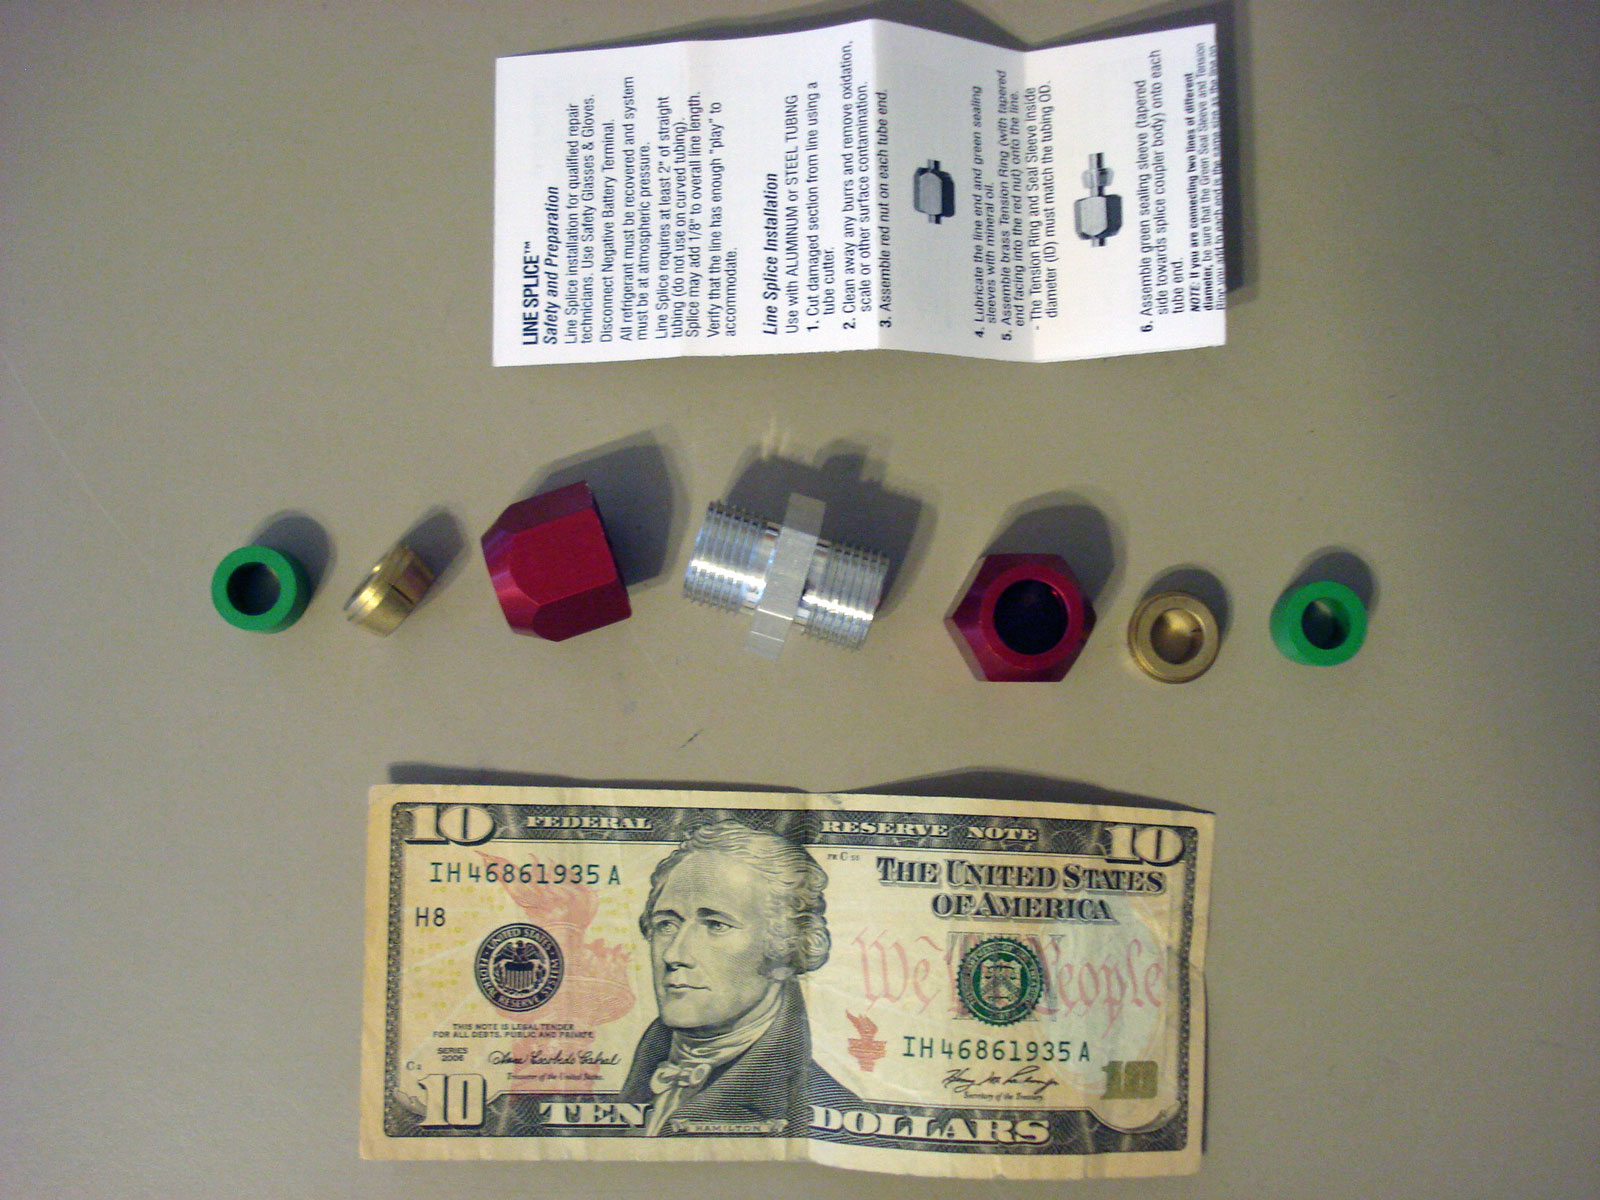
Cut the line and install the splice fitting;
Put the insulation back on with the 3" cut out of it (I cut 4" )
)
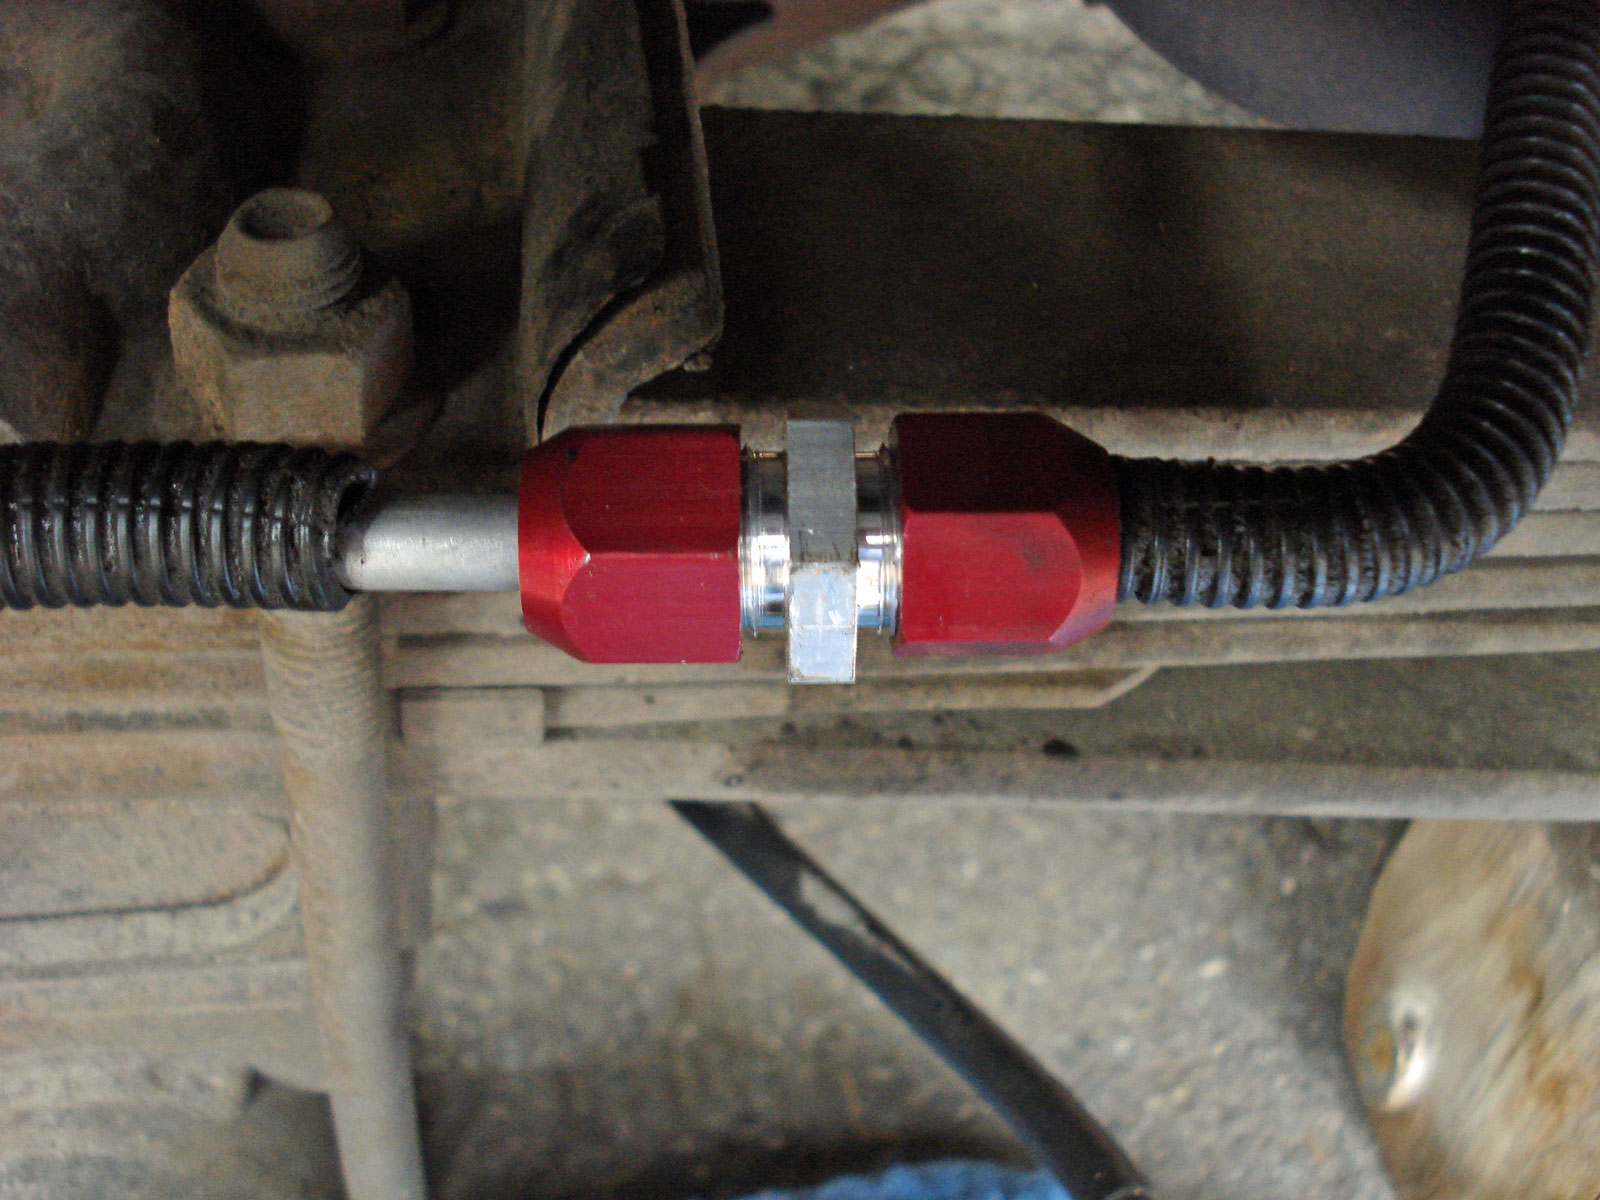
Button it up, evacuate the system, and recharge.
Raise it up and look for a wet spot;
Get a little tubing cutter like this;
The insulation retains the wet area luckily;
Loosen all these retainers all the way back;
Pop the leaking tube out with a wood chisel on the front holders;
Push it out with something like a hammer handle on the back holders;
Cut the rearmost zip tie;
Take the wheel off for more light and room;
Drop the bad line down so you can work on it;
Now you can barely see the green dye;
Here is the leak but the pinhole can't be seen;
Mark where the leak is, score it with the cutter, and clean the area with FINE emery cloth. Now push it back up and rest it on the holders until you get the splice kit.
You can barely see the dye in the sunlight;
Here is the Dorman AC splice;
Cut the line and install the splice fitting;
Put the insulation back on with the 3" cut out of it (I cut 4"
)Button it up, evacuate the system, and recharge.

#3
03-26-2013, 01:13 PM
#4
03-26-2013, 02:32 PM

#7
03-26-2013, 04:34 PM
I crushed 2 other sets until I ran across these, they were all $10 each at garage sales. They are ok once you get up to the top, it's just getting up there. These are more heavy duty and they won't "blow out" all at one time anyway.
Trending Topics
#8
03-26-2013, 05:01 PM

Fleet Mechanic
Join Date: Sep 2002
Location: Greensboro, NC
Posts: 1,388
Likes: 0
Received 0 Likes
on
0 Posts
#9
03-26-2013, 05:30 PM
Nice work. Your spot was in a MUCH easier spot to work on then mine. Mine was where the lines wrap around the back of the engine - the line had actually rubbed on the engine somehow. Wasn't touching when I looked at it while looking for the leak but obviously had at some point.
#10
03-27-2013, 02:50 AM
I never knew that that repair kit is available.... good to know.

#12
03-27-2013, 09:29 AM
After doing it I am thinking a regular all brass union fitting would work if you put some Permatex #1 around the ferrules and let it sit overnight after tightening. Butting the 2 tubing ends would help to keep out any particles which probably are non-existent anyway. Type "AC splice" in your Ebay search box and you will see all of them.
#13
03-27-2013, 11:01 AM

#14
03-27-2013, 11:16 AM
O'reillys parts store had it there in 1 day and made by Dorman, $45 but cheaper than having the dealer charge $1000. Type "ac splice" into ebay. This line was 3/8" OD. You can put a tape next to the line and move your eye so you are looking straight down from the marks to the tube.
