When you click on links to various merchants on this site and make a purchase, this can result in this site earning a commission. Affiliate programs and affiliations include, but are not limited to, the eBay Partner Network.
Steve, mind posting a picture? I don't remember seeing this box.
I got this cover from my former Snap On dealer way back in the early 90's when I didn't have a wife and kids and can spend the money on such silliness.
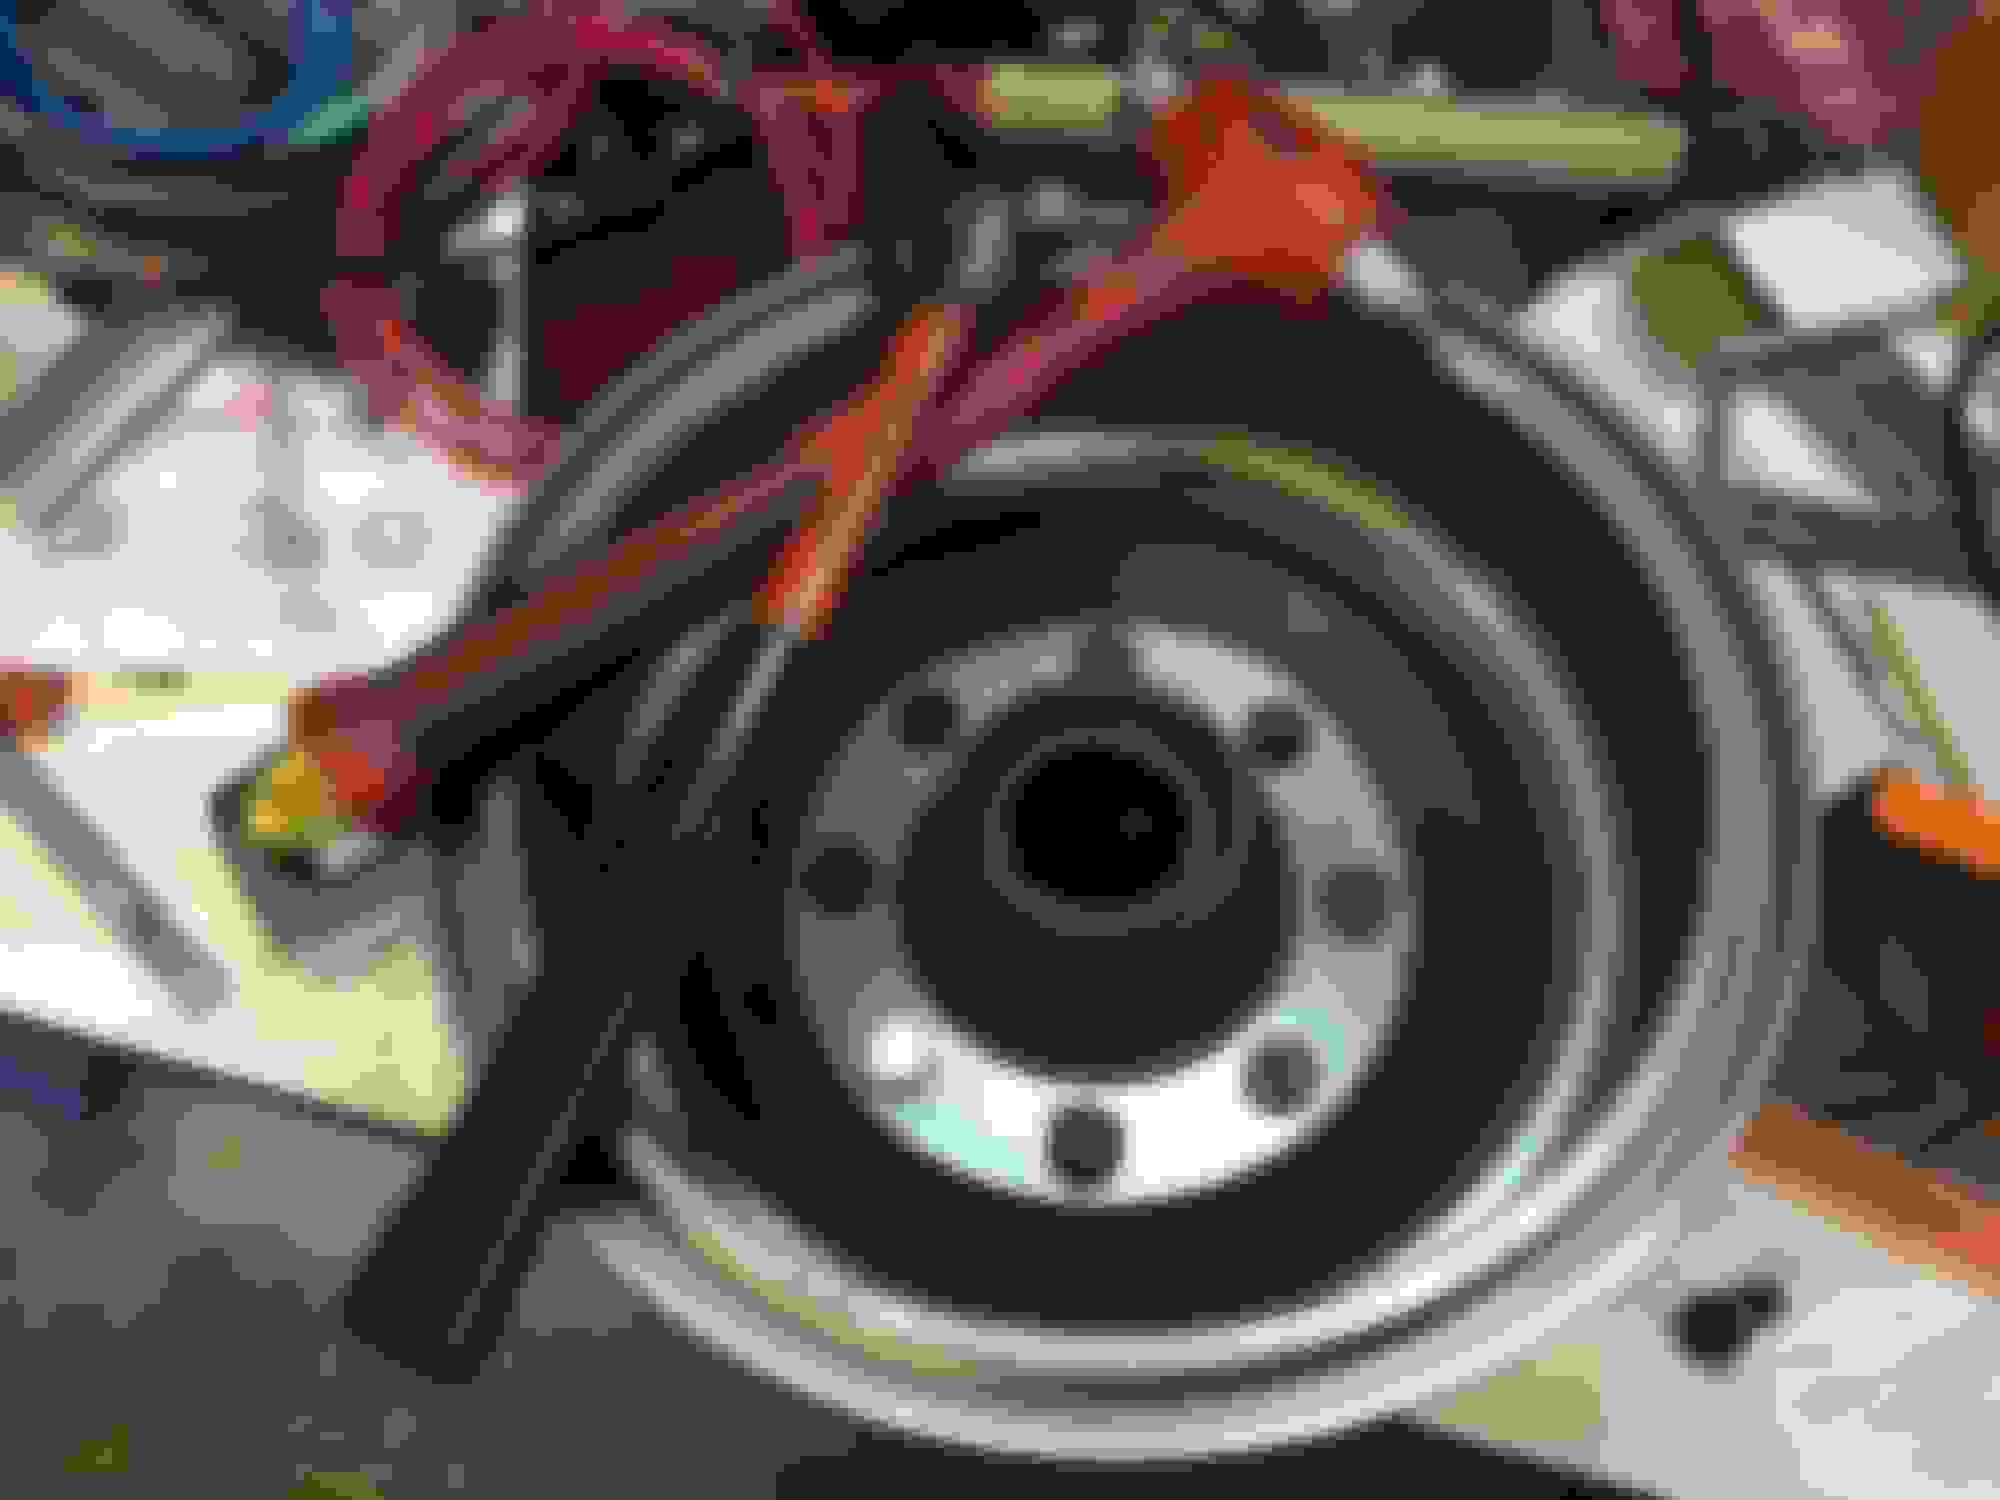
Today I had some time so I pressed the studs (Well OK I hammered them in place) and reinstalled everything. All was going great until I got to the last stud (The one with the wheel lock of course) and the darn thing started to spin on me! I strung together an elaborate weave of cussing that would make a sailor blush.
I left the garage before I went into a total meltdown and blow a few circuit breakers, had some dinner and in a few minutes I will be having a glass of wine or a shot of good whiskey (Or both). Not sure what my next plan will be. So far I will have to pull the drum back off with the wheel still attached and try to remove the nut from the stud. It's pretty loose so hopefully I can get a Vise Grip on the end of the stud. If I'm successful I'll try different studs to see if one will fit better. What a PITA. Guys! Looking for suggestions here.
So why is the studs giving me such a hard time? Could it be that the original studs are .613 and the new ones are .608 which is what the book calls for. Could the old studs have expanded the hubs stud opening? Should I replace the hubs?
I got this cover from my former Snap On dealer way back in the early 90's when I didn't have a wife and kids and can spend the money on such silliness.
Today I had some time so I pressed the studs (Well OK I hammered them in place) and reinstalled everything. All was going great until I got to the last stud (The one with the wheel lock of course) and the darn thing started to spin on me! I strung together an elaborate weave of cussing that would make a sailor blush.
I left the garage before I went into a total meltdown and blow a few circuit breakers, had some dinner and in a few minutes I will be having a glass of wine or a shot of good whiskey (Or both). Not sure what my next plan will be. So far I will have to pull the drum back off with the wheel still attached and try to remove the nut from the stud. It's pretty loose so hopefully I can get a Vise Grip on the end of the stud. If I'm successful I'll try different studs to see if one will fit better. What a PITA. Guys! Looking for suggestions here.
So why is the studs giving me such a hard time? Could it be that the original studs are .613 and the new ones are .608 which is what the book calls for. Could the old studs have expanded the hubs stud opening? Should I replace the hubs?
I would consider going to 9/16" studs. With my dana 60 front I used 9/16"-18 dorman part #610-278, knurl .620, length 2-5/8". I cannot remember if you are running for a rear. Either way I can't immagine them not working on a dana 60 rear and your dana 44 or 60 front. You may have to drill them out a size but at least it would save your drum.
That is an excellent idea co425! I will order the studs later in the week.
In the mean time... Its amazing what a good supper, nice glass (or two.. or three) of wine, a movie and a piece of....... cake will do. (Come on guys, get your head out of the gutter.)
Today I got the one stud on the wheel lock out with minimal effort after I removed the wheel and drum.
I repaired the threads on the old studs with cutting oil, wire brush and a sacrificial lug nut. Pounded them back in place and installed the drum. Its not a long term fix but its good for now and I can order exactly what I need and get the correct drill bit size to change out my studs. I moved to the other side which went very easily. This time I wasn't playing "Whack a Mole" with the studs but used a ball peen hammer as a big punch tool while I whacked the hammer with a dead blow hammer.
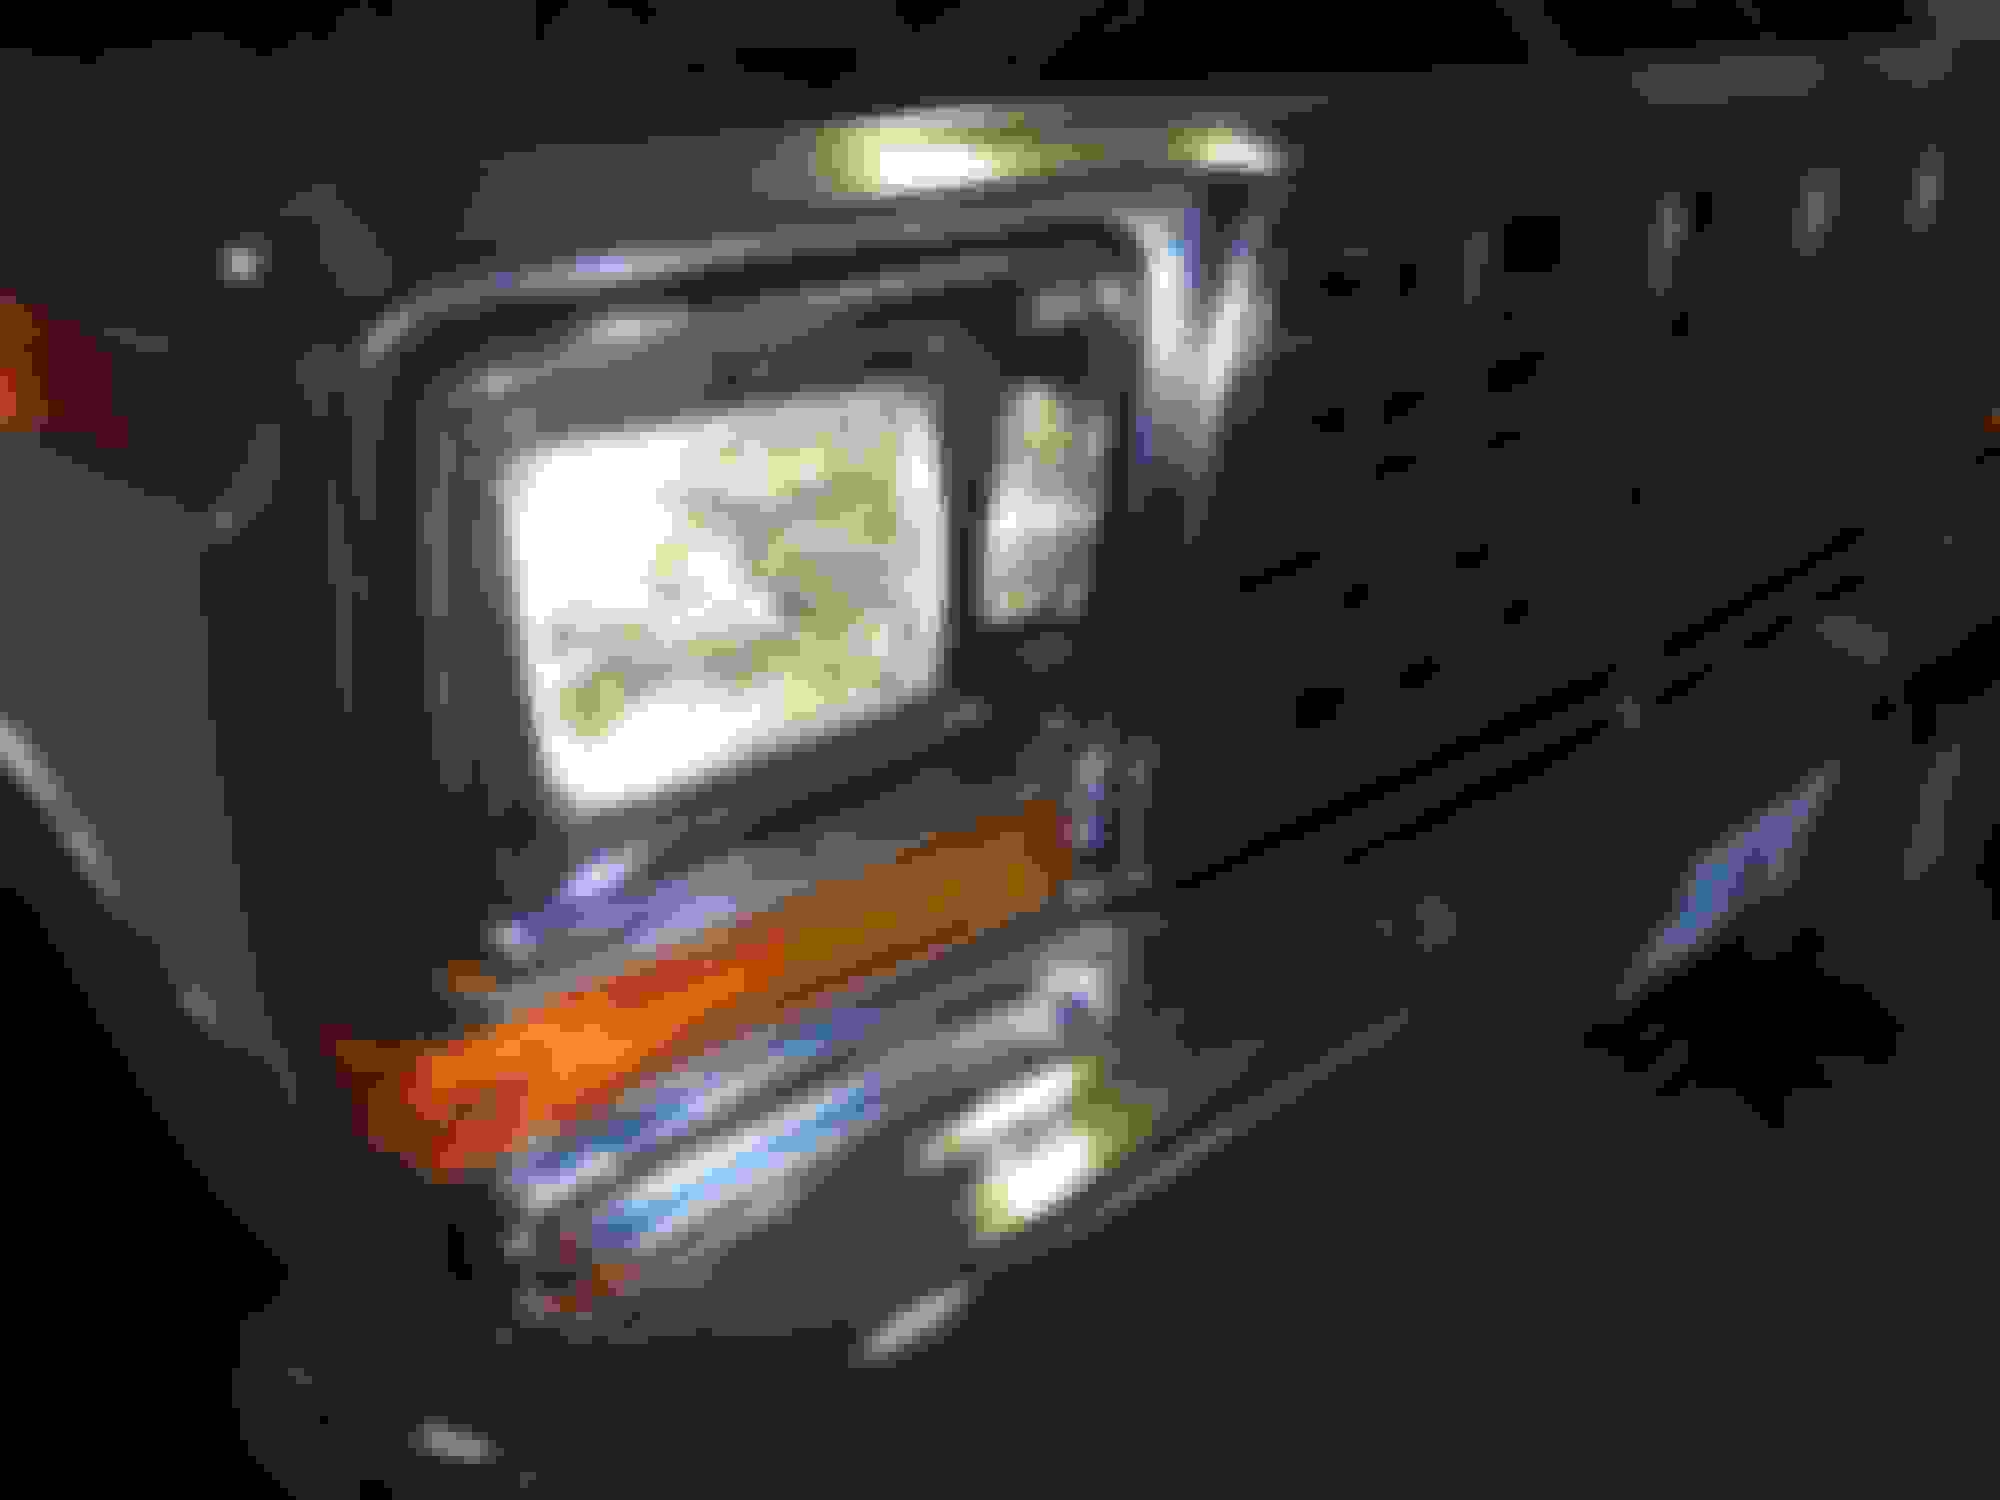
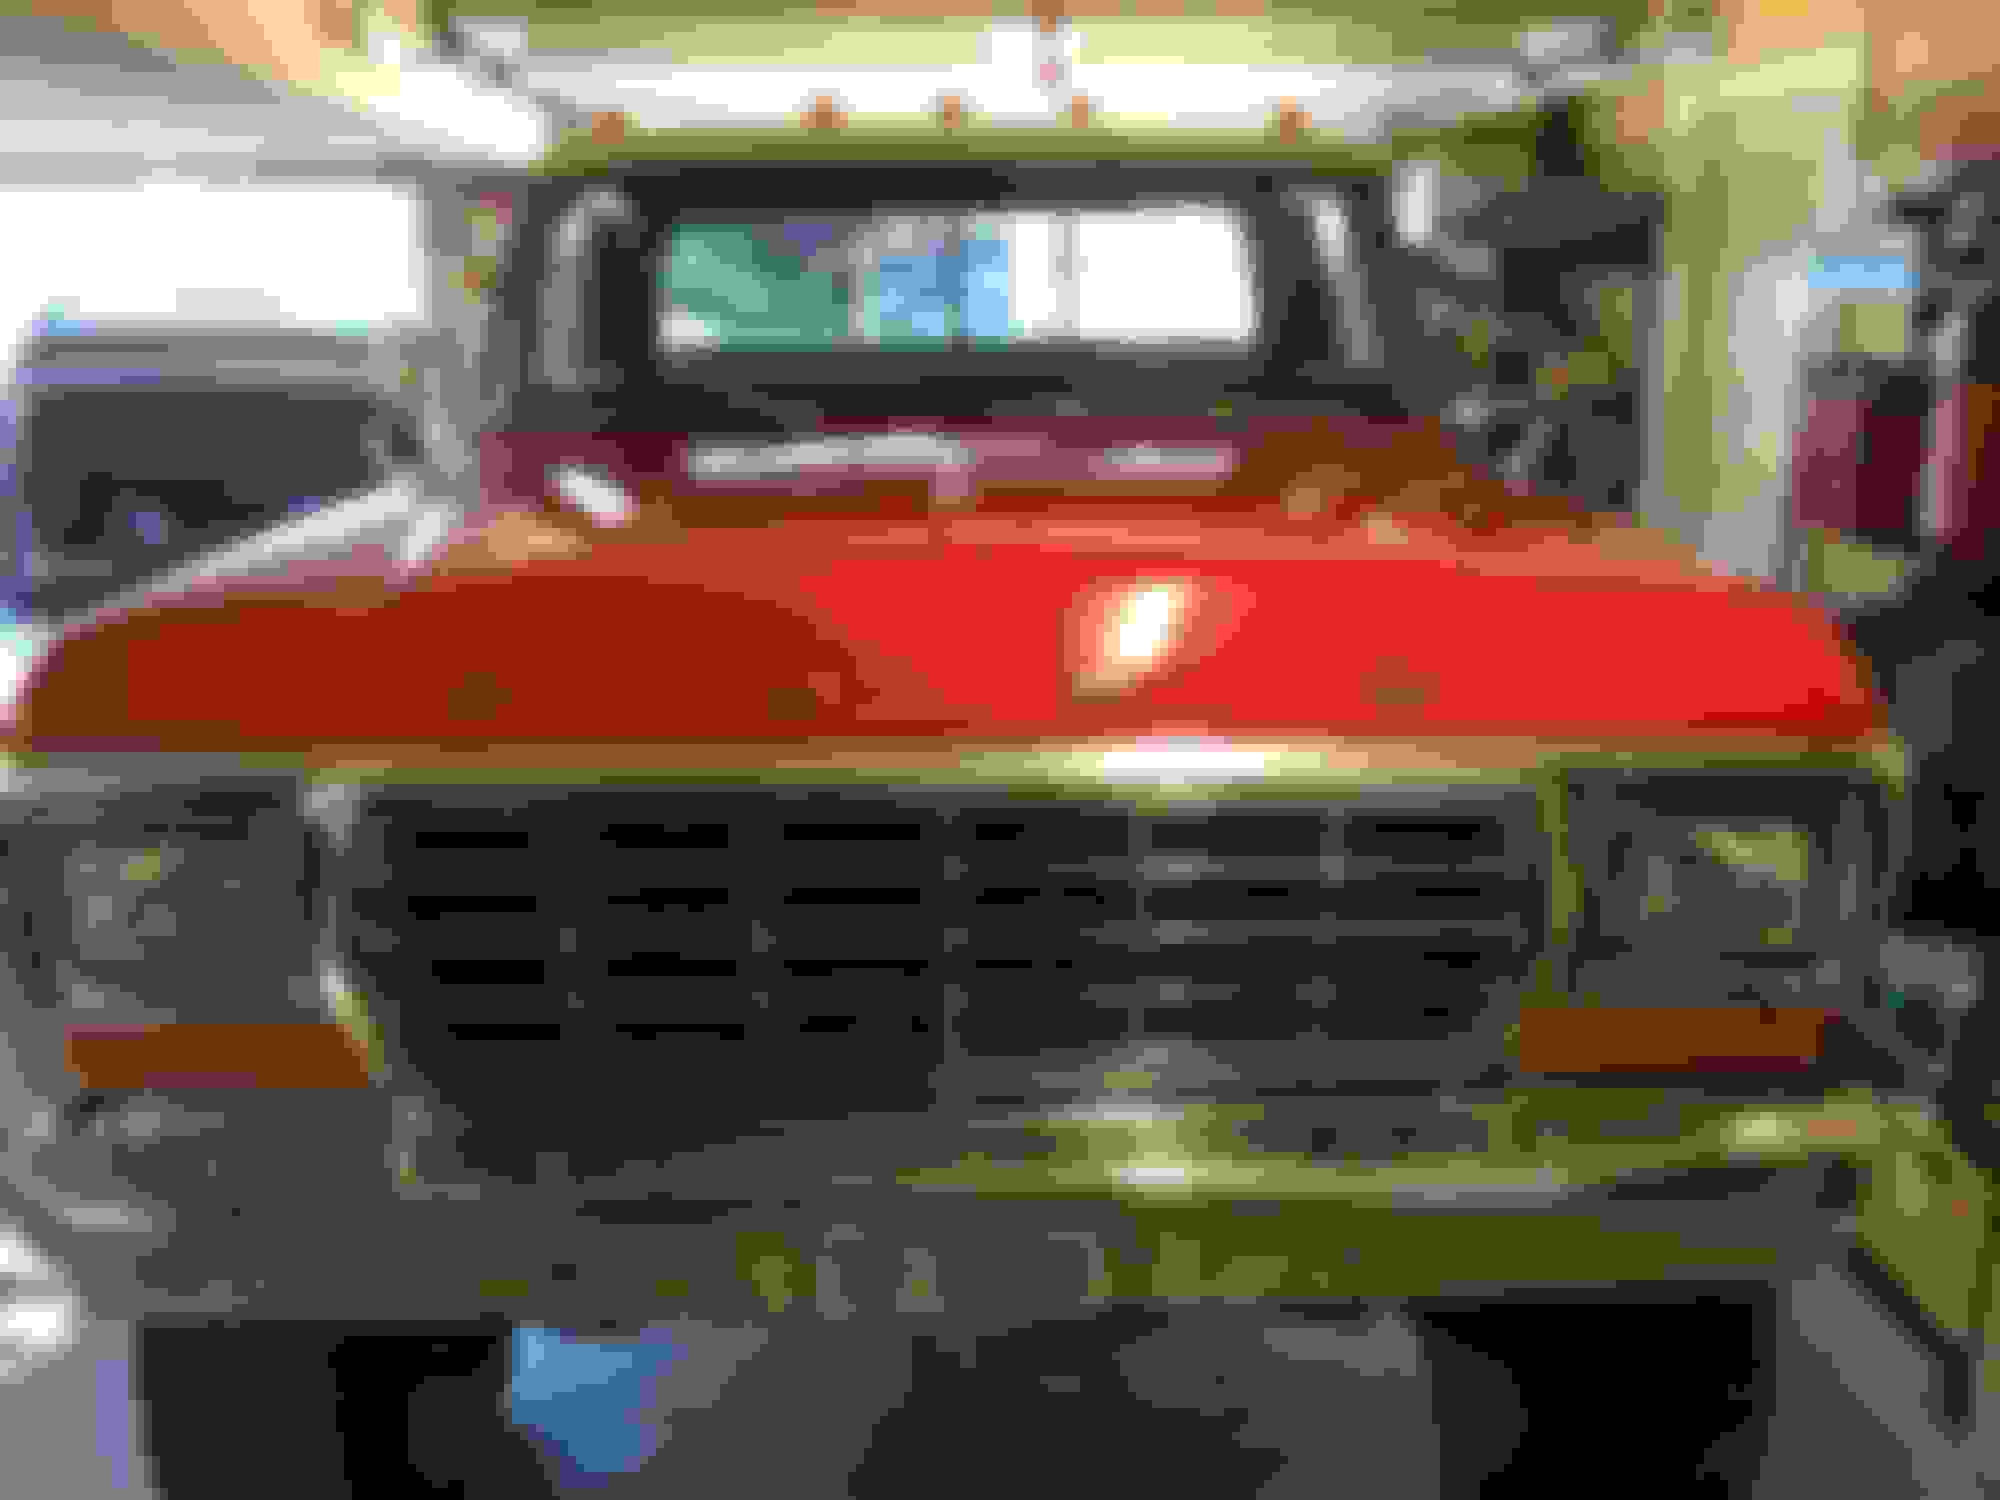
I also installed new fancy headlights from Summit Racing. What a difference!
I would mount an LED bar underneath the bumper and in a bit. Plenty of light but still a little hidden to maintain the factory look. I don't know what it's like in California but where I live LED bars are a huge success.
That is an excellent idea co425! I will order the studs later in the week.
In the mean time... Its amazing what a good supper, nice glass (or two.. or three) of wine, a movie and a piece of....... cake will do. (Come on guys, get your head out of the gutter.)
Today I got the one stud on the wheel lock out with minimal effort after I removed the wheel and drum.
I repaired the threads on the old studs with cutting oil, wire brush and a sacrificial lug nut. Pounded them back in place and installed the drum. Its not a long term fix but its good for now and I can order exactly what I need and get the correct drill bit size to change out my studs. I moved to the other side which went very easily. This time I wasn't playing "Whack a Mole" with the studs but used a ball peen hammer as a big punch tool while I whacked the hammer with a dead blow hammer.
I also installed new fancy headlights from Summit Racing. What a difference!
Do you know what color code your red paint is? or even the name of it? Im thinking about using it on my 79 Resto.
Thanks in advance
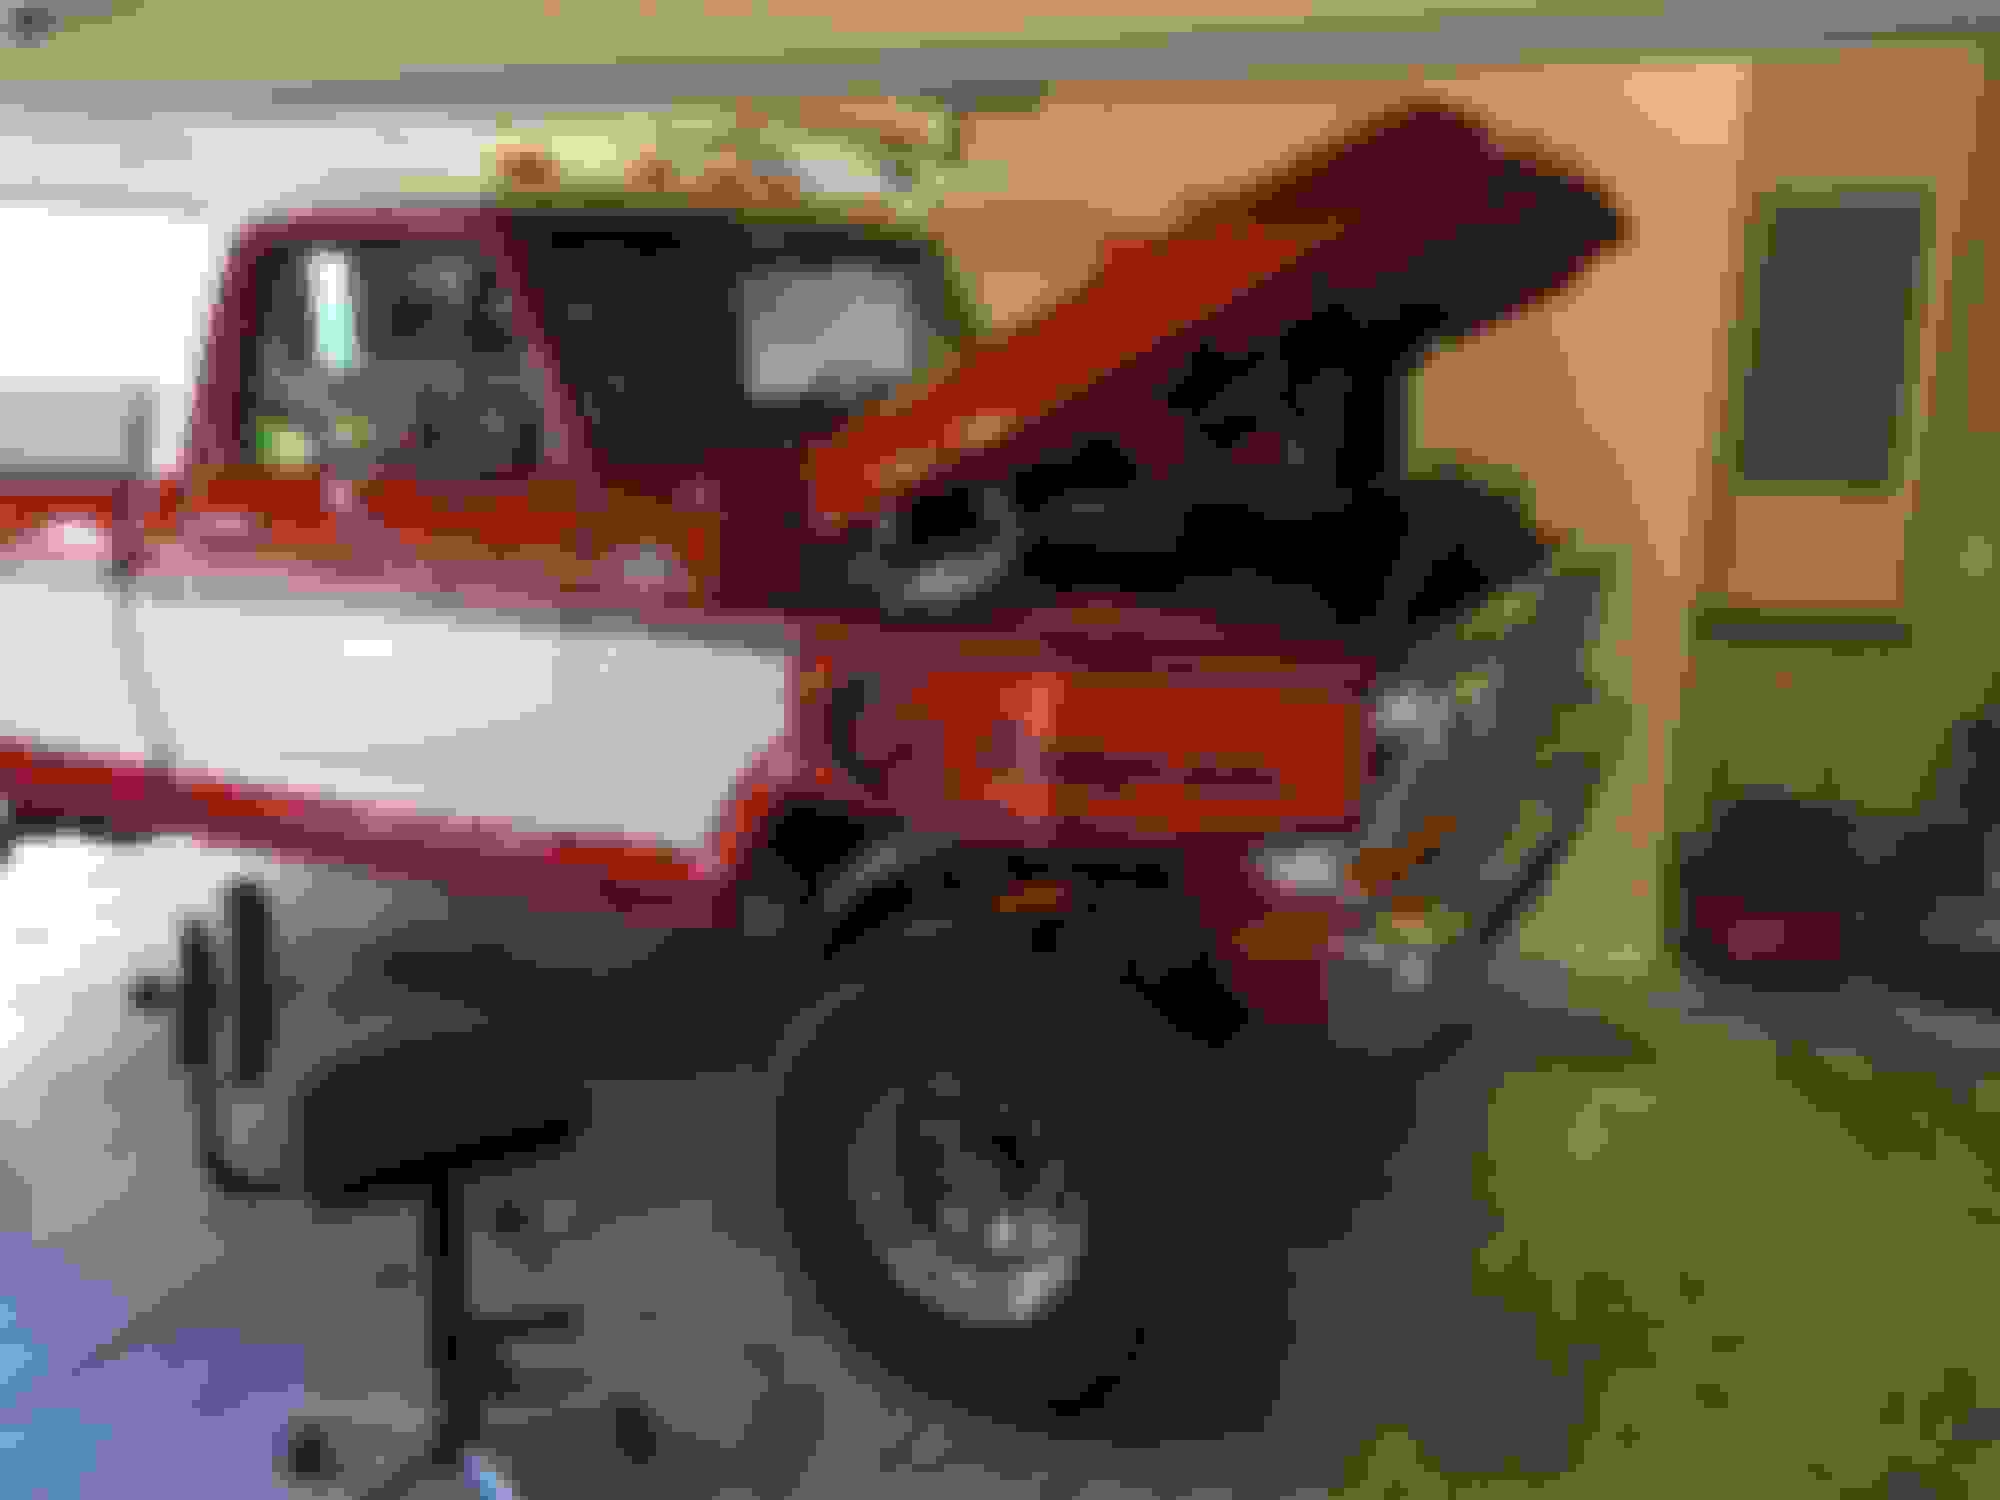
Today I got fed up with my hood alignment woes and decided to replace my hood hinges with the original hinges.
I started by removing the busted bolt on one of the hinges. I had to use the cutoff wheel because it was going to be impossible to get this bolt out any other way. I tried to get the grinder inside the inner fender but it wouldn't fit and I couldn't see anything once I got my hands in there plus a power tool so after I cut the bolt off I bent up one of the tabs and worked the rest of the carnage out. This left me a box still in place so when I installed the original hinges I just used a slightly longer bolt to go through the box and I put a nut and a lock washer on it and called it good. Welding a nut wouldn't have been an option since the inner fenders are powder coated.
I cleaned up the old hinges and I was going to POR15 them but when I was trying to remove the glued on lid on the can I realized that if the POR15 is giving me such a hard time with the lit it probably wouldn't work very well with moving parts like a hinge so I just rattle caned them black and got them installed.
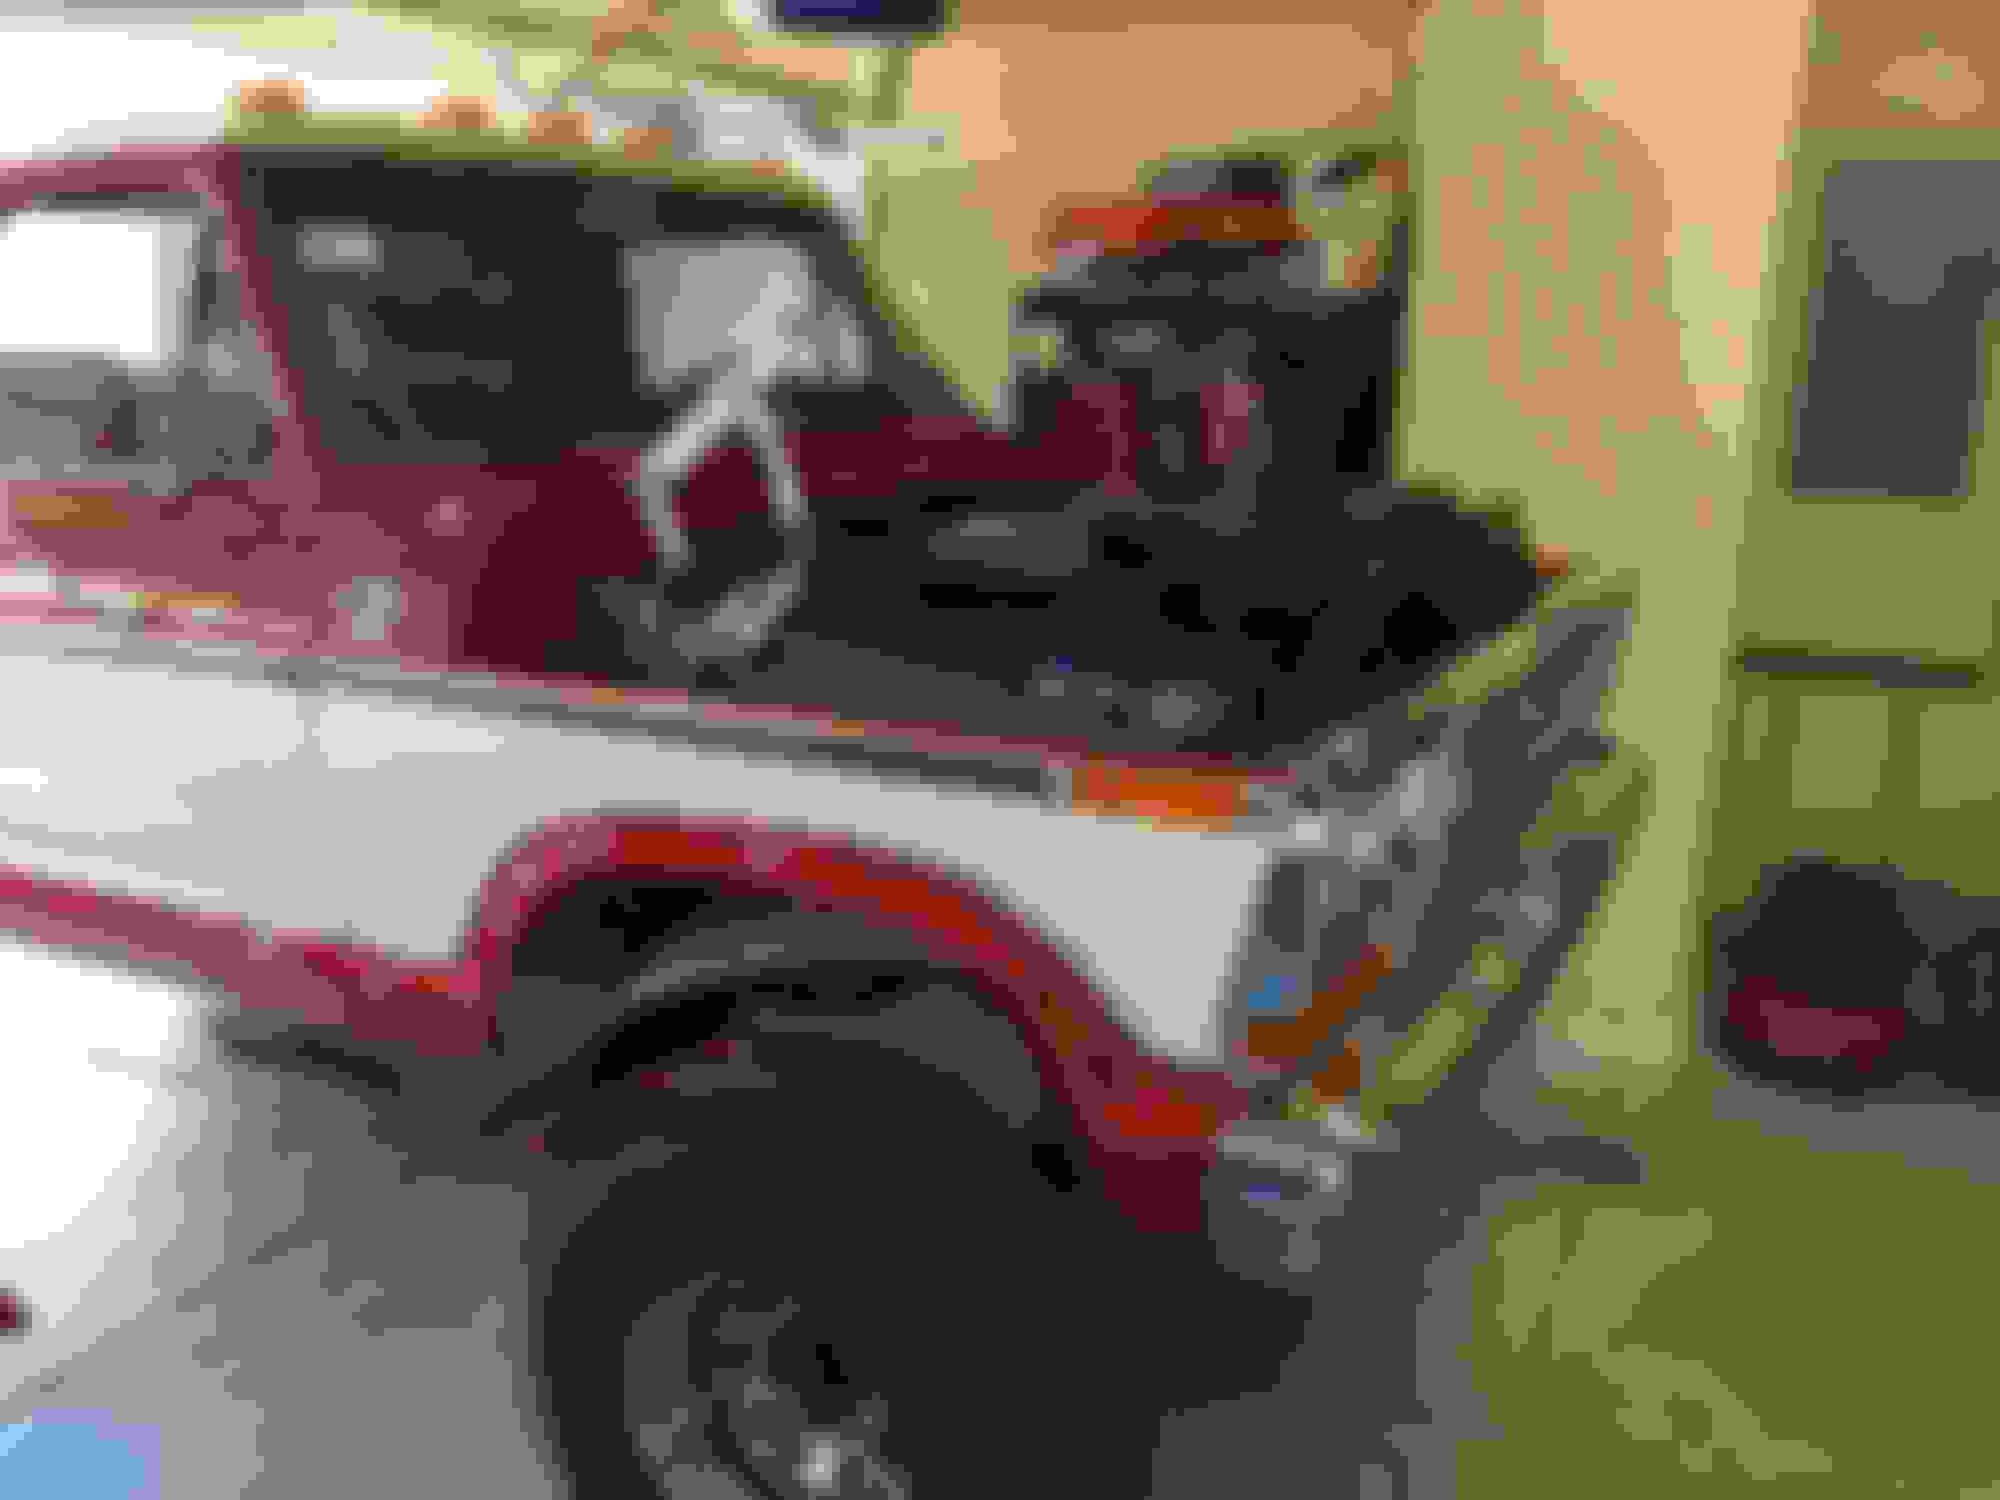
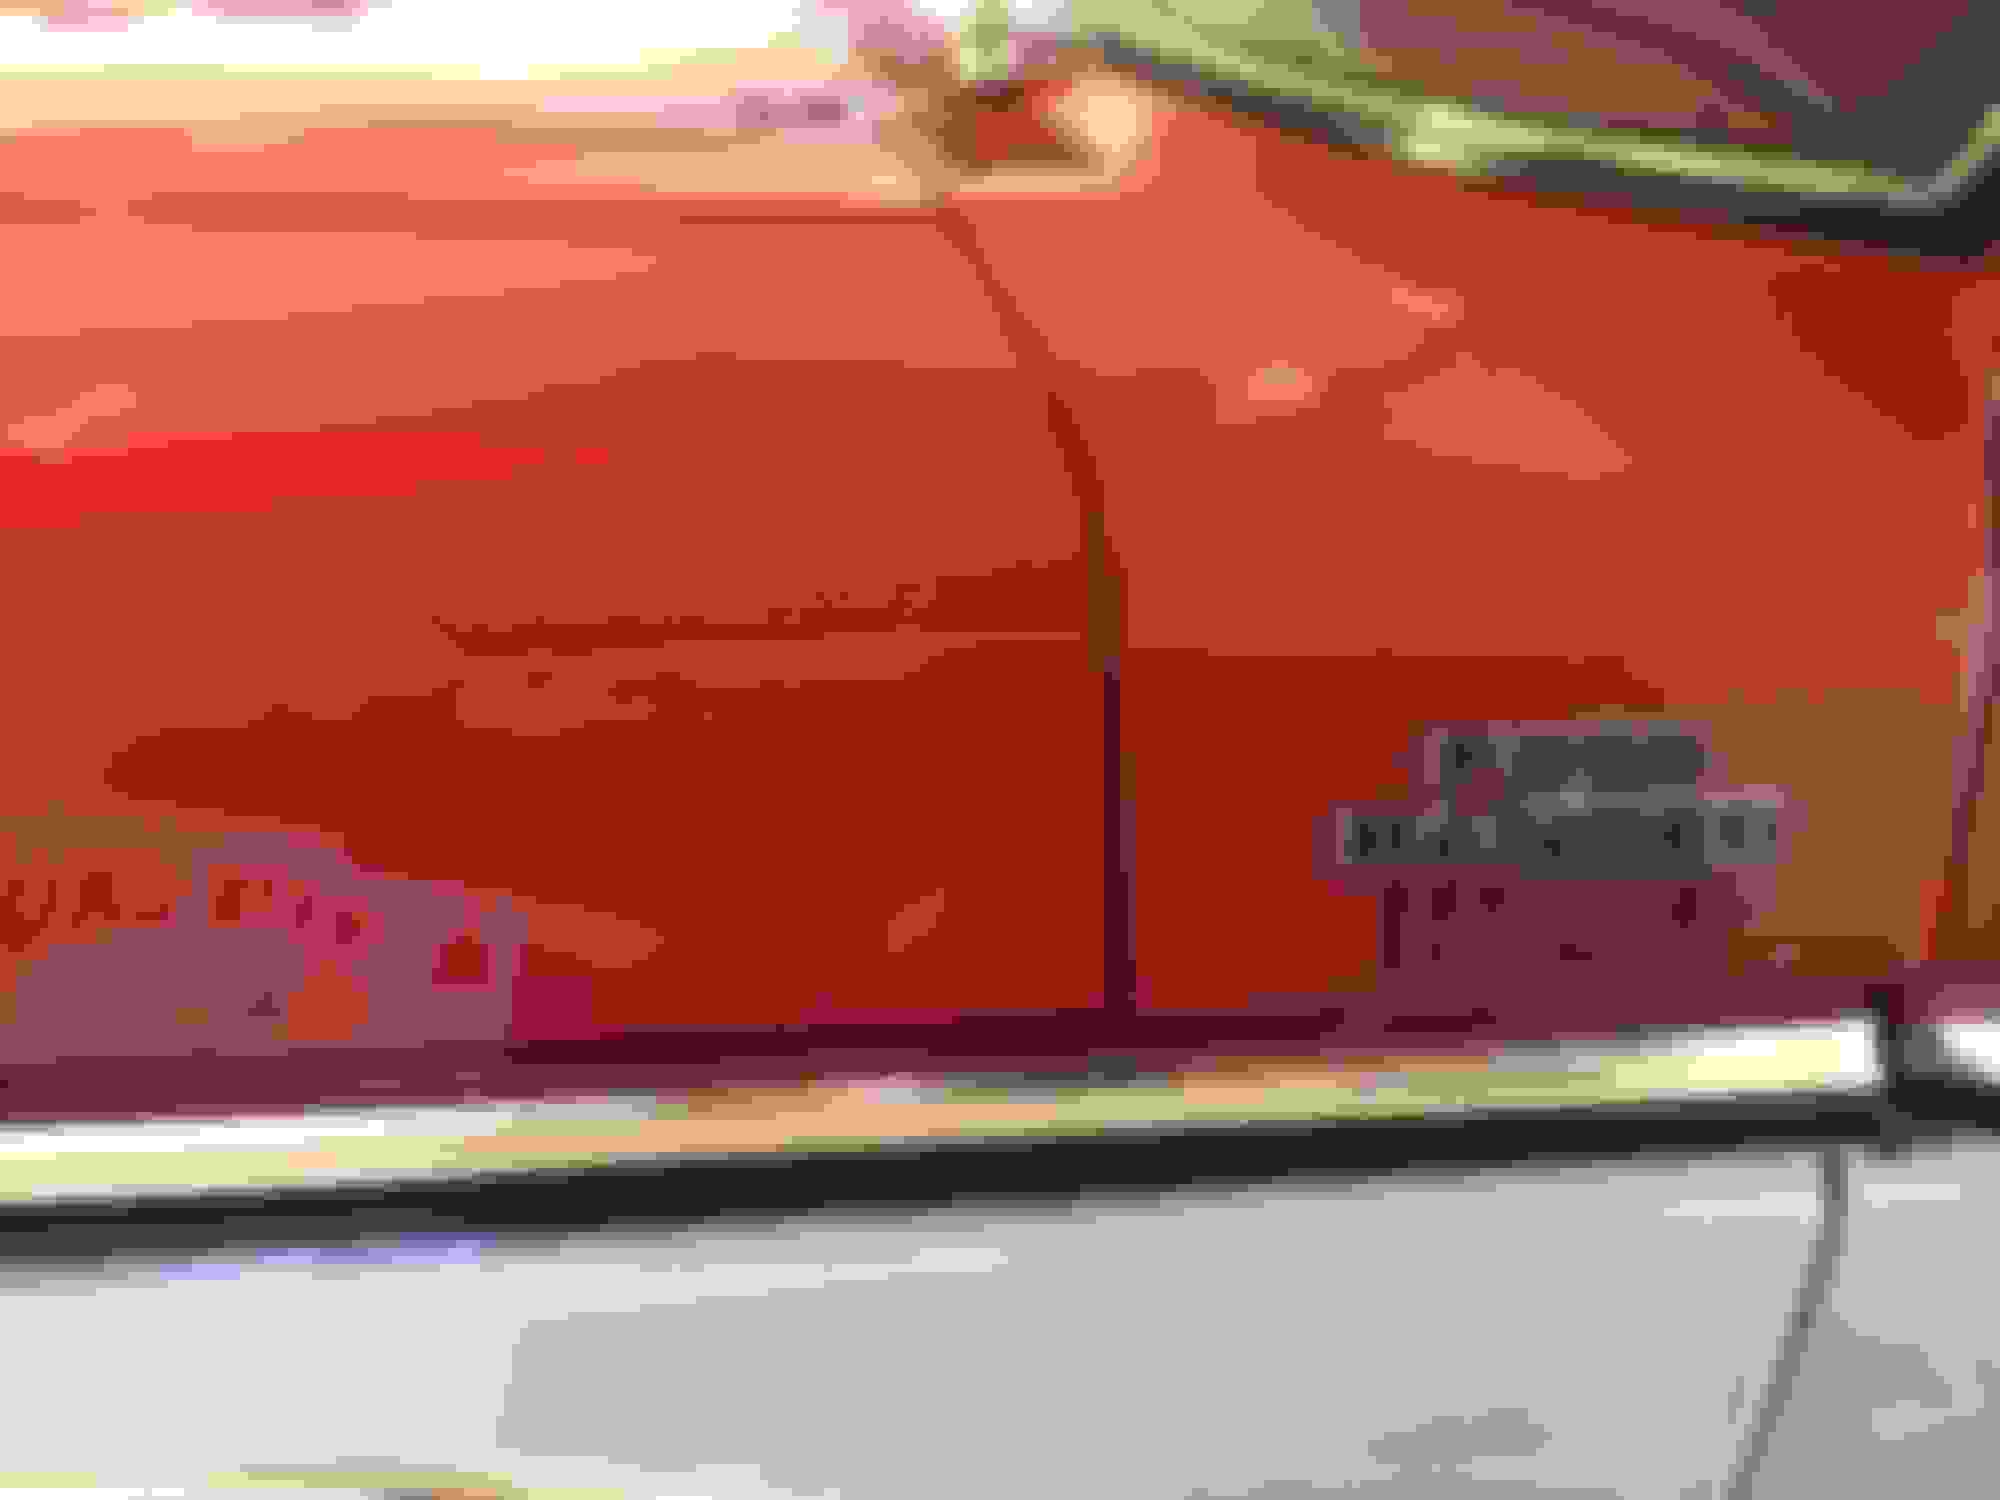
After I got my hood back on it took me about an hour to align it just right. Understanding that a 35 year old truck wasn't made with perfect lines and seems I got it as close as its going to be. I'm happy!!
Got the day started.
The old hinges and the busted bolt.
Getting ready to apply the POR15 but wait!
The busted bolt.
Cutoff wheel! Sparky Sparky!
After I got the bolt out.
New longer bolt.
Padded folding table to hold my hood.
Hood removed.
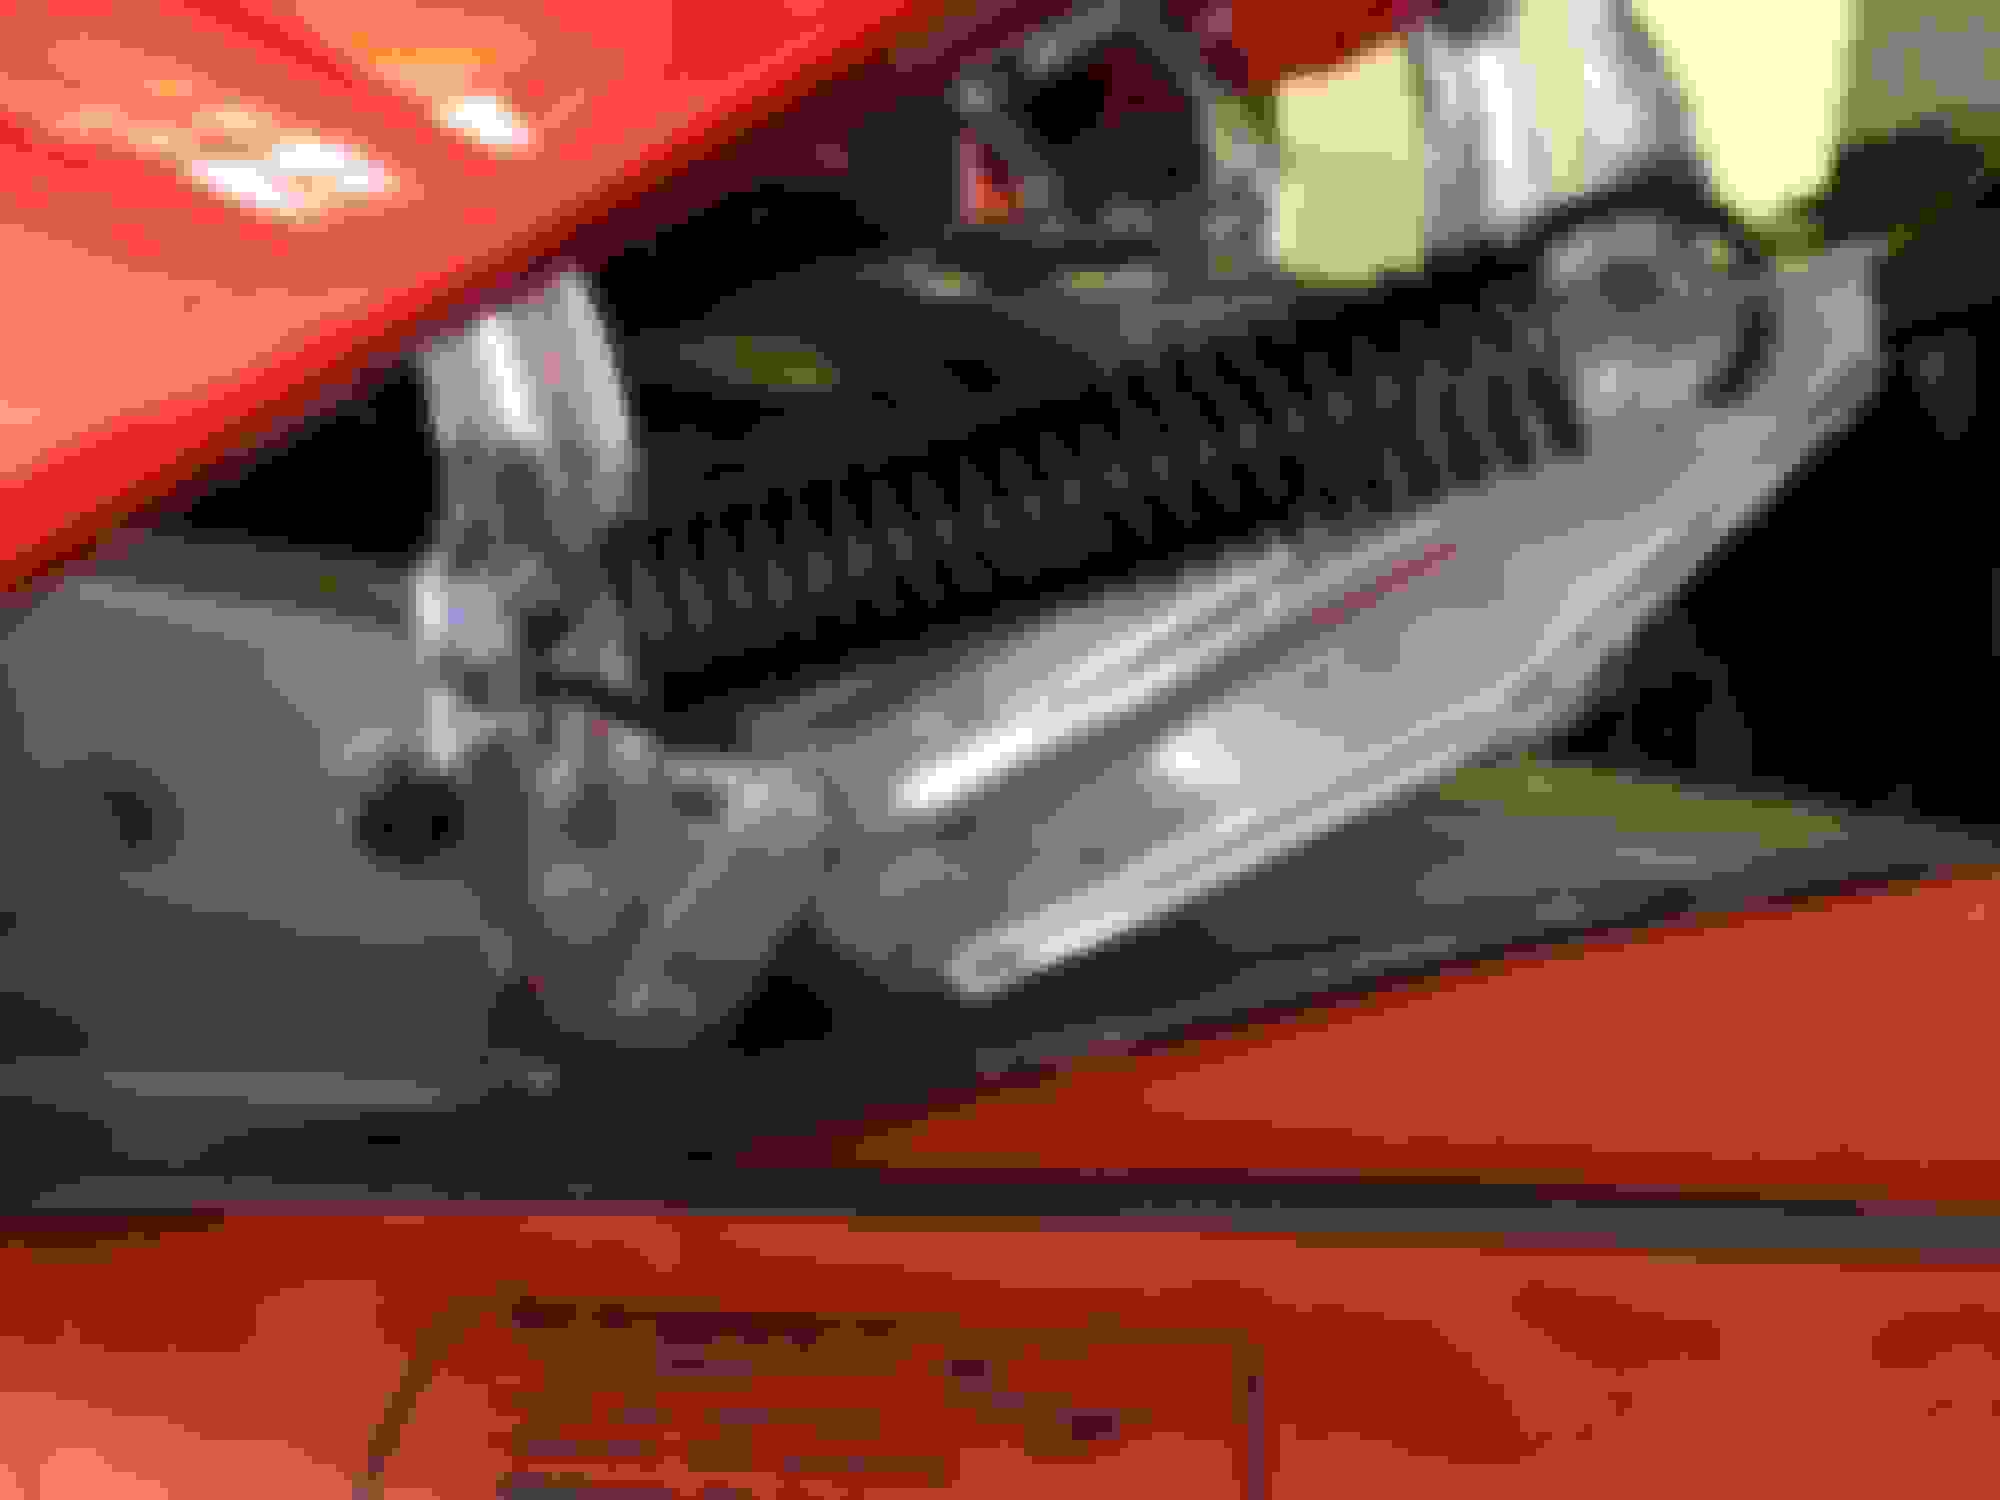
The old springs where powder coated black so I reused them on the old hinges. I used a brake spring tool to install them. Worked like a charm!
After alignment.
My security camera catches myself and my family helping with the big monster hood.
Now that's a wife worth keeping! A good lookin' women who cooks, cleans, a great mom, devoted wife, and willing to get her hands dirty while working on the ole truck. Man I gotta tell ya, it don't get any better than that.
Thats a great picture Steve,a family affair.very nice.Another example why its good policy to stay with oem,plus its American steel.What a difference,You have your own pit crew
Steve the only thing I would suggest, is that I would adjust the hood slightly forward to the grille. That gap to the cowl panel looks awfully tight. And the last thing you want to have happen would be to close the hood and chip the paint. Just loosen one side and slide upward with the hood open just a tiny little bit, tighten the bolts, then do the other side to match. That way you won't move the hood to one side or the other and not know it. Plus that'll make it a one man job.

 02-27-2015, 10:12 PM


 )
)