When you click on links to various merchants on this site and make a purchase, this can result in this site earning a commission. Affiliate programs and affiliations include, but are not limited to, the eBay Partner Network.
The prices vary depending on what the seller knows.
I picked a 205 up for a hundred bucks in Vegas from a house that was a jy in its own right. But I was lucky.
At the pick n pulls here in Cali they can whack you for them 'cause they know there is a vibrant off road market and they are in demand.
I think HIO just picked up a trans and tc for 350ish.
That's a good deal out here.
On ebay the adapters are 50-65 apiece.
Sorry Steve, back to your truck
No worries Marc, I believe this forum and thread is a knowledge base and all input is welcomed.
I rebuilt my brothers T18 and NP205 with bearings and seals in his '79 F150. I actually tore down a 2wd unit as well to steal parts out of. They are very simple to rebuild. The 205 is slightly more of a trick but not bad as well. Nothing compared to timing an Eaton RoadRanger or Mack Triplex. Defintely use RTV sealer. I didn't and he has some drips he has been complaining about. Transmission jacks are a life (back) saver. A vehicle lift also makes things easier. If you can prop the transmission and remove the transfer seperately the seperate components are easier to handle. One more thing, I don't know how your exhaust is set up but of the older Fords I have pulled transmissions out of, two dents (one c6 and one t18) and one bullnose (T18) I have done, the exhaust interfered on two. The 2wd bullnose I had to drop the transmission out with the bellhousing still on the block because of headers and a cheap *** owner who I knew wouldn't pay for header gaskets. I had to cut up the dent C6 exhaust and remove one header.
Thanks guys, the tranny jack worked out perfectly when I had to drop my front differential on my Suburban to replace a motor mount.
Not a whole lot going on at the moment, I have been busy at work and doing things around the house. I really need to work on the hood alignment so hopefully I can get to that this holiday season. Next big project will be my clutch replacement and mini tranny/T-Case rebuild project and while I'm doing that I might as well clean and detail the whole underside of my truck.
OK now for some general truck ****. Believe it or not there is open space in the big metropolitan Bay Area. This spot is just a mile outside of San Francisco.
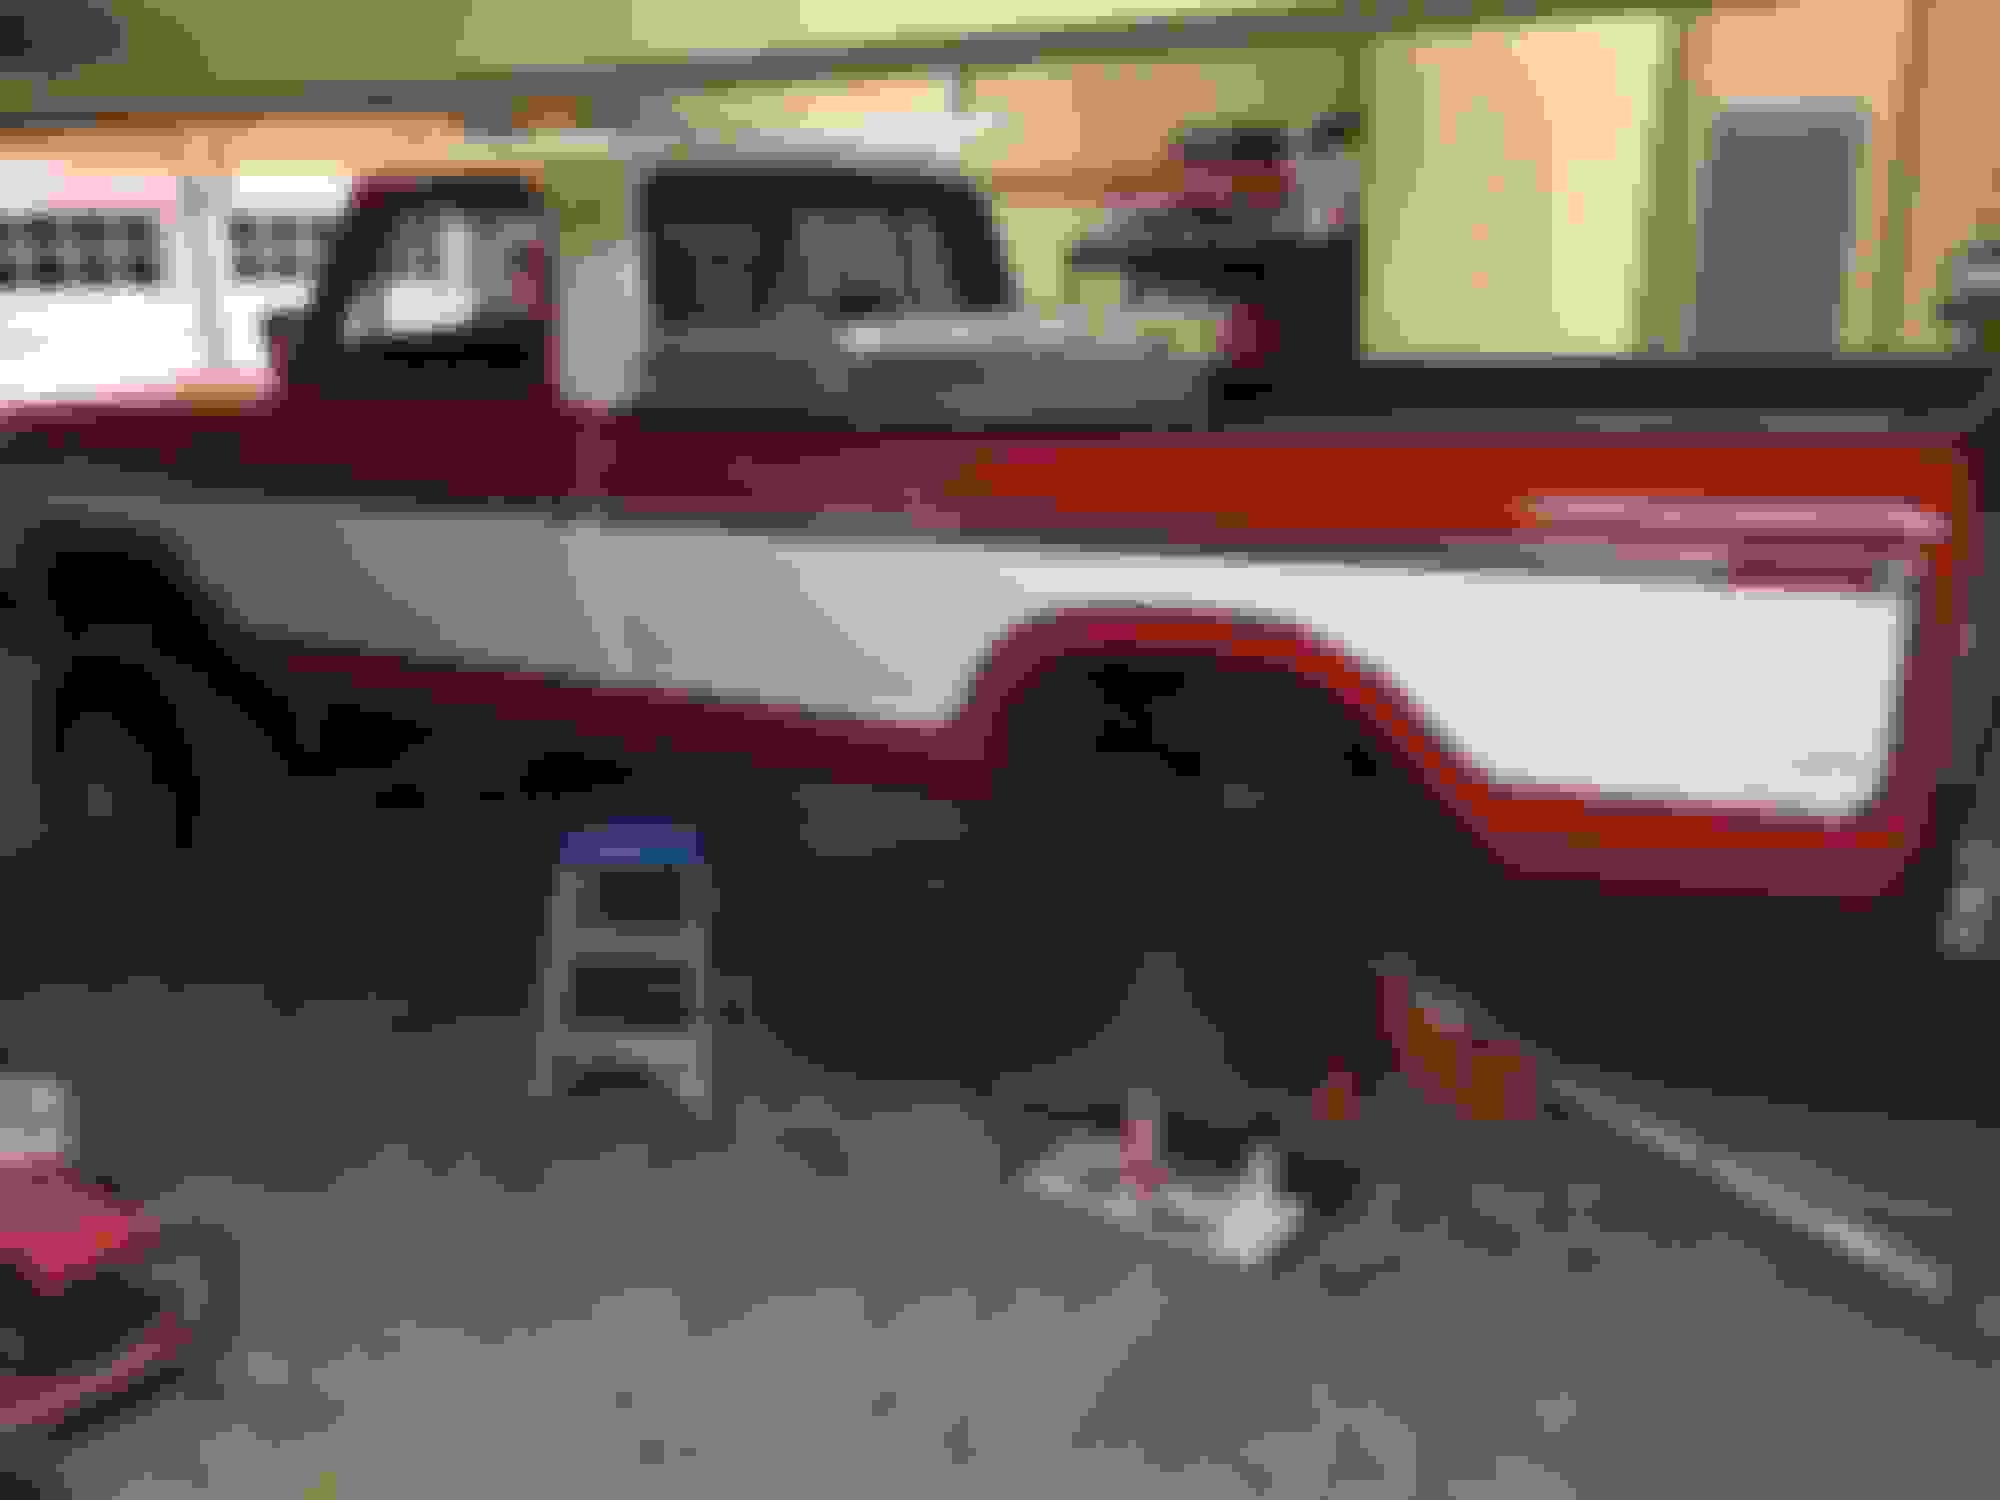
I'm still trying to get the hood alignment right, its better now but not perfect. What a PITA, Everyone says it takes a lot of patients and I'm finding out that's very true.
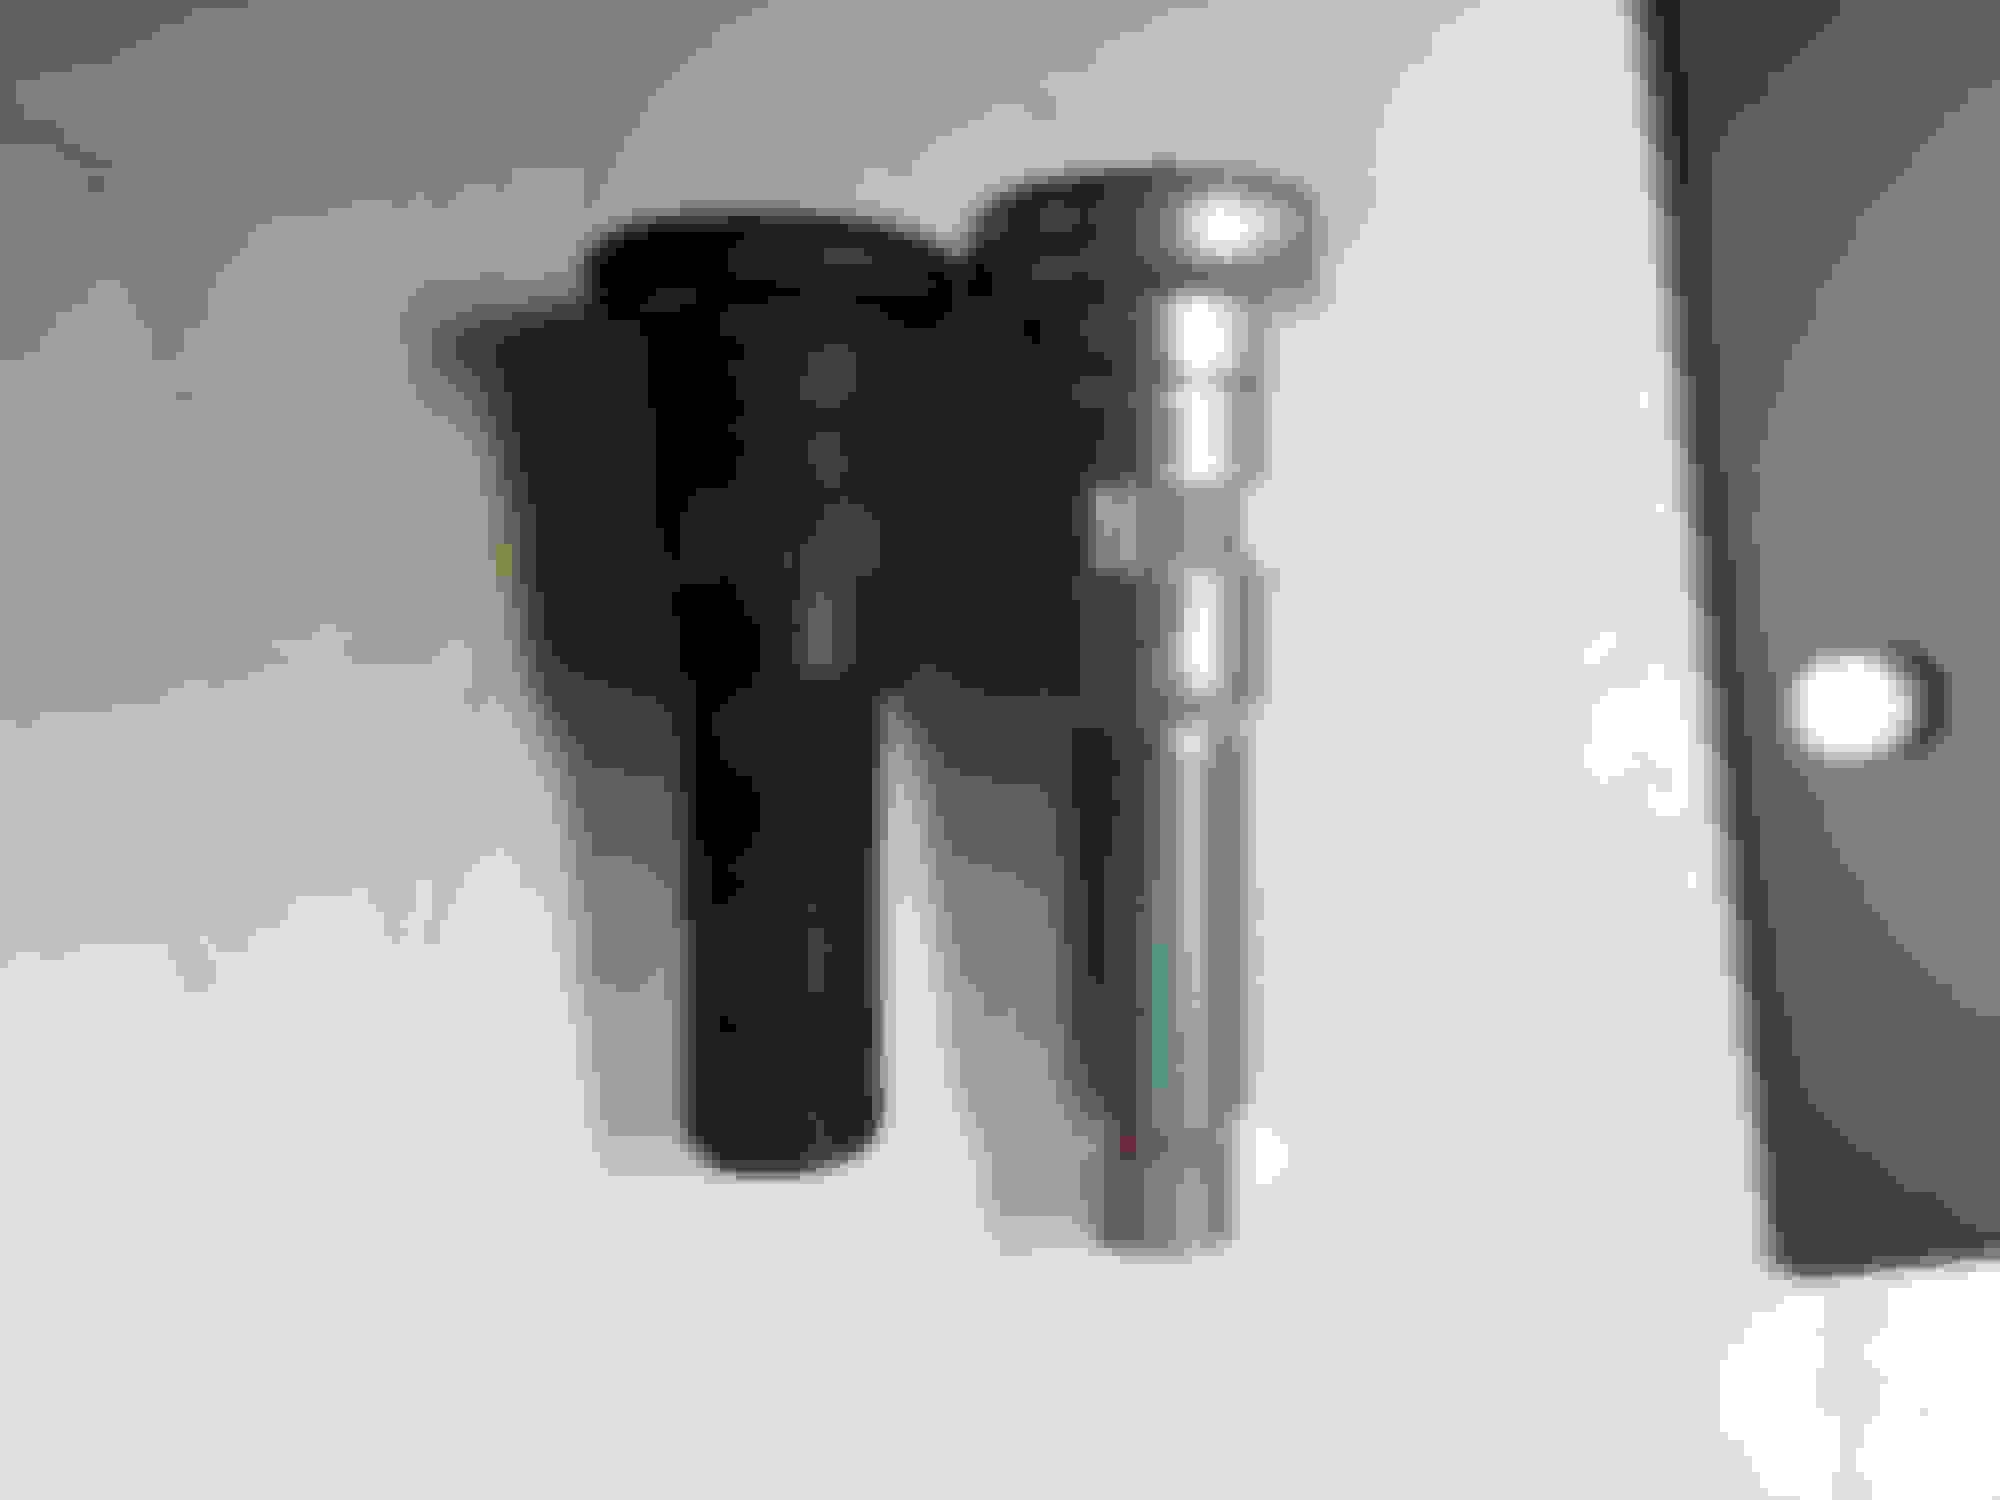
In the mean time I have done some little projects. My steering column linkage was starting to bind up on me so I replaced it with a new Borgston steering linkage. The installation was pretty easy, just follow the directions. The hardest part was removing the old linkage even though I had it off a year ago it still took PB Blaster, some cussing and a big hammer to get that sucker out.
I forgot my Portable Band Saw at the shop so I got a workout with the hack Saw.
After installation the shaft was too long and was hitting the U-Joint causing it to bind up. Trimming the length so it wont protrude fixed the problem.
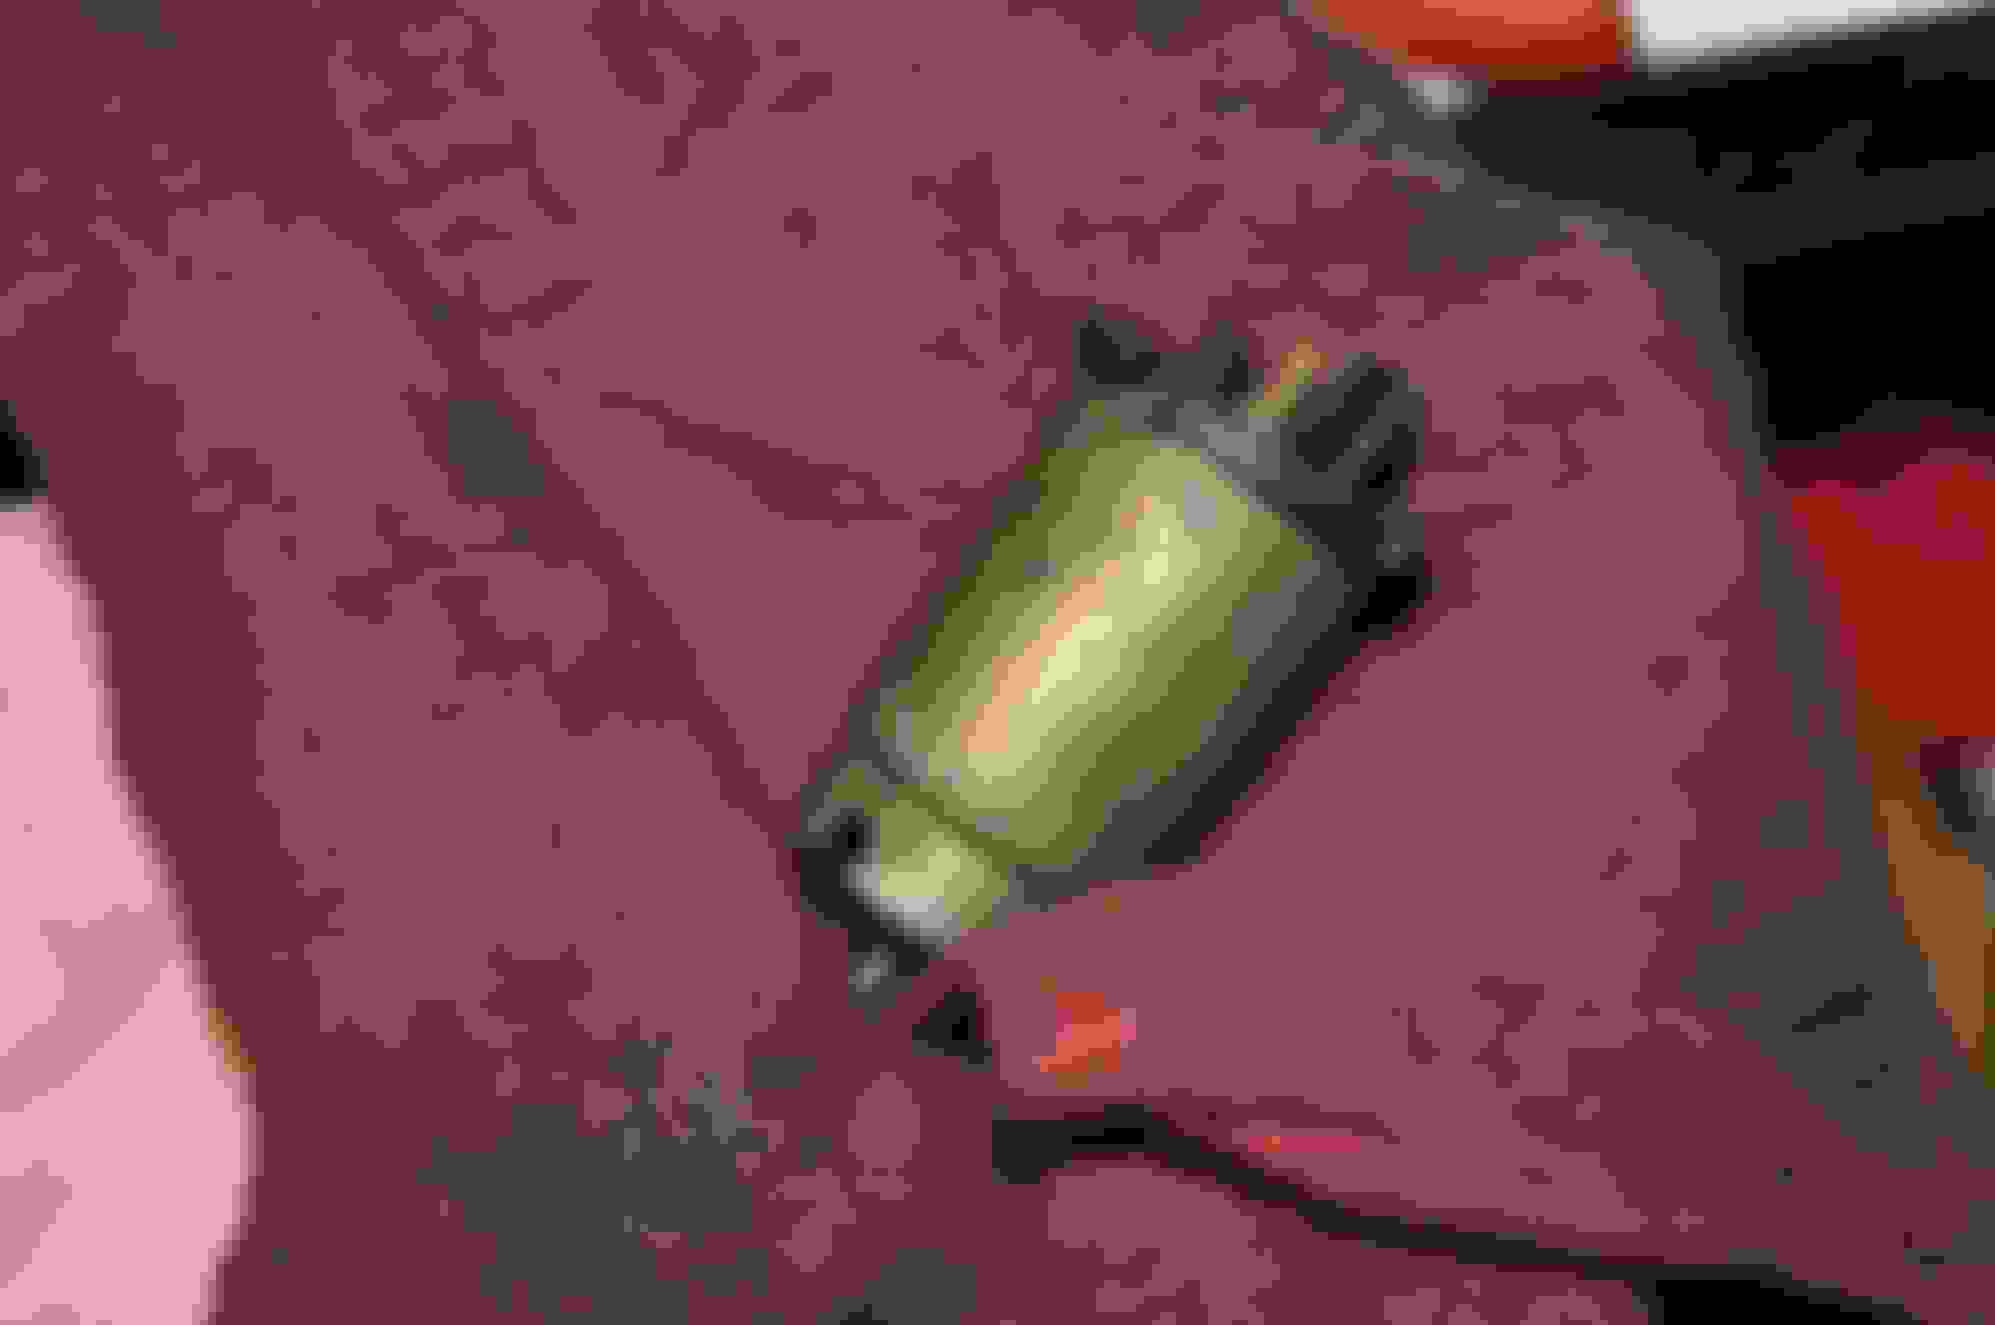
I also replaced the washer reservoir. I had to remove the pump from the old reservoir and all of its components without breaking anything. First remove the steel star ring, then apply WD-40 and remove the pump. Then remove the rubber gasket and actuator. Re install in the new reservoir and enjoy squirting the car behind you.
The steering is soooooo much better now, it steers very smoothly and has Zero slop. Candy Cane drives like it just rolled off the factory floor.
I'm always surprised to see older dirty things like this on nice trucks like yours Steve. One look from the outside makes me imagine brand new and spotless parts everywhere on your truck. Looks like you're slowly making that come true!
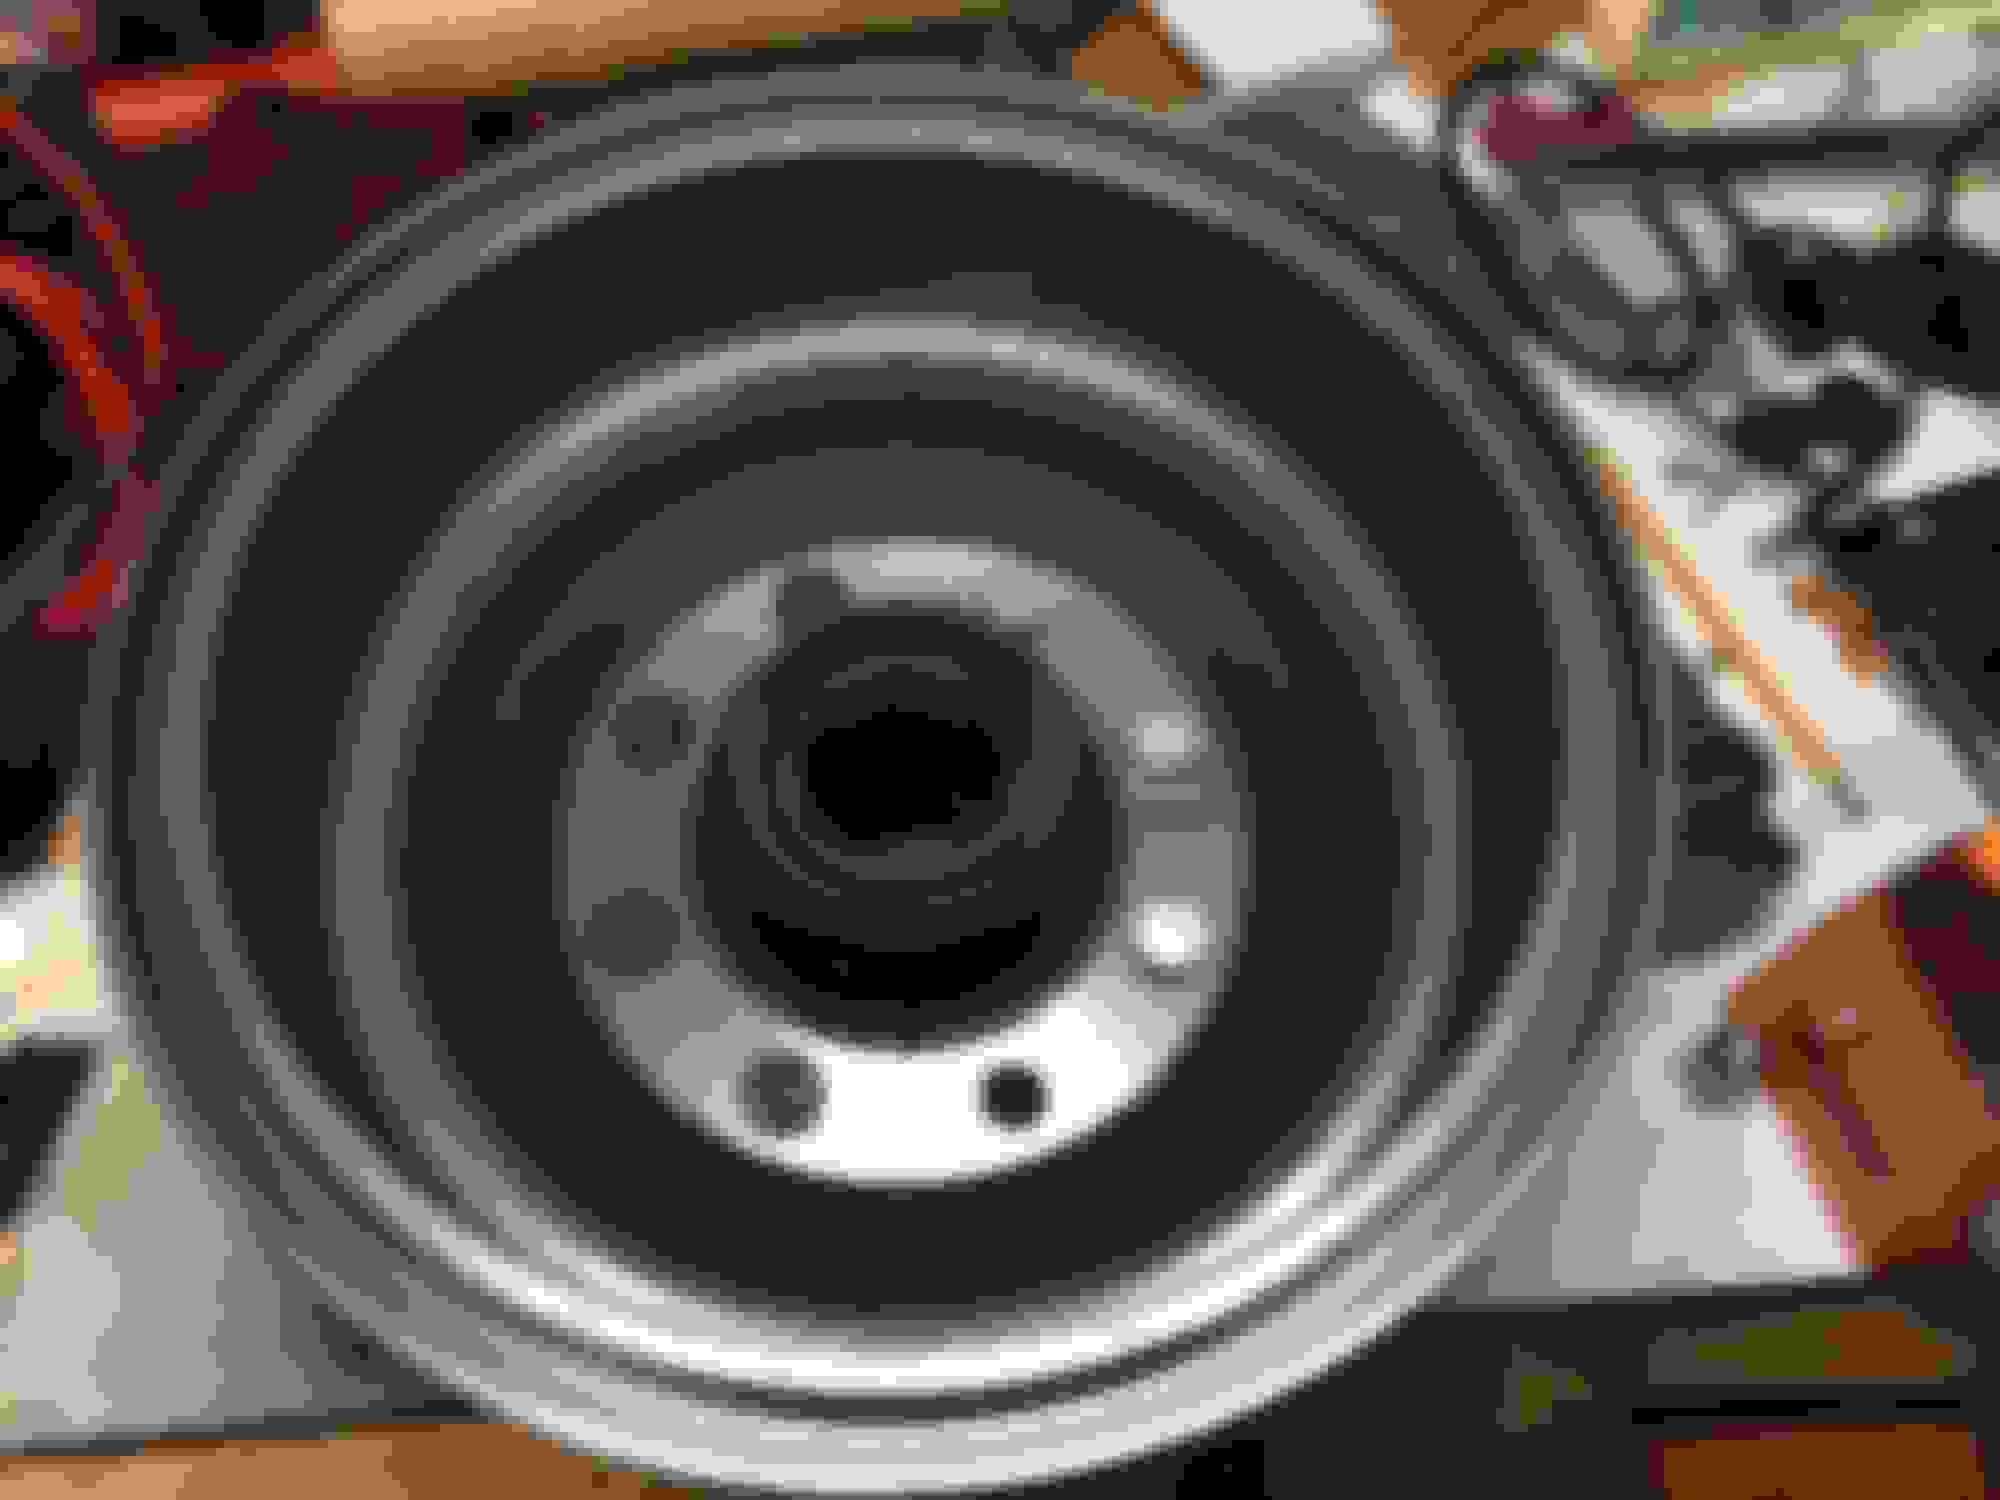
Last Friday I took my truck out for a drive in the hills and on the way back home I heard a horrible grinding sound from the left rear wheel. Saturday I pulled the drum off and found a broken automatic adjustment cable and the spring end was rolling around the drum. Not a big deal, I will just do the rear brakes and this time I'll replace the drums.
Brakes is so routine I wasn't going to even post it up until... Problems.
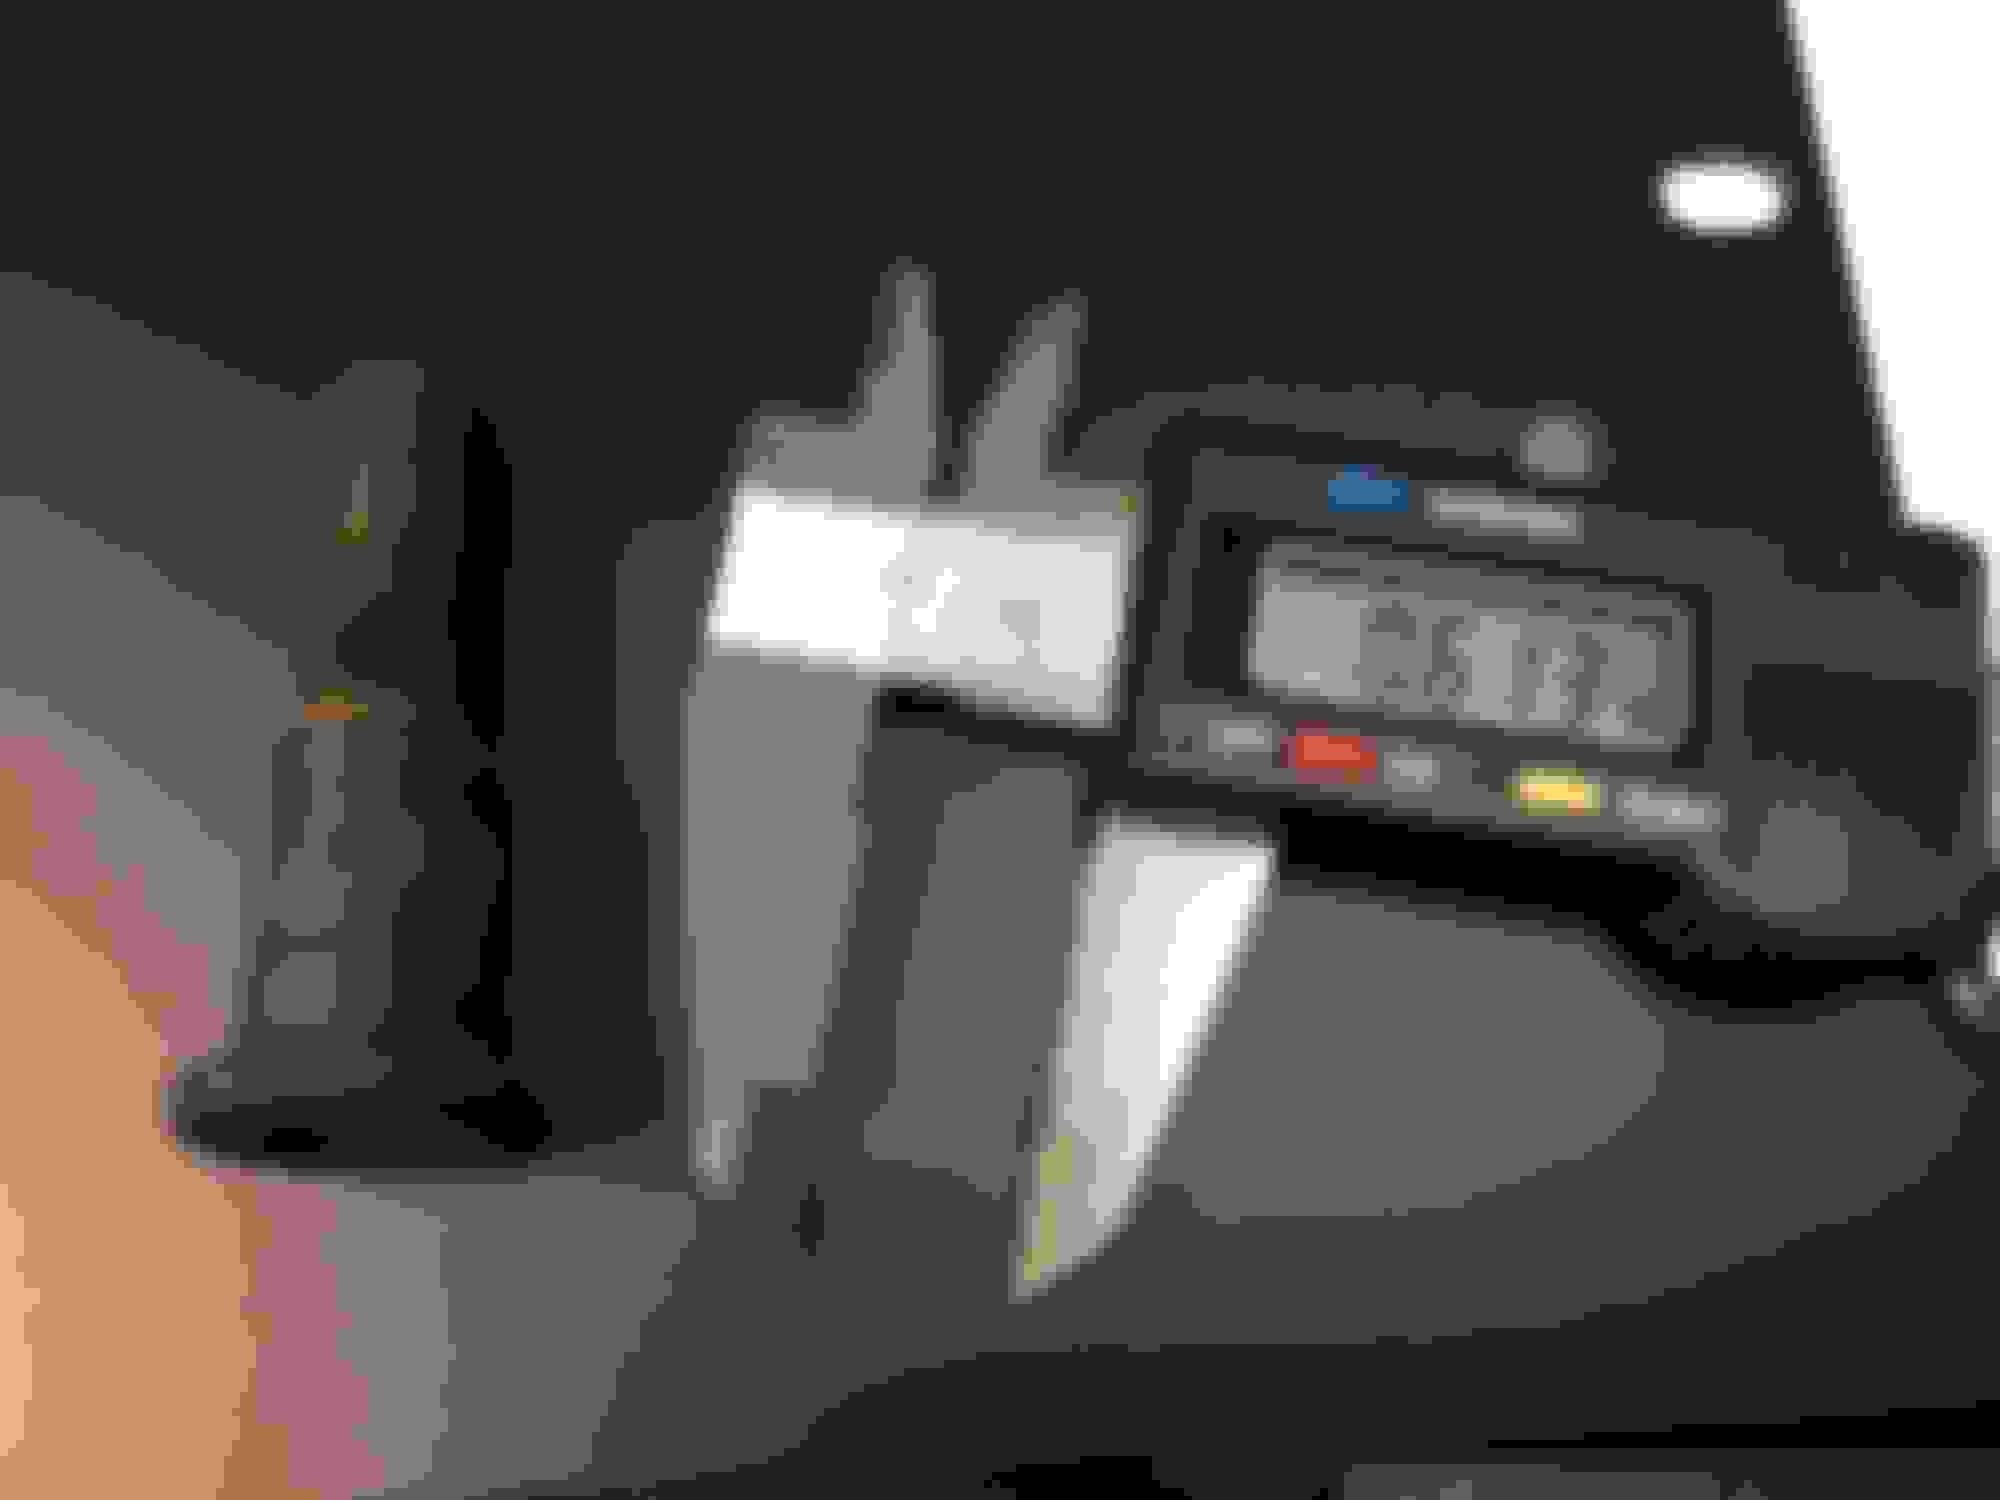
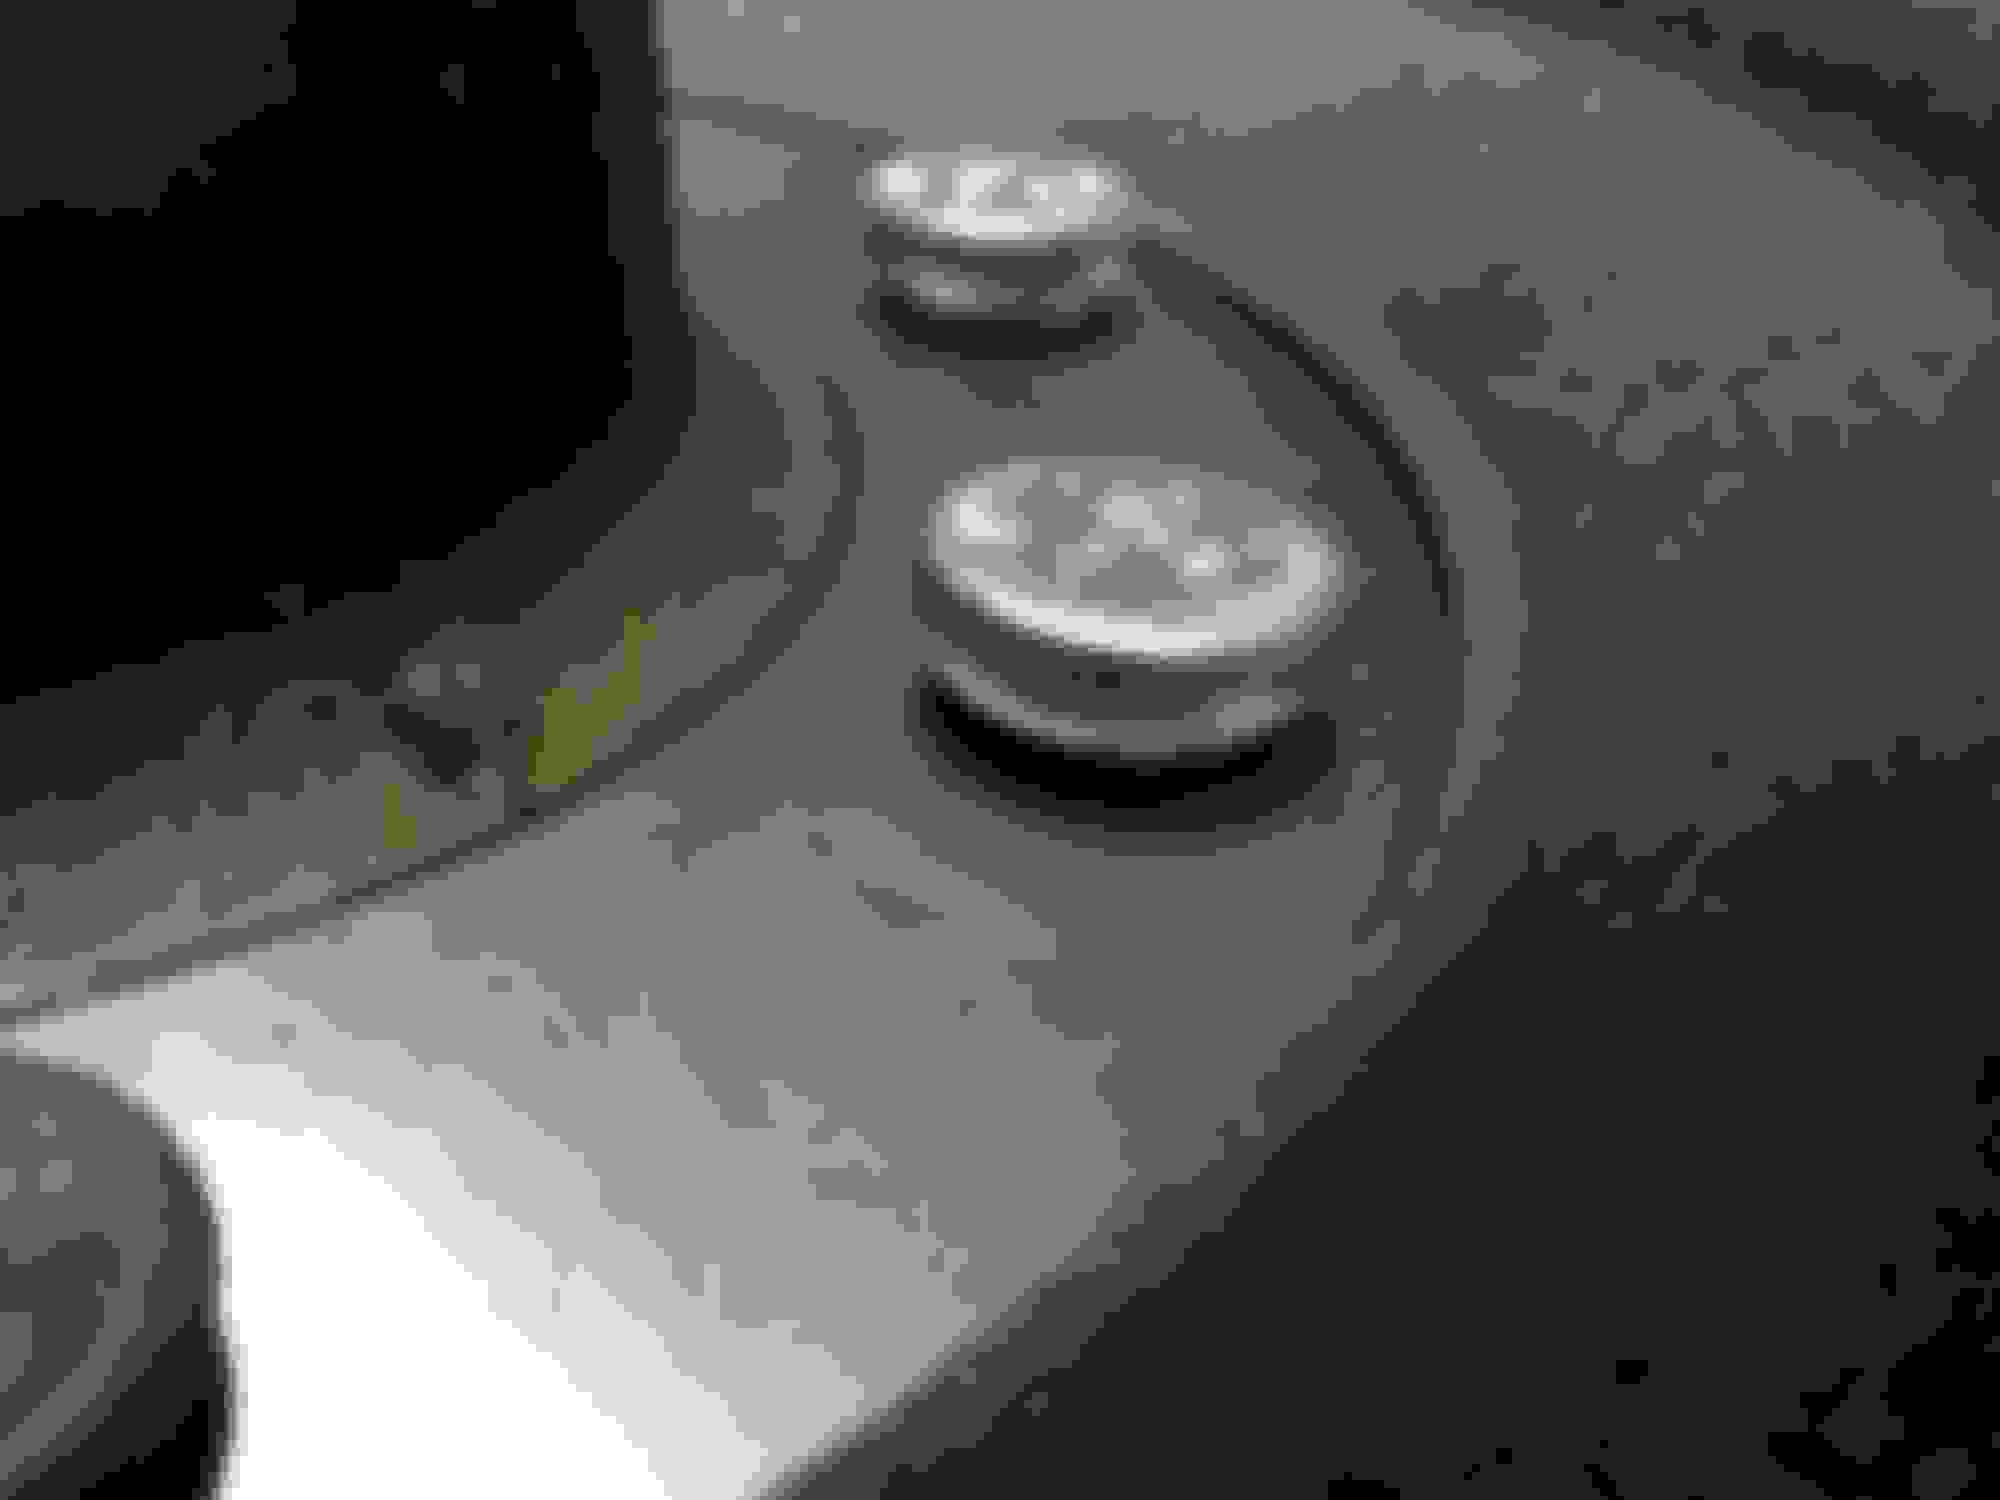
I dorked a few studs in the removal process so I purchased some replacements and a few extras. Problem was the new studs just spun in the drums and didn't seat properly. The book calls for .608" on the spline. My old studs measured .613". The new studs where .595" and would vary on the stud.
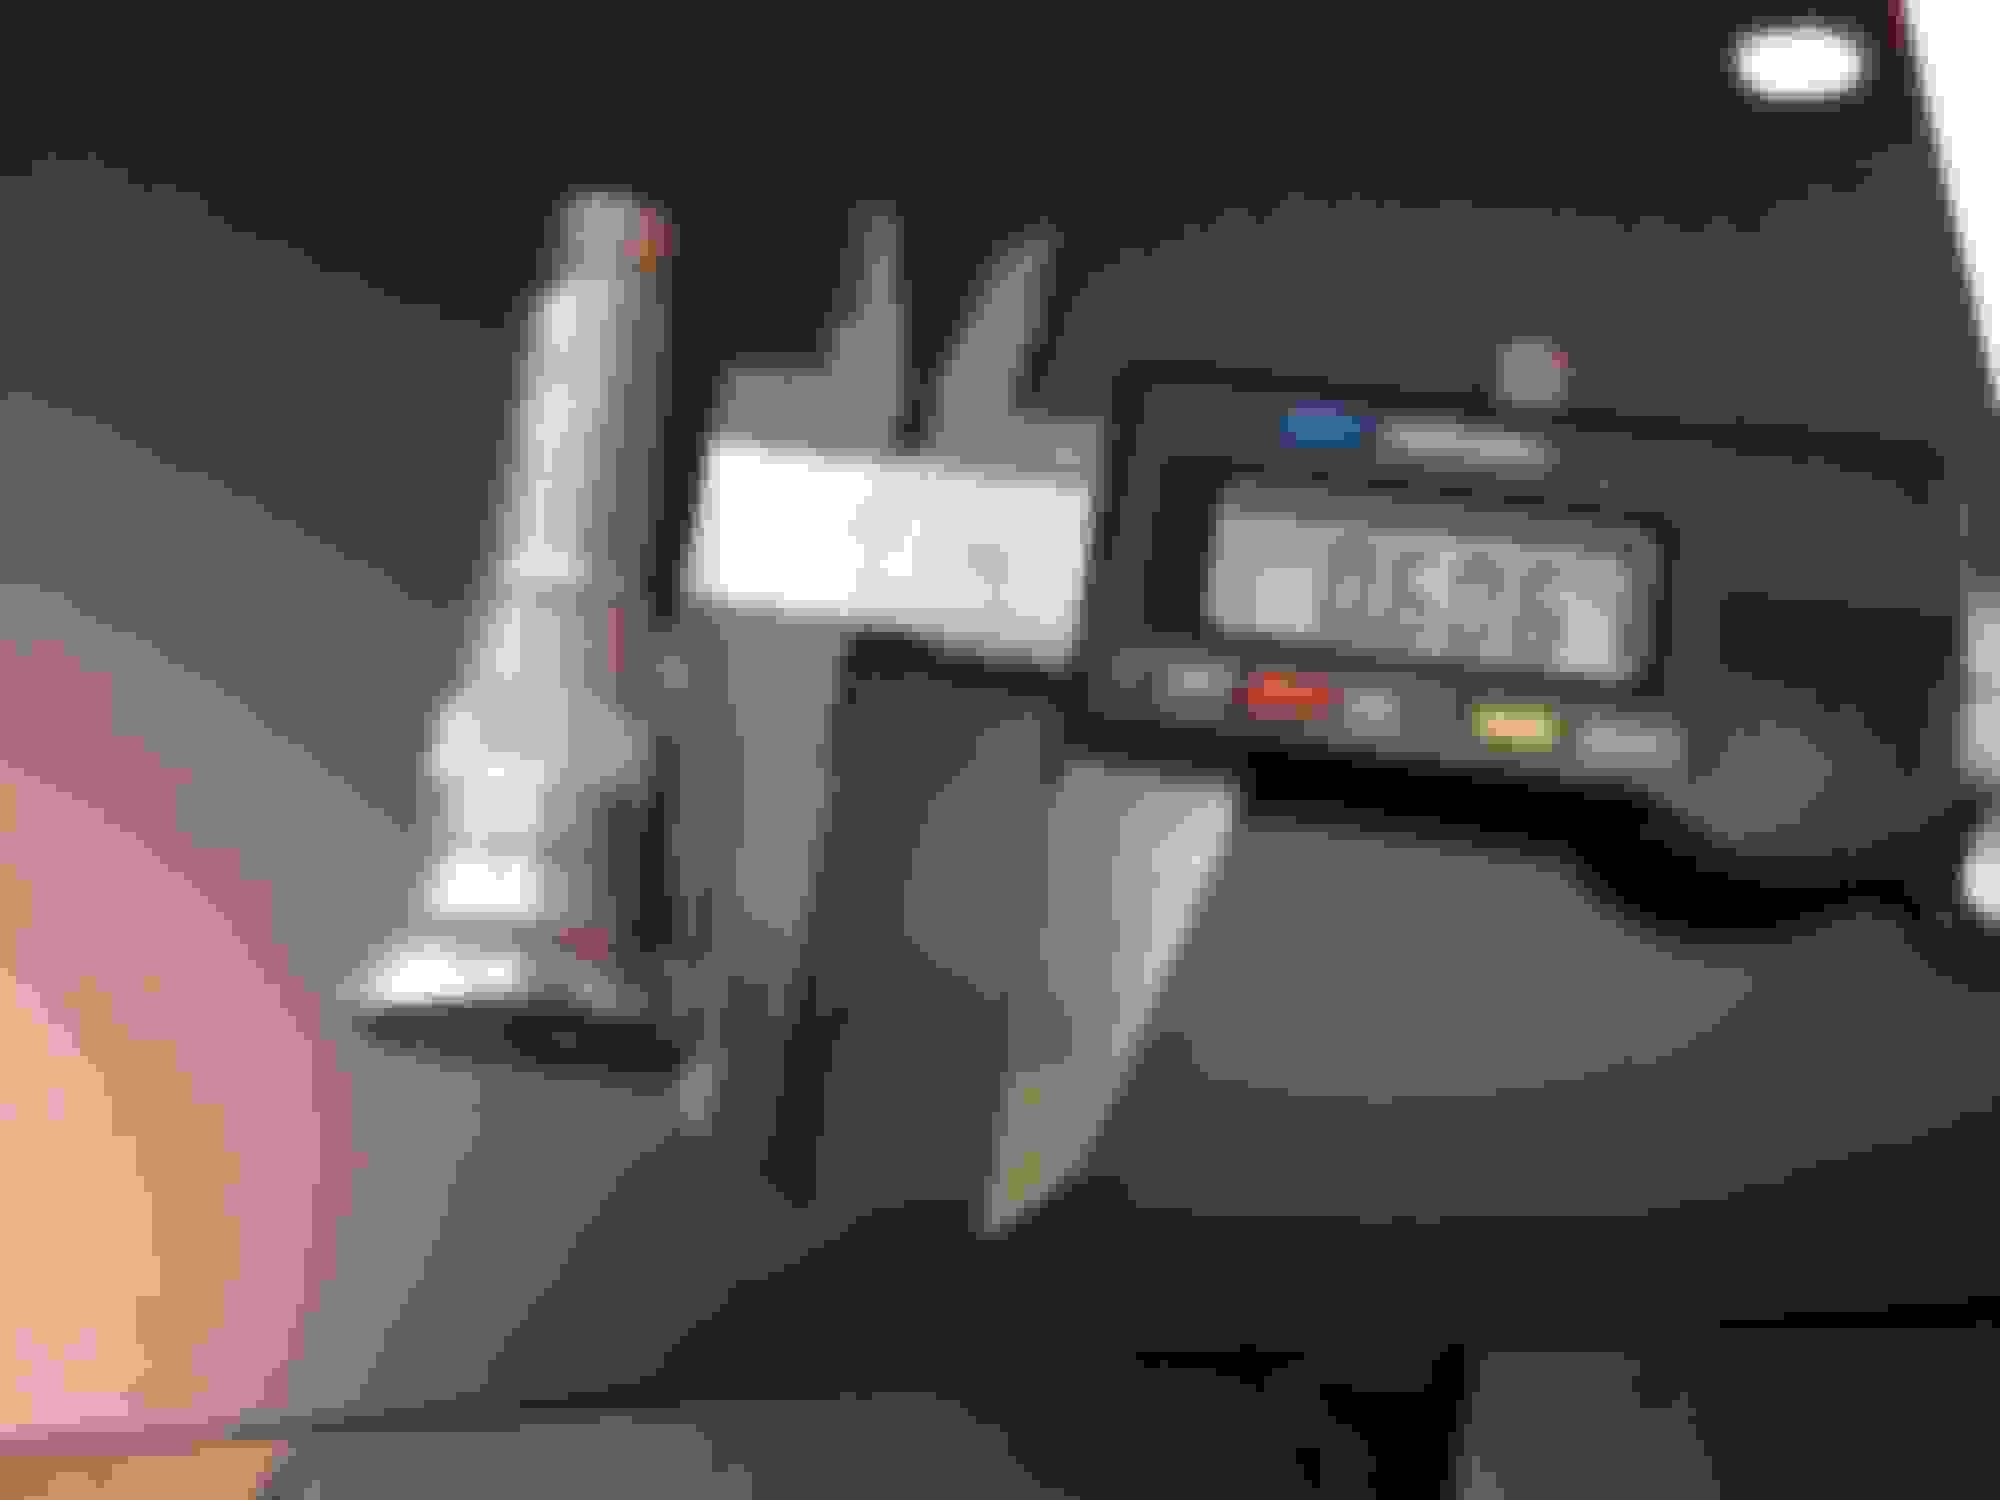
I ended up going to another parts store and they had some studs that had a better fit .606" (Pictured). I did a test fit when I got back home and they sit just right. This weekend I will finish the (Easy) brake job.
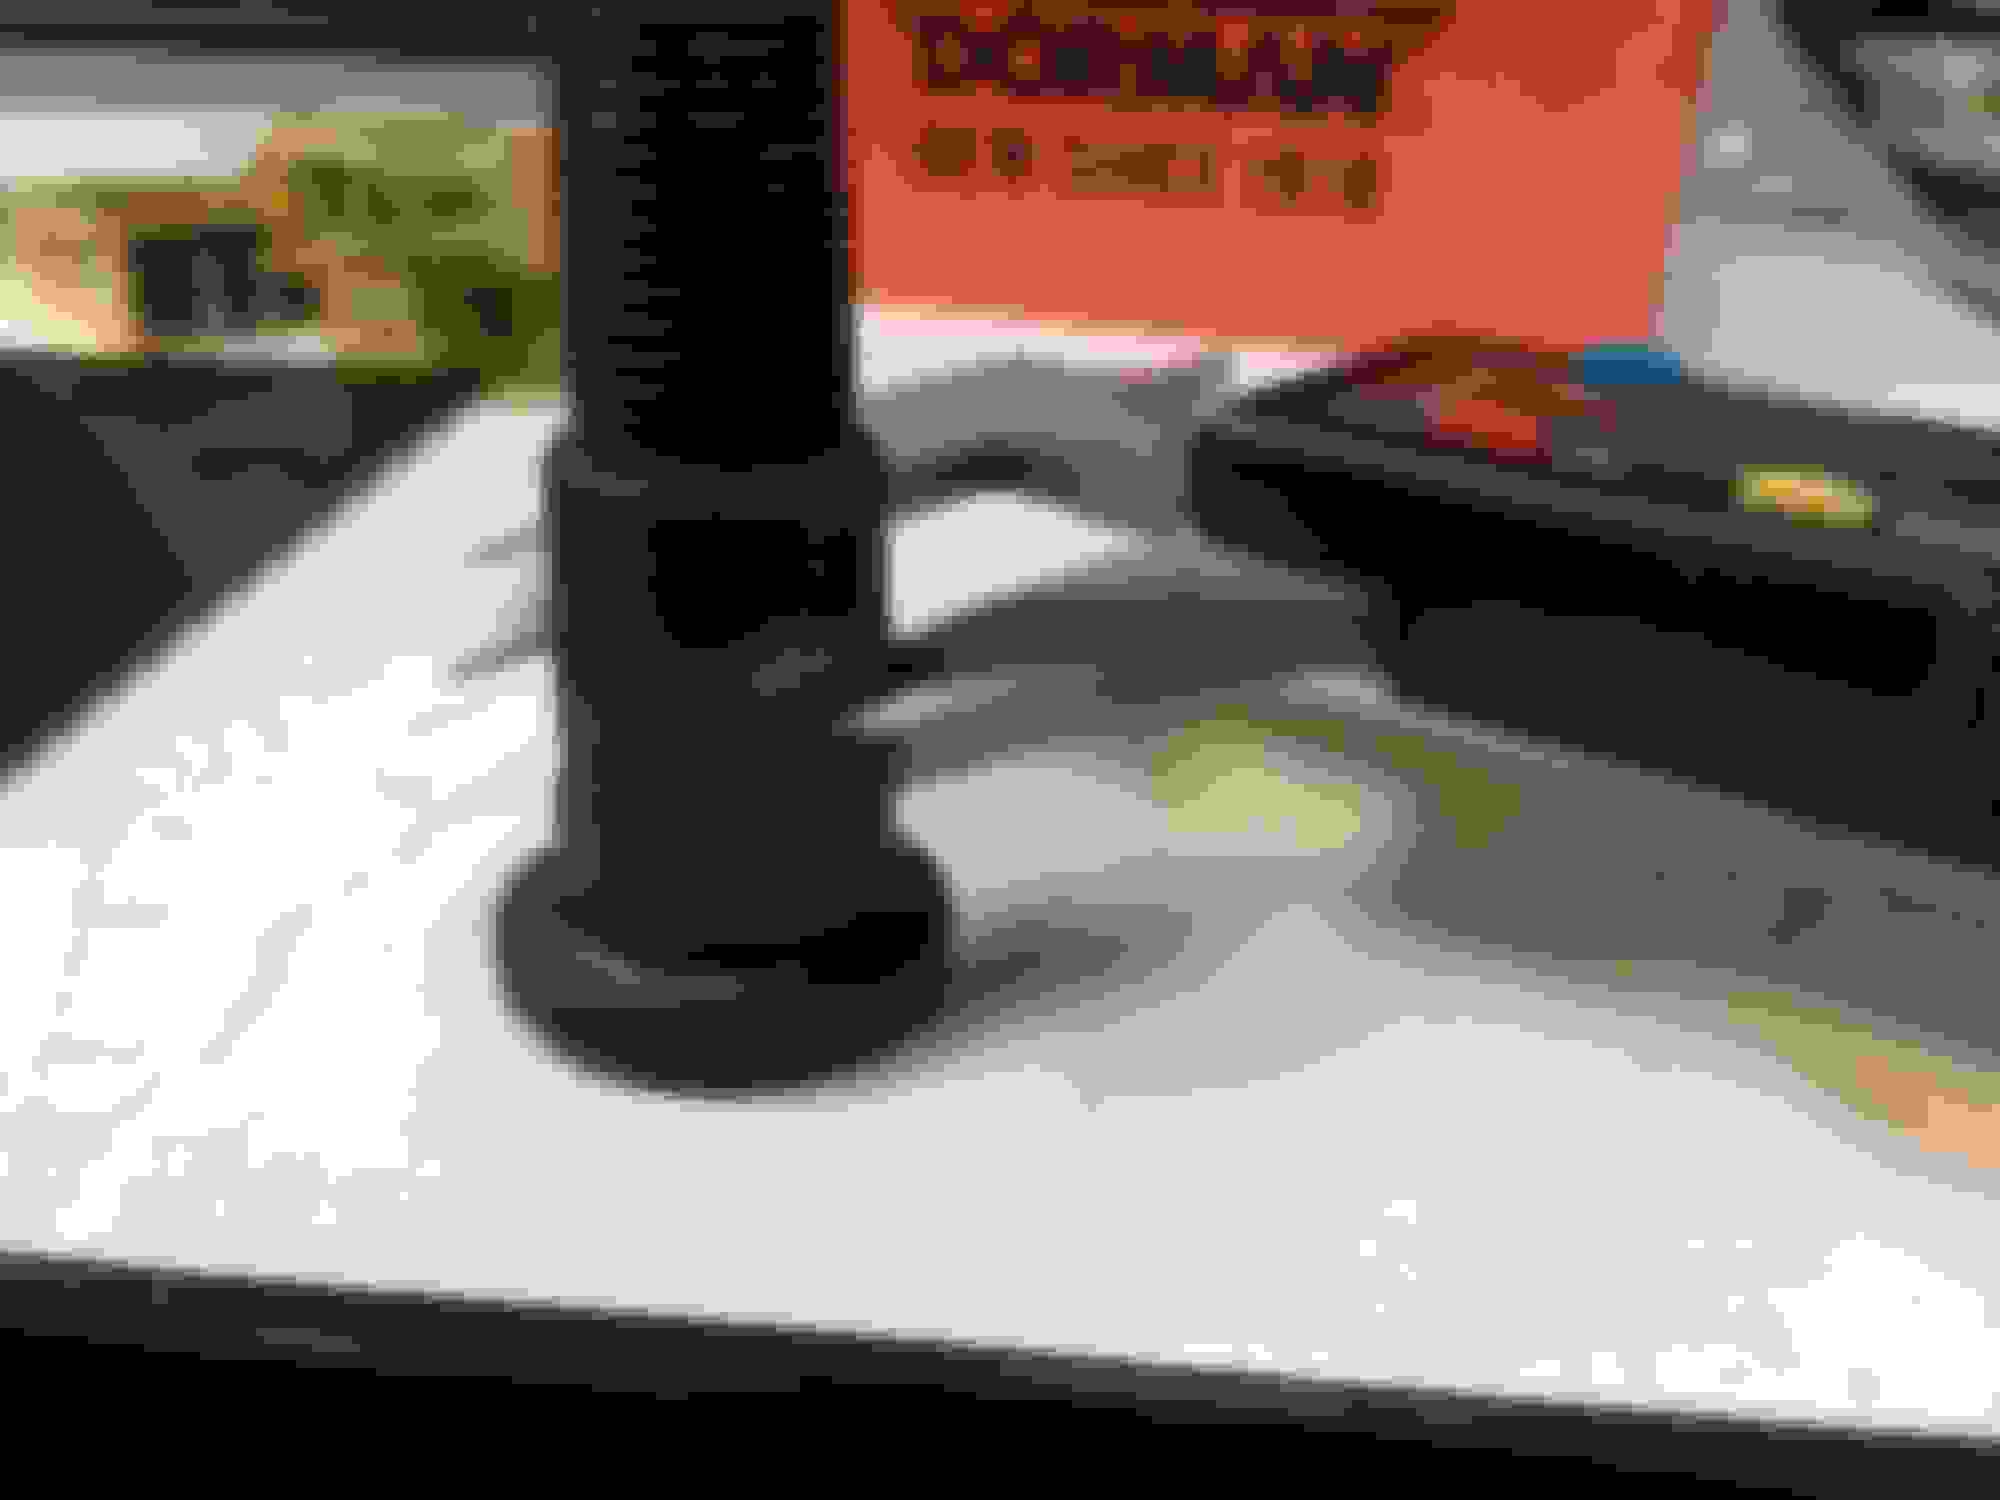
I still have to press them in place.
Everything staged and ready for me to finish the project. I also got some new headlights and HVAC control parts for next weekend.
Don't you just love when routine maintenance turns into a nightmare?
If my truck was a daily driver I would be pulling my hair out.
Fortunately its a hobby so things like this will drive me crazy and I sometimes find myself in a panic to get her back on the road again (Like when I was a 20 something year old kid with my first dent) but I have to take a step back and say "Whats the rush?" Lets do it right, its a high caliber truck and projects should be done with care and detail.
Besides things like this lets me share this info with the rest of the FTE fans.

 11-04-2014, 05:33 PM