When you click on links to various merchants on this site and make a purchase, this can result in this site earning a commission. Affiliate programs and affiliations include, but are not limited to, the eBay Partner Network.
Great progress, I just went through that same process and I'm here to tell you, i hated it. It's def not at the top of my fav things to do. Sanding, remanding and then sanding even more..I thought it would never end. Looks great. Keep up the good work and pics
Great progress, I just went through that same process and I'm here to tell you, i hated it. It's def not at the top of my fav things to do. Sanding, remanding and then sanding even more..I thought it would never end. Looks great. Keep up the good work and pics
I couldn't agree more. It's not a fun job and I'm very eager to get it over with. I usually enjoy working on my trucks, but this project has not been very enjoyable. Luckily I'm nearing the end. If my paint job turns out half as good as yours I'll be thrilled. What did you use for paint?
I couldn't agree more. It's not a fun job and I'm very eager to get it over with. I usually enjoy working on my trucks, but this project has not been very enjoyable. Luckily I'm nearing the end. If my paint job turns out half as good as yours I'll be thrilled. What did you use for paint?
I used ppg paint. I used a buddy's paint shop he had set up in his back yard. Used 1 final coat of white irridecent primer, 1 base coat. 1 coat pearl. Wet sanded. 1 more layer of paint. Then 2 layers of clear. Was pretty happy with results. Every day as it cures more. The paint looks deeper and I have more color shifting going on from the pearl and it gets brighter. I have a compressor and paint gun big enough to have done it at my house but he owed me some favors and I called them in so I used his equipment and shop late at night and through the mornings for about a week. He also had heat lamps to bake the paint. The whole job with all materials from start to finish was about $300ish dollars for paint, sanding material, bondo, pulling dents, etc..it's not perfect but I'm super happy with the results for the money and I learned a lot from him and doing a while vehicle the first time. Made many mistakes and bad workmanship along the way just because I was ignorrant to the correct way but he mentored and supervised my journey. A few here have done the roll on with great results but if you have a big enough compressor and a paint gun. Buying the paint and spraying is the way to go.
Good luck, can't wait to see it all painted up. It's looking great so far, in prep work.
I hear ya. I probably will have about $150 in materials when it's all said and done. Like I said in a previous post, this will ultimately be a temporary paint-job, so I'm not going to waste my time (or money) making everything perfect. Unfortunately the perfectionist in me is making the whole project take far longer than I thought, but I should turn out a nicer final product. I'll be using a single stage paint and I'll be spraying it on. The final product will not be perfect, but it will be a lot better than it was and so far everything is turning out better than expected. Of course the true test will be revealed when the color is shot. Hopefully that will happen in the next few days. I'll be sure to keep everyone updated.
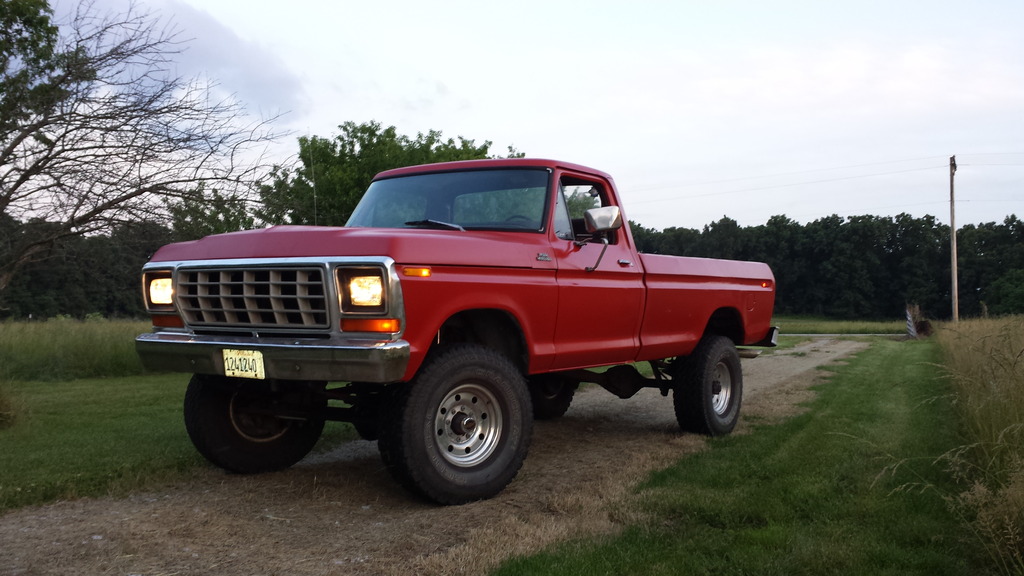
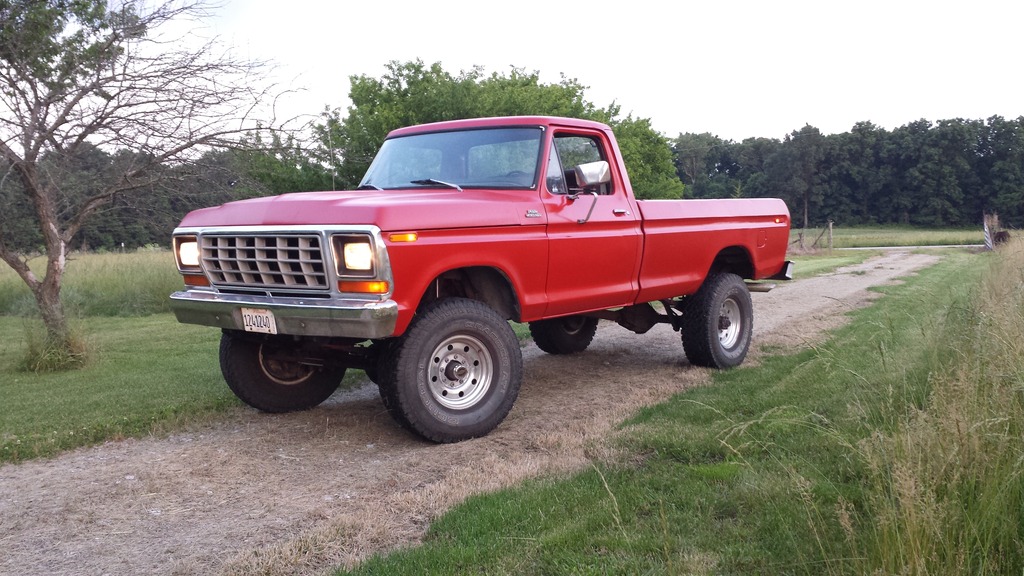
Well I got everything buttoned up on the truck. The paint turned out as expected. It looks pretty good, but it definitely doesn't shine like a diamond. I've been waiting for the paint to cure and then I might try to buff it and see what I can get out of it. Ultimately I'm happy with the results. The truck looks much better than it did before and most of the dents and rust is no longer noticeable.
Note: I know that a couple of the bulbs were out. They have already been fixed.
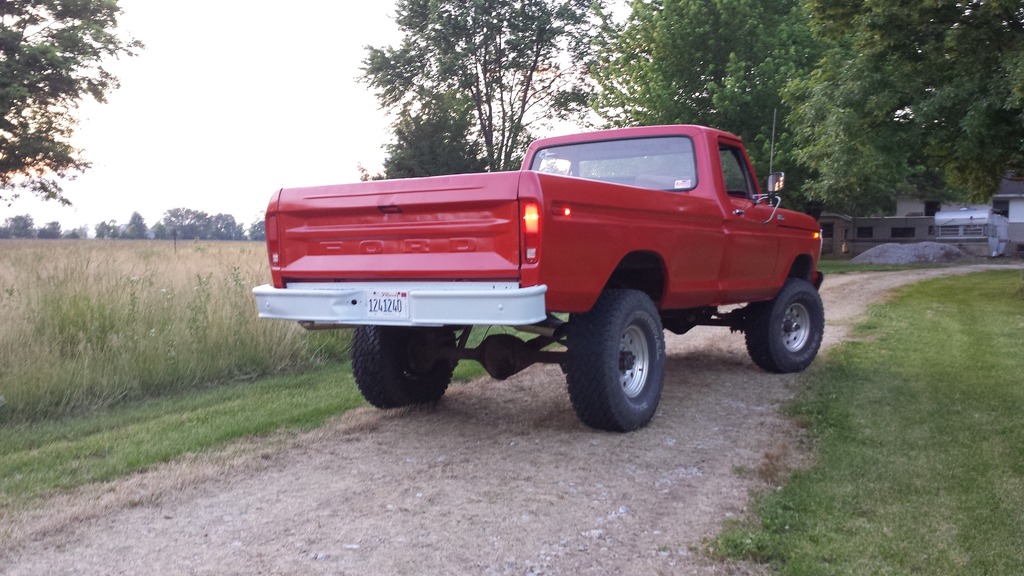
I also re-painted the rear bumper. It's a lighter gray than I wanted, but I think it looks okay. I'm currently on the hunt for a nice chrome one. Then I'll ditch the original one. I tried to straighten out the original one a little, but these things don't bend back into shape easily. At least it looks better than it did before.
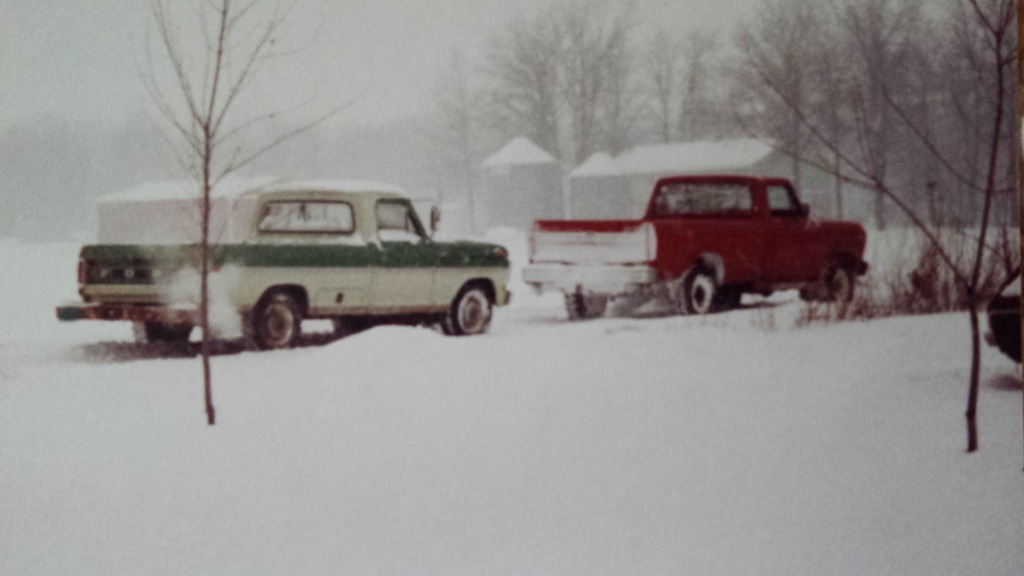
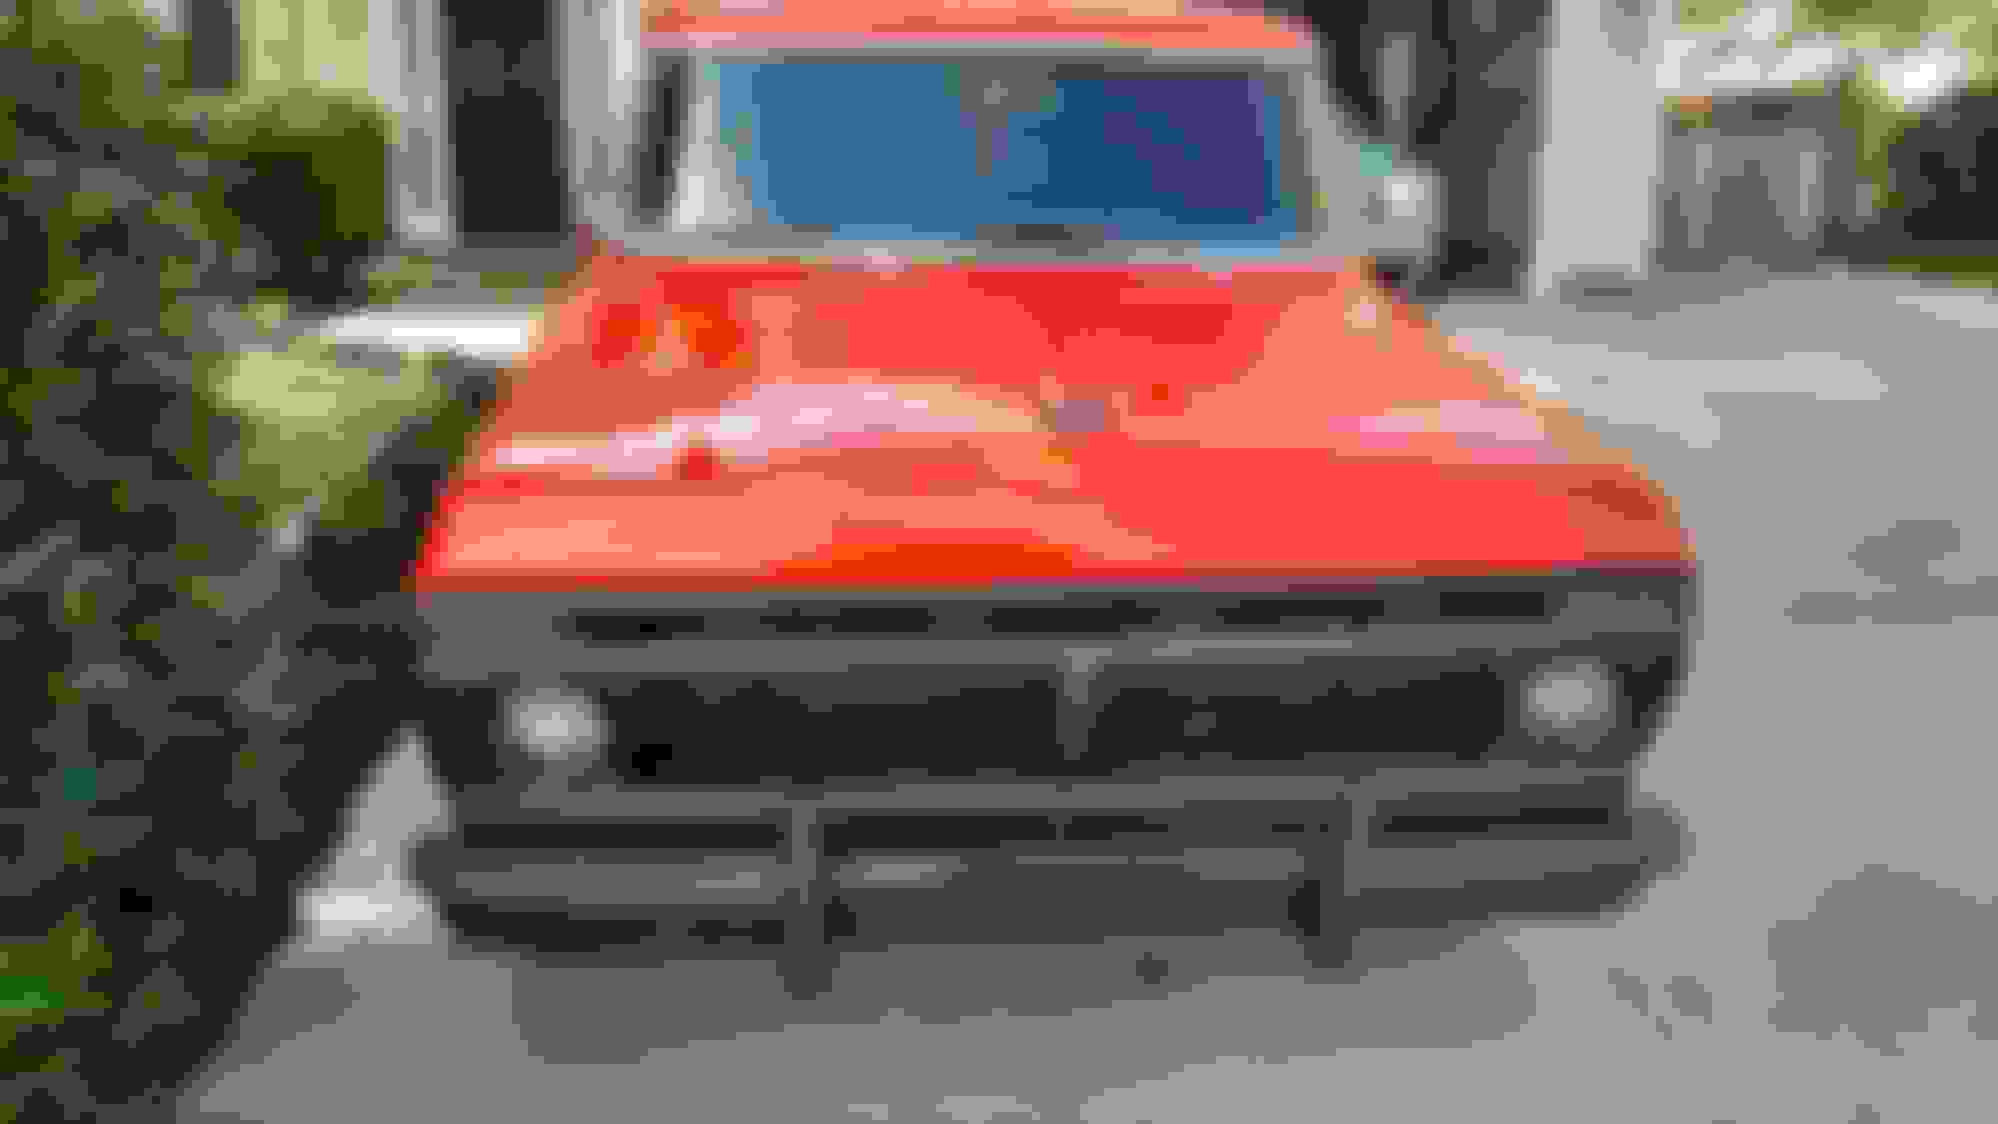
On a side note; I was going through some old family photos and came across an old picture of my 79 back in the day. I know how much everyone enjoys old pictures of these trucks back in their prime, so I thought I would share it with you. Here is a picture from the early 80s of my uncle (the original owner of the 79) pulling out my grandpa in his 1972 F-250 Camper Special with a 390. I wish I knew what happened to that old 72, It's probably long gone now.
Brother, that came out great, Especially with the new paint on the bumper. Great freaking job!! Not sure if you know or not but you should wait about 8 weeks before you wax/buff. If that paint hasn't totally cured underneath and you start buffing, it will eat the paint, especially 1 stage paint.
Truck looks awesome.
That's what I was planning to do, thanks! I really want to get a nice buffer and see how much I can get the paint to shine.
That's what I was planning to do, thanks! I really want to get a nice buffer and see how much I can get the paint to shine.
I just waxed and buffed mine this past weekend wih a 7" orbital buffer from harbor freight, it was on sale for $20 and a set of pads for it was like $10. it worked great, used it on setting 5 of 1-8. I also got lots and lots of McGuire liquid, 2 bottles and used both. My painter friend told me to always use the liquid instead of paste. He also told me to totally saturate the buffer pad with water and squeeze out excess than use lots of wax the first time. I couldn't believe how deep the shine looks and it how great it came out. Beyond happy!! It does make a damn bloody mess though.. lol
Here's a couple pics of the paint.
Since I'm done with school I decided to go visit some family in the Chicagoland area. So it was another little road trip for Big Red. 360 miles without even the slightest of problems. This big old truck cruises down the highway at 75 like it's nothing. Not many 37 year old vehicles can do that. Anyway, while up here I got bored and decided to do something I've been wanting to do for a long time... Install a decent radio!
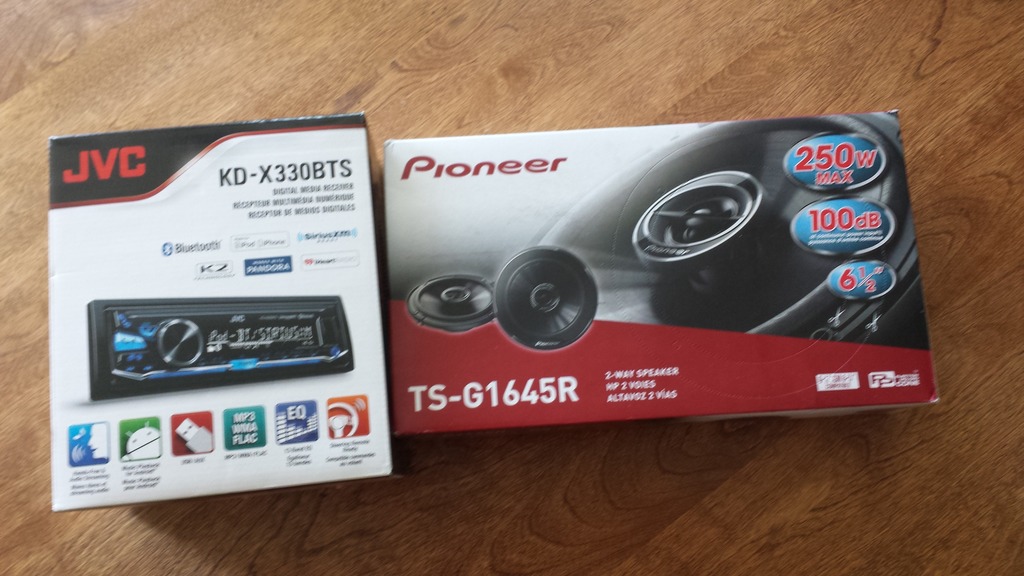
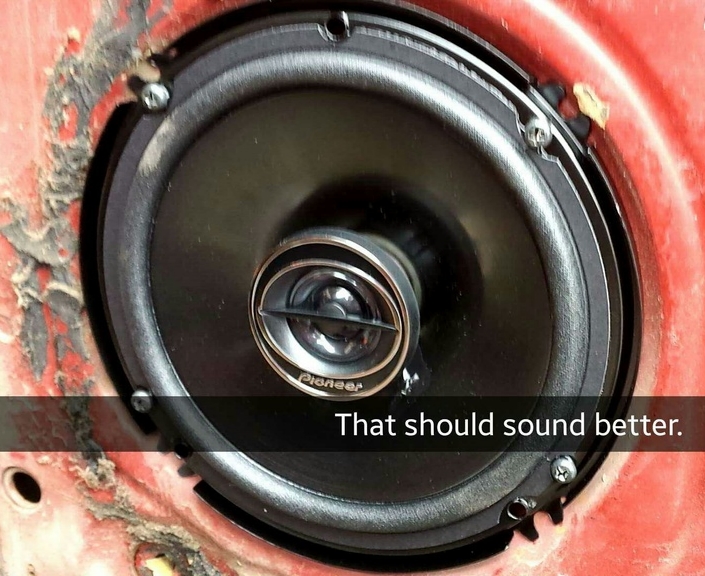
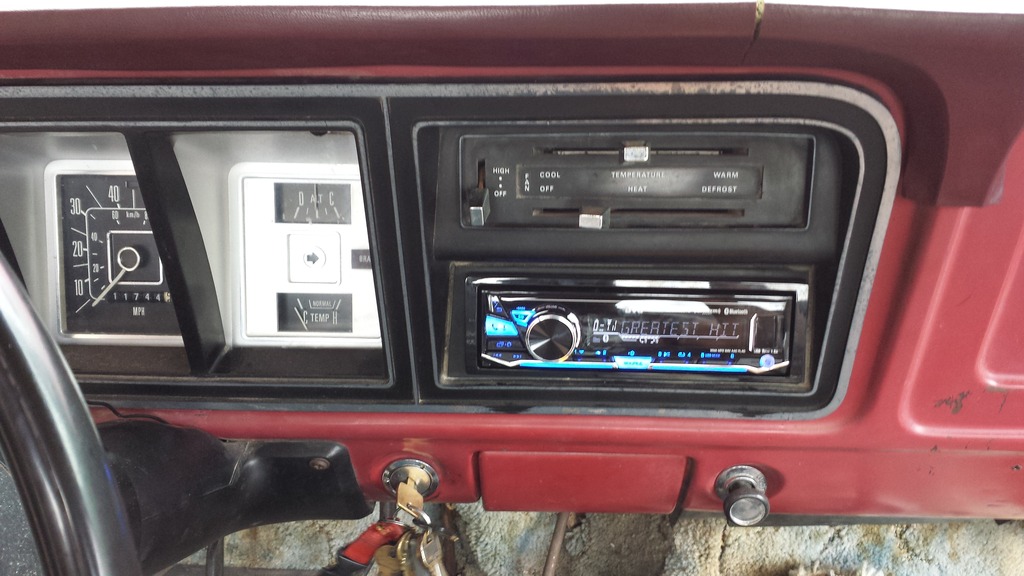
Here's what I went with. I decided on a JVC KD-X330BTS for the head unit and some Pioneer 6.5" 2ways for the door speakers. I chose this head unit because it was Bluetooth (I usually play music off my phone), it had a built-in 1.5 amp USB charger, and it was 22w RMS x4. I'm thrilled with it. Everything works great and it's very user friendly. I actually have a speaker box that I got from a buddy several years ago and that will go behind the seat, unfortunately, it's down in southern Illinois, so installing it will have to wait.
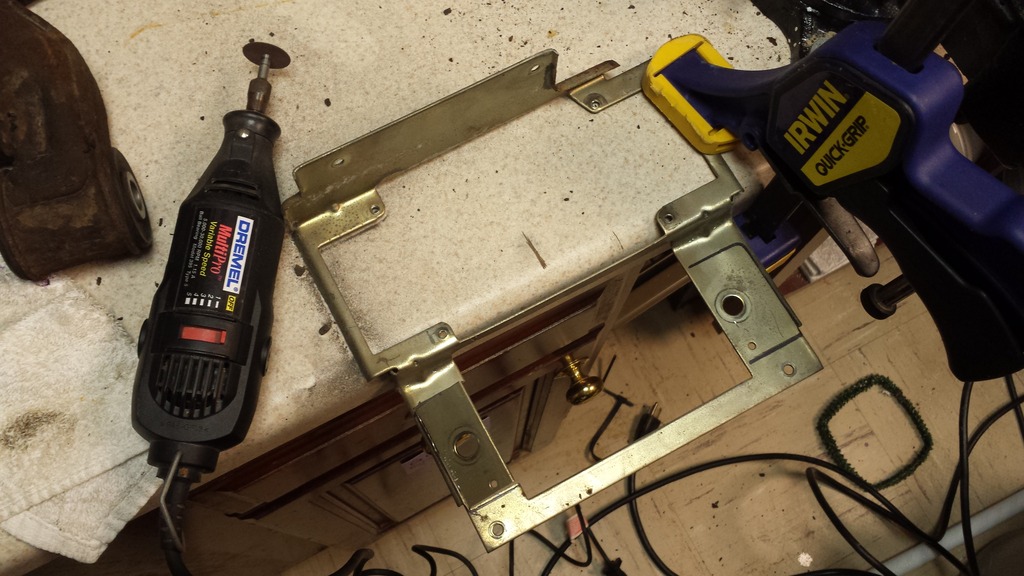
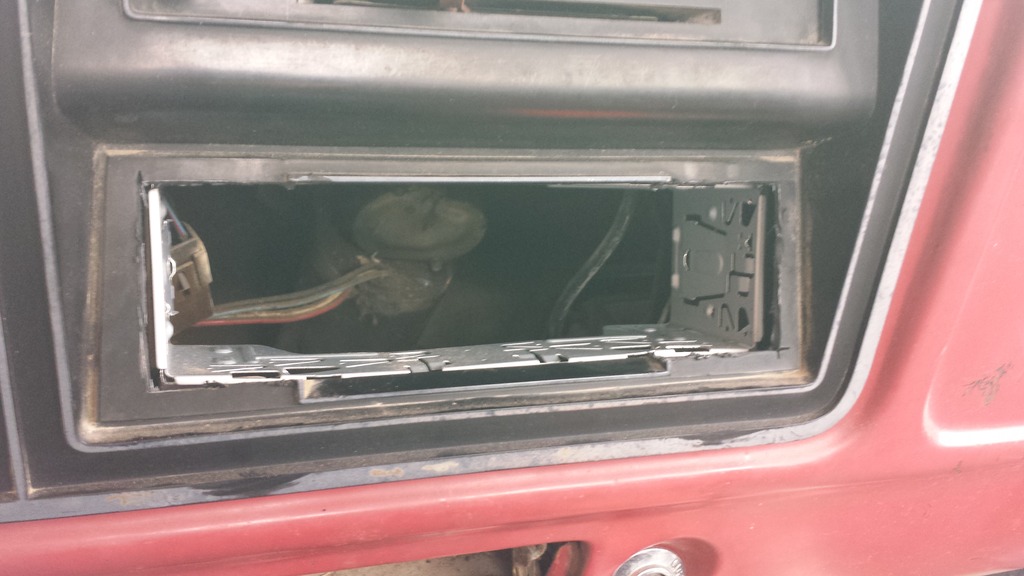
First step was obviously to disassemble the dash and remove the factory radio. Once removed I began to modify the original radio bracket to accept the modern single DIN radio cage. I took some measurements, drew them out on the bracket, and cut it using a dremel tool and cut-off wheel.
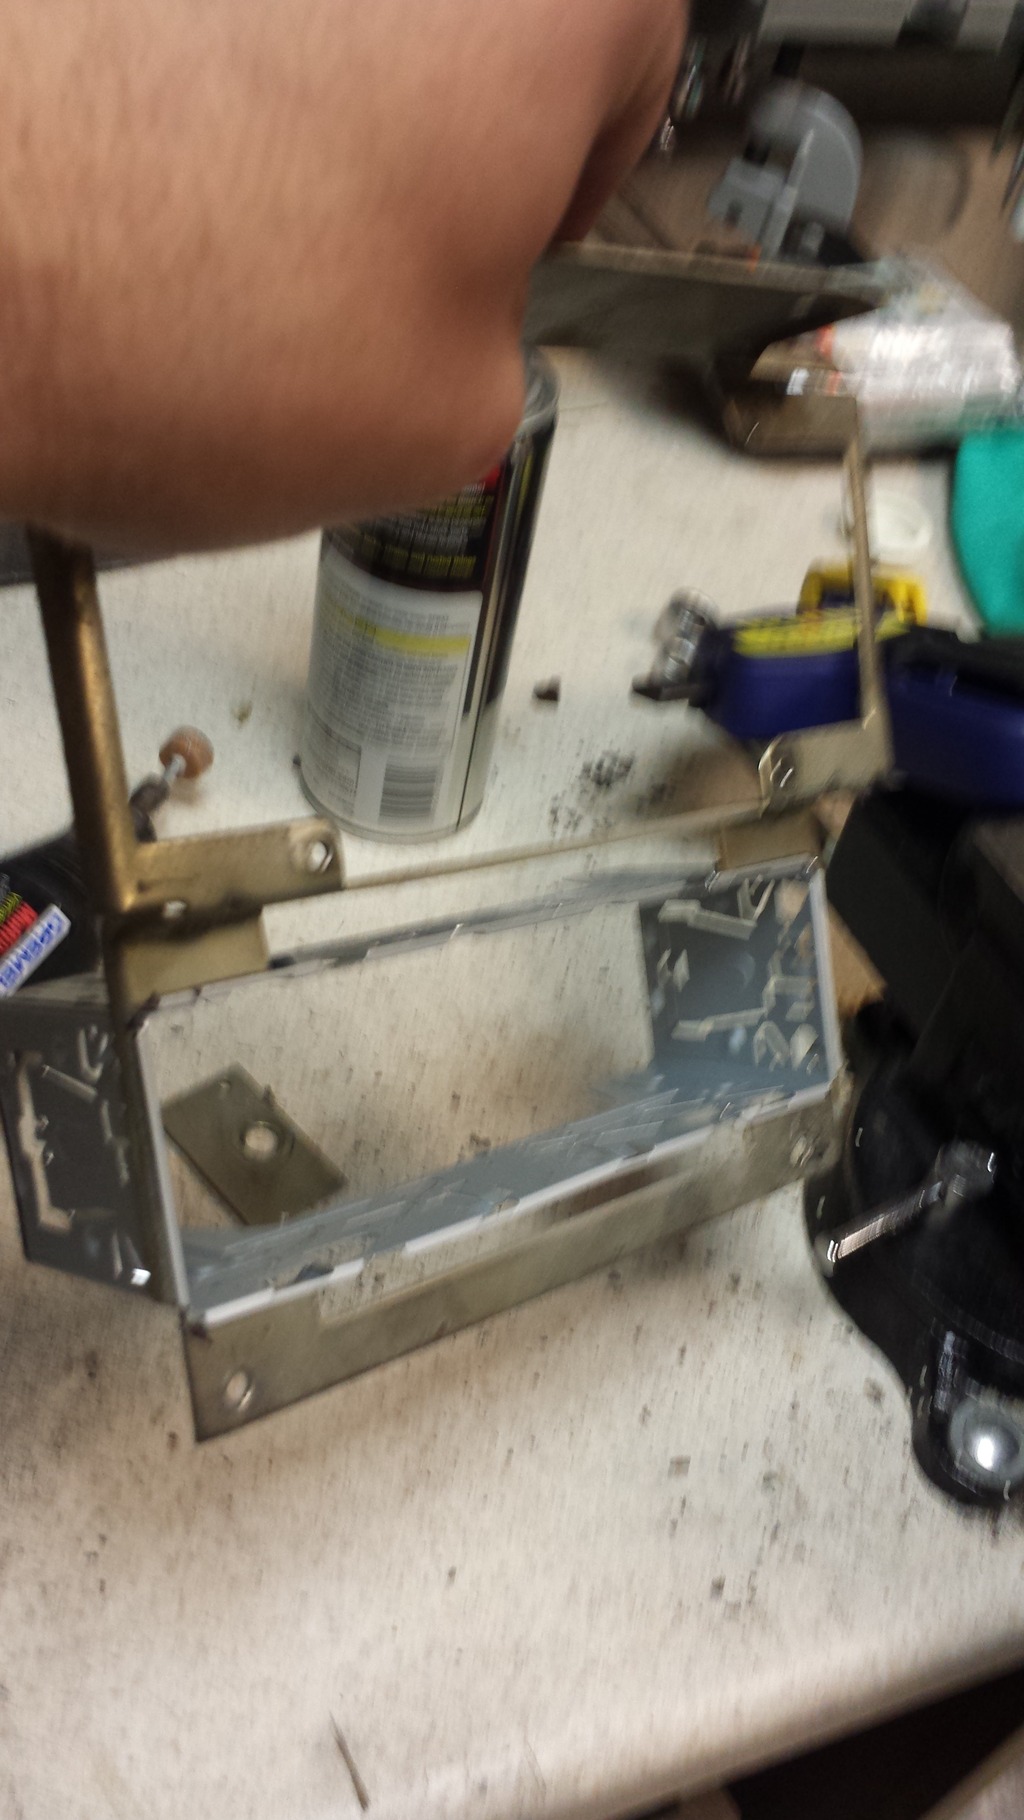
The Dremel worked great and allowed me to get very close and precise. (sorry for the blurry pic.)
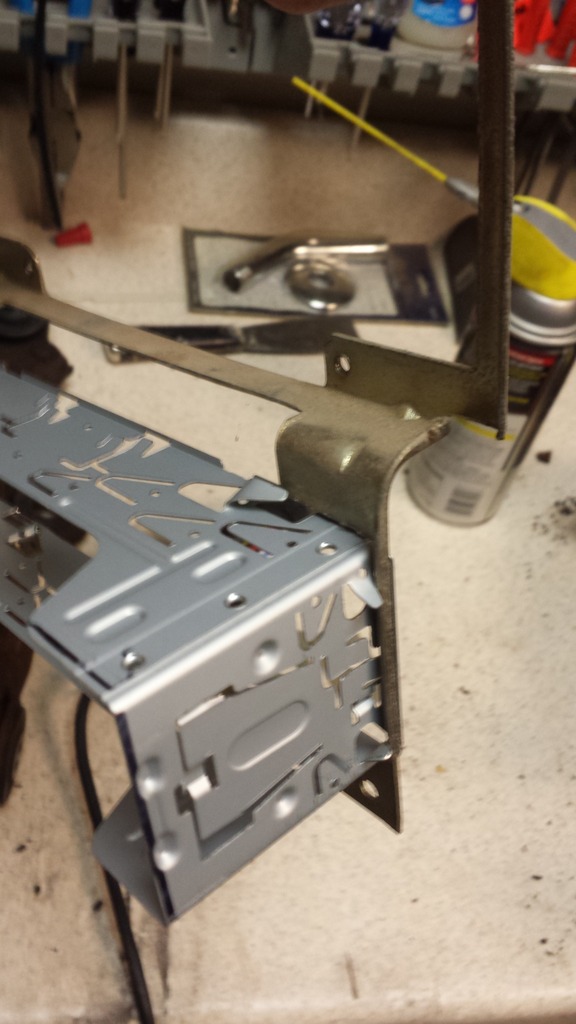
Once fitted, the locking tabs were all bent into place to secure everything in place.
Next I modified the dash panel to fit the new radio. Once again I used the Dremel with a cut-off wheel. You can see that the cuts are not perfect, but the imperfections will be covered by the bezel surrounding the new radio.
I then had to do all the wiring. This truck did not have stereo (just the one dash speaker), so I had to run the wires to the doors for the new 6.5"s as well as a power wire from the battery (also installed an in-line fuse just to be safe). The rest of the wiring was fairly straight forward, but time consuming. A lot of time was spent stripping, soldering, cutting, and heat shrinking.
Finally it was time to put in the new radio and try everything out. Everything worked flawlessly. There was a lot of wiring done, so part of me was expecting to have crossed a wire at some point, but my patience paid off and I didn't have any issues.
I was honestly surprise how good everything sounded for only having two 6.5s I'm very excited to install that speaker box with the small subs to see how much better it will sound then.
I love cruising and listening to that V8 purr, but sometimes it's nice to have some tunes too. I'm very pleased with this little project.
I just waxed and buffed mine this past weekend wih a 7" orbital buffer from harbor freight, it was on sale for $20 and a set of pads for it was like $10. it worked great, used it on setting 5 of 1-8. I also got lots and lots of McGuire liquid, 2 bottles and used both. My painter friend told me to always use the liquid instead of paste. He also told me to totally saturate the buffer pad with water and squeeze out excess than use lots of wax the first time. I couldn't believe how deep the shine looks and it how great it came out. Beyond happy!! It does make a damn bloody mess though.. lol
Here's a couple pics of the paint.
That looks great! It looks better than a brand new factory paint-job. I was at harbor freight the other day looking at them. I'm glad to hear they worked well for you. That's probably what I'll do once the paint cures a little more. Thanks for the advice!
That looks great! It looks better than a brand new factory paint-job. I was at harbor freight the other day looking at them. I'm glad to hear they worked well for you. That's probably what I'll do once the paint cures a little more. Thanks for the advice!
yea, i was skeptical. Harbor freight is harbor freight and their tools are well..cheap but the cheap one i got worked super well and really happy with it.
hey, i go the same stereo head unit and love it..well, pretty close anyways..
i put n2 alpine 6.5 in the door and just got the kenwood 6X9 750w for the rear and built two boxes for them and runa 4X200w mb quart running in 2 ohm for the speakers and wow! it rattles the whole truck with bass from behind and the sound is almost as nice as the stereo in my car and its pushing close to 10k watts. I think i paid $100 for head unit, $150 for speakers and another $100 for amp and wiring kit. I was amzed at how good it sounds and the head unit is soooo customizeable. I run everything through the phone as well. Youll be real happy with the sound once you get a small amp in there, the sound will just be louder, clearer and more crisp, once the amp is tuned.
good luck, cant wait to see all the pics. Truck is coming along beautifully!

 05-26-2016, 07:32 PM