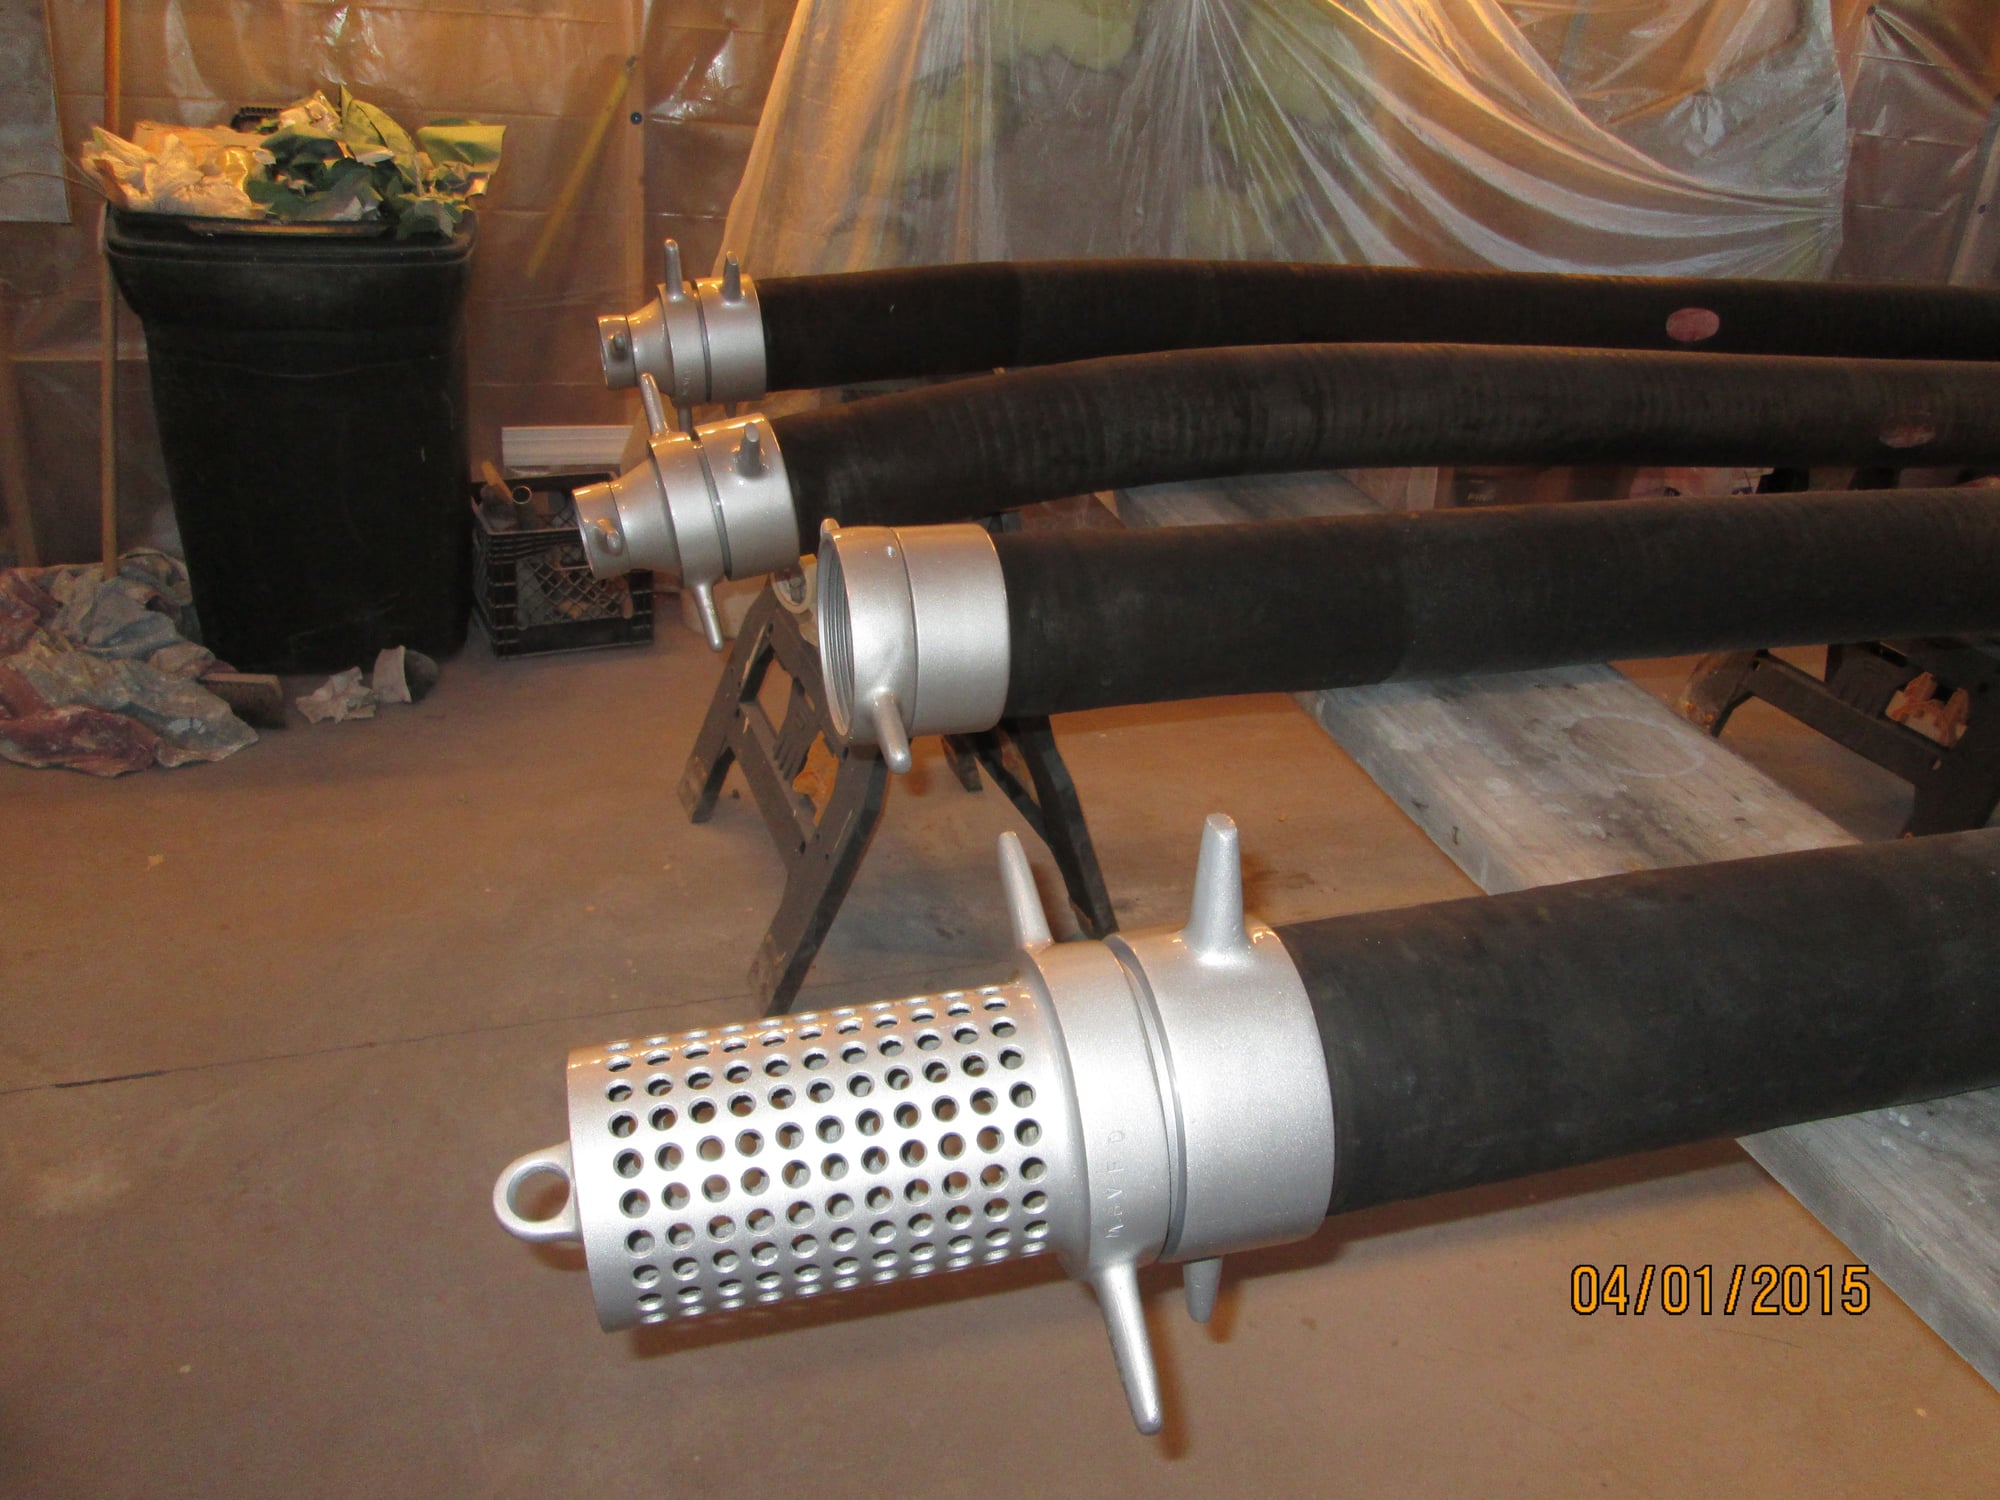
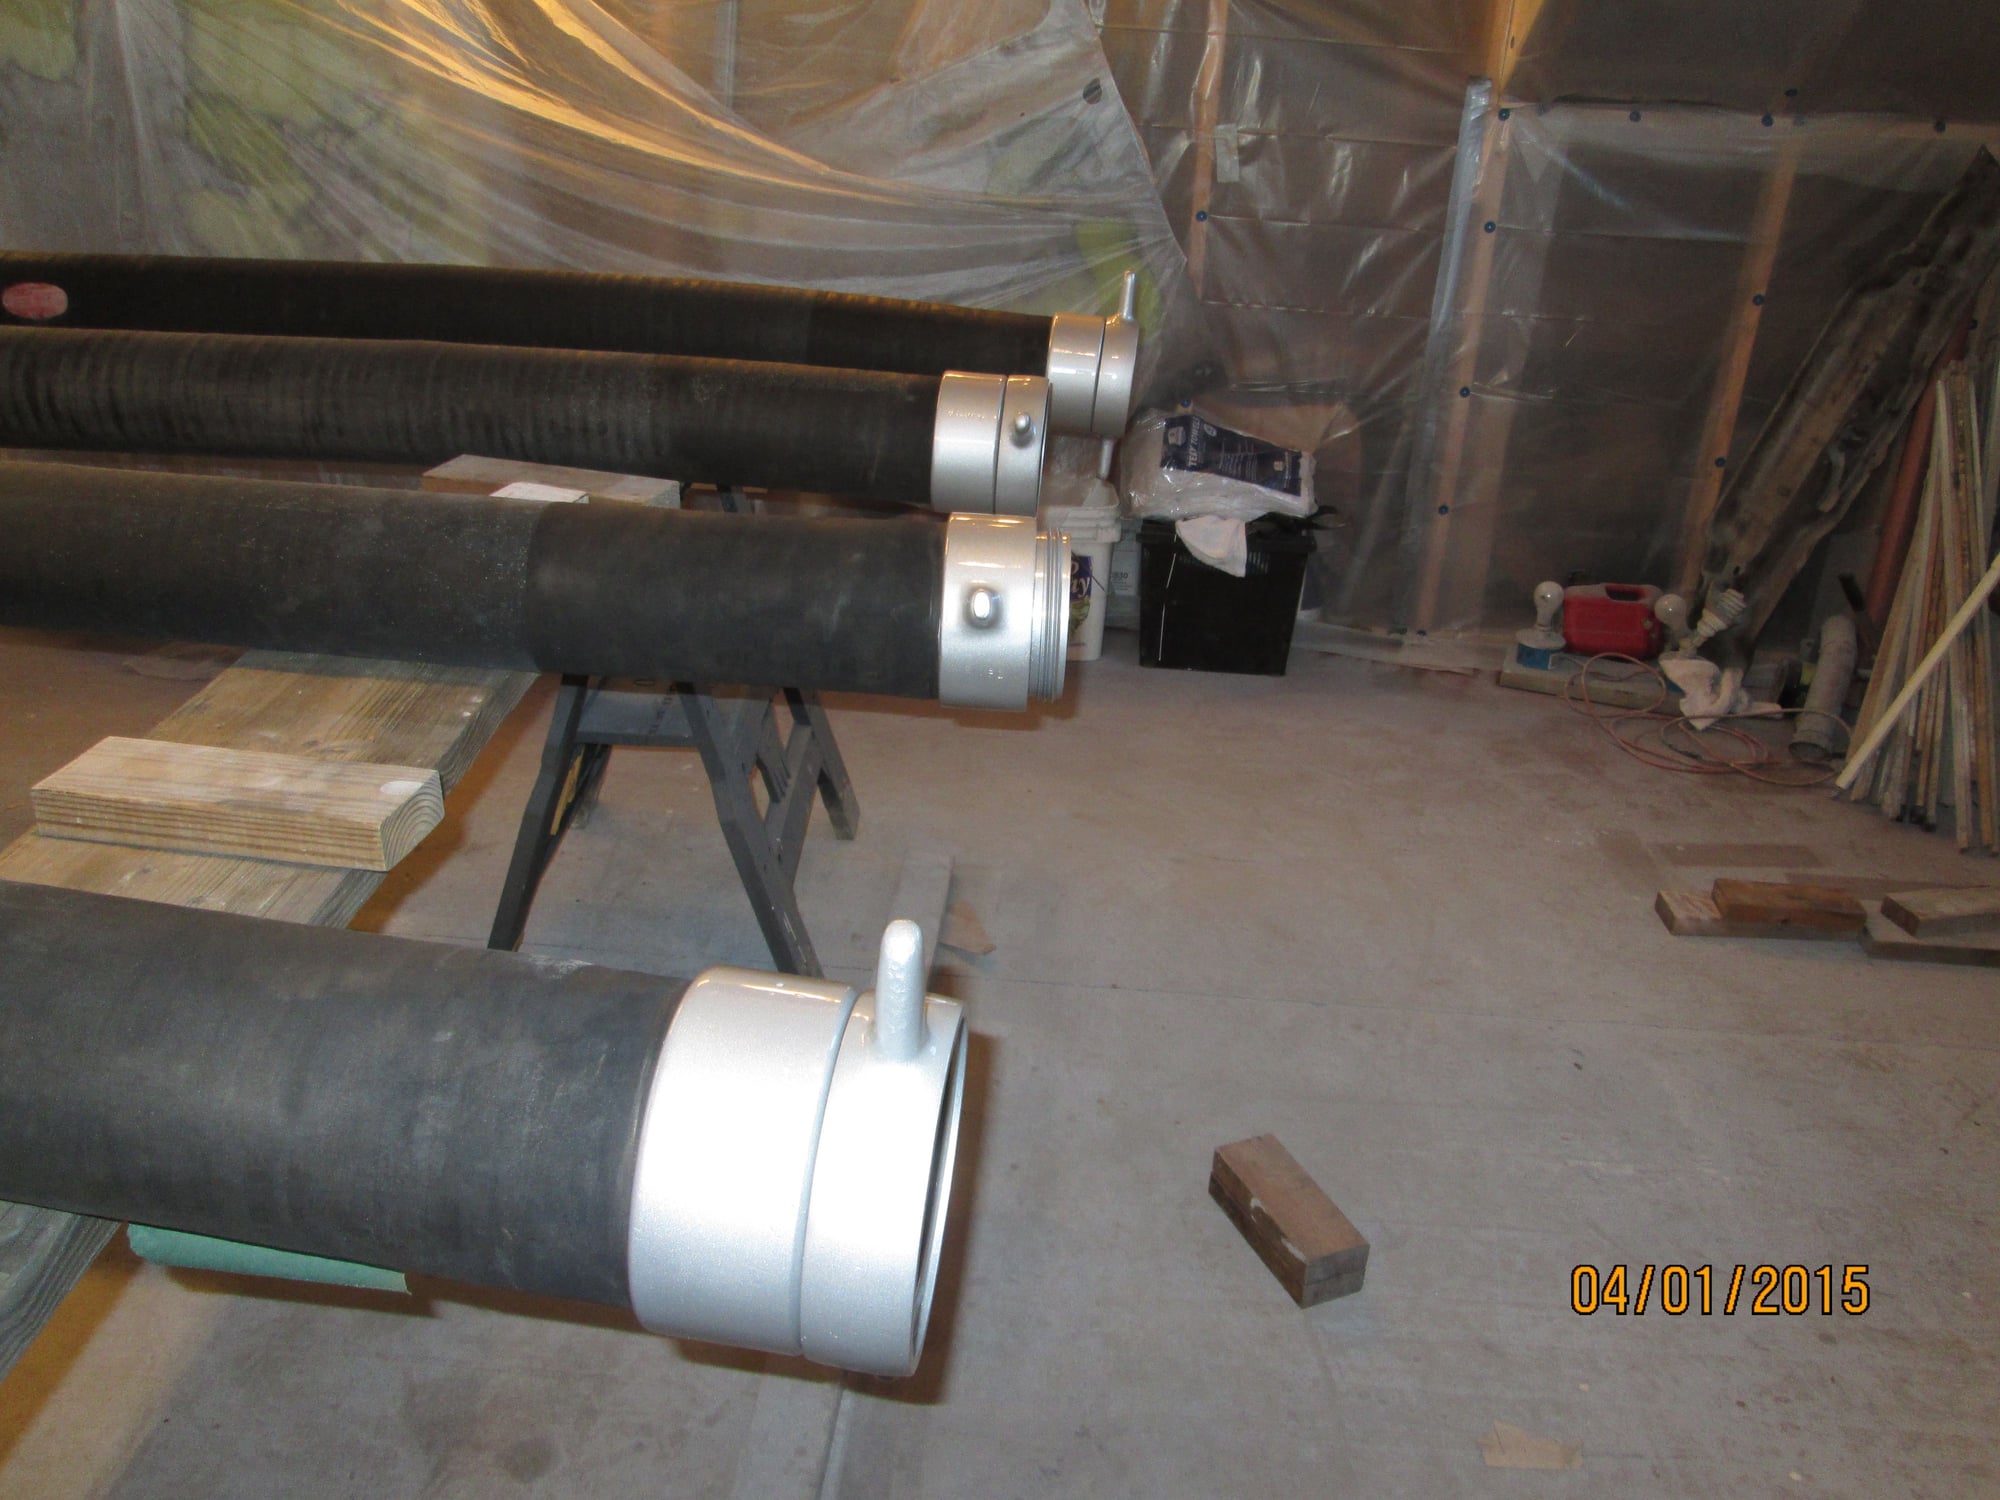
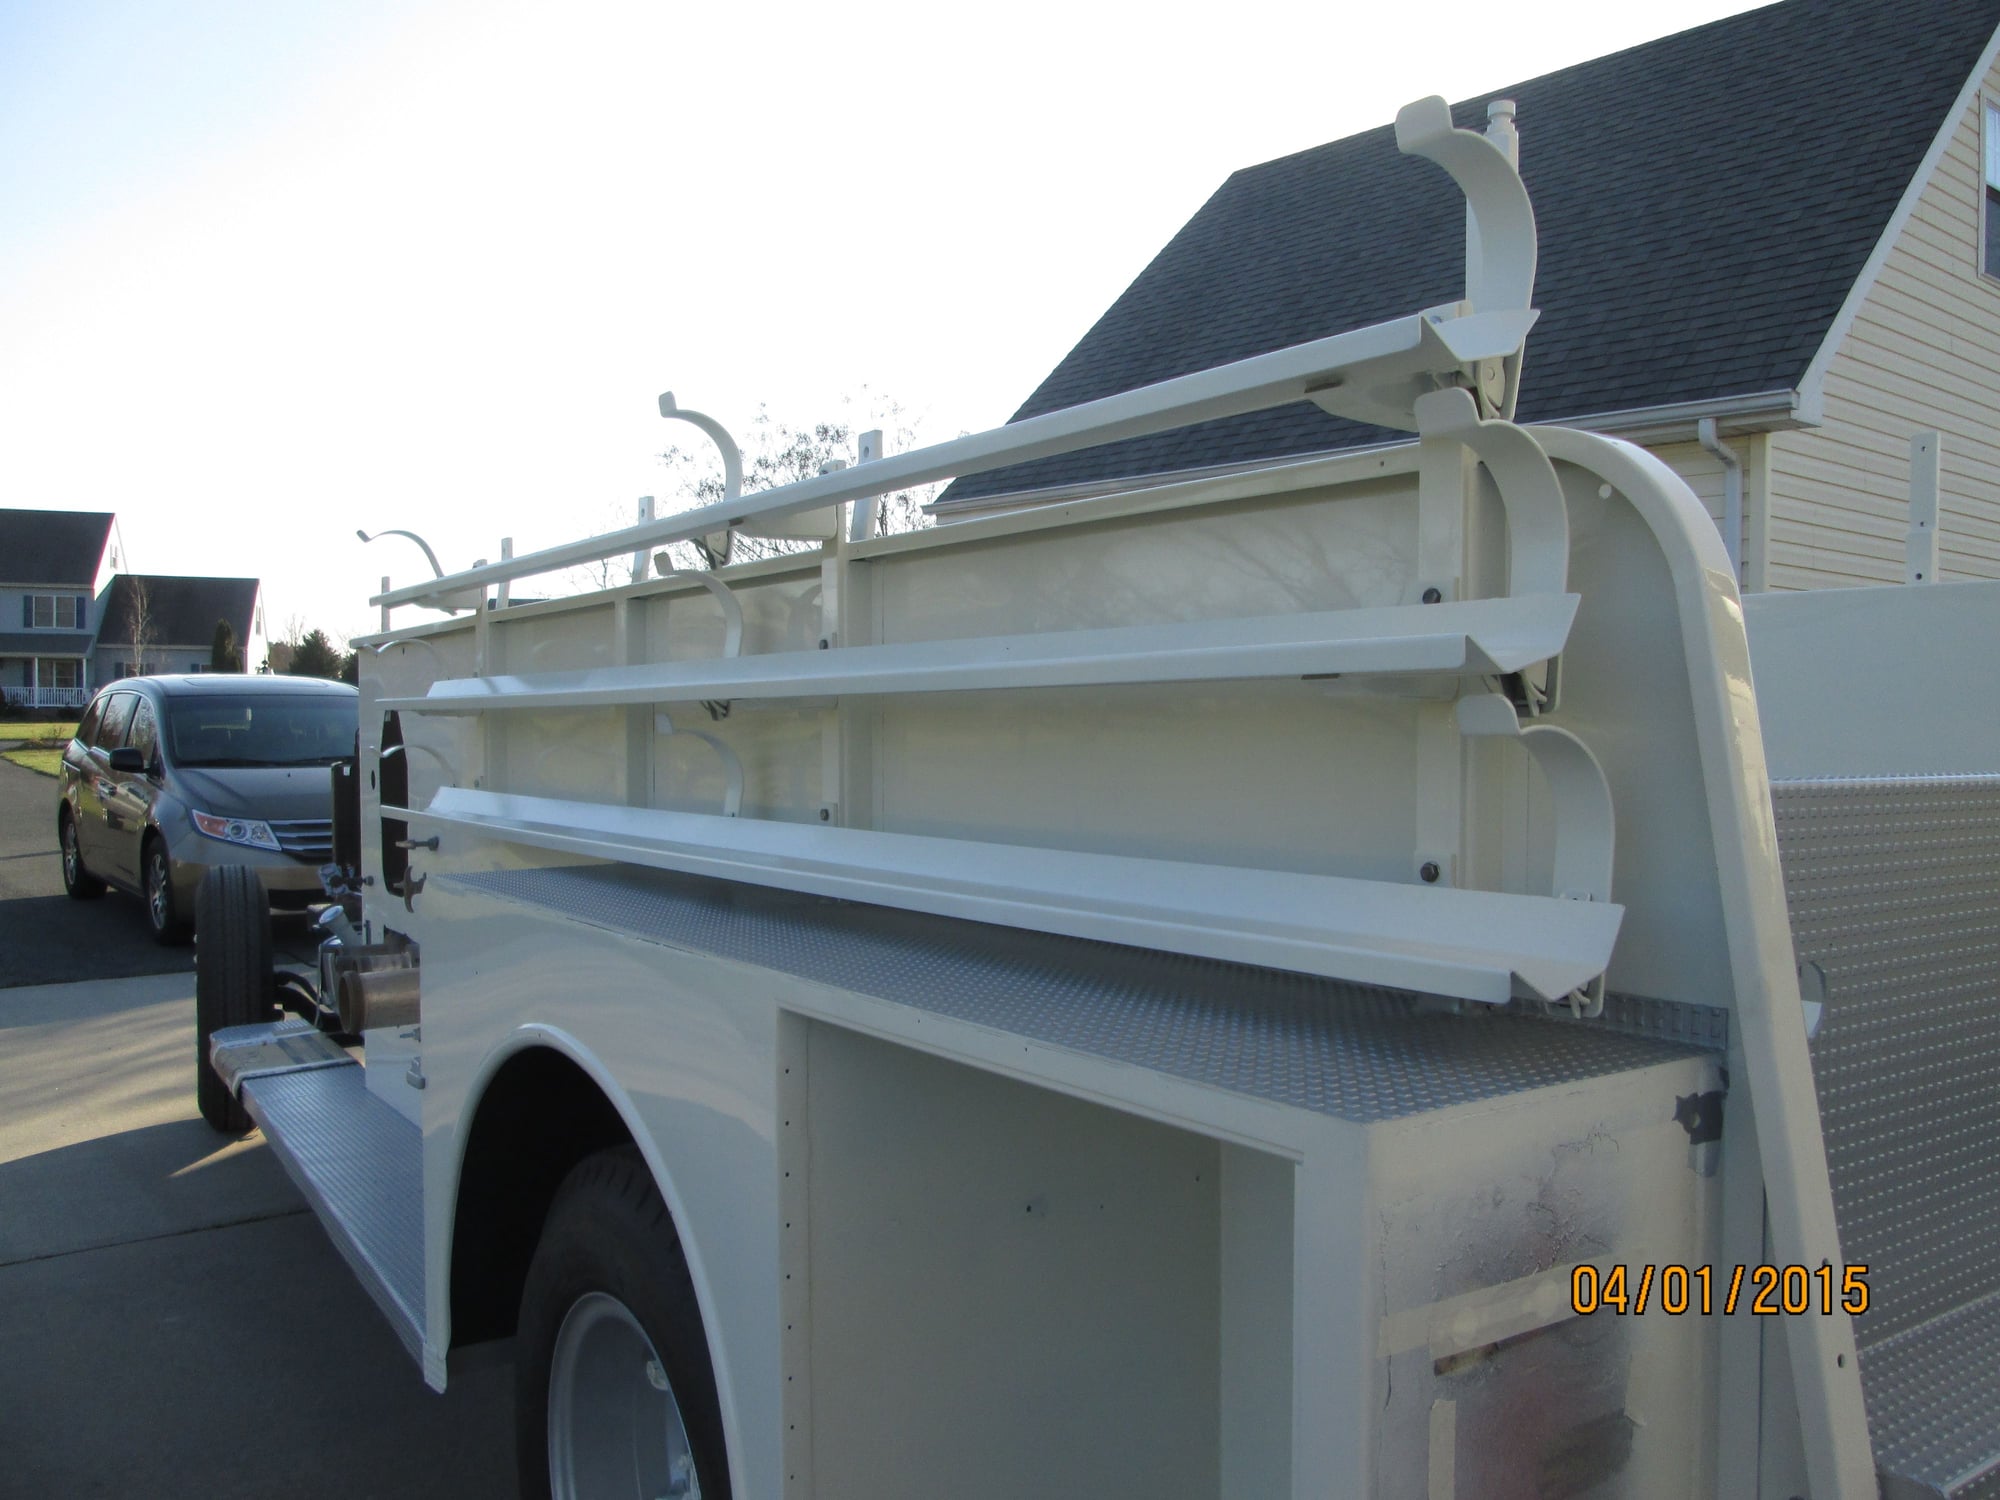
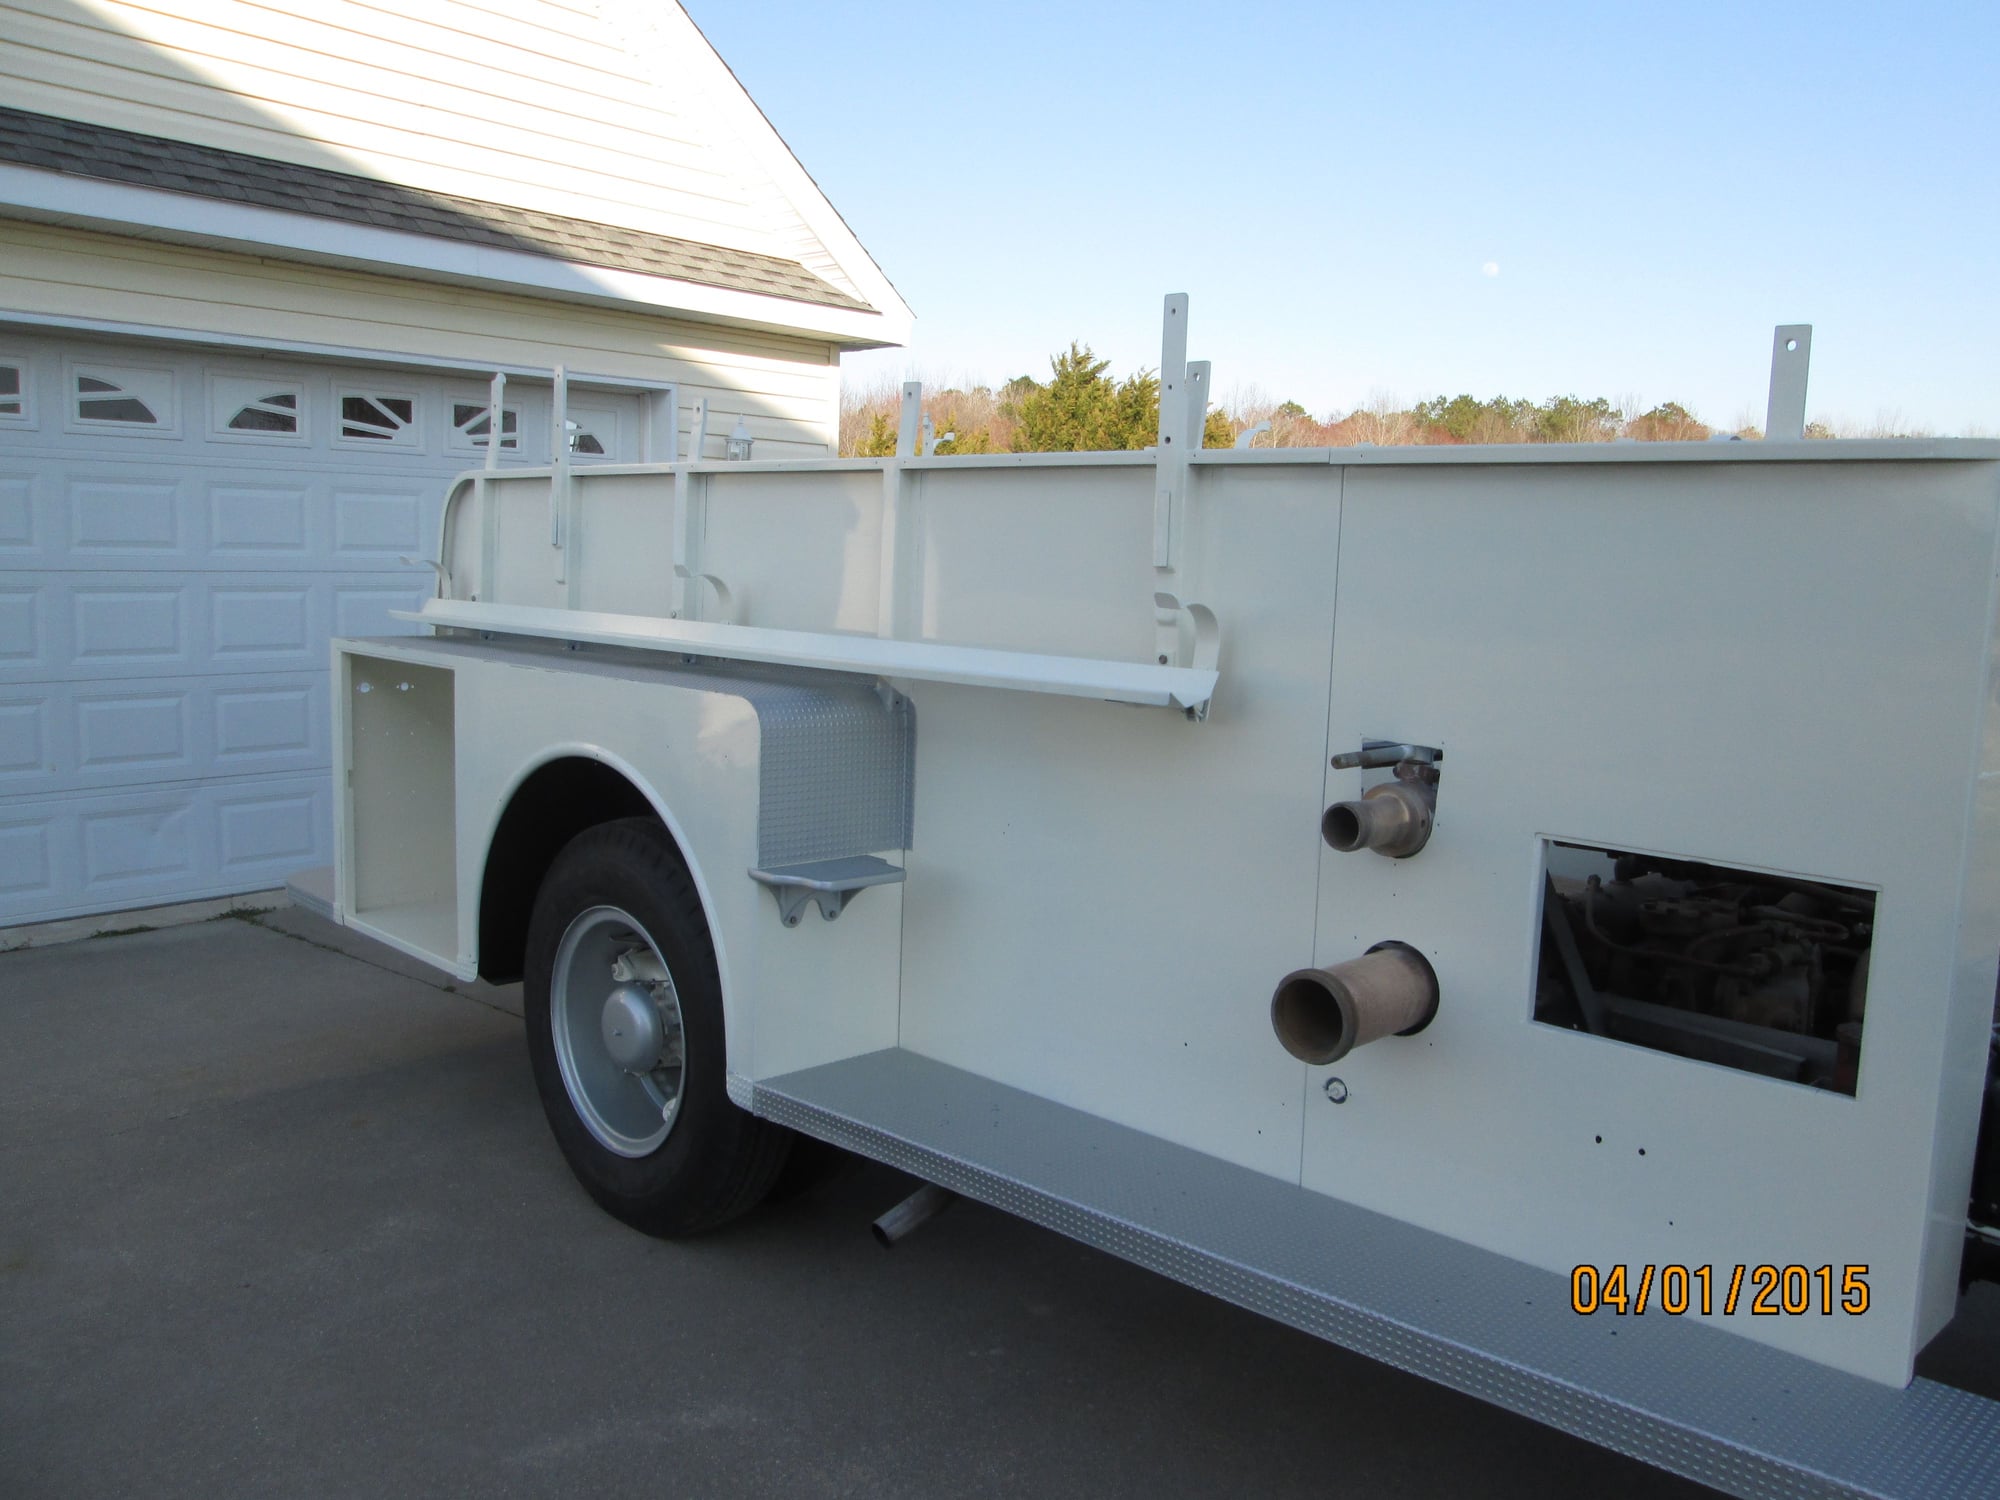
JimG 1098 build of the 54 F-750 Fire Truck
#121
#125
#127
Very nice. The backup bell is pretty cool.
I also like the way you tested your sender unit. Dummy me didn't think about doing that. I haven't tested mine yet, so I will need to hook it up like that before running all the wires.
You are making great progress, keep moving forward and showing us pictures.
I also like the way you tested your sender unit. Dummy me didn't think about doing that. I haven't tested mine yet, so I will need to hook it up like that before running all the wires.
You are making great progress, keep moving forward and showing us pictures.
#131
Join Date: Jan 2007
Location: Eastern shore,Salisbur,MD
Posts: 1,847
Likes: 0
Received 36 Likes
on
11 Posts
Setting the cab. Need some help !!!
Hi gang. All is good here. We set the cab Sunday while my sons were here. Pictures will follow soon, but I have a slight issue with the rear connections. I put new hard rubber spacers in the rear, odd shape, that sits actually on top of the swing arm. Now when I lowered the cab, the swing arm is pressing against the new rubber piece and I can not leverage it enough to get the bolt through. Is there a special trick to help me get this swing arm to compress enough to get my bolt through. If you need pictures, let me know and I will try to see what I can take. Its is a little crowded in there now.
thanks all. Lots of progress last few weeks. i'll post as soon as I can
thanks all. Lots of progress last few weeks. i'll post as soon as I can
#132
Jim,
I remember you saying that your boys were going to be around on Easter and you were going to get the cab mounted. I'm glad you were able to muscle it on there.
As for the dog bones and rubber snubbers......well, its a fight. The 48-52 mounts are similar, they look a bit different but they work the same. I recently rebuild my dog bones and added new bushings. I didn't replace the rubber snubbers but I remember having to really fight it to get the bolts back in place. I can imagine that with new snubbers it could be a real pain.
You should be able to get one side in without too much of a hassle as you can raise the opposite cab corner to help align things. Its a bit harder with the second side. I think I had to use a variety of center punches, smaller bolts, prybars etc to stick through the holes and try to pry them into alignment.
Keep at it, try to jack up the other side a bit, with some persistence you'll get the bolts in
Bobby
#133
Join Date: Jan 2007
Location: Eastern shore,Salisbur,MD
Posts: 1,847
Likes: 0
Received 36 Likes
on
11 Posts
Bobby, Thanks for the input. You described it so well, almost sounds as if you were watching. What I did for the time being was put a block of wood in between the frame and cab so nothing gets out of alignment while I put the truck away. Hope to get to it this week end, something came up this week. I'll post pics as soon as I get a little time, but the actual placement of the cab went very well.
#134
At least on the newer trucks you can see what you are doing. On the 48-50 trucks the running boards have an extra horizontal piece that run from the top of the running board and bolts to the frame with only a small access hole to get to the cab mount.
Who knows, maybe next weekend you'll have better luck with it.
Bobby
Who knows, maybe next weekend you'll have better luck with it.
Bobby


