When you click on links to various merchants on this site and make a purchase, this can result in this site earning a commission. Affiliate programs and affiliations include, but are not limited to, the eBay Partner Network.
To dimple the holes, did you press a conical shaped object into them? How did you do it?
You need a dimple die, a means to cut a hole, and a press or a port a power or even a bolt and nut on the thin stuff. There are a couple of different types and the hardness is VERY important. Mine do not have the holes in the center and are rated for up to 3/16 steel. I have to use my press. The ones with the holes in the center are super nice because you can use a port a power and put dimples in parts that couldn't be used in a press. The best way to make holes is to use a hydraulic knock-out but you can also use a hole saw or a file if you have a few days lol. Speaking of hole knockout sets, they are usually made for conduit work in the electrical industry. So be careful ordering a dimple die set. Conduit sizes are different. a 3 inch knockout for conduit is not the same size as, well, a 3 inch hole. Dimple die sets are available to match conduit hole sizes or actual american math hole sizes. Mine are actual. If I had to do it again, I would get the dimple die set to match the conduit sizes and use a port a power on everything. However, I found these on sale for $315 (to my door) http://www.pacificcustoms.com/ac000200s.html so that is what I went with at the time.
This kit is pretty sweet as I can punch the holes for the dimple dies with the ram. No need for hole saws. I do wish I had some smaller dies though but this set is enough to keep me busy. It says good to 14 gauge but my frame plates are 10 gauge and it has no issues whatsoever.
I just adapted the power supply with some tractor hydraulic adapters to also run my new JD2 bender.
This kit is pretty sweet as I can punch the holes for the dimple dies with the ram. No need for hole saws. I do wish I had some smaller dies though but this set is enough to keep me busy.
I just adapted the power supply with some tractor hydraulic adapters to also run my new JD2 bender.
Oh yeah. That's nice. If you look at the sizes they are based around conduit sizes. I'm definitely spending more $ in the future.
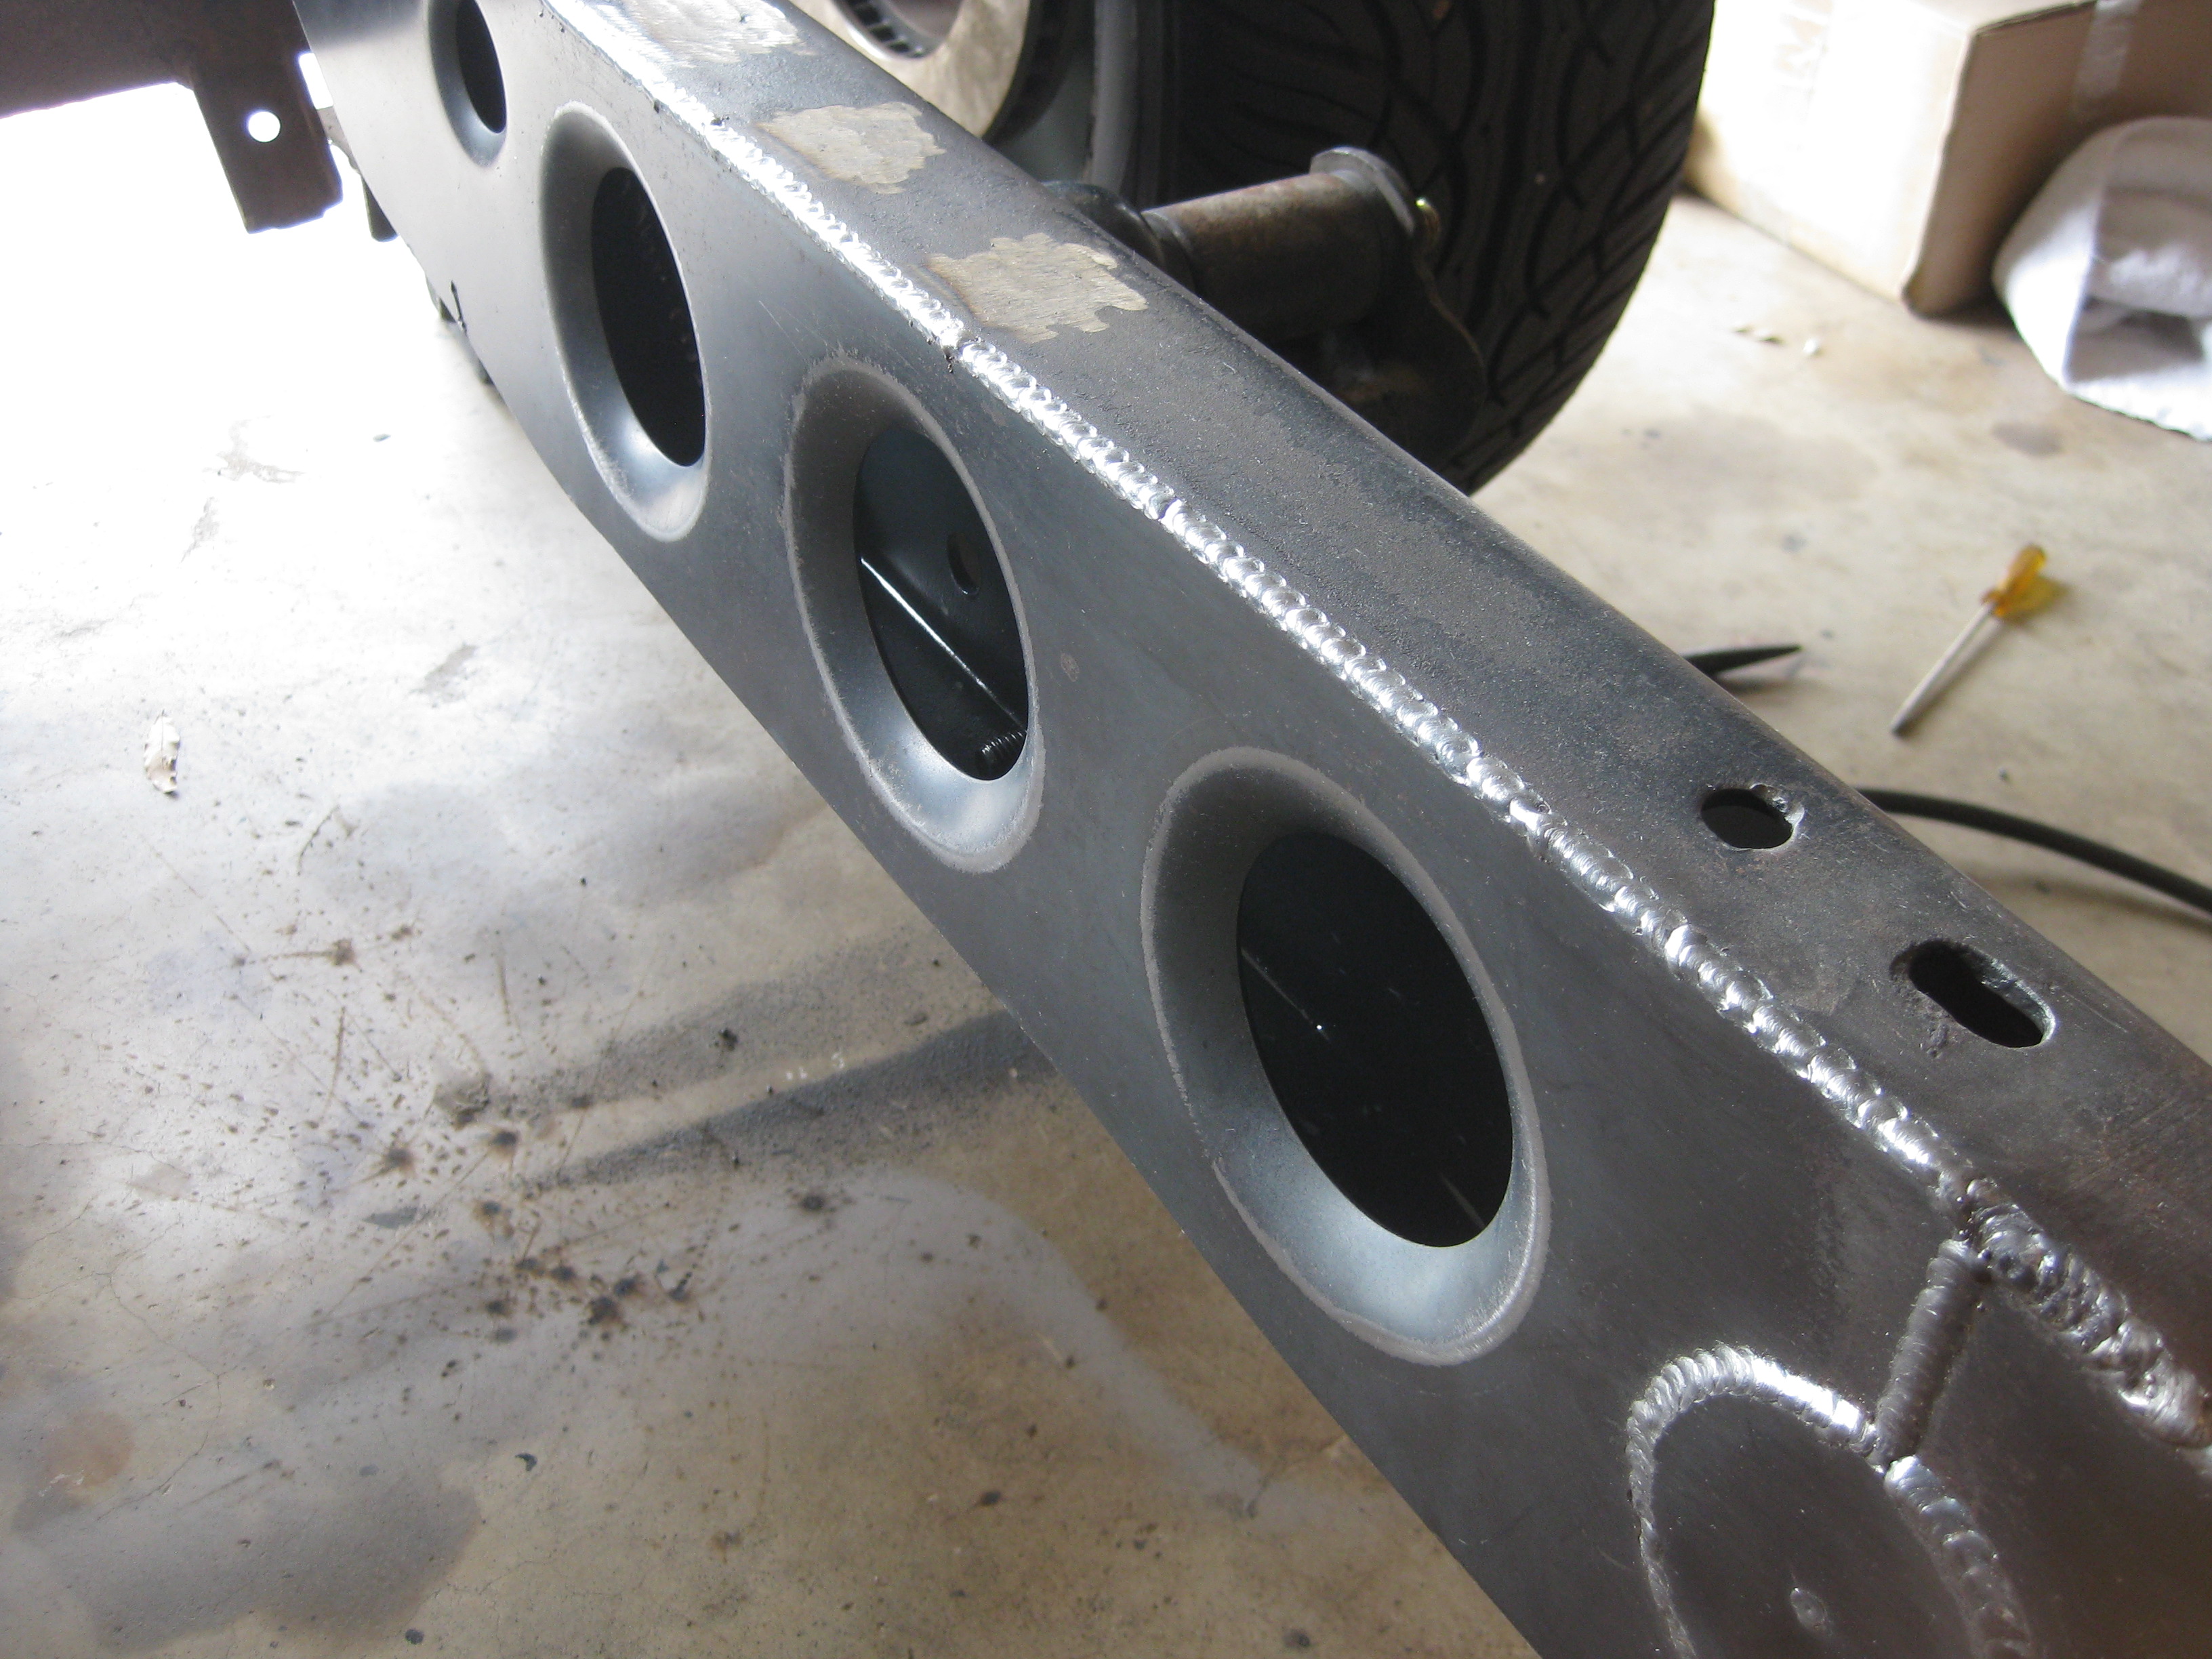
And just so everyone knows. These dimpled holes are technically called lightening holes. They are used to make panels stiffer and reduce weight at the same time.
That is the exact reason, the military used them in WWII, for landing mats, placing them on soft sand or soil, to make runways and the like, for airplanes & vehicles. Those landing mats, were 10 ga, as I said above, and had the lightening holes, spaced about 3" apart or so. They linked together, with tabs on the sides, and the military had hundreds of thousands of them. I have some, here in Baja, that I have used for years on the beach, when in really soft sand and launching a heavy boat... never get stuck, is my motto.. or always get unstuck it is better
Thousands and thousands, but I see them often, and lots of them are fences, and the like uses, at junk yards, coast guard stations, airports, and all over.. Now that I look at my photo, I think that the holes are about 2.5" and almost 6" apart... If you look around, you will see them... I cut one in half, trimmed off the side tabs, and had them rhino coated. They should last me forever, and beyond.. close to invaluable in soft sand or mud...
Dimple dies are the s***. A jd tube bender and dimple dies are one of my next investments in the tool category. I'll be using the dies for my rat rod frame I'll be building from scratch.
Ya just gotta love metal... its all so adjustable. Kudos on your metal smithing amigo. In a former life, I bet you made the King's armor, or his swords. Keep sharing the photos..
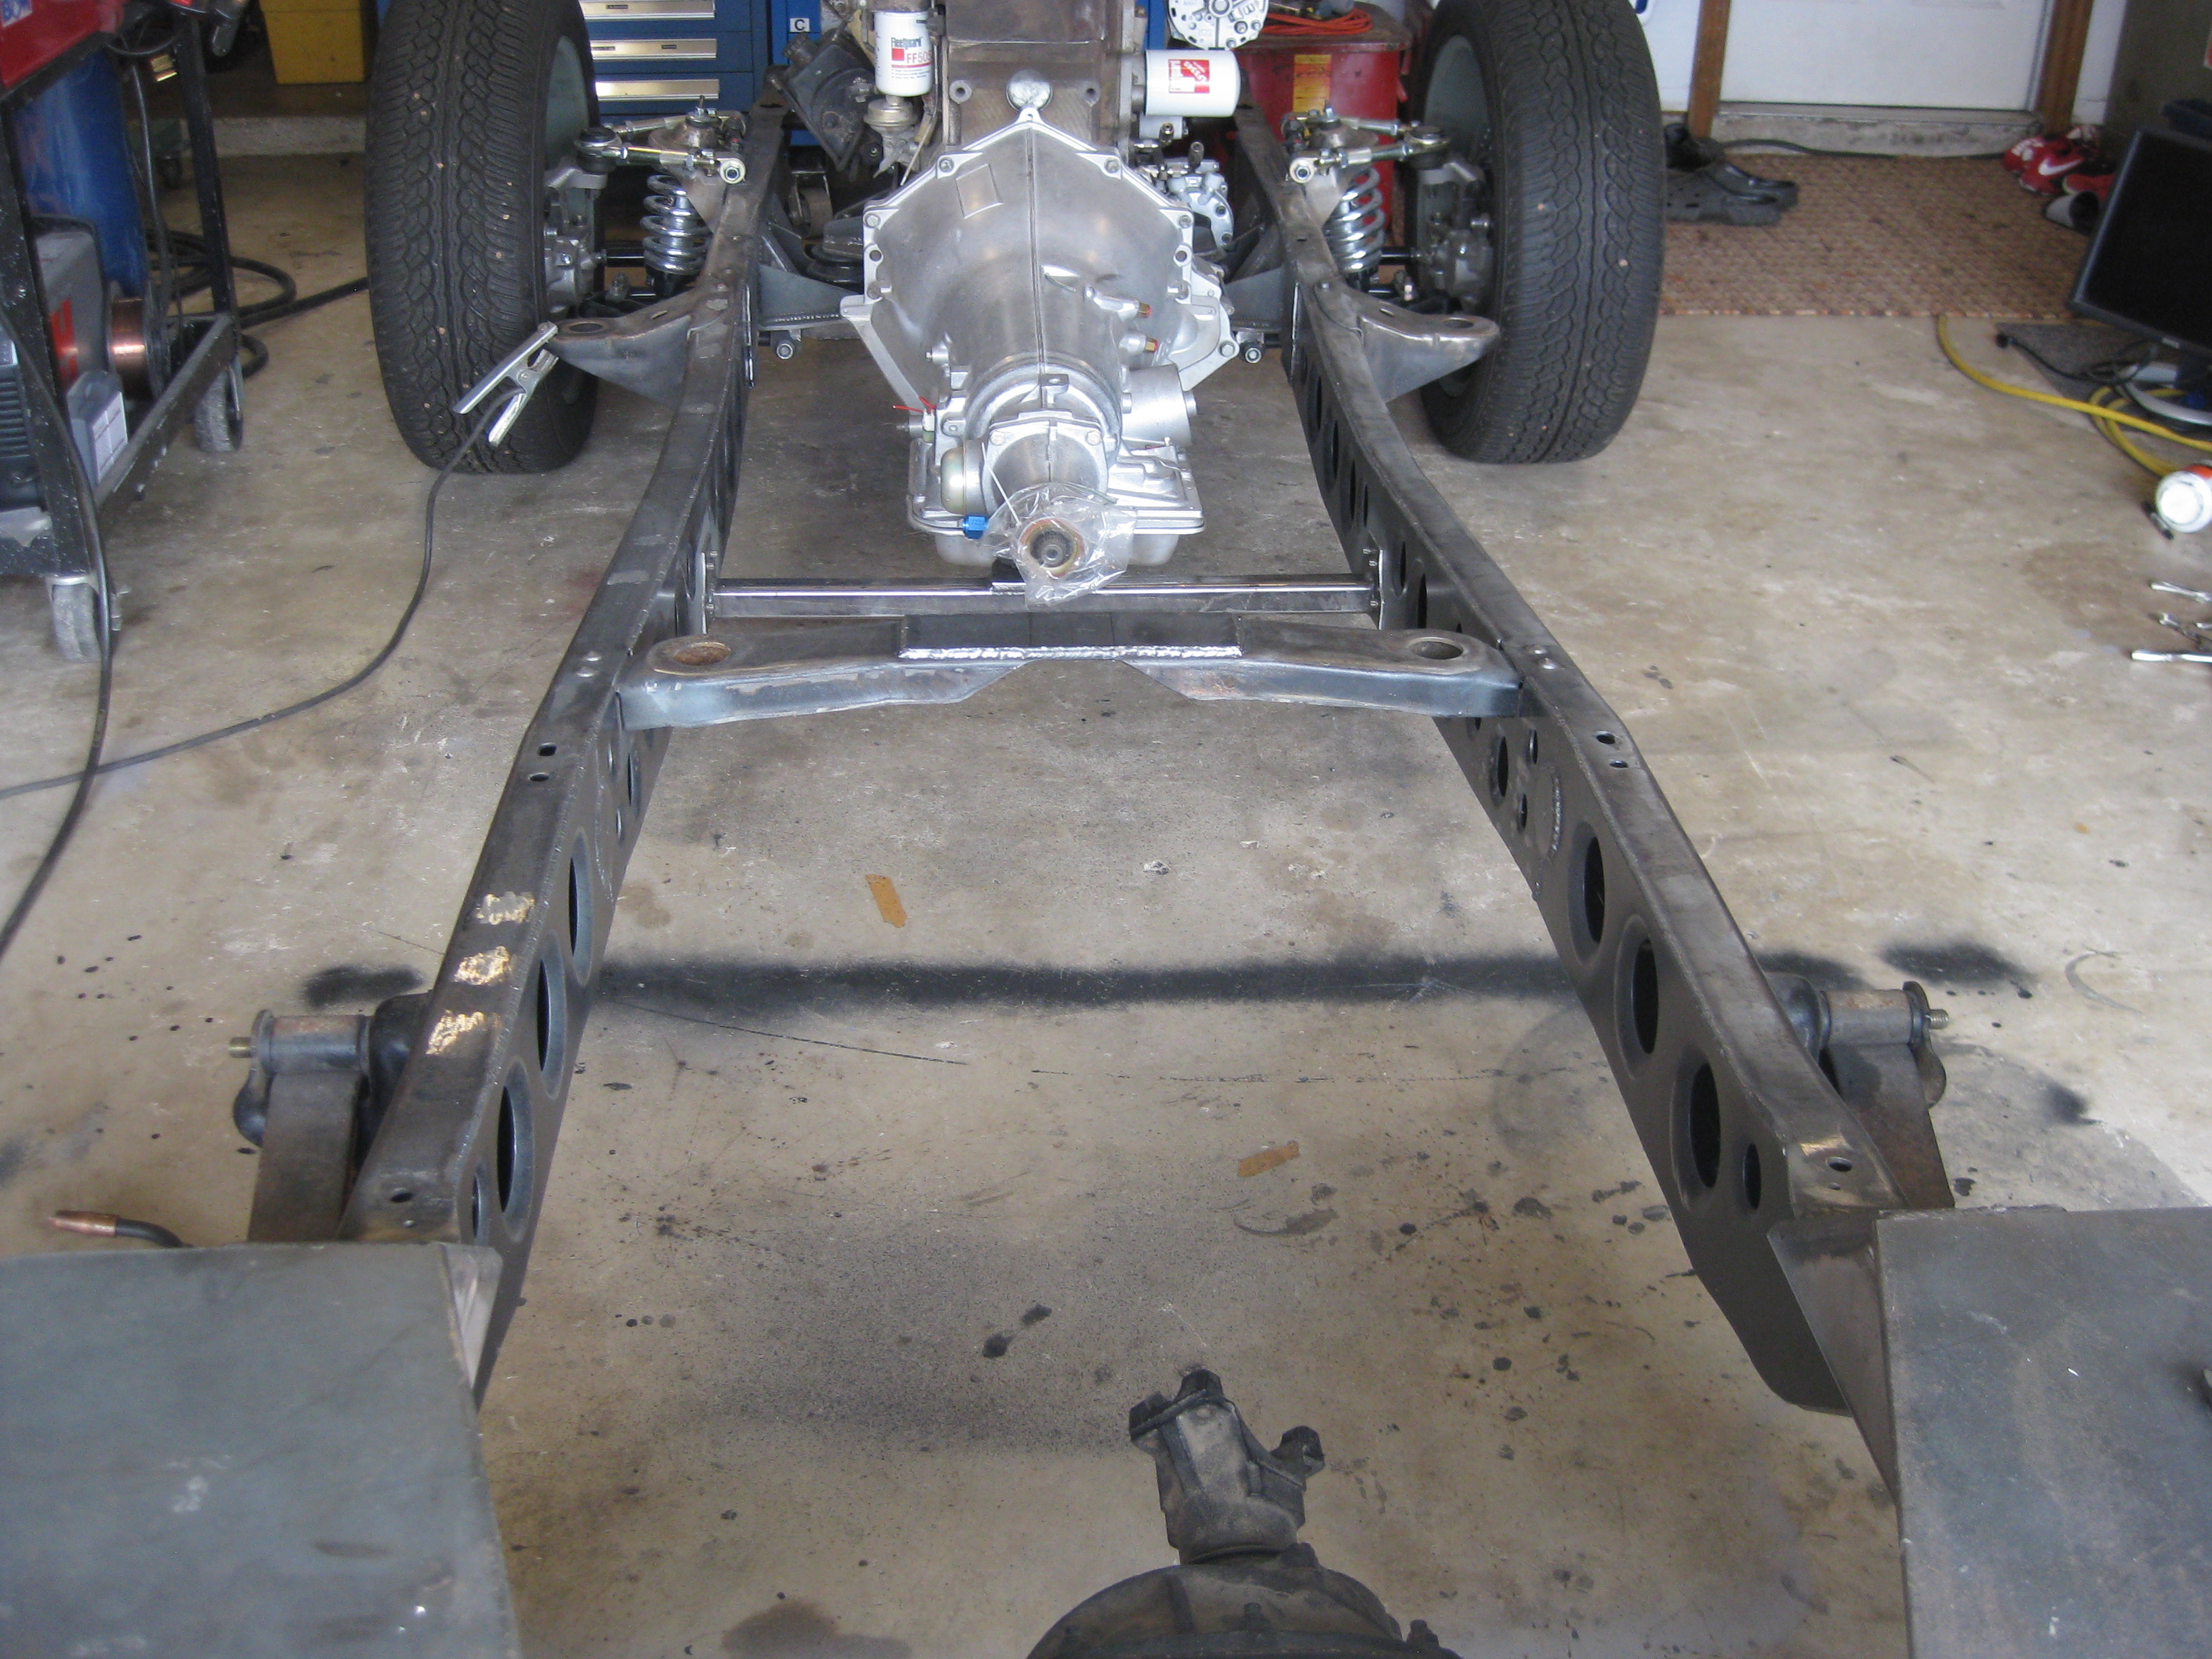
I have a question of my own ignorance, why did you set the engine so far back? I think I am aware that the newer trucks are similar, but is there a reason?
The transmission bell is out in the engine bay on my slick.
John
John,
I had the exact same thought. Glad to see you're still hangin' in there.
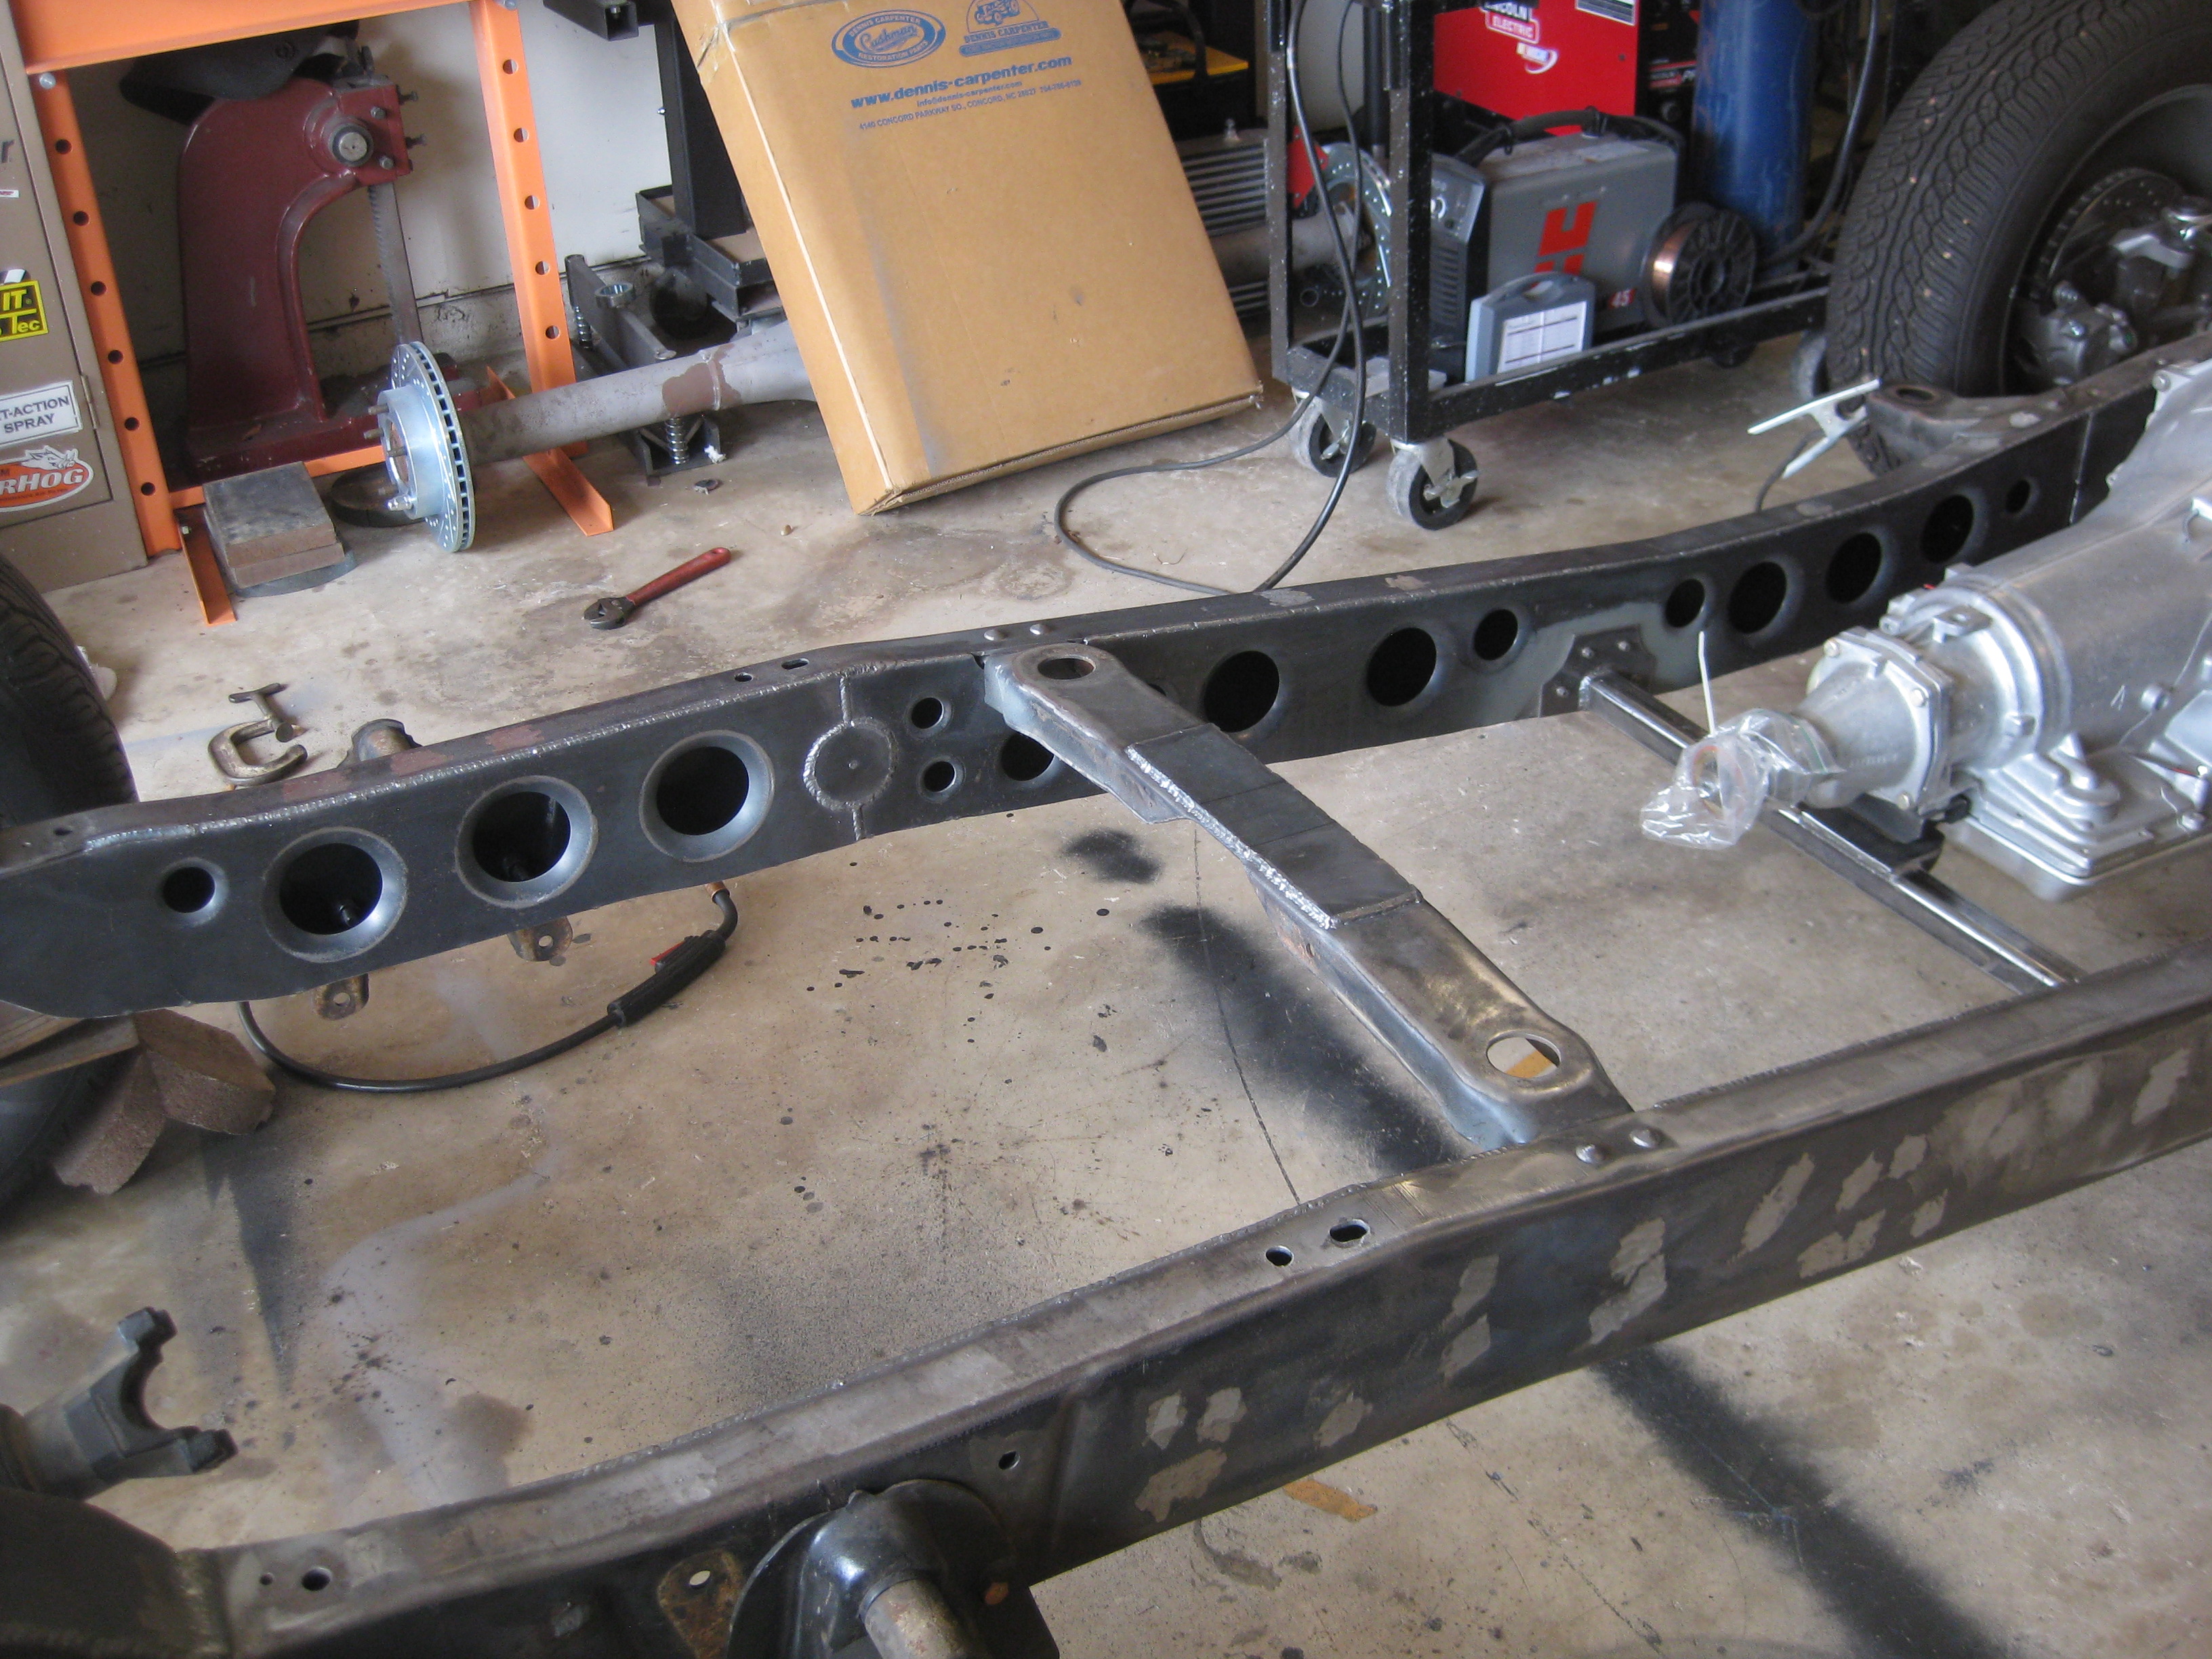
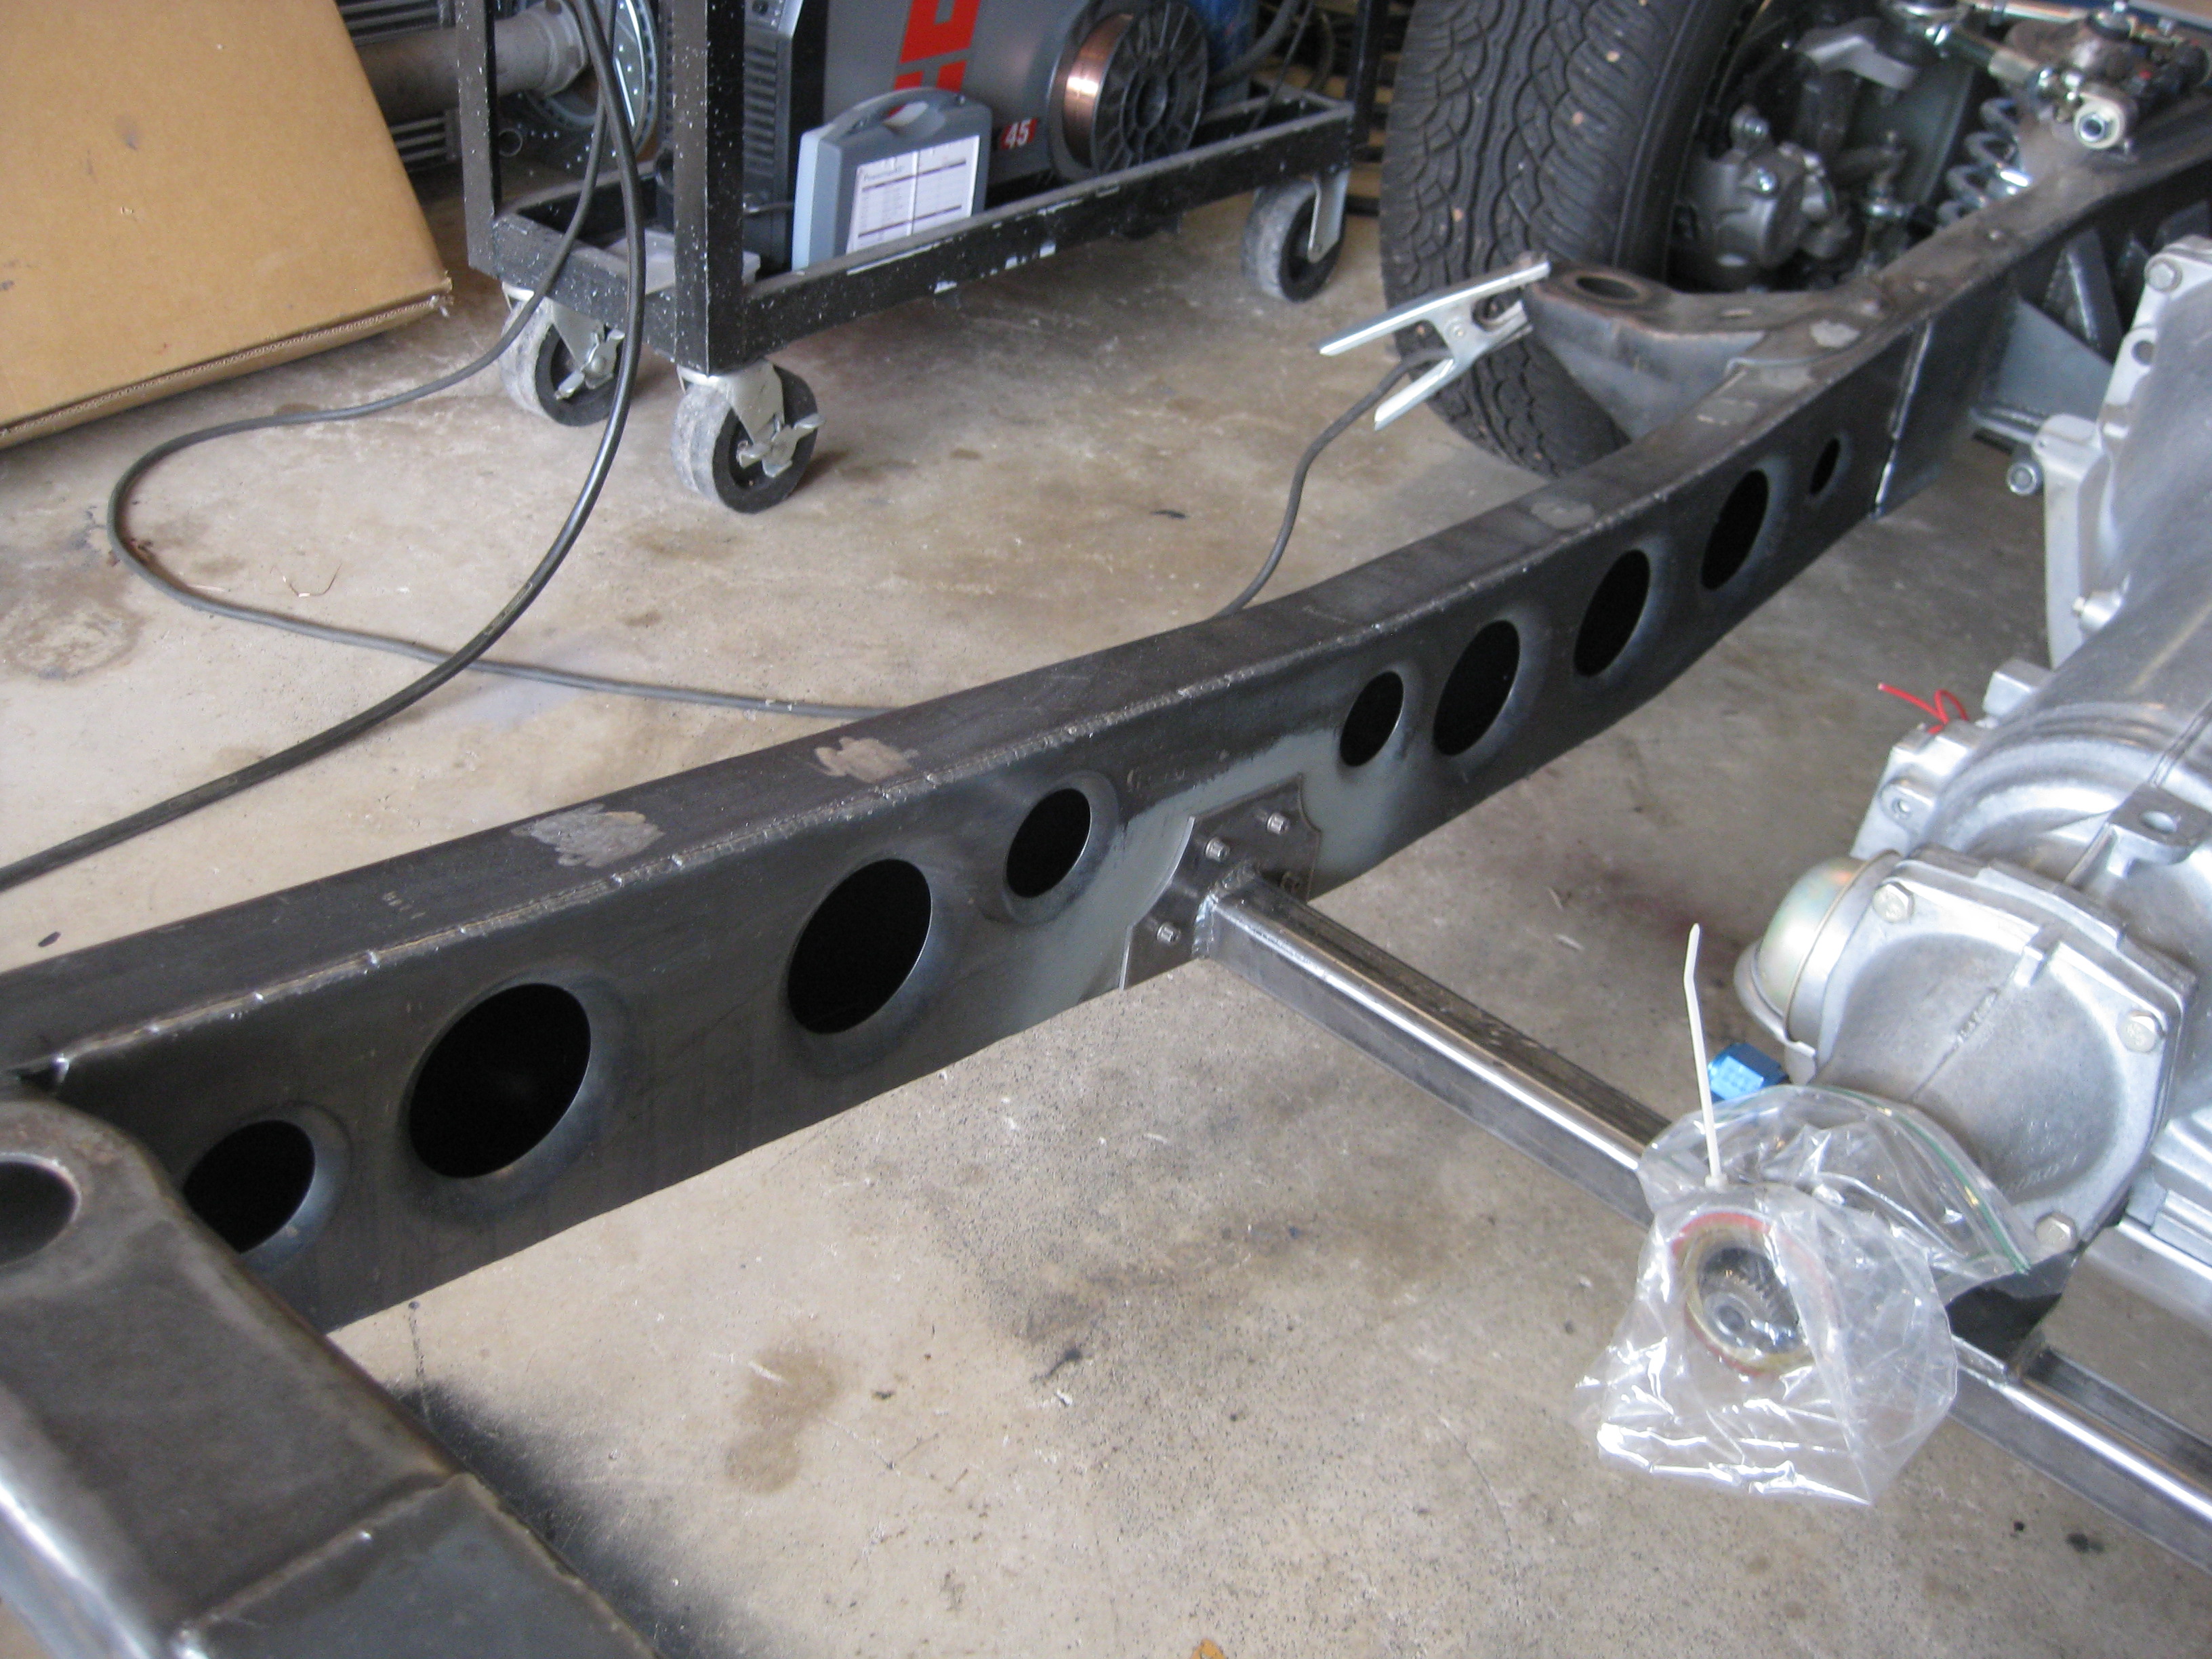
Not much of an update but I started welding in the boxing plates. Looks a little better than the clamps holding it in. Also got the tranny mount finished. I still need to weld the bottom side. Next is the supports for the cab mount cross member then brake line tabs then rear shock mounts then coat the frame.
Very, very clean welds amigo. You have a steady hand, and a good eye. After priming, and painting, are you going to undercoat it? On my "Facelift", which is actually only on the bed, I am thinking of "Rhino lining" the inside, if I can find a place to do it in Baja. ?? No clue as to that possibility yet.
How about having the frame rhino lined before you put on the cab... that would sure take care of any rust issues forever...
 01-20-2015, 05:14 AM