Where can I find this engine electrical clip/connector for my 7.3 IDI?
#1
 11-03-2012, 07:18 PM

Where can I find this engine electrical clip/connector for my 7.3 IDI?
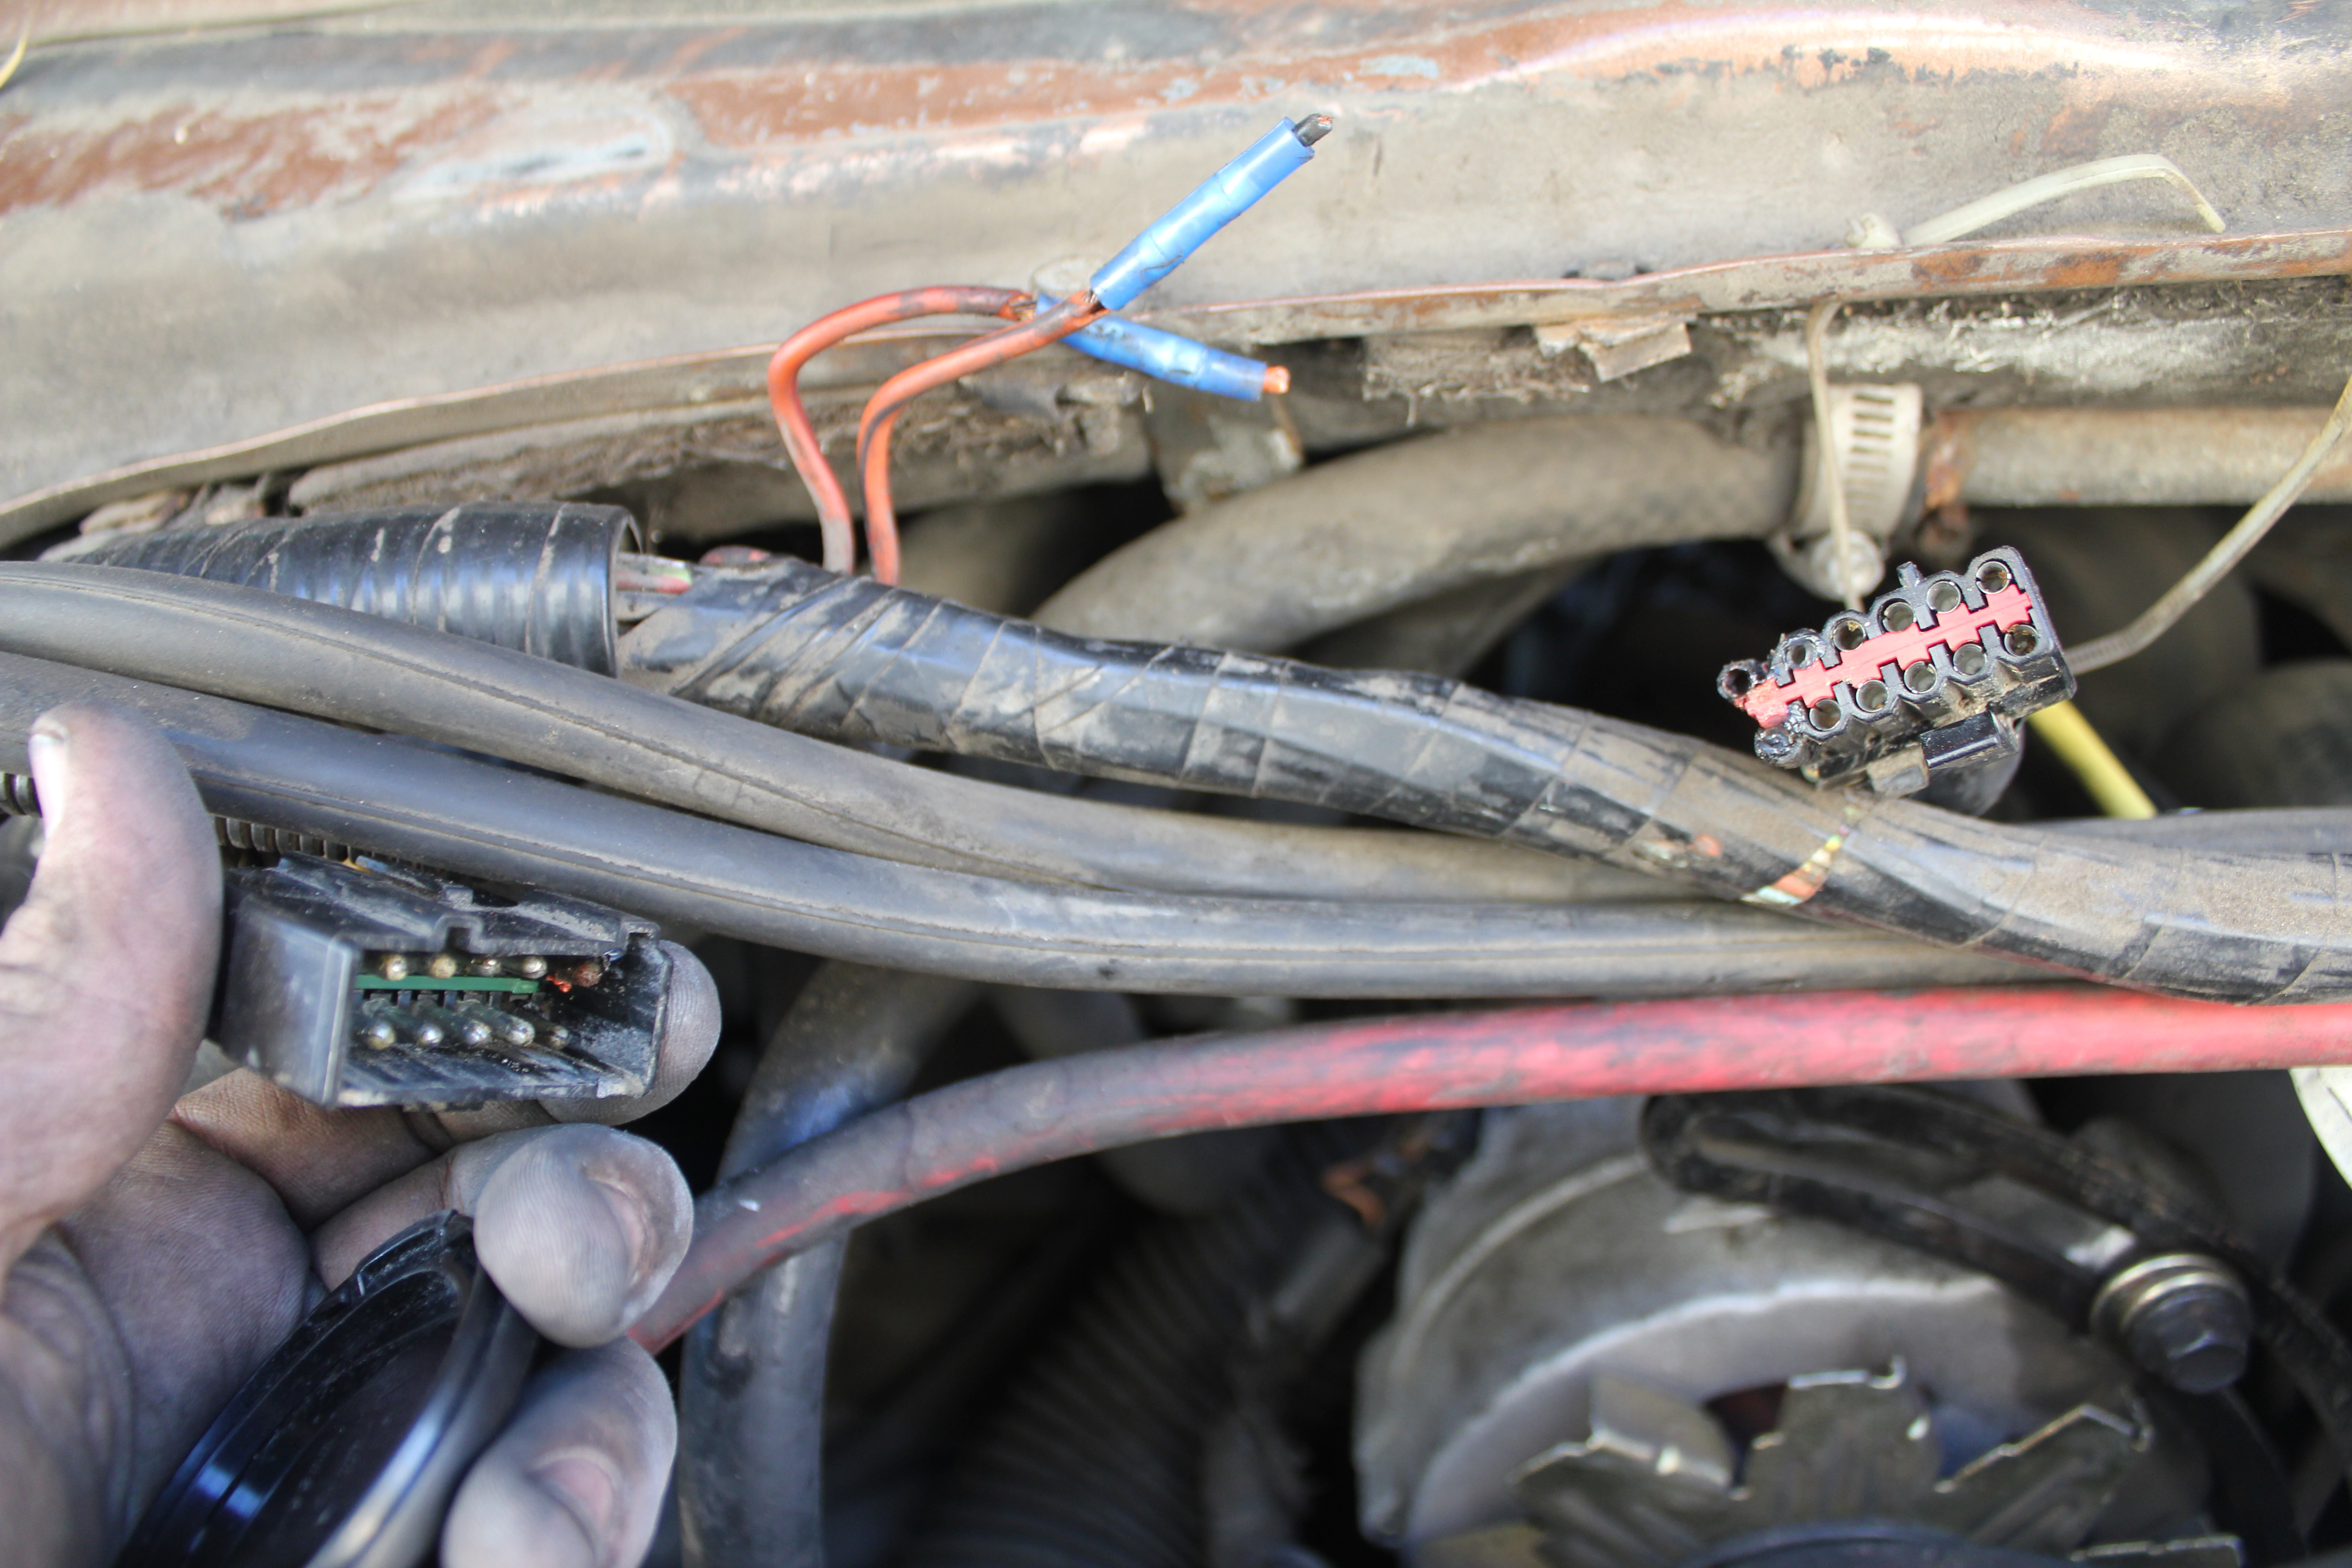
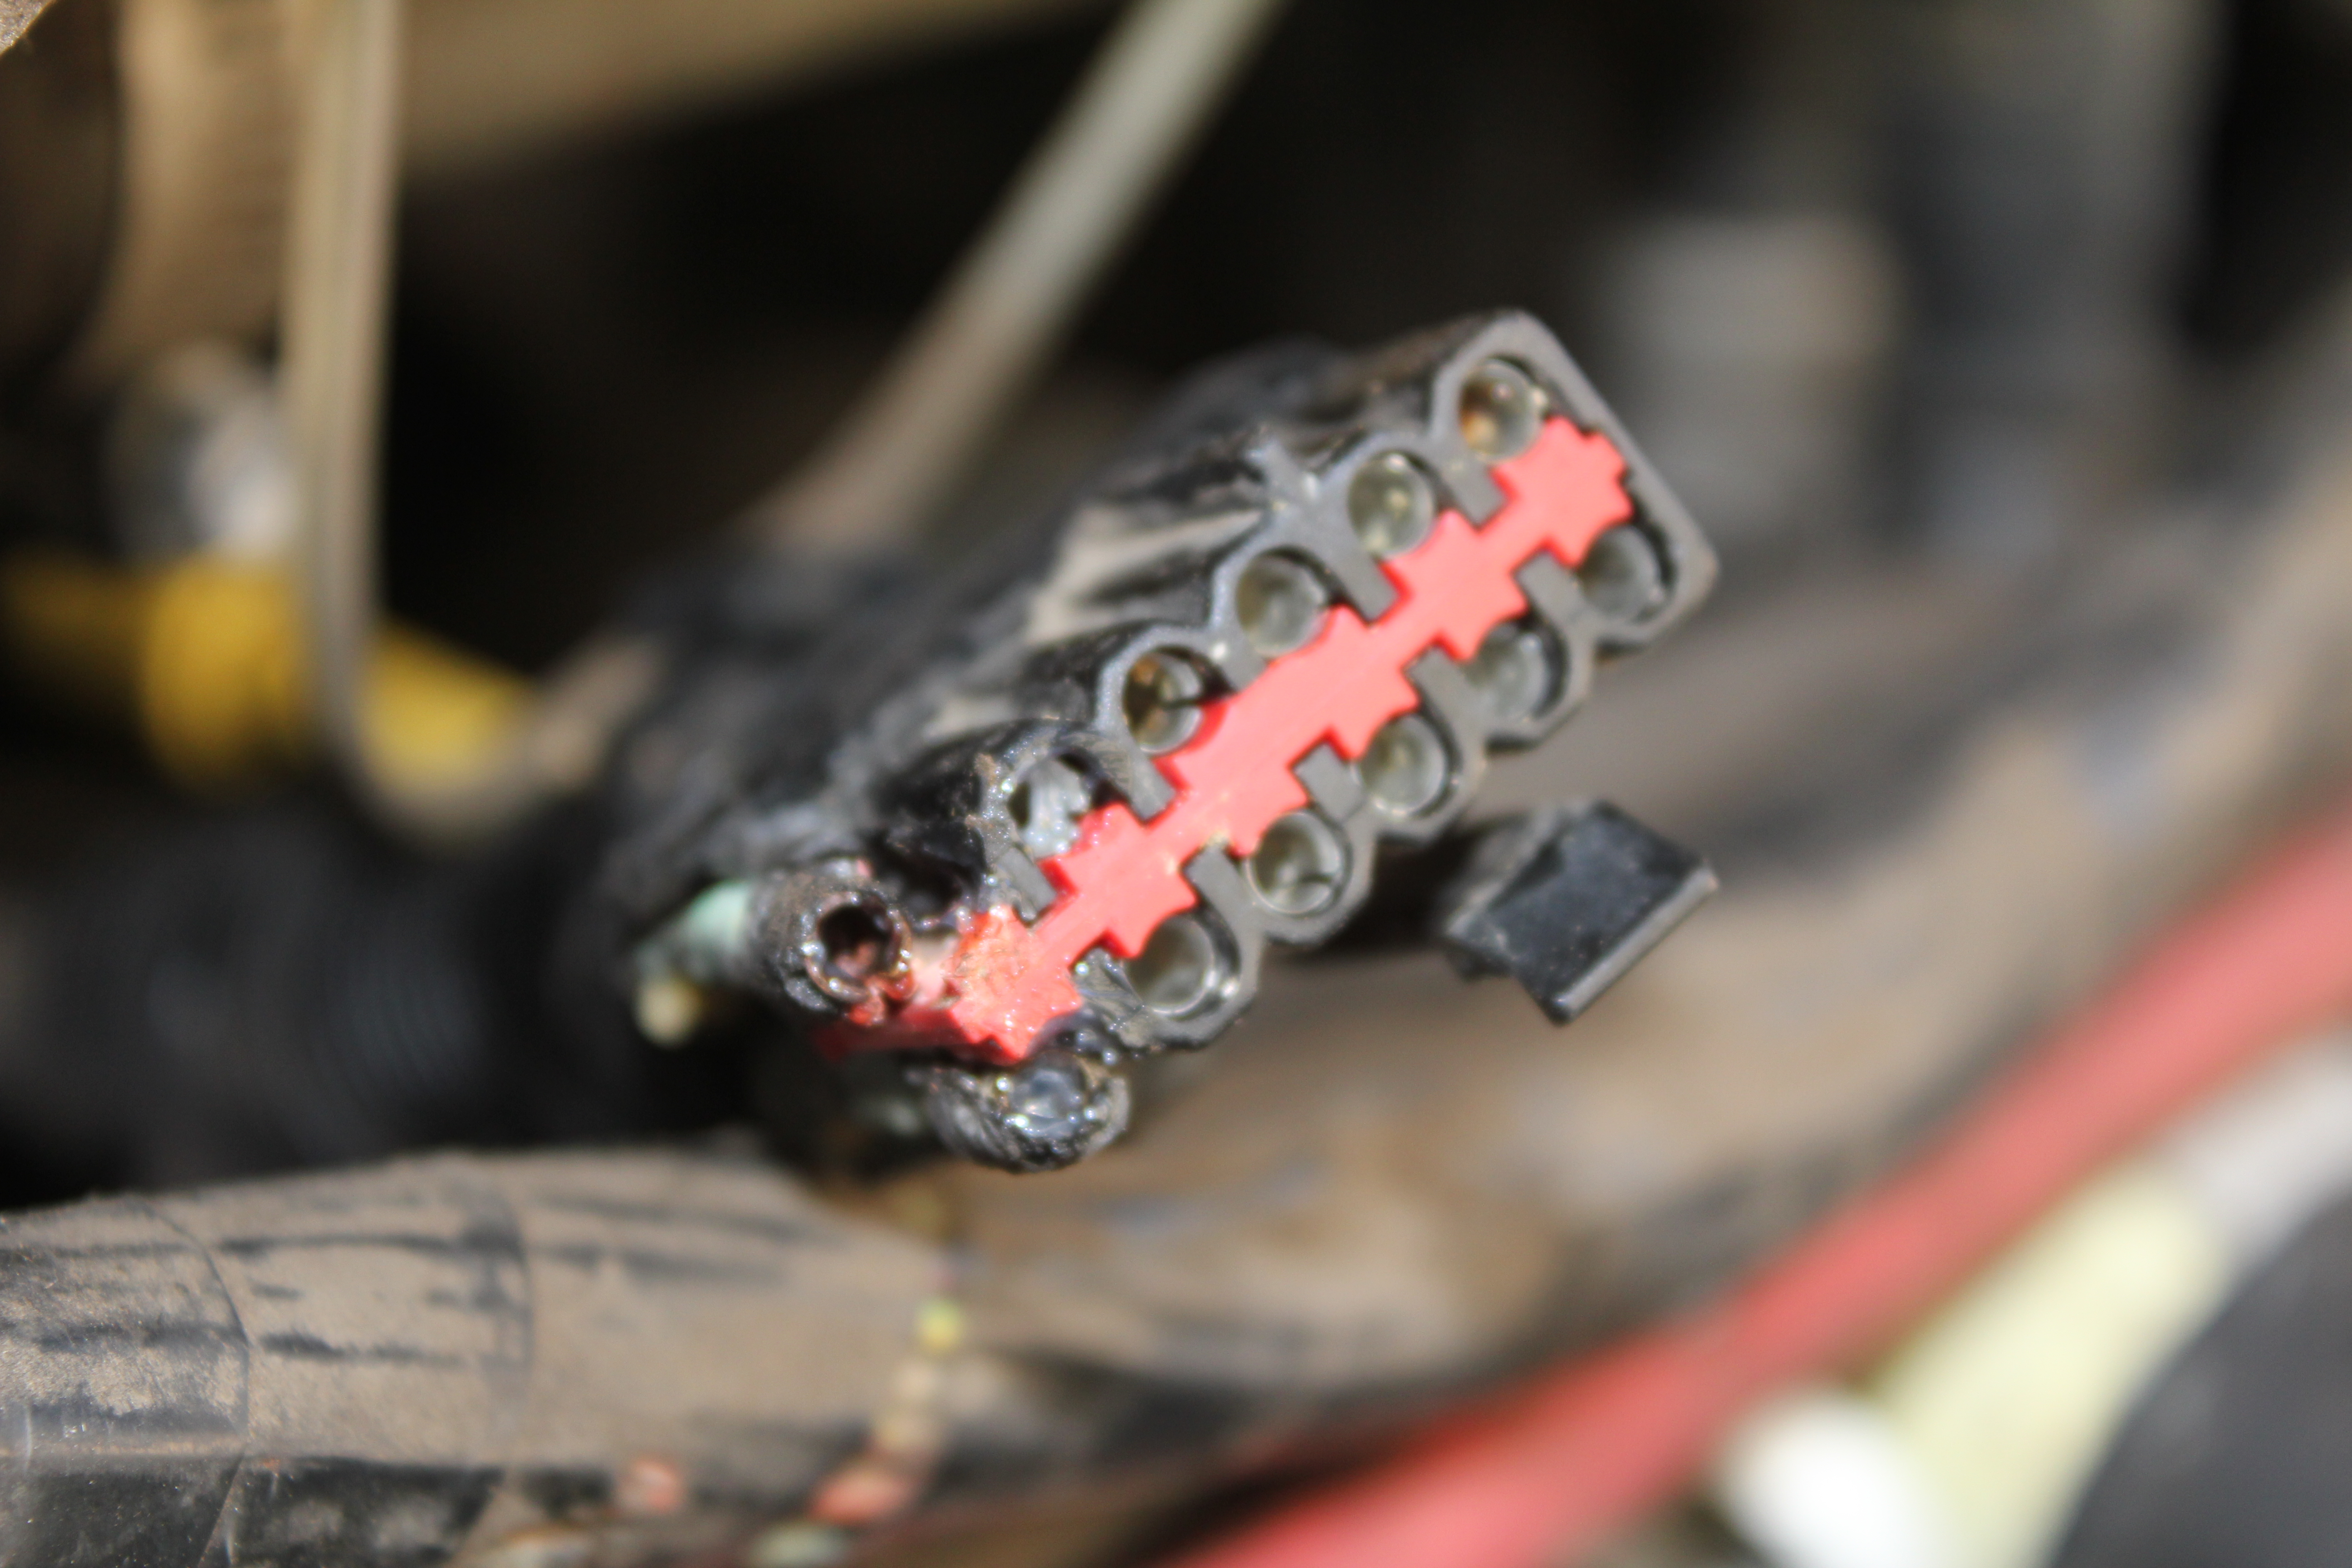
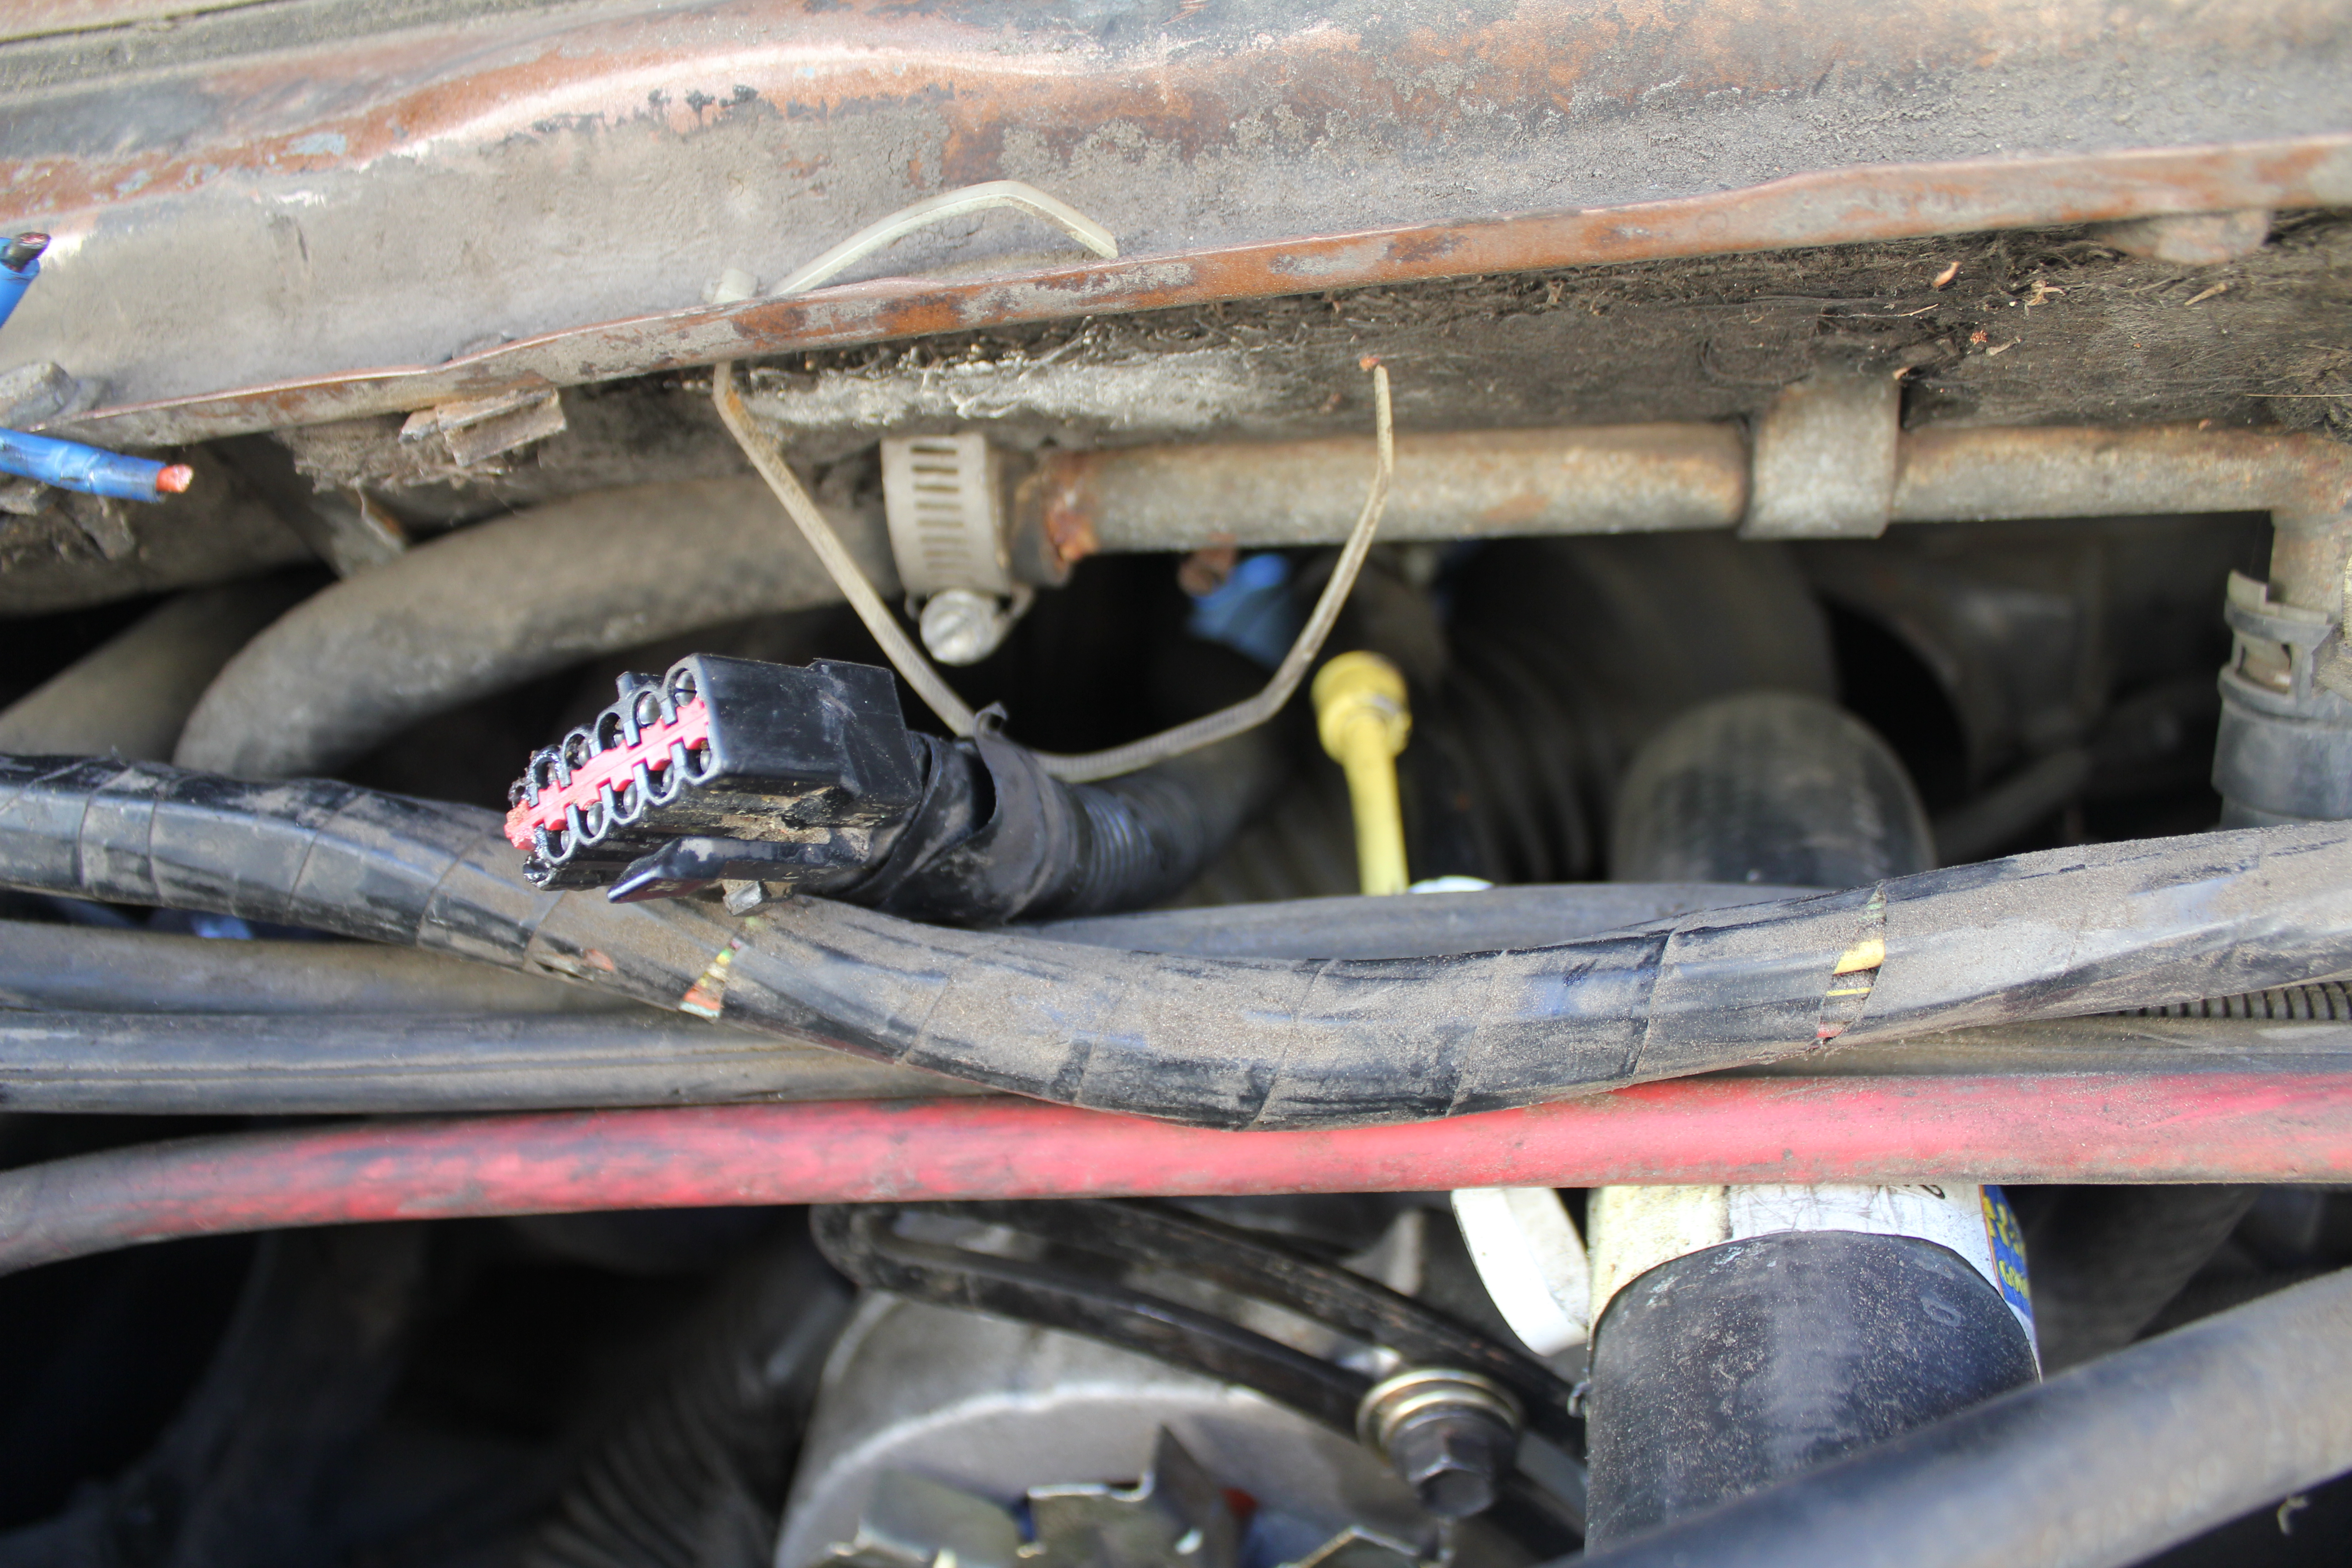
I was replacing my 1988 van's blower motor, when I disconnected a completely-unrelated wiring connector in front of my 7.3 IDI. It was kind of hard to pull apart, and it looked damaged on one side.
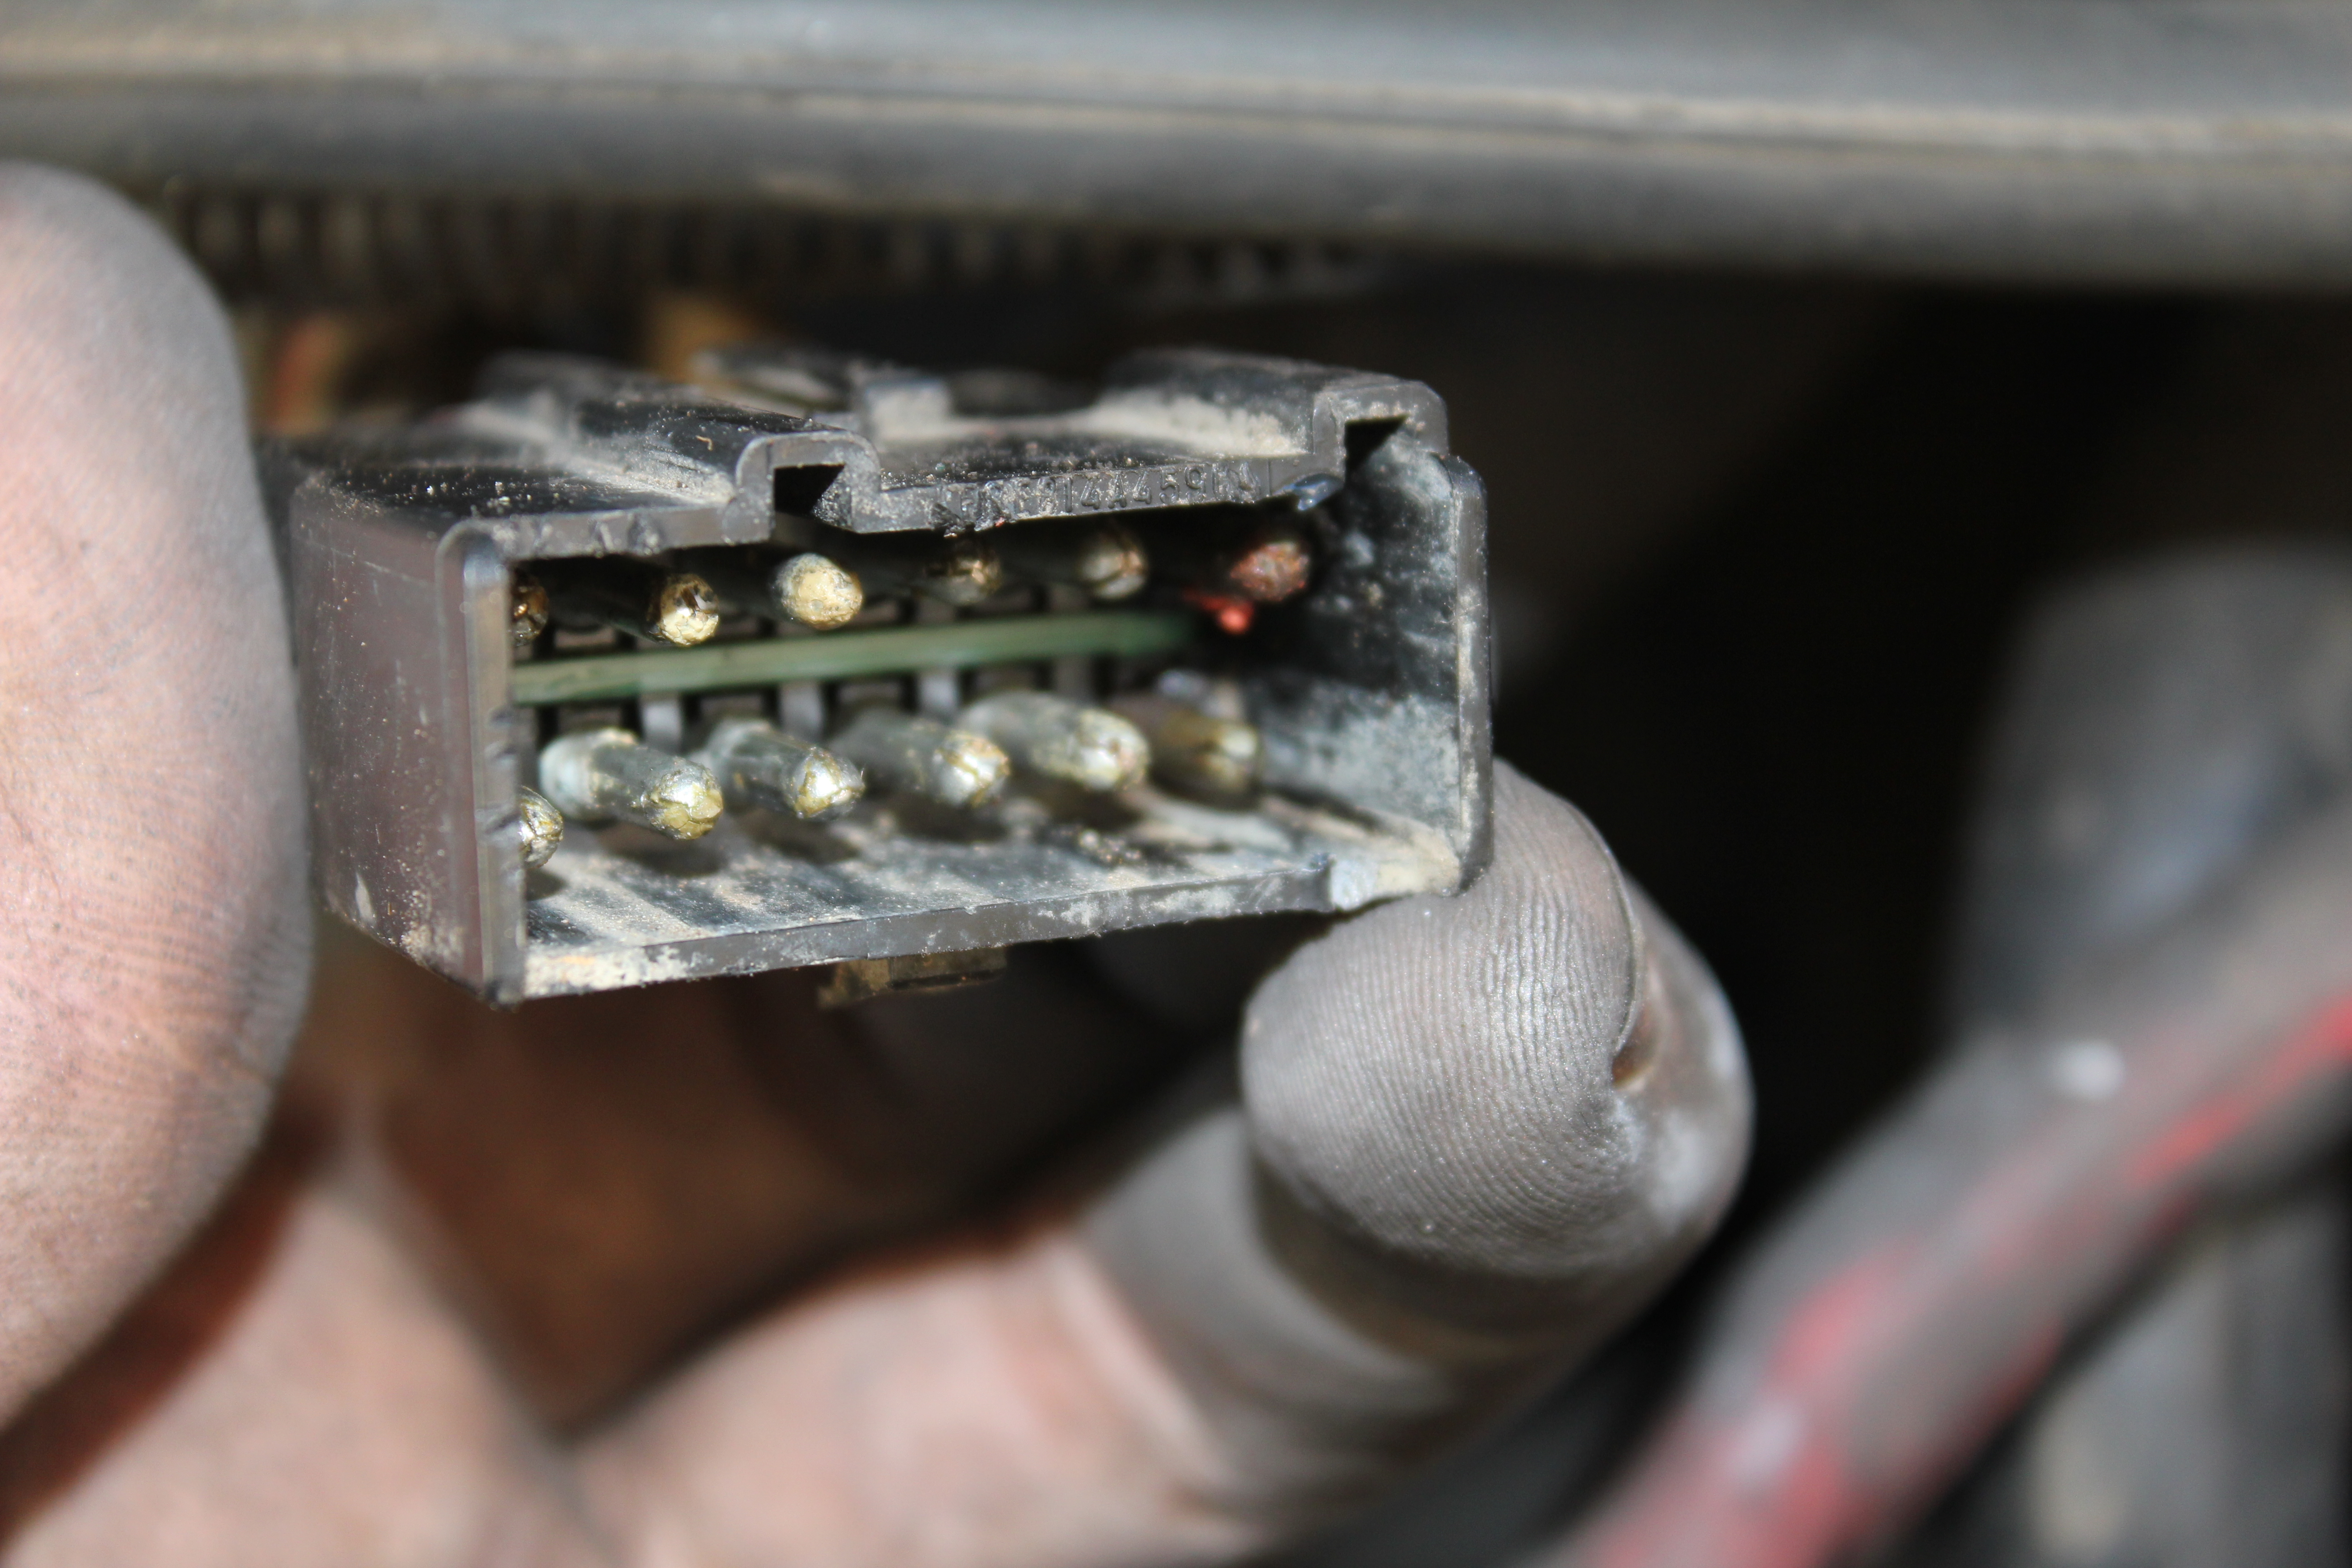
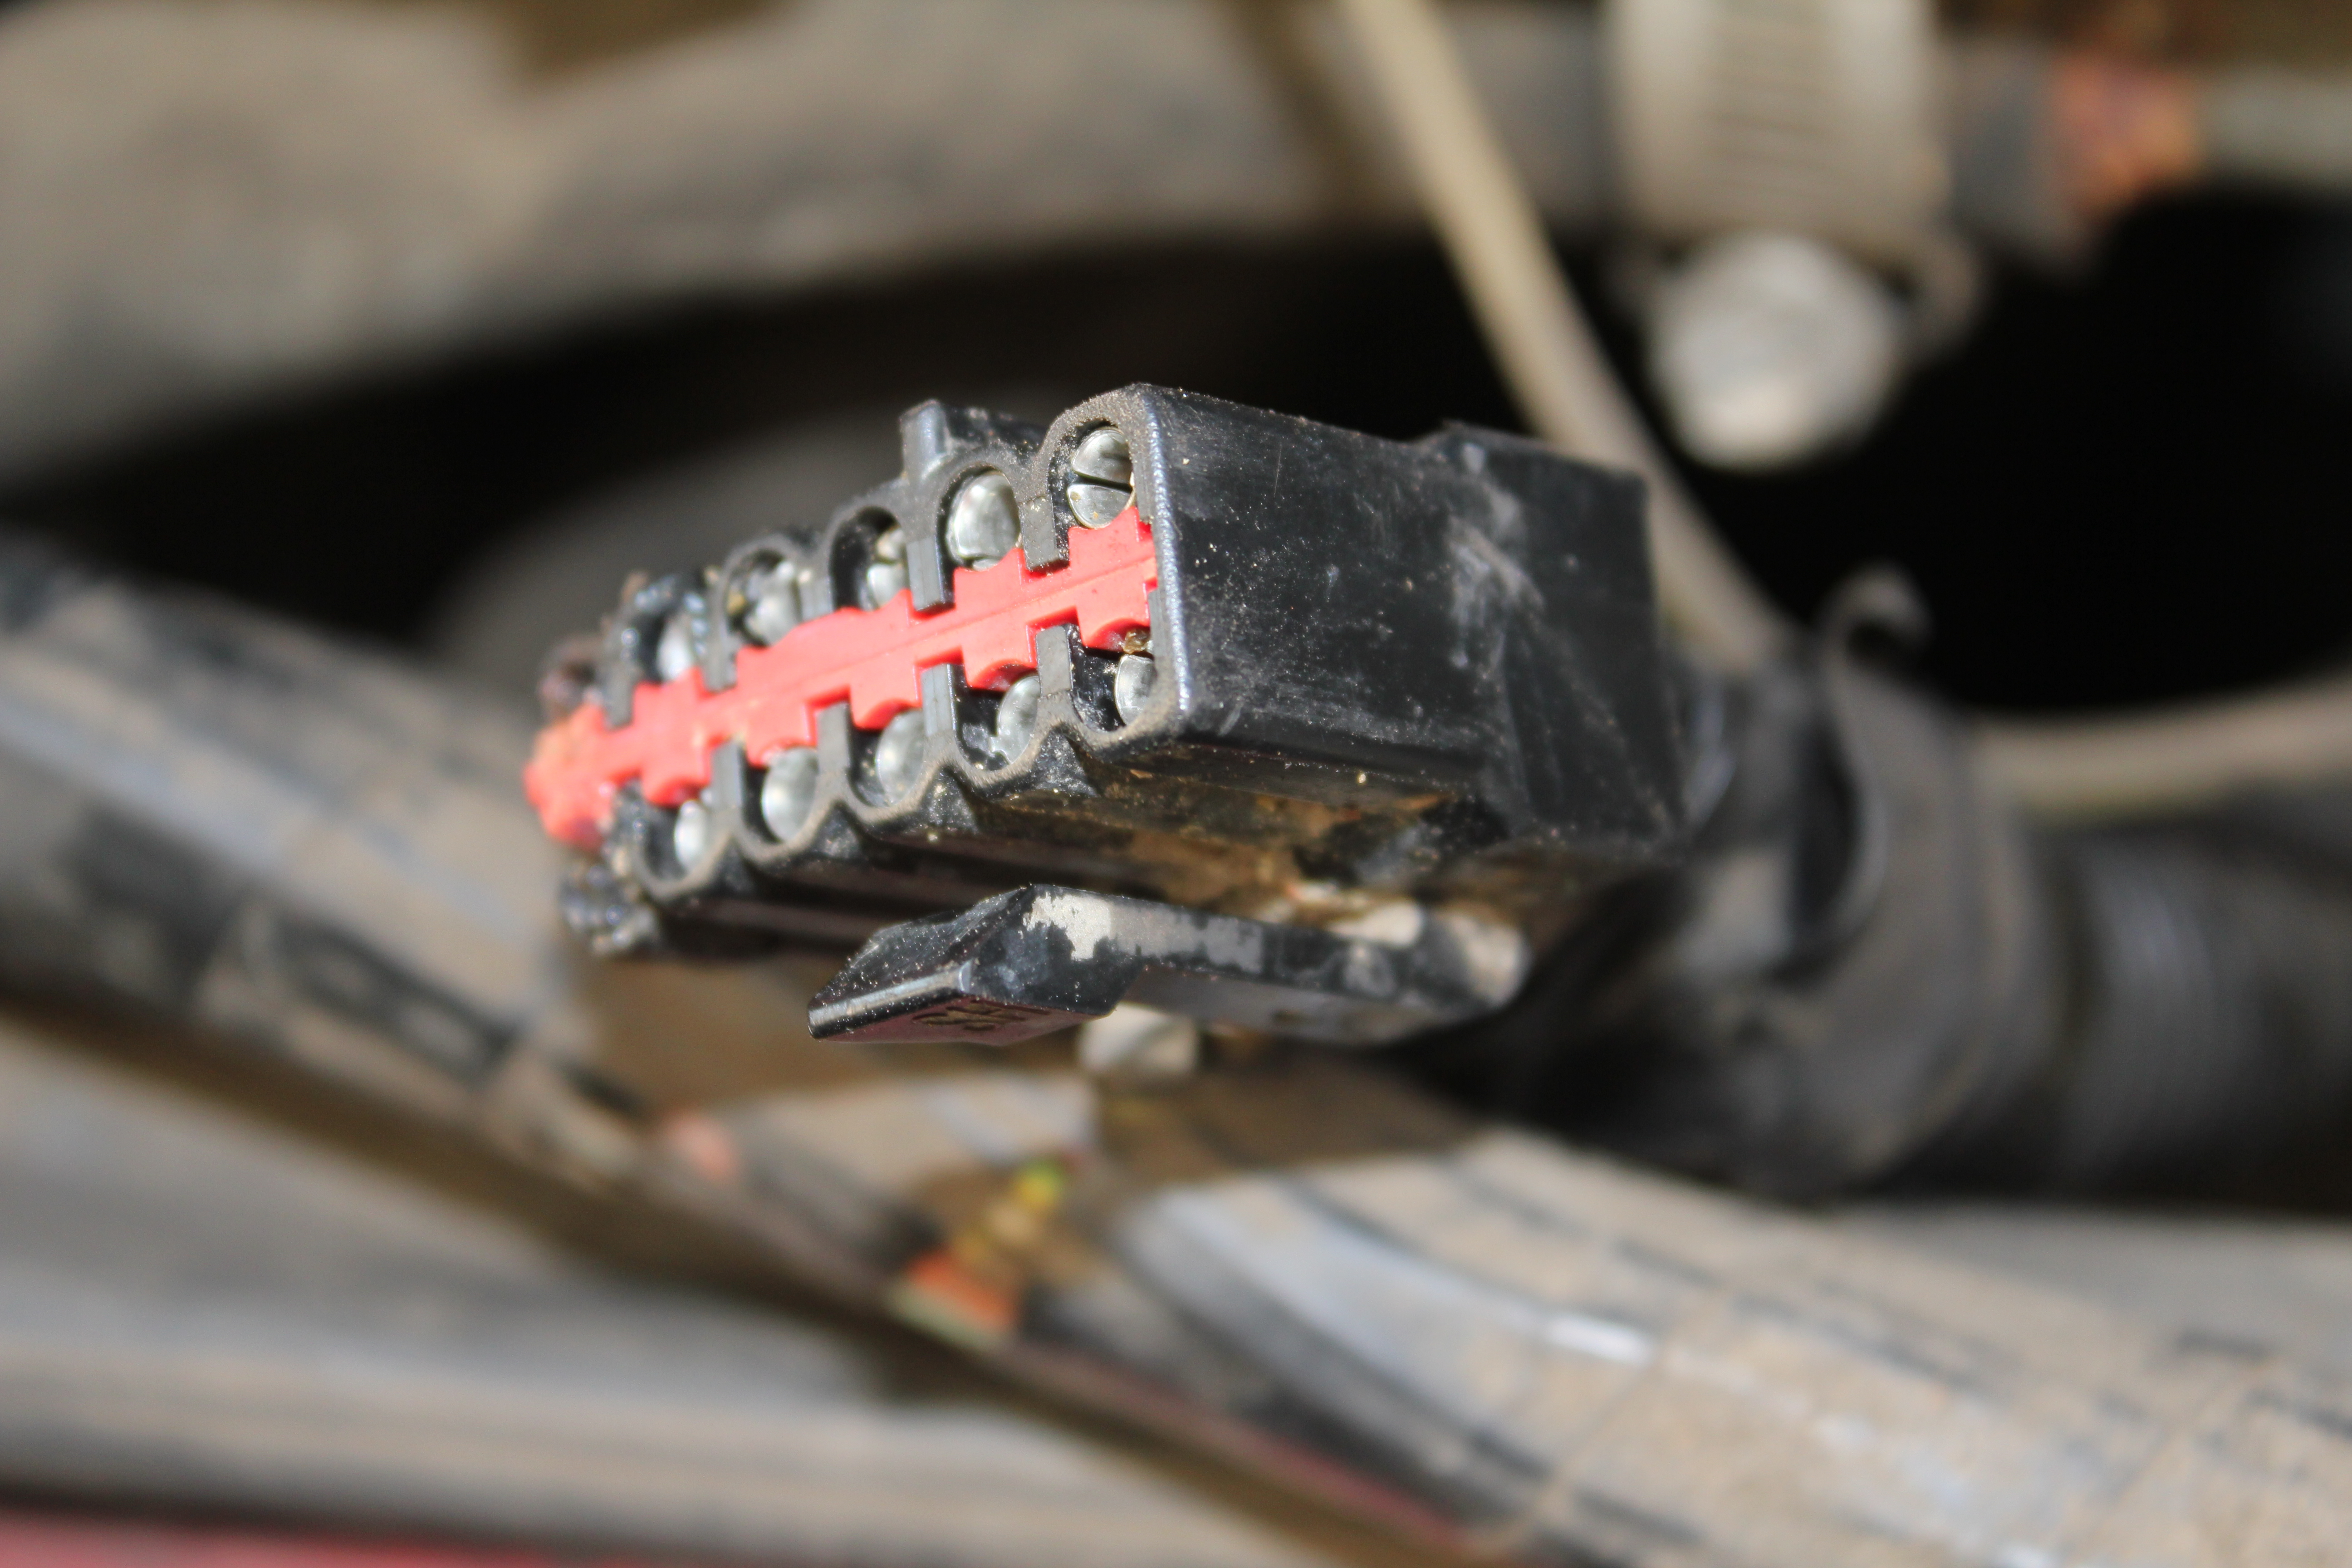
I'm not really sure what this is clip is for, but when I pulled it apart, it crumbled. It looked like the previous owner just jammed it all together because two of the connectors were just dangling from the assembly. I think I can just re-jam it back together, but I'd rather look into replacing it. It looks rather straightforward (a typical 12-pin connector), but where could I look to replace this? Also, if I use a universal connector, how many amps should I use as a minimum (the two yellow wires on the side look pretty beefy.)?
I'm not really sure what this is clip is for, but when I pulled it apart, it crumbled. It looked like the previous owner just jammed it all together because two of the connectors were just dangling from the assembly. I think I can just re-jam it back together, but I'd rather look into replacing it. It looks rather straightforward (a typical 12-pin connector), but where could I look to replace this? Also, if I use a universal connector, how many amps should I use as a minimum (the two yellow wires on the side look pretty beefy.)?
#2
11-03-2012, 08:09 PM
Well your pictures are freaking huge and are taking too long to load, but from your description it sounds like you're talking about the engine to chassis connector. The two big wires feed the glow plug solenoid at the rear of the intake. There should also be wires to the injection pump fuel shutoff and timing advance.
The only place i can think of to get another would be a similar year junk truck. You could probably build your own connector for the smaller wires, but the total glow plug load approaches 200 amps, so that would have to be a substantial connection.
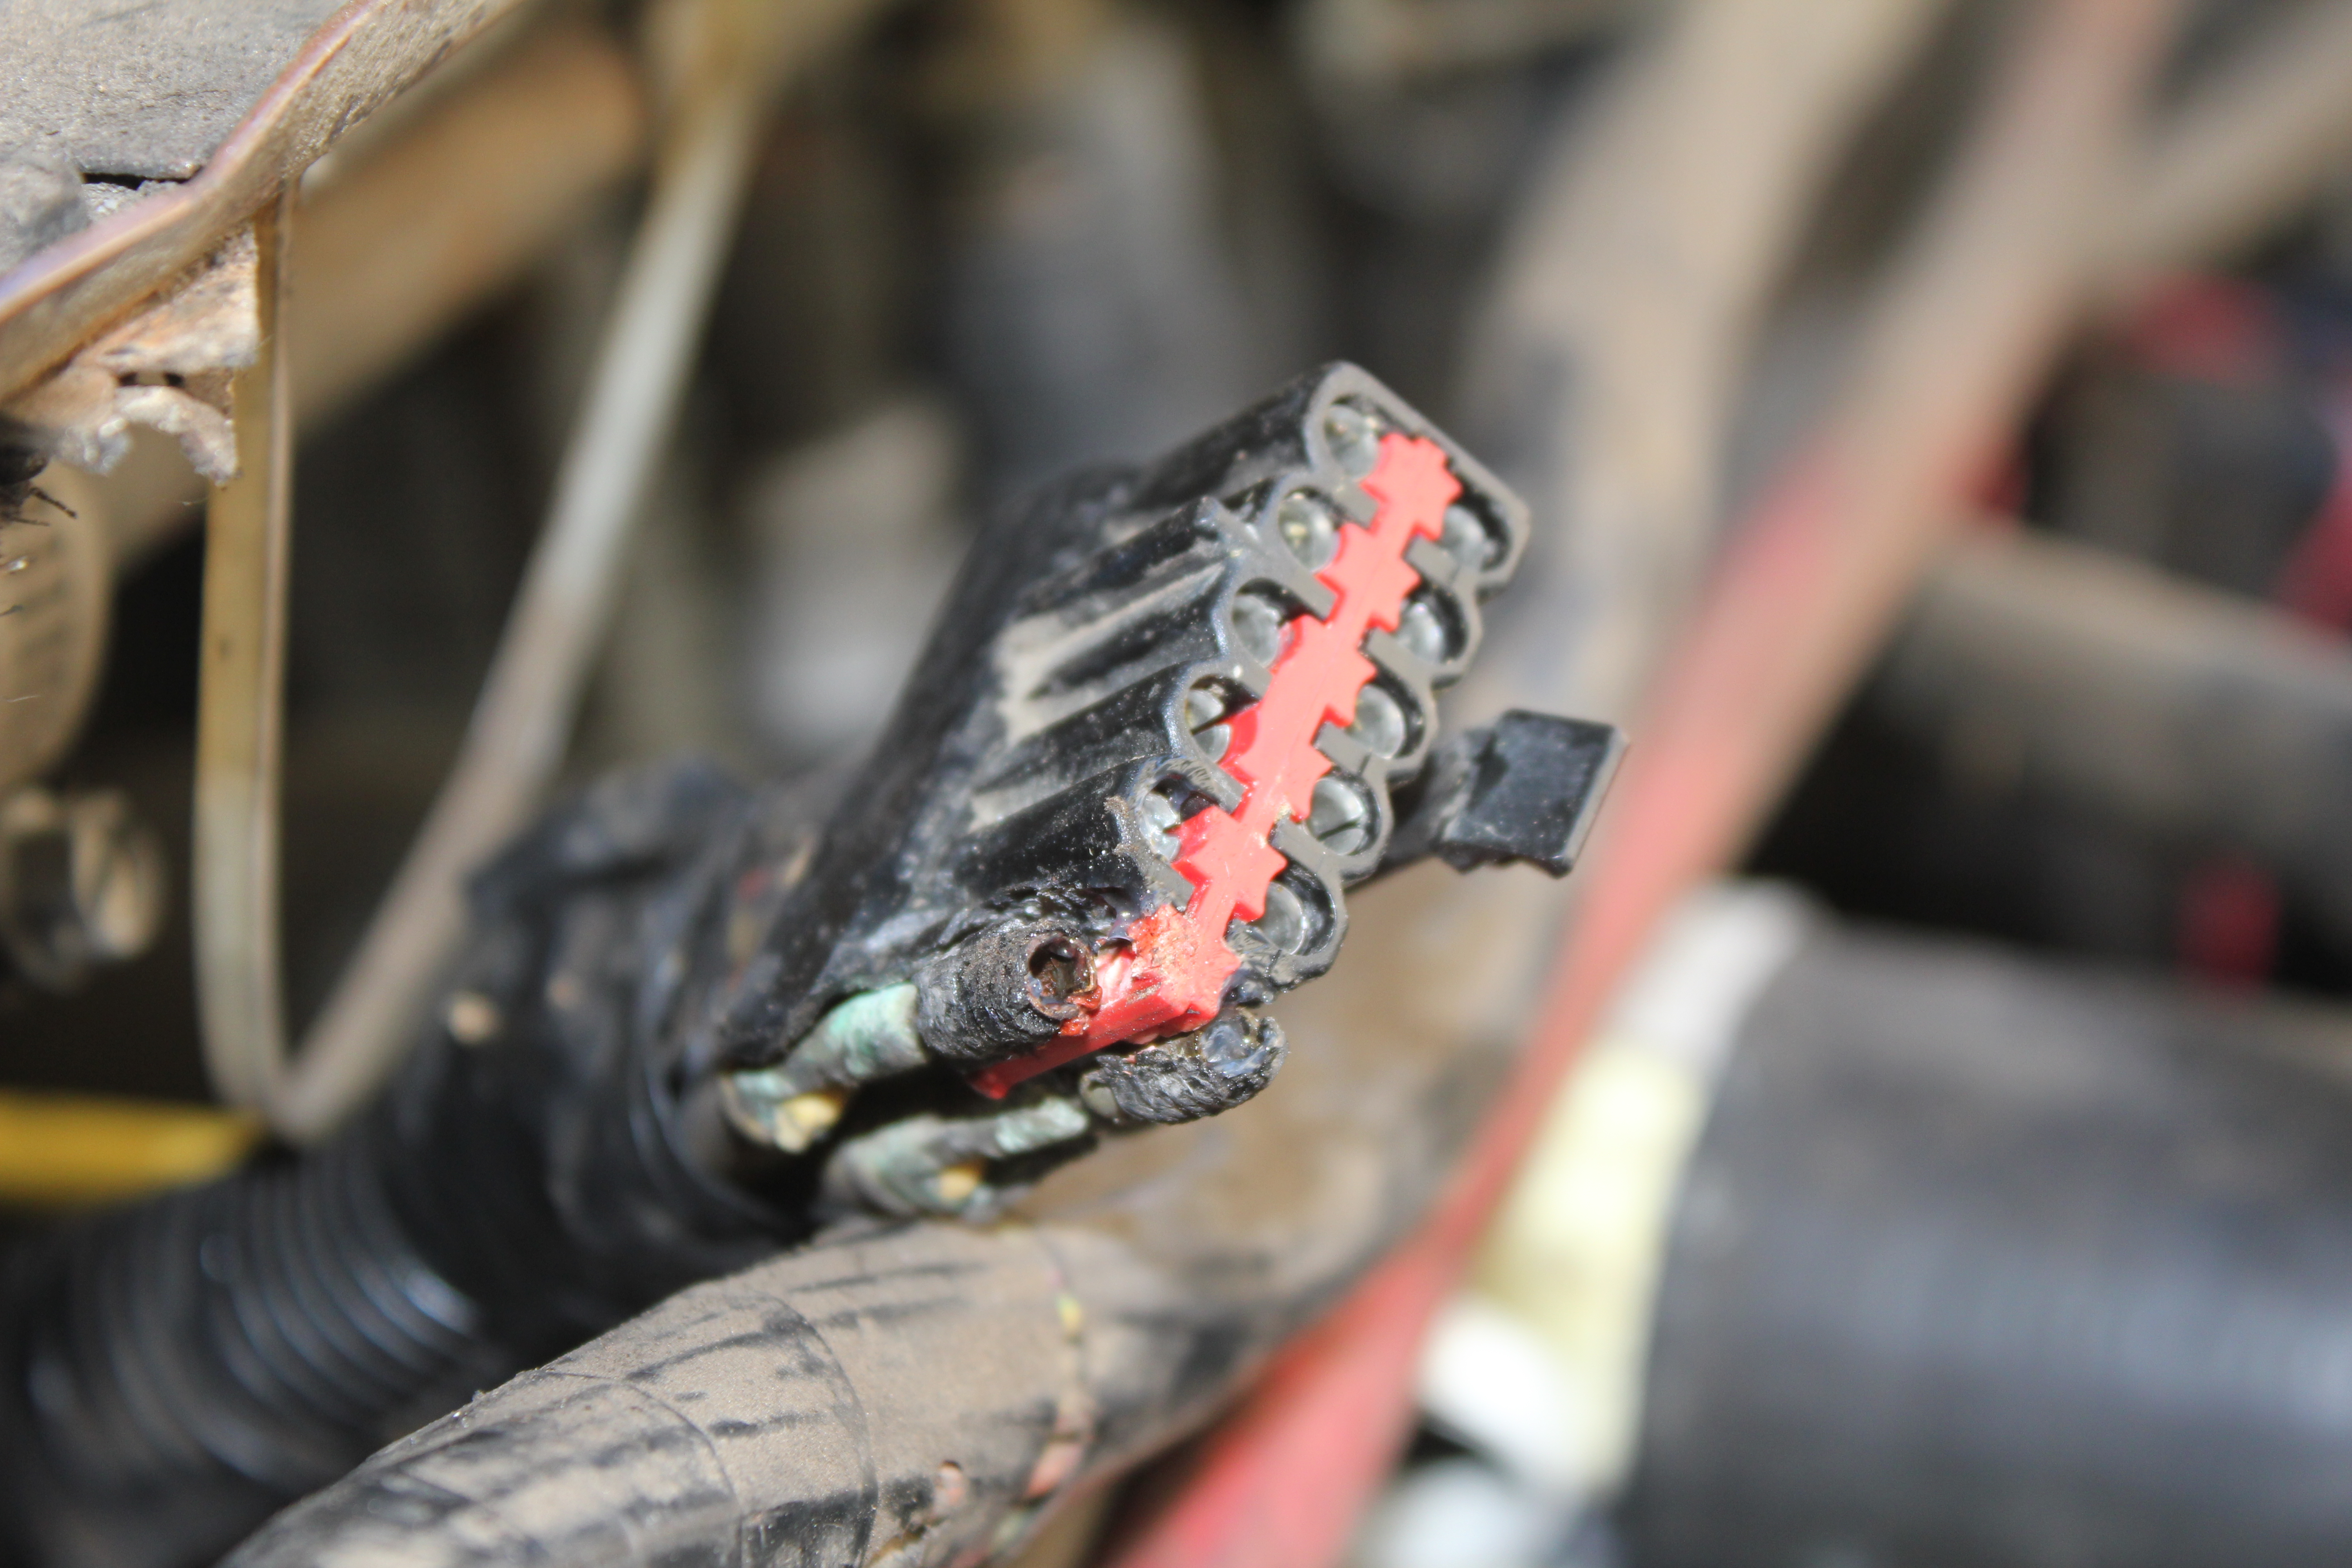
My connector melted because of resistance in the glow plug pins so i cut the whole thing out and just spliced the mating wires back together.
The only place i can think of to get another would be a similar year junk truck. You could probably build your own connector for the smaller wires, but the total glow plug load approaches 200 amps, so that would have to be a substantial connection.
My connector melted because of resistance in the glow plug pins so i cut the whole thing out and just spliced the mating wires back together.
#3
11-03-2012, 08:46 PM
Yeah, I was considering just using some heavy duty butt splices and just connecting them one-by-one. Is there any other reason to have this "unpluggable?" I could see for accessing other parts of the engine, since it doesn't have a lot of slack and it's a pain to move out of the way, until you disconnect it.
#4
11-04-2012, 12:54 AM

Elder User
Join Date: Mar 2008
Location: Marianna, Florida USA
Posts: 912
Likes: 0
Received 0 Likes
on
0 Posts

#5
11-04-2012, 10:49 AM
Go to the junk yard and do it right, Just cut the connector out of the donor on both sides and wire it back together with either butt connectors or
https://www.ford-trucks.com/forums/1...l#post12356128
You will feel much better if done this way cause everytime you look under your hood you wont have to look at a mess of butt connectors and tampering, especially cause when you go to sell the truck and the next poor guy who gets it, something gonna break on it and hes going to post it up here and say the PO F'd my wiring up
Edit: Also use dielectric grease >> http://www.wisegeek.com/what-is-diel...e.htm#lbimages
lol
Enjoy,
Devin
https://www.ford-trucks.com/forums/1...l#post12356128

You will feel much better if done this way cause everytime you look under your hood you wont have to look at a mess of butt connectors and tampering, especially cause when you go to sell the truck and the next poor guy who gets it, something gonna break on it and hes going to post it up here and say the PO F'd my wiring up
Edit: Also use dielectric grease >> http://www.wisegeek.com/what-is-diel...e.htm#lbimages
lol
Enjoy,
Devin
#6
11-04-2012, 01:25 PM
#7
11-04-2012, 11:59 PM
thanks for all the good info. I ended up doing what typefour said, of course using heat shrink and di-electrical grease. I would have liked to soldered it, but I didn't have any solder handy.
I think every electrical connection on that van is rusted or corroded. I think I've used more of my dielectrical grease today than in my entire life. I guess this blower motor replacement was a fun excuse to get in there and find bugs and problems with the electrical system on this 7.3. (Currently tracking down the electrical probs on my engine hood light and cargo light.)
I'll have to get back into that Blower Motor area in the near future anyway, because I'm going to replace the BM resistor and try to fix up the non-op AC on the van, so maybe then I'll do a tight soldering job. In the meantime, this appears to work. The wire and splices feel cool to the touch while under load as is, so until then, this will have to do.
(just a weird thing I'll post if anyone is interested, but the Blower motor didn't work in the van, and the motor was getting juice, so I pulled it. But when I just connected the leads to a car battery outside the van, it spun, but slow and noisy.... the spindle was loose about 1/8" all the way around it. I connected my new blower motor to the battery outside the car, and it spun ultra fast, almost torqued right out of my hands cuz I wasn't careful. The new motor is installed and works fine. I still need to replace the resistor, but it still hasn't arrived. Also for other fellow econoline owners looking to replace their blower motor, you can get it out. It looks impossible, but disconnect and pull the pass-side battery, pull the battery tray, and releave the alternator to it's loosest position. The rest is moving and finagling all that mess of electrical, vacuum, and AC hoses to maneuver the blower motor out of the housing.)

Thread
Thread Starter
Forum
Replies
Last Post
BatteriesNotIncluded
Excursion - King of SUVs
0
02-22-2019 04:27 PM
Jarrett Campbell
1973 - 1979 F-100 & Larger F-Series Trucks
14
05-13-2016 10:22 AM
G2IC_Wraith
1983 - 2012 Ranger & B-Series
13
04-03-2007 06:39 AM