
Belt Tensioner change - For Dummies w/pictures
#1
 11-02-2012, 11:52 AM

Belt Tensioner change - For Dummies w/pictures
Instructions on replacing serpentine belt and tensioner on 2000 Ex 6.8L engine with A/C.
Items needed:
New Belt (Used Duralast Belt 990K8)
New Tensioner (Used Duralast 305237)
1/2" Breaker Bar
10mm socket (for tensioner bolts) and 3/8 ratchet
8mm socket (battery cable)
Inch lb torque wrench
Heat Gun (optional)
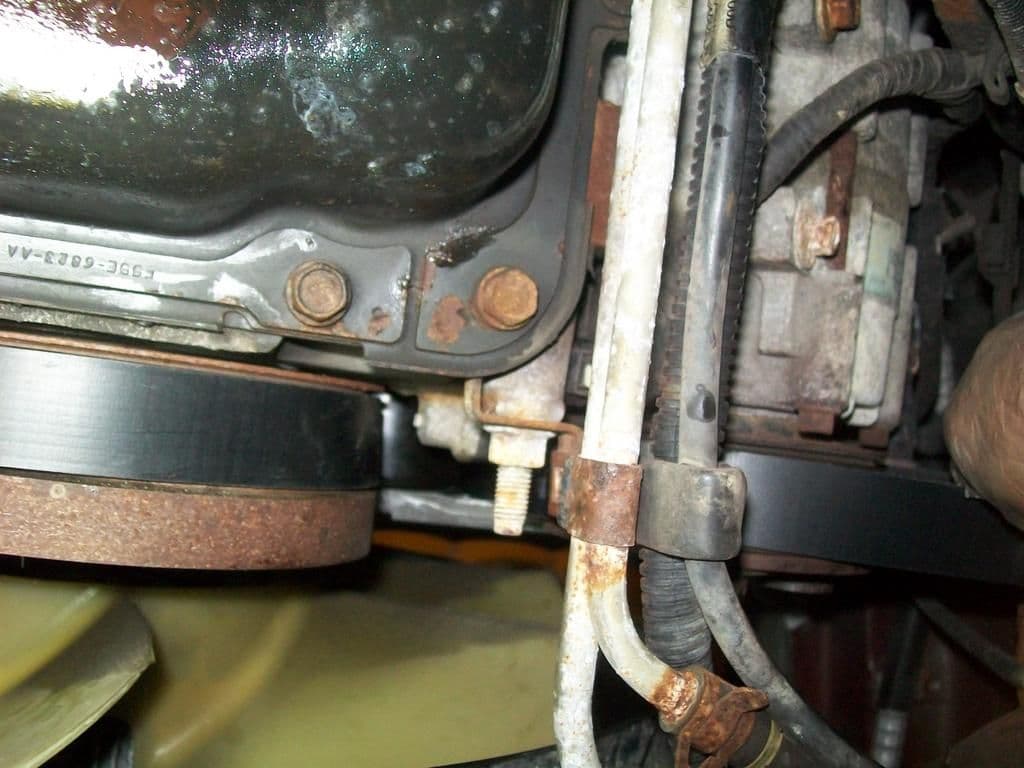
First make sure you have the routing down, I took a couple of photos of it in place and there is also a sticker in the engine compartment.

My solution to reaching this thing (since I'm not very big) was to use my Little Giant Ladder and turn it into a "topside creeper" of sorts. I set it up then put a board and pad on top of it, worked great.

Remove the negative battery cable.
Insert a half inch breaker bar into the pulley side of the tensioner. Then pull up on the bar and to release the tension and slip the belt off the alternator pulley and remove it.

My belt was worn and making a clicking sound. You can see in the photo is scored and worn in places around the edge.

New belt looked like a pretzel out of the box and knew I would struggle to get it in so I took a heat gun to it and smoothed it out and shapped it.
Out of box

Afer shapping

There are 3 10mm bolts that hold the tensioner in place. I used a breaker bar again with some adapters to get the small socket to fit, these were tough to break lose so I started with the bar, then losened with just a rachett and turned the out the rest of the way with my fingers.

Once tensioner was off I got some soapy water and cleaned off all the pulleys, then losely set the belt in place (had to undo this later though) installed the new tensioner. Start with the middle upper bolt, then do the one on either side of them. Just finger tightened at first.

Then I realized I needed to start the belt in a specific place to make this work. So I pulled it back out and used the 10mm socket to tightening them snug but not torqued.
Feed the belt in from the top between the tensioner pulley and the belt idler.

Then pull it down and over the A/C Pulley

Then back up and over the tensioner, around the crank pulley, then up and over water pump and down and around power steering pulley.
Ending up at the alternator pulley. Can't attach it here until you release the tensioner pulley again. Put the 1/2" breaker bar back in the tensioner and pull and slip the belt over the alternator. Then torque the tensioner bolts to 18 ft lbs.

Reconnect the negative battery terminal and start the truck to make sure you did it right.
Items needed:
New Belt (Used Duralast Belt 990K8)
New Tensioner (Used Duralast 305237)
1/2" Breaker Bar
10mm socket (for tensioner bolts) and 3/8 ratchet
8mm socket (battery cable)
Inch lb torque wrench
Heat Gun (optional)
First make sure you have the routing down, I took a couple of photos of it in place and there is also a sticker in the engine compartment.
My solution to reaching this thing (since I'm not very big) was to use my Little Giant Ladder and turn it into a "topside creeper" of sorts. I set it up then put a board and pad on top of it, worked great.
Remove the negative battery cable.
Insert a half inch breaker bar into the pulley side of the tensioner. Then pull up on the bar and to release the tension and slip the belt off the alternator pulley and remove it.
My belt was worn and making a clicking sound. You can see in the photo is scored and worn in places around the edge.
New belt looked like a pretzel out of the box and knew I would struggle to get it in so I took a heat gun to it and smoothed it out and shapped it.
Out of box
Afer shapping
There are 3 10mm bolts that hold the tensioner in place. I used a breaker bar again with some adapters to get the small socket to fit, these were tough to break lose so I started with the bar, then losened with just a rachett and turned the out the rest of the way with my fingers.
Once tensioner was off I got some soapy water and cleaned off all the pulleys, then losely set the belt in place (had to undo this later though) installed the new tensioner. Start with the middle upper bolt, then do the one on either side of them. Just finger tightened at first.
Then I realized I needed to start the belt in a specific place to make this work. So I pulled it back out and used the 10mm socket to tightening them snug but not torqued.
Feed the belt in from the top between the tensioner pulley and the belt idler.
Then pull it down and over the A/C Pulley
Then back up and over the tensioner, around the crank pulley, then up and over water pump and down and around power steering pulley.
Ending up at the alternator pulley. Can't attach it here until you release the tensioner pulley again. Put the 1/2" breaker bar back in the tensioner and pull and slip the belt over the alternator. Then torque the tensioner bolts to 18 ft lbs.
Reconnect the negative battery terminal and start the truck to make sure you did it right.
#3
01-10-2013, 07:46 PM


#5
01-10-2013, 08:23 PM
Ouch! That's insane, it took me an hour and $40 in parts and big breaker bar.
#7
01-10-2013, 09:03 PM
Trending Topics
#8
01-10-2013, 11:17 PM
Elder User
Join Date: May 2006
Location: Outside Boise, Idaho
Posts: 938
Likes: 0
Received 0 Likes
on
0 Posts
#9
01-11-2013, 05:45 AM

#10
01-11-2013, 11:23 AM
Elder User
Join Date: May 2006
Location: Outside Boise, Idaho
Posts: 938
Likes: 0
Received 0 Likes
on
0 Posts
#11
01-11-2013, 12:27 PM

#12
01-11-2013, 01:22 PM
#13
01-15-2013, 11:47 PM
#14
01-16-2013, 07:27 AM

Sammie, I have got to say you are one industrious person, who brings the art of documentation to great heights! Your pictures and write-ups on everything I've seen of your posts are excellent.
By the time you get done, you'll probably have enough to put Haynes and Chilton's out of business!
By the time you get done, you'll probably have enough to put Haynes and Chilton's out of business!
#15
01-16-2013, 07:53 AM
Sammie, I have got to say you are one industrious person, who brings the art of documentation to great heights! Your pictures and write-ups on everything I've seen of your posts are excellent.
By the time you get done, you'll probably have enough to put Haynes and Chilton's out of business!
By the time you get done, you'll probably have enough to put Haynes and Chilton's out of business!
Next chapters are going to be
headlights/grill replacement
installing leaf spring shims
removing manifolds w/broken bolts
intalling headers/y-pipes
.....for dummies