2v Gibson shorty headers install, and more. Pics
#1
 09-12-2012, 06:26 PM

Join Date: Nov 2010
Location: jackson nj
Posts: 360
Likes: 0
Received 0 Likes
on
0 Posts
2v Gibson shorty headers install, and more. Pics
So I have recieved my Gibson ceramic shorty headers. I didn't find much about them installed on the 2V and could not find any pics. So I intend to take some pics and give some suggestions on the intall. I also plan on replacing the shocks and doing some rust preventive painting. This is not my daily driver so this install will be prepared for comfort, not for speed. Stay tuned.
Here we go.


I found it worth while to removed the inner fender on both passenger and driver side. I also remove the shock mount for easy acess to a stud.
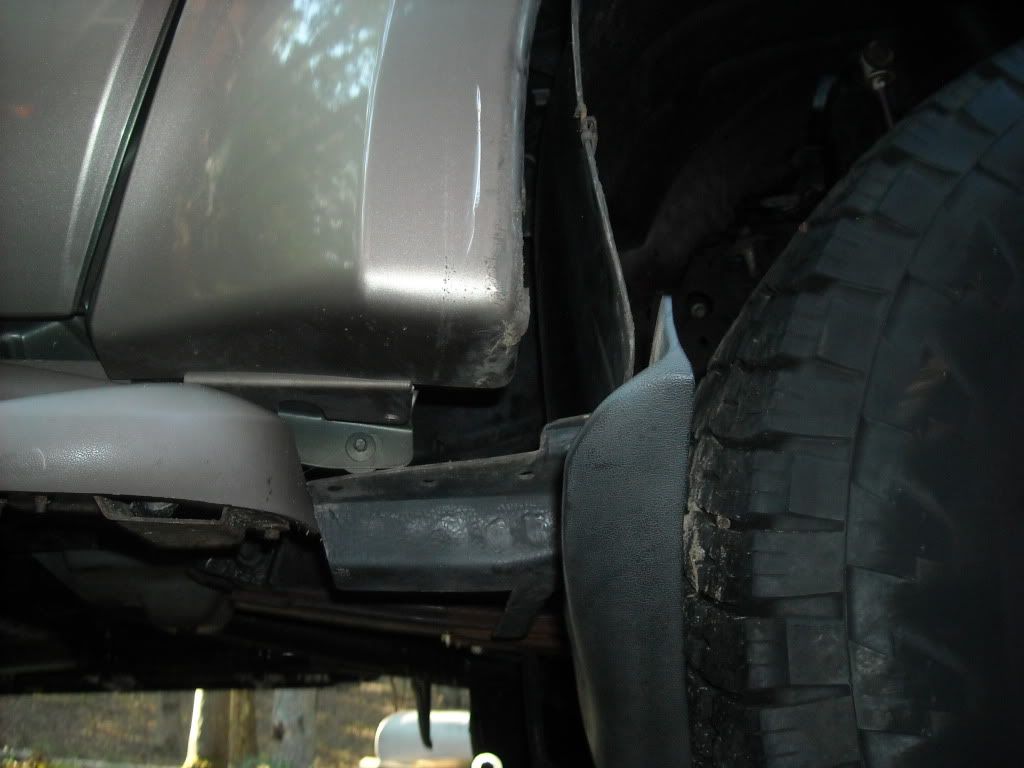


With the driver side inner fender removed, you get a bird's eye view of the abs harness.
I did not get very far tonight. I broke off two bolts on the passenger side and most of the others were already gone. The driver side bolts seem to be all in tact. Gave it all a PB Blaster bath before it got dark out. I will have a chance to dig into it more this weekend.
Here we go.
I found it worth while to removed the inner fender on both passenger and driver side. I also remove the shock mount for easy acess to a stud.
With the driver side inner fender removed, you get a bird's eye view of the abs harness.
I did not get very far tonight. I broke off two bolts on the passenger side and most of the others were already gone. The driver side bolts seem to be all in tact. Gave it all a PB Blaster bath before it got dark out. I will have a chance to dig into it more this weekend.


#3
09-15-2012, 10:31 AM

#4
09-15-2012, 06:20 PM
Join Date: Nov 2010
Location: jackson nj
Posts: 360
Likes: 0
Received 0 Likes
on
0 Posts
Made some progress today! Tom, I wish you the best of luck it's not fun. First off, I highly recommend removing the inner fenders and the shock mount brackets. I was able to get at every stud and had some nice shoulder room, and it helped I also have some suspension lift. I did not work from the hood once. I did not remove any parts other than inner fenders and shock mounts. I consider myself fortunate I have only two studs broken in the heads. All other studs came out clean. Open to suggestions on the broken studs, I have not messed with them yet.
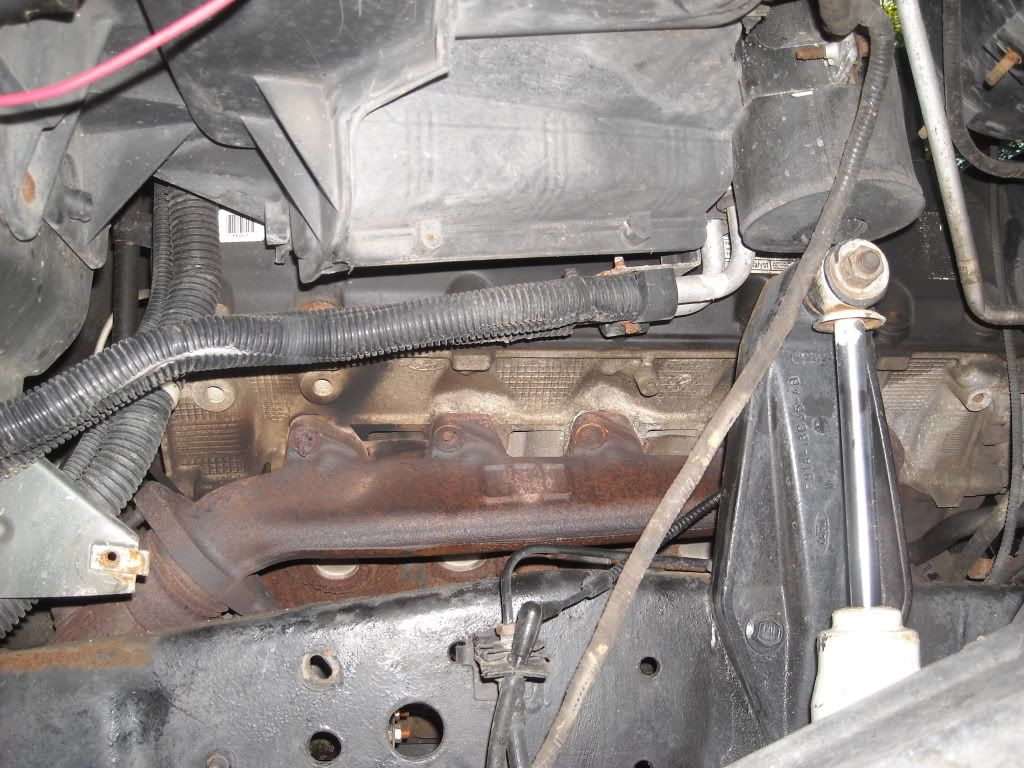
I started today by cutting the Y pipe flange bolts off with a little angle grinder. I removed all nuts securing the manifold to the heads yesterday.
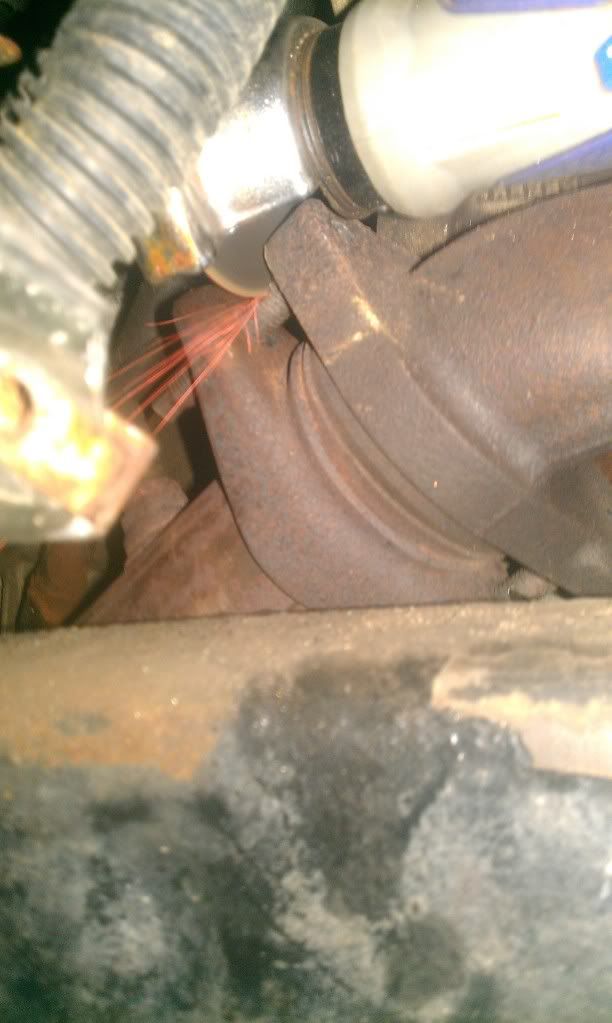
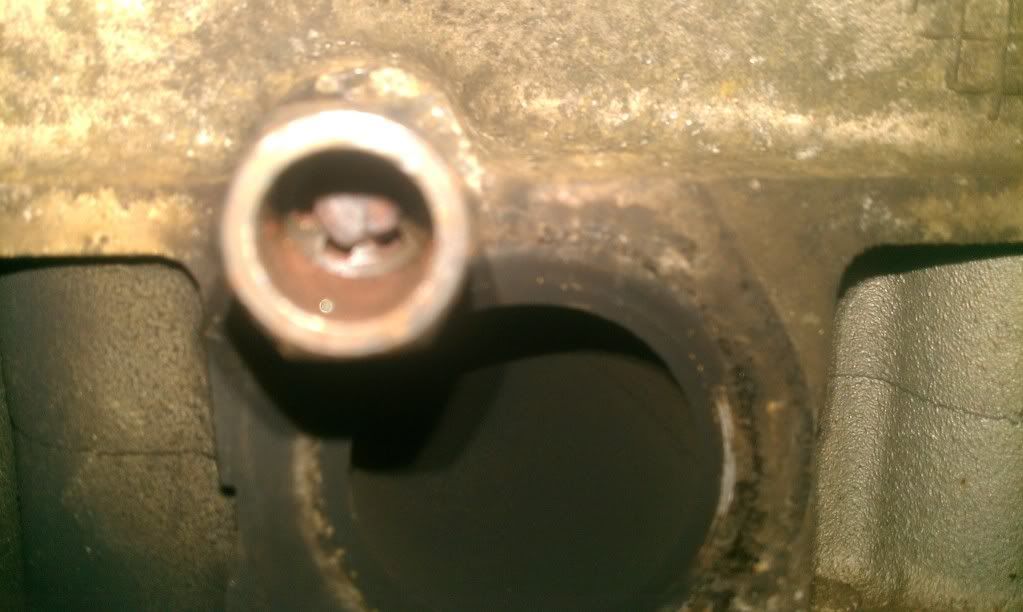
This brings me to the ugly stud removal process
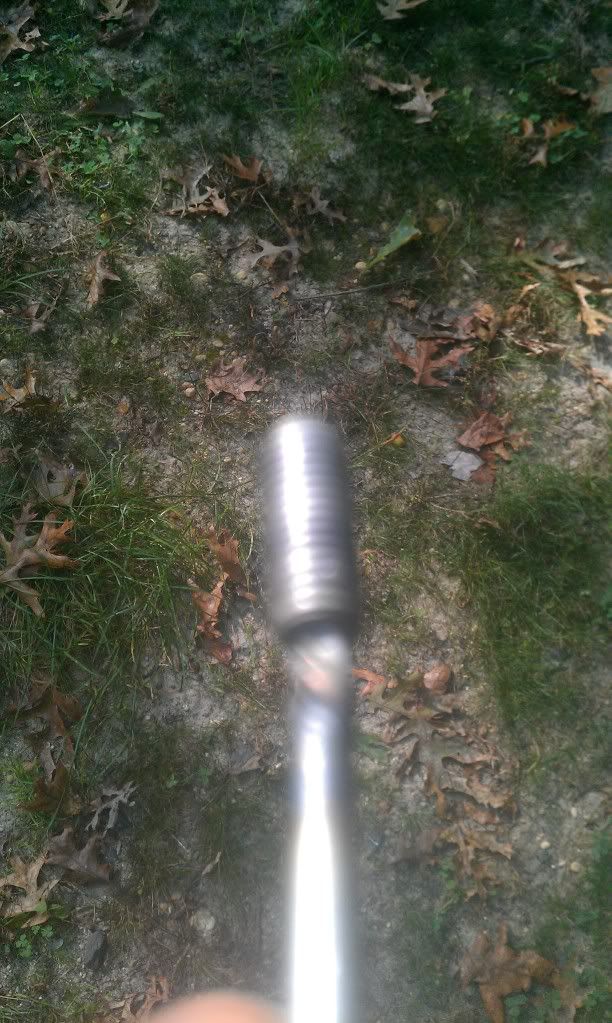
Two main weapons of choice. First, Grip rite super sockets. These puppies work! I am really impressed they grab nice, even on some gnarly looking rusty bolts. A couple taps with a hammer, or sometimes not, and they bite. Get them now.
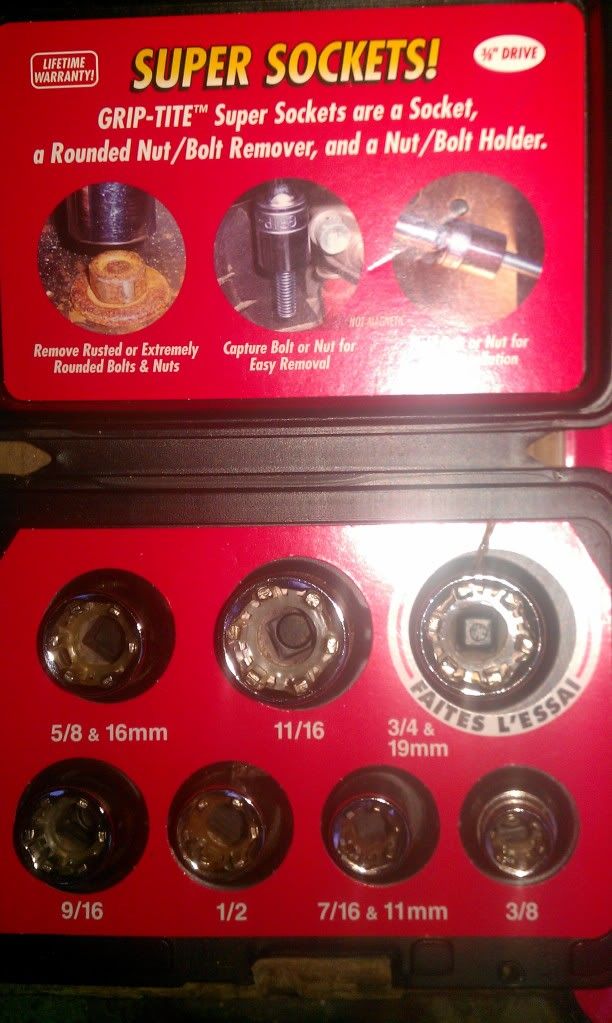
Blury pic of the socket grabbing a bolt

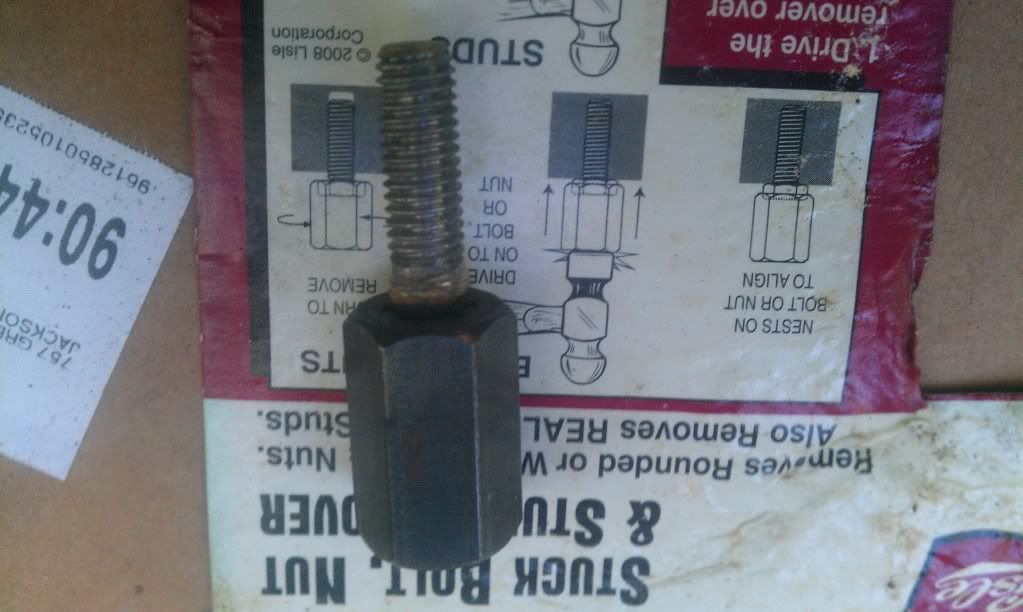
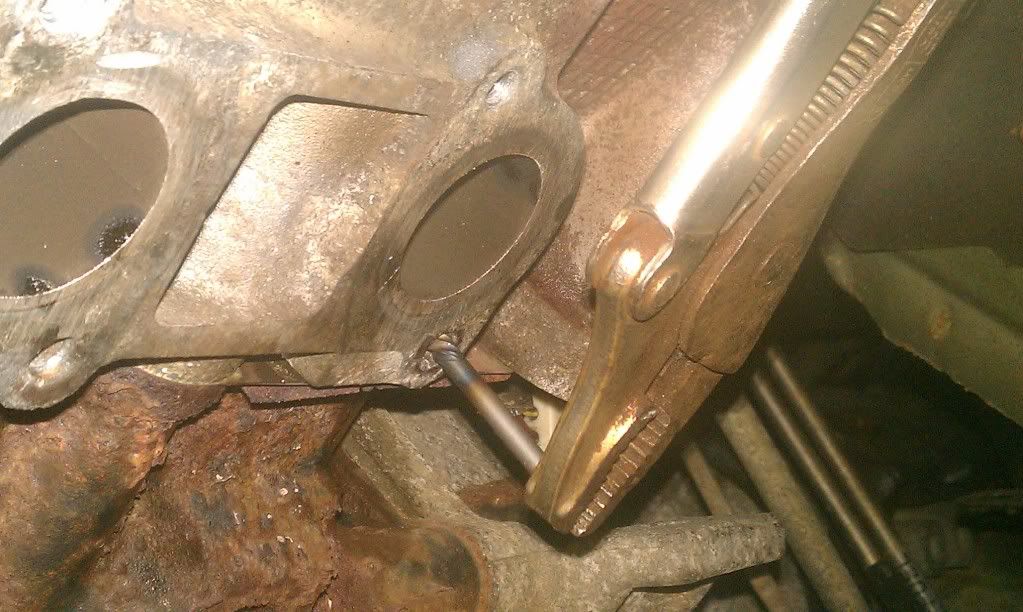
I got a few studs to come out with the bolt while using the super socket. Most studs did not, which brings me to the second tool of choice - A stud remover. These worked great. I found these most effective when hammered all the way up the stud . Don't be scared to whack them up to the head, I think they grab better this way. Get them now.

The remover on the bolt ready for a socket for removal. After the stud is out, it can be removed from the tool with a few taps of a hammer and punch the opposite way.
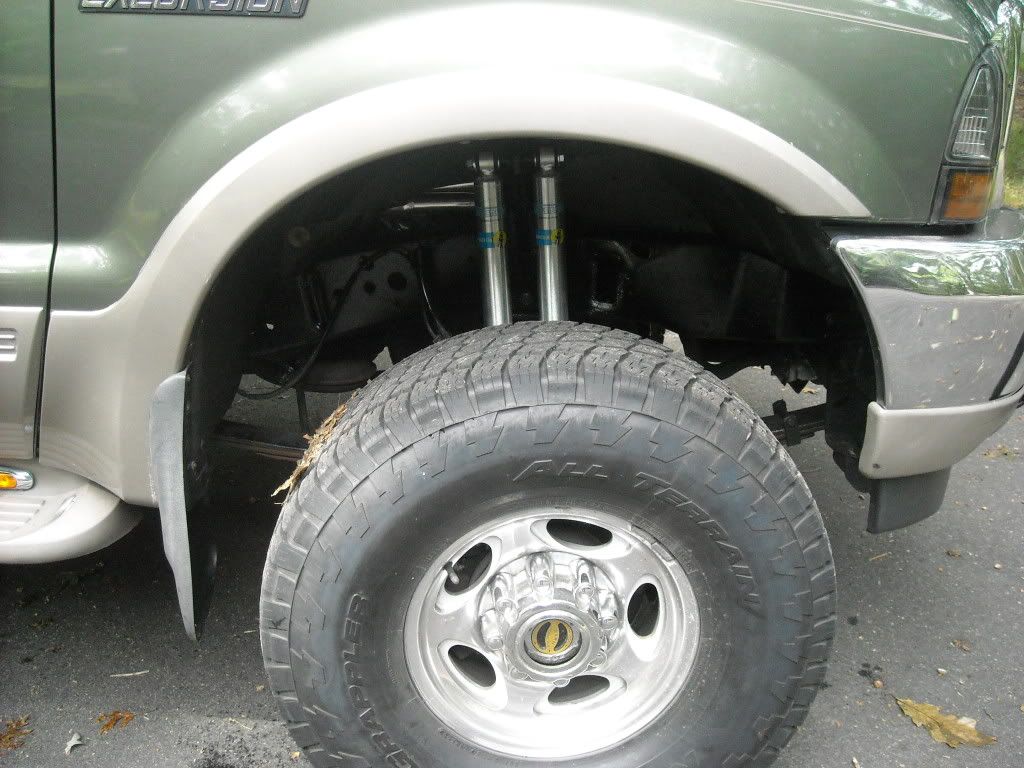
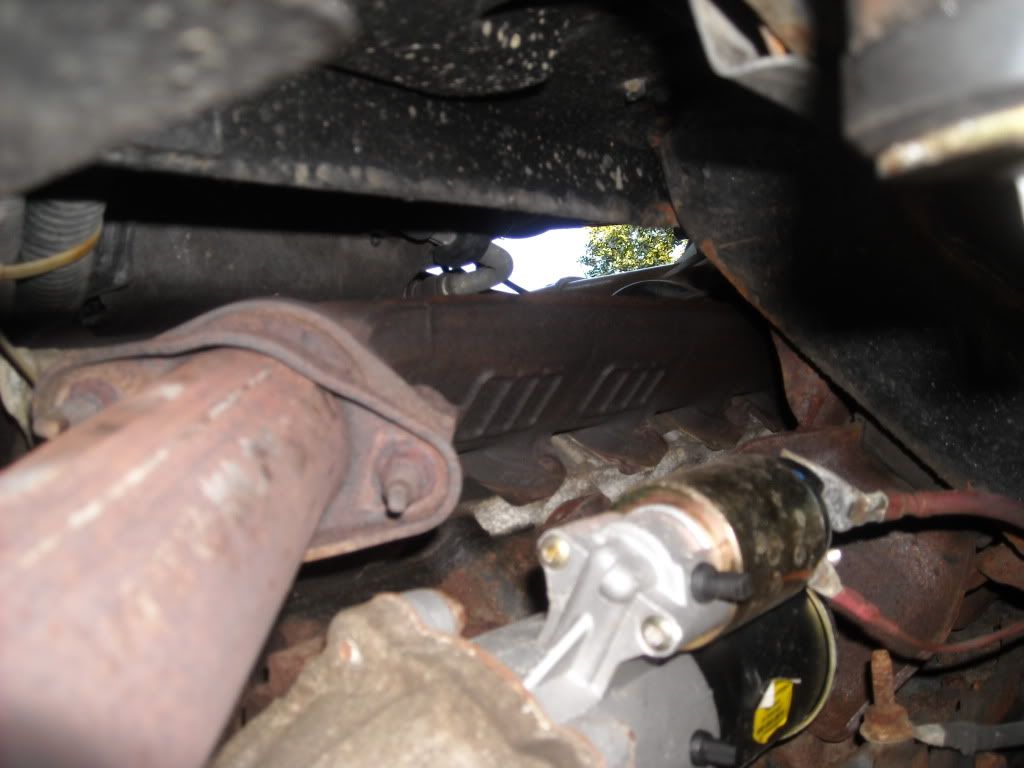
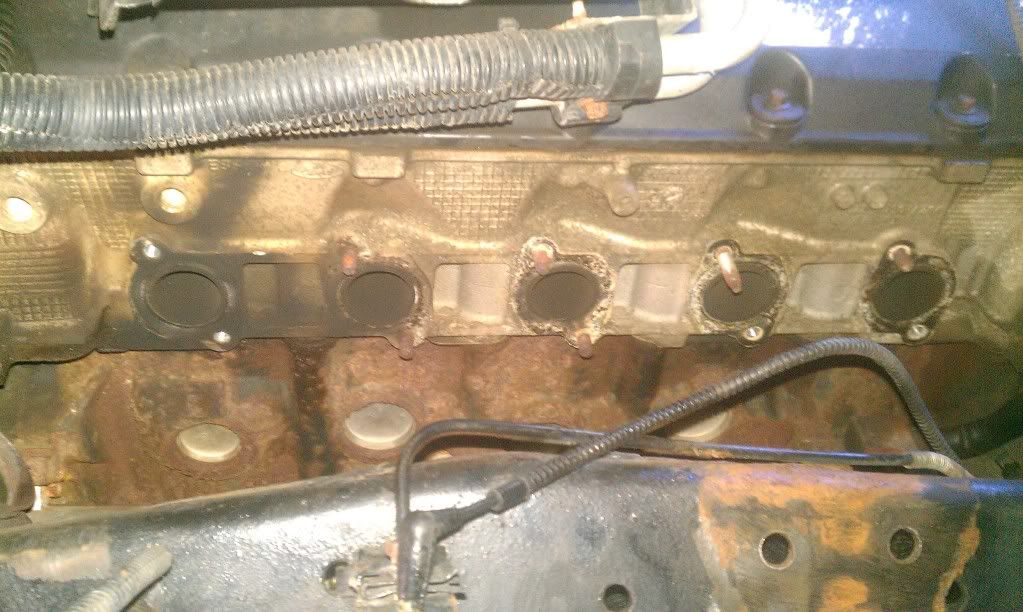
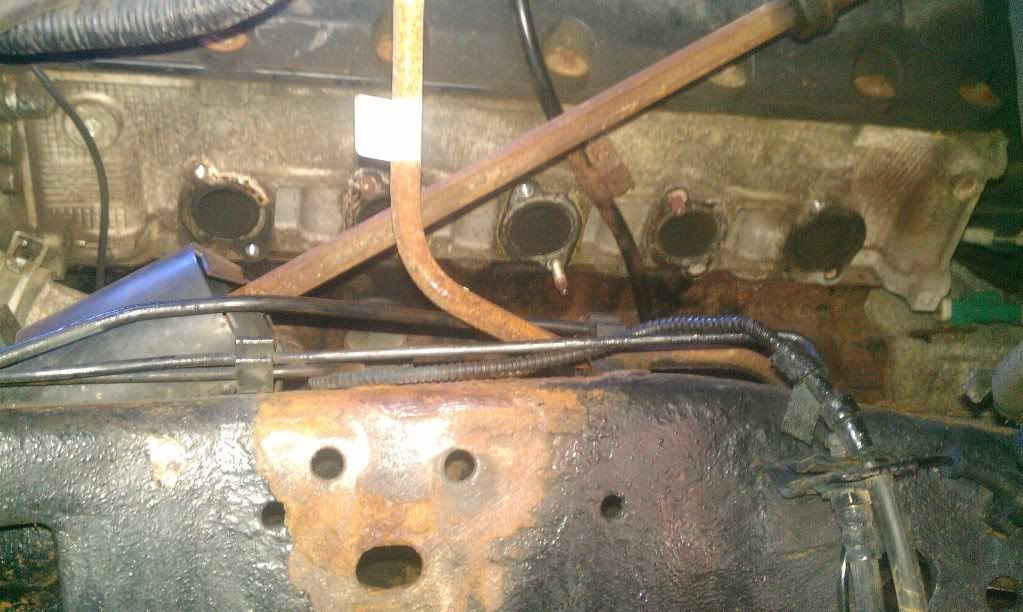
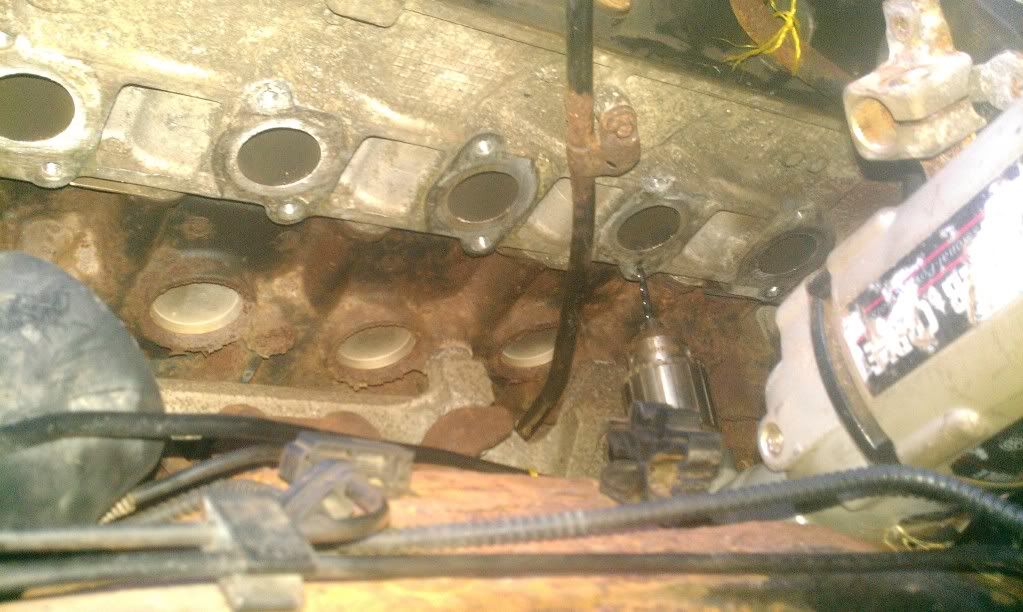
So I have the studs out (with the exception of two broken, little help!) and the heads sanded clean. Tommorrow I will work on those broken guys and do a little rust painting. I have ordered Bilstien 5100 shocks for front and rear. I have some concern with the shock mount. Look at the top where the piston mounts. Compare it to the other side and tell me if i should be worried.

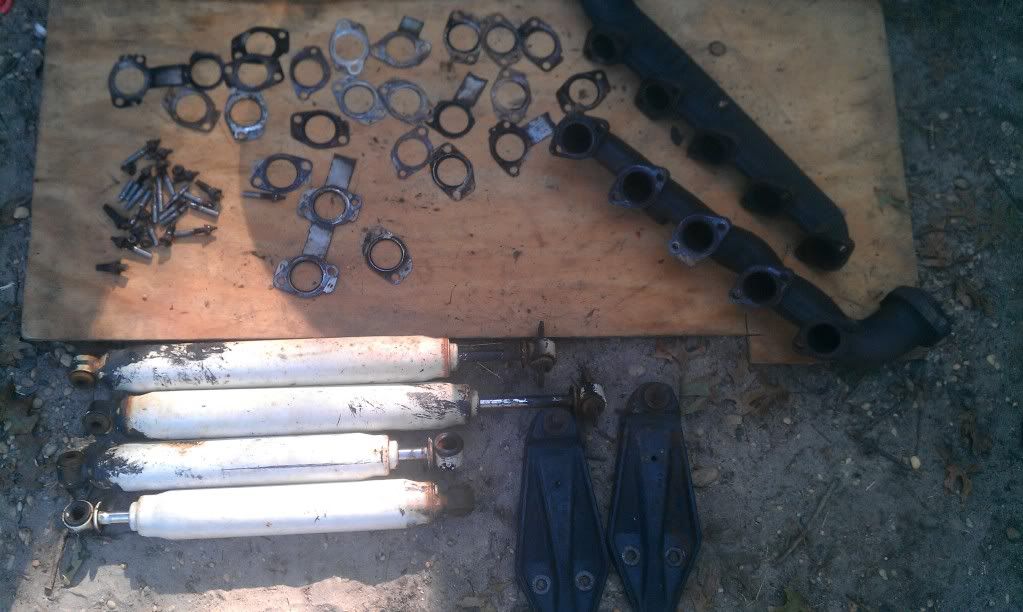
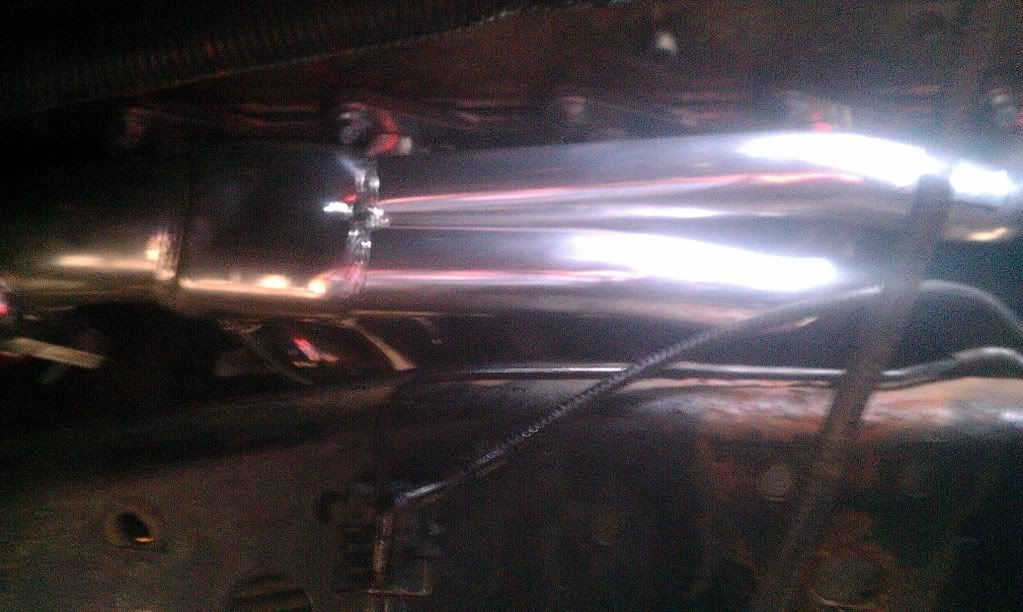
It has been a long day. Let me know what y'all think. Here is the end of the day carnage.
I started today by cutting the Y pipe flange bolts off with a little angle grinder. I removed all nuts securing the manifold to the heads yesterday.
This brings me to the ugly stud removal process
Two main weapons of choice. First, Grip rite super sockets. These puppies work! I am really impressed they grab nice, even on some gnarly looking rusty bolts. A couple taps with a hammer, or sometimes not, and they bite. Get them now.
Blury pic of the socket grabbing a bolt
I got a few studs to come out with the bolt while using the super socket. Most studs did not, which brings me to the second tool of choice - A stud remover. These worked great. I found these most effective when hammered all the way up the stud . Don't be scared to whack them up to the head, I think they grab better this way. Get them now.
The remover on the bolt ready for a socket for removal. After the stud is out, it can be removed from the tool with a few taps of a hammer and punch the opposite way.
So I have the studs out (with the exception of two broken, little help!) and the heads sanded clean. Tommorrow I will work on those broken guys and do a little rust painting. I have ordered Bilstien 5100 shocks for front and rear. I have some concern with the shock mount. Look at the top where the piston mounts. Compare it to the other side and tell me if i should be worried.
It has been a long day. Let me know what y'all think. Here is the end of the day carnage.
#5
09-15-2012, 08:45 PM
Both those shock mount studs are toast. I think when you have the job complete you will notice an increase in power (looks like you had a decent exhaust leak) and the effort will be worth it.
Just an FYI be careful with the new header gaskets. Some of them can be fragile and even a small crack will cause a leak. Don't ask me how I know.
Just an FYI be careful with the new header gaskets. Some of them can be fragile and even a small crack will cause a leak. Don't ask me how I know.
#6
09-15-2012, 09:26 PM
Join Date: Nov 2010
Location: jackson nj
Posts: 360
Likes: 0
Received 0 Likes
on
0 Posts
Thanks for the heads up on the gasket. Figured them mounts were hurtin. I think that is a good reason to upgrade to a dual shock mount bracket. Dual 5100's sounds good. Any suggestions on bracket?
Ford Dual & Triple Shock Mounts
00-05 Ford Excursion Front Dual Shock Bracket Kit
ICON Vehicle Dynamics Ford Super Duty and Excursion Dual shock Mount Kit 39010
Ford Dual & Triple Shock Mounts
00-05 Ford Excursion Front Dual Shock Bracket Kit
ICON Vehicle Dynamics Ford Super Duty and Excursion Dual shock Mount Kit 39010
#7
09-15-2012, 09:27 PM

From what i've read and you probably have too, right angle drill to get a hole, left hand bit (ive never seen one) then easy out or if your lucky the left hand bit will bind up and exrt enough force to break th stud loose. I have no idea how heat would affect these, not a torch bbut maybe heat gun? Or maybe the expansion would make the hole smaller?
I've been thinking of doing this, so thanks for the info
I've been thinking of doing this, so thanks for the info
Trending Topics
#8
09-16-2012, 05:51 PM
Join Date: Nov 2010
Location: jackson nj
Posts: 360
Likes: 0
Received 0 Likes
on
0 Posts
The headers are complete. Many hours, at some points used all my strength, and just kept at it. This morning I succesfully drilled and extracted the studs. This afternoon I got the new boys sitting pretty. Some broken drill bits, some broken easy outs, and some broken fingers. Here are some pics.

After some stuggle working around the steering shaft I remembered it is only one bolt that holds it to the steering gear. I moved that and another line in the way. I recommend taking the five minutes to do so.
The easy outs are stronger up near the non-threaded end. So I suggest drilling deep and tapping a smaller size in deep. I gave the easy out a heat treat before wrenching. Don't know if that helped or not, but it came out. I am sure a better tool is available other than vice grips to get on the tiny square end of the easy out. This was a painstaking method.
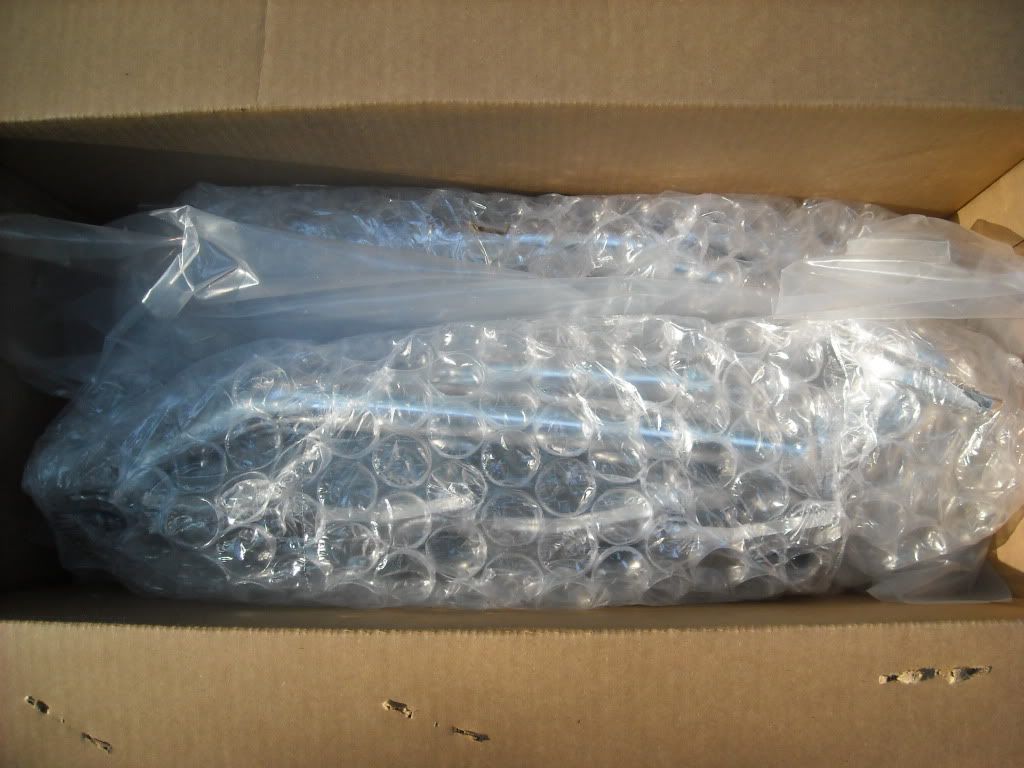
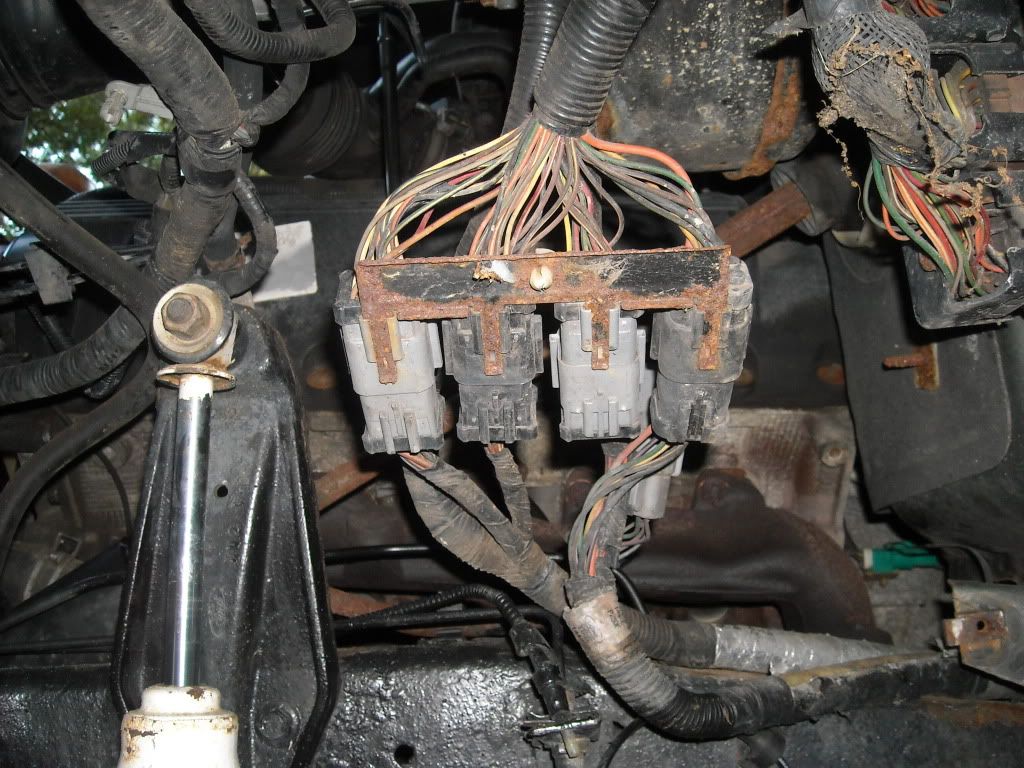
On the way out

I would not expect to have all the hardware in the bag upon arrival. The bag was open and missing 7 lock washers. These things will happen.

The install of the new headers went well. Some bolts were extremely difficult to wrench on. I hand threaded the bottom bolts through the gasket and into the heads a few turns. Sat the headers on them and spun the top bolts on loose. Next, I got the Y pipe flange bolts started but loose. Next, I tightened the header bolts evenly. Finally I tightened the flange bolts.

On the drivers side I did not remove the oil dip stick. I took apart the air box and pushed that up and out of the way. Took off the dip stick bracket and manuvered the headers up and over the top of the dip stick, through the correct header tubes and slid the headers back down. After all that fancy thinking and work the dip stick broke at the bracket later on
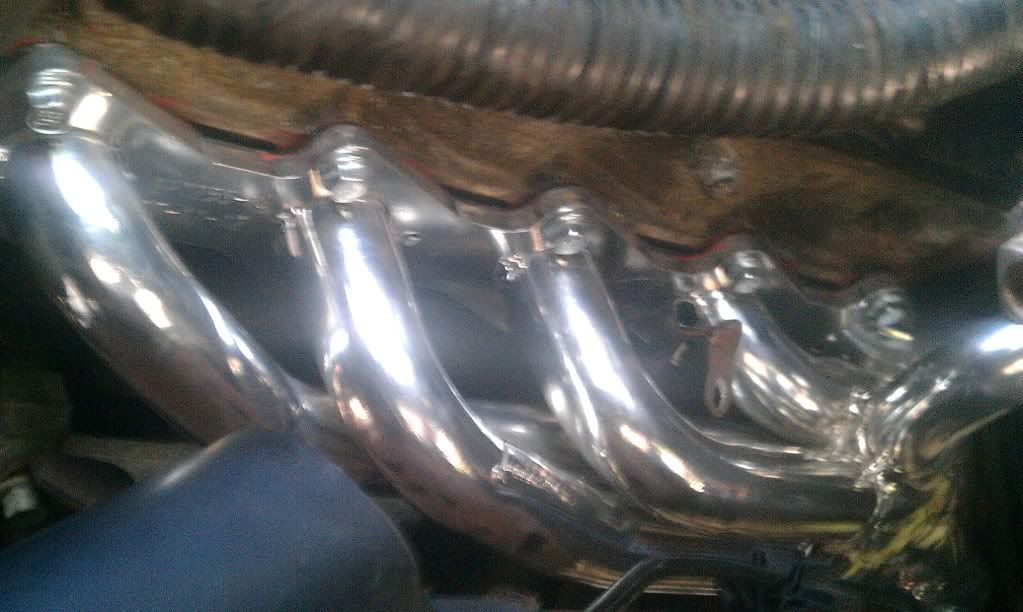
Sorry the finished pics are not the best, it has been a tough weekend. Took the truck for a spin and all is well. No longer will the manifolds scream like a raped cricket going down the road. I will get some pics of the new shocks after installation. Satisfaction and relief after all. Going to sleep well tonight.
After some stuggle working around the steering shaft I remembered it is only one bolt that holds it to the steering gear. I moved that and another line in the way. I recommend taking the five minutes to do so.
The easy outs are stronger up near the non-threaded end. So I suggest drilling deep and tapping a smaller size in deep. I gave the easy out a heat treat before wrenching. Don't know if that helped or not, but it came out. I am sure a better tool is available other than vice grips to get on the tiny square end of the easy out. This was a painstaking method.
On the way out
I would not expect to have all the hardware in the bag upon arrival. The bag was open and missing 7 lock washers. These things will happen.
The install of the new headers went well. Some bolts were extremely difficult to wrench on. I hand threaded the bottom bolts through the gasket and into the heads a few turns. Sat the headers on them and spun the top bolts on loose. Next, I got the Y pipe flange bolts started but loose. Next, I tightened the header bolts evenly. Finally I tightened the flange bolts.
On the drivers side I did not remove the oil dip stick. I took apart the air box and pushed that up and out of the way. Took off the dip stick bracket and manuvered the headers up and over the top of the dip stick, through the correct header tubes and slid the headers back down. After all that fancy thinking and work the dip stick broke at the bracket later on
Sorry the finished pics are not the best, it has been a tough weekend. Took the truck for a spin and all is well. No longer will the manifolds scream like a raped cricket going down the road. I will get some pics of the new shocks after installation. Satisfaction and relief after all. Going to sleep well tonight.

#10
09-18-2012, 09:28 AM

Senior User
Join Date: Jan 2011
Location: Massanutten,VA
Posts: 363
Likes: 0
Received 0 Likes
on
0 Posts
saz2686:Sorry the finished pics are not the best, it has been a tough weekend. Took the truck for a spin and all is well. No longer will the manifolds scream like a raped cricket going down the road. I will get some pics of the new shocks after installation. Satisfaction and relief after all. Going to sleep well tonight.
Thought you were going to do mine before you sleep?
Thought you were going to do mine before you sleep?
#11
09-18-2012, 05:55 PM
Join Date: Nov 2010
Location: jackson nj
Posts: 360
Likes: 0
Received 0 Likes
on
0 Posts
gfl- Do you need to buy the whole set of super sockets and stud removal tools or can they be bought seperately?
Treker58- Thought you were going to do mine before you sleep?
 Haha, man it was only possible due to love for my truck. I'm not sure I could be paid enough to do it again. Well, unless it were an offer I could not refuse. I was lucky enough to get it done once, and I have been known to be short on luck
Update, I have confirmed shipment on the bilstein 5100's and the dual shock bracket. Will post pics of that. Hopefully a job for this weekend.
#13
09-19-2012, 07:06 AM
Senior User
Join Date: Jan 2011
Location: Massanutten,VA
Posts: 363
Likes: 0
Received 0 Likes
on
0 Posts
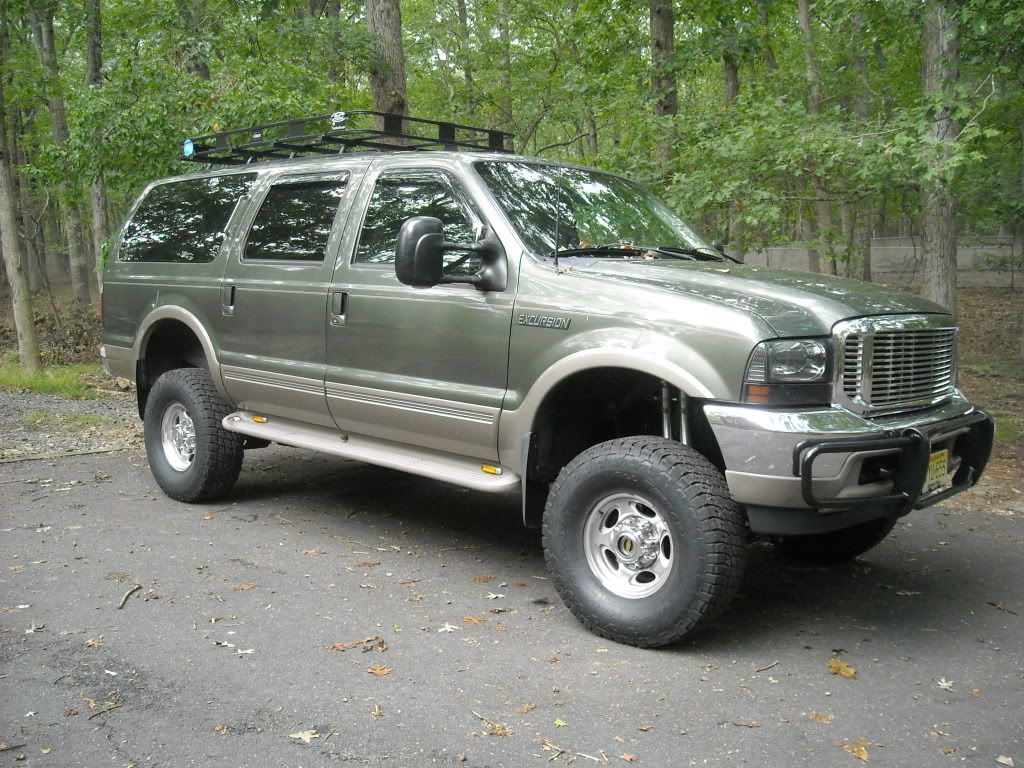
Haha, man it was only possible due to love for my truck. I'm not sure I could be paid enough to do it again. Well, unless it were an offer I could not refuse. I was lucky enough to get it done once, and I have been known to be short on luckI had 2 on the passangers side that are broken off and I need to do this work also. I see in the pictures that you didn't take the cladding around the wheel well off just the inner splash guard is this correct. I didn't think that you could do it that way, but seems it is possible. What type of tent is that in your picture, is that the pine barrons?
#14
09-19-2012, 09:38 AM
Join Date: Nov 2010
Location: jackson nj
Posts: 360
Likes: 0
Received 0 Likes
on
0 Posts
gfl- Would you recall the sizes you used?
Stud removal tool size #3 from kit. I also removed one stud by grinding two flat sides on it and using vice grips, you could try that...
Treker58- You didn't take the cladding around the wheel well off just the inner splash guard is this correct.
Pm sent, check your inbox.
#15
09-29-2012, 01:53 PM
Join Date: Nov 2010
Location: jackson nj
Posts: 360
Likes: 0
Received 0 Likes
on
0 Posts
Pics as promised. Dual bracket and shocks were not a perfect bolt on. I made it work though. A thread on it if interested, here https://www.ford-trucks.com/forums/1...installed.html