
My 78 Bronco Project (Daddy's Big Truck)
#46
 10-10-2012, 08:31 PM

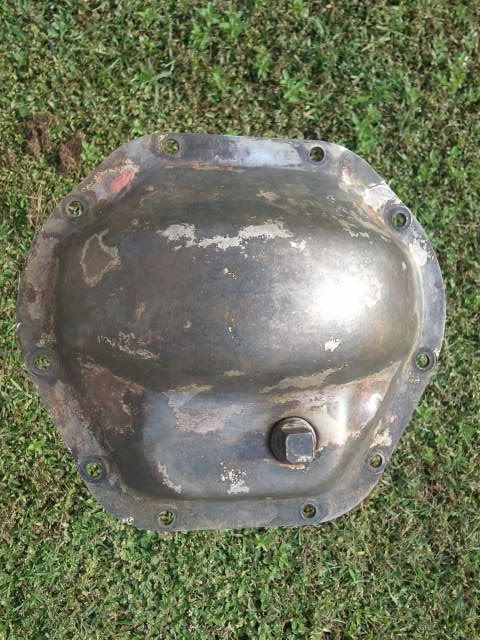
So I got the knuckle all done and decided to do something easy and pull the front differential cover so I could paint it. What a bonehead decision that turned out to be. I pulled the bolts and put a pan in place so I could catch the fluid as it drained. I loosened all of the bolts and pulled out all but the top 2 and tapped the cover to loosen it. The crap started as the first min was water draining out in a slow trickle. Then came the whipped crap fluid in a 5 min stream. Once it stopped draining I pulled the cover and saw all of the sludge sitting in the bottom of the housing.
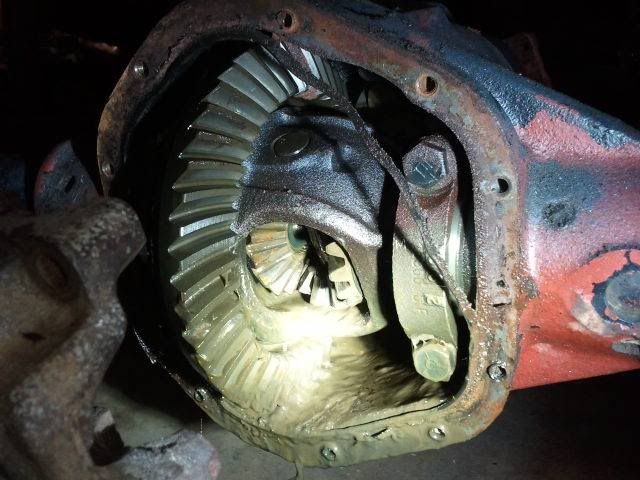
I scooped out all that I could and then saw the rust spot on the spider gear.
Not a big deal as it is a tiny spot. Then I turned the ring gear and saw the huge rust scale on the gear face. Bad news!! Then I counted the teeth and found out it is a 3.00 ratio so I really need to change it out anyway so I guess I will add new front gears to the list of stuff I need to buy. It seems like the to-do list never gets shorter.
#47
10-10-2012, 08:34 PM
Post Fiend
Join Date: Nov 2011
Location: Algona, Washington
Posts: 8,908
Likes: 0
Received 0 Likes
on
0 Posts
#48
10-11-2012, 10:50 AM

#49
10-11-2012, 11:43 AM
Post Fiend
Join Date: Nov 2011
Location: Algona, Washington
Posts: 8,908
Likes: 0
Received 0 Likes
on
0 Posts
#50
10-11-2012, 01:06 PM

Freshman User
Join Date: May 2012
Location: Blythewood, SC
Posts: 29
Likes: 0
Received 0 Likes
on
0 Posts
#51
10-12-2012, 02:26 PM

#52
10-12-2012, 02:57 PM
Post Fiend
Join Date: Nov 2011
Location: Algona, Washington
Posts: 8,908
Likes: 0
Received 0 Likes
on
0 Posts

#53
10-12-2012, 03:05 PM

#54
10-12-2012, 04:01 PM
Post Fiend
Join Date: Nov 2011
Location: Algona, Washington
Posts: 8,908
Likes: 0
Received 0 Likes
on
0 Posts
#55
10-18-2012, 09:45 PM
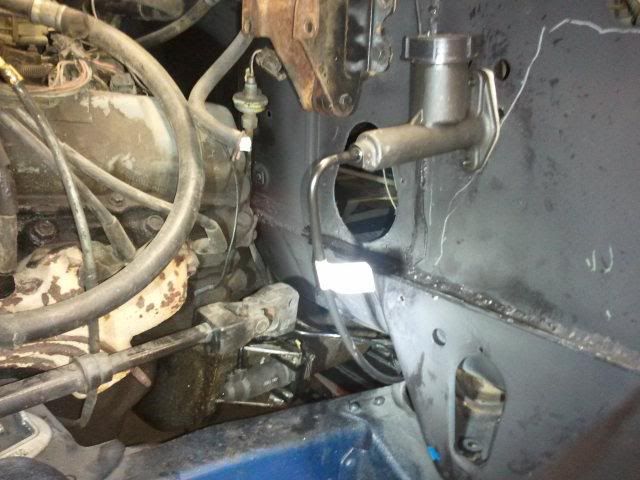
So I actually got to work in the garage for about 3 hours today and got a lot of modifications done. I am swapping a 4 speed into my Bronco that was originally an auto truck. The trans and engine are from a 1983 F250 so it has a hydraulic clutch that I have been researching how to mount and make work. I already posted the reinforcing of the firewall to prevent it flexing so today I was working on where to mount it on the firewall and modifying the pedal itself to mount the plunger for the master cylinder.
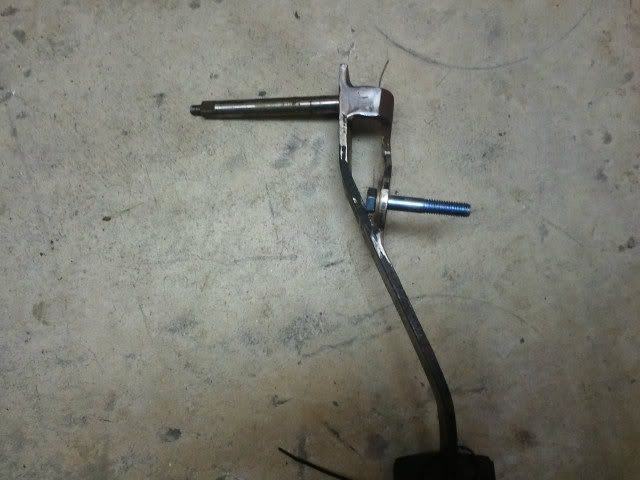
I started with modifying the clutch pedal. I used the L bracket that I cut off and flipped its position along with welding an extension piece onto the front of it to move the pivot point closer to the firewall. I also measured a ton to figure the height to mount it so I had the full 1.75" travel in the master matched to the full movement of the pedal's swing.
The blank side of the pedal before I started melting metal.

The side view of the mount and pivot point.
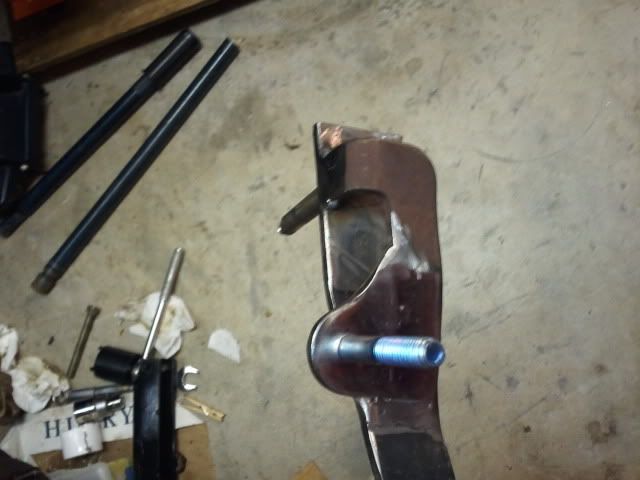
The pedal how it will be facing when mounted.
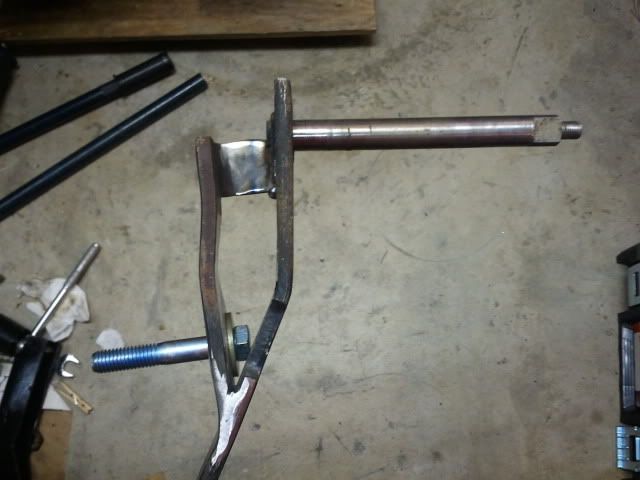
The back side of the modified pedal.
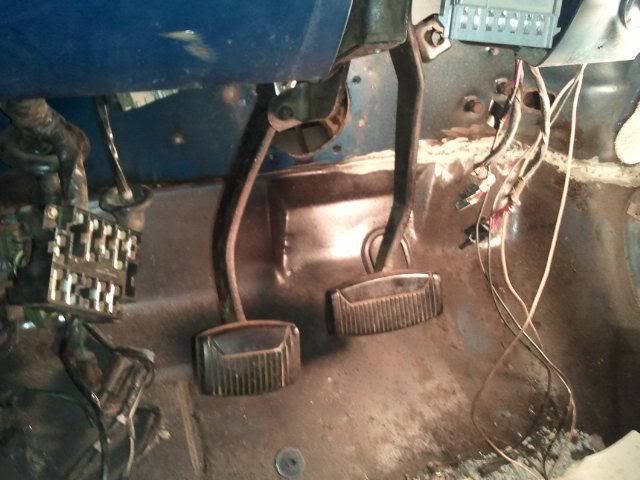
The pedals under the dash. I have my Clutch pedal!!
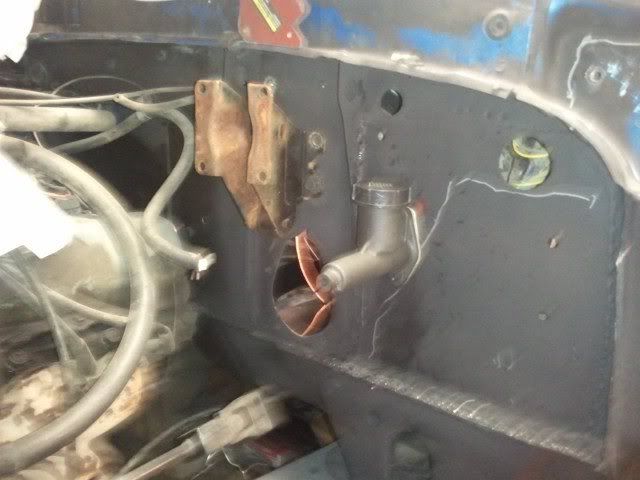
The master cylinder mocked onto the firewall. I still need nuts to mount it because it came without any and it is 5/16 fine thread which I am out of in my assortment.
Hope to get a little done tomorrow before I have to work.
I started with modifying the clutch pedal. I used the L bracket that I cut off and flipped its position along with welding an extension piece onto the front of it to move the pivot point closer to the firewall. I also measured a ton to figure the height to mount it so I had the full 1.75" travel in the master matched to the full movement of the pedal's swing.
The blank side of the pedal before I started melting metal.
The side view of the mount and pivot point.
The pedal how it will be facing when mounted.
The back side of the modified pedal.
The pedals under the dash. I have my Clutch pedal!!
The master cylinder mocked onto the firewall. I still need nuts to mount it because it came without any and it is 5/16 fine thread which I am out of in my assortment.
Hope to get a little done tomorrow before I have to work.
#56
10-18-2012, 11:16 PM
Post Fiend
Join Date: Nov 2011
Location: Algona, Washington
Posts: 8,908
Likes: 0
Received 0 Likes
on
0 Posts
#57
10-19-2012, 01:12 PM
Well I have a hydraulic clutch!!!
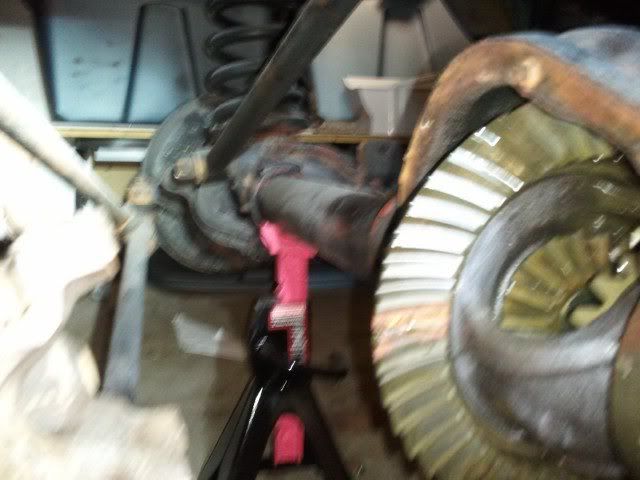
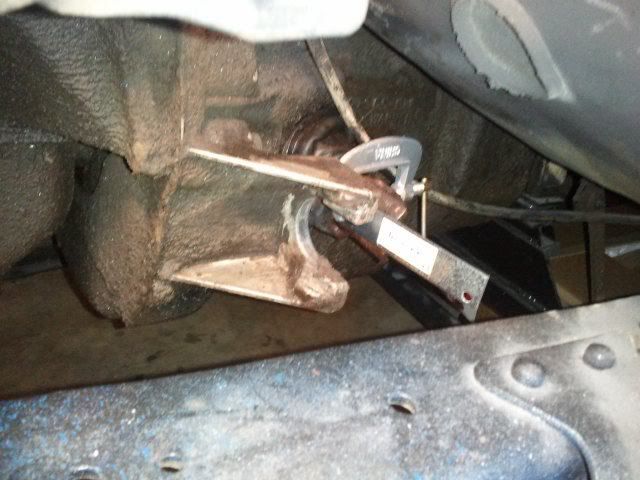
I started today by taking out the old slave cylinder which is only held it by a spring steel retaining clip. Then I attempted to slip the new one into place with no luck. I did a bunch of research and found lots of different ways to get it in that almost all require a ratchet strap pulling the clutch fork back to open up the room and allow the slave cylinder to pop right in place. I didn't want t do that cause I didn't want me hand anywhere that if the strap failed or the hook slipped off. I went another way and clamped a 4" piece of flat steel to the fork to extend its length. I used it as a ramp while sliding the slave cylinder toward its mount the steel pushed the plunger further into the cylinder allowing everything to seat. Then I unclamped the steel and slid it right out.
Then I hooked the clutch line up to the slave cylinder.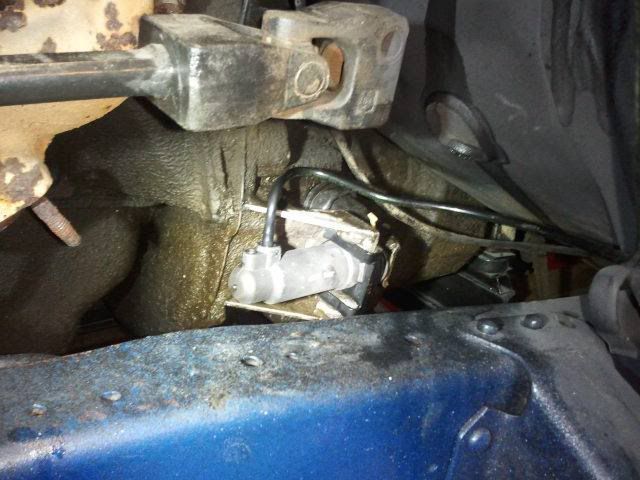
Hooked the other end up to the clutch master cylinder. The line is too long because it is the factory replacement for the 83 F250 the engine and transmission came out of. I will find a shorter line later. I just needed a starting point since the master and slave are not threaded for lines, they are a setup that uses a roll pin in a groove to hold the lines in.
I filled it with DOT3 brake fluid and proceeded to bleed the air out of it. I was able to bleed it by myself because I could reach through the firewall hole where the steering column should be and open and close the bleed screw while I was holding the clutch pedal.
Now it is time to decide what master cylinder and booster I am going to use for my brakes. Since I am going with dual piston calipers on big discs front and rear I need to do some more research to find a master that can provide enough fluid to those calipers.
#59
10-19-2012, 07:48 PM
I know that Hydroboost will help putting a lot of pressure into the brakes, but I am trying to match the whole system by finding a master cylinder that moves a lot of fluid as well. I also figured that if I do go hydroboost I will probably use all of the parts from a newer Superduty diesel truck. If I don't go hydroboost I will just copy my Excursion. Then I can stay away from chebby parts.
#60
10-20-2012, 02:14 PM
I spent a little time today prettying up the front diff cover for the Bronco. I had run it in my electrolytic rust removal solution so I pulled it out and gave it a quick scrubbing with the wire brush and a once over with a green scotchbrite pad. Rinsed it off and let it dry in the sun while I dug through the garage and found the primer and paint.
All cleaned up.
Primed.
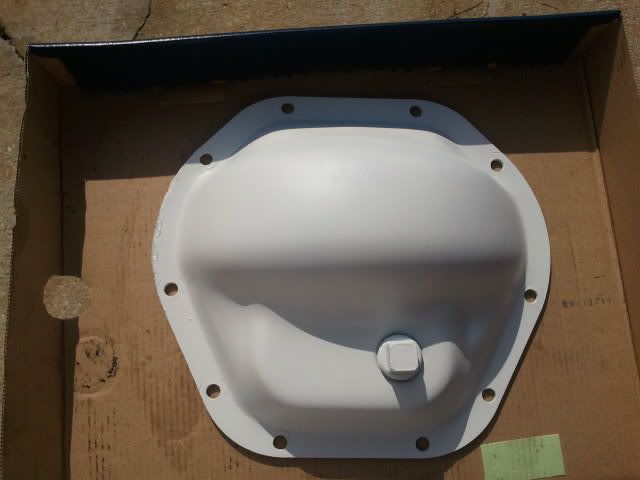
All painted up. Not the exact shade of blue I wanted but not too bad.
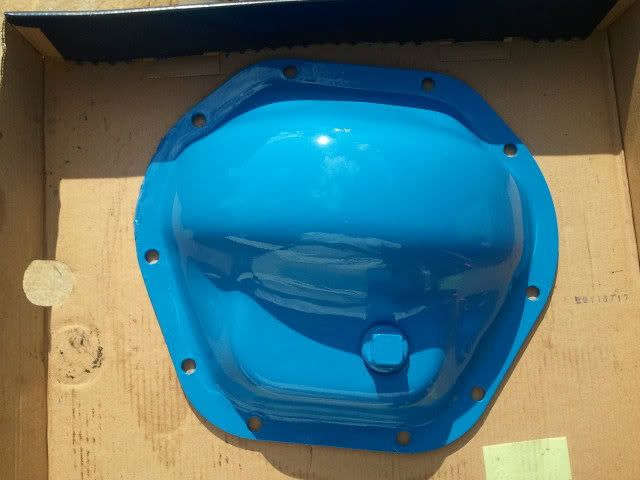
The nice thing I noticed in doing this is that the front cover is a little over an 1/8" thick steel. No where near the flimsy sheet metal thing I had expected and am used to finding on my rigs.
All cleaned up.
Primed.
All painted up. Not the exact shade of blue I wanted but not too bad.
The nice thing I noticed in doing this is that the front cover is a little over an 1/8" thick steel. No where near the flimsy sheet metal thing I had expected and am used to finding on my rigs.