53 F100 with explorer frame (54,55,56)
#16
 08-14-2012, 04:47 PM


Join Date: Aug 2012
Posts: 32
Likes: 0
Received 0 Likes
on
0 Posts
Todays update is there is no real update.
All of the steel I needed to order was ordered yesterdyand should show up tomorrow, Hopefully I will have time to bend up the trans tunnel and fab up the rear cab mounts tomorrow night
Today I made some measurements and I cut the original front cab mount brackets off the F100. The F100 frame is about 3" wider than the explorer where the brakets will need to be located, the plan is to simply to add a bit of material to the original brackets and weld them to the frame.
The distance from the center of the front cab mount to the center of the front axle was also noted. This distance will be increased by 3/4" when fabbed onto the explorer. This is about half the difference in the wheelbase of the two and should remain relatively unnoticed in the gigantic wheel wells of the F100. Im sure that the purist will disagree with it, but when layyed out the additional clearance between engine and fire wall are going to be very welcome!
#17
09-11-2012, 09:06 AM
Join Date: Aug 2012
Posts: 32
Likes: 0
Received 0 Likes
on
0 Posts
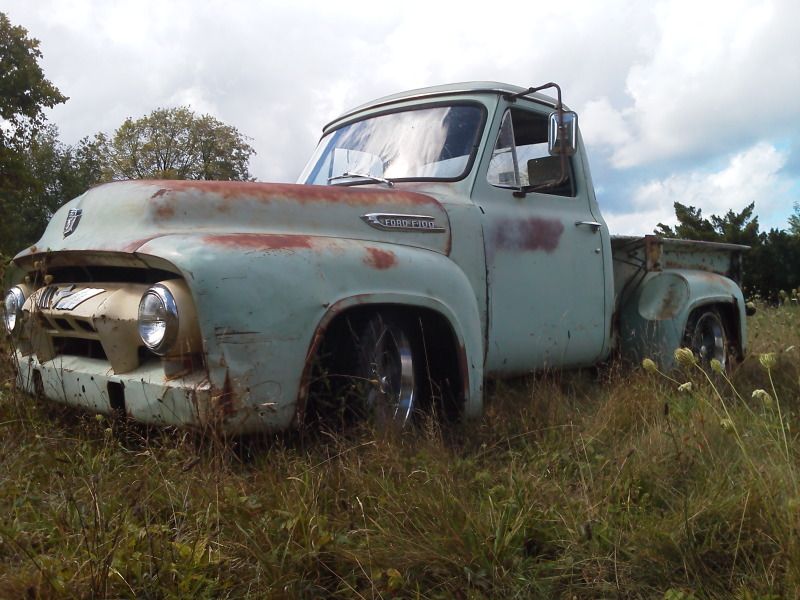
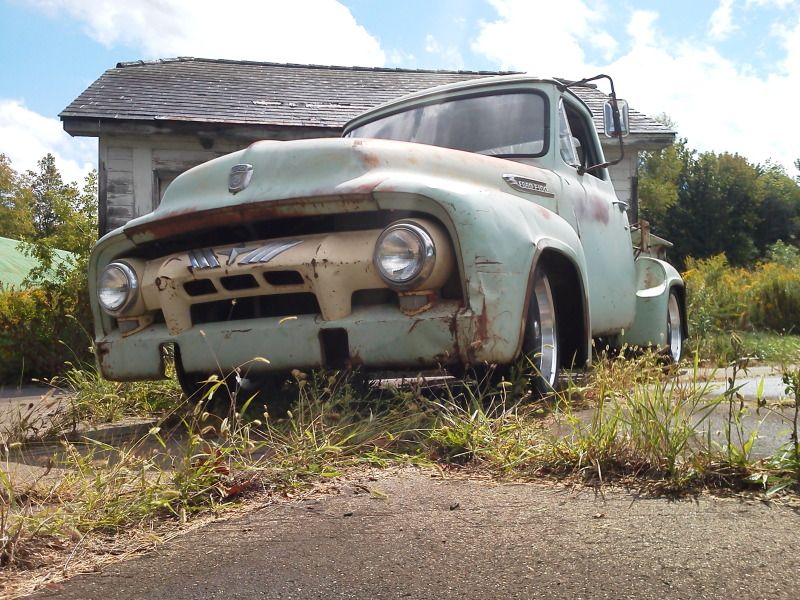
Well, Here it is. Mostly done and driving.
A few things left to do:
Install the Vintage Air
Install New weatherstripping
Install 12v Wiper Motor
Here are a few pics
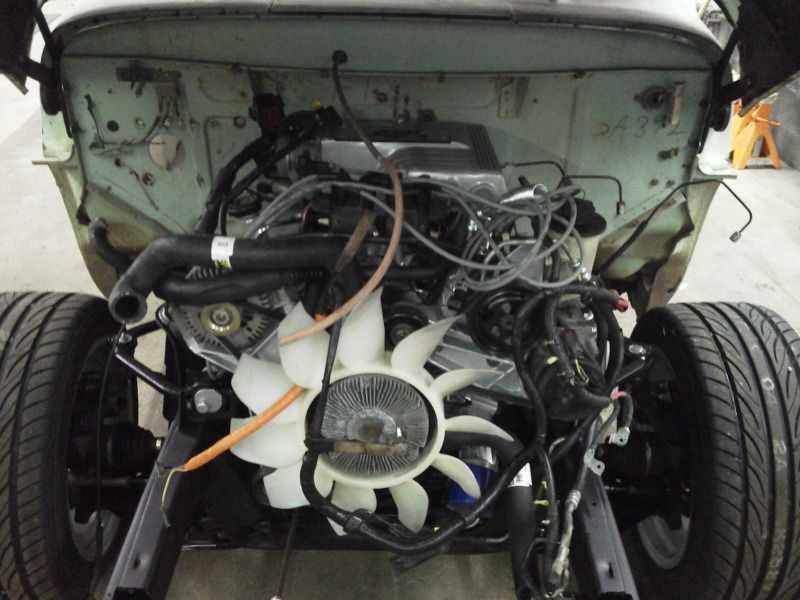
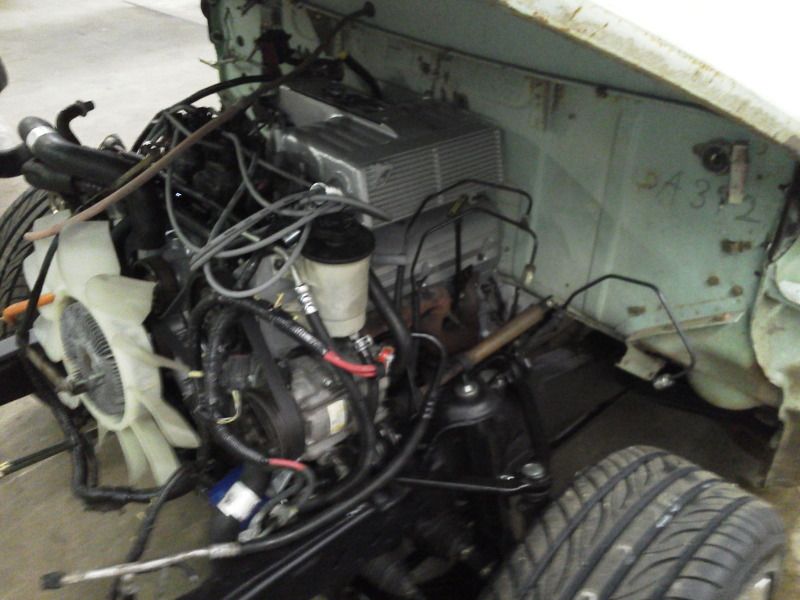
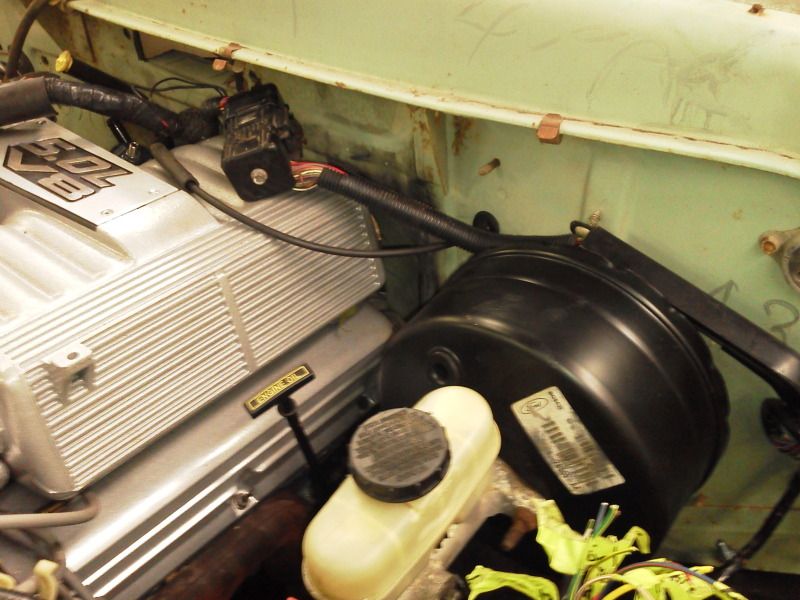
The engine was cleaned up with a "Krylon" rebuild, all the aluminum components were powdercoated silver, the steel bracketry was powdercoated black. Everything Else was just scrubbed up with elbow grease.
The frame and rear end were sandblasted and painted with good ol' rust'oleam flat black, 1 gallon was $31 at lowes, and a cheap disposable $16 HVLP spray gun did the work of applying it.
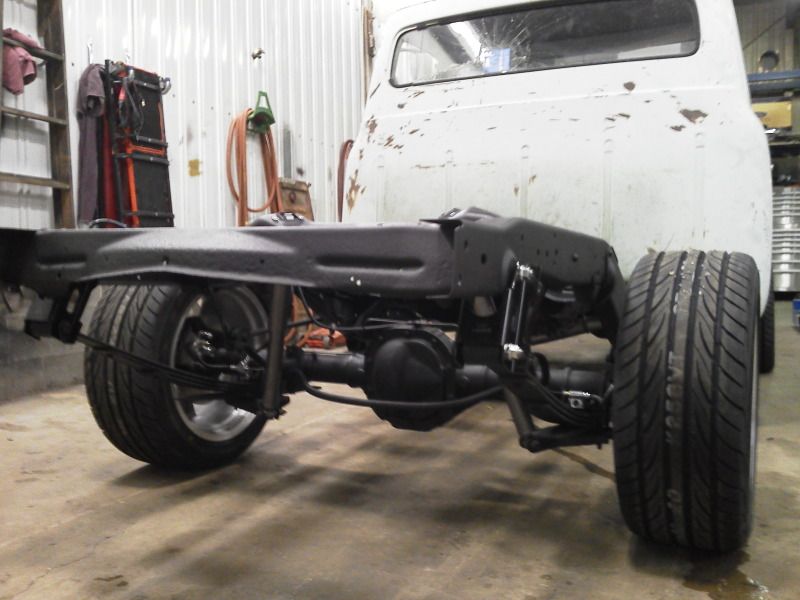
The factory cab mounts were removed from the f100 and legthened by 1.5 inches then welded to the explorer frame, the goal was to make the truck as low as I could, so the mounts actually dogleg down, there is only about an 1/8 clearance between the frame and the pinch weld along the floor.

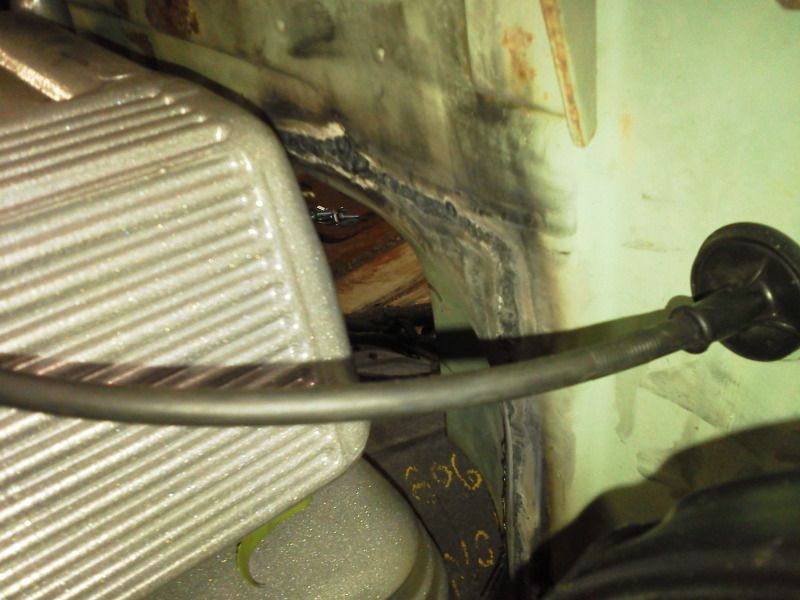
Because the body sits so low on the frame, we had to make a trans tunnel and modify the fire wall for some clearance around the drivers side of the engine.


The brake booster, master cylinder, and pedal were straight out of the explorer, I also used the throttle cable, pedal and pivot bolt/bracket too.
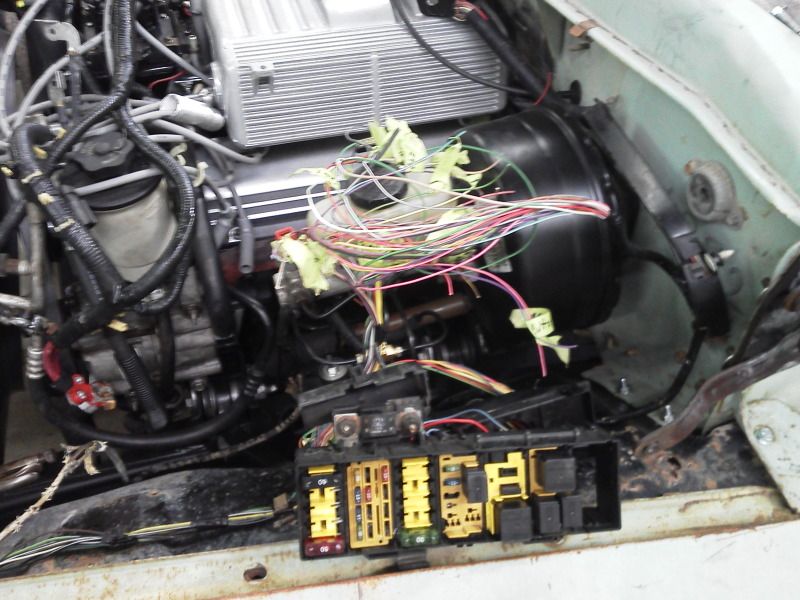
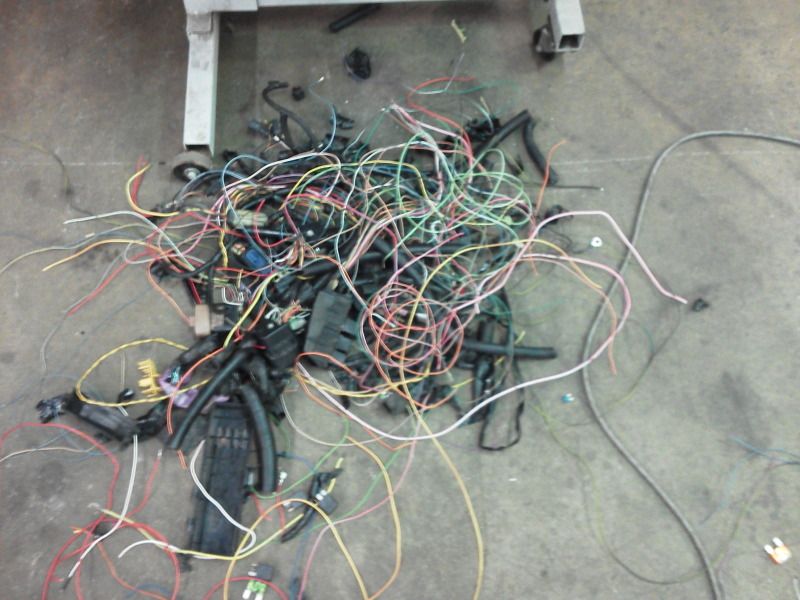
The wiring would likely scare most, simply because most allow themselves to be confused by it, causing anxiety before they even get started.
But this is the start of it here, All explorer harness' modified to fit the truck, I removed alot of extra circuts that the F100 wouldnt need, Everything is routed through the two explorer fuse and relay boxes.
There is a second small fuse panel in the cab that is for the lamps, signals and eventually the wipers and heat a/c.
The wheels are Rocket Racing Booster 18x9 with a 255/45/18 Yokahama S drive tire. You can also see here that the headlight were out, installing 12 holagens and utilizing 3/4" round Amber LED trailer marker lights as the park and turn in the front. They mount very neatly behind the stock lense.
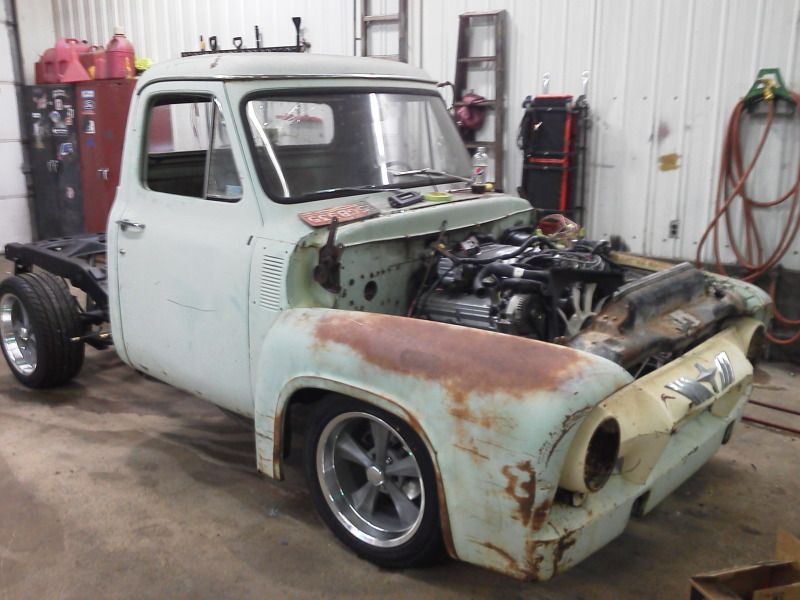
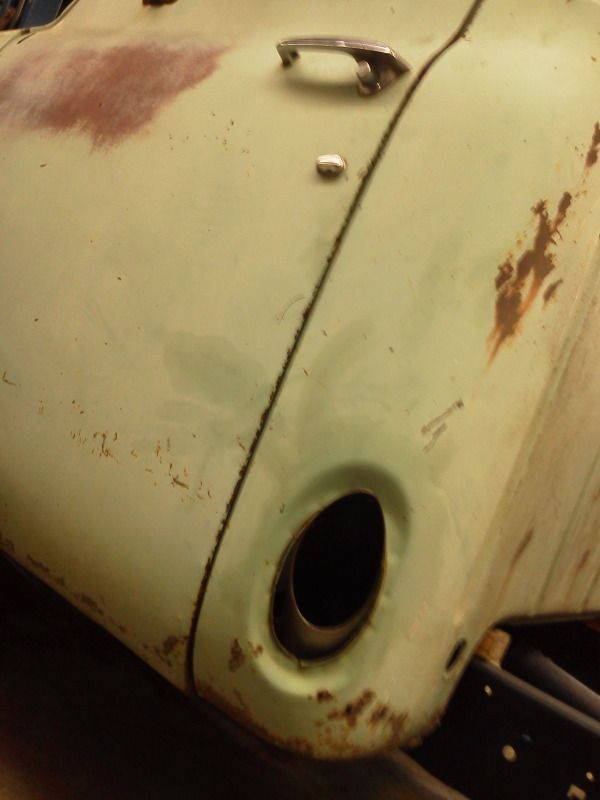
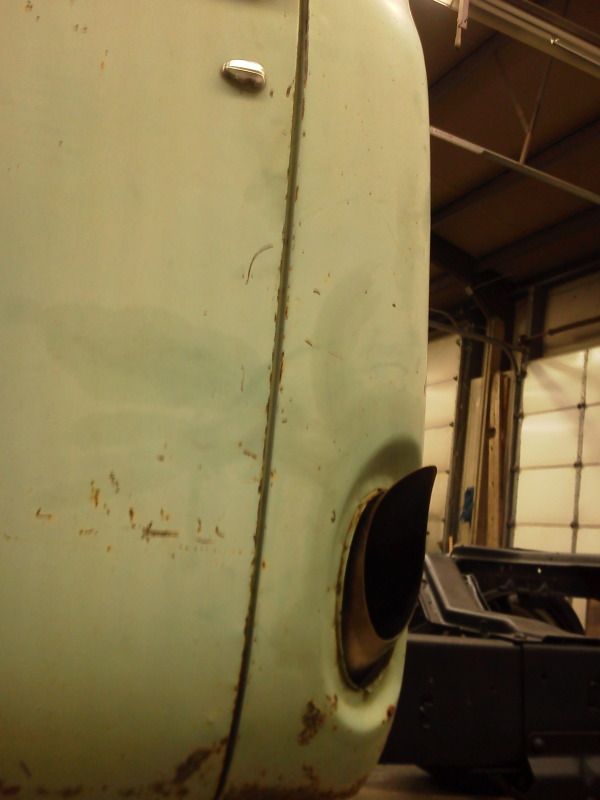
The exhaust exits where the filler neck used to be, The exhaust is pretty simple, 2-2.25 to i 3in, to a dynamax rade bullet eith a 3.5 in tail throught the cab. Its smells bad and its loud!
Here is the whole package on its maiden voyage down to the store for a soda and smokes, it was 5am sunday after an all nighter a drive rain or shine was in order. Even if it was only 3 blocks.
The sun came out sunday and my buddy wanted to take a few photos, all of my photos were done with my phone, here are a few of those.
A few things left to do:
Install the Vintage Air
Install New weatherstripping
Install 12v Wiper Motor
Here are a few pics
The engine was cleaned up with a "Krylon" rebuild, all the aluminum components were powdercoated silver, the steel bracketry was powdercoated black. Everything Else was just scrubbed up with elbow grease.
The frame and rear end were sandblasted and painted with good ol' rust'oleam flat black, 1 gallon was $31 at lowes, and a cheap disposable $16 HVLP spray gun did the work of applying it.
The factory cab mounts were removed from the f100 and legthened by 1.5 inches then welded to the explorer frame, the goal was to make the truck as low as I could, so the mounts actually dogleg down, there is only about an 1/8 clearance between the frame and the pinch weld along the floor.
Because the body sits so low on the frame, we had to make a trans tunnel and modify the fire wall for some clearance around the drivers side of the engine.
The brake booster, master cylinder, and pedal were straight out of the explorer, I also used the throttle cable, pedal and pivot bolt/bracket too.
The wiring would likely scare most, simply because most allow themselves to be confused by it, causing anxiety before they even get started.
But this is the start of it here, All explorer harness' modified to fit the truck, I removed alot of extra circuts that the F100 wouldnt need, Everything is routed through the two explorer fuse and relay boxes.
There is a second small fuse panel in the cab that is for the lamps, signals and eventually the wipers and heat a/c.
The wheels are Rocket Racing Booster 18x9 with a 255/45/18 Yokahama S drive tire. You can also see here that the headlight were out, installing 12 holagens and utilizing 3/4" round Amber LED trailer marker lights as the park and turn in the front. They mount very neatly behind the stock lense.
The exhaust exits where the filler neck used to be, The exhaust is pretty simple, 2-2.25 to i 3in, to a dynamax rade bullet eith a 3.5 in tail throught the cab. Its smells bad and its loud!
Here is the whole package on its maiden voyage down to the store for a soda and smokes, it was 5am sunday after an all nighter a drive rain or shine was in order. Even if it was only 3 blocks.
The sun came out sunday and my buddy wanted to take a few photos, all of my photos were done with my phone, here are a few of those.
#18
09-11-2012, 09:16 AM
Join Date: Aug 2012
Posts: 32
Likes: 0
Received 0 Likes
on
0 Posts
When the frame was bared down, I went through the whole thing, New front and rear Brakes (rotors, calipers, hoses) New Loaded upper and lower control arms (includes ball joints and bushings already installed), New inner and outer tie rods, New wheel bearings, all New power steering and cooling hoses, New seals in the front diff, New swaybar bushings and endlinks and New rear shackles and 3" drop blocks.
I also added a Detroit TruTrac diff to the rear with a complete bearing and seal kit.
Electrically the truck uses all the original switches for ignition, start and lighting.
I'll try to get a few more pics soon.
So it was 4 weeks, with only occasional help from friends, a patient girlfriend and a ton of latenights!
#19
09-11-2012, 11:03 AM
Cargo Master

#20
09-11-2012, 11:04 AM
Elder User
Join Date: Sep 2006
Location: Katy(Houston), Texas
Posts: 741
Likes: 0
Received 0 Likes
on
0 Posts

#21
09-11-2012, 11:36 AM

#22
09-11-2012, 11:53 AM
More Turbo
I like the end result, nice job and you certainly made it quick! Have any pure side pics to show the wheels in the wheelwells and the ride height? Did the Exploder wheelbase work out or did you have to change it? I assume it is still functional 4x4? Not familiar with Exploder, does it have 2 speed transfer case? Or is it AWD?
#23
09-11-2012, 12:18 PM
Join Date: Aug 2012
Posts: 32
Likes: 0
Received 0 Likes
on
0 Posts
The bed floor is up in the air, I built a subframe that fits nicely inside the bed, and has differnet length standoffs to compensate for the elevation changes in the explorer frame.
I was debateing between dimple died sheetmetal, corragated galvanized, expanded steel, or a unique treaded dimple.....
#24
09-11-2012, 12:26 PM
Join Date: Aug 2012
Posts: 32
Likes: 0
Received 0 Likes
on
0 Posts
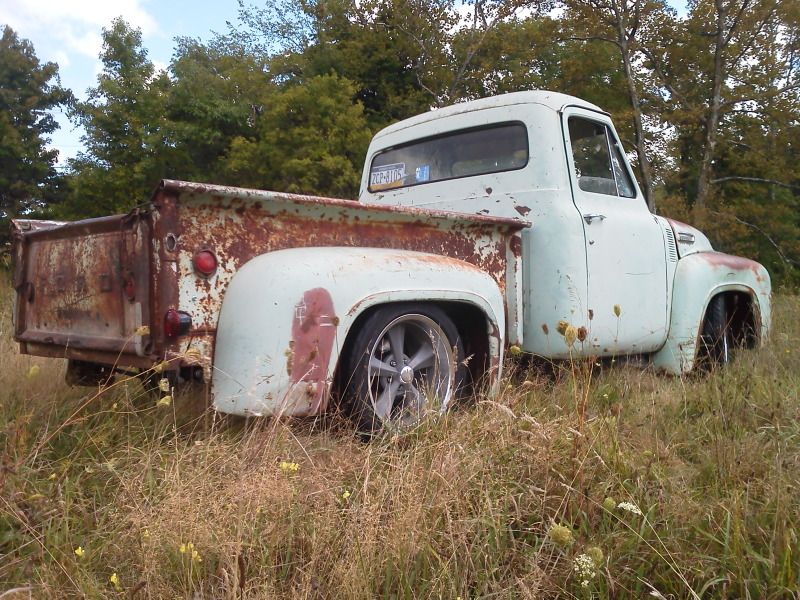
Here is a side shot, the wheel base is stock explorer, 110" for the f100 111.6" for the explorer.
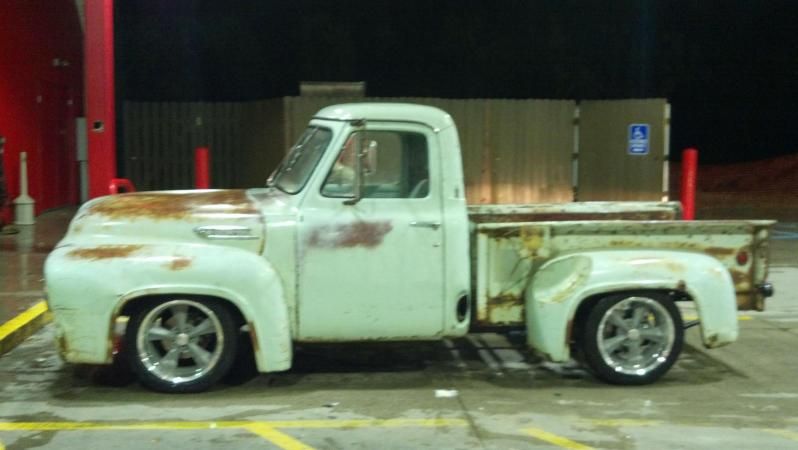
The f100 front cab mounts were 25" from the axle centerline, they are now 25 3/4, the rear wheel wells lookeed a little funny where they wer supposed to be so I moved around just a bit to get it where I thought the wheels looked right in the opening. This opened up the bed gap an extra 1/2 inch, but I feel that it still looks "right".
The f100 front cab mounts were 25" from the axle centerline, they are now 25 3/4, the rear wheel wells lookeed a little funny where they wer supposed to be so I moved around just a bit to get it where I thought the wheels looked right in the opening. This opened up the bed gap an extra 1/2 inch, but I feel that it still looks "right".
#26
09-11-2012, 10:04 PM

Senior User
Join Date: Apr 2010
Location: Great Northwest (Seattle)
Posts: 113
Likes: 0
Received 0 Likes
on
0 Posts
#29
09-12-2012, 05:05 AM
dain dude ! i like it !!!! so are you free to wire up a 95 4.6 into a 53 f100 ????? LOL !!!!!that's the biggest reason i haven't stabbed mine into my truck and replace my flatty ( well that and i really do love the flathead !!! ). hell you just whizzed right through it all and made it look simple . you have to be eating bottle upon bottle of flintstone vitamins to put in the hours required plus doing the work thing ..................
#30
09-12-2012, 05:20 AM
Join Date: May 2003
Location: Burlington, CT
Posts: 1,425
Likes: 0
Received 0 Likes
on
0 Posts
That's the type of truck I would of built if I had your skills!!!! I love the plain body, it took years for that truck to mature and you just gave it the fountain of youth!
One question what's the truck vin? How will it be titled? Did you start out with the old girl already registered? I know I only said one question but I never learned how to count!! Lol
One question what's the truck vin? How will it be titled? Did you start out with the old girl already registered? I know I only said one question but I never learned how to count!! Lol