The University Budget Build Thread
#16
 08-14-2012, 09:26 AM


Thanks for the encouragement Grant! I can't wait to see your build thread or some progress pics of your truck!
So I got some more progress done last night.
I love how my dad has a decent neighbour that's willing to help out every now and then!
He's got soooooo many damn cars and toys. Gotta love the guy.
He's building a 1928 Roadster and merging it with a 1930 sedan so he can fit the kids in the car. Looks awesome already... he's got lots ofbody work to do and best of all it's a Ford.
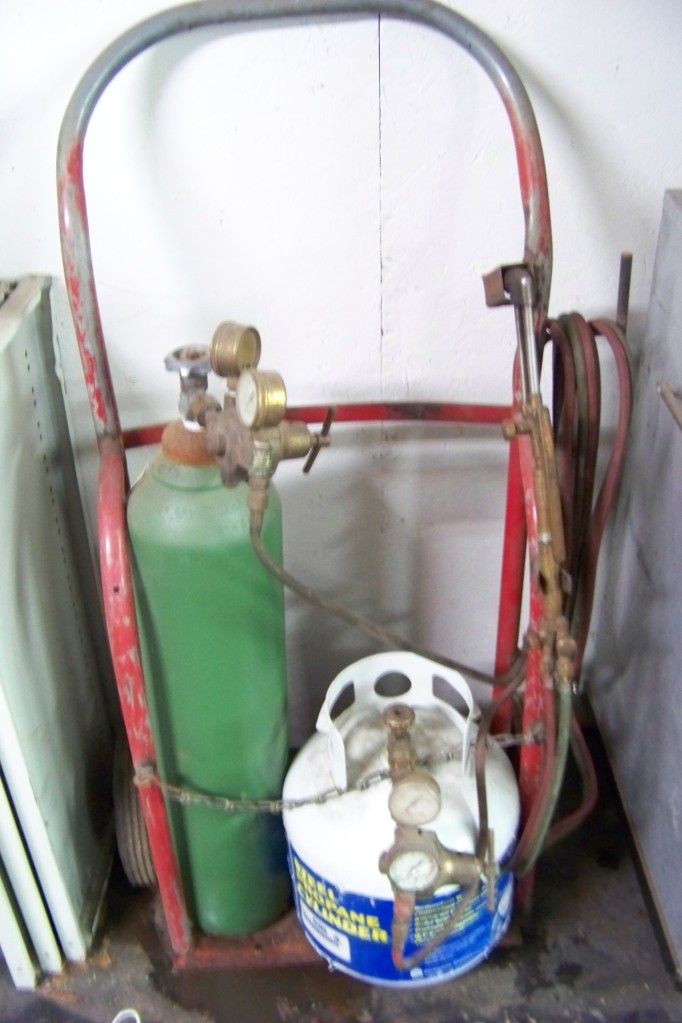
Anywho, here's what I got done tonight with the torch, the neighbour's steel and his welder.
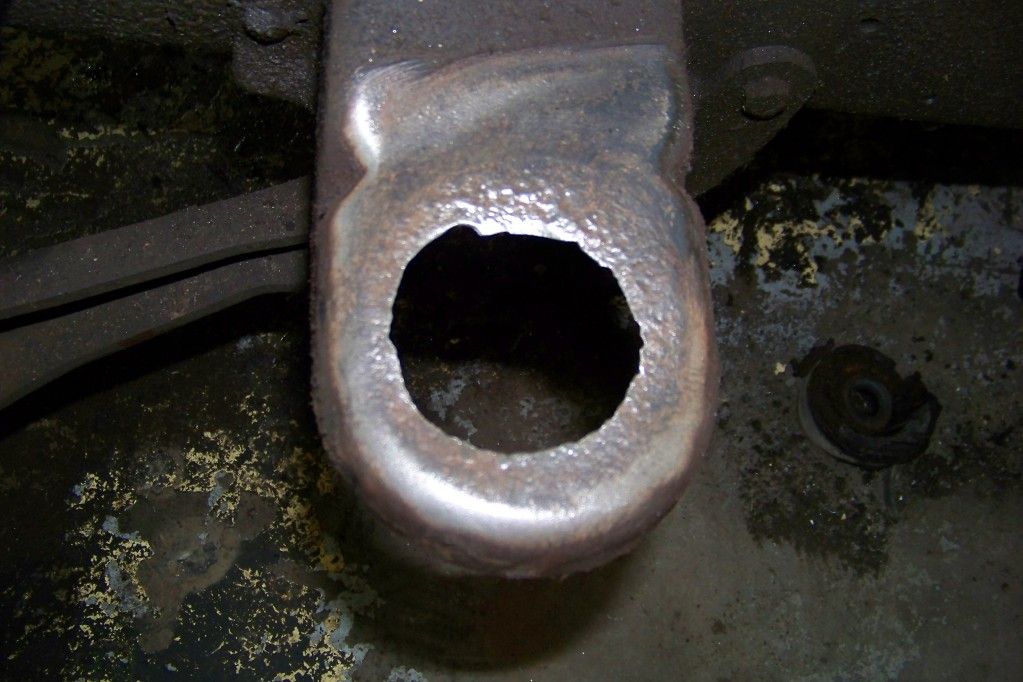
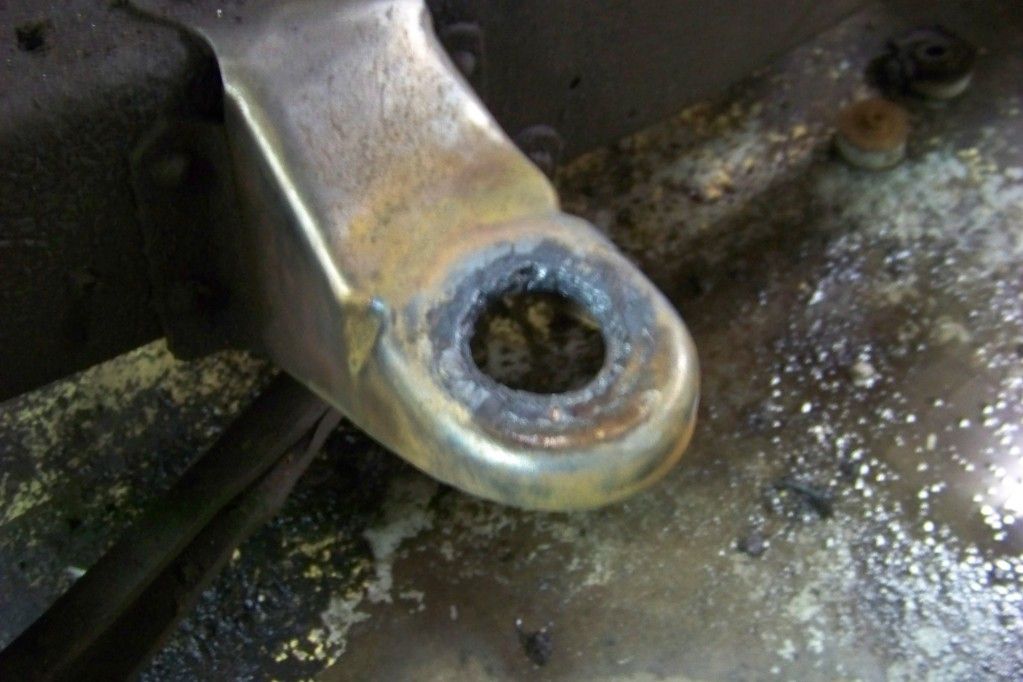
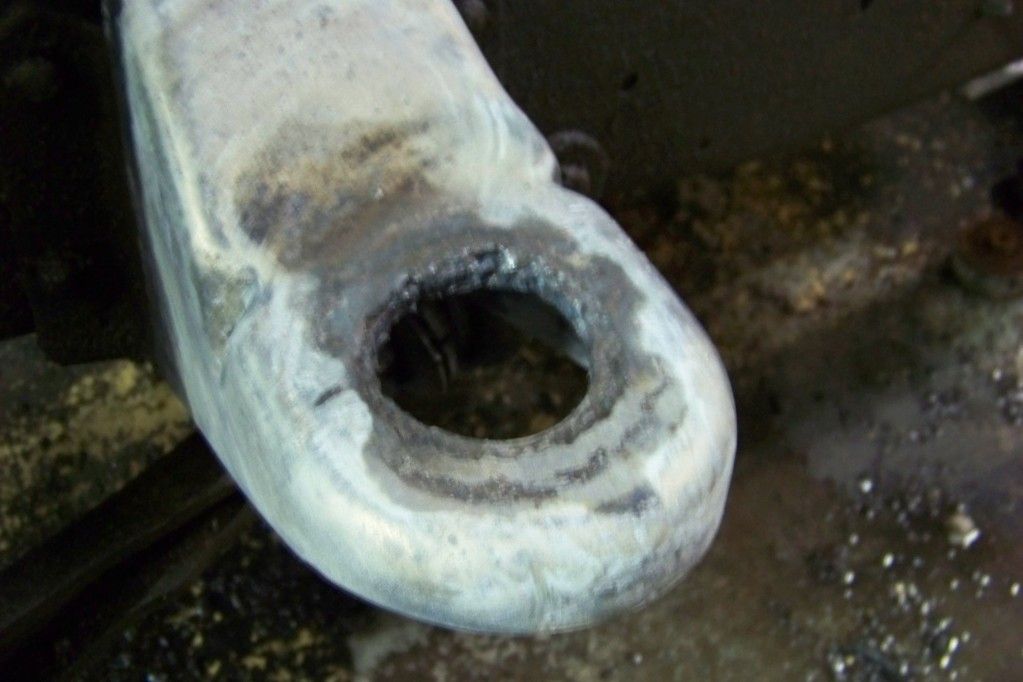
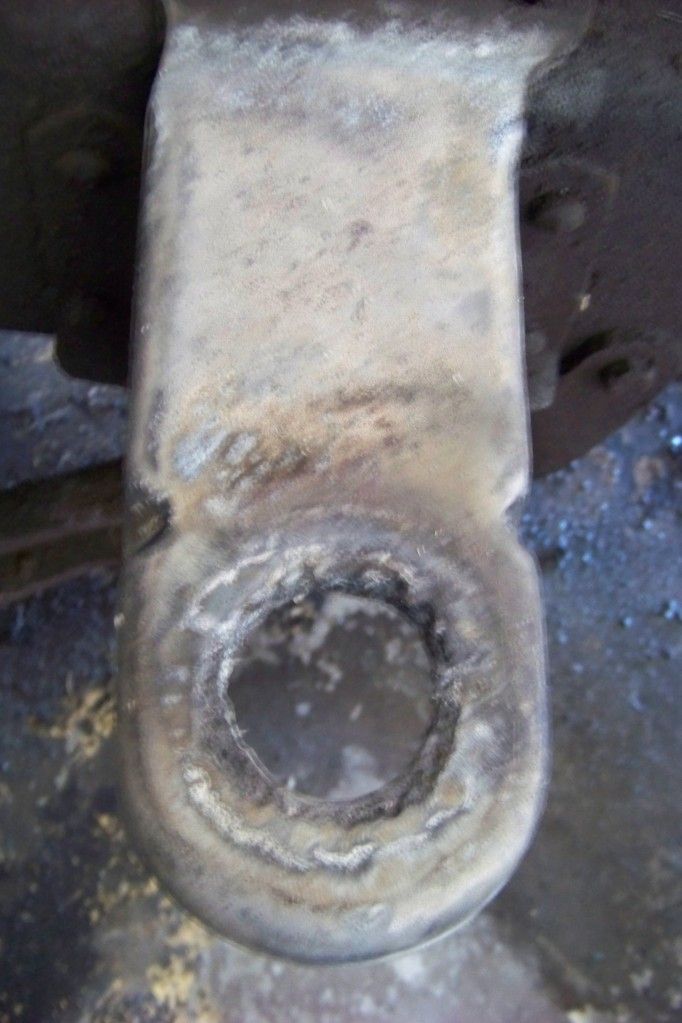
Went from this:
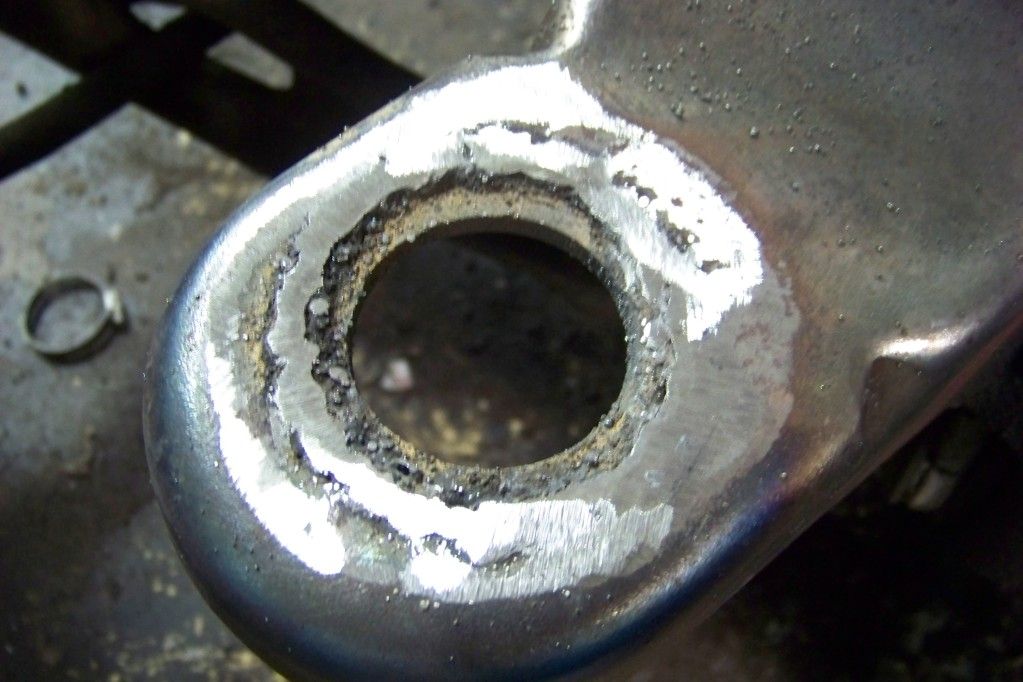
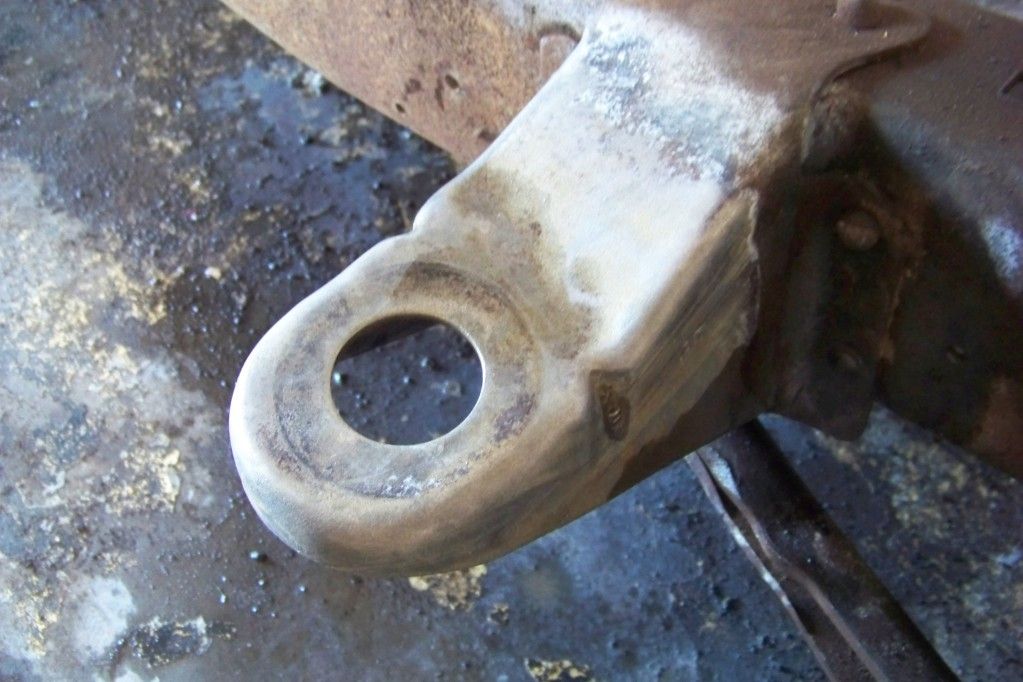
To this:
It's not a perfect piece, but who gives two ****s... I sure don't .
.
I'm just happy i can mount my cab to the frame again.
For a budget build thread, that's amazing progress if I don't say so myself. It wasn't my steel, it wasn't my welder... and best of all he WANTED to do it for free. Didn't ask for anything. I couldn't even bother him to get me to give him a bottle of something.
What a great guy eh? And I know what you're thinking... no you can't have my neighbour!
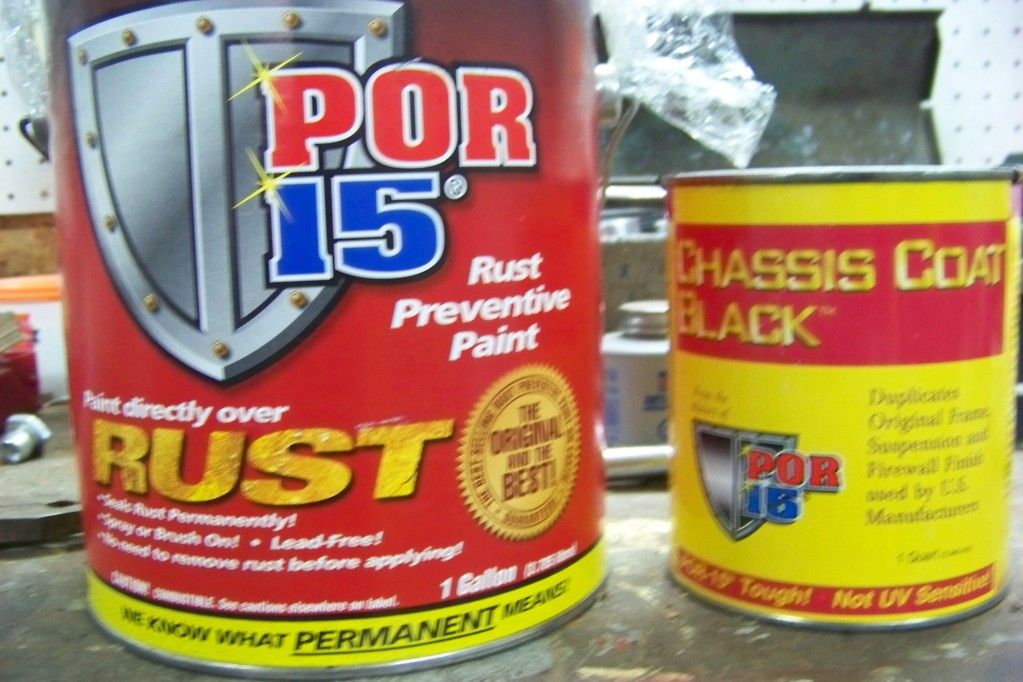
It's not perfect, but POR-15 will cover it perfectly and no one will ever see it but me...
The last thing to do is to get the torch out and torch the hole 1/8" larger because it's JUST too small for the poly body bushings. Oh well, I don't care what she looks like cause it don't matter!
When I get some funds, I can always go back and change it I figure... Plasma cutter, welder, more steel and we're back to factory... maybe someday...
So I got some more progress done last night.
I love how my dad has a decent neighbour that's willing to help out every now and then!
He's got soooooo many damn cars and toys. Gotta love the guy.
He's building a 1928 Roadster and merging it with a 1930 sedan so he can fit the kids in the car. Looks awesome already... he's got lots ofbody work to do and best of all it's a Ford.
Anywho, here's what I got done tonight with the torch, the neighbour's steel and his welder.
Went from this:
To this:
It's not a perfect piece, but who gives two ****s... I sure don't
.I'm just happy i can mount my cab to the frame again.
For a budget build thread, that's amazing progress if I don't say so myself. It wasn't my steel, it wasn't my welder... and best of all he WANTED to do it for free. Didn't ask for anything. I couldn't even bother him to get me to give him a bottle of something.
What a great guy eh? And I know what you're thinking... no you can't have my neighbour!
It's not perfect, but POR-15 will cover it perfectly and no one will ever see it but me...
The last thing to do is to get the torch out and torch the hole 1/8" larger because it's JUST too small for the poly body bushings. Oh well, I don't care what she looks like cause it don't matter!
When I get some funds, I can always go back and change it I figure... Plasma cutter, welder, more steel and we're back to factory... maybe someday...
#17
08-14-2012, 12:27 PM
FTE Legend
This is just my opinion, but for a truck like your building, I wouldnt worry too much about small stuff like that hole being "back to factory"
Sometimes one has to look at the use of the truck, and determine what needs to be fixed well, and what needs to be show quality fixed well.
I plan to build a show quality car later in life, but everything I do now is built to be fixed and repaired properly, but so i dont have to trailer the vehicle anywhere!
#18
08-14-2012, 03:42 PM
Not a fan of trailer queens, but if you can do without the trailer and still have it be a queen... that's alright in my books.
#19
08-16-2012, 12:15 AM
More progress tonight.
Not as much as I would have liked, but my best friend came over and wanted to chat. Not too often we just get to sit around and chat anymore, so I thought I'd give up truck time for him... he's been around since I was six... my truck has been around since I was 19... he wins my time hands down.
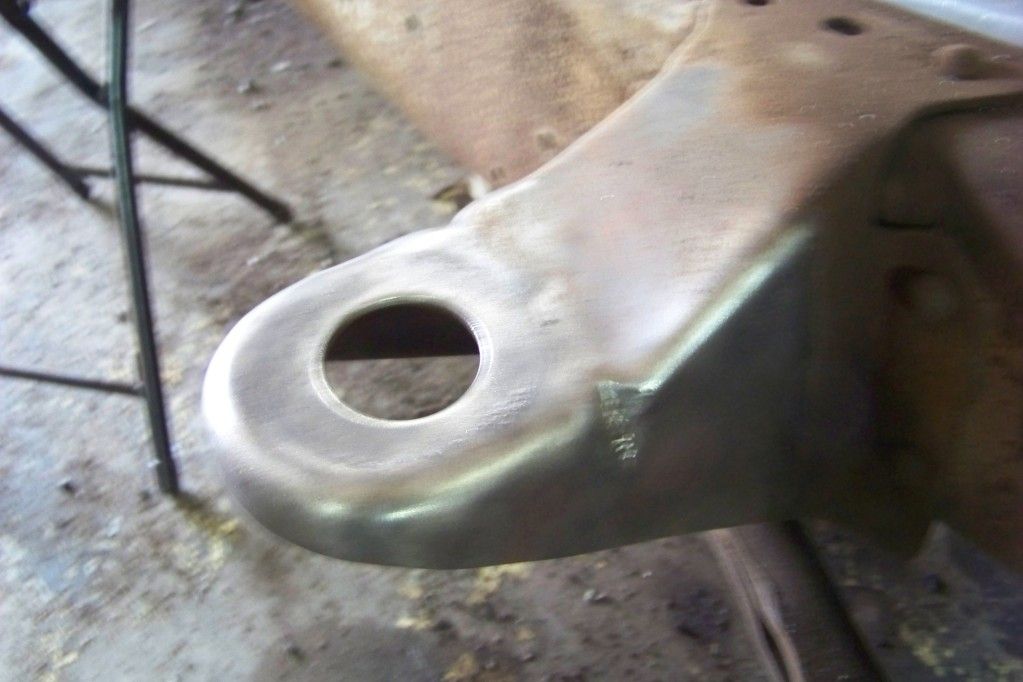
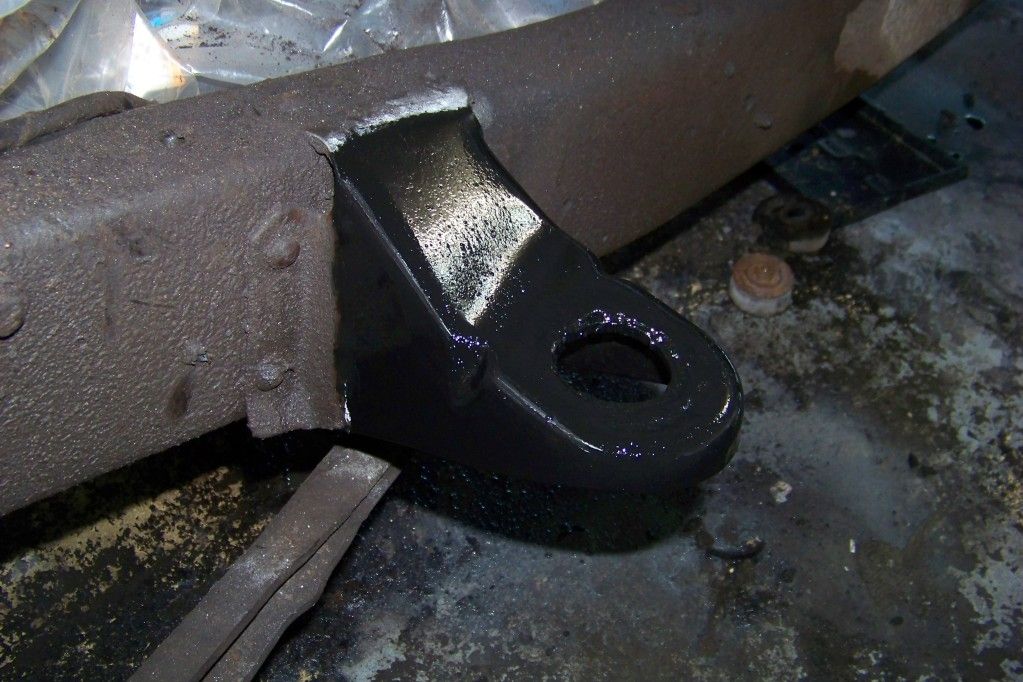
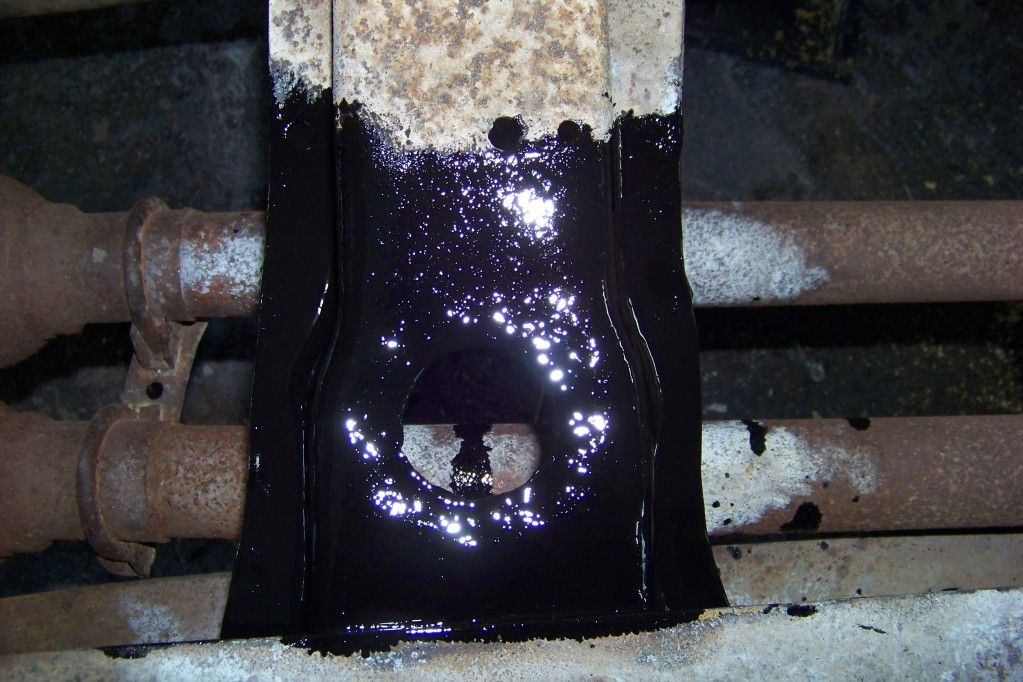
Torched out my frame hole. I know she aint pretty, but dad's got a torch and nothing else. If you ask me, it's an amazing job for a torch being the tool used. The hole is 100% perfect fit, minus how lop-sided the hole is.
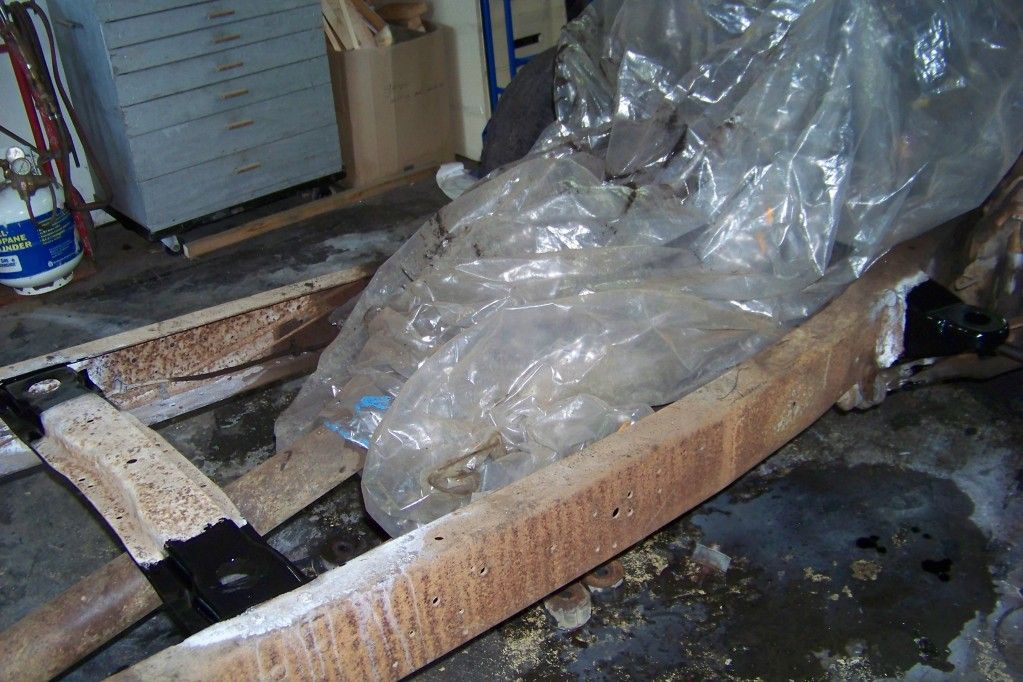
Before:
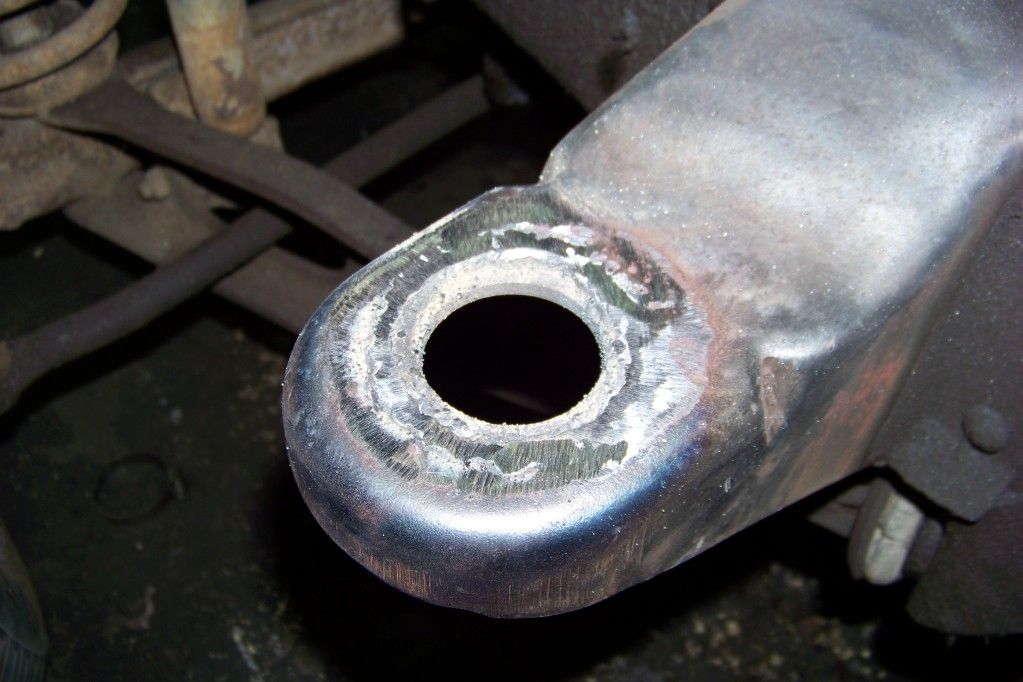
After:

Then I worked on prepping my frame. Prepped my frame tonight for tomorrow night. Can't wait to get those portions of my frame covered. It'll feel great because I've been wanting to do it since the first summer I had the truck.
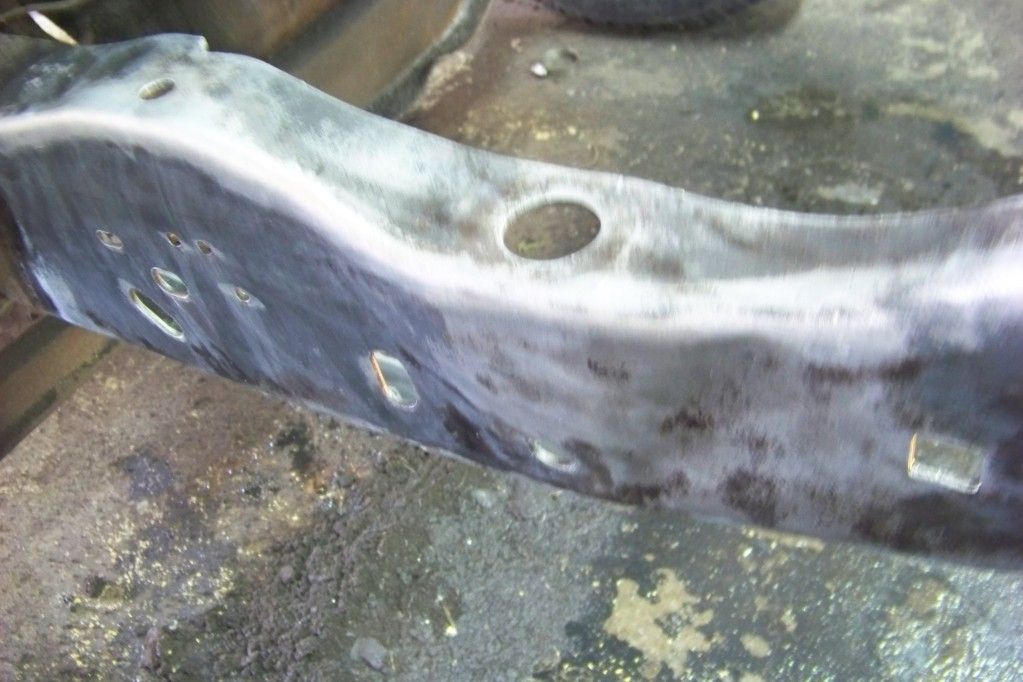
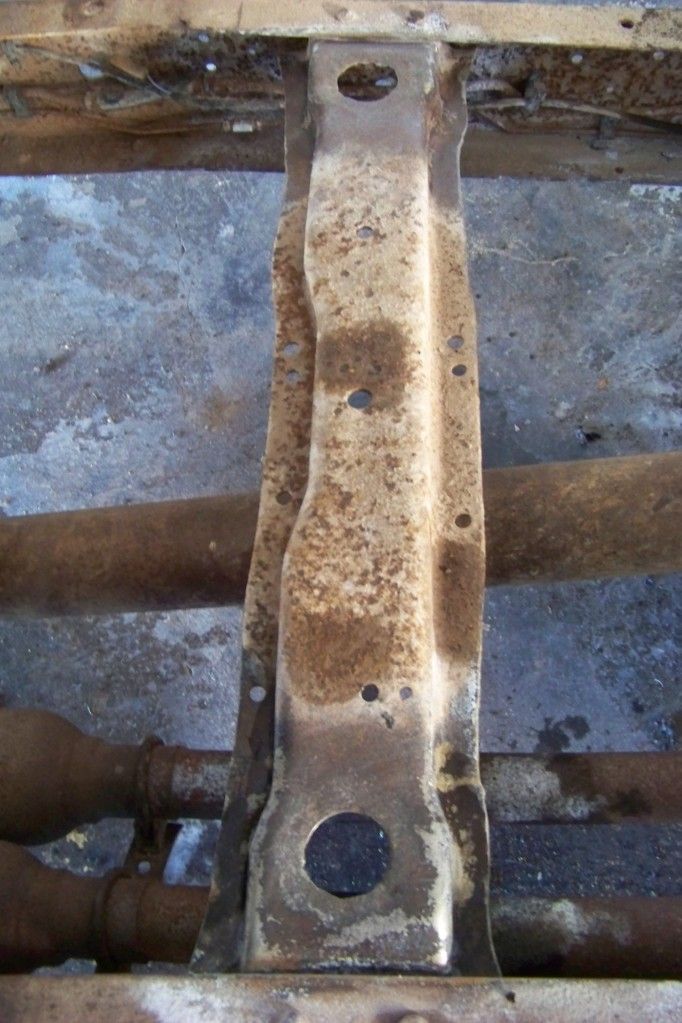
Here's what the bare metal looks like:
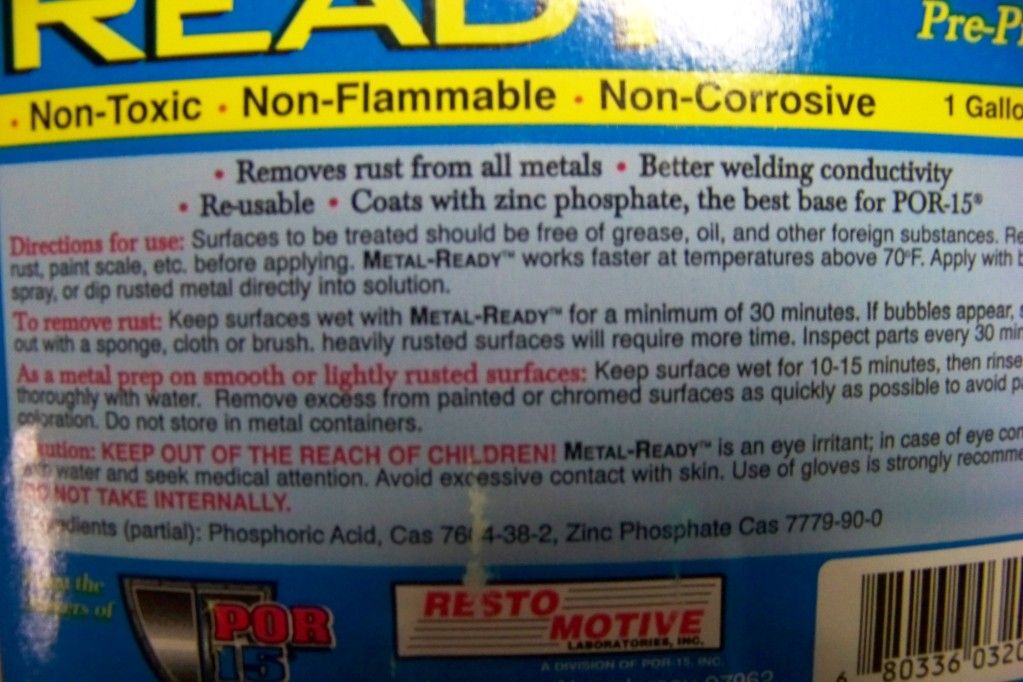
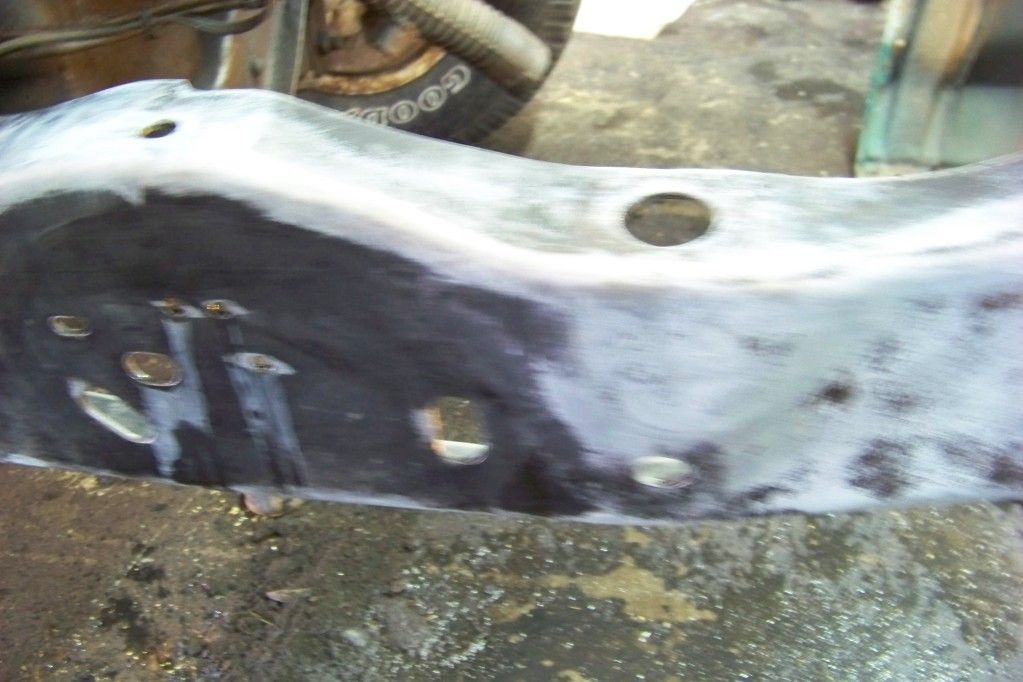
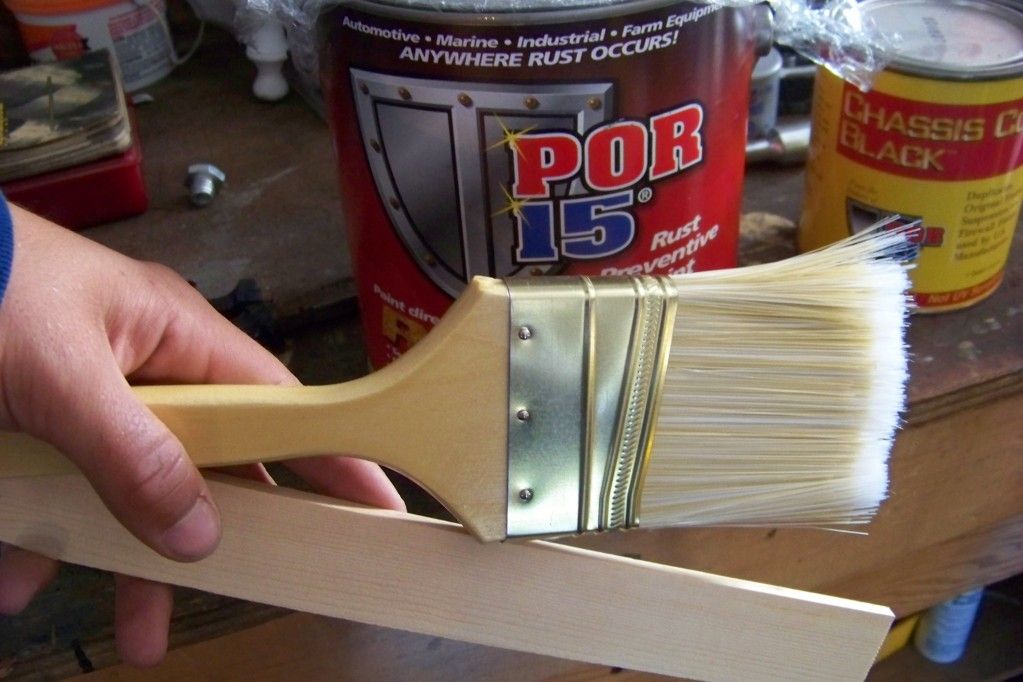
Covered with Metal Ready by POR-15.
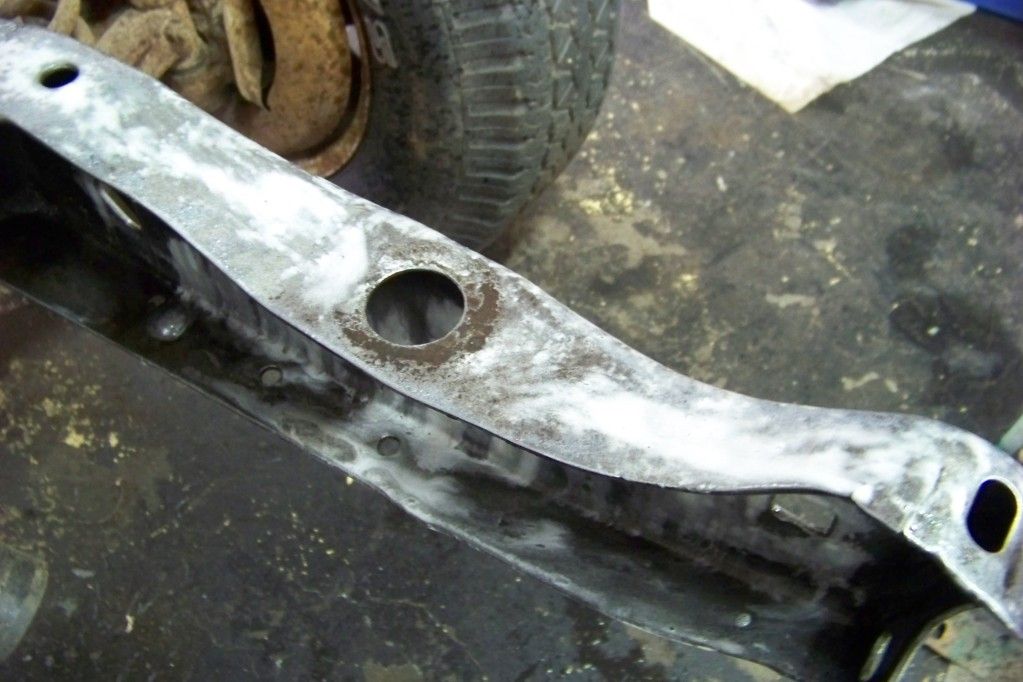
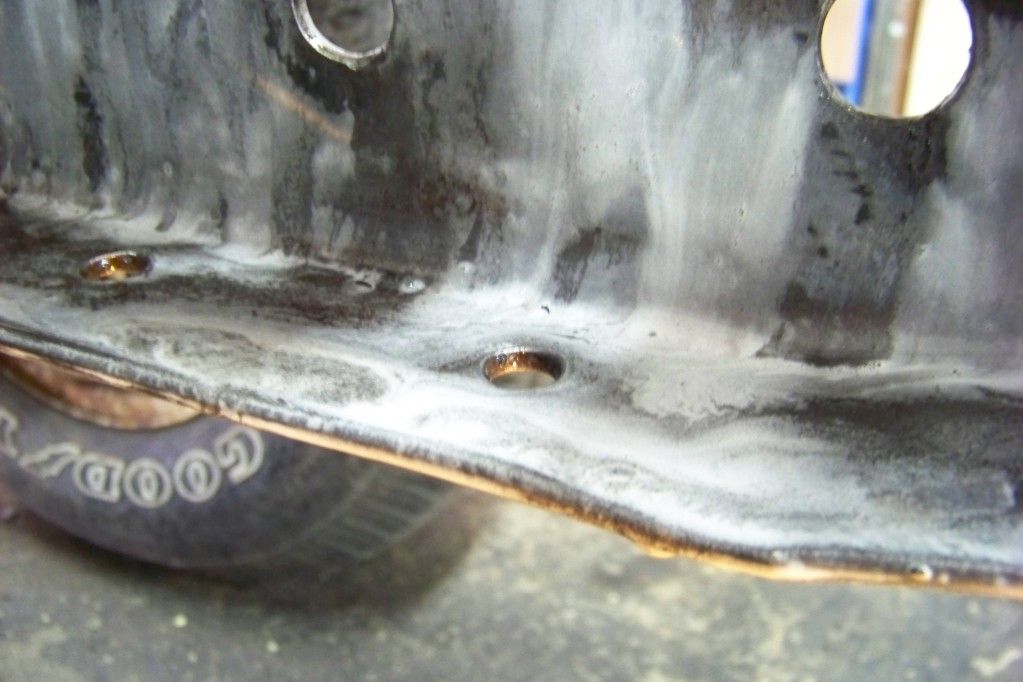
I love this stuff. It works wonders and preps metal VERY well. Buy it for more uses than just covering it with POR-15 products... I highly recommend it.

After being covered for 30 minutes straight (kept wet, sprayed twice). Then allowed to come to a dry after washing off with garden-hose water. If you notice, it drys to a white colour...
Then you can take a rag/cloth/papertowel to it with some water on it and reduce the amount of white stuff on the metal (the directions say to use LOTS of water and clean the metal thoroughly after using).
Continue this cleaning process and MOST of the white stuff will go away. Not all of it, but most of it... then your metal is ready for paint.
It even cleaned up my torch job pretty nicely.
Tomorrow we'll cover one of my favourite rust products to date... POR-15 and his little cousin... Chasis Topcoat...
Not as much as I would have liked, but my best friend came over and wanted to chat. Not too often we just get to sit around and chat anymore, so I thought I'd give up truck time for him... he's been around since I was six... my truck has been around since I was 19... he wins my time hands down.
Torched out my frame hole. I know she aint pretty, but dad's got a torch and nothing else. If you ask me, it's an amazing job for a torch being the tool used. The hole is 100% perfect fit, minus how lop-sided the hole is.
Before:
After:
Then I worked on prepping my frame. Prepped my frame tonight for tomorrow night. Can't wait to get those portions of my frame covered. It'll feel great because I've been wanting to do it since the first summer I had the truck.
Here's what the bare metal looks like:
Covered with Metal Ready by POR-15.
I love this stuff. It works wonders and preps metal VERY well. Buy it for more uses than just covering it with POR-15 products... I highly recommend it.
After being covered for 30 minutes straight (kept wet, sprayed twice). Then allowed to come to a dry after washing off with garden-hose water. If you notice, it drys to a white colour...
Then you can take a rag/cloth/papertowel to it with some water on it and reduce the amount of white stuff on the metal (the directions say to use LOTS of water and clean the metal thoroughly after using).
Continue this cleaning process and MOST of the white stuff will go away. Not all of it, but most of it... then your metal is ready for paint.
It even cleaned up my torch job pretty nicely.
Tomorrow we'll cover one of my favourite rust products to date... POR-15 and his little cousin... Chasis Topcoat...
#20
08-16-2012, 12:29 AM
Join Date: Dec 2003
Location: Saskatoon, Saskatchewan
Posts: 89,626
Received 1,344 Likes
on
1,104 Posts
#21
08-16-2012, 09:20 PM
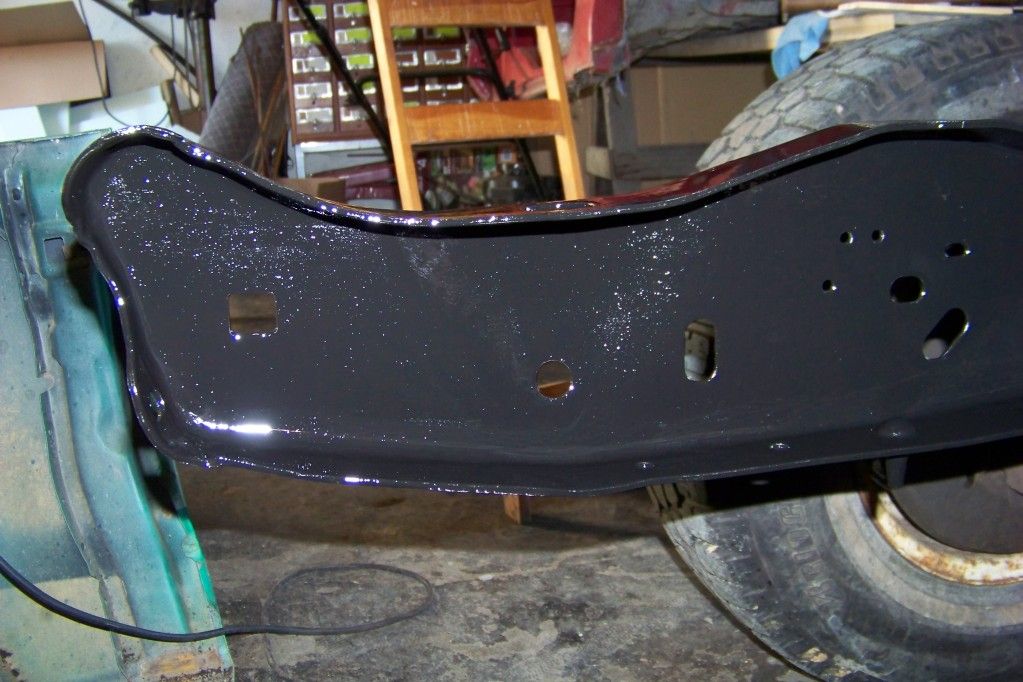
More progress tonight!
So I started out with this tonight after another thorough cleaning and scrubbing with some paper towel to get rid of that nasty white stuff and the rust that had already been forming on the metal.
Time to stir and then to paint!
Glasses on, mask on. Lets paint!
Comparison from passenger (one coat) to driver (no coats, but clean):
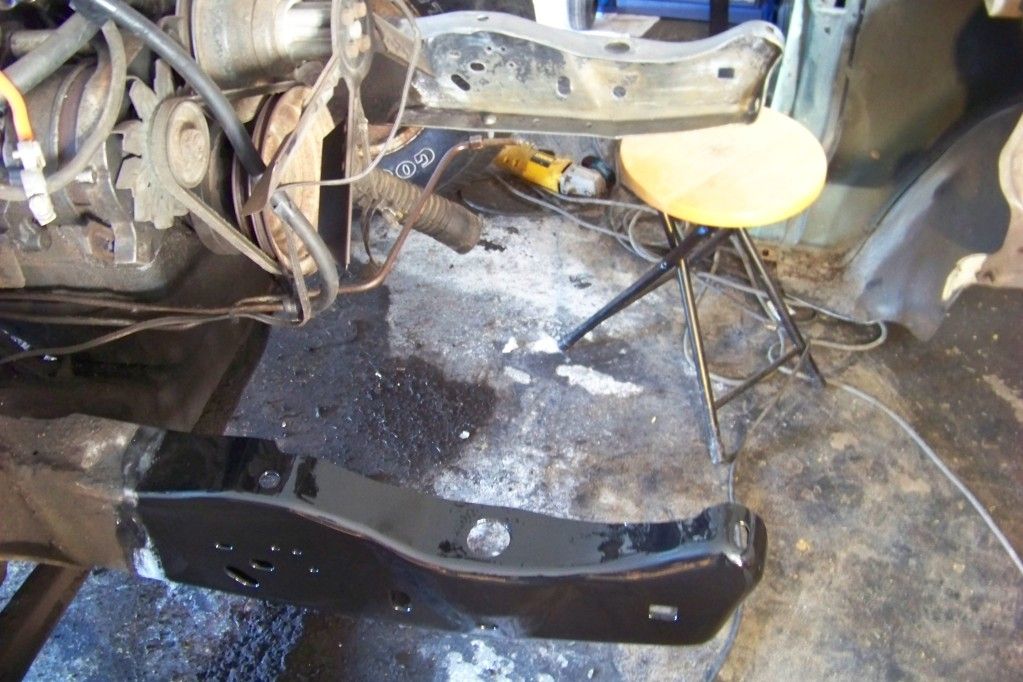
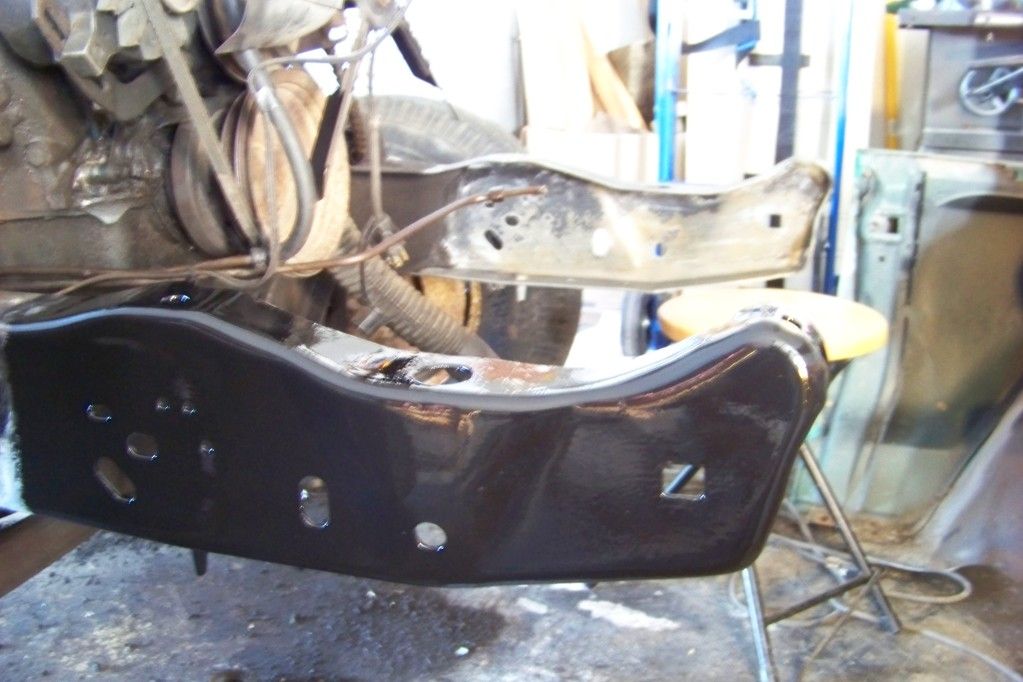
And onward to the rest of the frame! okay.. not all of it, but it did feel DAMN good to get these small portions covered finally. My rust paranoia can sleep easy tonight.
You fellas have NO idea how good it feels to have even this little bit done. I feel like a weigh has been lifted from my shoulders and a milestone has been met.
So I started out with this tonight after another thorough cleaning and scrubbing with some paper towel to get rid of that nasty white stuff and the rust that had already been forming on the metal.
Time to stir and then to paint!
Glasses on, mask on. Lets paint!
Comparison from passenger (one coat) to driver (no coats, but clean):
And onward to the rest of the frame! okay.. not all of it, but it did feel DAMN good to get these small portions covered finally. My rust paranoia can sleep easy tonight.
You fellas have NO idea how good it feels to have even this little bit done. I feel like a weigh has been lifted from my shoulders and a milestone has been met.
#23
08-22-2012, 09:51 PM
Well, it's official. I'm giving up on my truck for the summer.
I guess the next bit of progress will be me getting the truck into its parked position in the garage.
I don't have enough time left while I'm still at home, so I may as well pack up early and get everything back to where it should be for next summer.
I didn't meet the milestone that I wanted this summer, but hey... I've got many summers to come
I'll post up pics of my truck before I park it for the winter.
#24
08-22-2012, 10:15 PM
Join Date: Dec 2003
Location: Saskatoon, Saskatchewan
Posts: 89,626
Received 1,344 Likes
on
1,104 Posts
#25
08-26-2012, 12:11 PM
#26
08-27-2012, 11:33 PM
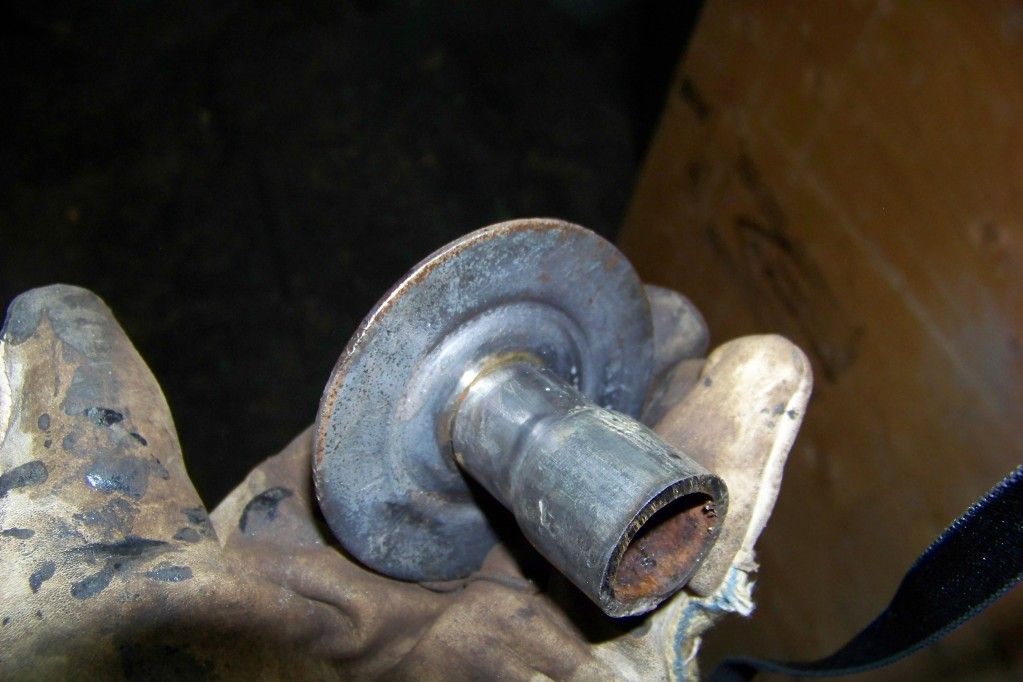
I haven't had progress in a while, but here is some good progress I had last night. Found a way to reuse the old body bushing collars from factory to help me out with my new Polyurethane bushings and keeping them from moving around.
So here's what I started out with last night (they were much more rusty, I didn't take a before photo... DOH!). Take a look at the inside of the collar though, you can see how bad it was.
Remember that metal bends... I didn't and had to fix this little mistake from my bench vice... opps!
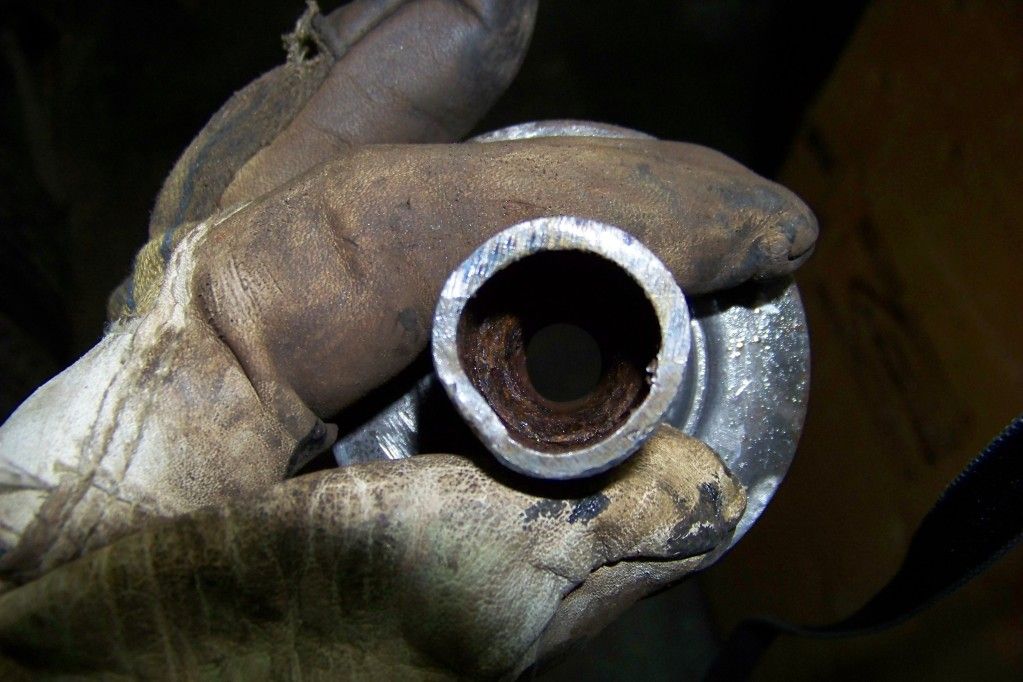
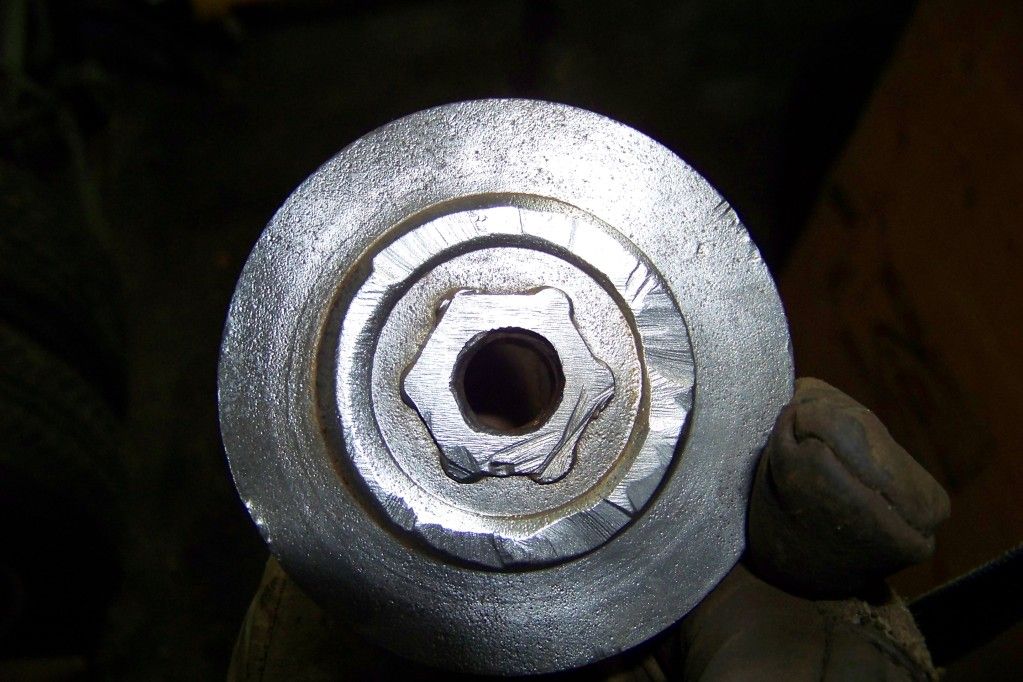
Used a cutting wheel and got the old nut off. Them drilled about 1/4" into the bolt that was stuck in there just to loosen the rust and threads. Then finally I pounded the hell out of the bolt that was stuck inside the collar and she flew out the bottom. Vwola, a factory body bushing collar (minus the rust and top part being cut up).
Also ground down the nut so it would sit a bit more flat on the washer.
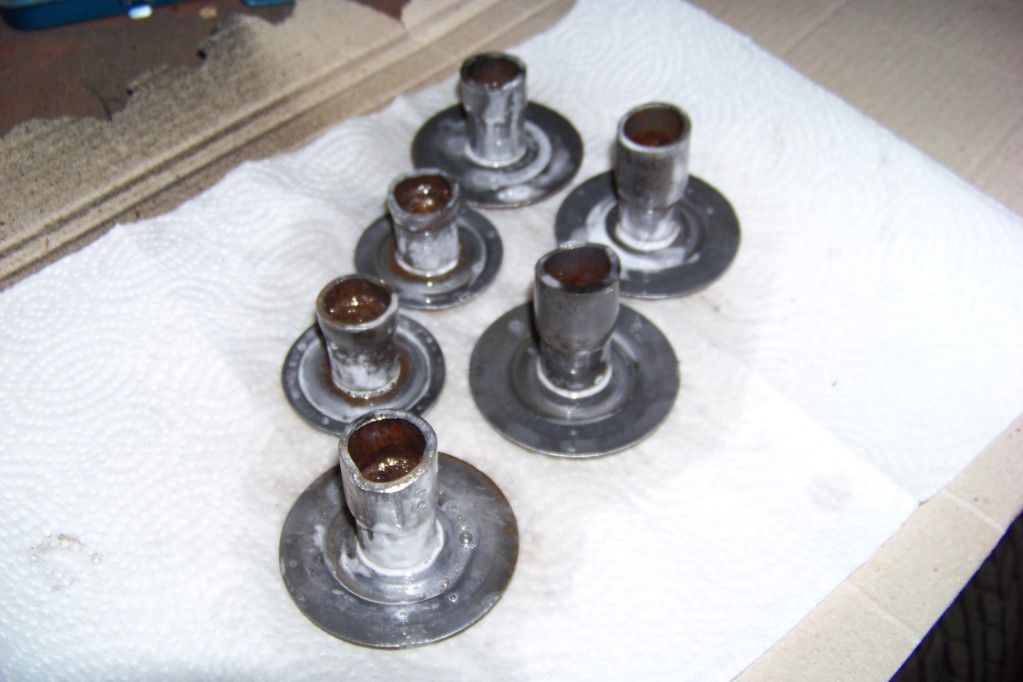
Here you can see all six body bushing collars soaked in Metal Ready. I bet you know exactly what's coming next. I could see the rust trying to run off the metal when it got soaked 
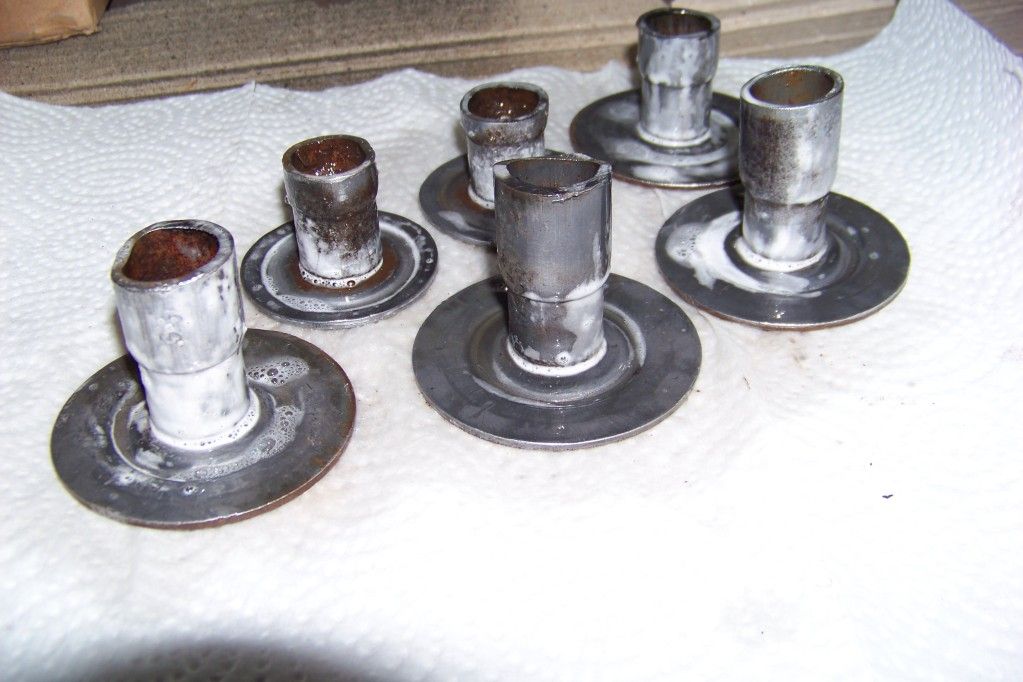
Kept em soaked for 20 minutes... tick tock tick tock.
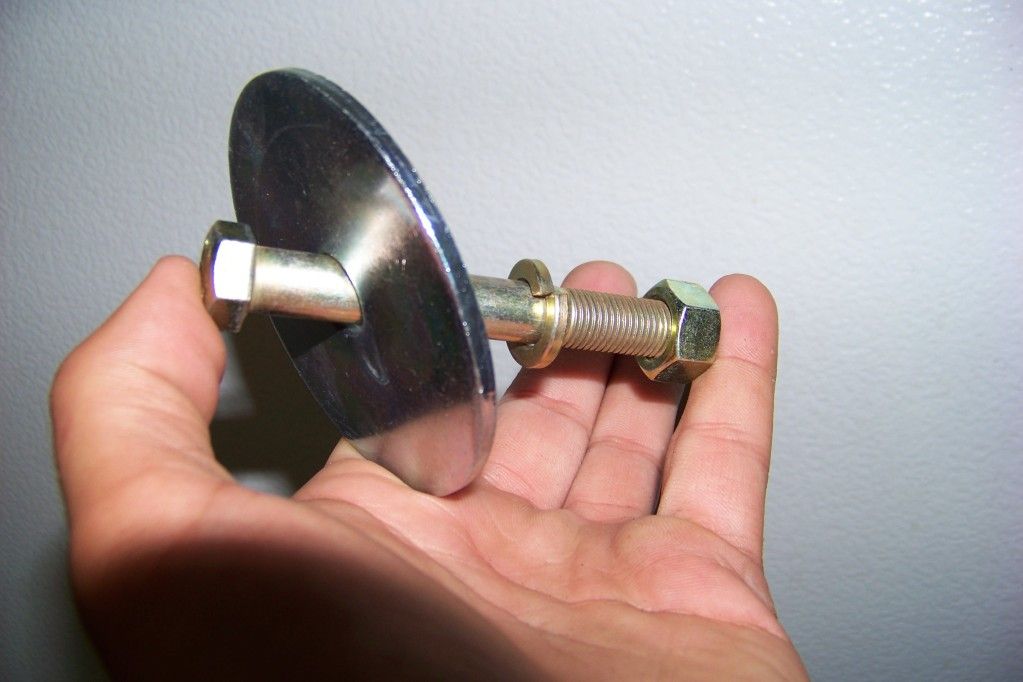
Here is a shot of what will go between, inside and under the poly bushings. Picked it all up a week ago.
Bolt is grade 5, washer is.... not what I want but works for now, nut and lock washer are grade 8.
Works for me! As long as it makes my cab less mobile in relation to the frame, I really don't care!
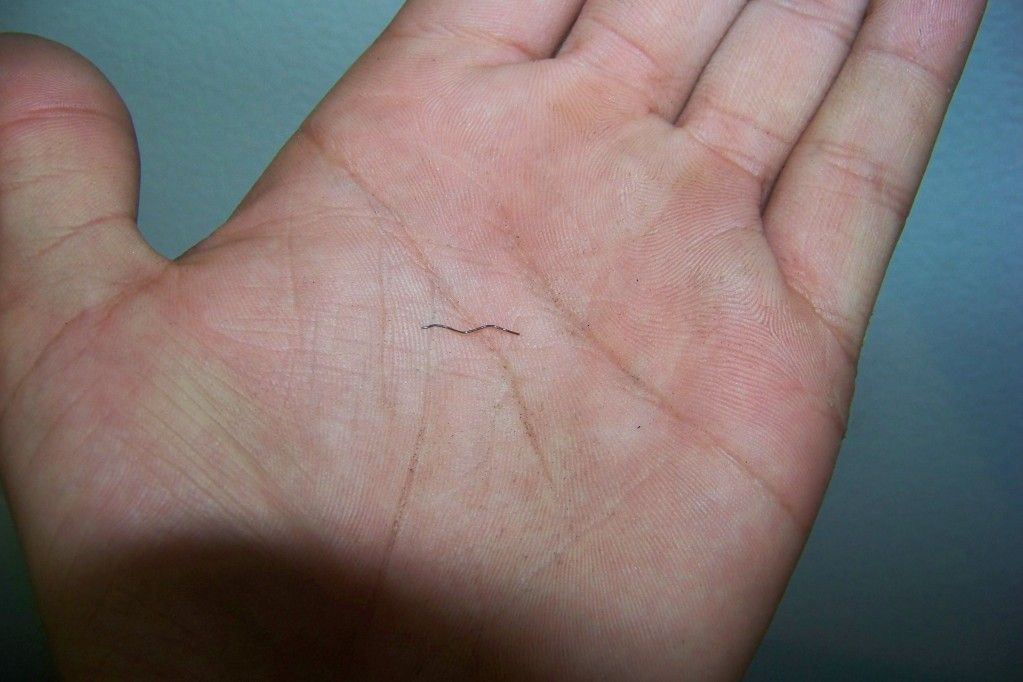
Look out for these little buggers... my bench mounted wire wheel & grinder combo got a workout and flung plenty of metal pieces at me to let me know it didn't like taking a beating
Lets take a trip in the holywood "camera magic" time machine!
One minute you see this:
The next, you see this:
Almost looks like little flying saucers, don't it?

And that's my progress. More to come tonight because my cab is going back on the frame!
Wish me luck
EDIT: I love POR-15. Can't say that enough times...
So here's what I started out with last night (they were much more rusty, I didn't take a before photo... DOH!). Take a look at the inside of the collar though, you can see how bad it was.
Remember that metal bends... I didn't and had to fix this little mistake from my bench vice... opps!
Used a cutting wheel and got the old nut off. Them drilled about 1/4" into the bolt that was stuck in there just to loosen the rust and threads. Then finally I pounded the hell out of the bolt that was stuck inside the collar and she flew out the bottom. Vwola, a factory body bushing collar (minus the rust and top part being cut up).
Also ground down the nut so it would sit a bit more flat on the washer.
Here you can see all six body bushing collars soaked in Metal Ready. I bet you know exactly what's coming next
. I could see the rust trying to run off the metal when it got soaked Kept em soaked for 20 minutes... tick tock tick tock.
Here is a shot of what will go between, inside and under the poly bushings. Picked it all up a week ago.
Bolt is grade 5, washer is.... not what I want but works for now, nut and lock washer are grade 8.
Works for me! As long as it makes my cab less mobile in relation to the frame, I really don't care!
Look out for these little buggers... my bench mounted wire wheel & grinder combo got a workout and flung plenty of metal pieces at me to let me know it didn't like taking a beating
Lets take a trip in the holywood "camera magic" time machine!
One minute you see this:
The next, you see this:
Almost looks like little flying saucers, don't it?
And that's my progress. More to come tonight because my cab is going back on the frame!
Wish me luck
EDIT: I love POR-15. Can't say that enough times...
#29
09-01-2012, 08:01 AM
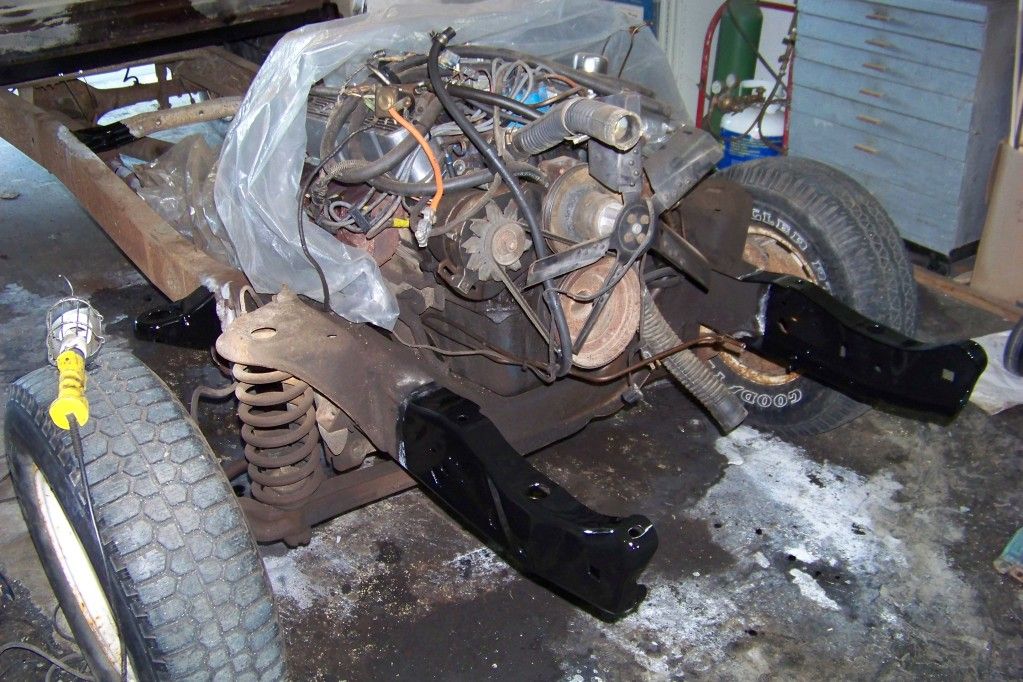
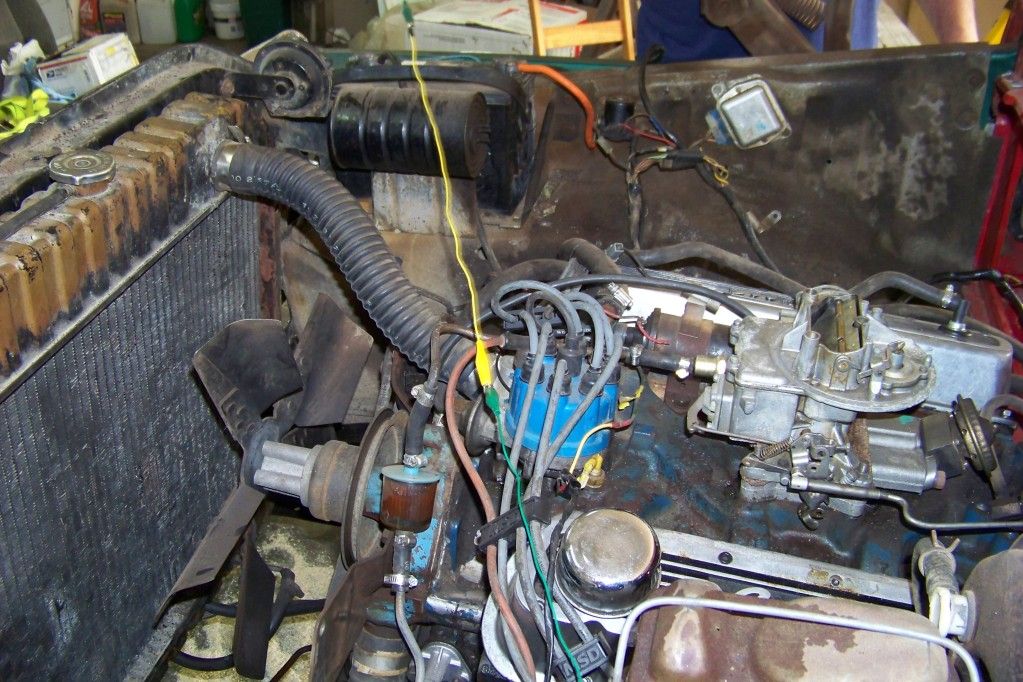
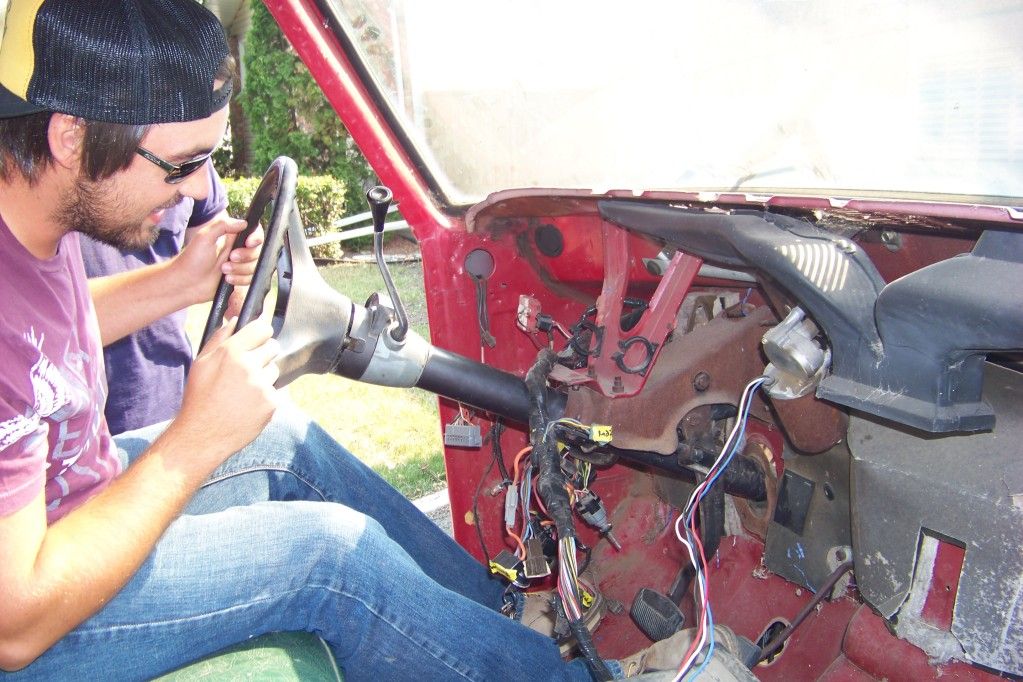
So I got all my wiring **** figured out and here's what I ended up with. Everything reassembled:
Looks kinda familiar, don't it?
Here's how she started (courtesy of mikeo0o0o0; thanks again buddy!):
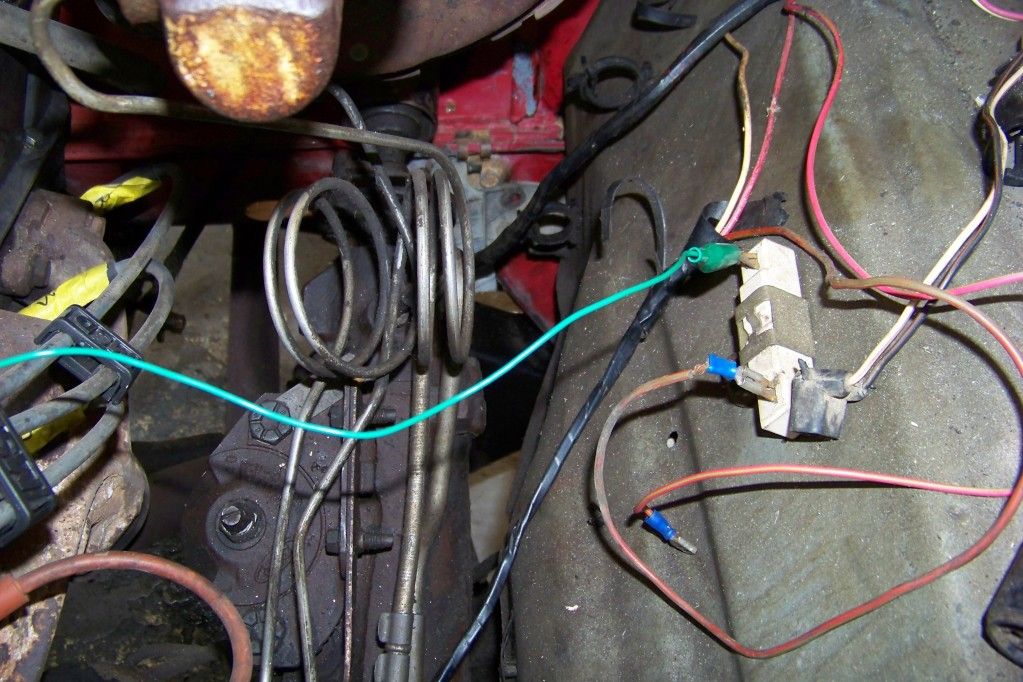
(direct from ballast resistor to 12V source)
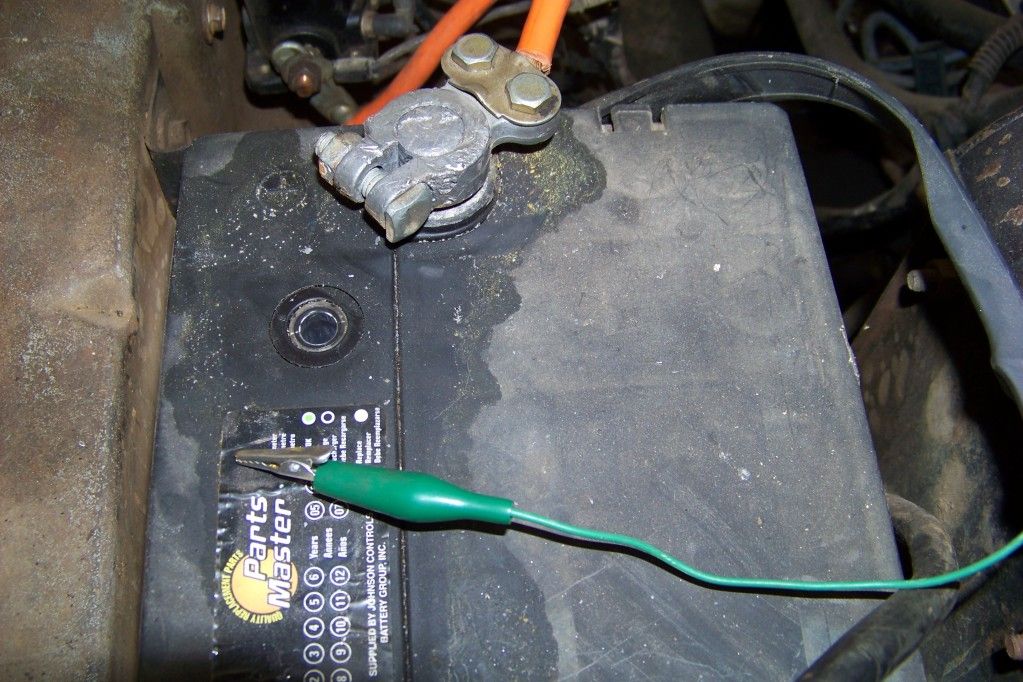
Felt good to hear it running (even though I know my ignition stuff is screwwwwed).
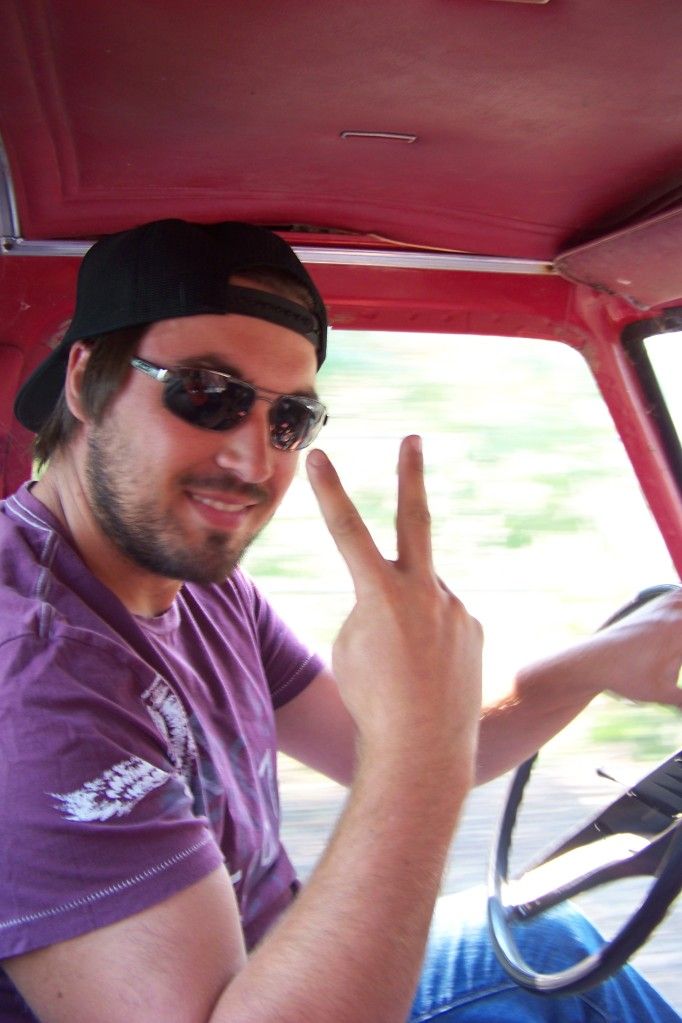
My sister loves my truck probably more than I do even though she's only had a ride in it once (yesterday). I couldn't help but laugh with her about my dash wires overheating and smoking like the Canada Day fireworks show.
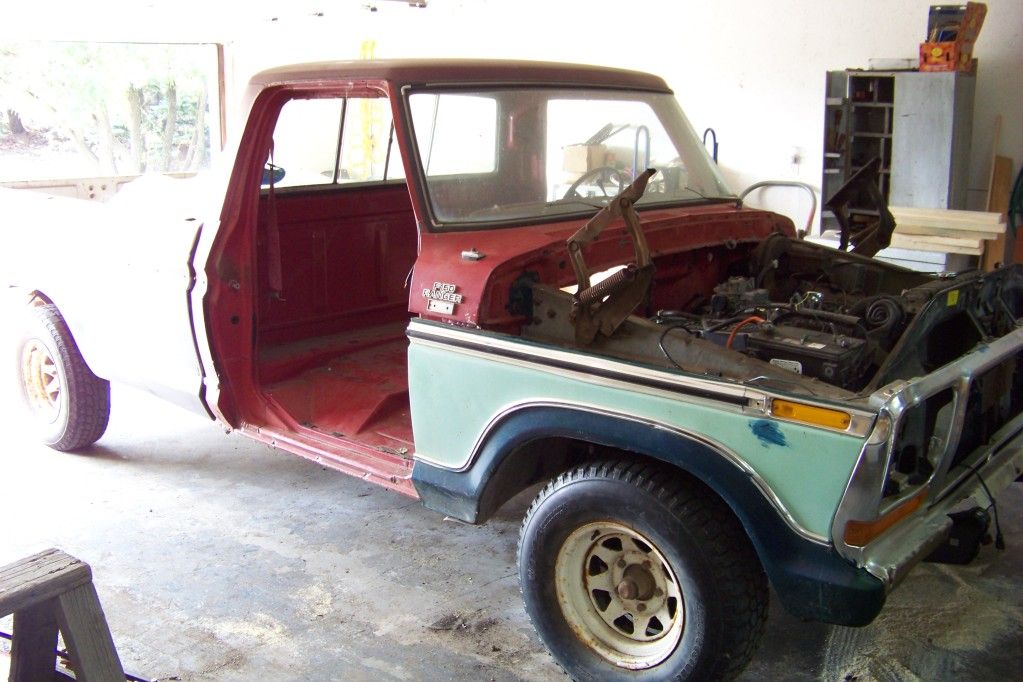
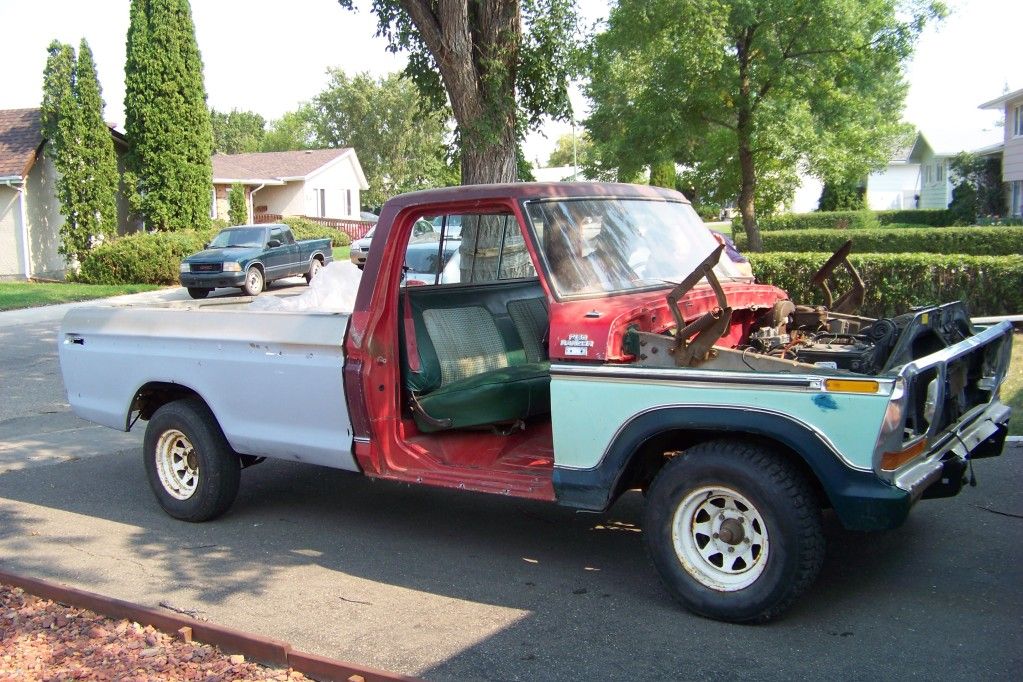
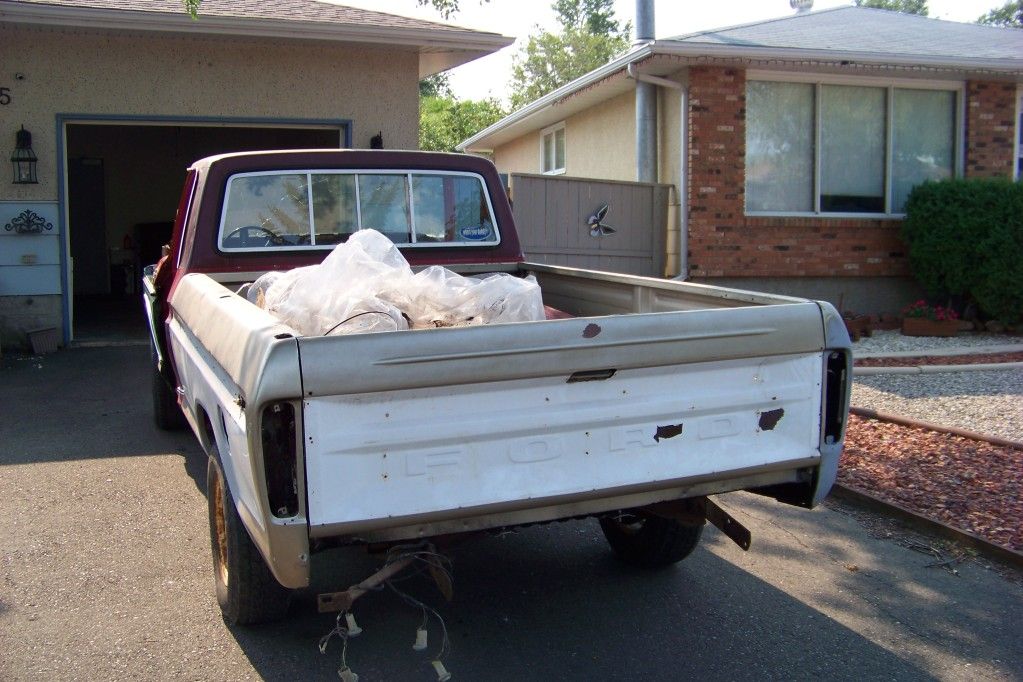
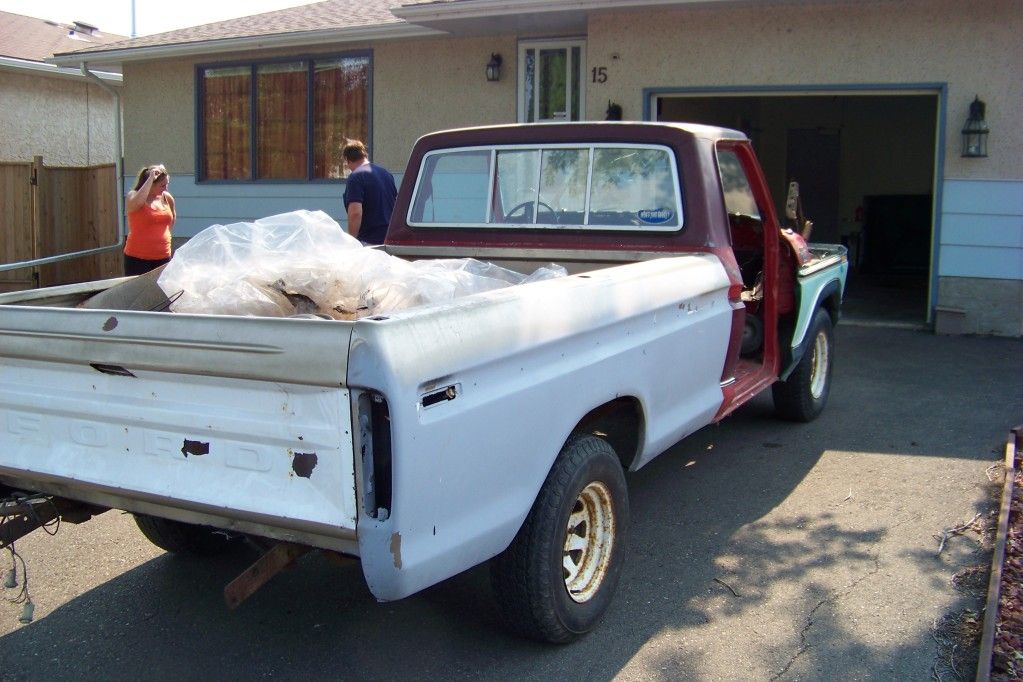
And I finally got some decent pictures of her in the sunlight. She only sat out for a cool down and a few pics, but it was a great feeling before I parked her for the winter.

I'll get around to much much much more next year when I actually have a full time (year-round) job.
Got offered a job from the company I worked for this summer before I left. They want me back already and I still have one more year left for school. A good sign gentlemen, definitely a good sign.
This will be my last "update on build" for the next 8 months. I might just post up some parts/supplies I've picked up over the winter if I get around to searching.
Hope you've all enjoyed the build up to this point as much as I have. It's got heartaches and milestones... but it's coming along just nicely for a budget build of roughly $3000 into it (truck included).
Looks kinda familiar, don't it?
Here's how she started (courtesy of mikeo0o0o0; thanks again buddy!):
(direct from ballast resistor to 12V source)
Felt good to hear it running (even though I know my ignition stuff is screwwwwed).
My sister loves my truck probably more than I do even though she's only had a ride in it once (yesterday). I couldn't help but laugh with her about my dash wires overheating and smoking like the Canada Day fireworks show.
And I finally got some decent pictures of her in the sunlight. She only sat out for a cool down and a few pics, but it was a great feeling before I parked her for the winter.
I'll get around to much much much more next year when I actually have a full time (year-round) job.
Got offered a job from the company I worked for this summer before I left. They want me back already and I still have one more year left for school
. A good sign gentlemen, definitely a good sign.This will be my last "update on build" for the next 8 months. I might just post up some parts/supplies I've picked up over the winter if I get around to searching.
Hope you've all enjoyed the build up to this point as much as I have. It's got heartaches and milestones... but it's coming along just nicely for a budget build of roughly $3000 into it (truck included).