Factory Turbo Exhaust Outlet Mod
#1
 04-22-2012, 08:50 PM

Join Date: Jul 2011
Posts: 3,061
Likes: 0
Received 0 Likes
on
0 Posts
Factory Turbo Exhaust Outlet Mod
i decided that since my turbo was off it would be a good time to upgrade my exhaust outlet along with the rest of my exhaust.
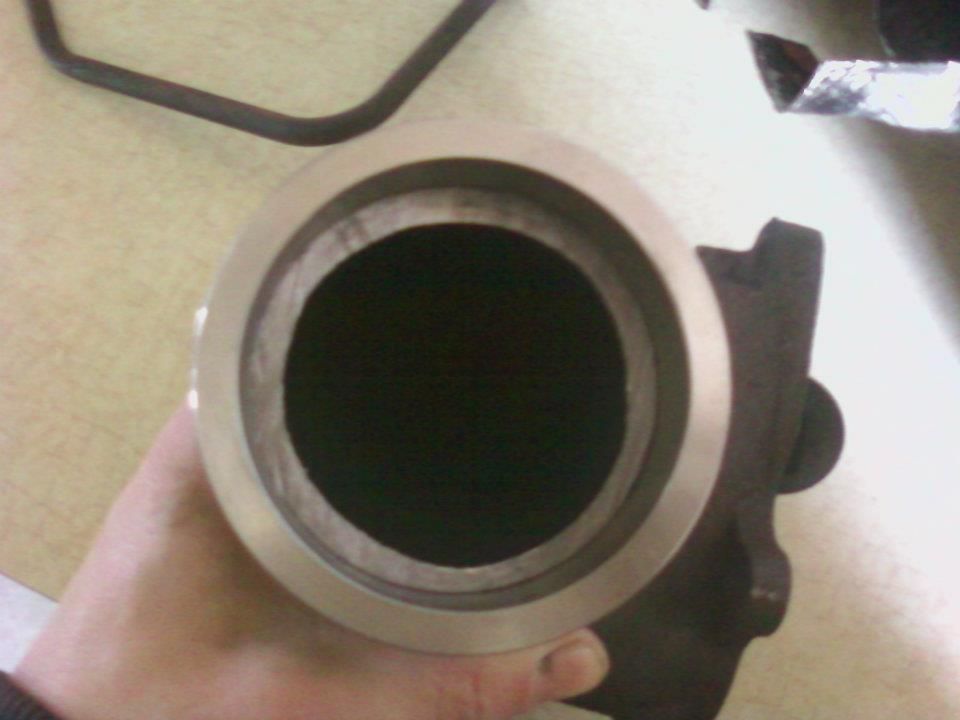
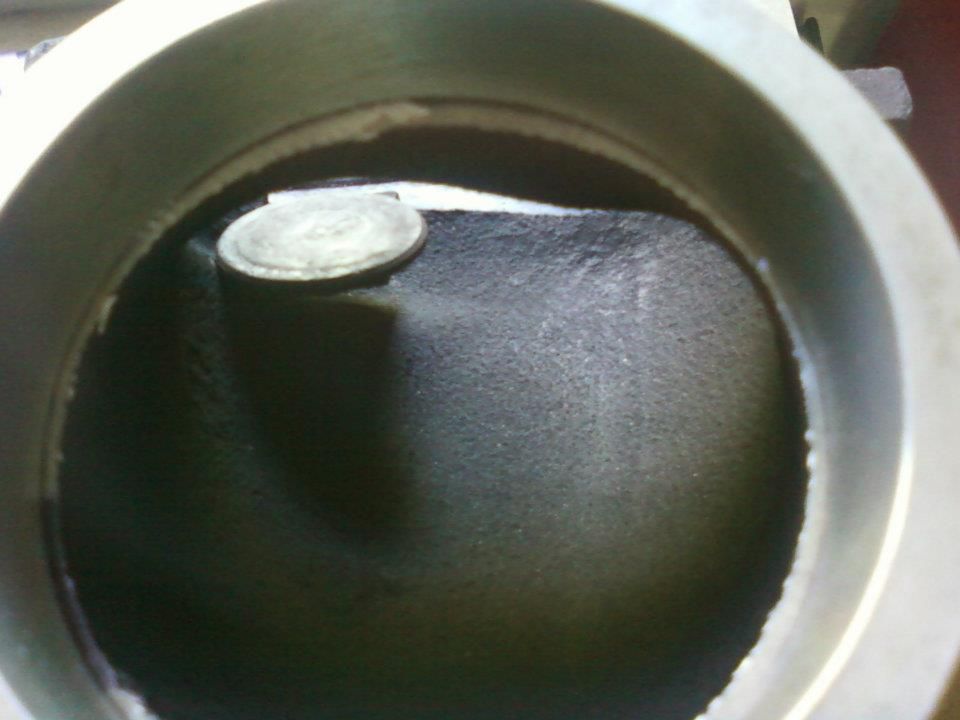
this cut was the first cut

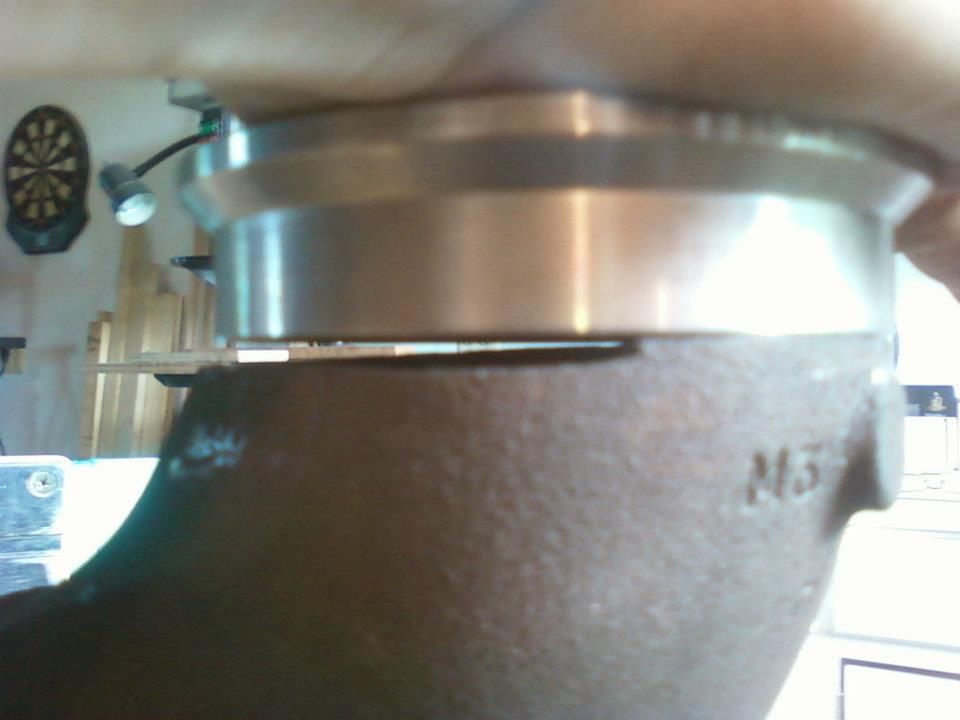
this is still the first cut, now with the 3" v-band flange sitting on it.
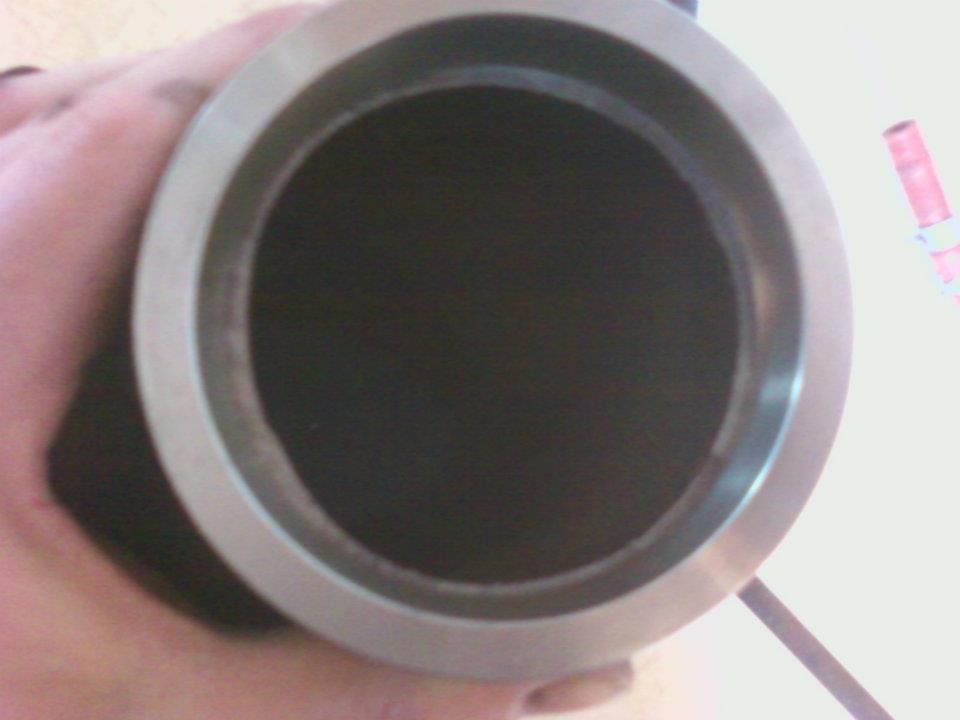
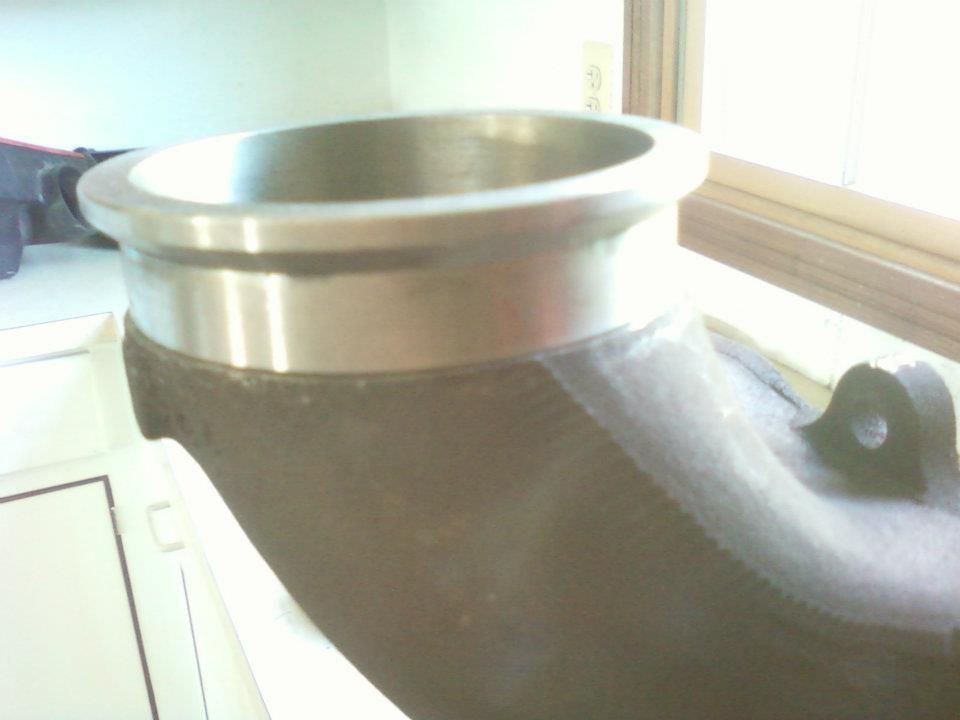
Since the first cut left quiet a bit of the housing to be ground away to make it a true 3" ID, i decided to cut more off. this resulted in the need for much less grinding. for this one i followed the line that was in the molded in the outside of the casting.
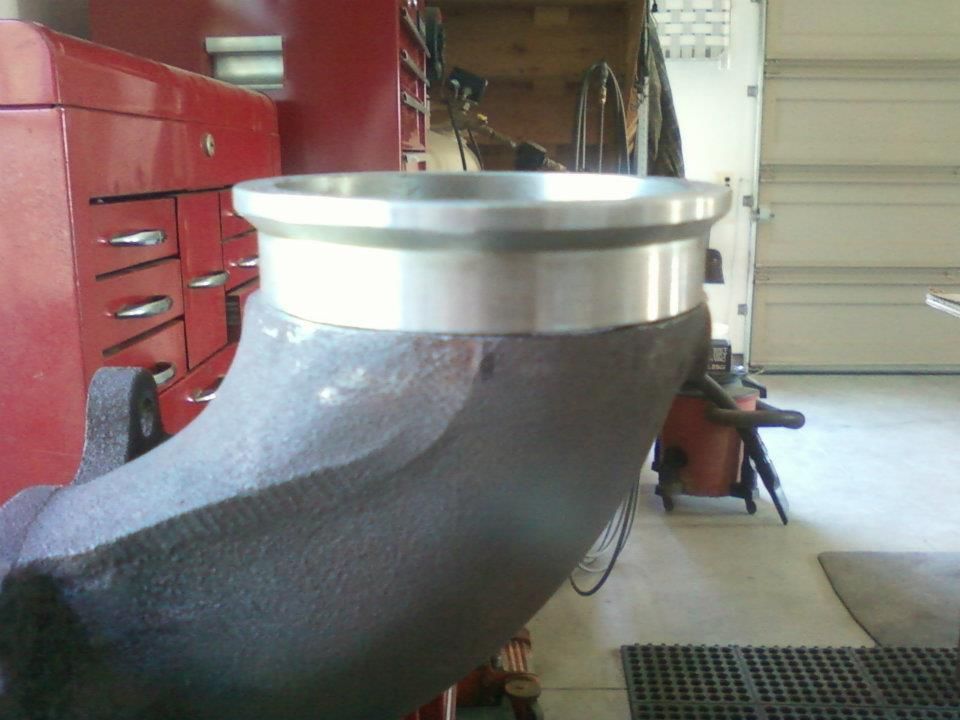
this stuff did not cut good with a hack saw so out came the saw-zawl. that was kind of a mistake. power tools make the job go faster . power tools at WOT make the job go EVEN FASTER
 . the picture speaks for itself.
i am not to worried about the un-evenness though since i am going to use my 4" angle grinder and smooth it out and try to get the ID even closer to 3".
this cut was the first cut
this is still the first cut, now with the 3" v-band flange sitting on it.
Since the first cut left quiet a bit of the housing to be ground away to make it a true 3" ID, i decided to cut more off. this resulted in the need for much less grinding. for this one i followed the line that was in the molded in the outside of the casting.
this stuff did not cut good with a hack saw so out came the saw-zawl. that was kind of a mistake. power tools make the job go faster
. power tools at WOT make the job go EVEN FASTER. the picture speaks for itself.i am not to worried about the un-evenness though since i am going to use my 4" angle grinder and smooth it out and try to get the ID even closer to 3".
#3
04-23-2012, 08:49 AM
Join Date: Jul 2011
Posts: 3,061
Likes: 0
Received 0 Likes
on
0 Posts
#4
04-23-2012, 09:07 AM
#5
04-24-2012, 12:31 AM
Postmaster
#6
04-24-2012, 07:31 AM
Join Date: Jul 2011
Posts: 3,061
Likes: 0
Received 0 Likes
on
0 Posts
Looks great.
Just preheat the elbow and give it a nice hot mig bead (Wont be pretty, so dont worry about it), and clean it up with a die grinder... Ive read other suggestions given to you on the other site, and they are overkill for this, you be fine with just a simple mig bead.
Just preheat the elbow and give it a nice hot mig bead (Wont be pretty, so dont worry about it), and clean it up with a die grinder... Ive read other suggestions given to you on the other site, and they are overkill for this, you be fine with just a simple mig bead.

will just regular mig wire be fine to use?
#7
04-24-2012, 05:25 PM
Join Date: Jul 2011
Posts: 3,061
Likes: 0
Received 0 Likes
on
0 Posts
Trending Topics
#8
04-24-2012, 09:37 PM
Elder User
Join Date: Aug 2007
Location: Nutter Fort,West Virginia
Posts: 589
Likes: 0
Received 0 Likes
on
0 Posts

#10
04-24-2012, 11:01 PM
Postmaster
I would do as said above, just separate the parts a bit when you tack them together (3/32" or so), and then burn it in, just make sure your heat is set nice. Regular MIG wire will do the trick just fine, just check it over after welding to make sure there is no cracking... If there is, just grind it out and weld over it. Depending on the cast, it could possibly be hard on a carbide bit, but I dont think Justin has has any trouble on the several he has done, so you might be alright.
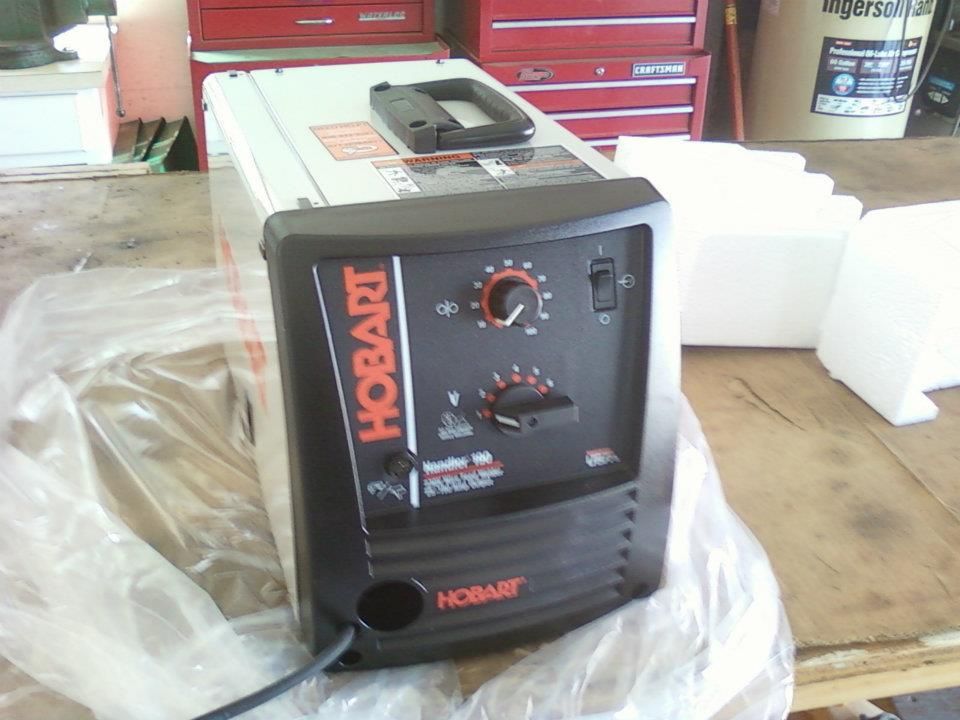
Nice little box you got ther... And that is def' a snazzy helmet-> Goin' all high end on us... I need to pick up a new mig, my machine has seen its best days...
Nice little box you got ther... And that is def' a snazzy helmet-> Goin' all high end on us... I need to pick up a new mig, my machine has seen its best days...
#11
04-25-2012, 12:19 AM
I haven't had any issues welding it, but my machine, and wire is a lot bigger than his
As for grinding it, I have no issues when I port match the inside to the 1/2 marmon.
As for how to weld it, the cast melts easier than the stainless, so make your main portion of the puddle in the cast, and drag it into the stainless, either in a U pattern or cursive e pattern.
As for grinding it, I have no issues when I port match the inside to the 1/2 marmon.
As for how to weld it, the cast melts easier than the stainless, so make your main portion of the puddle in the cast, and drag it into the stainless, either in a U pattern or cursive e pattern.
#12
04-25-2012, 08:53 AM
Join Date: Jul 2011
Posts: 3,061
Likes: 0
Received 0 Likes
on
0 Posts
thanks for all the tips guys.
the local weld shop wanted $330 for the helmet. i found it on cyberweld.com for $275 shipped to my door. i printed it off and took it to the store and asked if they could compete with cyber weld. they said no problem. so it cost me $275+tax.
i will be using solid wire with 75/25 gas.
last fall i took an intro welding class in school. we did oxy fuel welding & cutting. then we did TIG on 14g aluminum. then stick. then MIG on 14g steel and 1/4" steel. i am no expert but according to my teachers i did great, especially for never doing ANY welding before that class.
#13
04-25-2012, 08:53 AM
Join Date: Jul 2011
Posts: 3,061
Likes: 0
Received 0 Likes
on
0 Posts
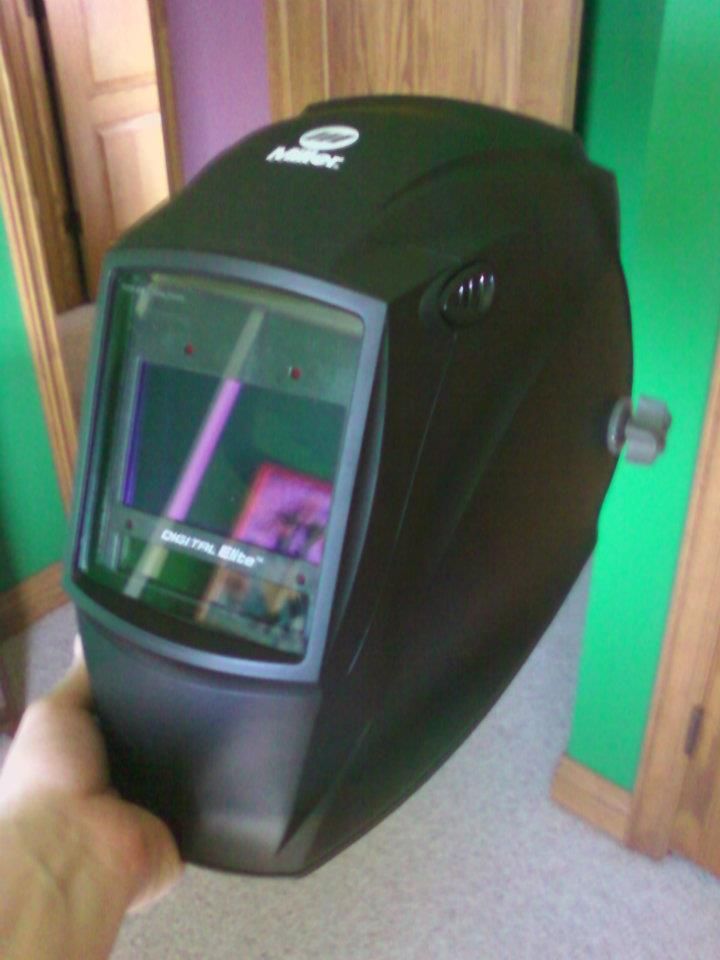
specs on helmet: Miller Digital Elite
auto darkening
variable shade
light state: 3
weld mode: 8-13
cut mode: 5-8
grind mode: 3
X-mode: used for outdoor or low current welding applications. in this mode the lens turns on when it senses weld current. shades 8-13.
variable delay settings.
auto power off.
4 independent arc sensors.
reaction time: 1/20,000 of a second.
#14
04-29-2012, 01:42 PM
Join Date: Jul 2011
Posts: 3,061
Likes: 0
Received 0 Likes
on
0 Posts
#15
04-29-2012, 03:04 PM
that helmet is nuts, i never spend more than about 20 bucks on em lol, get the cheapest auto dark i can find, then when the lense goes bad just get a new one. Seems like a decent little welder, i just picked up a Snapon 120v think its 220 or 240 amp not sure, thing has had a rough life. But the price was right enough that even if i dont fix it i can make some on it.