HIO Silver's Lo-Buck Bumpside Build
#1201
 07-26-2015, 11:48 AM

Junior User
Join Date: Jun 2015
Location: Lookout mtn ga
Posts: 51
Likes: 0
Received 0 Likes
on
0 Posts
#1202
07-26-2015, 12:33 PM
Cargo Master
Join Date: Nov 2005
Location: La Ribera, Baja, Mexico
Posts: 2,694
Likes: 0
Received 43 Likes
on
25 Posts
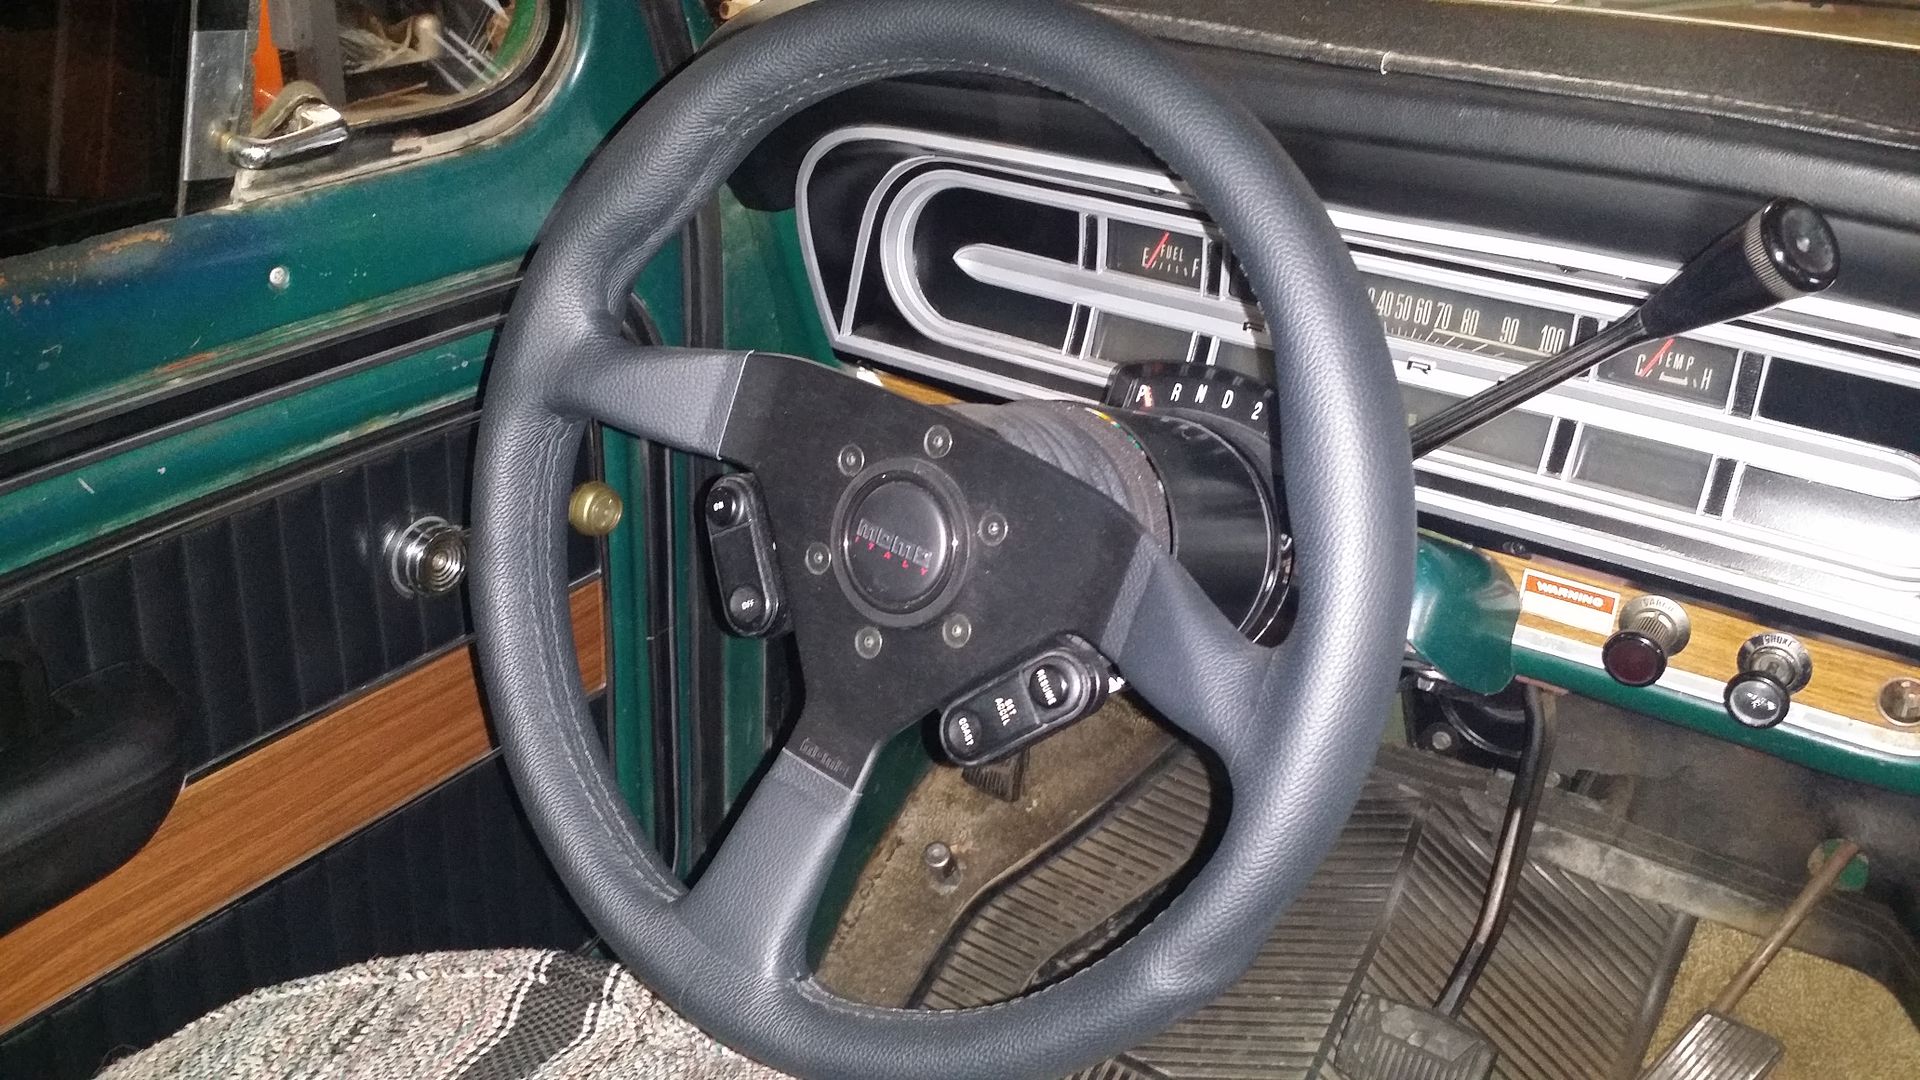
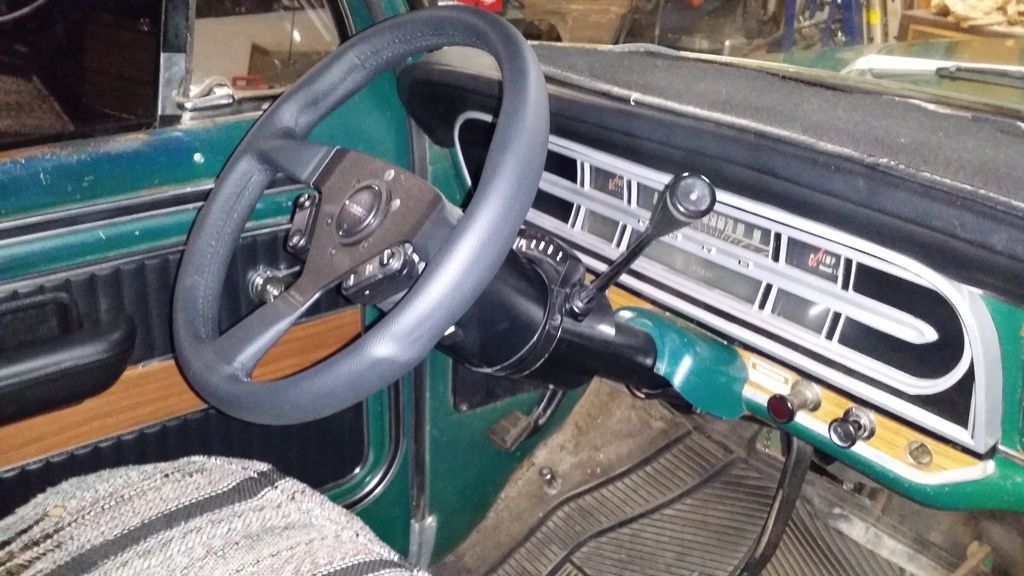
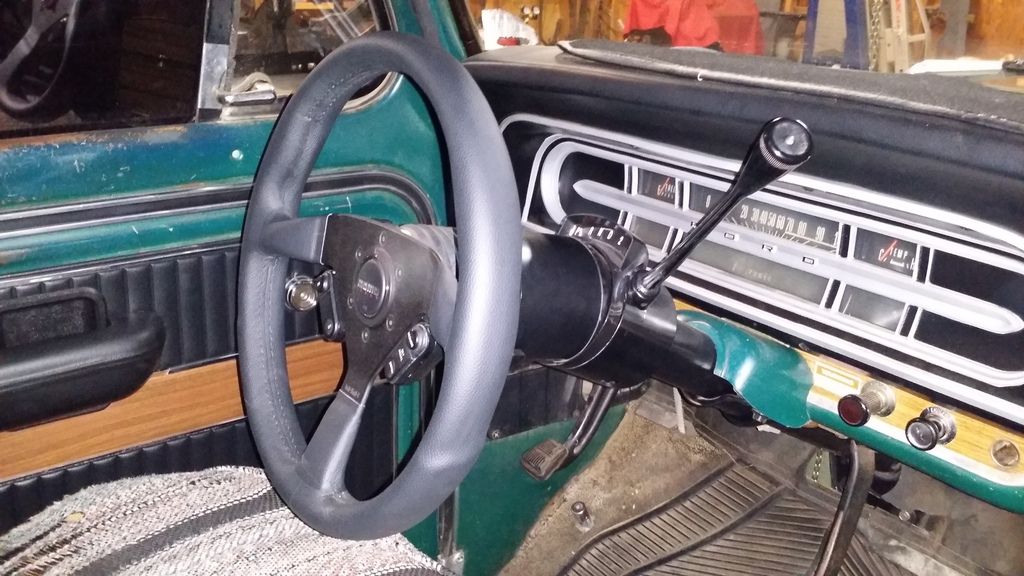
Is that a tilt column? Looks like it could be. If so, which year did it come from, and it is worth the trouble. I have found several in JY's here, but nobody wants to turn loos of any. I will wait until after Christmas, when they have over spent, and really need money. Maybe that will work.
Anyway, the headliner looks like a score..
Baja
Anyway, the headliner looks like a score..
Baja
#1203
07-26-2015, 12:45 PM
Is that a tilt column? Looks like it could be. If so, which year did it come from, and it is worth the trouble. I have found several in JY's here, but nobody wants to turn loos of any. I will wait until after Christmas, when they have over spent, and really need money. Maybe that will work.
Anyway, the headliner looks like a score..
Baja
Anyway, the headliner looks like a score..
Baja
Keep me in mind if you find an "extra" one....
#1204
07-26-2015, 01:05 PM
Lead Driver
To my knowledge, the '78/'79 Dentside tilt columns were only designed for use with a power steering gear box (Saginaw) and not for manual steering gear boxes.
Most tilts were for automatics with the gear selector on the column but, there were some designed for a shifter in the floor (very hard to come by).
My tilt (automatic trans gear lever on the column) came from a '78 F150.
Most tilts were for automatics with the gear selector on the column but, there were some designed for a shifter in the floor (very hard to come by).
My tilt (automatic trans gear lever on the column) came from a '78 F150.


#1206
07-26-2015, 02:44 PM
Lead Driver
I had a game plan all along of what components I wanted/needed to install this particular cruise control switch setup on the '78 tilt column.
It would require a specific steering wheel design (350 mm Momo Monte Carlo series steering wheel) and a CC switch mounting bracket and switches from an '89 Saleen Mustang. The '89 Saleens had a Momo Veloce series steering wheel (discontinued) but, the Momo Monte Carlo series wheel is virtually identical.
Getting the steering wheel and hub adapter was no problem, since they are available brand new, all day long.
The difficult part was finding the mounting bracket for the CC switches. There aren't just a whole lot of '89 Saleens floating around and even fewer Saleen Mustang owners willing to part with their CC bracket.
After months of searching, I finally found a bracket. I had to pay a pretty hefty sum to get it but, to me, it was worth it. I don't know of anyone else with a Bumpside that has this same setup.
'89 Saleen Mustang.

Saleen CC switch bracket.

#1207
07-26-2015, 03:53 PM

The only time I like cruise control is when I wanna wiggle and stretch my toes.
#1208
07-26-2015, 10:41 PM
Got the floor boards cleaned up and applied Eastwood Rust Encapsulator. It's sort of like POR but dries much faster.. especially in this warm weather. Started applying the leftover Dynamat Extreme from the 73. I've got a box of Hushmat for door shells, under the seats, and smaller areas. I didn't do the roof because the LBB will get probably get re-skinned next year. A little bit more to do on the driver's side.
Also went to the store and picked up fender washers and nuts for the bucket brackets. Based on preliminary measurements, the outboard brackets use existing bolt holes and inboard brackets are aligned using pre-dimpled marks.. Thanks Ford for thinking ahead! Btw, there are also dimples on the firewall which were drilled depending how it was ordered so the holes are dead-nuts consistent on the assembly line.
I also applied PB Blaster to the seat bracket bolts and cracked them in preparation for next weekend's thrash to install the rest of the sound deadener, the carpet, and the seats. I'm gonna order some door seals this evening...
Oh, 'made my own roller because... because I can! The floor boards now have a very satisfying "thunk" instead of a "twwaaaaaaaanggggg".
#1212
07-27-2015, 06:13 PM
Cargo Master
Join Date: Nov 2005
Location: La Ribera, Baja, Mexico
Posts: 2,694
Likes: 0
Received 43 Likes
on
25 Posts
I did find one '78 tilt column, in a JY in San Jose, Baja, but the guy would not turn loose of it... he did say that he knew where 2 more were.. I just have to get down there, and chase them down. He said that they were for floor shift's, not auto trans.. we shall see...
Had a good day tuna fishing today, and its time to go slice the Sushi... Nothing like reading HiO's build, while munching on sushi...
Baja
Had a good day tuna fishing today, and its time to go slice the Sushi... Nothing like reading HiO's build, while munching on sushi...
Baja
#1213
07-28-2015, 11:42 PM
Finished up the driver's floor board and then pulled the trans cover for treatment and did that on the dining table. The trans cover was originally sealed with strip caulk. I'll head to HD tomorrow to find some neoprene weather stripping instead. Thanks to Randle (Bump Kingdom Dance Instructor) for sending me a couple of speed nuts that were missing back when I took the cover off for the TKO swap. ..You can just make out the cover plate outlining the OEM shifter hole.
Btw, now I know why Dynamat sells sealing tape. Some of the gooey insulation will ooze out the sides and likely stick to the back of the carpet. I'm not that picky (really!) on this matter but it may to someone else so now you know.
I'll shoot the door panels on Thursday nite to allow enough drying time for installation, hopefully, on Saturday along with installing Dynamat/Hushmat inside the door shells.
Lastly it appears the fuel tank selector switch was drilled incorrectly at the factory because its face plate doesn't sit flush on the floor.. one corner contacts the change in contour of the floor. I'll plug the OEM hole I used and correct it during the interior installation....
I hope no critters get up inside the cab cuz all that is covering the gaping hole is a floor mat and an old T-shirt.
#1215
07-29-2015, 12:18 AM
Good evening Blue.. catch ya on the back side.