1970 F250 4x4 Cummins Conversion Build Thread - Lots of Pics!
#166
 06-21-2013, 11:20 PM

Join Date: Oct 2011
Location: Willard
Posts: 207
Likes: 0
Received 0 Likes
on
0 Posts


#167
06-24-2013, 11:51 PM
Join Date: Oct 2011
Location: Willard
Posts: 207
Likes: 0
Received 0 Likes
on
0 Posts
I started working on the boxed section of the frame where the 1979 F250/350 4x4 power steering box will mount. I started out by drilling out 1" by 1/4" wall tubing to the correct bolt diameter (slightly over 9/16) using a friends lathe. The lathe worked awesome.
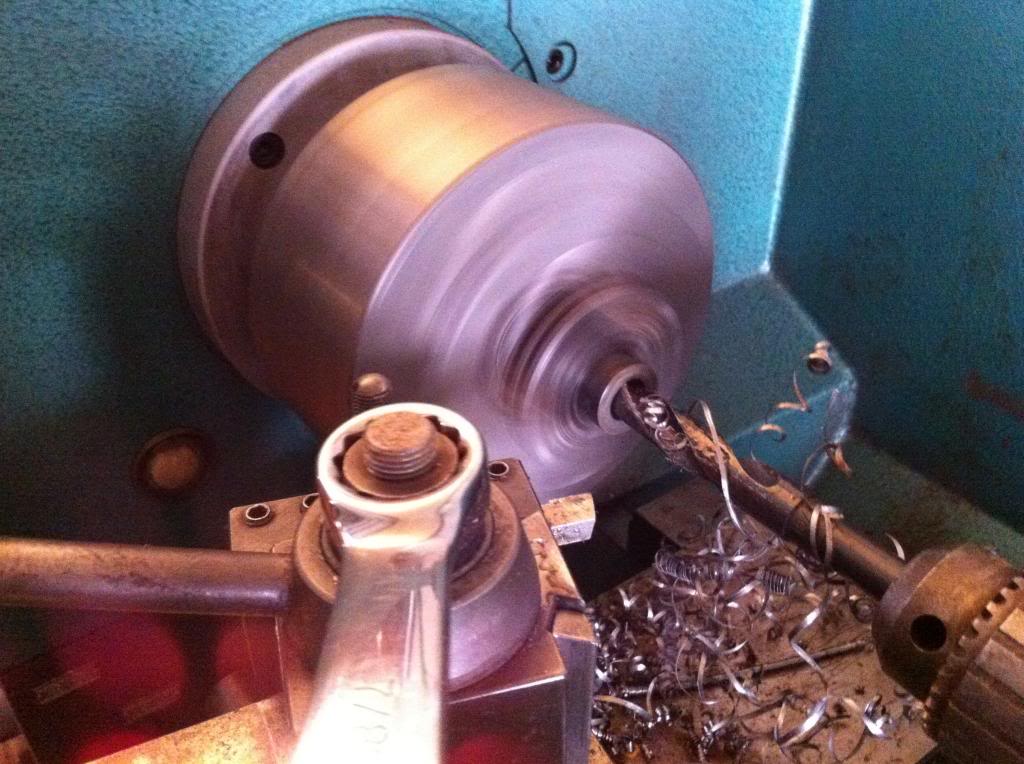
Then I used the lathe to bevel the edges in preparation for welding.
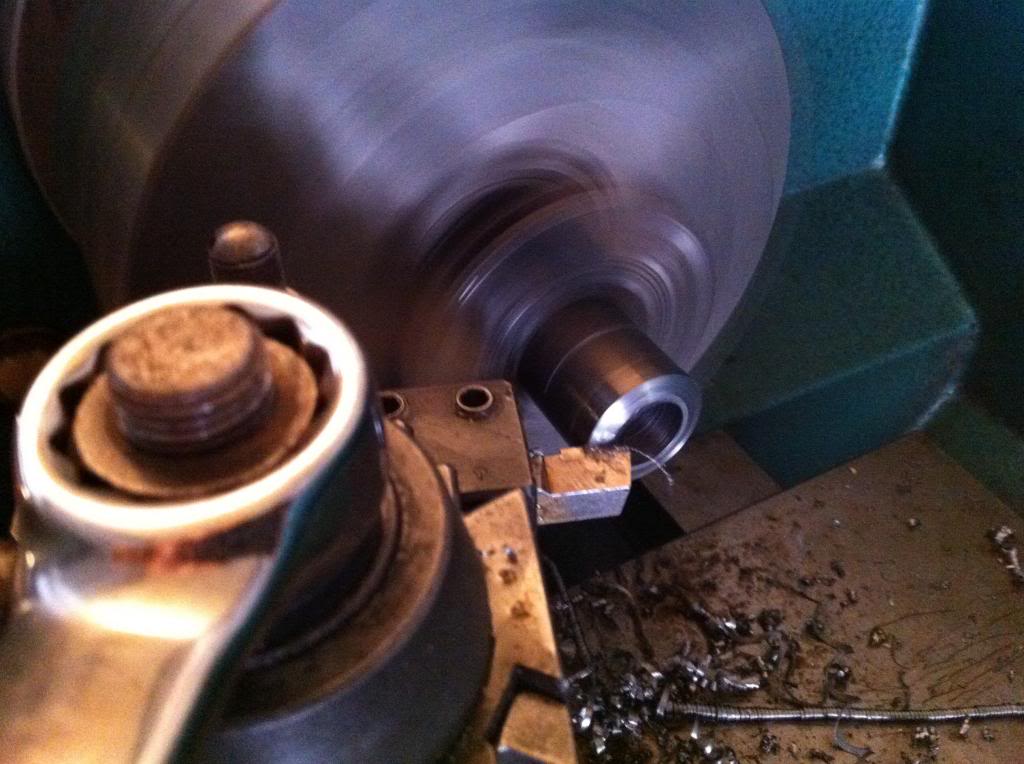
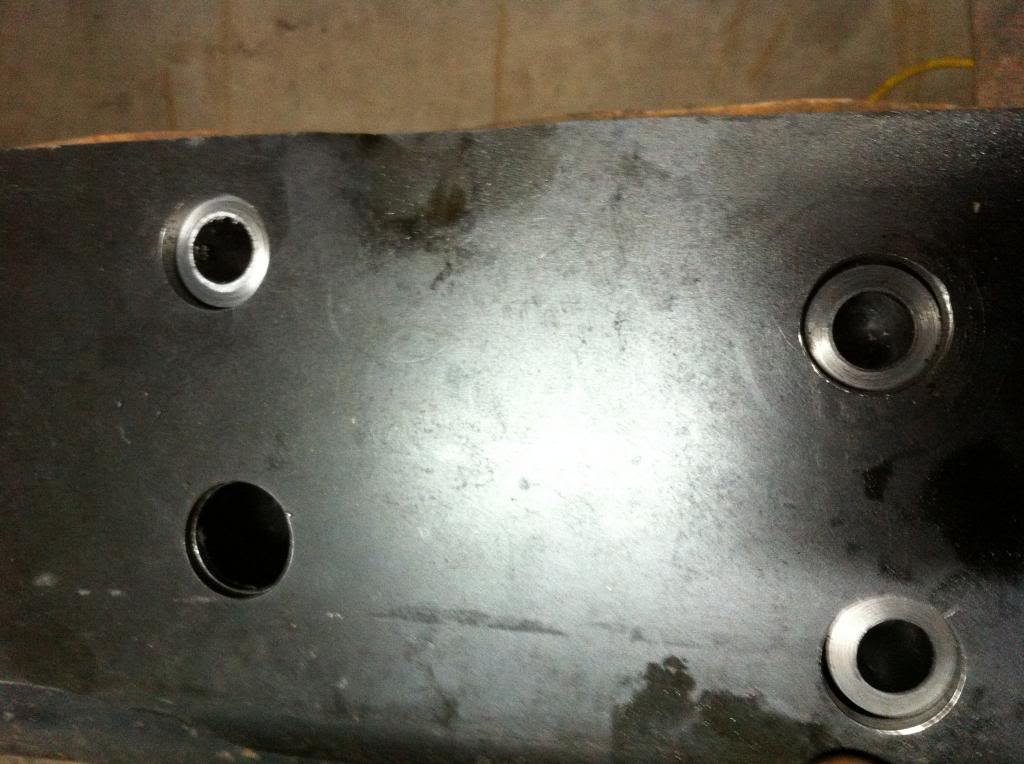
Then I drilled out the plate that I already formed to the frame in the correct locations for the steering box bolts to fit the tubing I just drilled and beveled. One side of the tubing will be welded to the plate and and the other side to the frame. This should make the boxed portion of the frame where the steering box connects extra strong which is important when you are running big tires.


Then I used the lathe to bevel the edges in preparation for welding.

Then I drilled out the plate that I already formed to the frame in the correct locations for the steering box bolts to fit the tubing I just drilled and beveled. One side of the tubing will be welded to the plate and and the other side to the frame. This should make the boxed portion of the frame where the steering box connects extra strong which is important when you are running big tires.


#168
06-25-2013, 01:38 AM
Logistics Pro
Nice work your doing gotta love them lathes and mills I just used square box tubing and a 5" piece of c channel to make my 79 power steering box bolt up to the frame your right must have them gussets in there with big tires even with small tires I'd still use gussets to keep the frame from sandwiching together around the bolts. Any idea on a completion date yet?
#169
06-25-2013, 10:45 AM
Join Date: Oct 2011
Location: Willard
Posts: 207
Likes: 0
Received 0 Likes
on
0 Posts
Nice work your doing gotta love them lathes and mills I just used square box tubing and a 5" piece of c channel to make my 79 power steering box bolt up to the frame your right must have them gussets in there with big tires even with small tires I'd still use gussets to keep the frame from sandwiching together around the bolts. Any idea on a completion date yet?
I still need to do the following when that is done:
Clutch
Trans mount
5 gear nut fix
Advanced adapters adapter to NP205
1410 yoke on NP205
Mount NP205
Drive lines
Rear springs
Rebuild front axle with locker and 488 gears
Electrical
Fuel tank
Radiator & inter cooler
Body & Paint
Steering column
Interior
On board air

#170
06-26-2013, 04:59 AM

#171
07-04-2013, 01:18 AM
Join Date: Oct 2011
Location: Willard
Posts: 207
Likes: 0
Received 0 Likes
on
0 Posts
. On to the progress
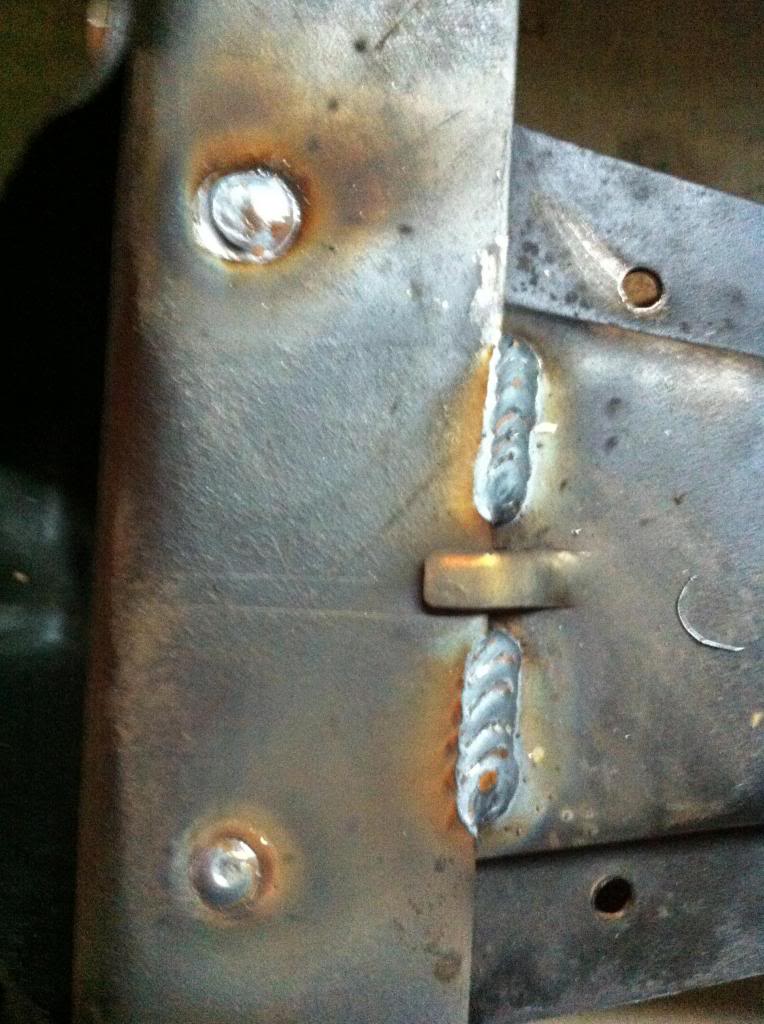
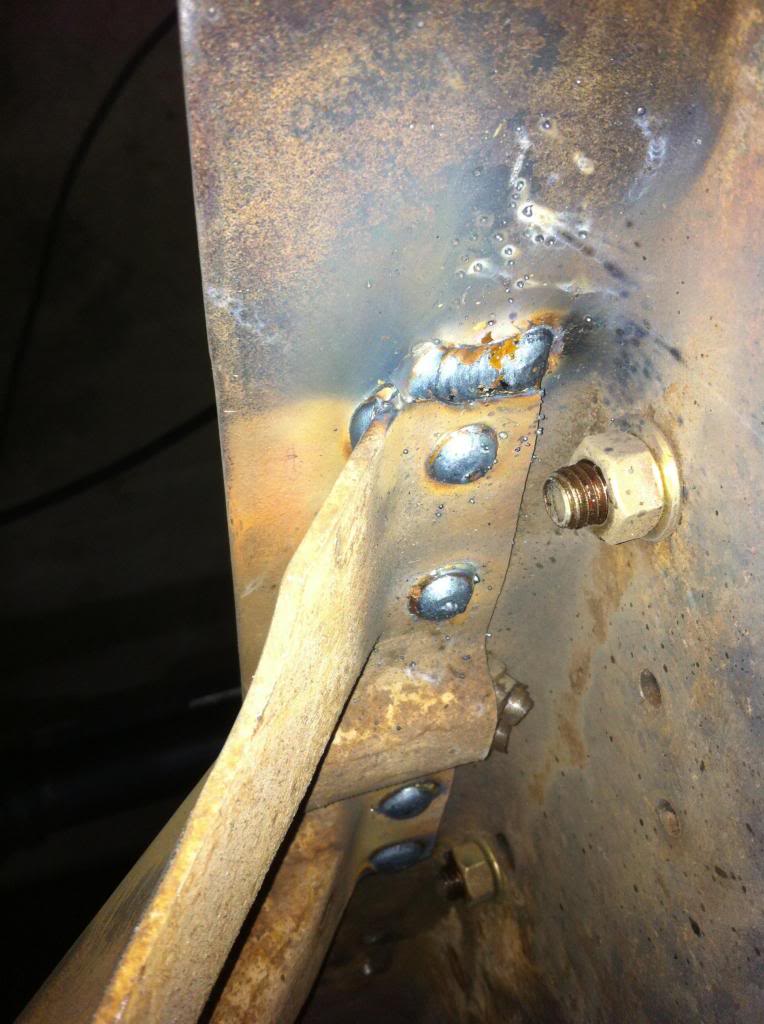
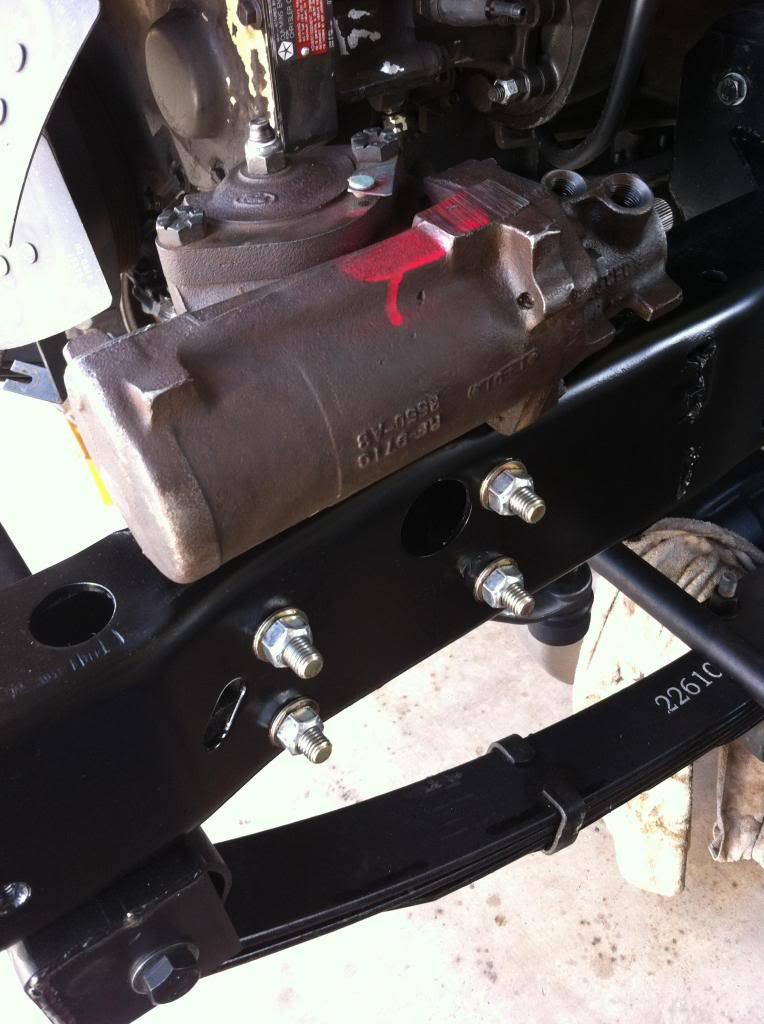
 . Finished up mounting the plate for the '79 Ford power steering box. BE CERTAIN TO TACK THE BOLT ALIGNMENT TUBING IN PLACE WITH THE POWER STEERING BOX INSTALLED AND BOLTED. Do whatever it takes to get a good tack on the tubing so everything will line up later. I didn't do this and I ended up being a little off. No harm done, just extra headaches to get everything to line up.
I went ahead and drilled holes through the other side of the frame with the bolt alignment tubing acting as my guide. Then I welded the old stock holes up and ground them smooth.

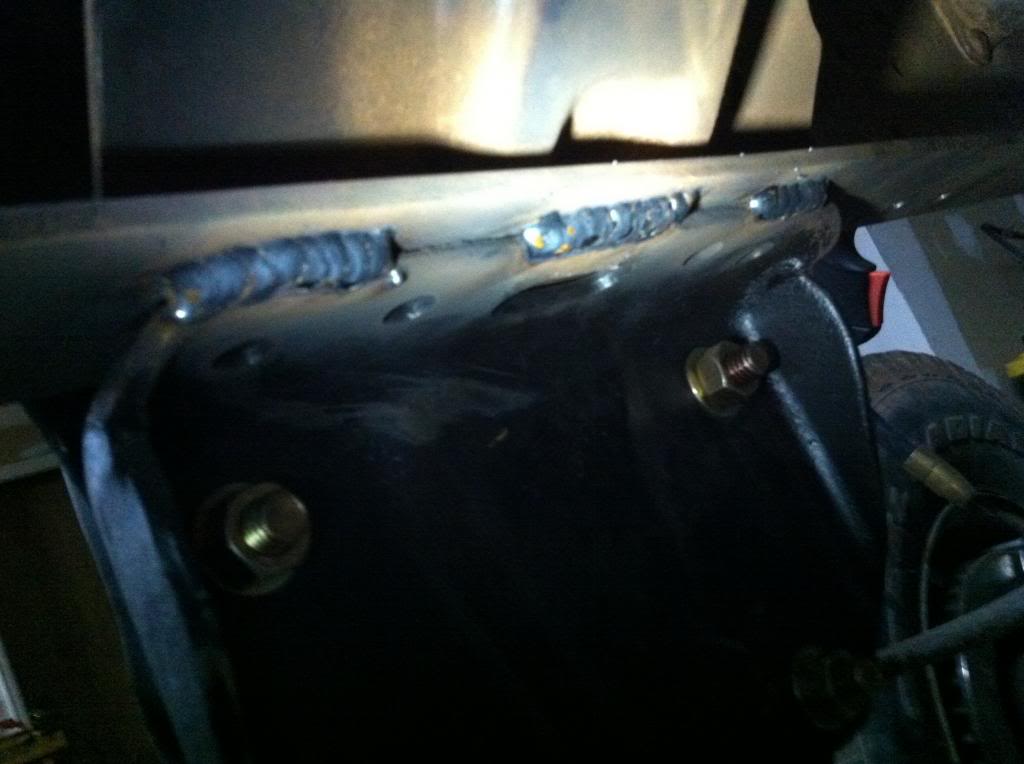
Then I welded the bolt alignment tubing to the boxing plate and ground the welds smooth.

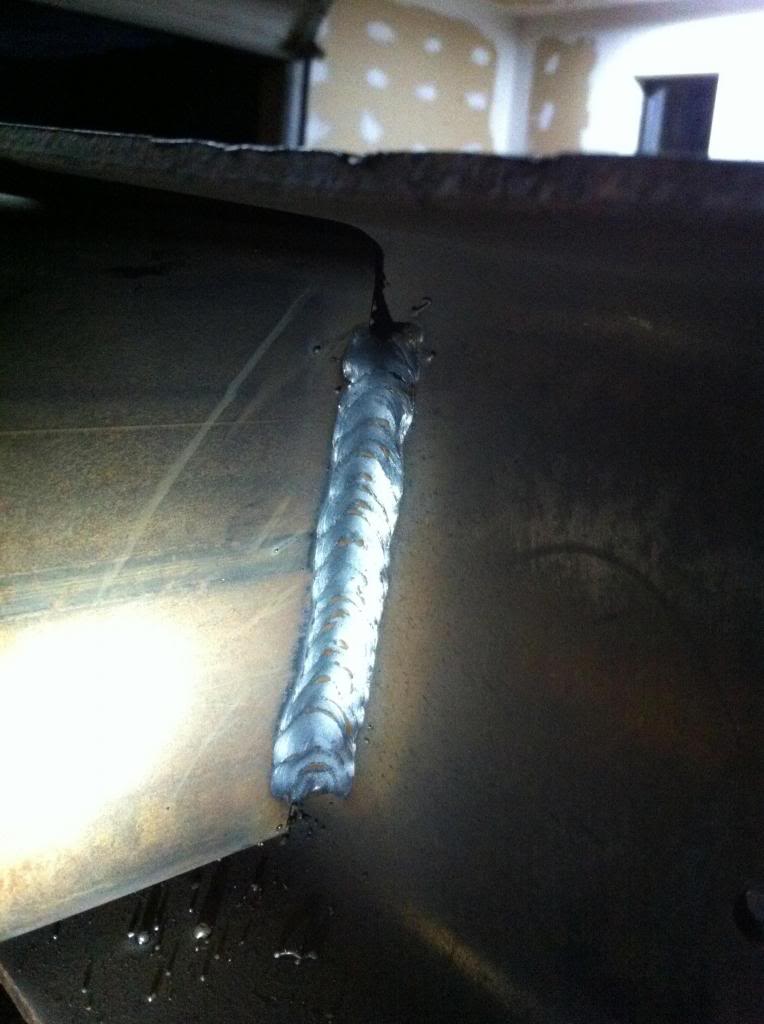
I went ahead and filled the gap on the cross member with a piece of scrap steel and welded everything up.


And there you have it! I didn't mount the box yet because I am out of paint, but I will have it on there shortly and finish up the steering in a week or so.
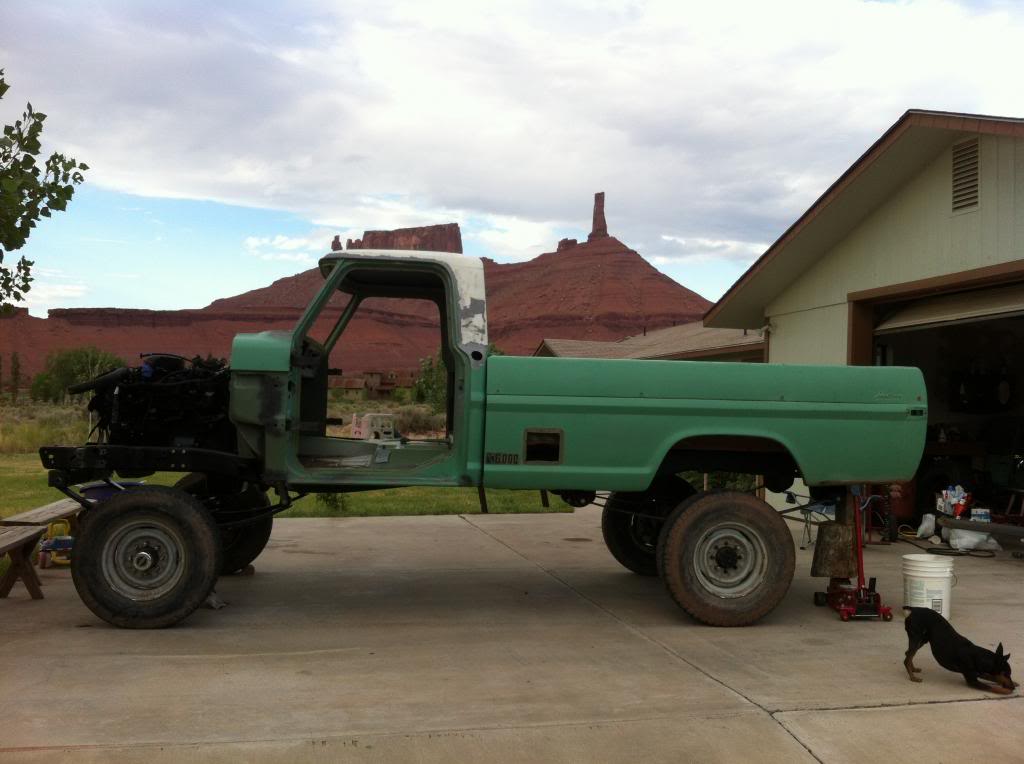
The good news is, that I installed the motor tonight and everything lined up nicely. I finished late and it was too dark to get good pictures, but I will take better ones tomorrow. For now here is a teaser


Pretty soon this thing is going to start looking like a truck again

#172
07-04-2013, 01:36 PM
Join Date: Oct 2011
Location: Willard
Posts: 207
Likes: 0
Received 0 Likes
on
0 Posts


#173
07-04-2013, 07:17 PM
Join Date: Oct 2011
Location: Willard
Posts: 207
Likes: 0
Received 0 Likes
on
0 Posts


#174
07-04-2013, 07:49 PM
Join Date: Oct 2011
Location: Willard
Posts: 207
Likes: 0
Received 0 Likes
on
0 Posts


#176
07-05-2013, 06:42 PM
Join Date: Oct 2011
Location: Willard
Posts: 207
Likes: 0
Received 0 Likes
on
0 Posts
I did get the bushings made for the polyurethane cab mounts today though. I couldn't find a aftermarket hardware kit for these, so I had to make my own with the lathe. You can by hardware and mounts as a complete kit through LMC, but since I already had the polyurethane ones - this was my best option.
I started with 1/4" wall 1" DOM tubing cut to the appropriate length. Then I used the lathe to shave away the appropriate material and bored out the hole for the bolt to the appropriate size. I went with a 1/2" bolt hole for the radiator mount and 9/16 for the cab mounts.


#177
07-07-2013, 08:53 AM
Join Date: Oct 2011
Location: Willard
Posts: 207
Likes: 0
Received 0 Likes
on
0 Posts


#178
07-09-2013, 12:30 AM
Join Date: Oct 2011
Location: Willard
Posts: 207
Likes: 0
Received 0 Likes
on
0 Posts
Here is a sneak peek at the ride hight of my truck with the custom lift. If I had to do it over again, I would use the 4" Superduty springs instead of the 6" to make it a little lower to the ground. Oh, well - BIG trucks are fun too.
You will have to add 4" to the over all lift and imagine 8" taller tires.
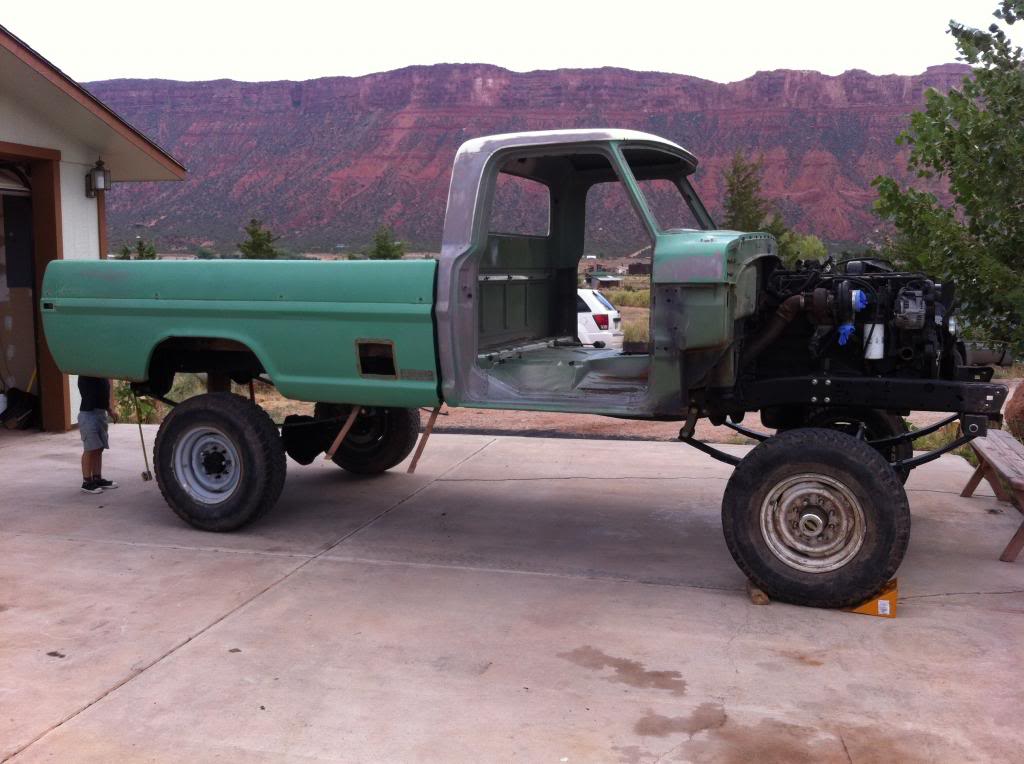
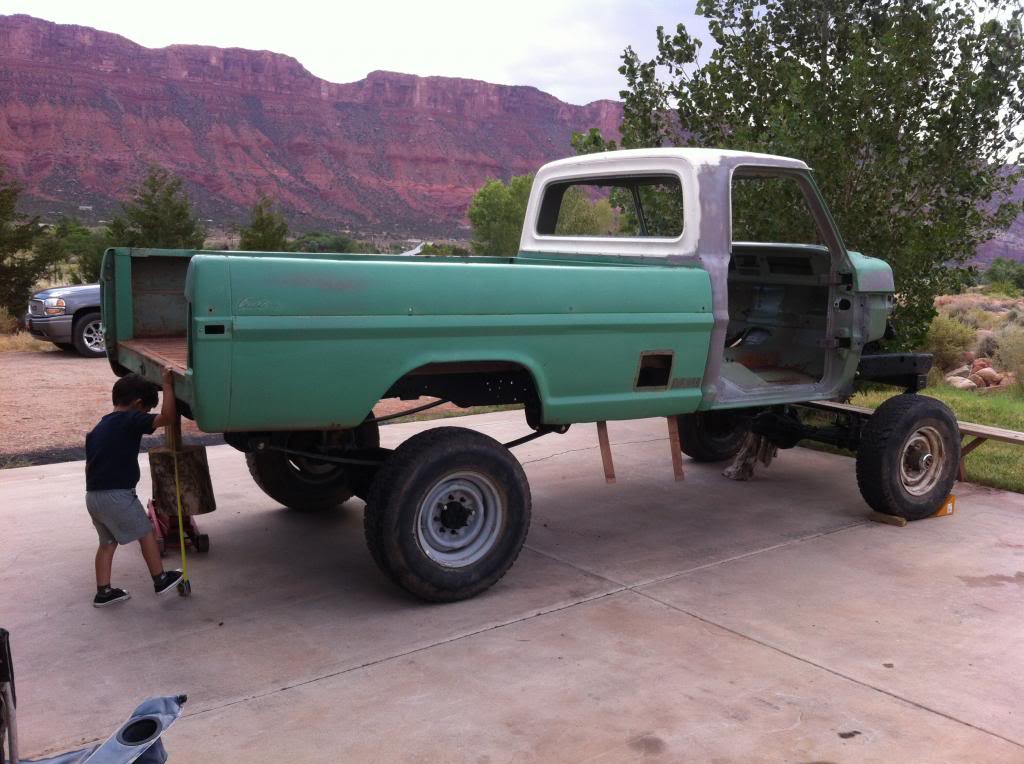
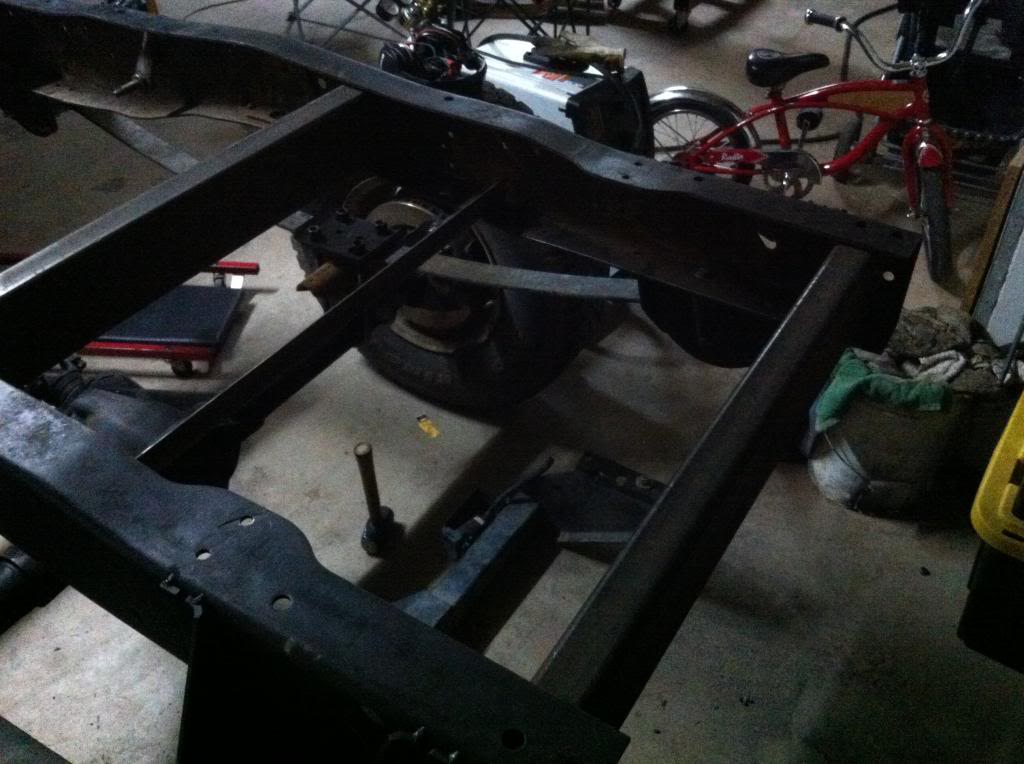
After sizing up the bed and making sure everything lined up as expected. I took the bed back off and welded up the cross members on the rear half of the frame. I went ahead and left a 28" X 28" space in the rear for the gas tank. One thing to remember before welding your cross members permanently in place is to make sure your frame rails are equal hight of the ground, and that the frame measurements match when you measure in a "X" pattern over the length of the frame. Everything has to be lined up perfect. I had to place the jack on the passenger rear side mount and press up a half inch to get it in the right spot since the springs are for mock up purposes only and will be replaced with the correct ones soon.
You will have to add 4" to the over all lift and imagine 8" taller tires.


After sizing up the bed and making sure everything lined up as expected. I took the bed back off and welded up the cross members on the rear half of the frame. I went ahead and left a 28" X 28" space in the rear for the gas tank. One thing to remember before welding your cross members permanently in place is to make sure your frame rails are equal hight of the ground, and that the frame measurements match when you measure in a "X" pattern over the length of the frame. Everything has to be lined up perfect. I had to place the jack on the passenger rear side mount and press up a half inch to get it in the right spot since the springs are for mock up purposes only and will be replaced with the correct ones soon.


#180
07-12-2013, 02:21 PM
Join Date: Oct 2011
Location: Willard
Posts: 207
Likes: 0
Received 0 Likes
on
0 Posts
Power steering box & pitman arm installed
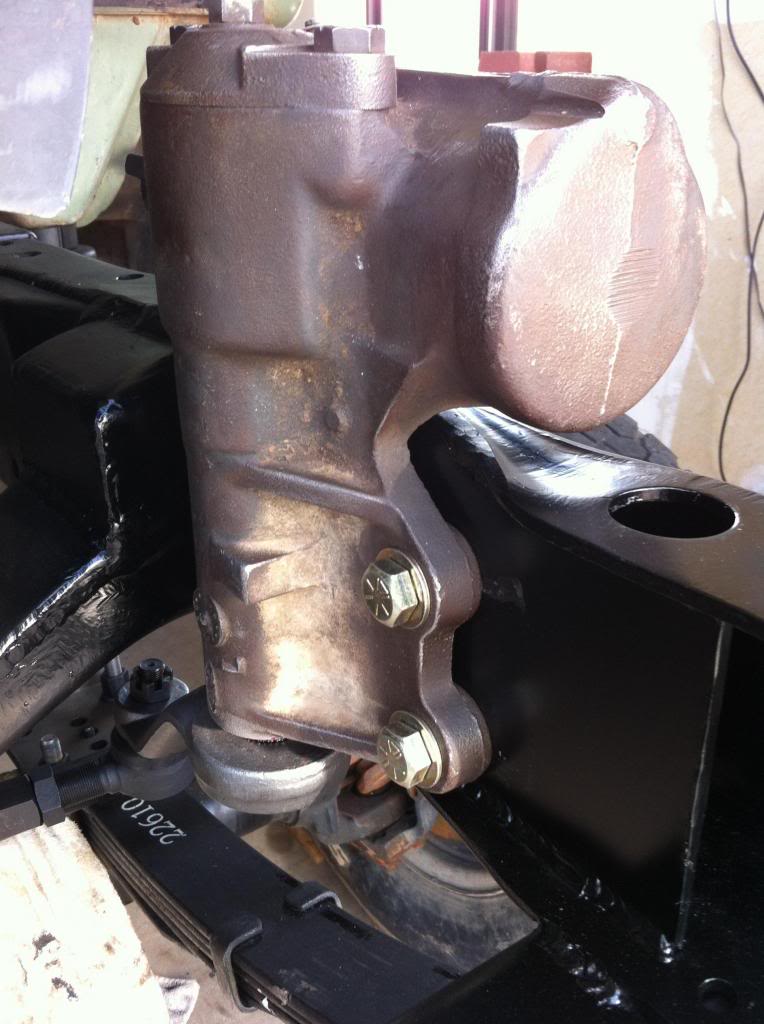
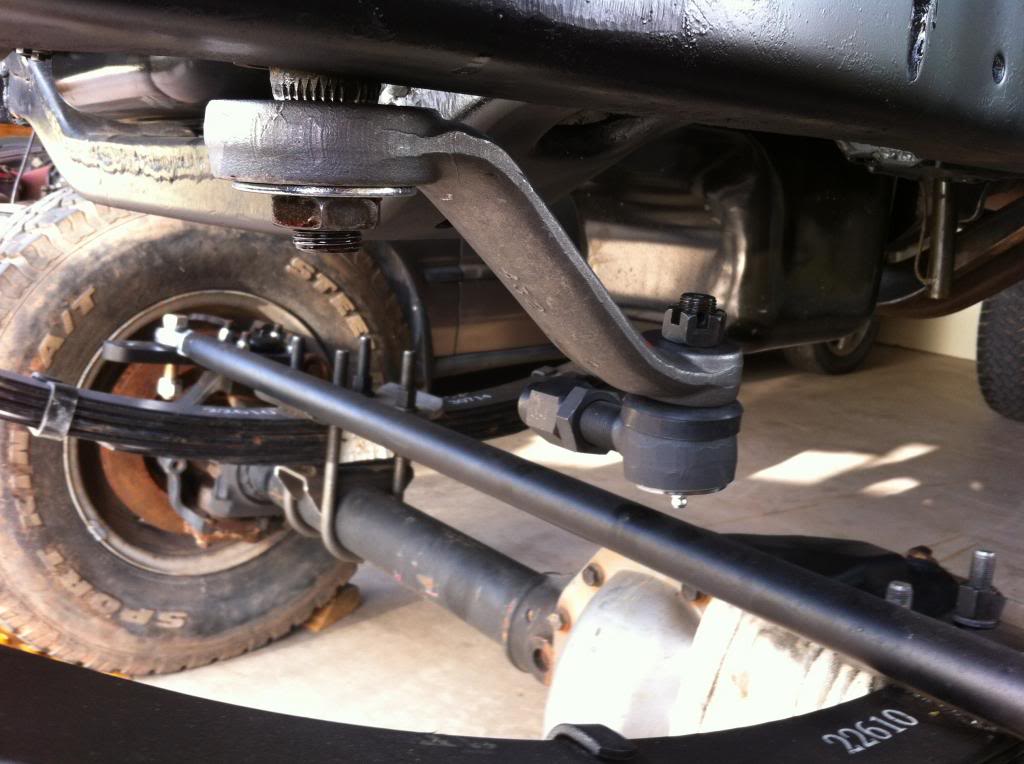
I used a Chevy tie rod end instead of a heim joint to save a inch or so on spring travel clearances. I had to take the pitman arm to a machine shop and have the hole tapered for the chevy tie rod. I ordered the tie rod and weld bung from parts mike.


I used a Chevy tie rod end instead of a heim joint to save a inch or so on spring travel clearances. I had to take the pitman arm to a machine shop and have the hole tapered for the chevy tie rod. I ordered the tie rod and weld bung from parts mike.

