1954 f100

#242
 12-10-2013, 09:36 PM

Join Date: Mar 2012
Posts: 332
Likes: 0
Received 0 Likes
on
0 Posts
I am looking at body work now. Which has me thinking about what holes I do or don't need to fill in the firewall. Anyone use a modern AC setup like vintage air on their trucks? I am curious as to what it looks like around the firewall. I already have a sanden compressor so its likely I will just find a evaporator and a condenser, I think they part them out this way.
Anyone have trouble with these guys or recommend someone else?
Anyone have trouble with these guys or recommend someone else?
#243
02-02-2014, 09:58 PM
Freshman User
#244
02-03-2014, 09:15 PM
Join Date: Mar 2012
Posts: 332
Likes: 0
Received 0 Likes
on
0 Posts
#245
02-06-2014, 06:02 PM
Join Date: Mar 2012
Posts: 332
Likes: 0
Received 0 Likes
on
0 Posts
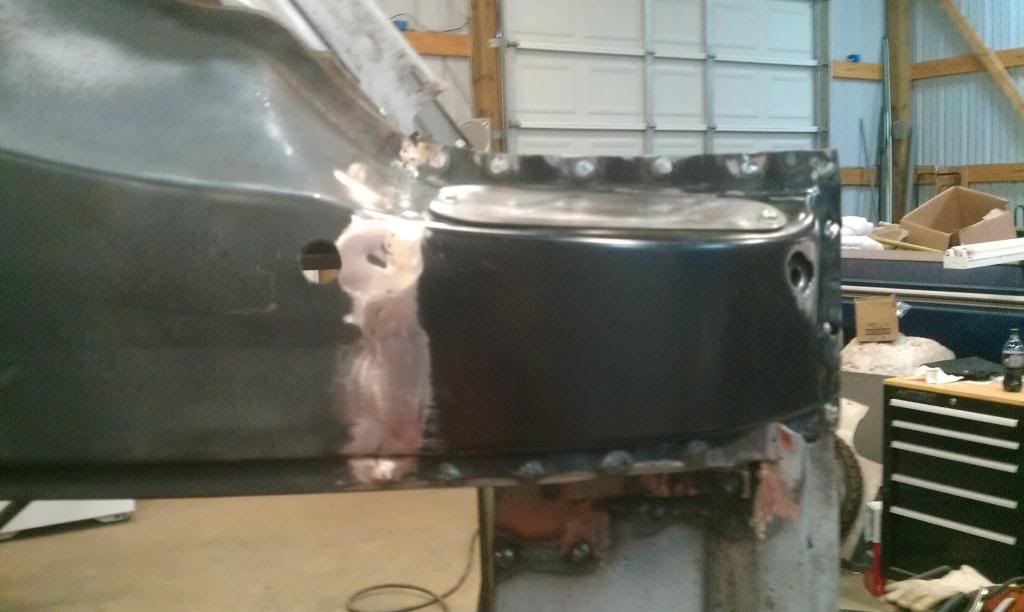
I went ahead with the vintage air purchase. Its to cold in ky atm for me to be out in the garage. Though last weekend we were able to finish the front passenger side body mount and bottom front cab corner. (I should've taken a photograph).
I bought a little pot blaster from harbor frieght.
20 lb. Pressurized Abrasive Blaster
Once I had the exterior of the body removed I blasted the inside as it would be my only opportunity to clean this area. This blaster worked great using black diamond media. I was worried about metal damage but at 70psi and staying away from flat body pieces I am comfortable. It worked really well. I have 3 more corners to patch and then the firewall to attend to. Then we will begin on the doors. After all that I am going to assemble the body to the frame as a final look before paint.
#246
02-08-2014, 12:02 PM
#247
02-15-2014, 07:36 PM
Join Date: Mar 2012
Posts: 332
Likes: 0
Received 0 Likes
on
0 Posts
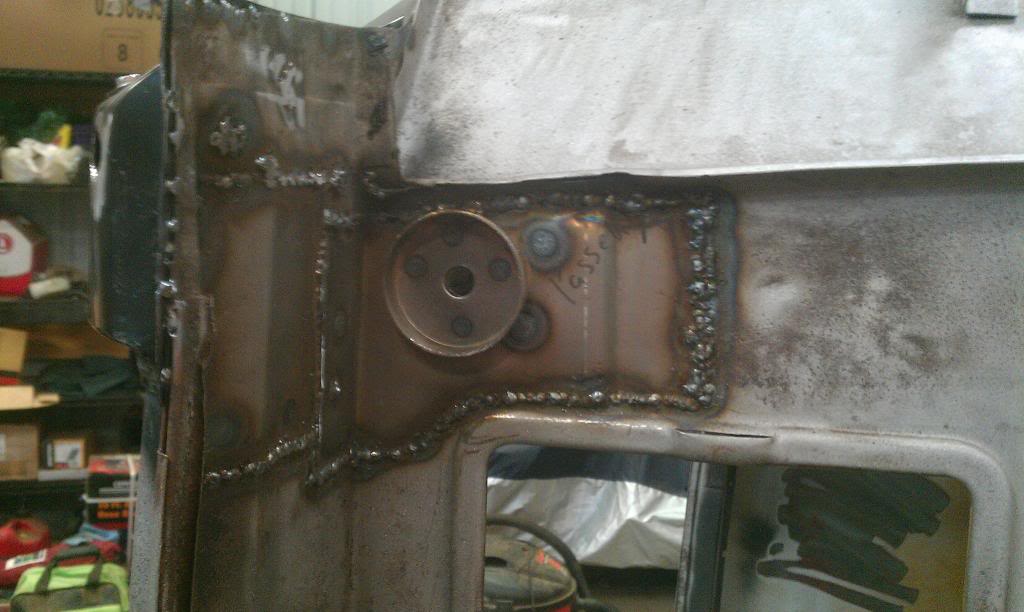
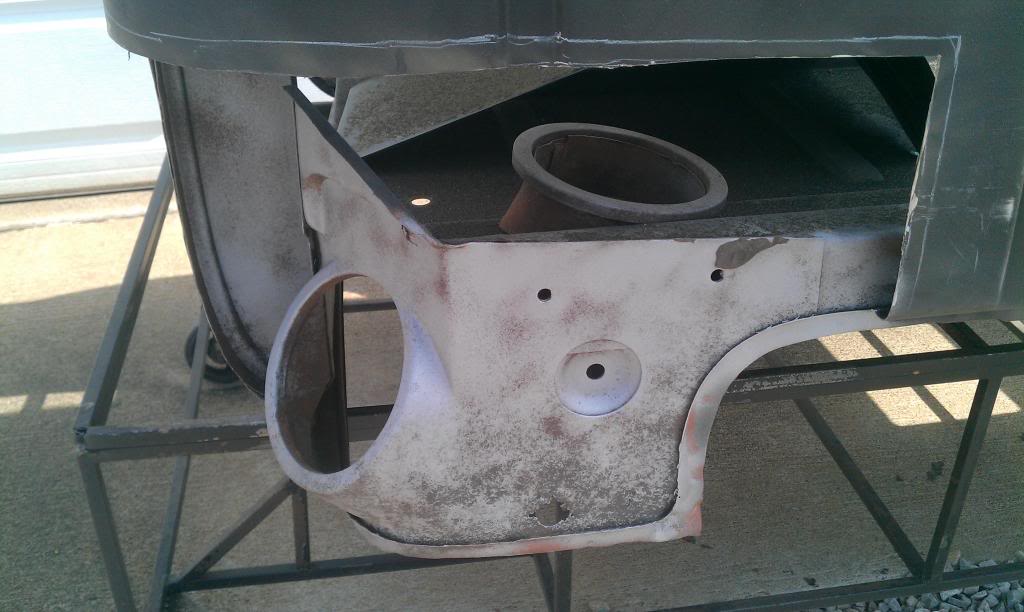
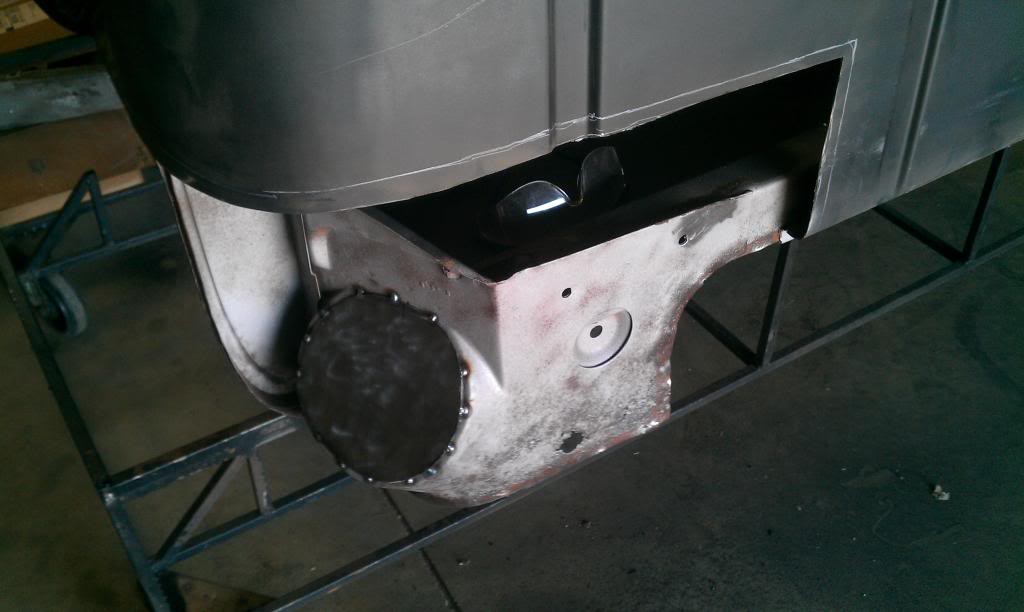
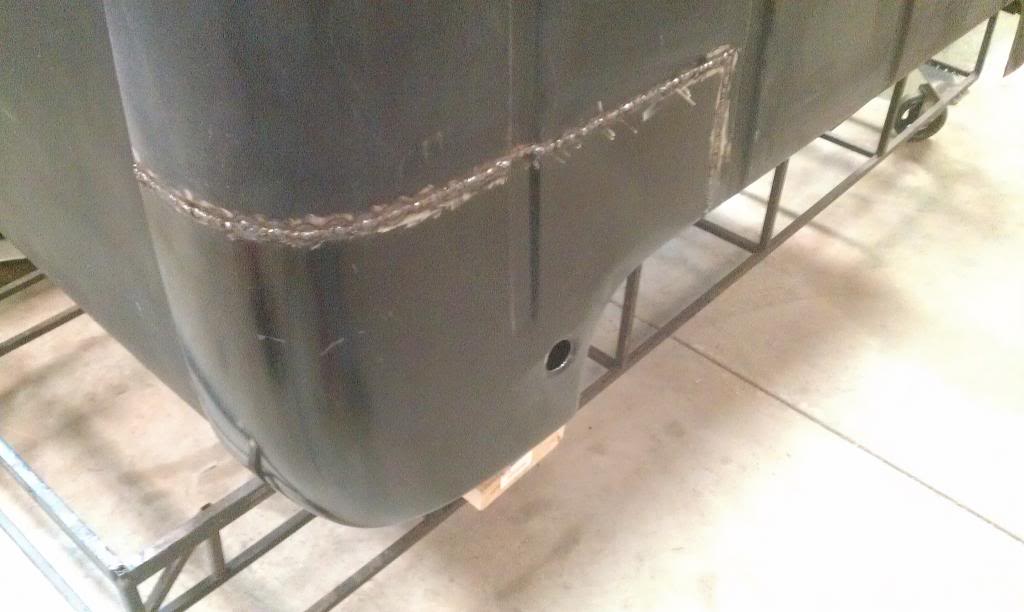
Currently I am replacing the front cab corners and working on the body in the surrounding area. Below is a picture of the one cab corner I have finished, I also had to repair park of the front floor panel/rocker. I still need to grind the welds down.
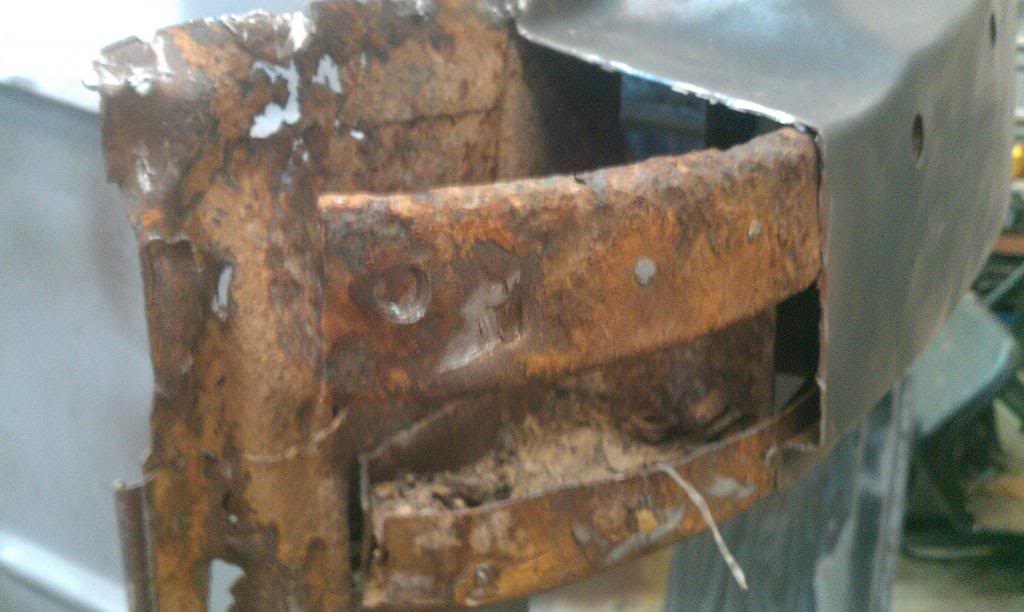
Also is the other side, I have removed the rust affected area and blasted the inside.
Also is the other side, I have removed the rust affected area and blasted the inside.


#248
02-16-2014, 12:18 PM
FTE Legend
Join Date: Oct 2005
Location: northwestern Ontario
Posts: 262,962
Received 4,130 Likes
on
2,655 Posts
#249
03-08-2014, 10:44 PM
Join Date: Mar 2012
Posts: 332
Likes: 0
Received 0 Likes
on
0 Posts


#250
03-09-2014, 06:29 AM

#251
03-09-2014, 09:51 AM
Join Date: Mar 2012
Posts: 332
Likes: 0
Received 0 Likes
on
0 Posts
#252
08-10-2014, 10:43 PM
Join Date: Mar 2012
Posts: 332
Likes: 0
Received 0 Likes
on
0 Posts
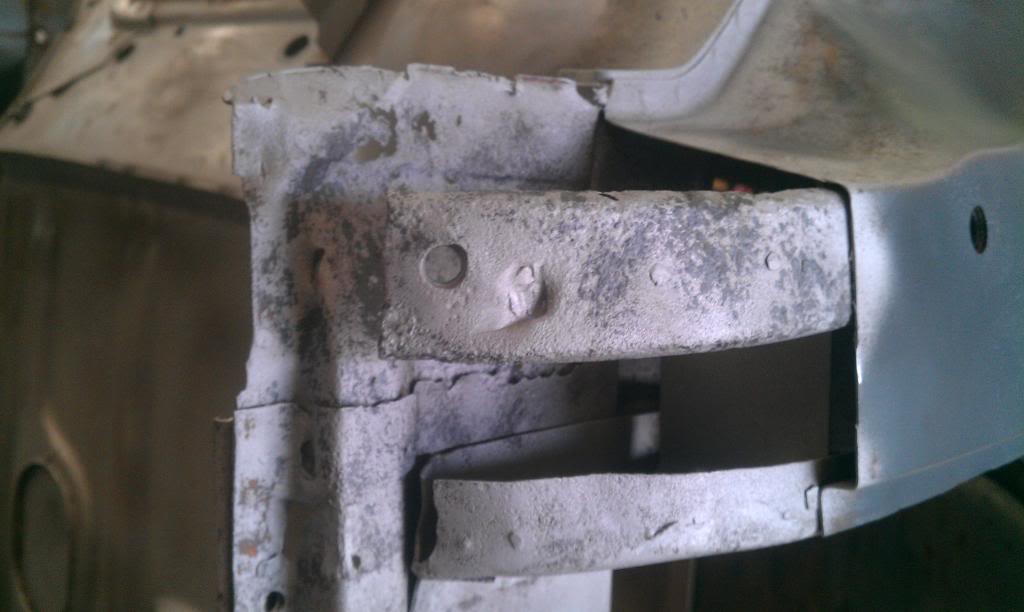
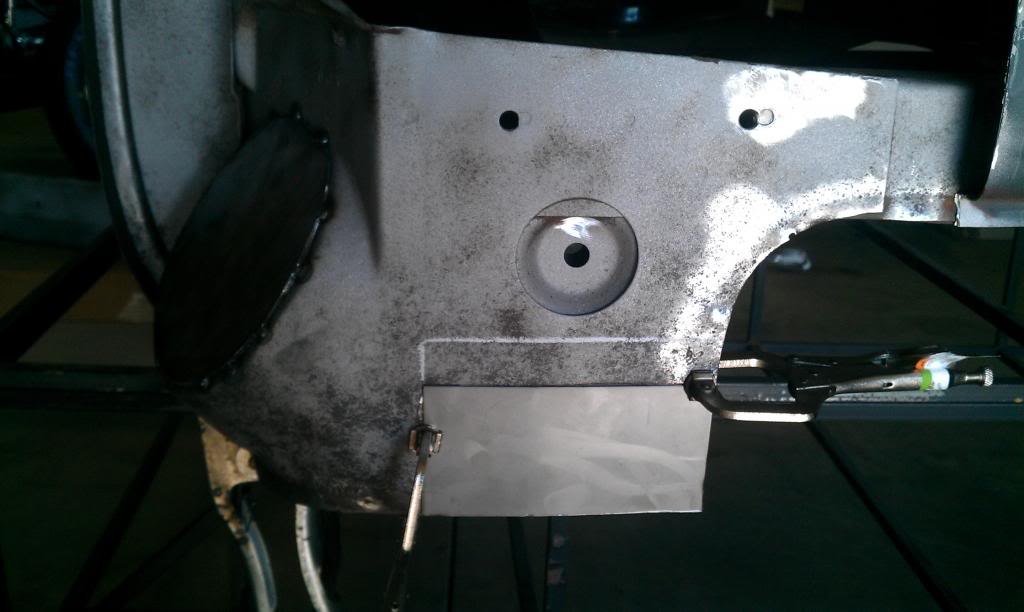
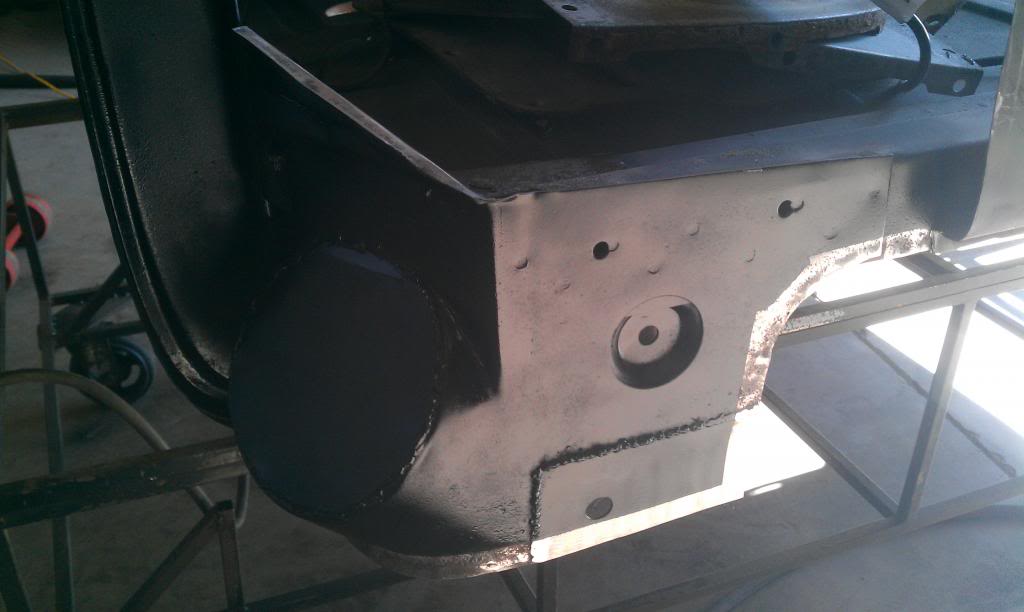
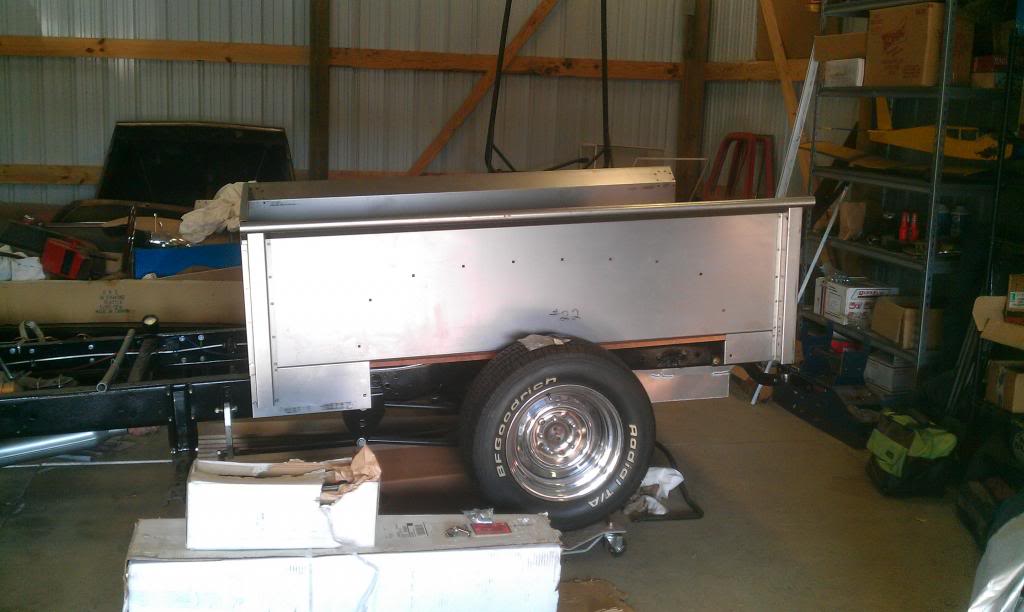
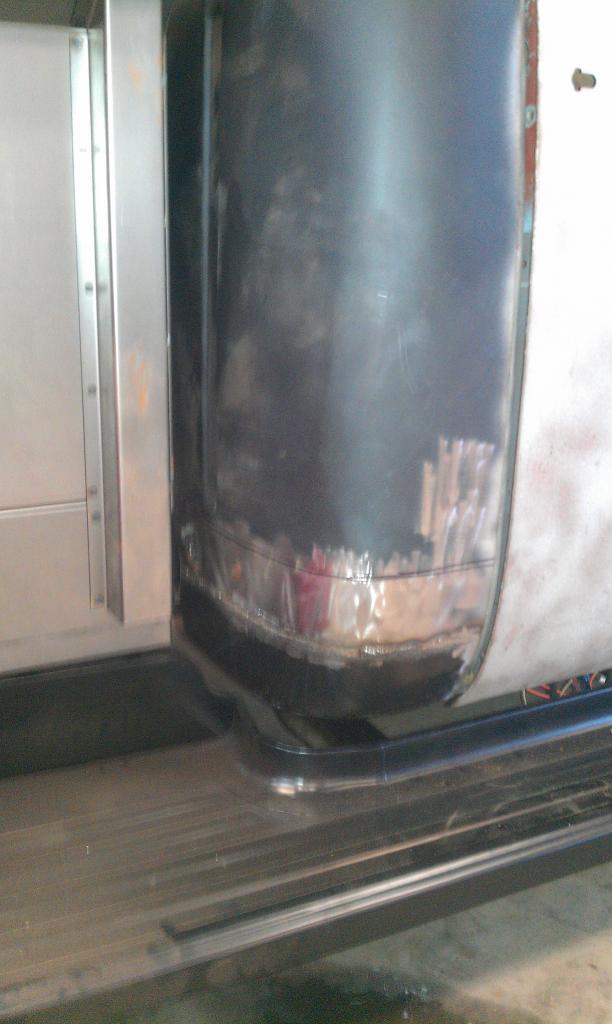
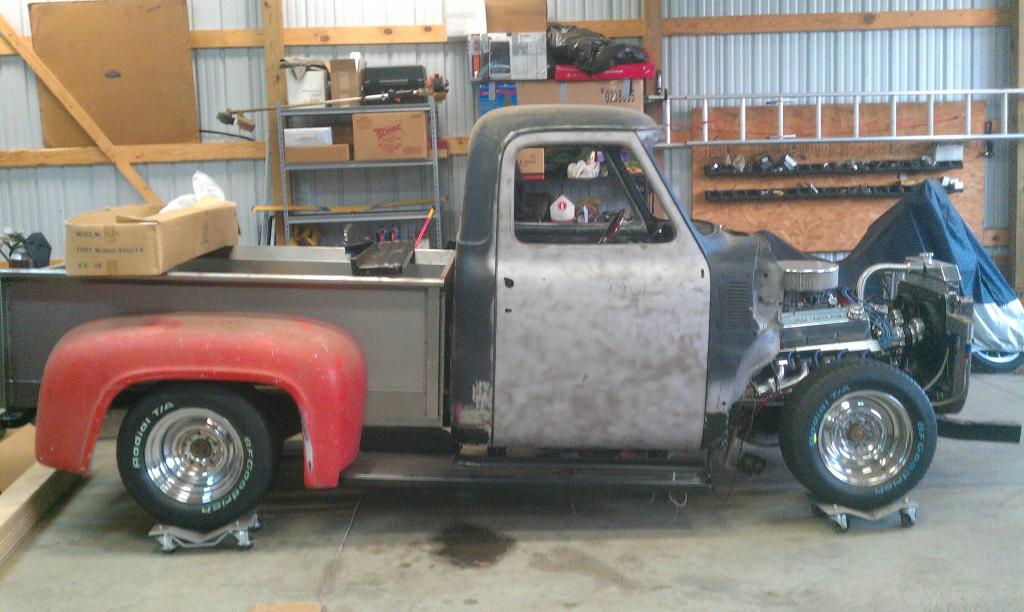
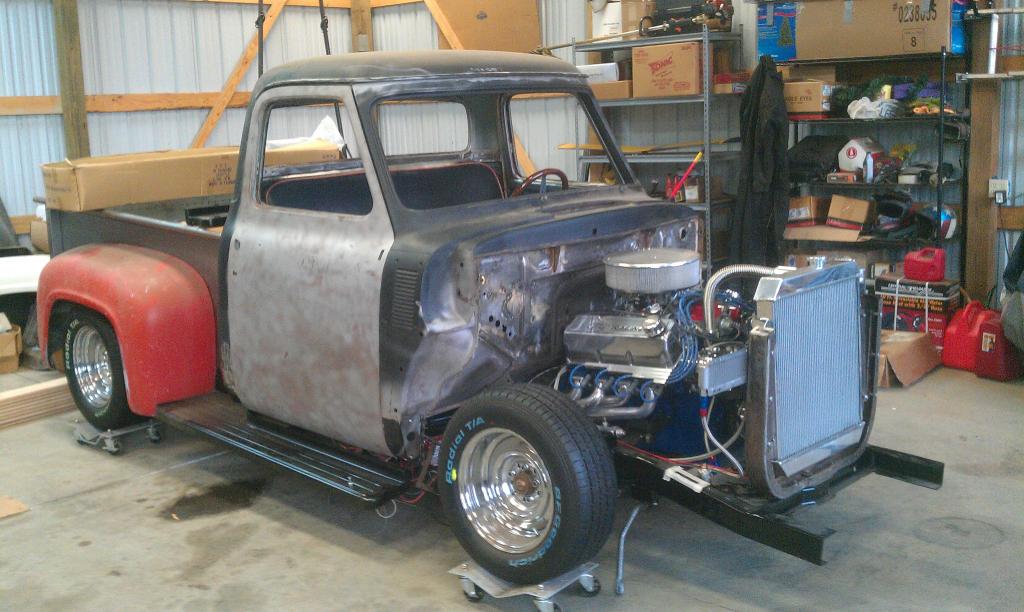
I'm still around. Getting close to doing body and paint as all the major body work on the cab is finished. Now I am putting the truck togethor with everything to test fit and look for any last adjustments before it is painted. I'm just going to post the pictures as an update of how things have been changing.


#253
08-10-2014, 11:29 PM
For those following along: When cutting out and replacing panels try to avoid sharp corners. Make 1/4 round corners with as large a radius as possible. A roll of masking tape or quart paint can is about the ideal size to trace around for the corner curve. There is two reasons to do this: 1. A circle the same size as a square has a much shorter perimeter. This means that the curved bead will be shorter than the sharp corner. (for example the perimeter of a 4" circle is 3.14 x 4 = 12.56" , the square is 4 x 4 = 16", a difference of almost 3 1/2". That's a lot of extra welding and extra heat !) . 2. There will be much less distortion and warping. There will always be some heat shrinkage along the weld seam even when doing proper skip tacking technique. By making a sharp corner you concentrate the heat shrinkage into a much smaller area almost guaranteeing more warping. It's much easier to hammer and dolly stretch along a curve rather than a tight corner.
This is a common mistake I see time and time again, even a lot of pros do it.
This is a common mistake I see time and time again, even a lot of pros do it.
#254
08-10-2014, 11:57 PM
Join Date: Mar 2012
Posts: 332
Likes: 0
Received 0 Likes
on
0 Posts
For those following along: When cutting out and replacing panels try to avoid sharp corners. Make 1/4 round corners with as large a radius as possible. A roll of masking tape or quart paint can is about the ideal size to trace around for the corner curve. There is two reasons to do this: 1. A circle the same size as a square has a much shorter perimeter. This means that the curved bead will be shorter than the sharp corner. (for example the perimeter of a 4" circle is 3.14 x 4 = 12.56" , the square is 4 x 4 = 16", a difference of almost 3 1/2". That's a lot of extra welding and extra heat !) . 2. There will be much less distortion and warping. There will always be some heat shrinkage along the weld seam even when doing proper skip tacking technique. By making a sharp corner you concentrate the heat shrinkage into a much smaller area almost guaranteeing more warping. It's much easier to hammer and dolly stretch along a curve rather than a tight corner.
This is a common mistake I see time and time again, even a lot of pros do it.
This is a common mistake I see time and time again, even a lot of pros do it.