
Front Sway Bar Bushing Replacement (with pics)
#61
 11-08-2012, 10:46 PM


Plus is only took 20 minutes to put them in.................it's a no brainer to me.

#63
11-09-2012, 09:03 AM
#65
11-09-2012, 03:24 PM
No, it's just a gimmick. Like I said, my stock ones lasted 160k miles and these Moogs are better. I saw those overpriced, not needed, zerk ones.
#66
11-11-2012, 08:02 PM
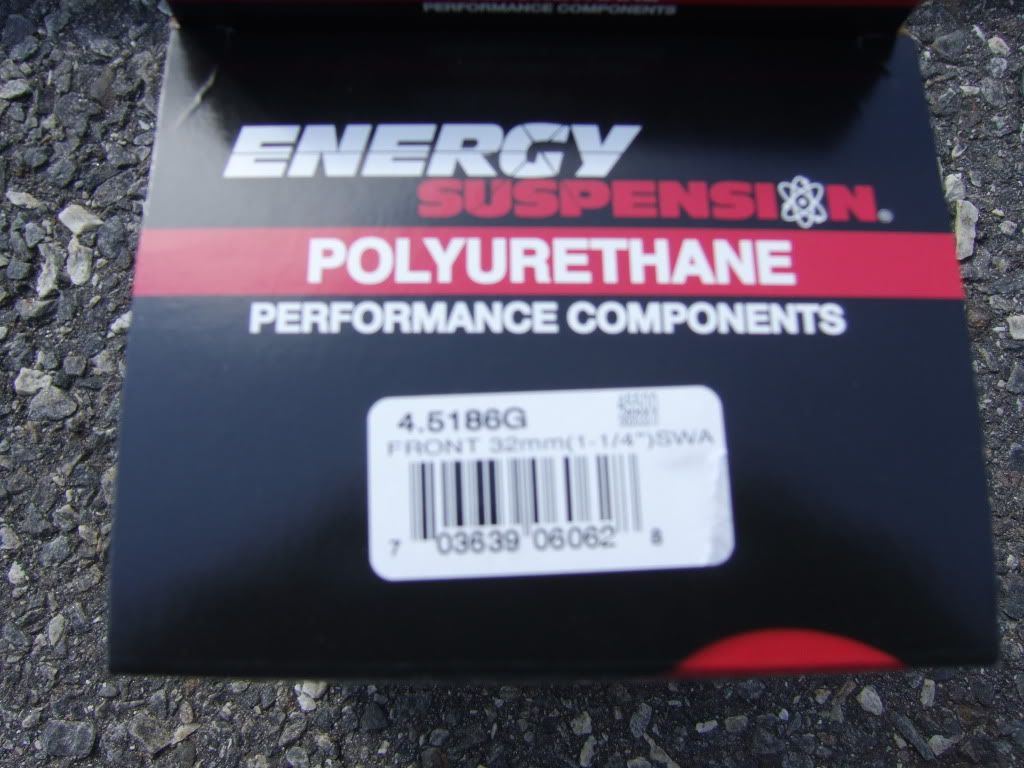
After tracking down some creaks and clunks that I swore were comming from the rear suspension I determined that they were actually comming from the worn front sway bar bushings. With both end links disconnected the noises disappeared, So an Energy Suspension poly kit #4.5185G ($40)was ordered from Amazon. The "G" in the kit # is supposed to denote that it is the greaseable model. Even though the box was labled with the "G" my kit wasn't the greaseable style, Oh well, I didn't want to put this job off any longer and we had some very nice weather so I installed it anyway. I was disappointed in the very basic and generic instructions included with the kit as well as the mislabeling. In the past I had put Energy poly bushings on a '79 El Camino for the entire front/rear suspensions and the literature included was better then. I am hopeful that I'll be as happy with the parts this time around as I was on the Chebby.
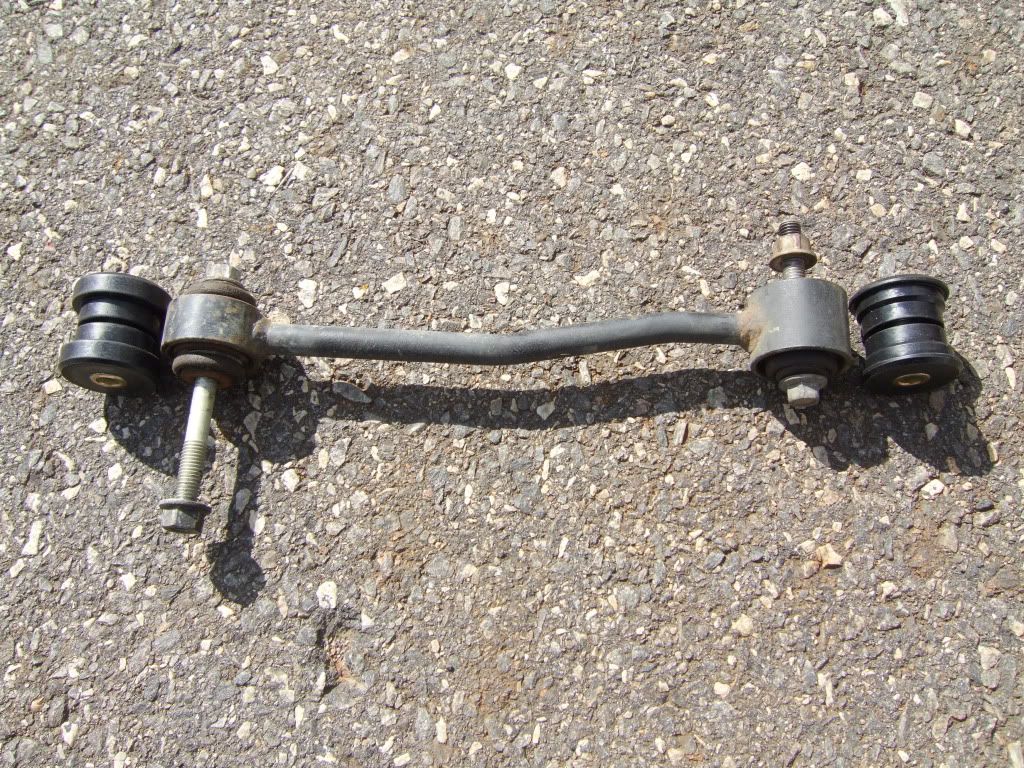
I don't have any before pics but it was obvious that the bar was moving side to side in very worn/loose bushings.
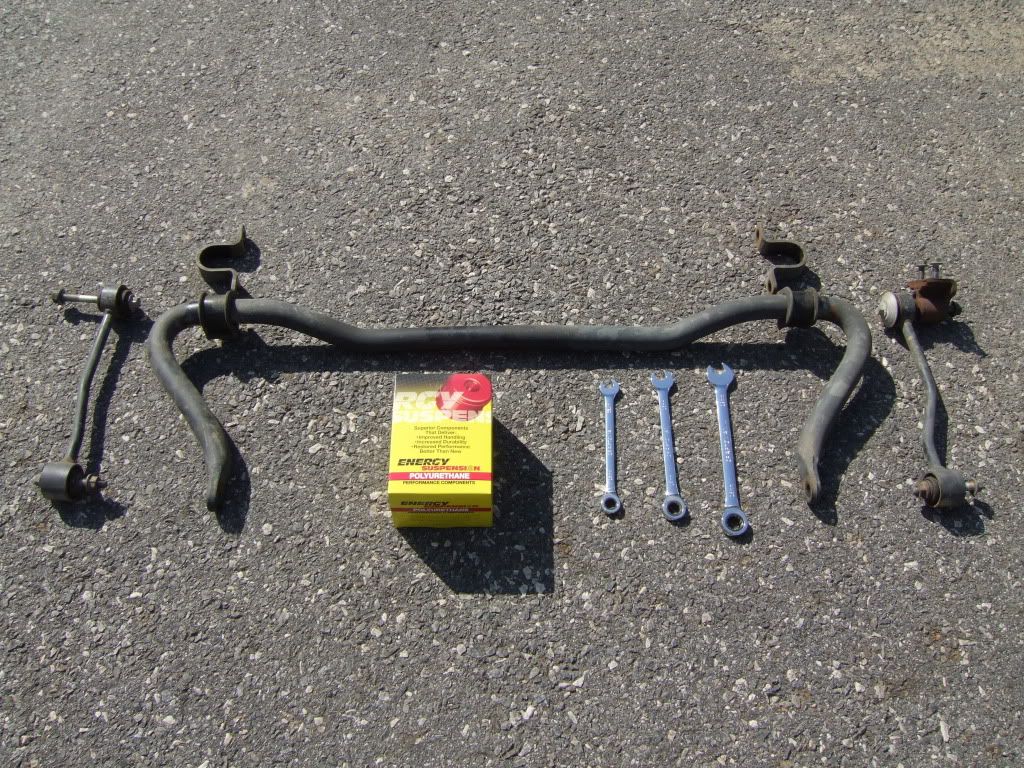
Everything comes off quickly and easy with minimal tools.
The kit I used, labeled as greaseable but not supplied as such.
Kit contents.
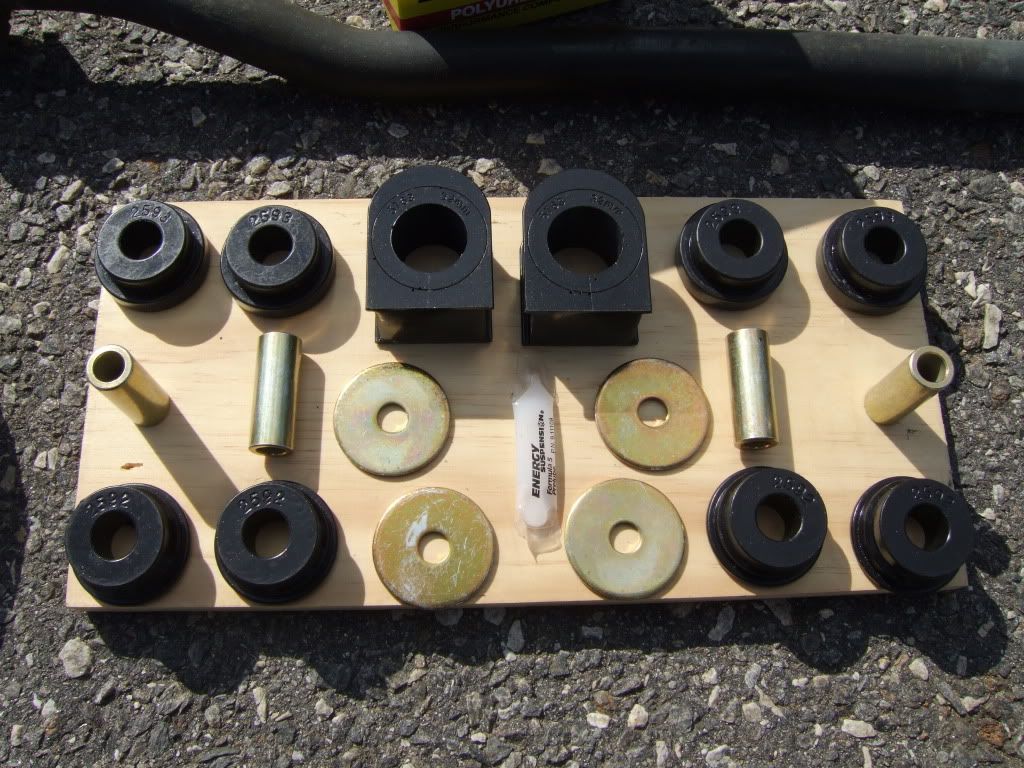
Old vs new type bushings.
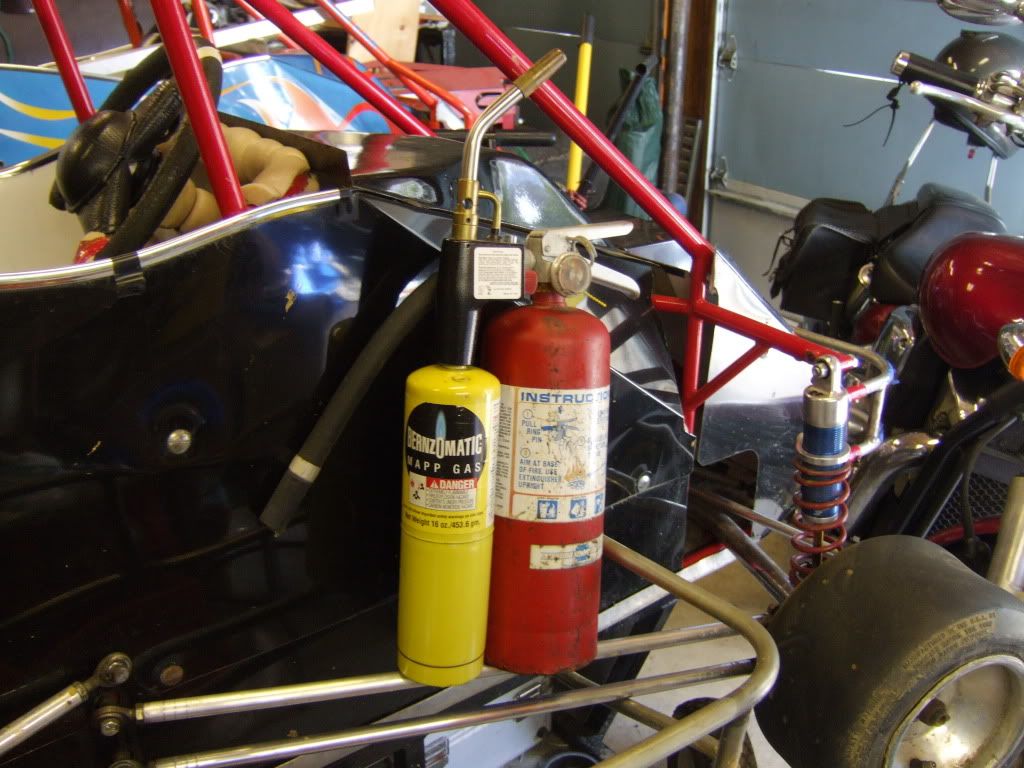
I don't have a shop press so my plan was to heat-n-beat the old bushings out. If you go this route just remember that these two tools should always travel together.
I don't have any before pics but it was obvious that the bar was moving side to side in very worn/loose bushings.
Everything comes off quickly and easy with minimal tools.
The kit I used, labeled as greaseable but not supplied as such.
Kit contents.
Old vs new type bushings.
I don't have a shop press so my plan was to heat-n-beat the old bushings out. If you go this route just remember that these two tools should always travel together.
#67
11-11-2012, 10:09 PM
My Dorman complete end links were $42.20 with free shipping and were top quality. My bar bushings were polyurethane Moog and were a total of $11.40. I see no reason to grease them and mine is very quiet now. Beware of the sloppy fit in the frame mount and the bar end mounting. I'm wondering why you took the bar out. The whole job took about 45 minutes max.
#68
11-11-2012, 11:34 PM
Elder User
Join Date: Mar 2009
Location: Oregon
Posts: 534
Likes: 0
Received 0 Likes
on
0 Posts
Suspension Restoration Parts Co.
4.5180, 36mm
Sway bar frame bushing set only.
$17.00
The Ford endlink has a metal bearings in each end,
instead of rubber bushings.
You will have to have a machine shop
PRESS out the metal bearings
to install the new polyurethane bushings.<SMALL><BIG>If you want to order just the</BIG></SMALL><SMALL>Endlink grommets & inner sleeves only
from the 4.5186,
request these part numbers:
4) 2592
4) 2593
4) 15.10.245.39
$28.00
</SMALL>
#69
11-12-2012, 12:27 AM
But you would have to hassle with the bushings and pay for the pressing. Mine all came to my door for a grand total of $54 and took about a half hour to put everything in. Plus my old style OEM bushings were still pretty good after 160K miles and didn't squeak. It was mainly one of the main bar bushings that was a little worn which took just minutes to replace. I doubt if grease would help anything. Actually I did drop by the auto store for the main bar bushings.
#70
11-12-2012, 08:16 AM

Senior User
I would do the main bar bushing because were only talking about another $20 bucks (tops) and 20 minutes. My stock bushing were worn after ~147K. Yours may not be, but it's only another 4 bolts to remove. At least for me those were the easiest bolts to R&R, YMMV. Ultimately everybody is going to do their own thing. As long as you're happy with your results then you did it right! 
#71
11-12-2012, 09:58 AM
I would do the main bar bushing because were only talking about another $20 bucks (tops) and 20 minutes. My stock bushing were worn after ~147K. Yours may not be, but it's only another 4 bolts to remove. At least for me those were the easiest bolts to R&R, YMMV. Ultimately everybody is going to do their own thing. As long as you're happy with your results then you did it right!
#73
11-12-2012, 10:27 AM
No need to take it off, just pull the U caps, pull the old ones out, and the new ones in. With an impact wrench this job can be done in 10 minutes. (Stealership probably charges an hour).
#74
11-12-2012, 07:41 PM
#75
11-12-2012, 07:56 PM
After tracking down some creaks and clunks that I swore were comming from the rear suspension I determined that they were actually comming from the worn front sway bar bushings. With both end links disconnected the noises disappeared, So an Energy Suspension poly kit #4.5185G ($40)was ordered from Amazon. The "G" in the kit # is supposed to denote that it is the greaseable model. Even though the box was labled with the "G" my kit wasn't the greaseable style, Oh well, I didn't want to put this job off any longer and we had some very nice weather so I installed it anyway. I was disappointed in the very basic and generic instructions included with the kit as well as the mislabeling. In the past I had put Energy poly bushings on a '79 El Camino for the entire front/rear suspensions and the literature included was better then. I am hopeful that I'll be as happy with the parts this time around as I was on the Chebby.
I don't have any before pics but it was obvious that the bar was moving side to side in very worn/loose bushings.
Everything comes off quickly and easy with minimal tools.
The kit I used, labeled as greaseable but not supplied as such.
Kit contents.
Old vs new type bushings.
I don't have a shop press so my plan was to heat-n-beat the old bushings out. If you go this route just remember that these two tools should always travel together.
Sorry to get off topic but how big is the lift on your signature pictured X?

