55 239 Y-Block Restoration Thread
#1
 02-13-2012, 02:27 PM

55 239 Y-Block Restoration Thread
Well, I decided to try a restoration thread for my engine. I won't call it a rebuild thread because that indicates some type of skill in working on engines.
Hopefully this will help me learn more about what I'm doing as well as help someone else that might be doing this work as well.
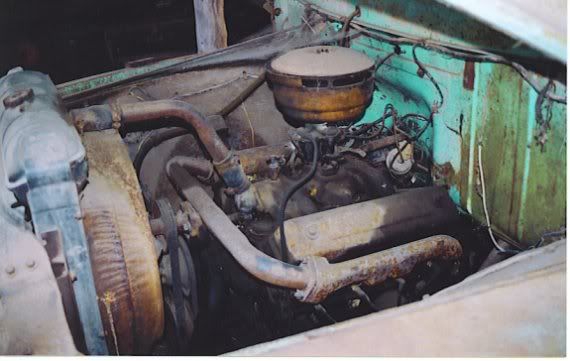
I bought my truck from my wife's grandpa back in 2002. I started to work on getting the engine running, but our third child came along and the city decided they didn't like my truck parked in my driveway since it didn't run. So it sat at my in-laws until we moved into our current house with a garage. At that time, I decided to tear everything down to the frame....boy lots of learning to do.
This motor ran when parked (in about 1972) I was told it had about 30,000 miles on the rebuild from Consolidated Rebuilders out of Hutchinson Kansas.
Here are some specs on the motor:
Motor #: EBV94250
Cylinder Heads:
Driver side: EBV-B
Passenger side: ECG-C (Note this is a head for 272 so they do interchange)
Exhaust Manifold:
Drivers: ECE-9431
Passenger: ECE-9430-B
Intake Manifold: EBV94250
I have a bunch of photos out on photobucket:
Engine pictures by harrier1351 - Photobucket
Here is the rebuild tag:

Here is my thread on the oil pump:
https://www.ford-trucks.com/forums/1...-cleaning.html
Here is the thread on removing the lower pulley:
https://www.ford-trucks.com/forums/1...y-removal.html
Hopefully this will help me learn more about what I'm doing as well as help someone else that might be doing this work as well.
I bought my truck from my wife's grandpa back in 2002. I started to work on getting the engine running, but our third child came along and the city decided they didn't like my truck parked in my driveway since it didn't run. So it sat at my in-laws until we moved into our current house with a garage. At that time, I decided to tear everything down to the frame....boy lots of learning to do.
This motor ran when parked (in about 1972) I was told it had about 30,000 miles on the rebuild from Consolidated Rebuilders out of Hutchinson Kansas.
Here are some specs on the motor:
Motor #: EBV94250
Cylinder Heads:
Driver side: EBV-B
Passenger side: ECG-C (Note this is a head for 272 so they do interchange)
Exhaust Manifold:
Drivers: ECE-9431
Passenger: ECE-9430-B
Intake Manifold: EBV94250
I have a bunch of photos out on photobucket:
Engine pictures by harrier1351 - Photobucket
Here is the rebuild tag:
Here is my thread on the oil pump:
https://www.ford-trucks.com/forums/1...-cleaning.html
Here is the thread on removing the lower pulley:
https://www.ford-trucks.com/forums/1...y-removal.html


#4
02-13-2012, 02:55 PM
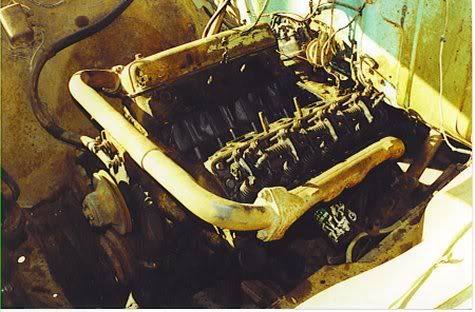
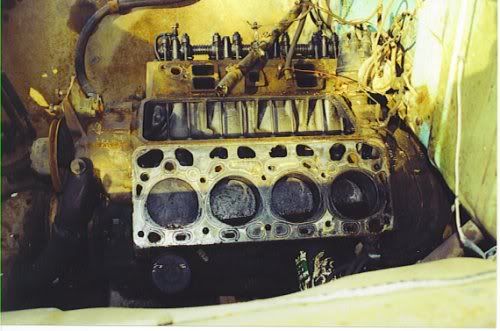
Here is the engine coming out:
And on the Stand;

It sat on the stand for a long time while I was cleaning up the frame.
I cleaned up the oil pan and was trying to put it back on and was having a dickens of a time. It then hit me. It's on an engine stand. So I flipped it and then it went on easy.


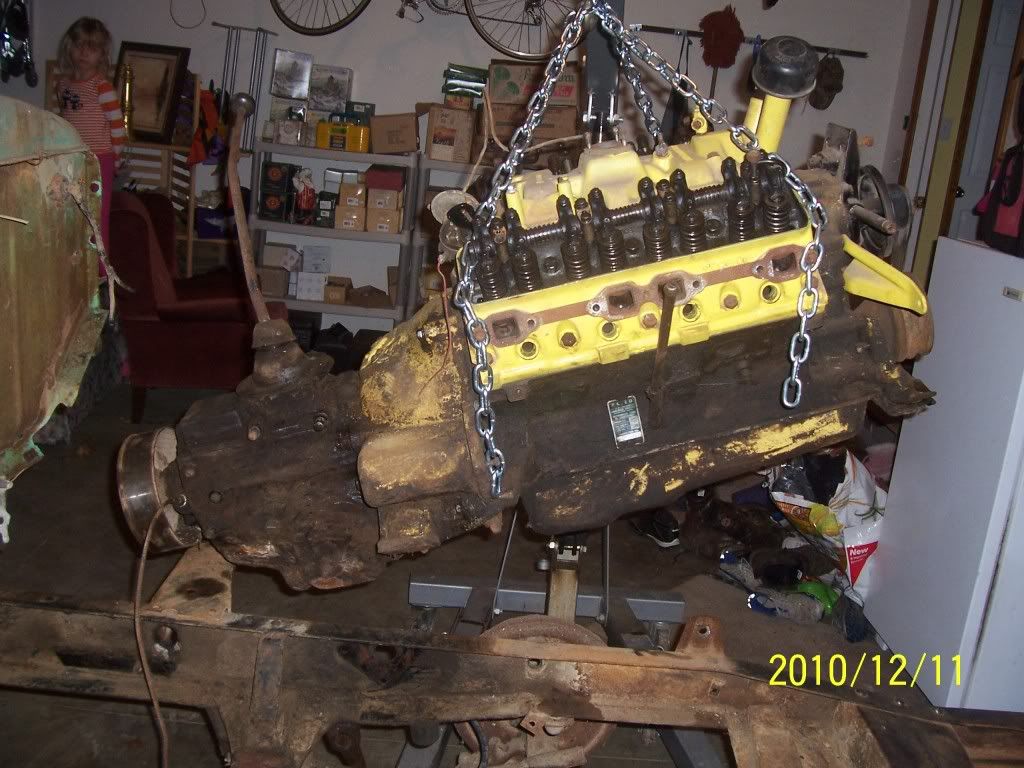
I then painted it while it was upside down:
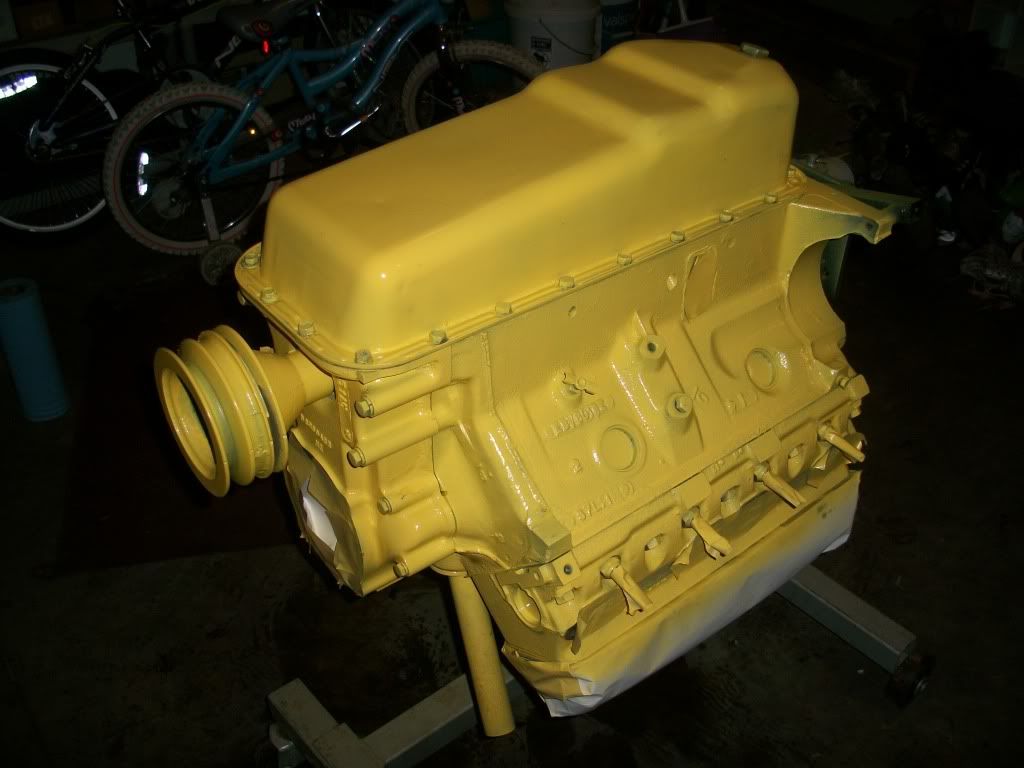
Flipped it back over and painted the rest:
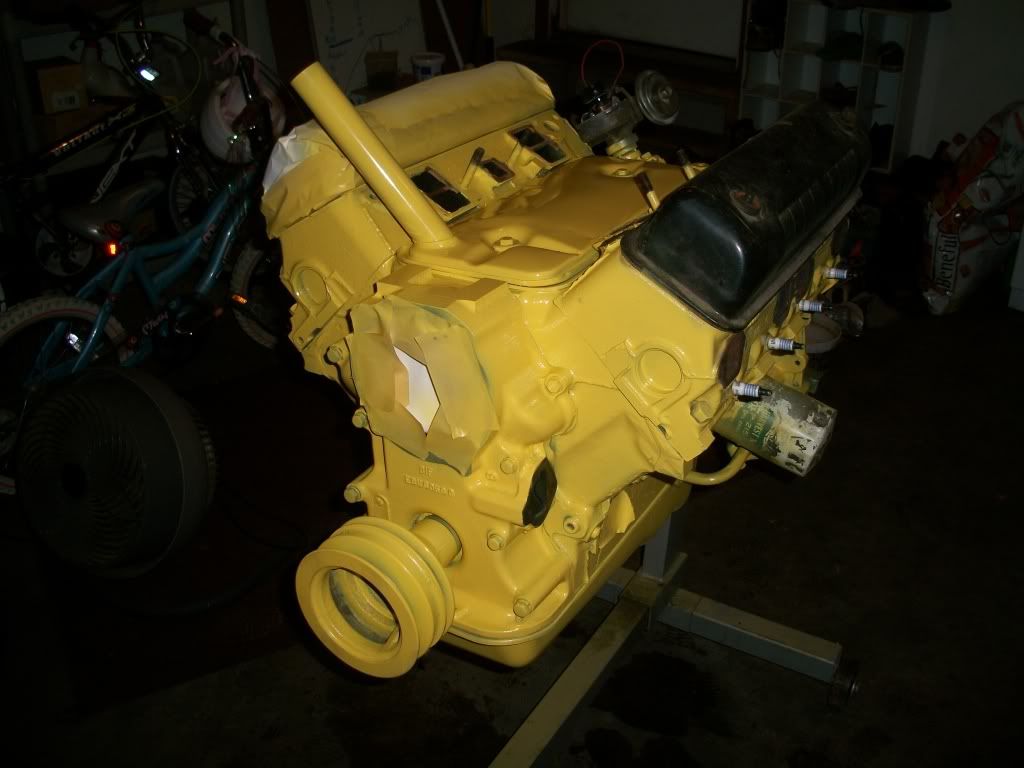
I used Dupli-Color Daytona Yellow, that is very close to original color.
I hope to put it back on the frame next weekend and then start working to see if I can get it to run. No telling how long that will take me.
And on the Stand;
It sat on the stand for a long time while I was cleaning up the frame.
I cleaned up the oil pan and was trying to put it back on and was having a dickens of a time. It then hit me. It's on an engine stand. So I flipped it and then it went on easy.
I then painted it while it was upside down:
Flipped it back over and painted the rest:
I used Dupli-Color Daytona Yellow, that is very close to original color.
I hope to put it back on the frame next weekend and then start working to see if I can get it to run. No telling how long that will take me.
#6
02-13-2012, 04:21 PM
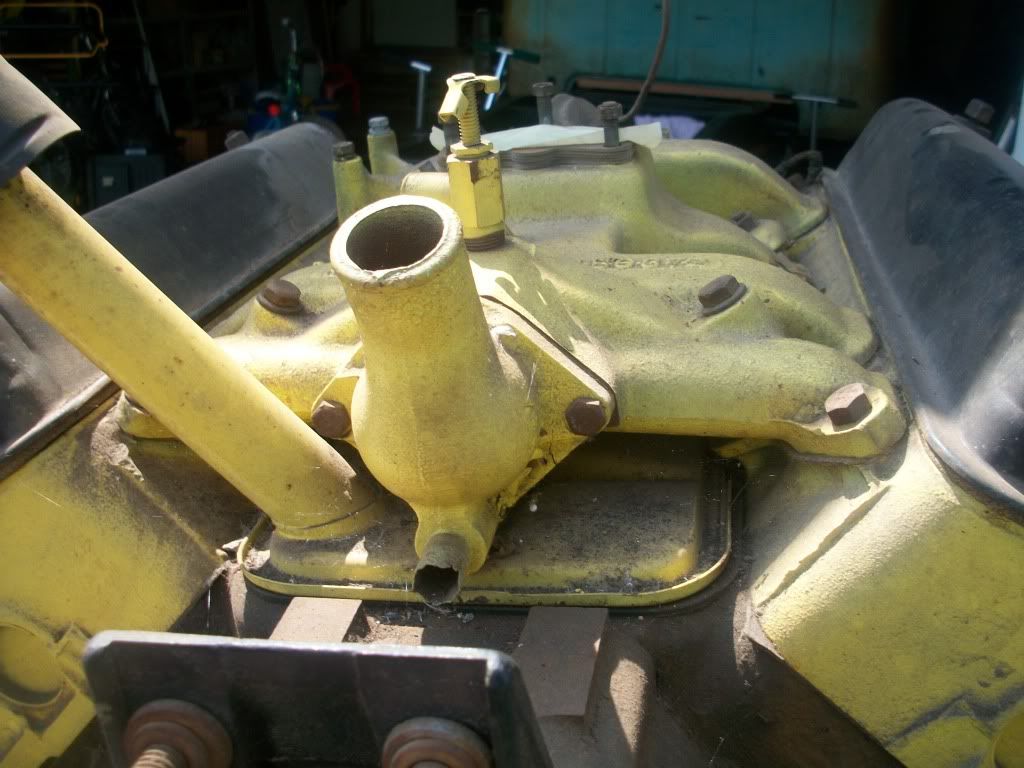
Well, I painted the valve covers black before I got into what the original colors actually were. I also painted my water pump black....
Now the oil pan was yellow, notice the color of it as I was pulling it off the frame.
Of course there is the 195 post "How to properly color a Y-Block?" thread
https://www.ford-trucks.com/forums/2...a-y-block.html
Interesting read with no real consensus. But pictures do show the oil pan yellow. Post #55 has a good factory picture.
My main goal is to just get it working without breaking the bank...If I can keep it close to stock that's great too.
Edit: Just checked out your truck and engine, very nice!! My truck was originally sea sprite green as well, at this point that's what I'm going with. Mine had a aftermarket flatbed on it, so I'm going to keep some sort of flatbed, maybe all wood.....that doesn't make me a darksider does it?
#7
02-13-2012, 04:37 PM
Elder User
Join Date: Jul 2004
Location: Michigan
Posts: 825
Likes: 0
Received 0 Likes
on
0 Posts
Trending Topics
#9
02-13-2012, 08:11 PM

Looking good there, Harrier. I believe I would leave the oil pan as you have it painted. I would think these engines were assembled, then fully painted and installed. I paid particular close attention when I pulled the virgin engine from my '56 F350. I am convinced the engine was painted yellow, water pump to bell housing and intake manifold to clutch cover. Even the original pressure plate had over spray of yellow paint thereon which tells me something. Accessories were probably added just prior to or during engine installation. Makes no sense to me why an oil pan would be different color unless it was some special rust preventive coating or paint. Knowing Ford did not care about rust at this time frame, I doubt if that was the case. I have a complete engine from a '56 F-100 and the intake, bell housing was originally yellow but the block and heads had been painted at sometime when the engine was overhauled.
Valve covers on both engines appear to have been a silver / gold, probably metallic . Years of heat cool cycles have made a color id impossible. i went back argent on mine. If not original, very close. Mine looks like those engines in the thread you mention. Hope I did not .
.
Again, looks good.
Valve covers on both engines appear to have been a silver / gold, probably metallic . Years of heat cool cycles have made a color id impossible. i went back argent on mine. If not original, very close. Mine looks like those engines in the thread you mention. Hope I did not
.Again, looks good.
The following users liked this post:
#10
02-13-2012, 10:15 PM
Thanks raytasch, no hijack there.
I have two main reasons for doing this thread
1. So you guys can catch anything I'm doing stupid before I hurt myself or cost myself tons of money.
2. I'm hoping my pictures and documentation might help someone in the future.
I'm always open to comments/suggestions/history lessons.
The more I read the more I think that there were no 100% standards. Having a different color oil pan sounds odd since it would be easier to paint it all at once, but I wouldn't be the least bit surprised to see some different colors from the factory.
The following users liked this post:
#12
02-17-2012, 07:39 AM

Senior User

#15
02-17-2012, 04:11 PM
I would really appreciate it if you could look for me.