Mockup Engine for Mounts (pics)
#1
 12-23-2011, 05:30 PM


#2
12-23-2011, 06:57 PM

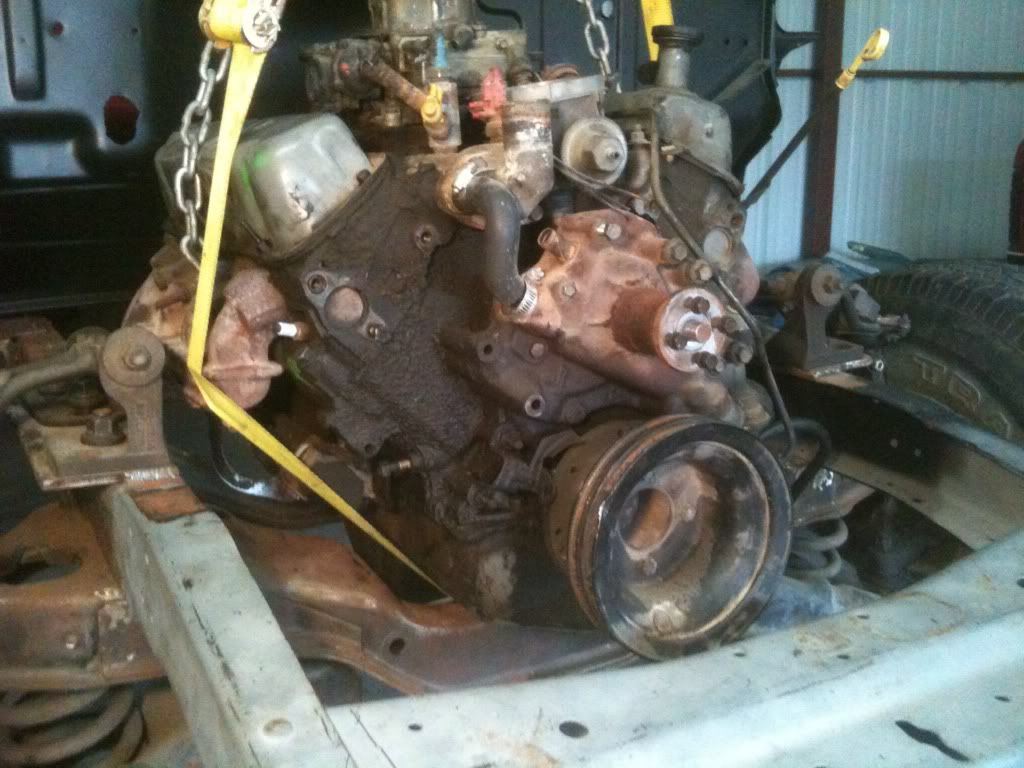
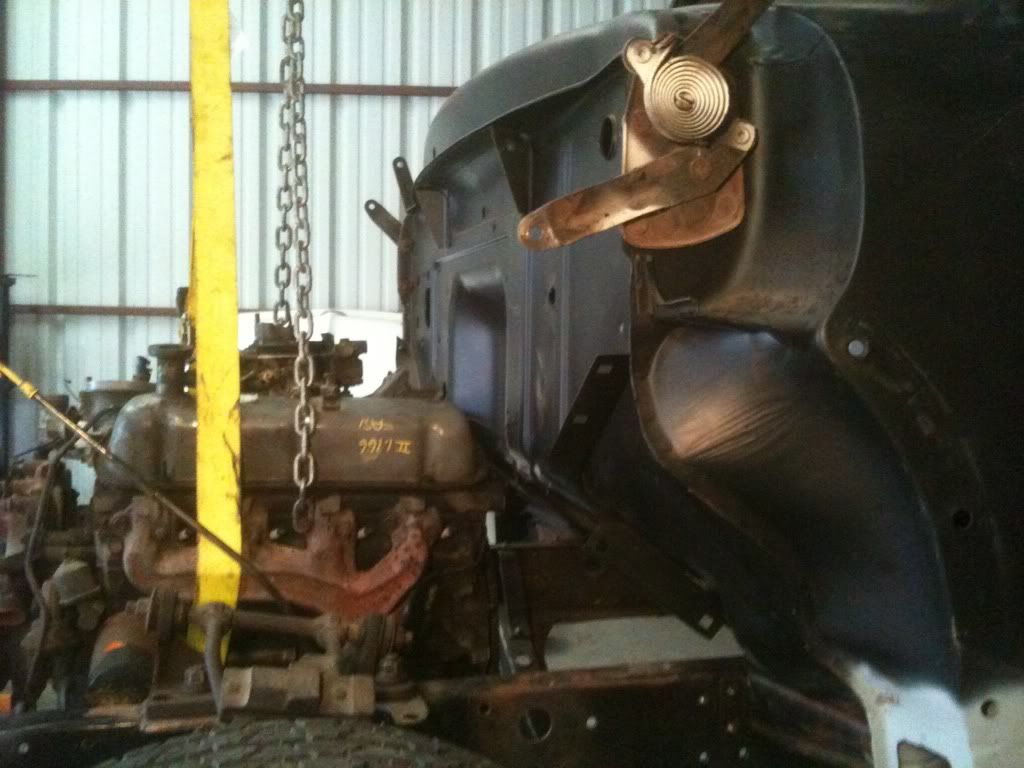
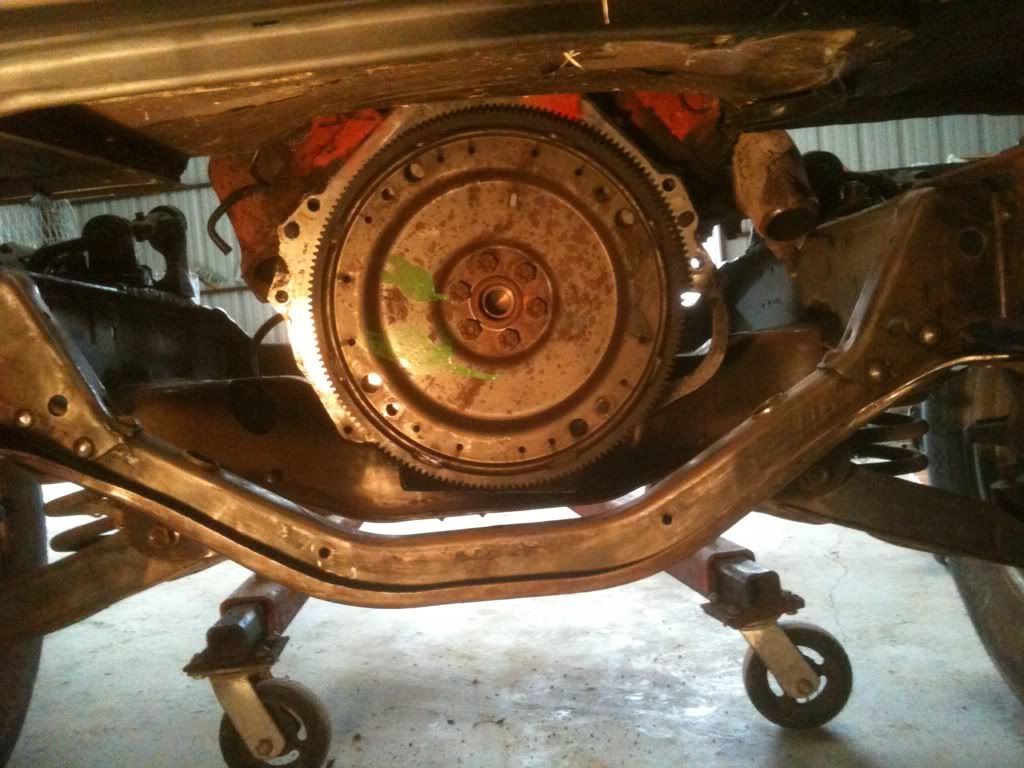
I went with the original style radiator and shroud. When I set the motor in place to decide the motor mount locations I centered the motor with the fan blade on to the radiator shroud. This decided three three things for me the height of the motor, the position of the motor from side to side and the position of the motor front to back. Then I used a level on top of the carburetor. By leveling the carburetor this gave me 3 degrees at the rear of the transmission.

#3
12-23-2011, 07:23 PM
For the original motor with fan and shroud that is a perfect way of aligning. I do not have the shroud and radiator but have everything else. I also have a 9 in and since it is off centered I think the engine needs to sit a bit more on the passenger side. I will get the transmission in there tomorrow and see how that looks.
#4
12-23-2011, 07:28 PM
#5
12-23-2011, 08:08 PM

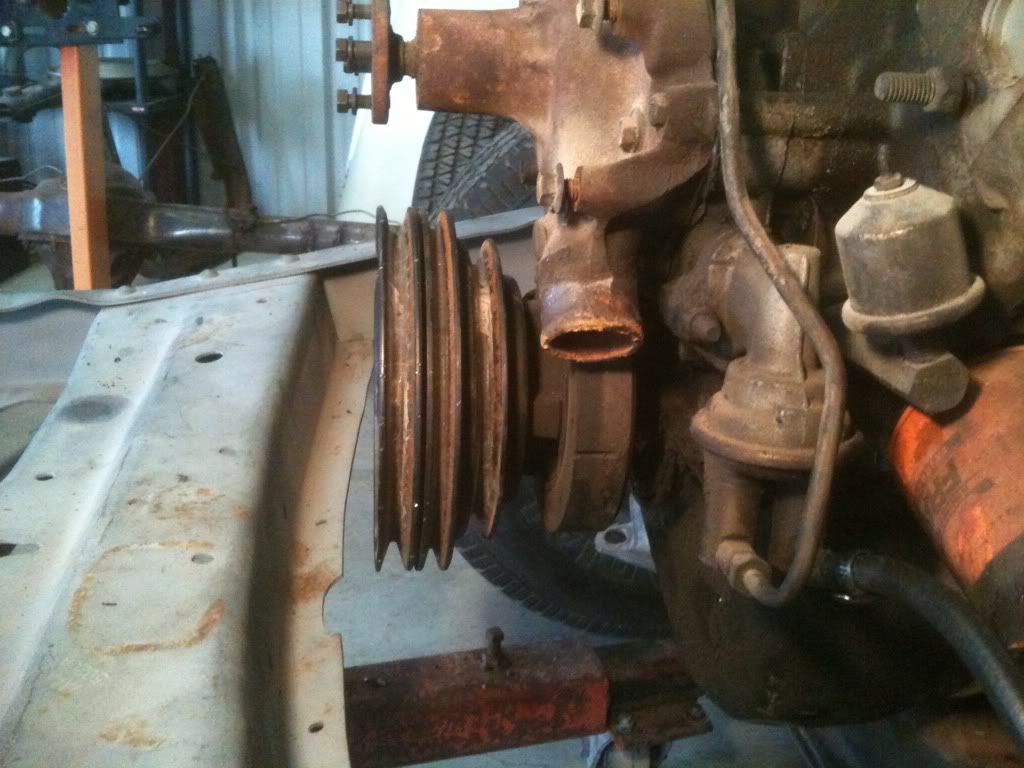
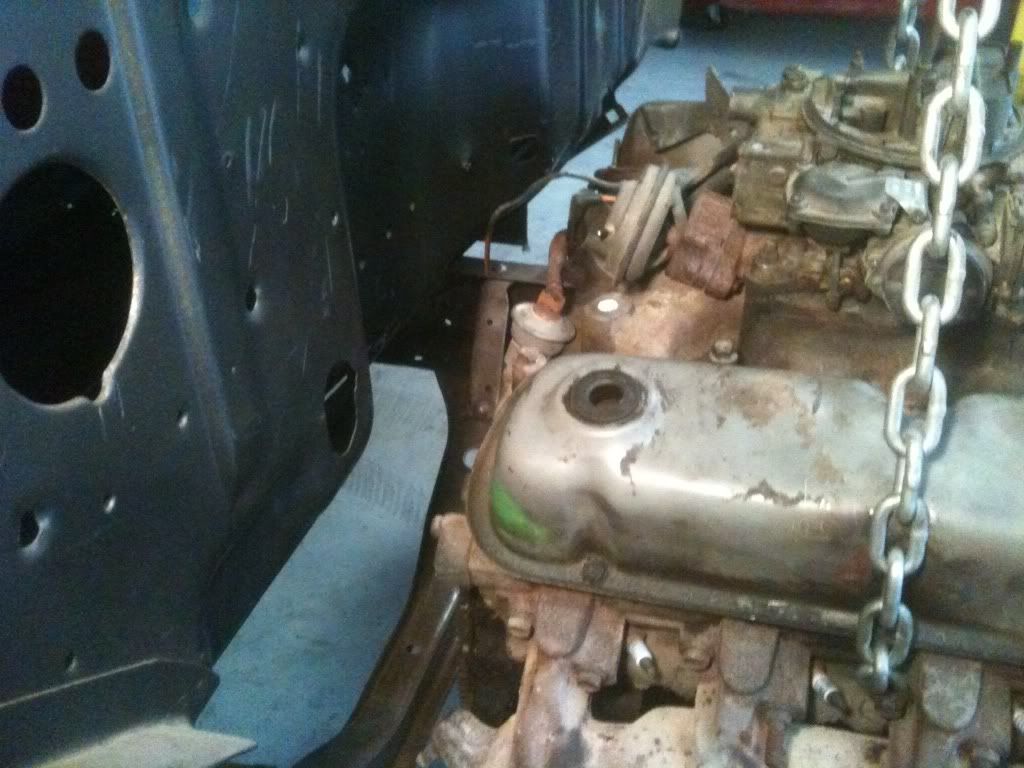
Jack, in your picture it appears the fan is inset totally inside the shroud. When using a shroud, the fan should sit half in/half out the shroud opening so it draws the air out of the cavity. With the fan totally enclosed, the air will cavitate inside the shroud and you'll lose efficiency, and possibly have cooling issues. It appears you could simply use a shorter fan spacer. Just a little fyi in case you weren't aware.
#6
12-23-2011, 08:26 PM

With the radiator saddle bolted in place, just cut a piece of cardboard to fit on the inside of it, to be your model of a radiator, then you can position the fore/aft of the engine. the passenger side offset will be decided via the header clearance from the steering box. As long as the rear end is in place, you can measure the offset of the pinion and compare it to the engine/trans and see if it'll still clear the steering box or not. Feasibly it should.
#7
12-23-2011, 08:56 PM
Trending Topics
#8
12-24-2011, 07:36 AM
I just had thoughts of using cardboard to make motor mount templates. Read that in tip/tricks. What a good resource. I think using cardboard to mock up a radiator if perfect. Great idea. I am not using a steering box but rather a rack and pinion. I'm sure it will still be tricky with the shaft, headers and inner fenders. I do have the rearend temp installed for mock up purposes. I am going to jack up the trans in place and take a measurement for drive shaft length then hit the JY. I have not made a decision on electric fan for engine fan. ------thanks
#9
12-28-2011, 07:13 PM
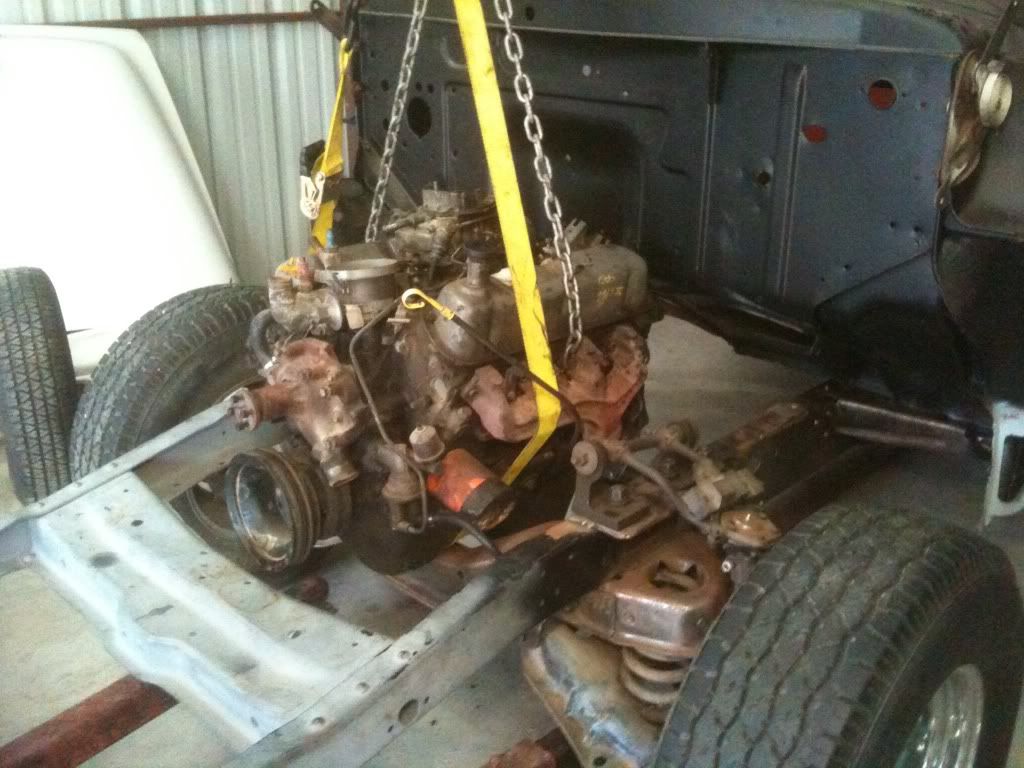
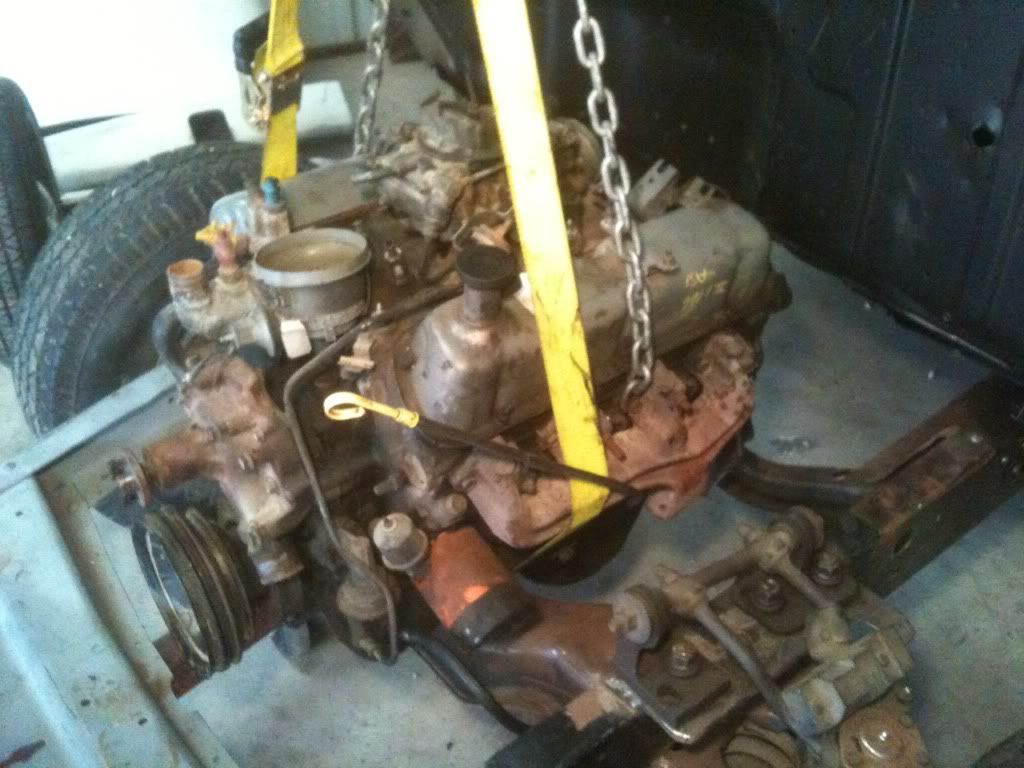
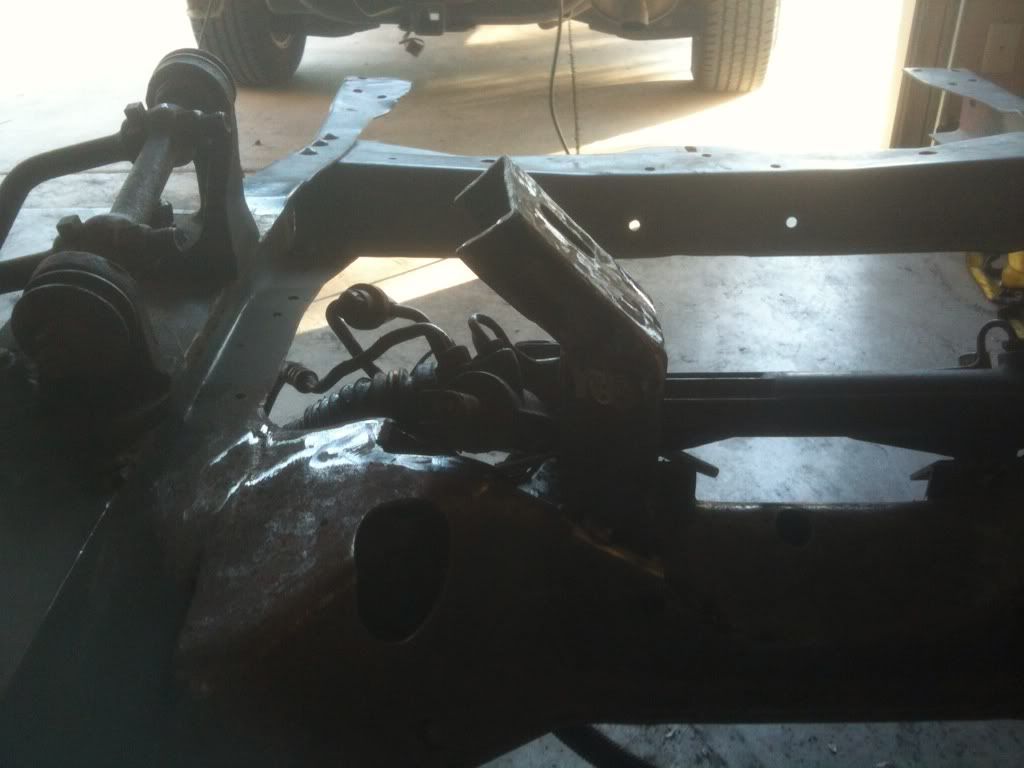
I had to move back to the house garage because I do not have electric in the shop and its time do some welding.
I removed the cab, bed, engine and trans (not in above picture but temp installed for measurements) yesterday.
9 hours in the garage today: 0730-1630
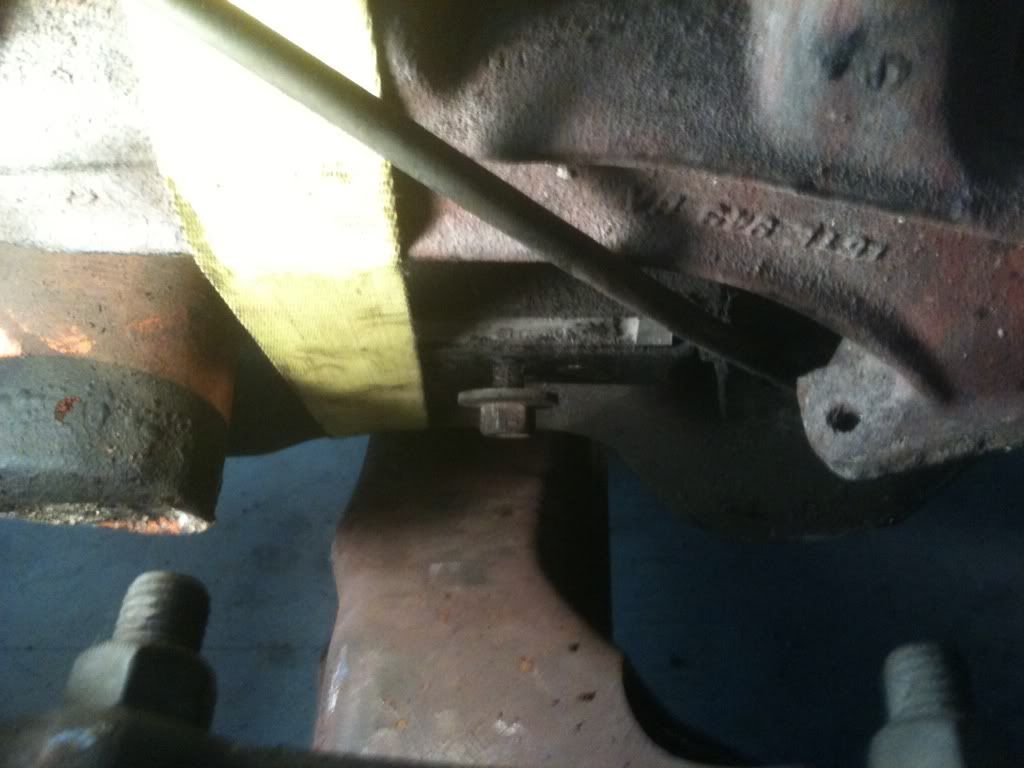
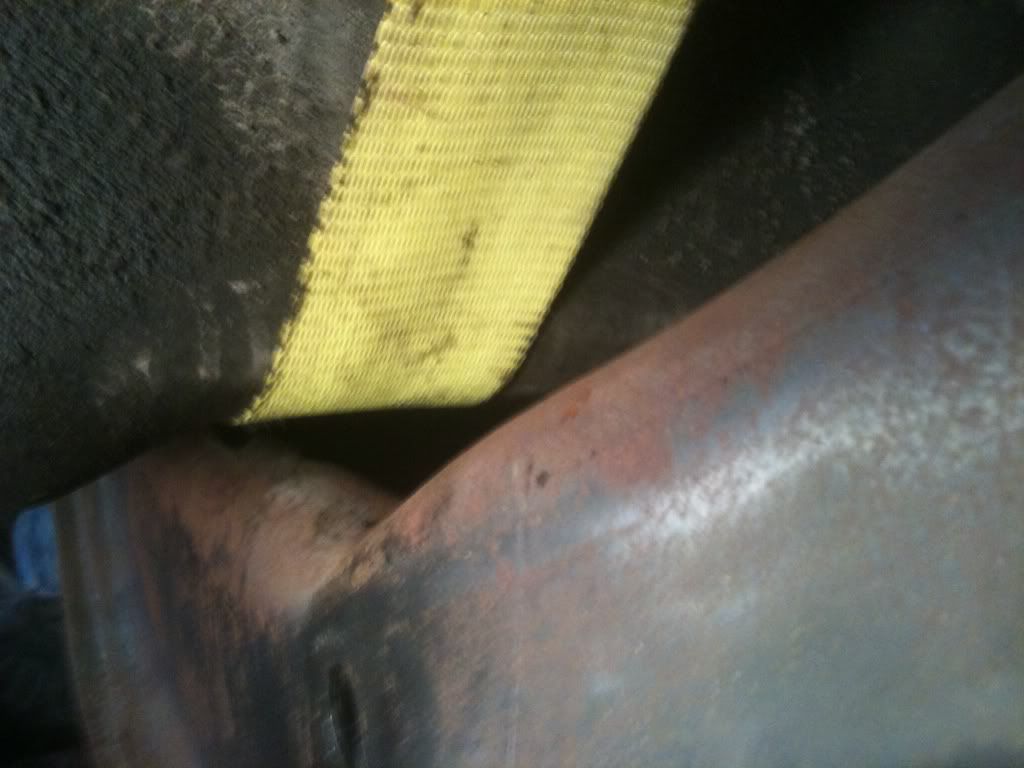
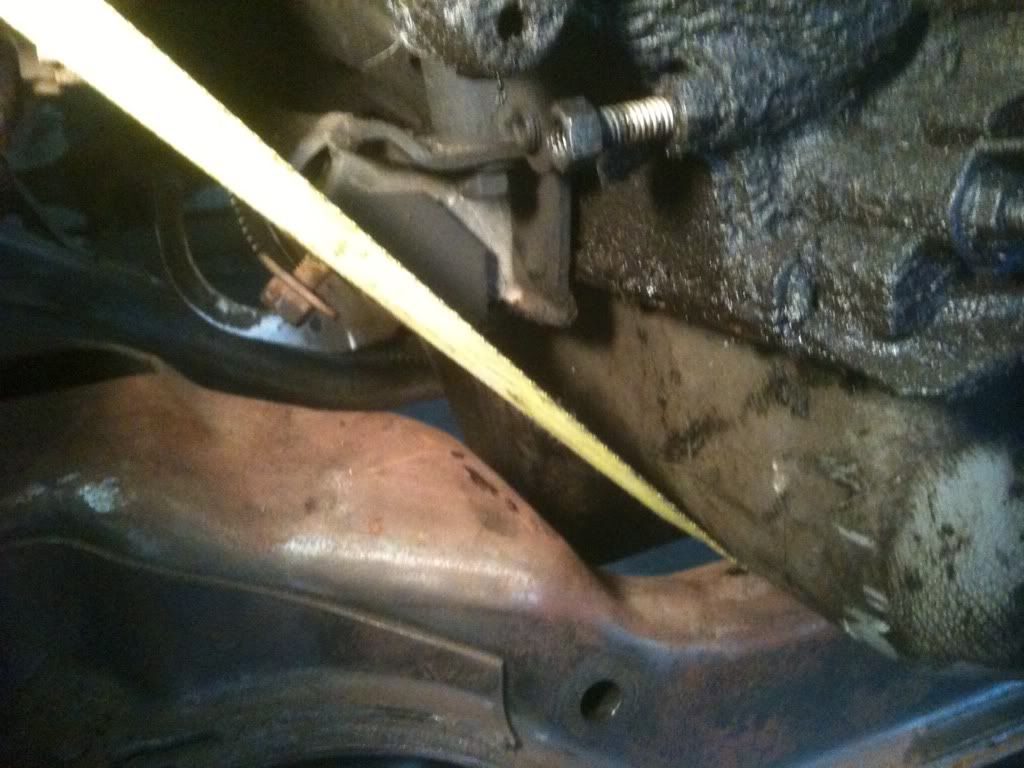
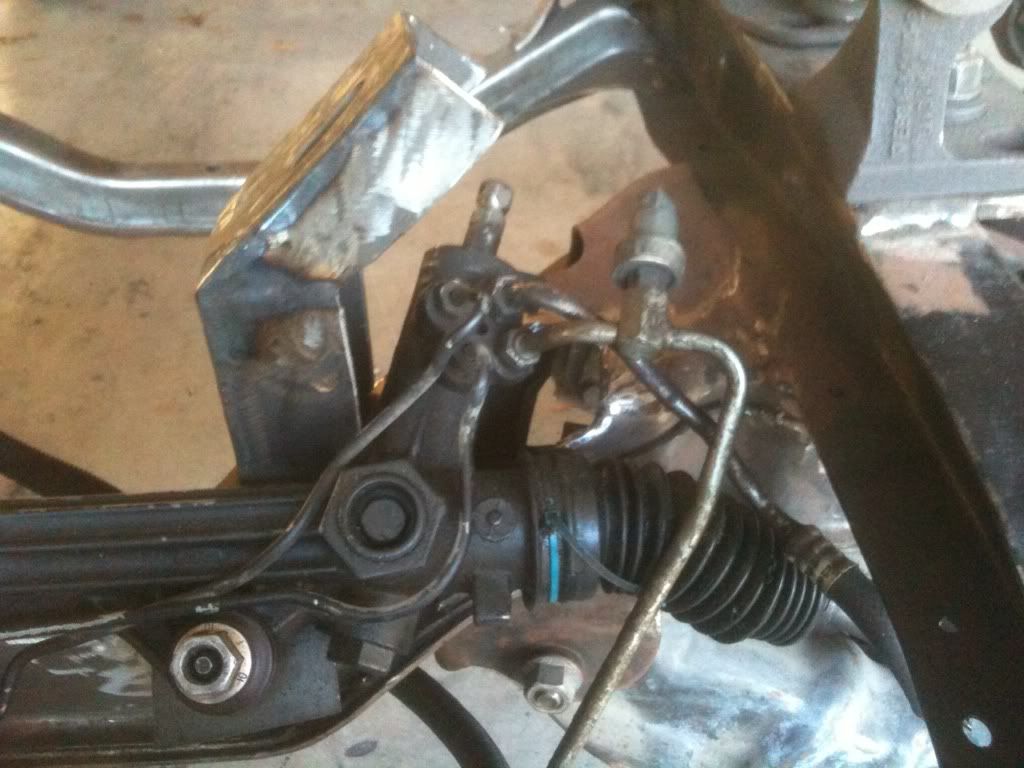
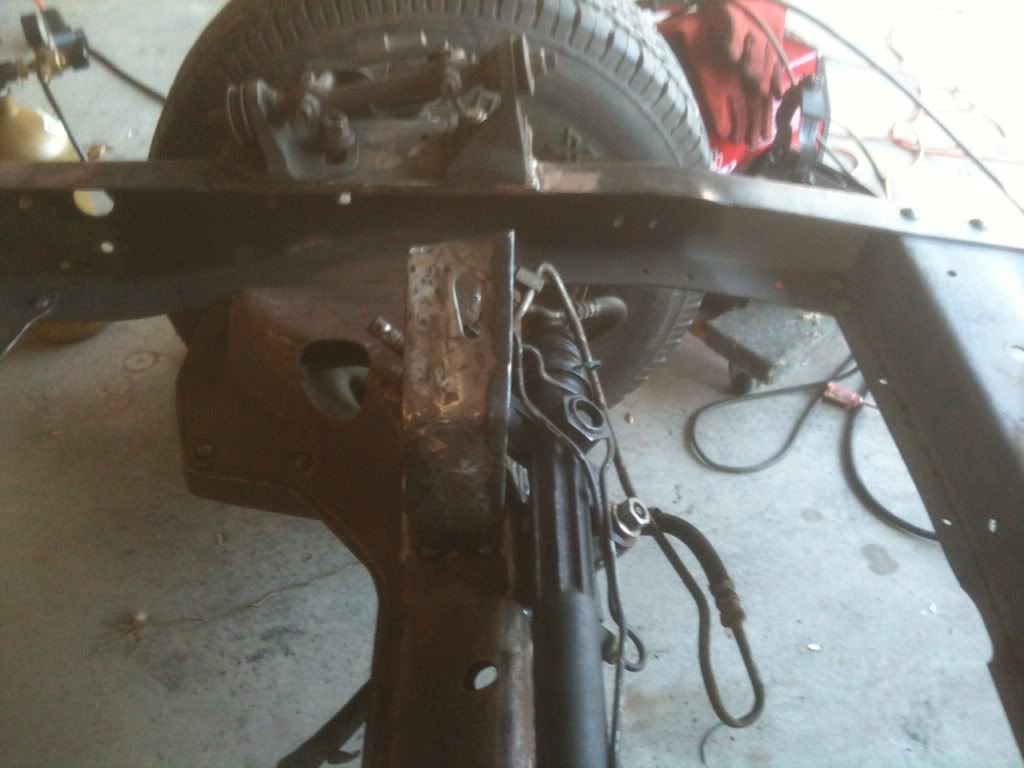
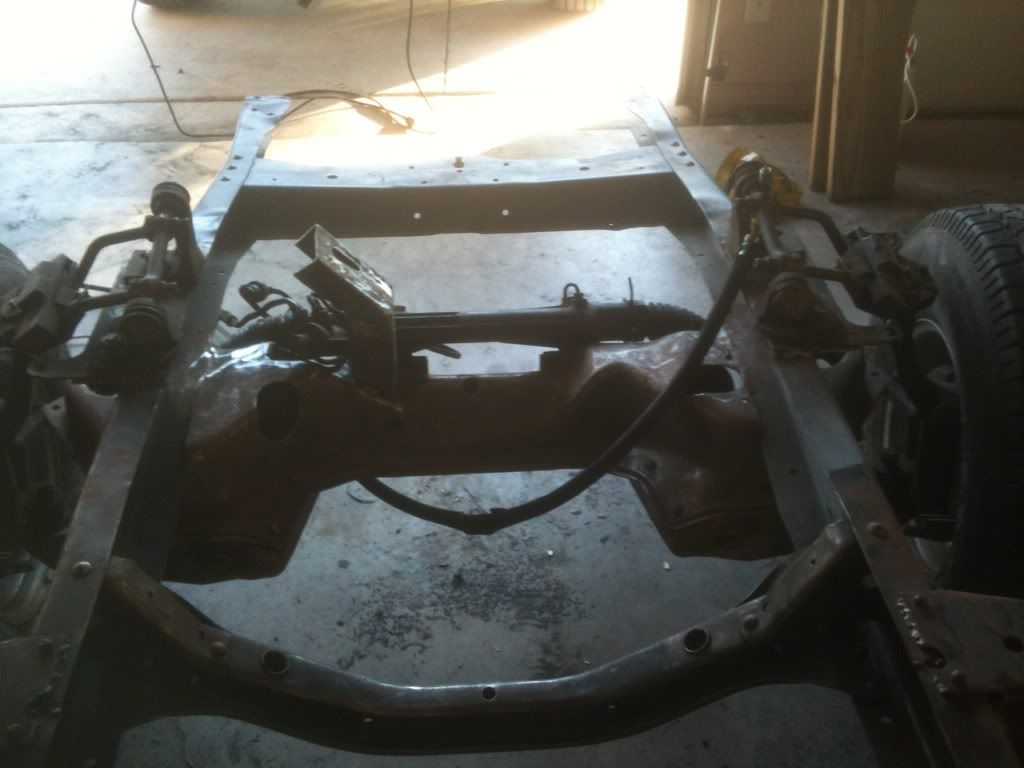
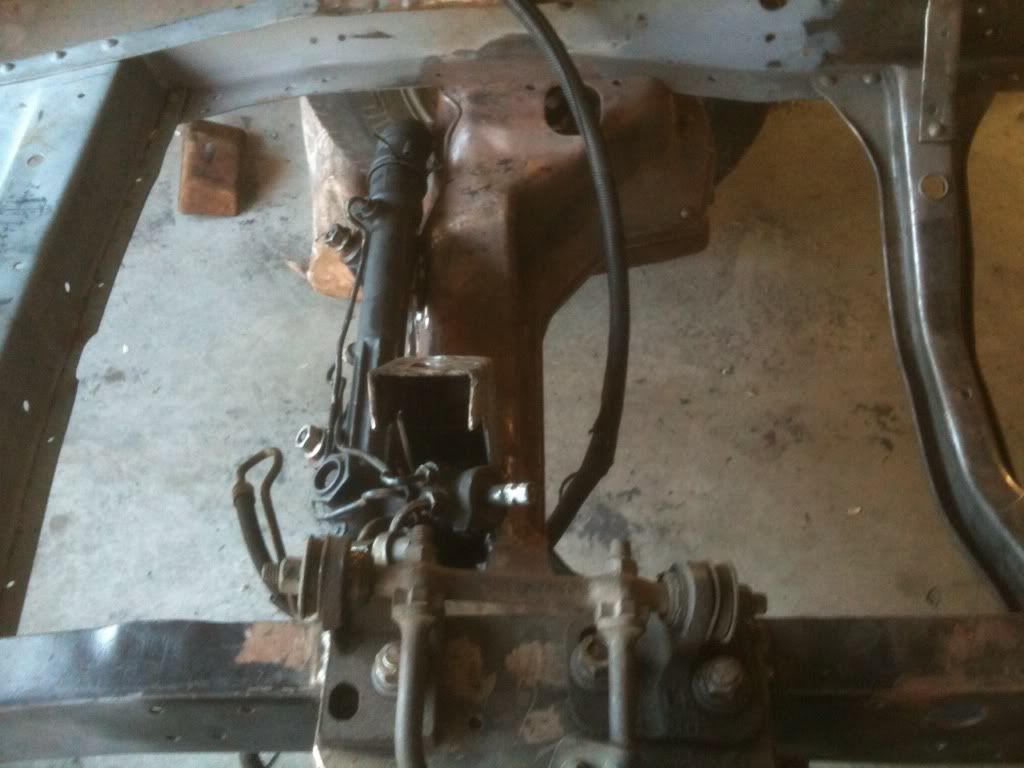
I started by cutting out a hole in the crossmember then made brackets for the power rack and pinion to sit at an angle. Then I fabbed up the engine mount on the driver side.
I plan to fab-up the passenger side tomorrow.

I removed the cab, bed, engine and trans (not in above picture but temp installed for measurements) yesterday.
9 hours in the garage today: 0730-1630
I started by cutting out a hole in the crossmember then made brackets for the power rack and pinion to sit at an angle. Then I fabbed up the engine mount on the driver side.
I plan to fab-up the passenger side tomorrow.

Thread
Thread Starter
Forum
Replies
Last Post
PRIMERED79 SHORT BED
1973 - 1979 F-100 & Larger F-Series Trucks
14
08-09-2012 09:57 PM
Rxracer27
Pre-Power Stroke Diesel (7.3L IDI & 6.9L)
9
06-21-2012 09:12 PM
moparman19
1973 - 1979 F-100 & Larger F-Series Trucks
27
02-12-2012 11:53 AM
thepitshop
1948 - 1956 F1, F100 & Larger F-Series Trucks
6
01-11-2011 12:01 PM