When you click on links to various merchants on this site and make a purchase, this can result in this site earning a commission. Affiliate programs and affiliations include, but are not limited to, the eBay Partner Network.
Dunno where the spares came from. They were in Rusty's toolbox when I bought him. He was originally a 2wd truck and someone converted him, but didn't put the spacers in.
Dunno where the spares came from. They were in Rusty's toolbox when I bought him. He was originally a 2wd truck and someone converted him, but didn't put the spacers in.
Well if Rusty has a bolt in passenger side intermediate axle stub, then you know that they used an 80-82 truck for the swap.
I think I'm officially, and truly, started as of today. Yes, I've done this and that, but today I put together a procedure and started on it.
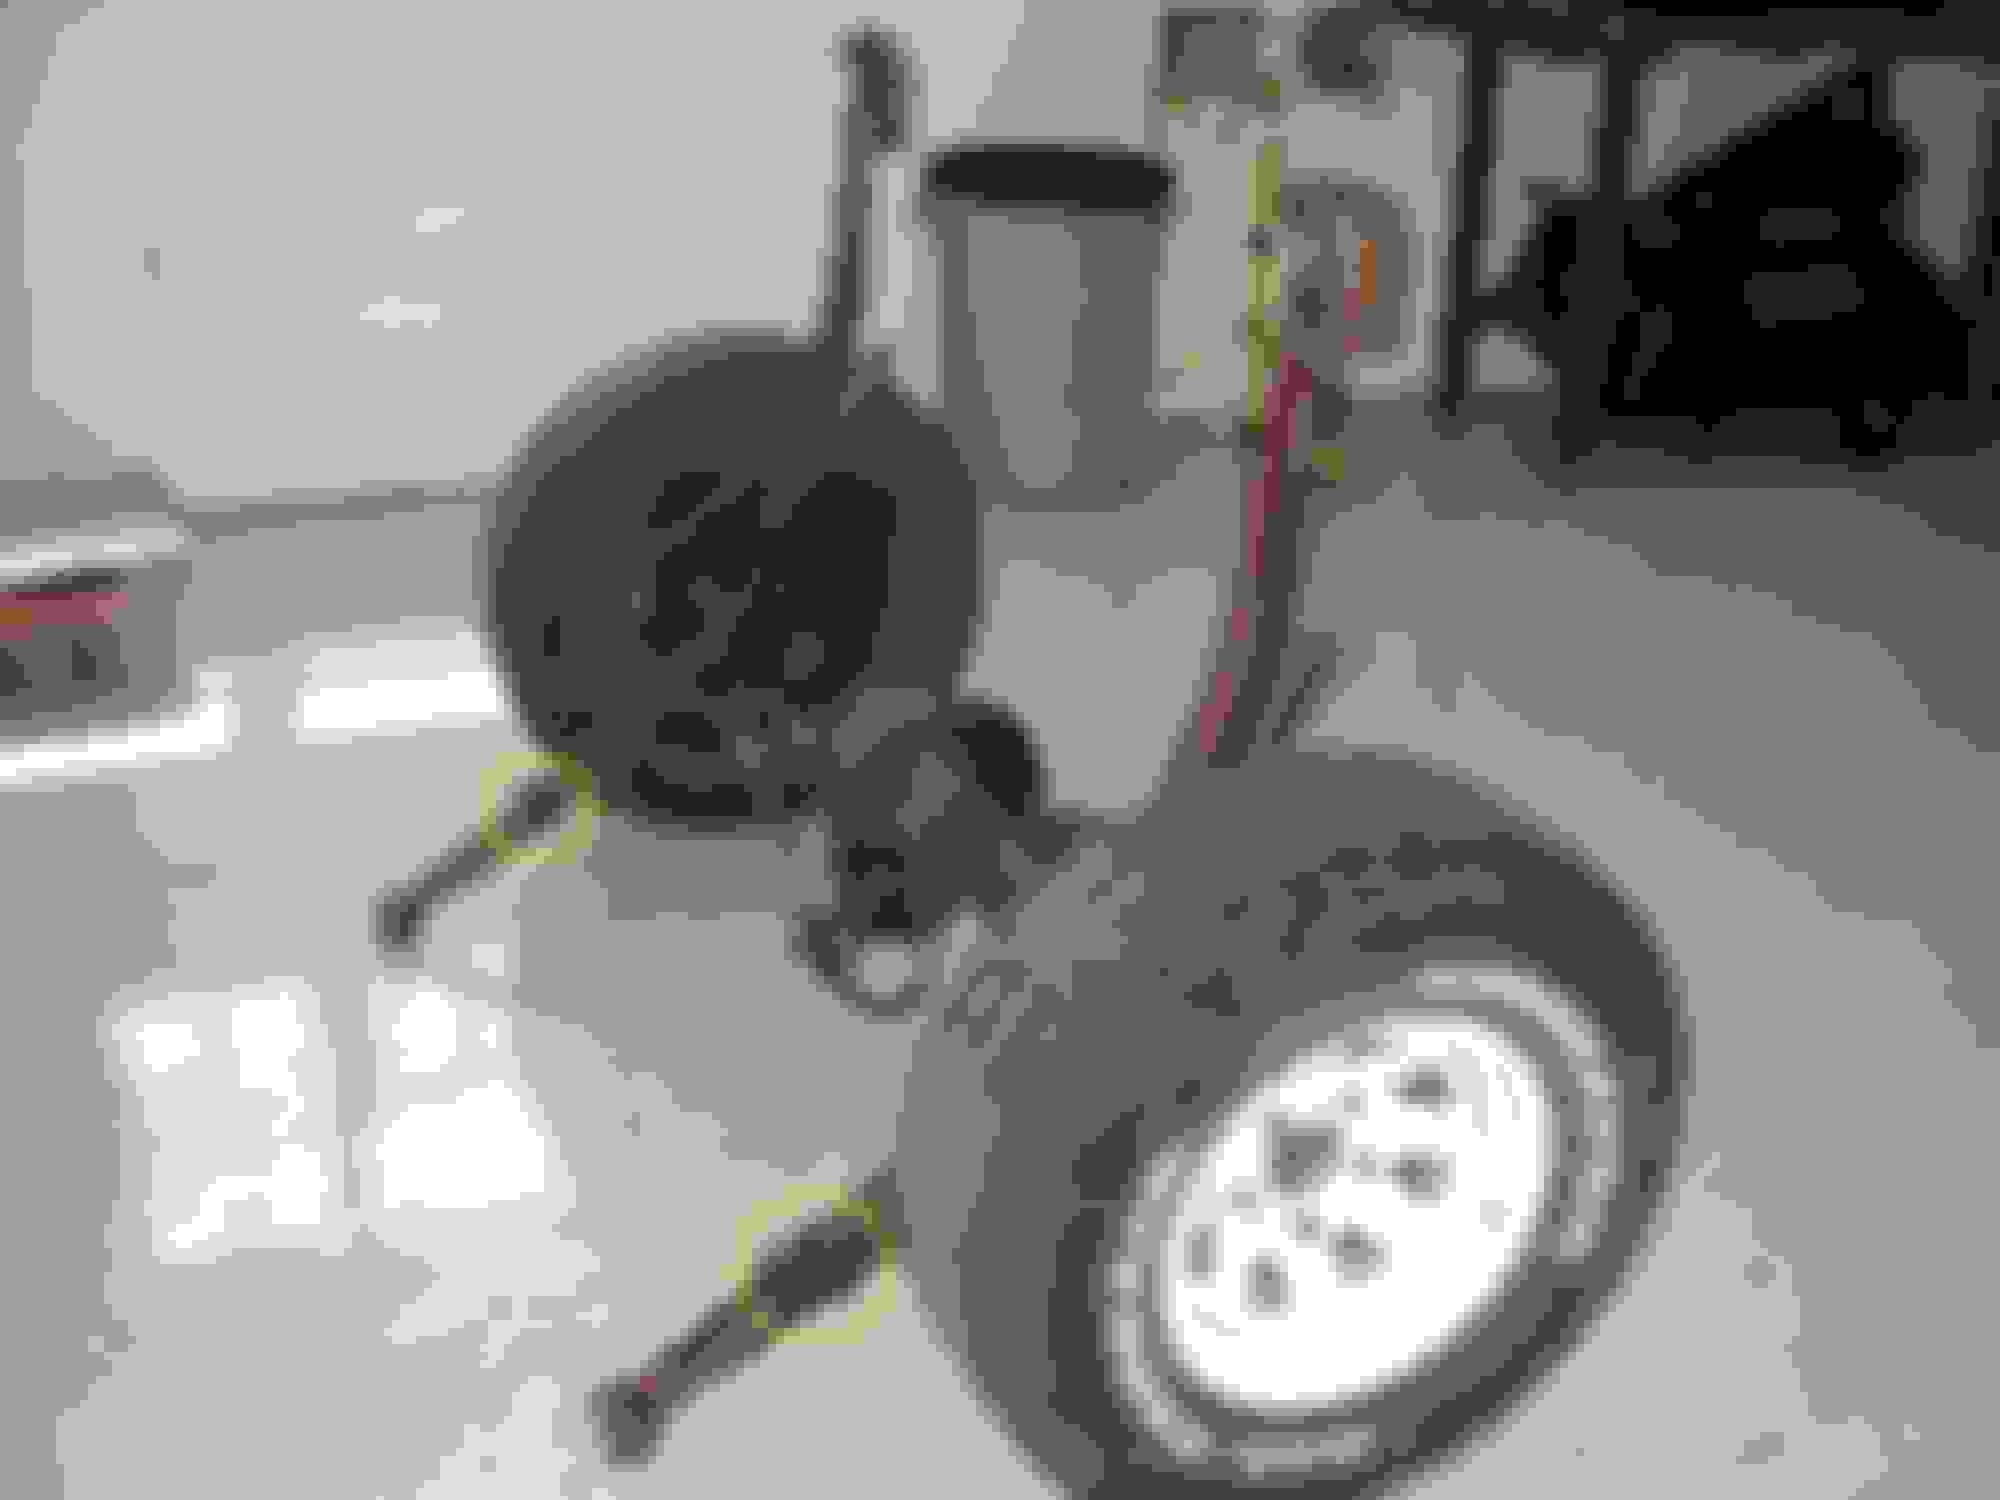
And, that start was on the rear suspension - it is out:
And, this 9" is doing something unusual for that genre.
Here 'tis with the pumpkin removed:
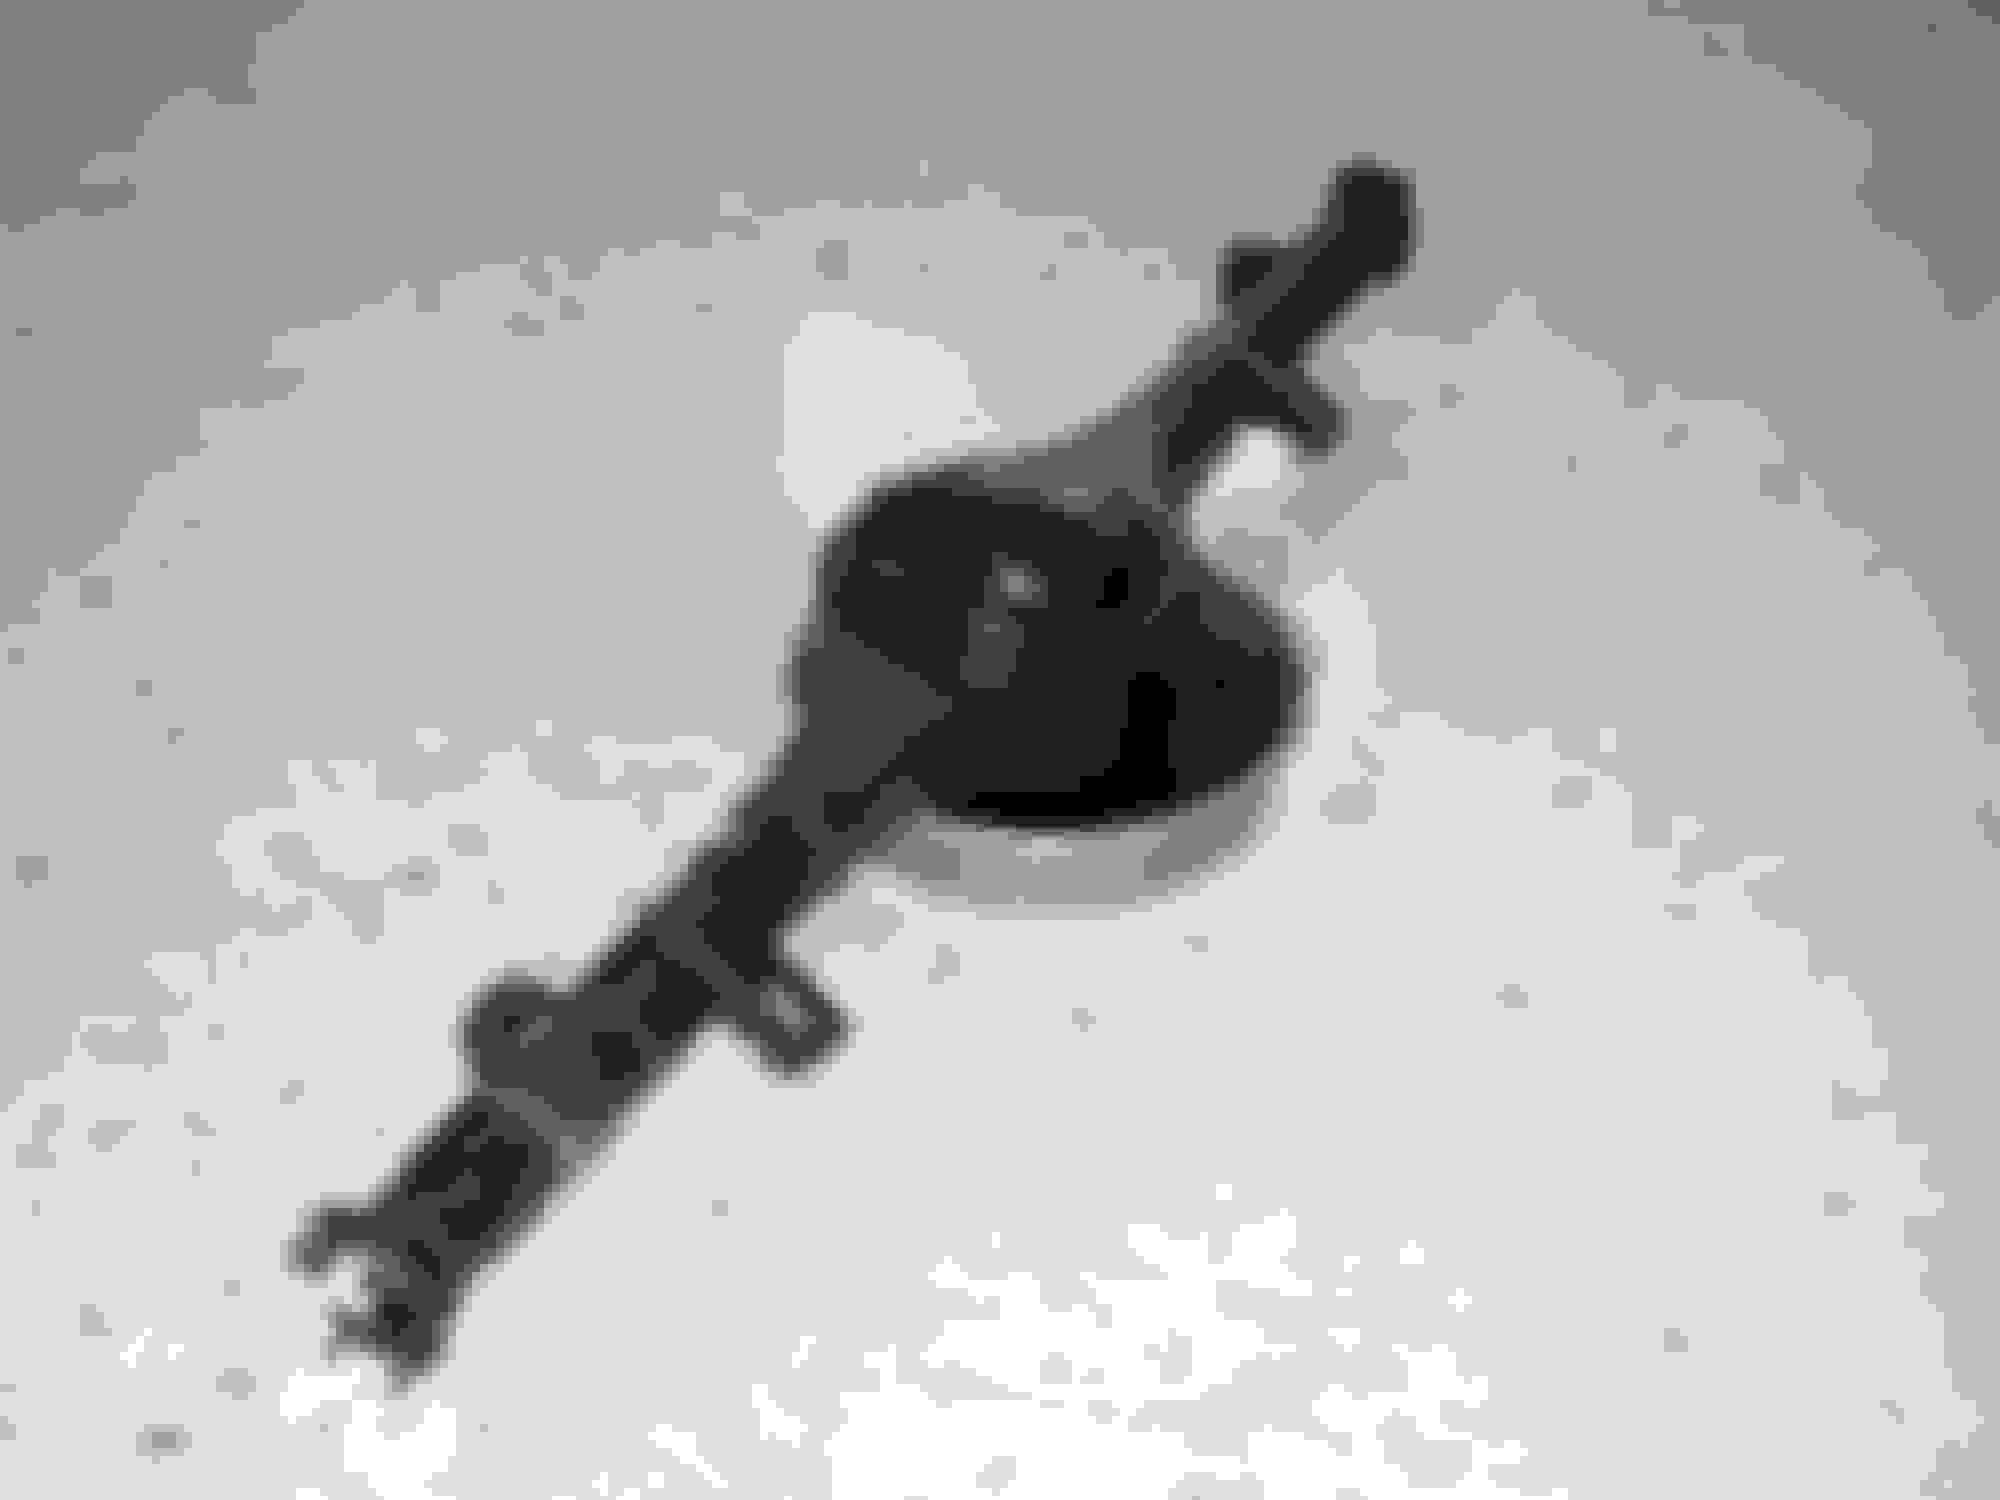
And, here are all the parts save the axle housing and pumpkin. Since the housing is 62" inc the studs it'll fit in the oven, so I'll media blast and powder coat it along with everything but the pumpkin, which will probably be POR-15'd.
As for the gear oil, don't forget that it has the LS additive. I'm hoping to get the vast majority out with brake cleaner, but we all know there's still going to be some in the cracks and crevices. So, when I heat it up to drive off any oil, prior to powder coating, there will be a smell. However, since the oven is in the shop, which is detached from the house, my wife won't smell it.
But, I'm disappointed that you didn't say anything about the drain.
For the differential gear oil? Nice touch and I bet it has a protective collar?
Well, not a lot to show for today. I sorted the parts to determine which will be PC'd black and which Blasted Steel, and the plan is to have light and dark so things can be seen. The current plans are as follows, but your input is coveted:
Axle housing - black
Brake backing plates - black
Springs - black
Spring shackles - Blasted Steel
Spring U-bolts - Blasted Steel
Spring retainer plates - Blasted Steel
Spring spacers - Blasted Steel
Brake drums - High Temp Gray
Wheel cylinders - Blasted Steel
And then I turned to the springs and shackles. So I pulled out the Prothane bushing kit to see what was required and they say that the whole bushing, including the shell, has to be removed. Given that, I tried to press out the whole bushing in one go, including the shells, the rubber bushings, and the center metal bushing. But, that wasn't going to happen. My 20 ton press just wasn't up to the task, so I changed the plan to removing the center metal bushing, then pressing out the rubber bushing, and finally addressing the shells.
And, toward that end, I have a plan - born out of a recent experience. A buddy of mine brought over the links to the bucket from his backhoe and we replaced the hardened-steel bushings. Yipes! That was an all-day job. We were able to press out all but two of the bushings, but those two were 1 3/4" long and 2" in diameter, and they were not moving. We tried all of the pressure and then some the press would give, plus heat and a hammer. NADA. So, we finally resorted to grinding a groove in the bushing, just the way we do on rear axle retainers, and that worked. So, I'll use that same process tomorrow on the shells, But, I'll probably use a hack saw to cut the grooves in this case.
And, that brings me to the spring assemblies themselves. I tend to remember another thread on here where someone refurbished his springs, including the spacers/insulators between the leaves and the clamps that hold the springs together. But, I don't have a link to that thread - does anyone? I'll go looking but thought I'd ask.
Anyway, I pulled the springs apart as much as I could. However, there's a C-shaped clamp which is riveted to the middle leaf and it won't allow two of the three leaves to be separated - as shown below. Does anyone know a trick for them? I'm thinking I'll have to grind the rivet off, but I don't know about replacing it. Maybe with those metal straps?
Another day with not much to show. However, I did make some progress. First, I removed the parking brake cables from the backing plates. Boy, are those retainers pesky. After a few tries with pliers I put a small hose clamp on and that did the trick.
Then I put a number of the brake parts, including the backing plates, in the parts washer. With the Simple Green at 130 degrees the dirt and grease disappered - but so did the paint on the backing plates as well as the brake springs. I'd planned to powder coat the backing plates, but guess I'll buy another kit of the springs 'cause I like the colors.
And, I did some research on springs and the reconditioning thereof. Boy, am I glad I found this in Eaton's tech tips. It says:
Simply put, powder coating is a process where dry paint particles are sprayed onto the surfaces on the spring. Then the springs are heated which melts and bonds the paint particles to the metal.
In order to get the paint particles hot enough to bond they must be heated very close to the annealing temperature of the spring steel. Annealing means the heat treatment of the springs is being removed. Annealed springs will no longer support any weight. To have the powder coat work without softening the springs the heat MUST be held to less than 350 degrees.
That's a bit of a problem as the parts are supposed to be taken to 420 degrees and then dropped to 400 degrees for 20 minutes. So, I guess PC'ing is out for the springs, including the coil springs in front. Given that, I ordered POR-15's satin base coat and their Chassis Black topcoat. The reason for the satin black base coat is that the topcoat goes on glossy, and it is very difficult to know where you've painted when coating a glossy base coat.
I also found that Eaton sells a plastic leaf liner with lips to keep it lined up in the spring pack. But, the 4wd springs are 3" wide and they are out of stock on that width. And I haven't been able to find it anywhere else.
Anyway, I then moved on to removing the sleeves or shells of the spring and shackle bushings. By cutting the shell with a hacksaw I've been able to remove the one from the big spring eye as well as the one from the shackle. But the majority of the time was spent getting the correct driver made such that it would go inside the shell to keep things aligned, but have a larger diameter with a shoulder to engage the shell in order to push it out. Turns out that the spring eyes and shackles are not round, so it is difficult to measure them. Plus, the spring eye actually contracts when the shell is pushed out, so the driver has to be smaller than it would seem at first.
As said, I have the drivers made for two of the shells, and I understand better how to make the driver, so the third one shouldn't take as long. And that means I should be able to get all of the bushings and shells out tomorrow - if all goes well.
 06-30-2016, 07:36 PM


 I'm hoping to get the vast majority out with brake cleaner, but we all know there's still going to be some in the cracks and crevices. So, when I heat it up to drive off any oil, prior to powder coating, there will be a smell. However, since the oven is in the shop, which is detached from the house, my wife won't smell it.


 We were able to press out all but two of the bushings, but those two were 1 3/4" long and 2" in diameter, and they were not moving. We tried all of the pressure and then some the press would give, plus heat and a hammer. NADA. So, we finally resorted to grinding a groove in the bushing, just the way we do on rear axle retainers, and that worked. So, I'll use that same process tomorrow on the shells, But, I'll probably use a hack saw to cut the grooves in this case.