'Jessie' '55-F100 Pick up build
#31
 05-03-2012, 01:19 AM

Senior User
Join Date: Jul 2010
Location: Palmer, AK
Posts: 106
Likes: 0
Received 0 Likes
on
0 Posts

 I think the last time I counted I had parts from like 15 different trucks.
#32
05-03-2012, 01:30 AM
Senior User
Join Date: Jul 2010
Location: Palmer, AK
Posts: 106
Likes: 0
Received 0 Likes
on
0 Posts
Just needed to mention this. Saturday we celebrated my mom's 50th birthday. While talking to my new aunt (married my uncle in November), turns out she imports things from LA every week. She offered to give me the adress where things are shipped from so I can buy my parts and have them delivered there and on the truck. Now I have a weekly chance to import parts with no across the border shipping cost.
Forget anything I said about getting rid of Jessie.
Forget anything I said about getting rid of Jessie.
#33
05-03-2012, 01:35 AM

Hi again folks.
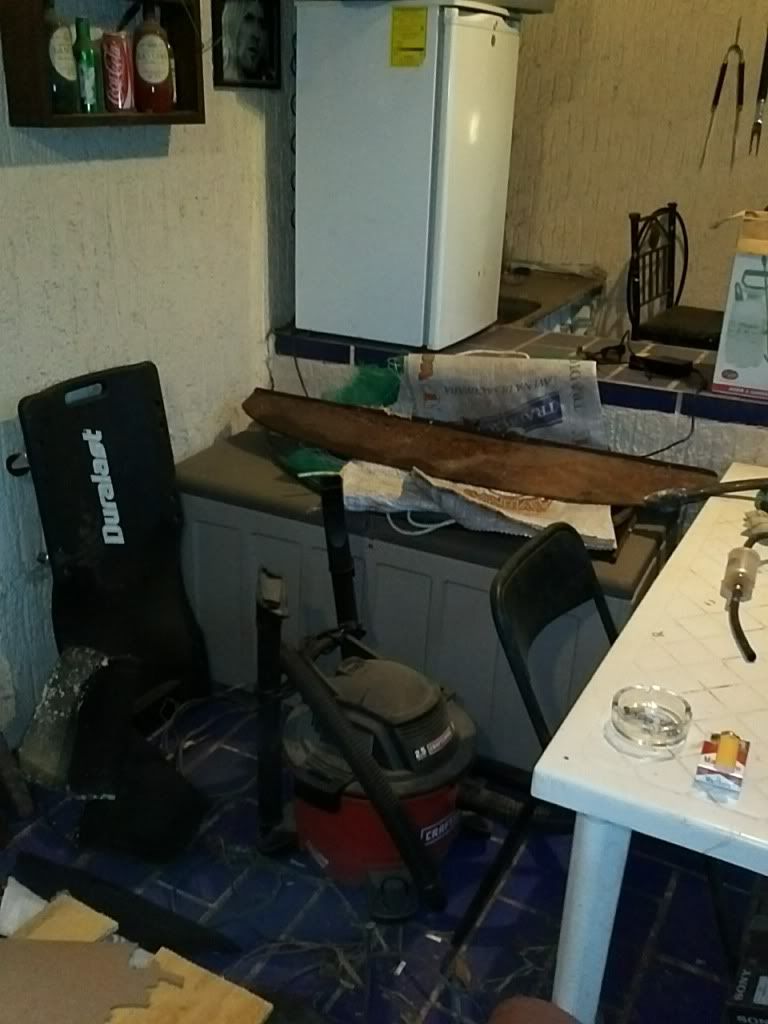
We'll I had some free time this afternoon while waiting to pick up the Mrs. from work, so I decided to have a look under the carpet and ended up starting to strip the interior.
This is kinda what I started with:
After the carpet was gone, came on to a blue fluffy isolation layer that was glued on with something that peeled away with rust patches to show a weak and ugly floor.
Pics of all that has happened in the photobucket gallery.
Looks like you've got some metal work to do.
 But over all it doesn't look that bad. I've seen much worse.
#34
05-07-2012, 11:52 PM
Just a 'Dear diary' style update.
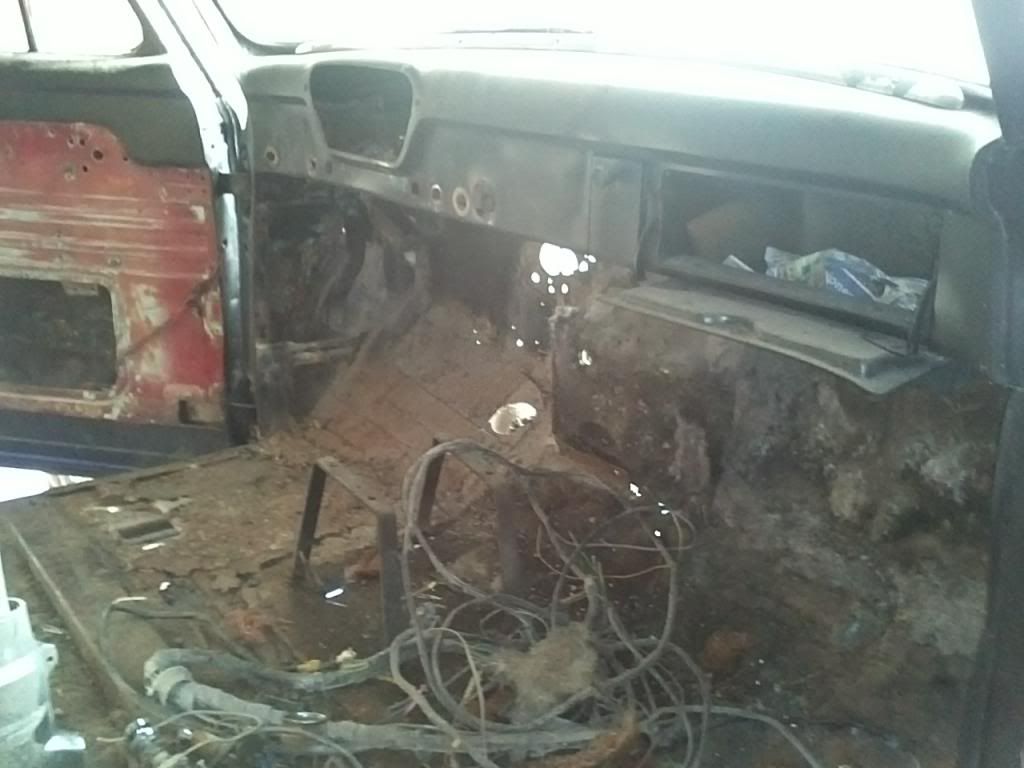
I kept cleaning the floor to keep going on the cab progress. Since I don't have parts to trow in, I figured I could start with the cleaning job. There's about a 1/8" of a tar-like isolation blob over some sections of the floor, and the front half is practically all rotten to the devil's lair underneath that (did I hear new floor?) .
.
I tried using some gas to see if it would soften up and it worked; Brilliant as I am, decided to take out the rear window following the shop manual's instructions for better ventilation. Whoever wrote that manual, forgot to consider how stiff rubber gets after 60 years!
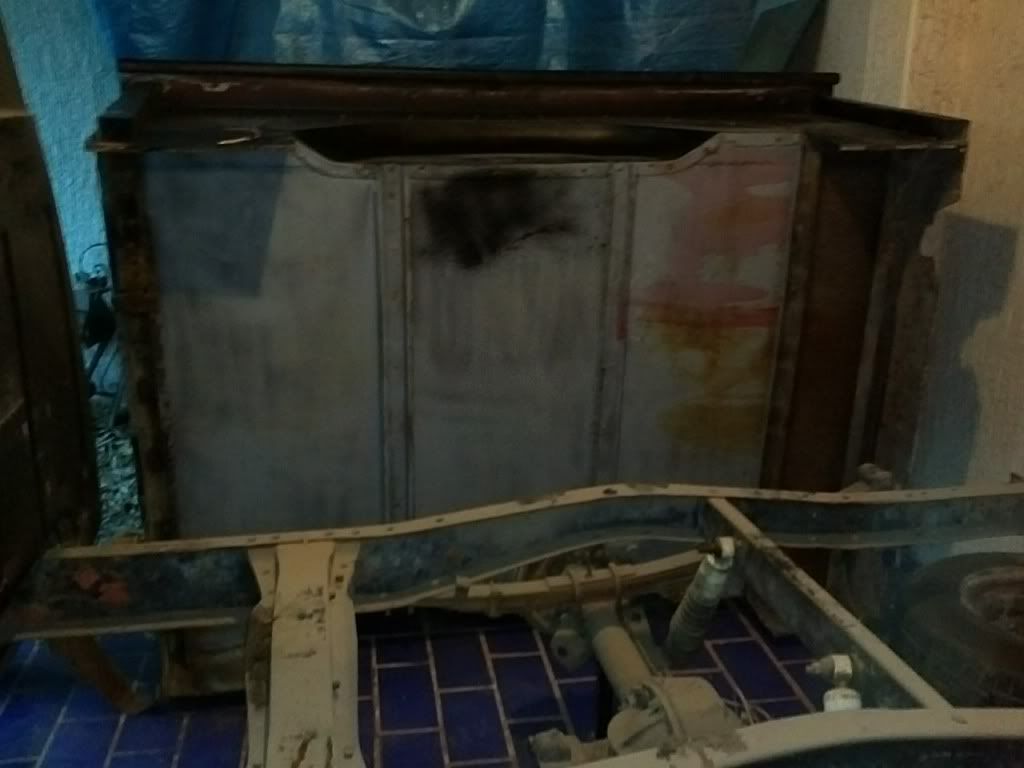
I started cutting pieces of rubber to release the tension and I would push the window in every now and then to check if I could make any progress...
..then this happened:
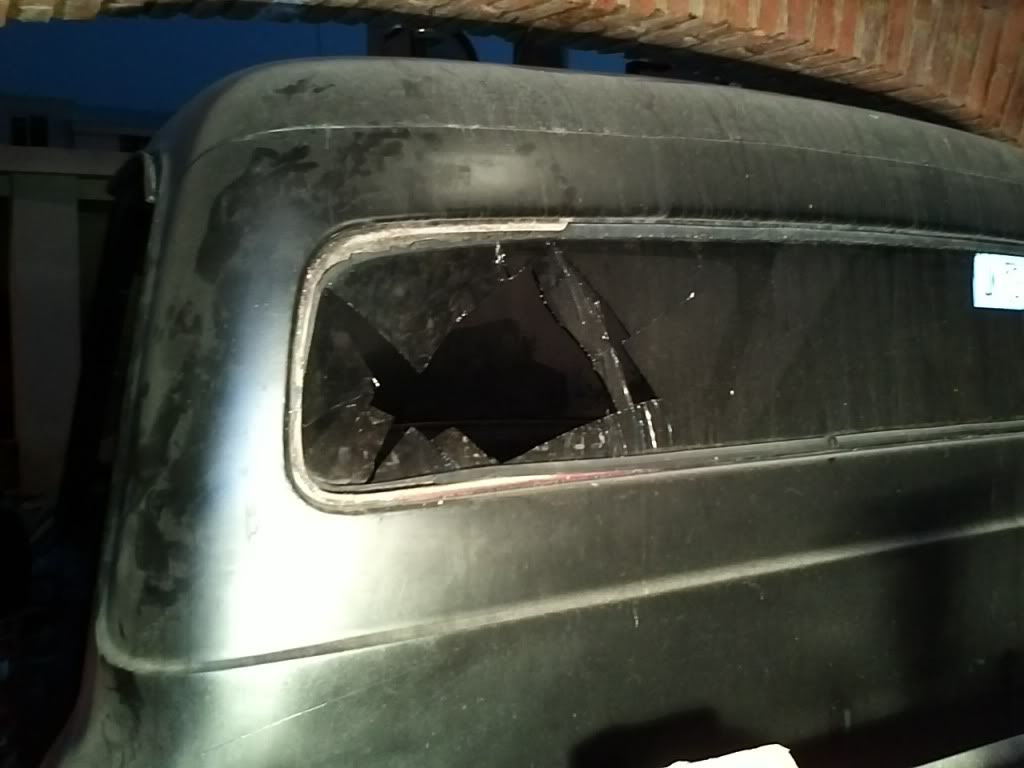
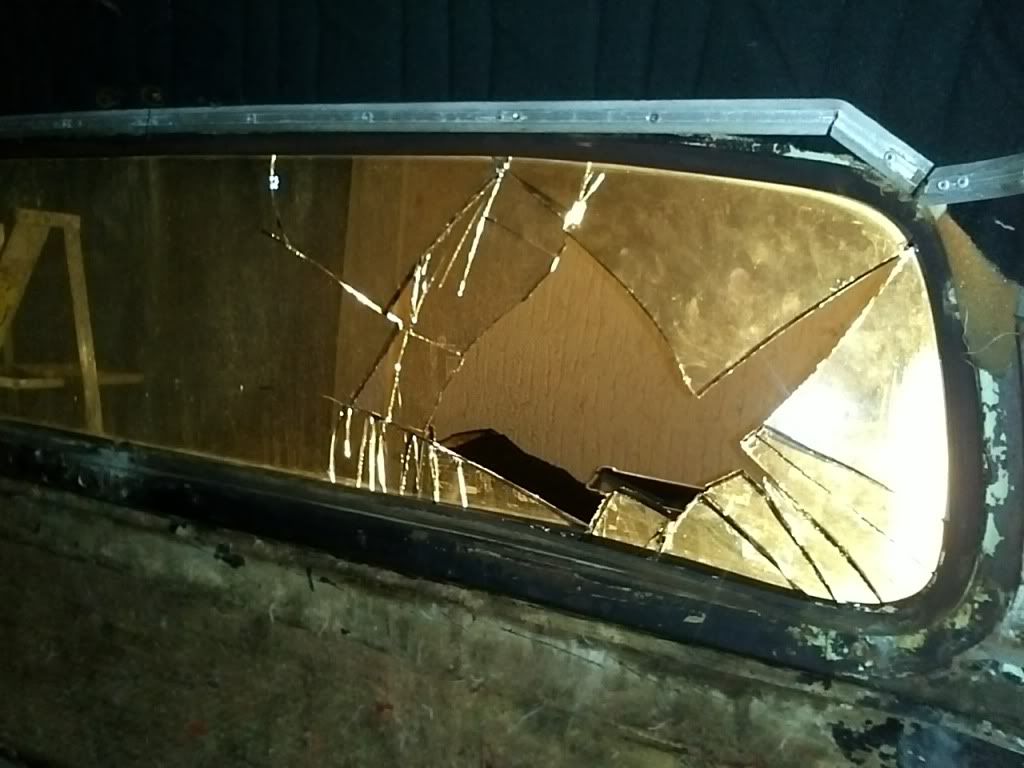
I know it looks like I was pushing where the big hole is, but I was actually putting pressure on the lower left corner of the window.

She drew first blood; I pulled out the hammer.
I kept cleaning the floor to keep going on the cab progress. Since I don't have parts to trow in, I figured I could start with the cleaning job. There's about a 1/8" of a tar-like isolation blob over some sections of the floor, and the front half is practically all rotten to the devil's lair underneath that (did I hear new floor?)
. I tried using some gas to see if it would soften up and it worked; Brilliant as I am, decided to take out the rear window following the shop manual's instructions for better ventilation. Whoever wrote that manual, forgot to consider how stiff rubber gets after 60 years!
I started cutting pieces of rubber to release the tension and I would push the window in every now and then to check if I could make any progress...
..then this happened:
I know it looks like I was pushing where the big hole is, but I was actually putting pressure on the lower left corner of the window.
She drew first blood; I pulled out the hammer.
#35
05-08-2012, 01:23 AM
Senior User
Join Date: Jul 2010
Location: Palmer, AK
Posts: 106
Likes: 0
Received 0 Likes
on
0 Posts
Knucklebusters and blood payment
I don't think it's possible to complete a task on a resto project that old without drawing some blood. Most of the time mine comes from rusted bolts breaking though; not shattered glass. Looks like you'll heal fine and the flat back glass should be cheap enough to replace, readliy available and will seal better with some fresh new rubber. Leave the hammer in the tool box. IMO, your injury was self-inflicted. Lol
#36
05-08-2012, 08:55 AM
I don't think it's possible to complete a task on a resto project that old without drawing some blood. Most of the time mine comes from rusted bolts breaking though; not shattered glass. Looks like you'll heal fine and the flat back glass should be cheap enough to replace, readliy available and will seal better with some fresh new rubber. Leave the hammer in the tool box. IMO, your injury was self-inflicted. Lol
#37
05-08-2012, 01:12 PM
Elder User
You learned the hard way. The best way to get glass off an old vehicle is to cut the rubber away. Otherwise you risk breaking the glass, as you found out, and you are going to use new rubber anyway. But don't feel bad, the professional doing my truck did the same thing. Fortunately he did the back window first, then cut the rubber on the windscreen.
#38
05-27-2012, 02:00 AM
Funny how projects evolve
I've put about 9 hours into the cab stripping and cleaning process (6 over Friday and Saturday night this weekend).
I have to admit I allowed myself to get BS'd by the PO. The body isn't in as good a shape as I thought, the cab floor is gone, and the electric install is worth two bits of what the dog leaves on the garden every night. However, it's a 50's Ford, something rare around this area; I've seen about 4-5 besides my girls and a lot of chebbys.
So for all following this offshore thread, just to let you know; this project has now evolved from a careful-well documented resto, to a well documented tear down-damn most pieces to scrap resto.
I'll keep taking pics of the before and removed parts while I get to the new stuff going in pics. But the shots have been called and about half the truck is going in new. Including the explorer front half and drive train I'm looking into. More to come on that.
AX- I don't have the big bucks to spend in a short time (referring to the comment about wiring), but it's now a personal challenge to get Jessie into a decent condition.
As always, updated pics on the photobucket gallery.
#39
06-21-2012, 12:43 PM
Knocked off the bed last night
No, I didn't get knocked off the bed by the Mrs; I pulled Jessie's bed off. 
I was falling into a bit of a stall after pulling all the wiring, carb, steering pump and radiator out. Down to engine, tranny, suspension and finishing up sheet metal teardown.
After gathering junk in the bed for 7 months (lotta crap for such a short period of time), I decided to move on to taking the bed off as I want to replace it with a corect era one not the post '73 that came with. I called on some legs and arms strenght and me, myself and I managed to slide it off the frame.
#40
06-21-2012, 12:50 PM
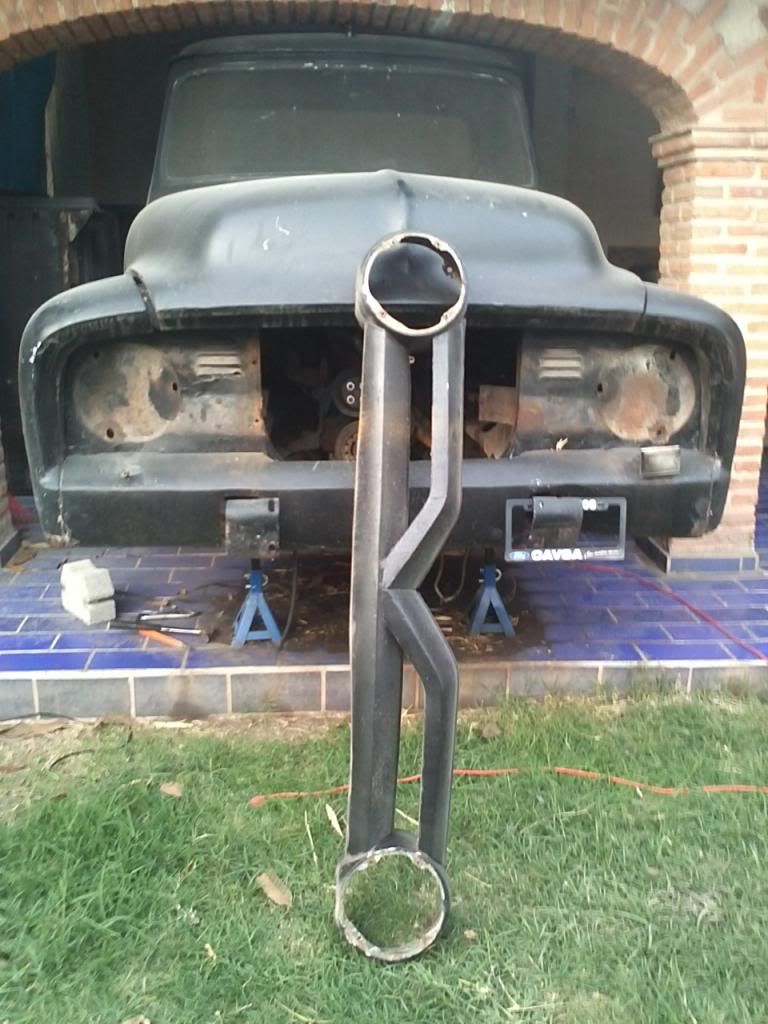
Junk gathering and bed sliding
Doesn't show half the junk I had on the truck bed, but shows the lesson learned. Always leave an escape route towards the beer fridge.
I slid the bed off to the side, now need to decide whether to sell it or get it standing, use AX's welding lessons to put some doors on it and make a tool cabinet, I think that could be a cool idea.
Dusting off the frame a bit I noticed it seems there's a 9" already there. what would you recommend to make a decision to keep it or not. considering the explorer drive train, I think I would keep it for Julie as I think she still has the good 'ol Dana rear.

I'll keep the updates and more details coming as I move forward.
Almost down to the bare frame...
I slid the bed off to the side, now need to decide whether to sell it or get it standing, use AX's welding lessons to put some doors on it and make a tool cabinet, I think that could be a cool idea.
Dusting off the frame a bit I noticed it seems there's a 9" already there. what would you recommend to make a decision to keep it or not. considering the explorer drive train, I think I would keep it for Julie as I think she still has the good 'ol Dana rear.
I'll keep the updates and more details coming as I move forward.
Almost down to the bare frame...
#41
12-29-2013, 10:00 PM
#42
12-30-2013, 01:41 PM

New User
Join Date: Dec 2013
Location: Sweden
Posts: 21
Likes: 0
Received 0 Likes
on
0 Posts
It is OK to be vexed
once in a while, and then go on.
Your pu looks nice and very restoreable, you will make it!
A bit late I know, but there is a product that works well to soften up and clean vulcanized rubber parts ( but never use it on tires!)
In Europe , it is called Armor All, comes in a pump spray bottle with a stupid looking viking ( horn helmet and all) face logo.
It contains ( sorry , do not know the correct american word) " hypalone varnish" , a compound used as release agent when removing newly vulcanized rubber parts from the mould.
Maybe not so great on a window seal in situ. But, for old rubber parts covered in dust, old paint, whatever, do like this.
Immerse the parts in water mixed with soap for several days first. Scrub off as much grime as you can.
Put the parts in a heavy duty plastic bag, spray with " Armor All" and close the bag. Shake the bag once a day over several days, weeks.
The varnish part will penetrate into the rubber and replace the softeners that has evaporated over the years. Many parts can be thus restored.
IF you have friends in the tire/vulcanized rubber manufacturing industry, getting hold of a few litres of the undiluted stuff ( hypalone) is easily worth a case of beer.
Best regards
Ola
#43
08-06-2018, 04:39 PM
5 years have gone by since I made any updates on this thread. It is with mixed emotions that I bring the news that my Jessie is up for sale.
I know you guys won't be interested because of the distance, but I could not let this pass unoticed.
It has been a great place to come and learn and read about others experiences. I will not be leaving the forum; but it has been decided that my girls will be leaving me.
Thank you all for reading this thread.
Just to ducment where the add went.
https://www.segundamano.mx/vi/923595077
#44
08-26-2018, 11:50 AM
#45
08-26-2018, 03:30 PM
Gracias, Ben.
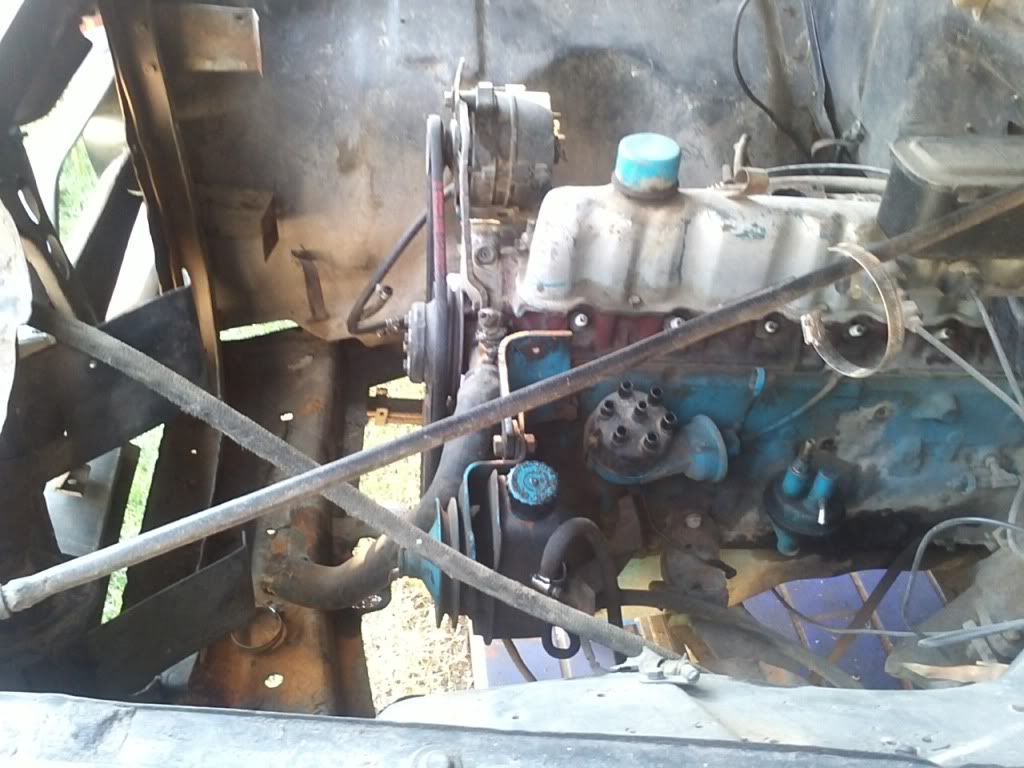
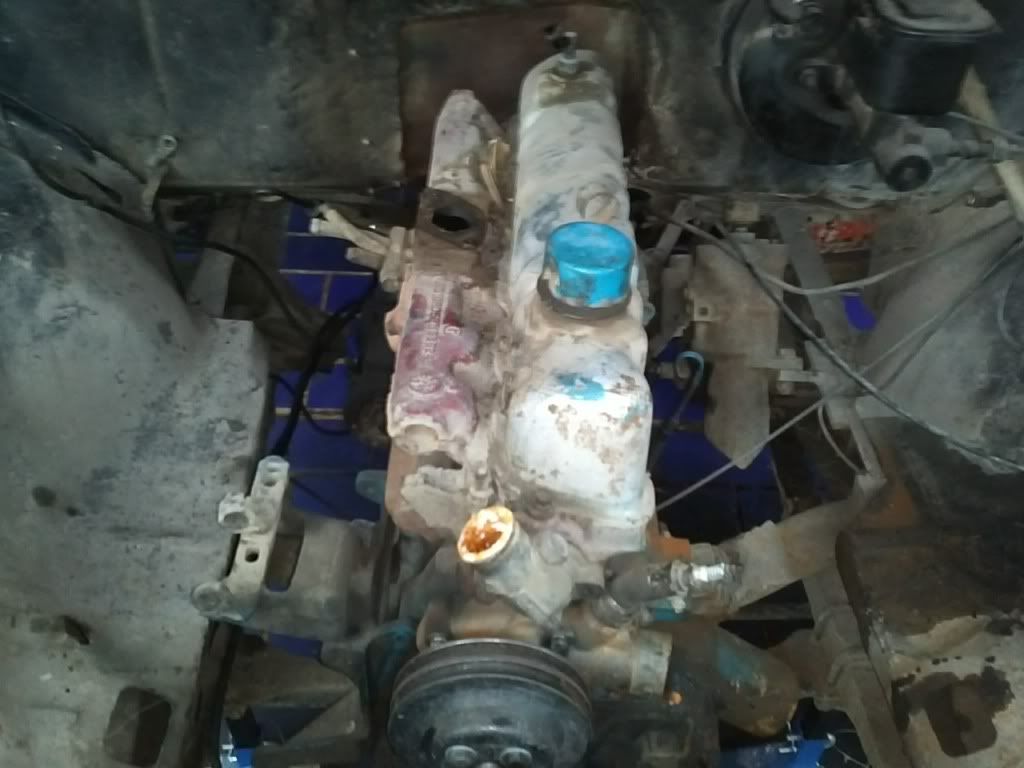
here's a couple of pics of the engine. I haven't really done much to it until now, but will be giving it a good clean up and changing the water pump over the weekend. Will post a couple of pics of that process as it happens.


Notice the interim 2L pepsi bottle fuel tank to get her parked in the garage. Will have to get to work on the gas tank as one of the first actions.
here's a couple of pics of the engine. I haven't really done much to it until now, but will be giving it a good clean up and changing the water pump over the weekend. Will post a couple of pics of that process as it happens.
Notice the interim 2L pepsi bottle fuel tank to get her parked in the garage. Will have to get to work on the gas tank as one of the first actions.

Thread
Thread Starter
Forum
Replies
Last Post
fabmandelux
Bio-diesel, Propane & Alternative Diesel Engine Fuels
17
09-21-2020 12:05 PM
tyfly's64
1961 - 1966 F-100 & Larger F-Series Trucks
2
09-01-2011 10:13 AM
mechmagcn
1948 - 1956 F1, F100 & Larger F-Series Trucks
15
02-09-2008 03:35 PM