1948 - 1956 F1, F100 & Larger F-Series Trucks Discuss the Fat Fendered and Classic Ford Trucks

1956 F100 Crew Cab Project Started - LOTS OF PICTURES

  #271  
Old 09-12-2014, 01:15 AM
Jetman's Avatar
Jetman
Jetman is offline
Mountain Pass
Join Date: Jun 2006
Location: Alaska
Posts: 157
Received 2 Likes on 2 Posts
Nice job! It is coming along really neat.
 
  #272  
Old 11-17-2014, 09:11 PM
dynamic's Avatar
dynamic
dynamic is offline
FTE Chapter Leader

Thread Starter
Join Date: May 2001
Location: Rhode Island
Posts: 3,290
Received 11 Likes on 9 Posts
Well gang,

the cold is setting in and its time to start working on the projects again.

I started to mock up the dash extension.


and managed to weld up the second wheel tub.


  #273  
Old 11-17-2014, 09:14 PM
tinman52's Avatar
tinman52
tinman52 is offline
Welder User

Join Date: Feb 2009
Location: northwest MT
Posts: 5,261
Received 30 Likes on 19 Posts
Looking forward to this winters progress!
 
  #274  
Old 11-22-2014, 07:20 PM
dynamic's Avatar
dynamic
dynamic is offline
FTE Chapter Leader

Thread Starter
Join Date: May 2001
Location: Rhode Island
Posts: 3,290
Received 11 Likes on 9 Posts
Well gang,


made a little more progress...


every little bit counts right.....


I took my first dash extension and scribed the sides so they match the corners of the lower portion of the dash.


Then I cut the corners free of the dash extension so I could fit them to the post. I then welded some extensions to the dash extension so I could make a mock up.


I bend up a new dash extension 3-1/2" instead of the 4" I started with which will allow the column to sit as it should vs needing to notch the extension.


I can now take the mock up extension and lay it on top of the new extension and cut it once and install it.


  #275  
Old 11-22-2014, 07:35 PM
dynamic's Avatar
dynamic
dynamic is offline
FTE Chapter Leader

Thread Starter
Join Date: May 2001
Location: Rhode Island
Posts: 3,290
Received 11 Likes on 9 Posts
I figured it might be a good idea to test fit the pass thru wires for the trucks electrical wiring.


I laid out the wiring, engine side and passenger side compartment


Then tried to fit the wires thru the holes I had previously marked out. Filed and filed until the plug fit inside the respective holes.


Then I bolted the plugs together to confirm they would clear all obstacles.


all looks good .....


not looking forward to thinning out this harness.....
 
  #276  
Old 11-22-2014, 07:43 PM
dynamic's Avatar
dynamic
dynamic is offline
FTE Chapter Leader

Thread Starter
Join Date: May 2001
Location: Rhode Island
Posts: 3,290
Received 11 Likes on 9 Posts
One of the next projects will need to be the "Drive By Wire" pedal assy.


I am going to need to build out my dash in order to mount this monster pedal assy to the contoured firewall.


I am not sure if I can use a different pedal assy from say a mustang... wonder if a drive by wire setup from another ford (mustang, focus, 500....) would work??
 
  #277  
Old 11-22-2014, 07:57 PM
ALBUQ F-1's Avatar
ALBUQ F-1
ALBUQ F-1 is offline
Fleet Owner
Join Date: Jul 2004
Location: NM
Posts: 26,797
Received 602 Likes on 374 Posts
Those harnesses look daunting until you start snapping the plugs onto the sensors and components. You're past the hard part!
 
  #278  
Old 11-22-2014, 08:30 PM
clintonvillian's Avatar
clintonvillian
clintonvillian is offline
Laughing Gas
Join Date: Sep 2011
Location: West Virginia
Posts: 940
Received 12 Likes on 10 Posts
Wow...........is that what controls the cruise control?


How did cruise control on the older systems work, using the TPS????
 
  #279  
Old 11-23-2014, 08:07 AM
AXracer's Avatar
AXracer
AXracer is offline
Hotshot
Join Date: Oct 2004
Location: Durham NC
Posts: 15,844
Received 53 Likes on 34 Posts
Originally Posted by dynamic
I figured it might be a good idea to test fit the pass thru wires for the trucks electrical wiring.


I laid out the wiring, engine side and passenger side compartment


Then tried to fit the wires thru the holes I had previously marked out. Filed and filed until the plug fit inside the respective holes.


Then I bolted the plugs together to confirm they would clear all obstacles.


all looks good .....


not looking forward to thinning out this harness.....
There's a guy that weeds them down and reflashes the ECU for about 250.00. Might be worth it???
 
  #280  
Old 11-23-2014, 08:13 PM
dynamic's Avatar
dynamic
dynamic is offline
FTE Chapter Leader

Thread Starter
Join Date: May 2001
Location: Rhode Island
Posts: 3,290
Received 11 Likes on 9 Posts
Well gang.....


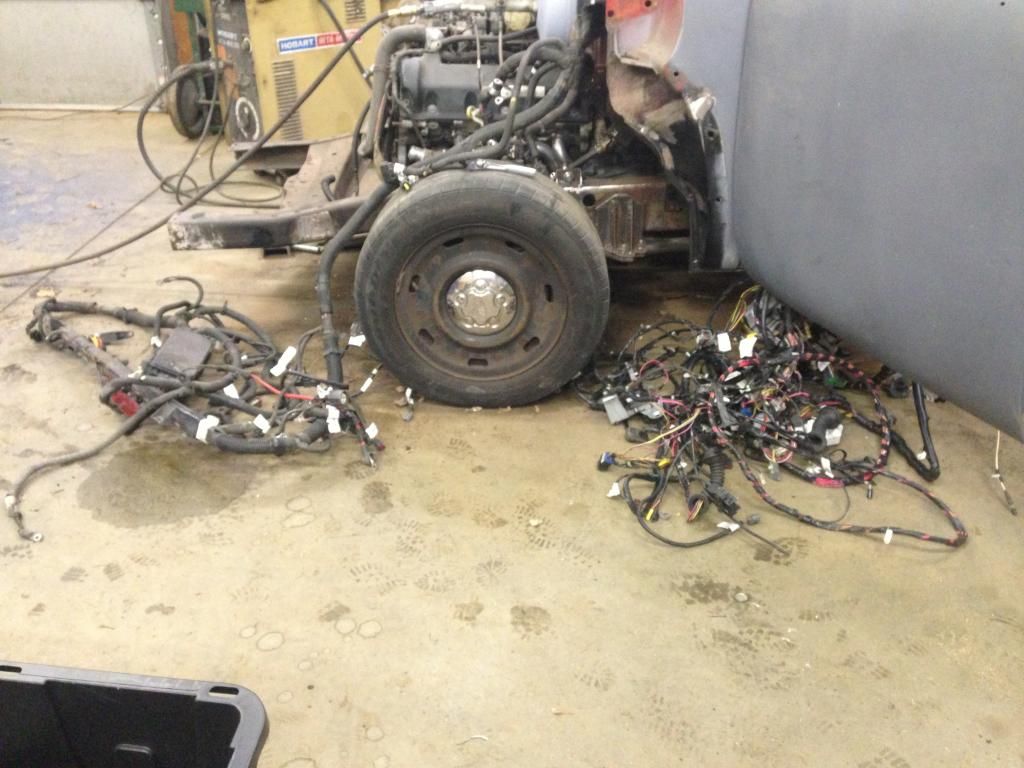
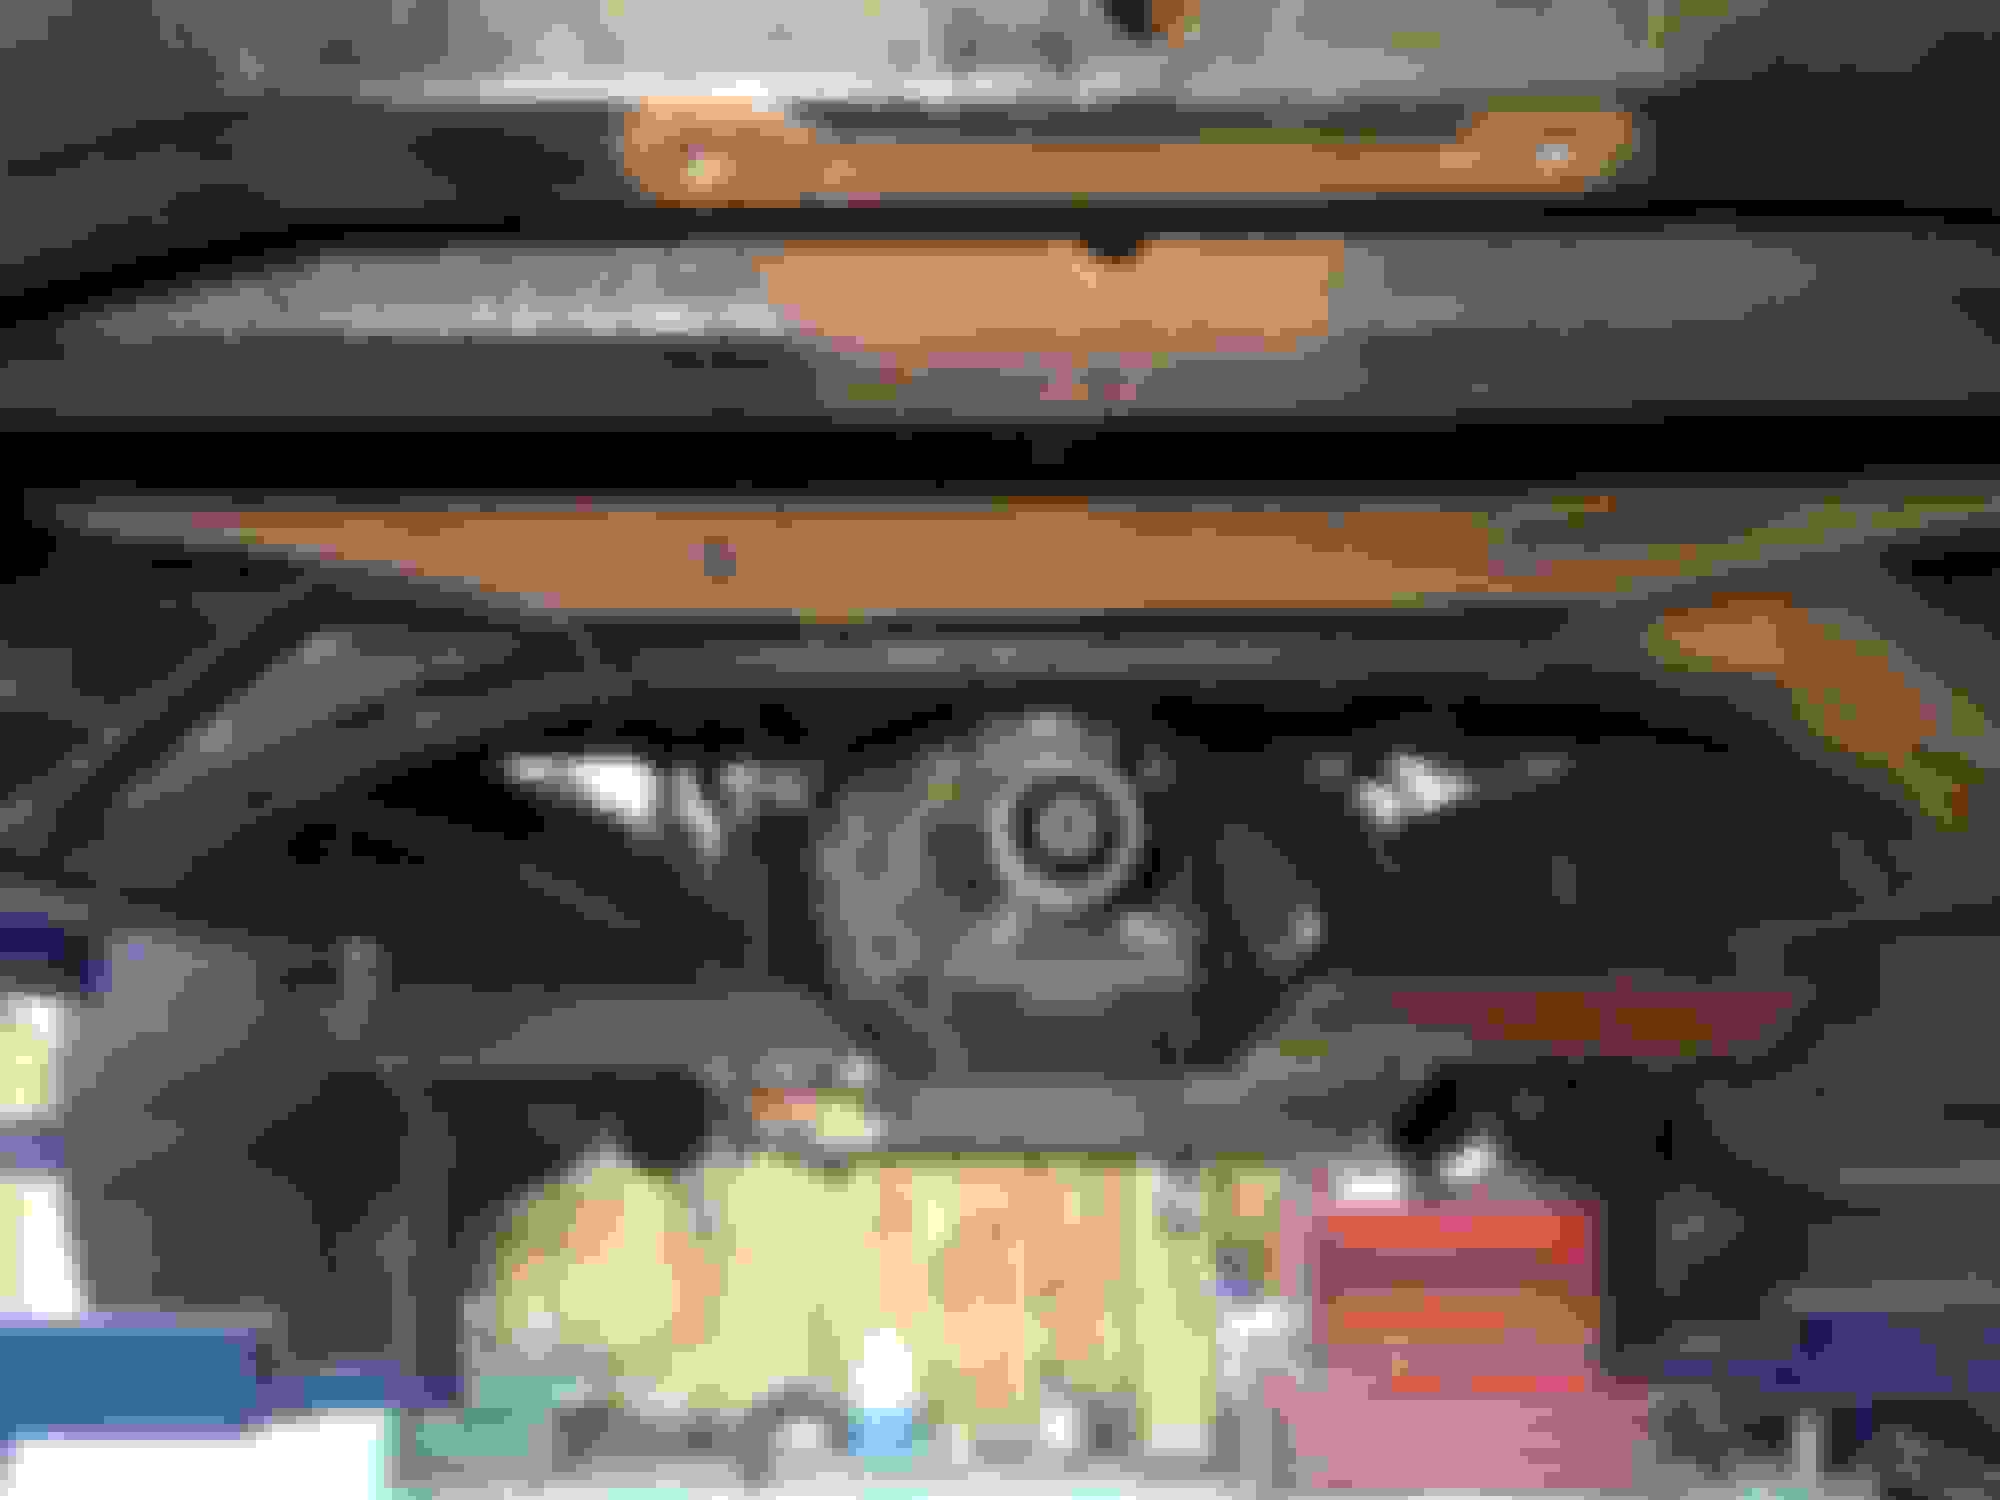
We rolled the crew cab onto the lift today to fit the front drive shaft. Yep front drive shaft.... truck is so long its going to need a carrier bearing.


The drive shaft on the left is out of a 2004 Ford Superduty supercab short bed.


The drive shaft on the right is from a 2003 mustang GT.


I will be using the mustang shaft to extend the Superduty shaft the 6" or so we will need to reach the rear axle.


To my surprise the superduty slip yoke is the same one as the tr3650 transmission slip yoke so I will not need to change that from the mustang shaft to the Superduty shaft.

Because I put the suspension in as close to the frame as I could (for the lowest ride height) the transmission/drive shaft runs right into the first main crossmember.


The solution was to cut a piece of schedule 40 iron pipe and section in a piece to clear the drive shaft.


  #281  
Old 12-21-2014, 06:17 PM
dynamic's Avatar
dynamic
dynamic is offline
FTE Chapter Leader

Thread Starter
Join Date: May 2001
Location: Rhode Island
Posts: 3,290
Received 11 Likes on 9 Posts
Well gang, Christmas shopping is done so it seemed like a day in the garage was in order.


Today I spent some time making a box to mount the go pedal.


I fabricated a stepped box to mount the pedal to.


  #282  
Old 12-21-2014, 06:20 PM
dynamic's Avatar
dynamic
dynamic is offline
FTE Chapter Leader

Thread Starter
Join Date: May 2001
Location: Rhode Island
Posts: 3,290
Received 11 Likes on 9 Posts
next I moved on to the finial dash extension.


I took my mock up and transferred the measurements.


and we have a finished dash extension.


  #283  
Old 12-22-2014, 06:03 AM
Harrier's Avatar
Harrier
Harrier is offline
Lead Driver
Join Date: Nov 2002
Location: Jefferson City, MO
Posts: 8,704
Received 754 Likes on 368 Posts
That's looking great. I'm always impressed by your work.
 
  #284  
Old 12-27-2014, 07:16 PM
dynamic's Avatar
dynamic
dynamic is offline
FTE Chapter Leader

Thread Starter
Join Date: May 2001
Location: Rhode Island
Posts: 3,290
Received 11 Likes on 9 Posts
So today I started thinking about switches.


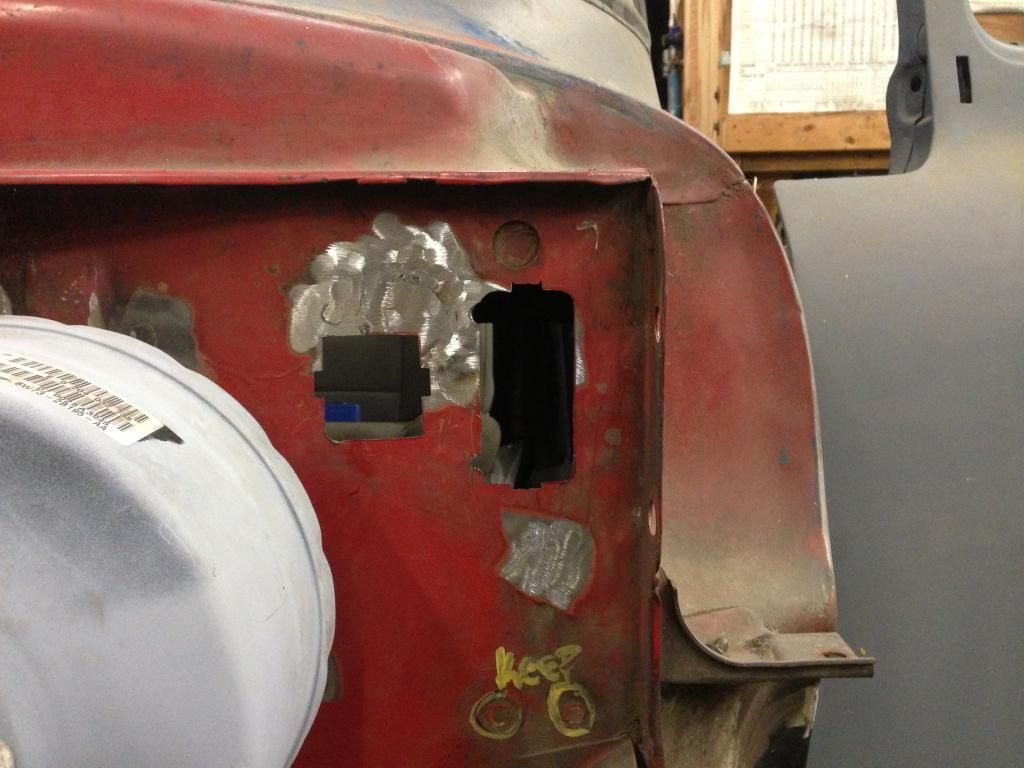
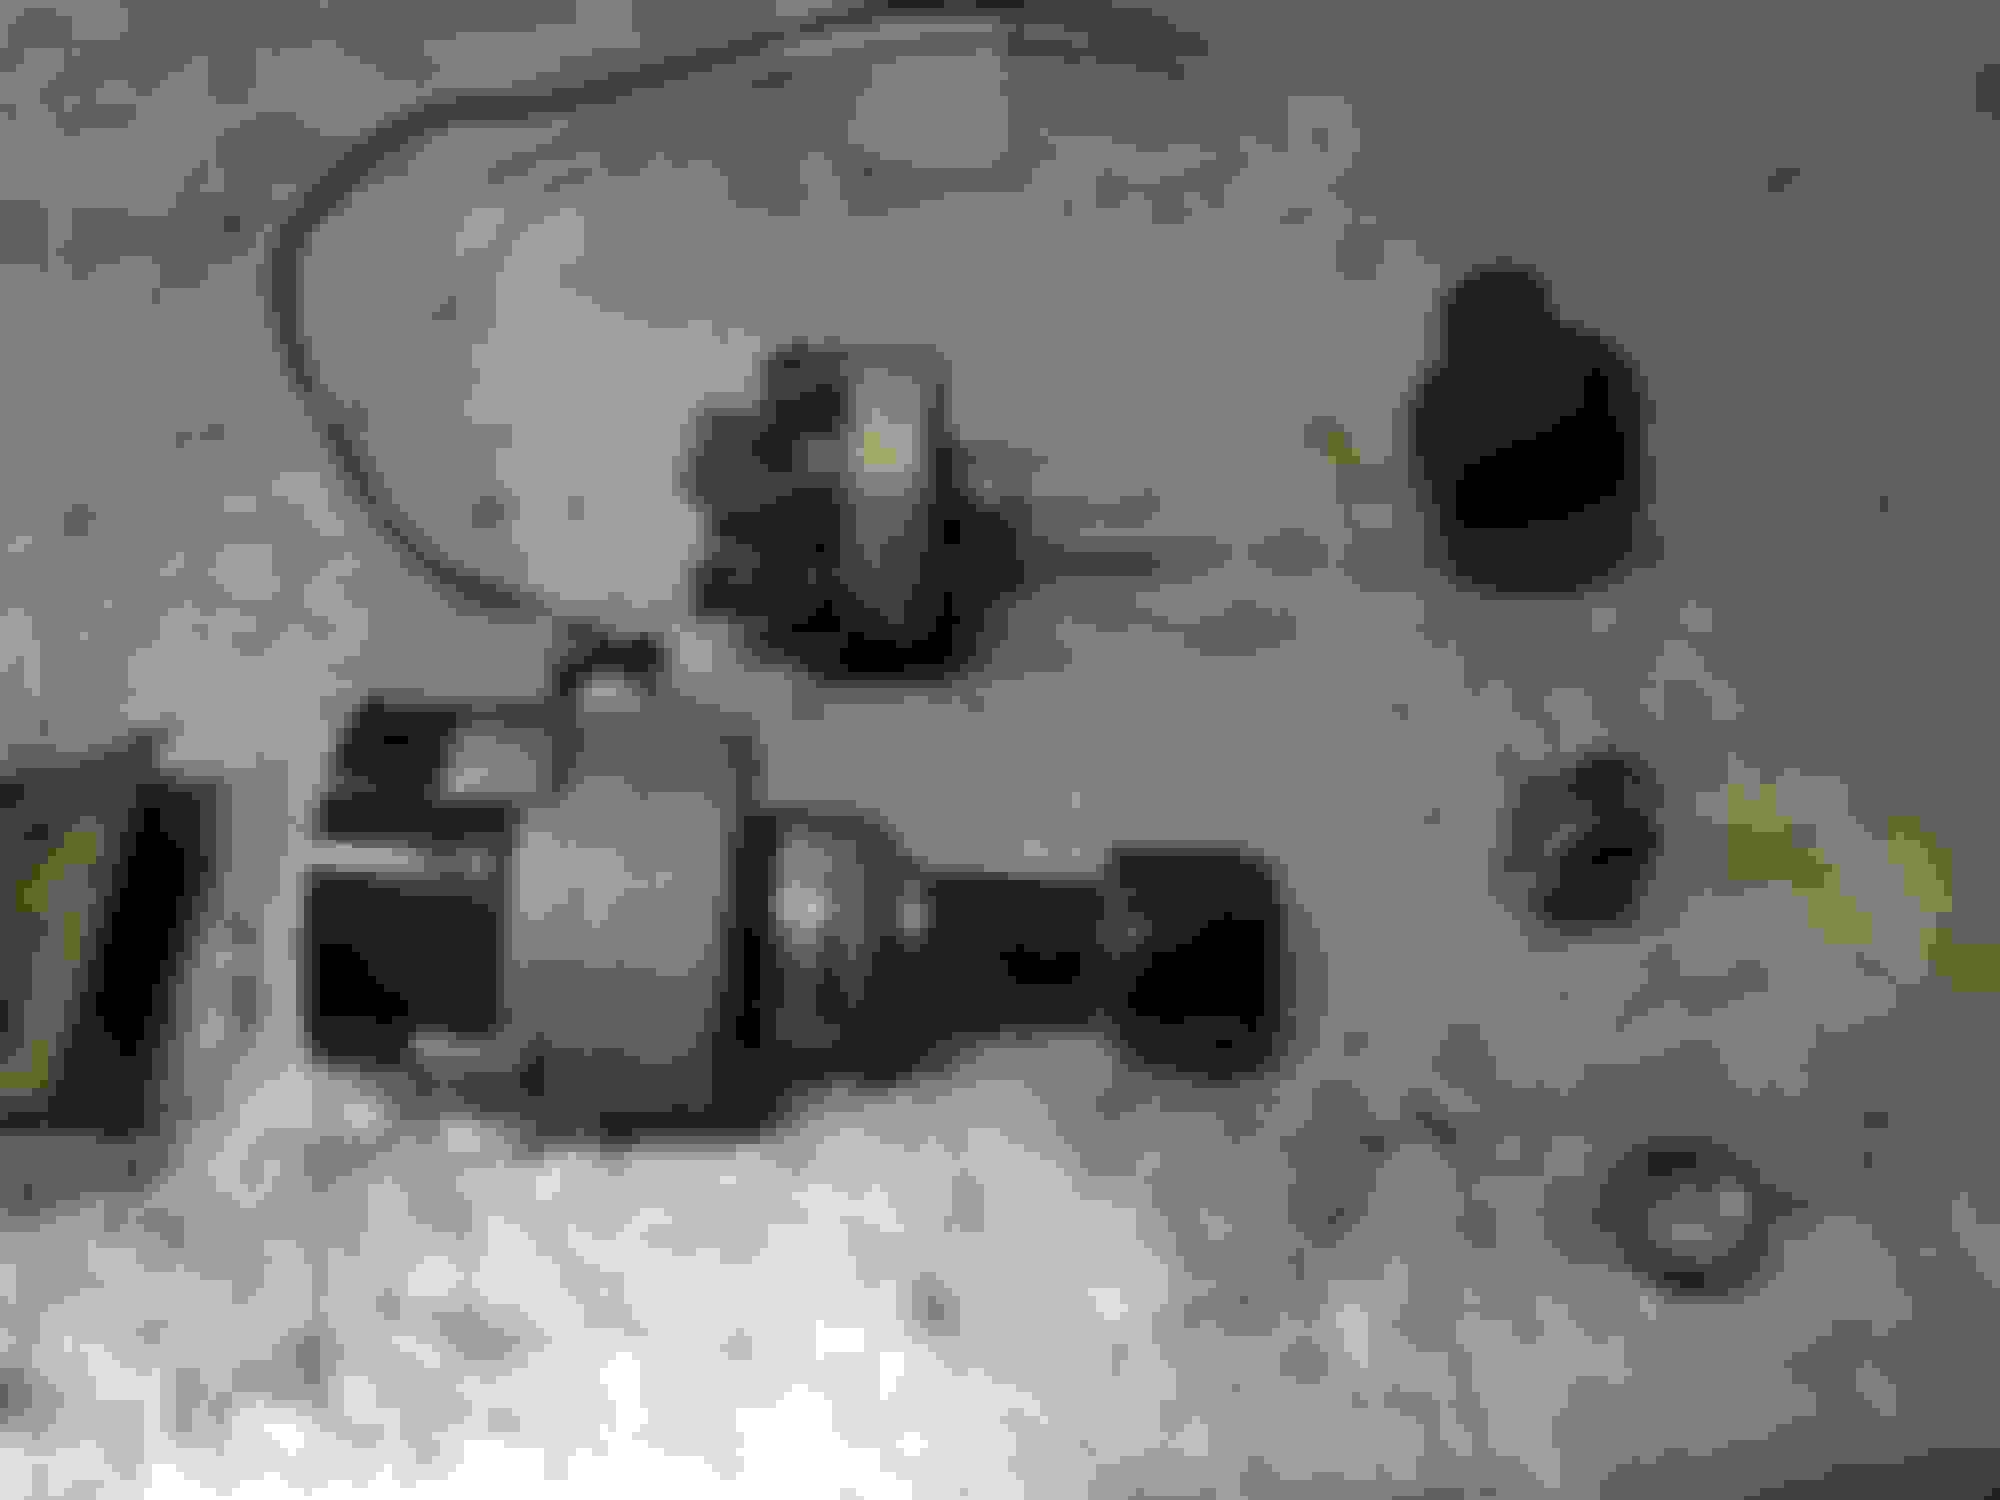
My first thought was the ignition switch. The stock switch will be fine when coupled to some relays to redirect the high amp circuit.


Second thought was the Headlight switch. The stock switch worried me, so I thought "what would be the chances" of a newer switch working.


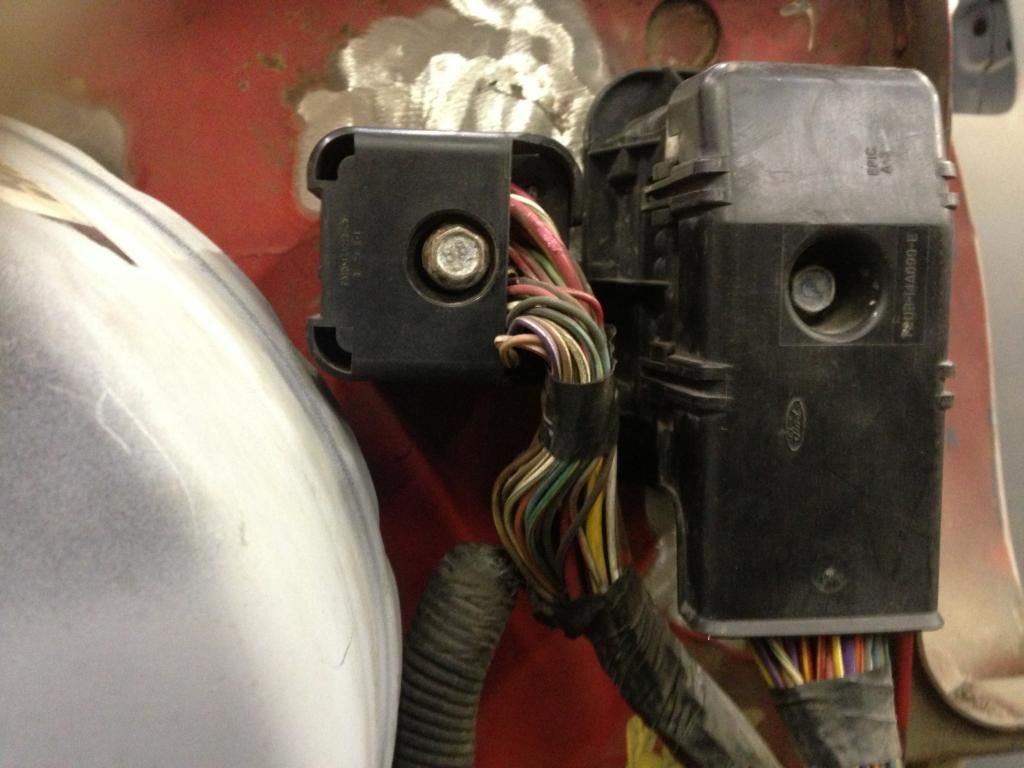
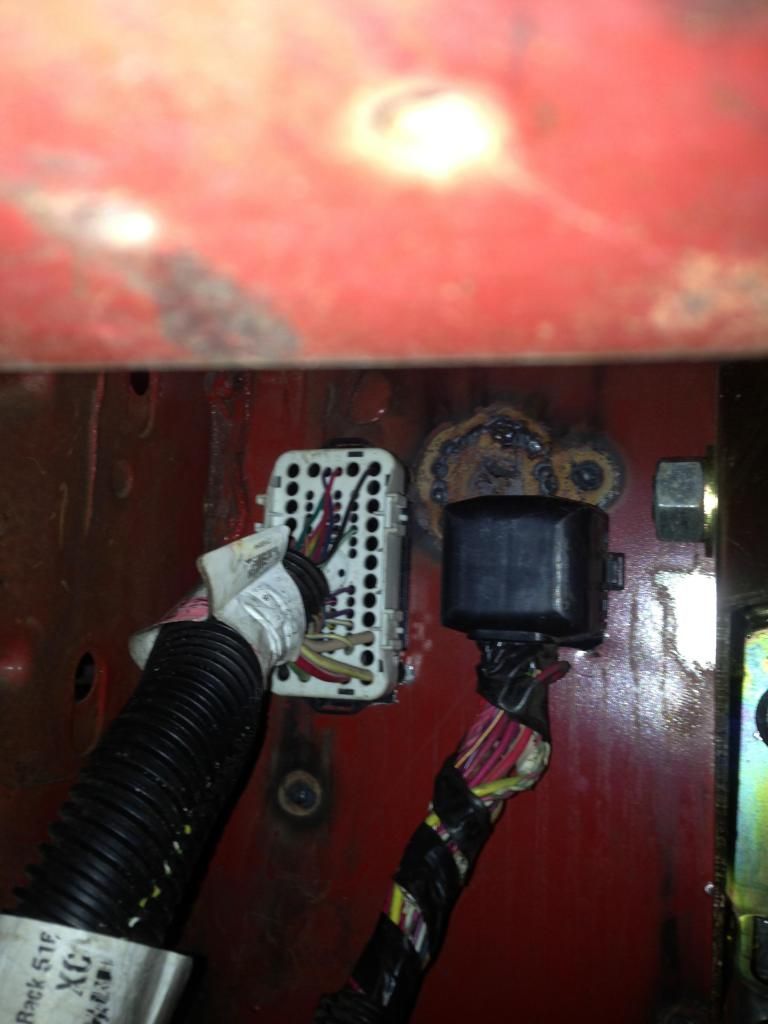
I found this stock ford headlight switch (any 80+ truck/van should do) might work.... after examining both the original switch and the newer switch I found the way they mount hasn't changed much.


I removed the adapter nut, plastic spacer, and lock ring from the new headlight switch. Installed the old (1956) trim and nut....and it fit like a glove.


I removed the **** from the 56 shaft, shortened the shaft from the newer headlight switch, tapped on the 56 **** and click..... we have a modern switch in an old dash.


Next was the wiper switch.


I have a couple extra 78-79 delay wiper switch setups floating around so I figured it might be a good option to update the old switch.


Bezel and nut slid right into place.


Three large washers take up the extra space.


Shaft needed to be shorted a little bit.


  #285  
Old 12-27-2014, 07:38 PM
dynamic's Avatar
dynamic
dynamic is offline
FTE Chapter Leader

Thread Starter
Join Date: May 2001
Location: Rhode Island
Posts: 3,290
Received 11 Likes on 9 Posts
The next thing on the switch list is what to do with the extra switch holes


Left side of steering column... headlight switch, ignition switch, wiper switch... as it should be.


Then comes the Right side.


First hole is going to be a Hazard switch from a 1973 ford bronco (as the ididit column has no built in flasher module)


Second hole is still up for debate....


I would like to find a three way switch that I could install a stock heater **** onto to control the power cowl vent.


Third hole is the original cigar lighter (aux power point)


Thread Tools
Search this Thread
Quick Reply: 1956 F100 Crew Cab Project Started - LOTS OF PICTURES


All times are GMT -5. The time now is 03:12 AM.