1956 F100 Crew Cab Project Started - LOTS OF PICTURES
#301
 09-05-2015, 08:30 PM

FTE Legend
Join Date: Oct 2005
Location: northwestern Ontario
Posts: 262,903
Received 4,119 Likes
on
2,649 Posts


#303
09-11-2015, 08:16 AM
FTE Legend
Join Date: Oct 2005
Location: northwestern Ontario
Posts: 262,903
Received 4,119 Likes
on
2,649 Posts


#306
09-12-2015, 11:10 PM
Mountain Pass
Join Date: Jun 2011
Location: Shelton Nebraska
Posts: 133
Likes: 0
Received 0 Likes
on
0 Posts
#307
09-12-2015, 11:27 PM
Elder User
Join Date: Jun 2013
Location: Metro Detroit-MI
Posts: 949
Likes: 0
Received 0 Likes
on
0 Posts
#308
09-13-2015, 08:22 AM
FTE Legend
Join Date: Oct 2005
Location: northwestern Ontario
Posts: 262,903
Received 4,119 Likes
on
2,649 Posts
#309
09-13-2015, 12:25 PM

Lead Driver

#312
09-20-2015, 05:45 PM
Today we worked on finishing up welding the chassis. It may seem we are working backwards, but we couldn't wait to put some paint on the firewall.

so we broke out the welding paper and covered up the fresh blue paint.
and finished welding the boxing plates.

next it was time to do some sanding, followed up by some bondo to fill in the grinder / welder divets.
then of course.... primer

Hopefully next weekend we will bag the aluminum bits and start laying down some black paint on the chassis.


so we broke out the welding paper and covered up the fresh blue paint.
and finished welding the boxing plates.

next it was time to do some sanding, followed up by some bondo to fill in the grinder / welder divets.

then of course.... primer


Hopefully next weekend we will bag the aluminum bits and start laying down some black paint on the chassis.
#313
10-12-2015, 06:21 PM
a little more paint....
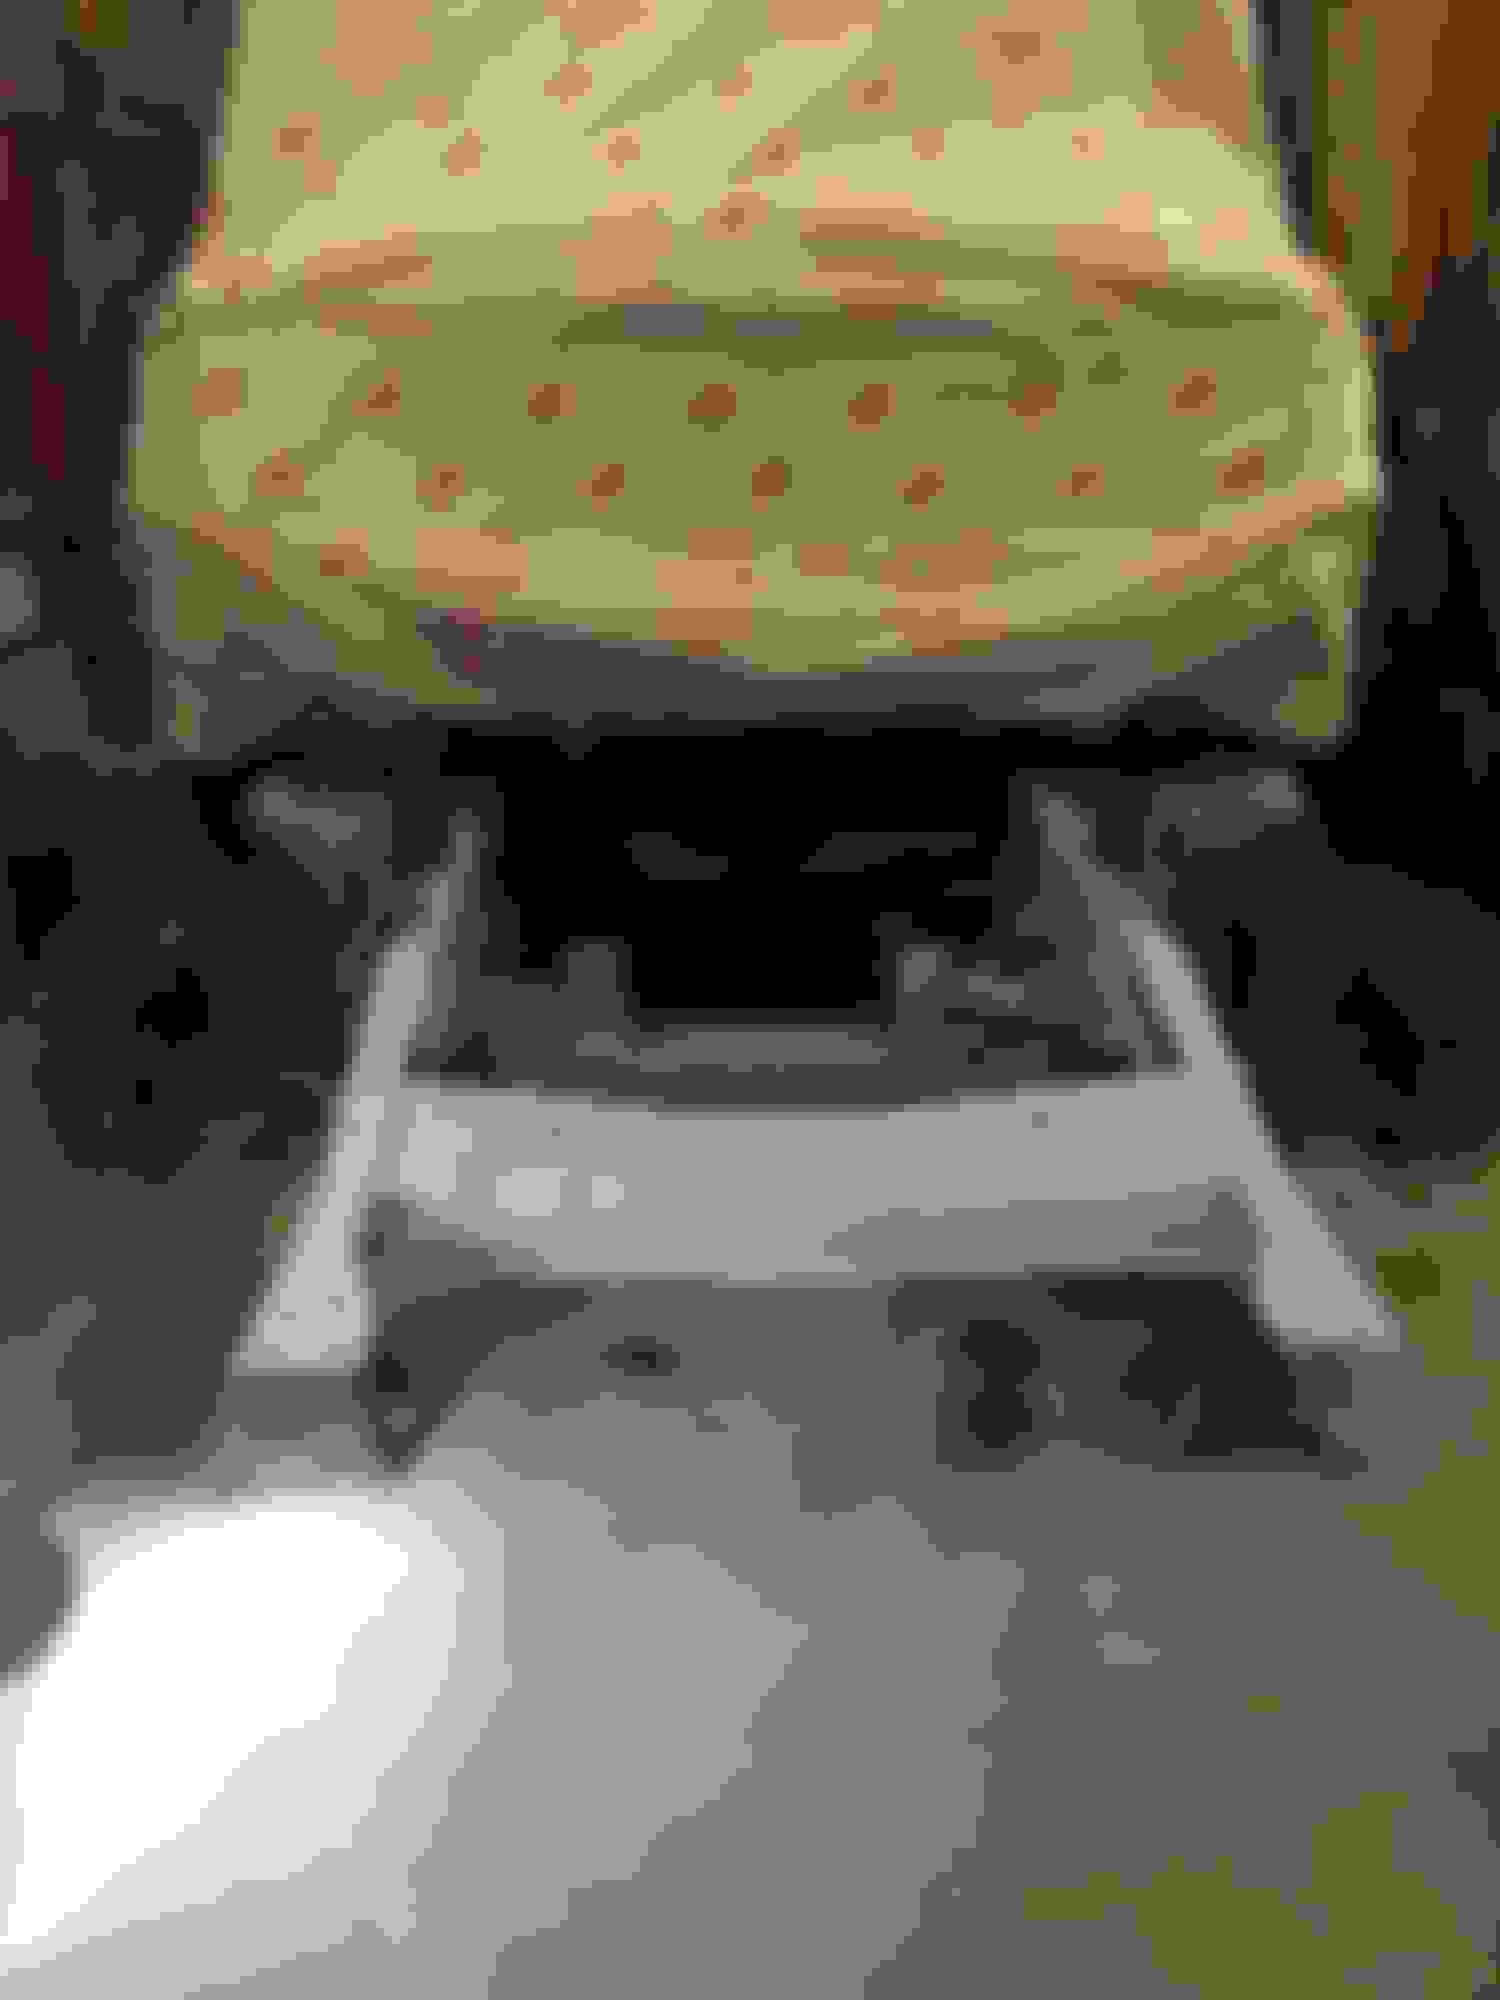
started by bagging the cab and aluminum main section of the crown vic suspension.


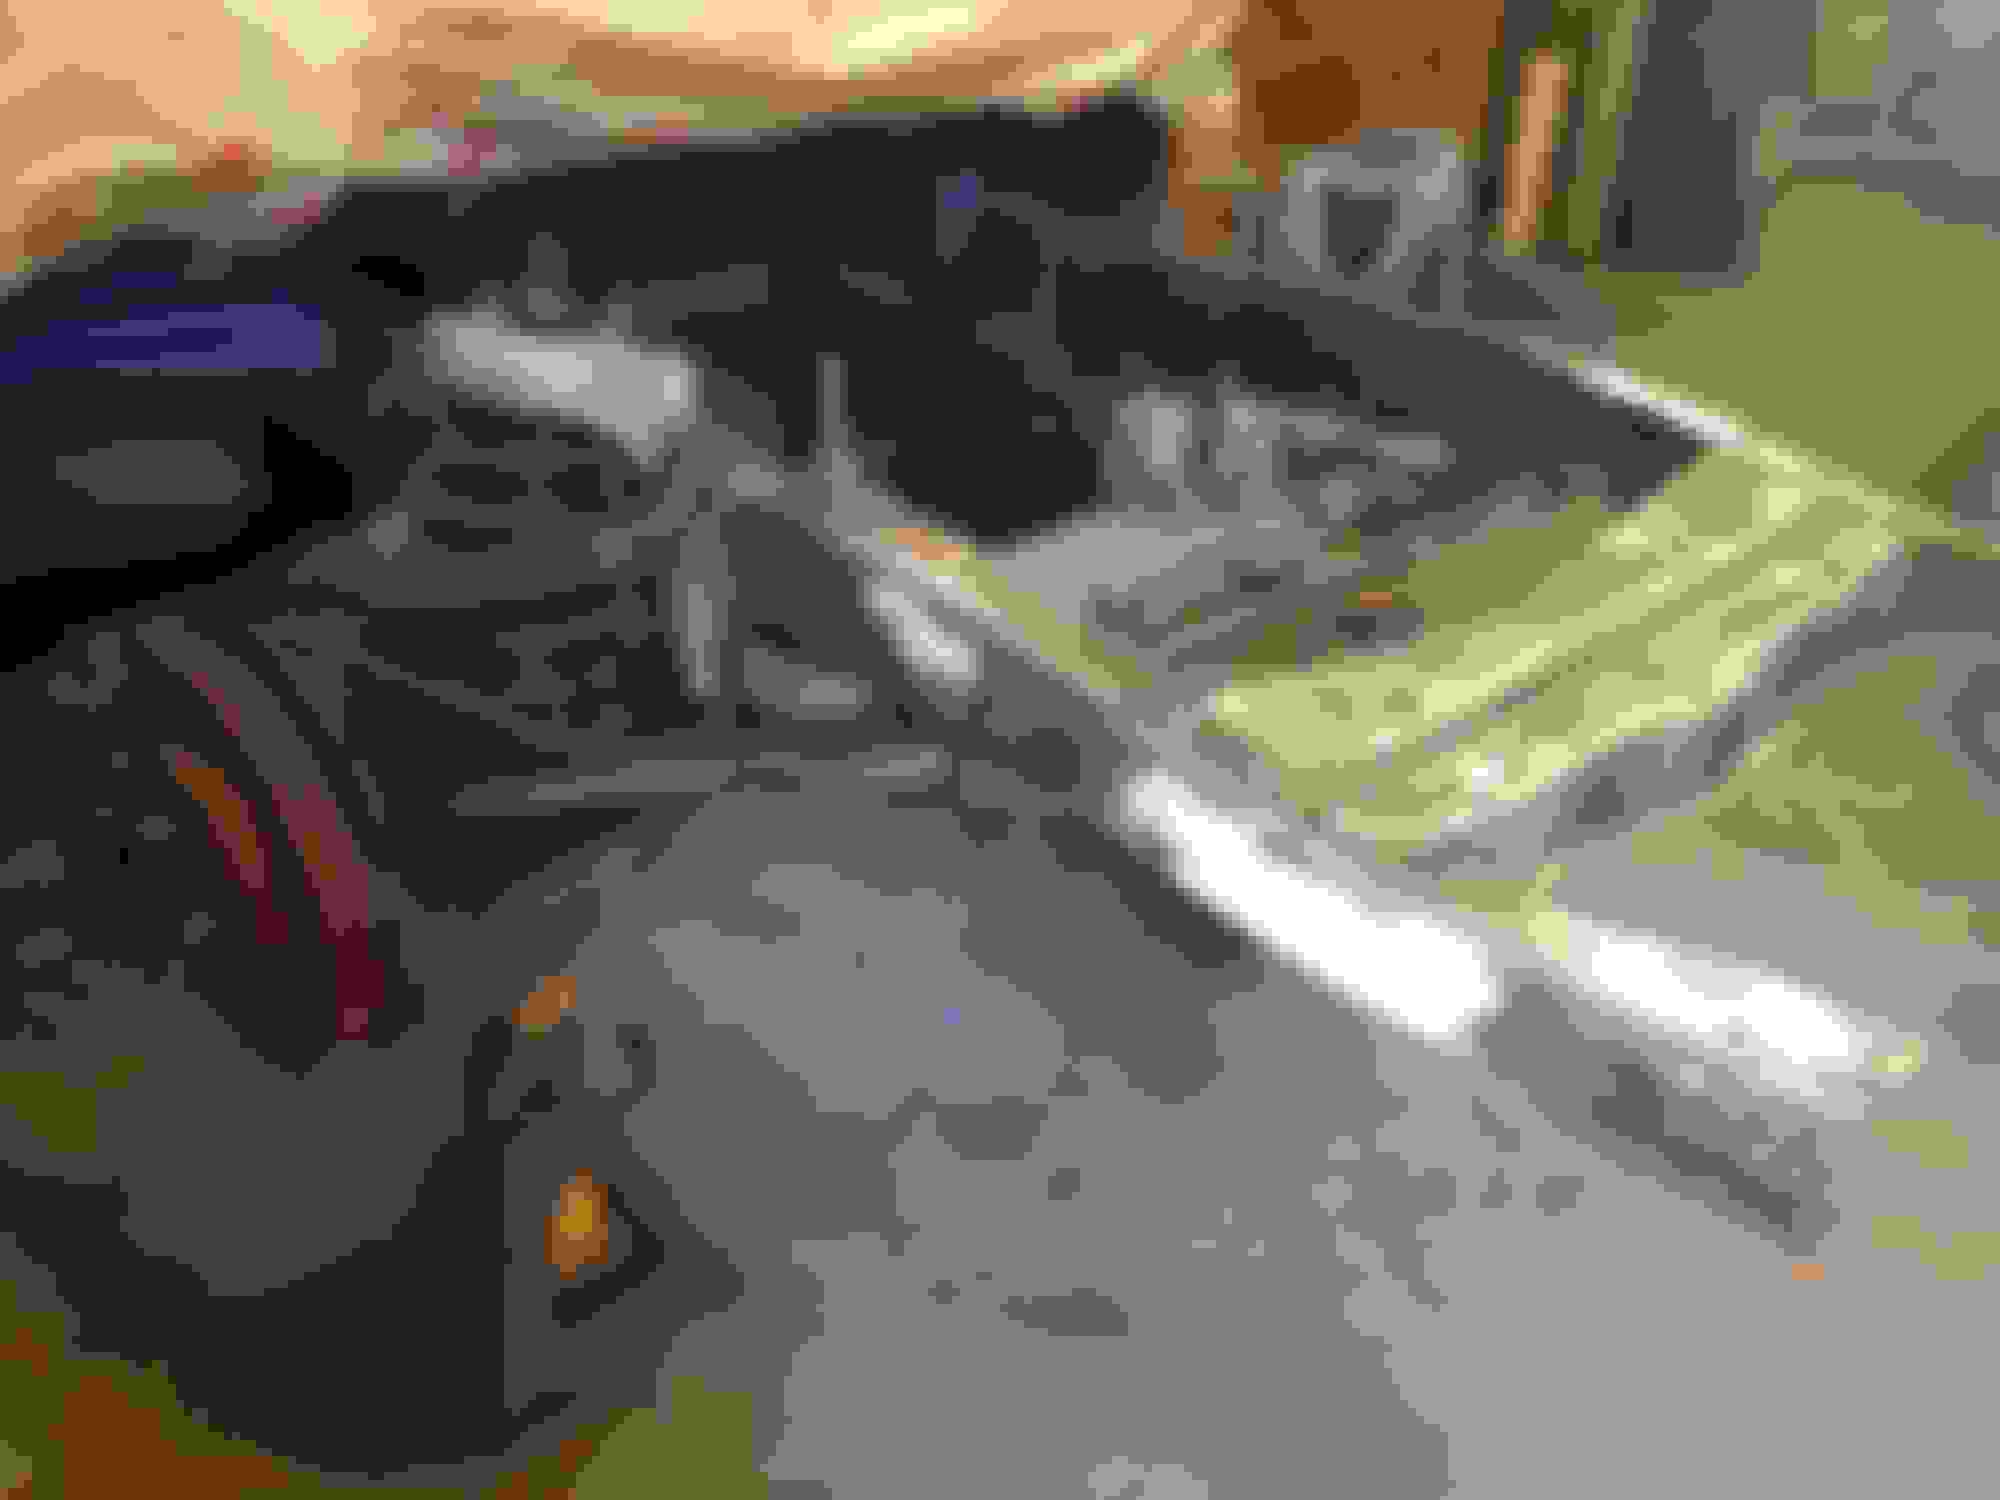
and the chassis is black


While we had the black painted loaded up.... it seemed like a good idea to paint some other bits.


and some black parts

in the next month or so I should be able to mask off the aluminum bits and prime / paint them silver.
Hopefully by the time I finish painting the chassis parts I will have got the engine all painted as well.
but that is another story.
started by bagging the cab and aluminum main section of the crown vic suspension.


and the chassis is black


While we had the black painted loaded up.... it seemed like a good idea to paint some other bits.


and some black parts


in the next month or so I should be able to mask off the aluminum bits and prime / paint them silver.
Hopefully by the time I finish painting the chassis parts I will have got the engine all painted as well.
but that is another story.
#314
10-25-2015, 06:38 AM


#315
10-25-2015, 06:55 AM
I soaked all the studs thoroughly with PB Blaster for about a week. The stud on the front put up a little fight. A small socket would budge it. Vise grips simply slid off. I grabbed a couple nuts and tightened them down. After exerting more force than I felt was safe I heard a CRACK/POP and the first stud was spinning out.

The second long stud was not so easy. The double nut broke off and the stud broke in about half.
It was time to break out the welder an weld a nut to the stud. After a few unsuccessful tries I finally got the second stud out.

the last and smallest broken stud put up the biggest fight.
it just kept breaking the nut off..... I finally ended up with the stud broken inside the head. the last try with the welder was to build up a puddle with the welder to try and build a handle to get a bight on. I broke out the vise grips.... started turning... woo hooo... then sadness when It only spun out a few threads....

Time to break out the Taps....

After drilling out.... taping with the starter, threader and bottoming tap.... we are back in business and ready to start cleaning up for paint.